
How To Remove And Disassemble The Crankcase On Your 97-01 Honda CR250
The Tools You Will Need
- 8mm Socket
- 14mm Socket
- 22mm Socket
- Mallet
- Wood Blocks
- Towels
- Big Hammer
- Plastic Scraper → https://amzn.to/40dl2Q1
- Flat Razor
- Dremel with Sanding Disc → https://amzn.to/407t6l3
- WD40
- Paper Towels
- Safety Glasses → https://bulltru.com
The only specialty tool you will need is a case splitter, and you can get one here. → https://amzn.to/429iNjg
Pre-Service Notes
- Put your bike on a sturdy stand and drain oil and coolant.
- I recommend opening the Bottom End Service Specifications in a new tab for easy reference.
- If you need parts and tools, make sure to buy them here!
- Pictures with captions are after the steps below.
- If you need any help, lp don’t hesitate to ask!
Bottom End Removal
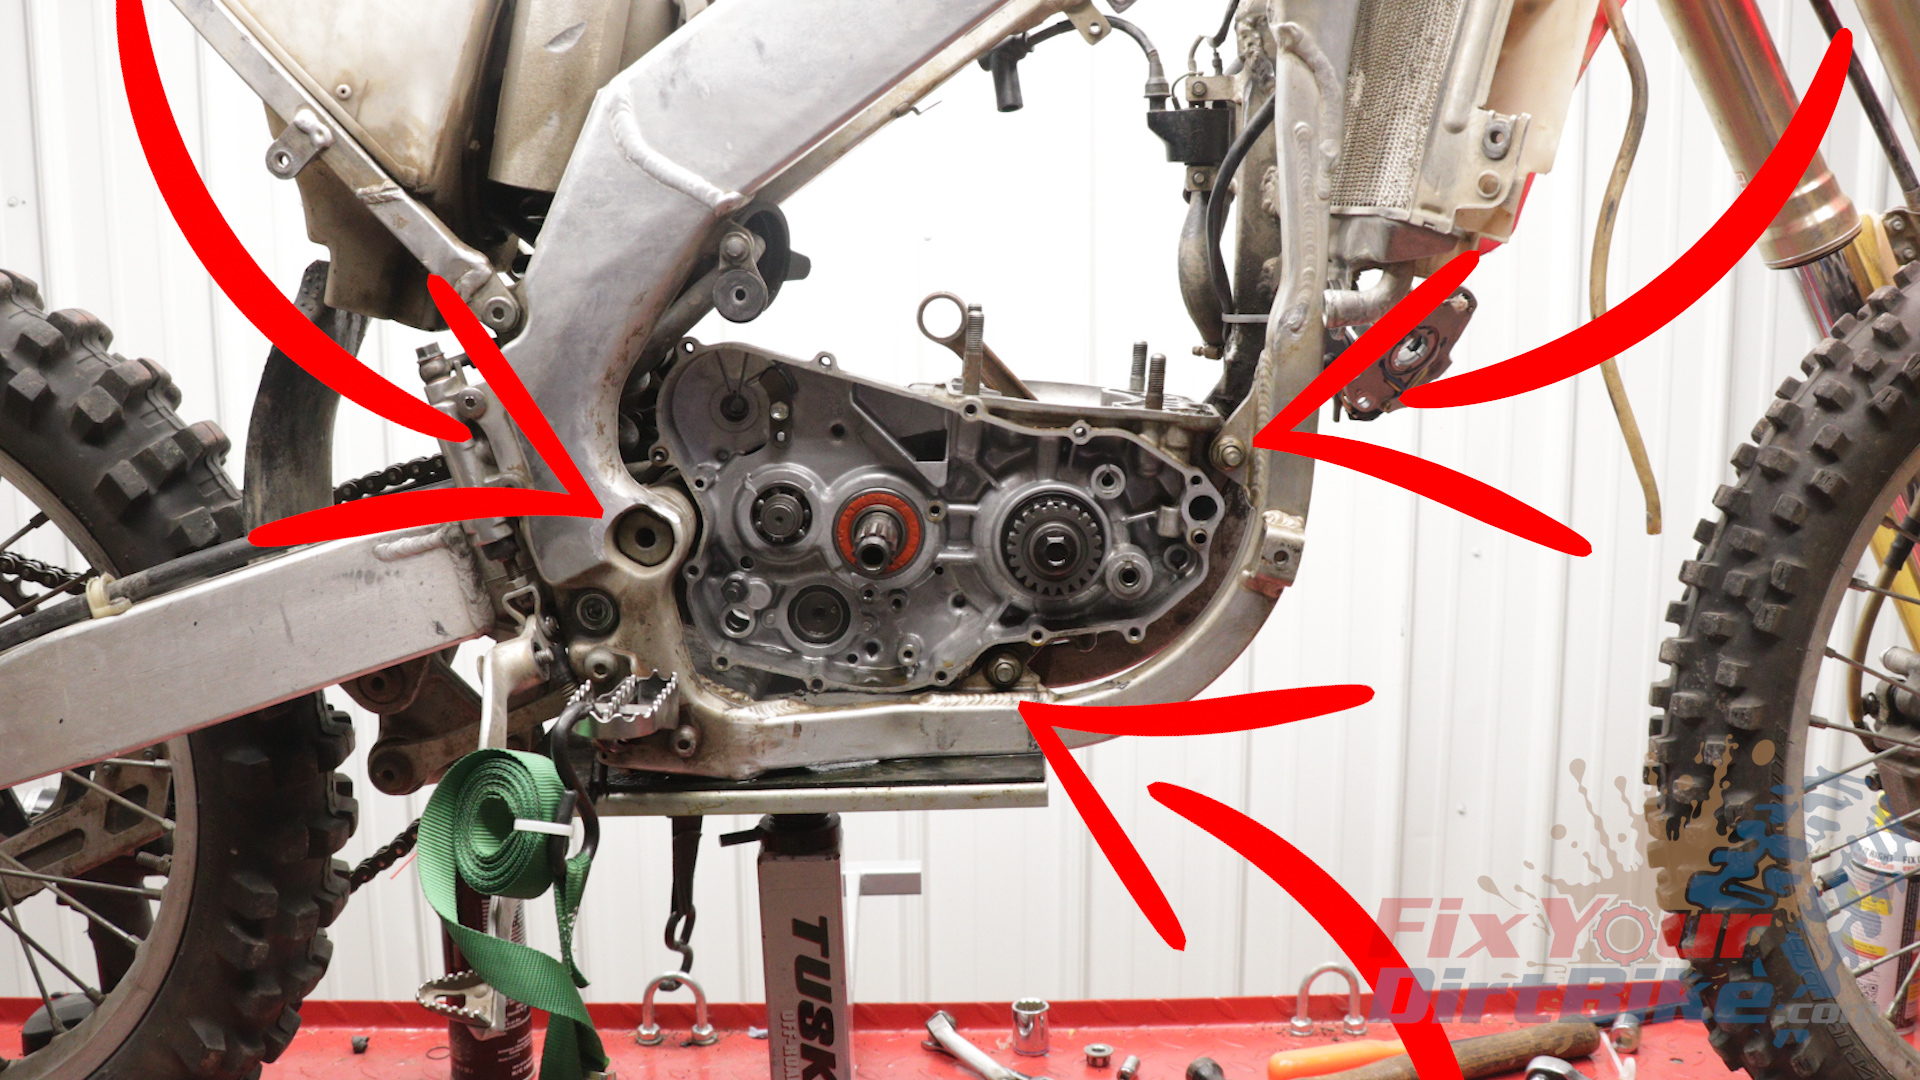
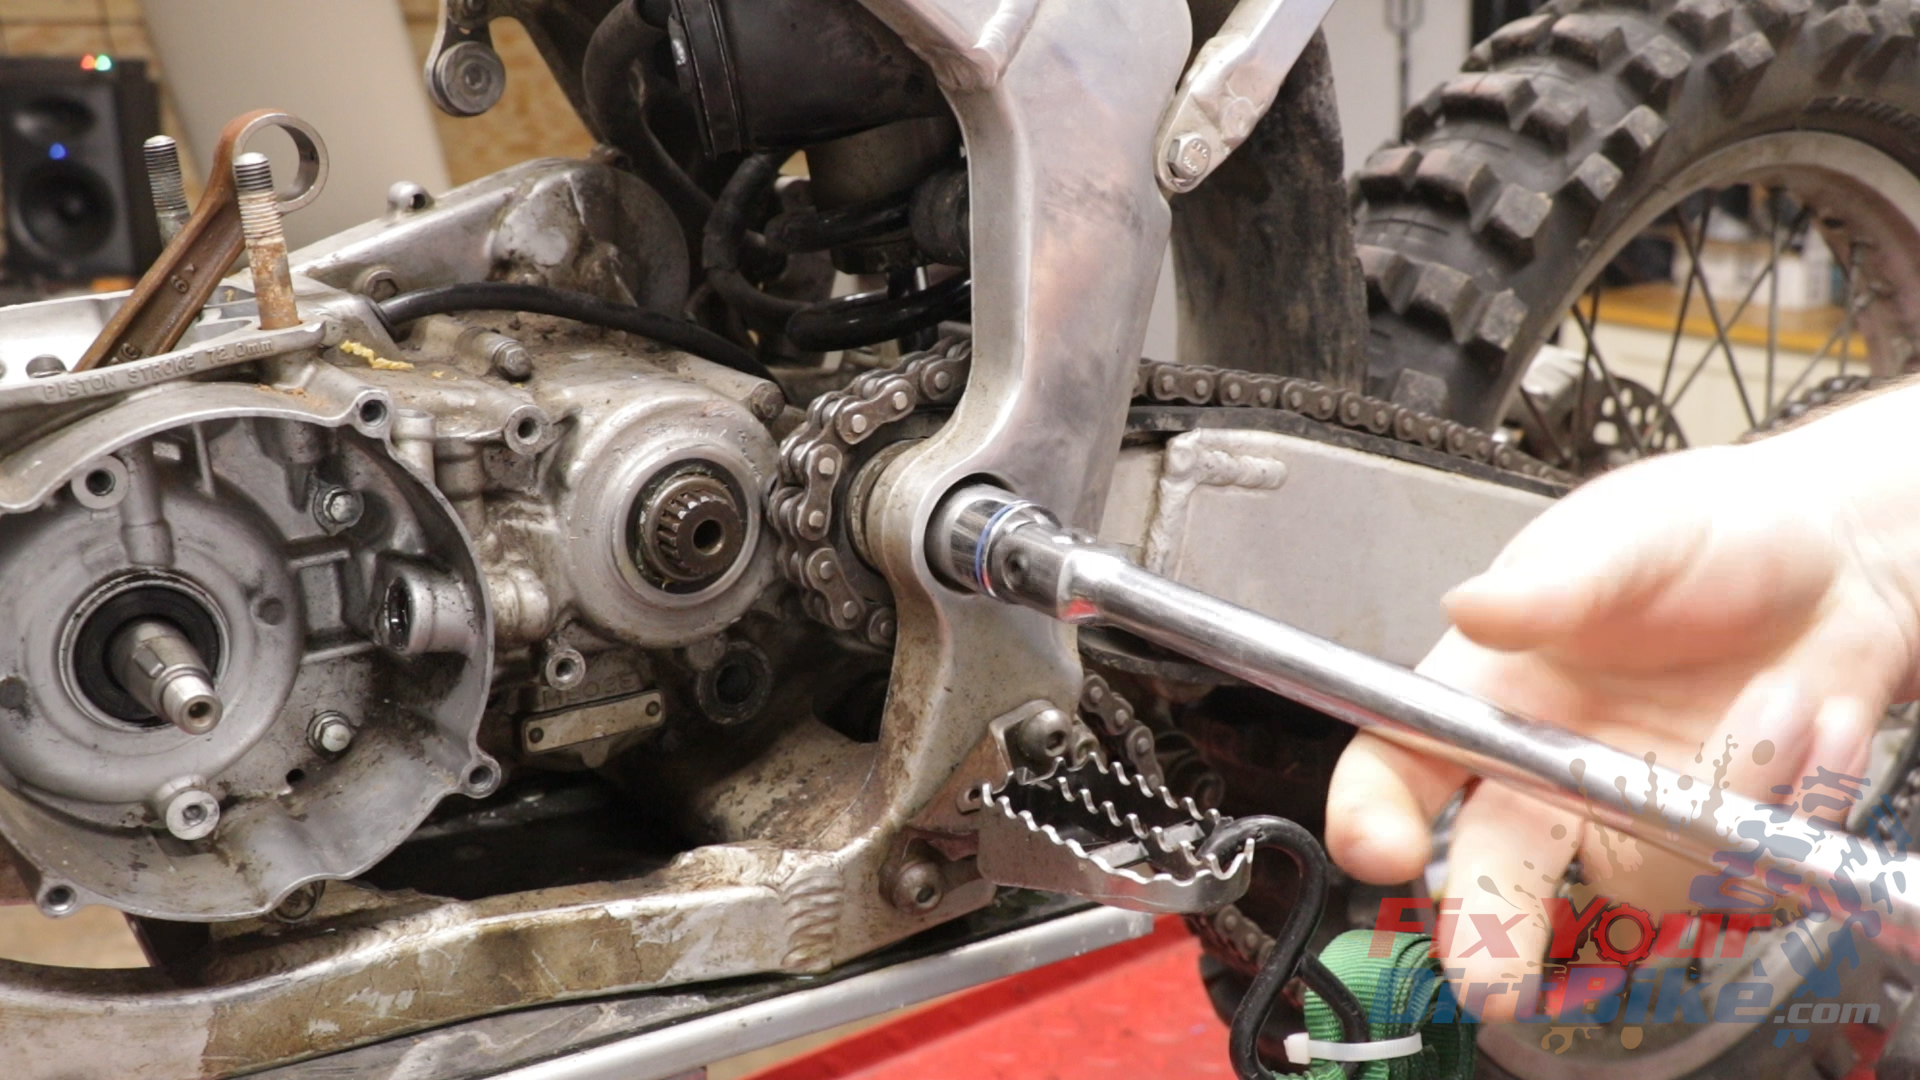
- Three bolts attach the bottom end to the frame, two mounting bolts, and the swingarm pivot shaft.
- Start by removing the swingarm pivot shaft first because I have never had one come out easy.
- You may find yourself with a seized shaft. The only thing you can do is hose it down with anti-seize, wait, hit the bolt with the biggest hammer you have, and repeat as needed.
- You will need a new pivot bolt, but they are not too expensive.
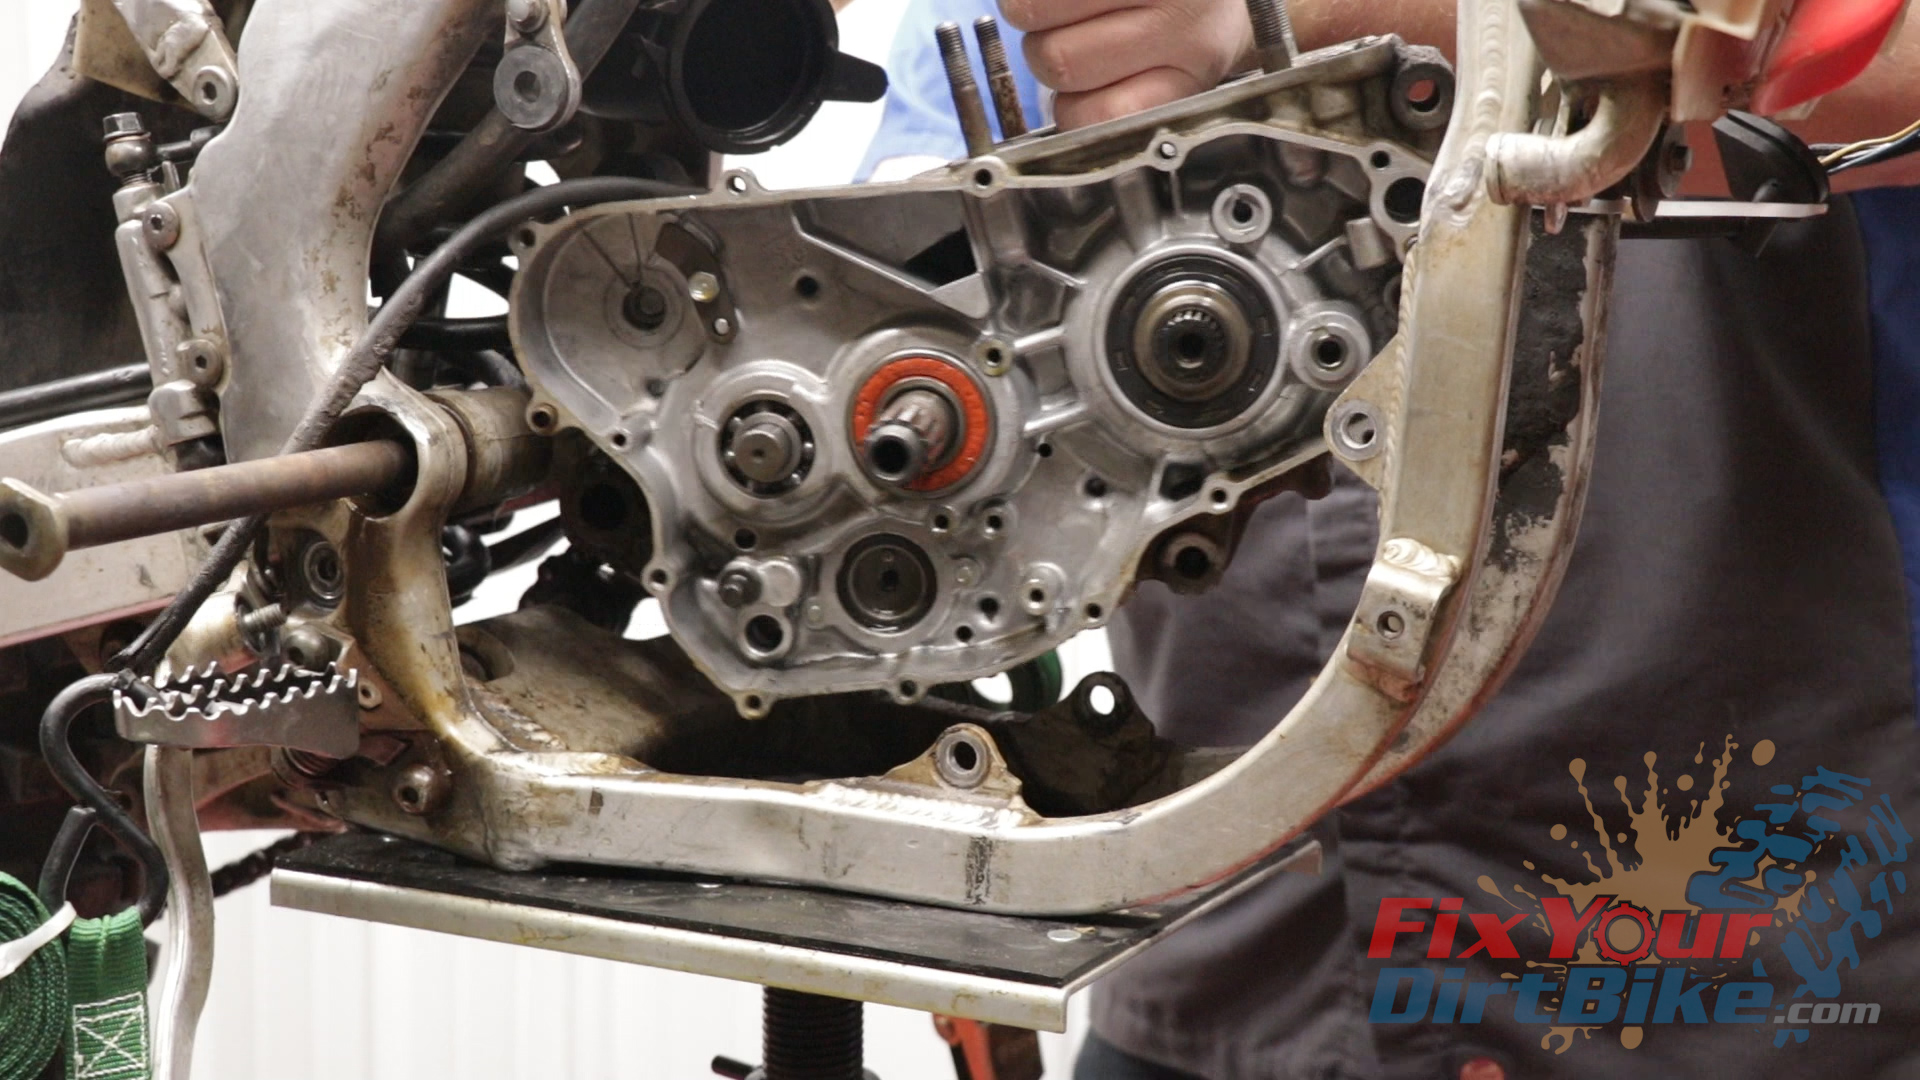
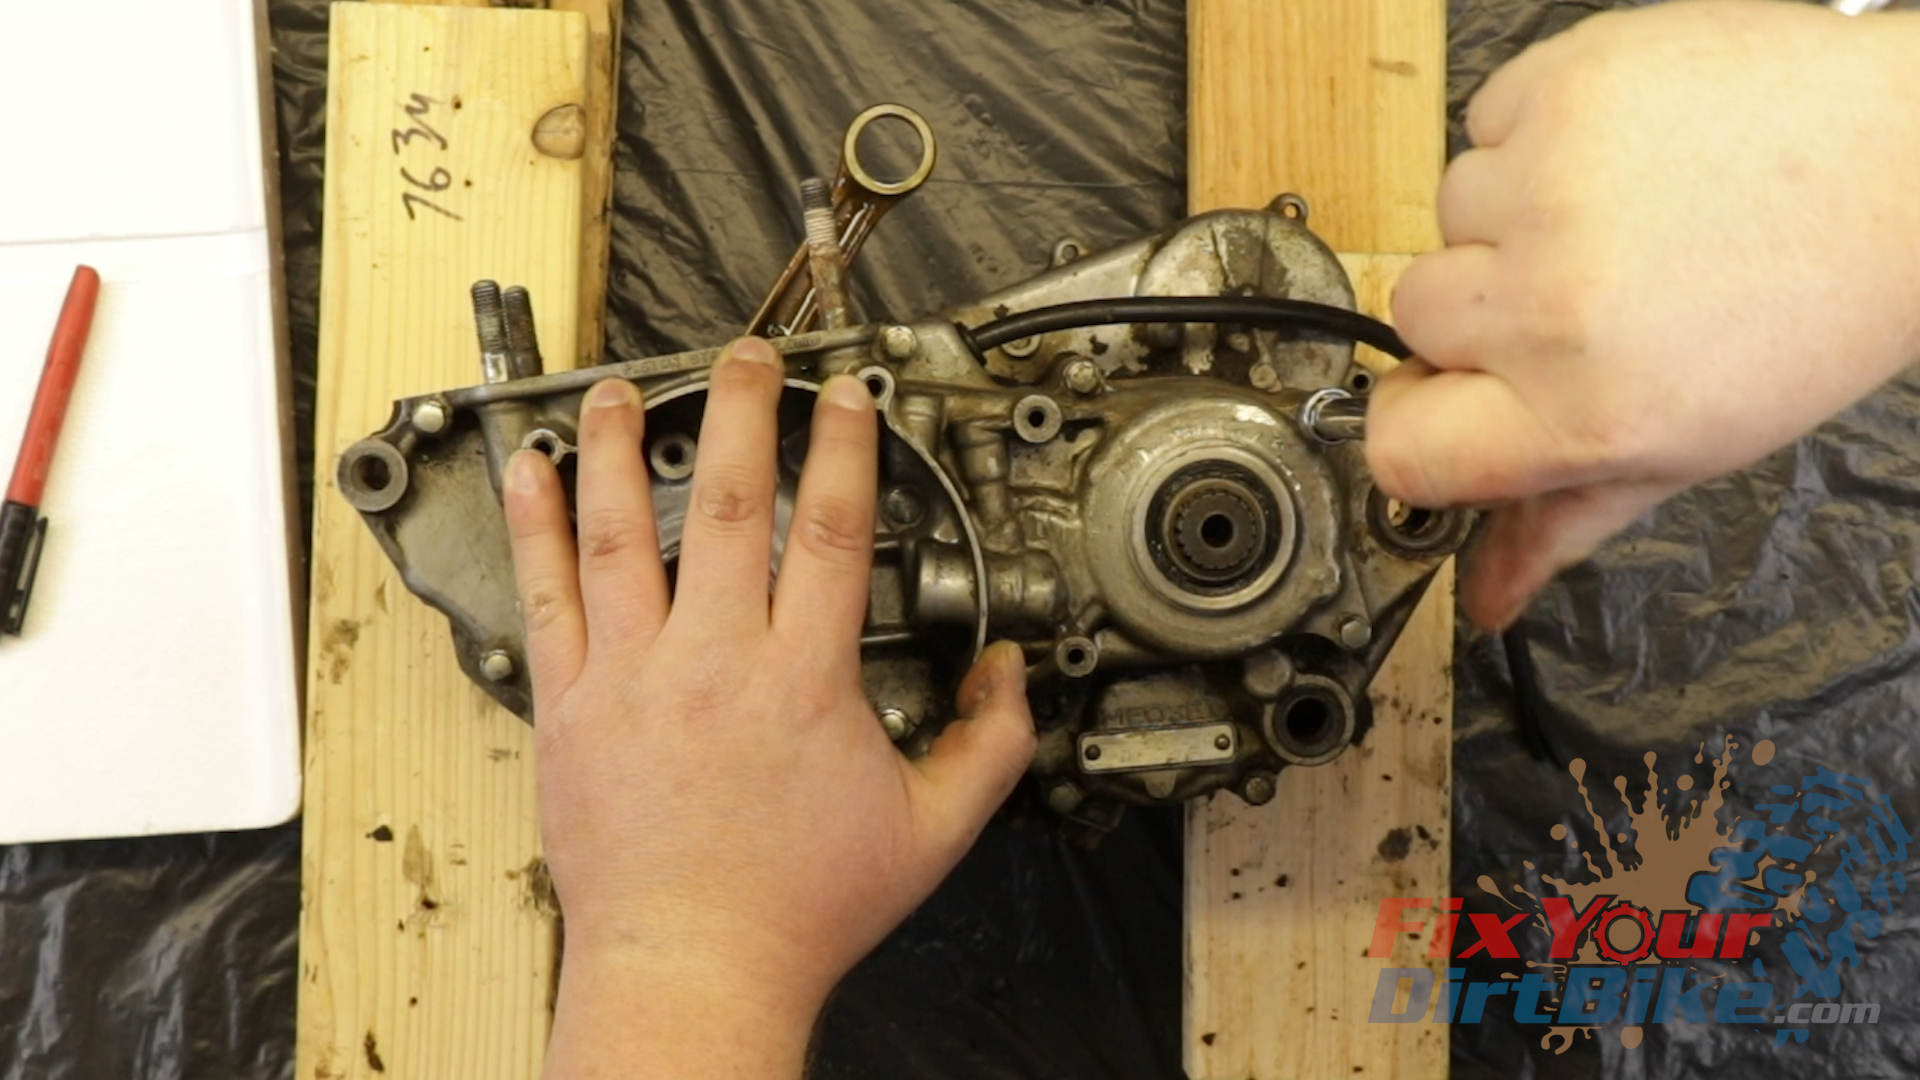
Remove the two lower mounting bolts and keep track of their installation installation direction. - Remove the engine from the frame. The swingarm may be resting on the rear of the case, so lift the front end first and give it a jiggle. But do not lift the case by the crankshaft like this impatient idiot.
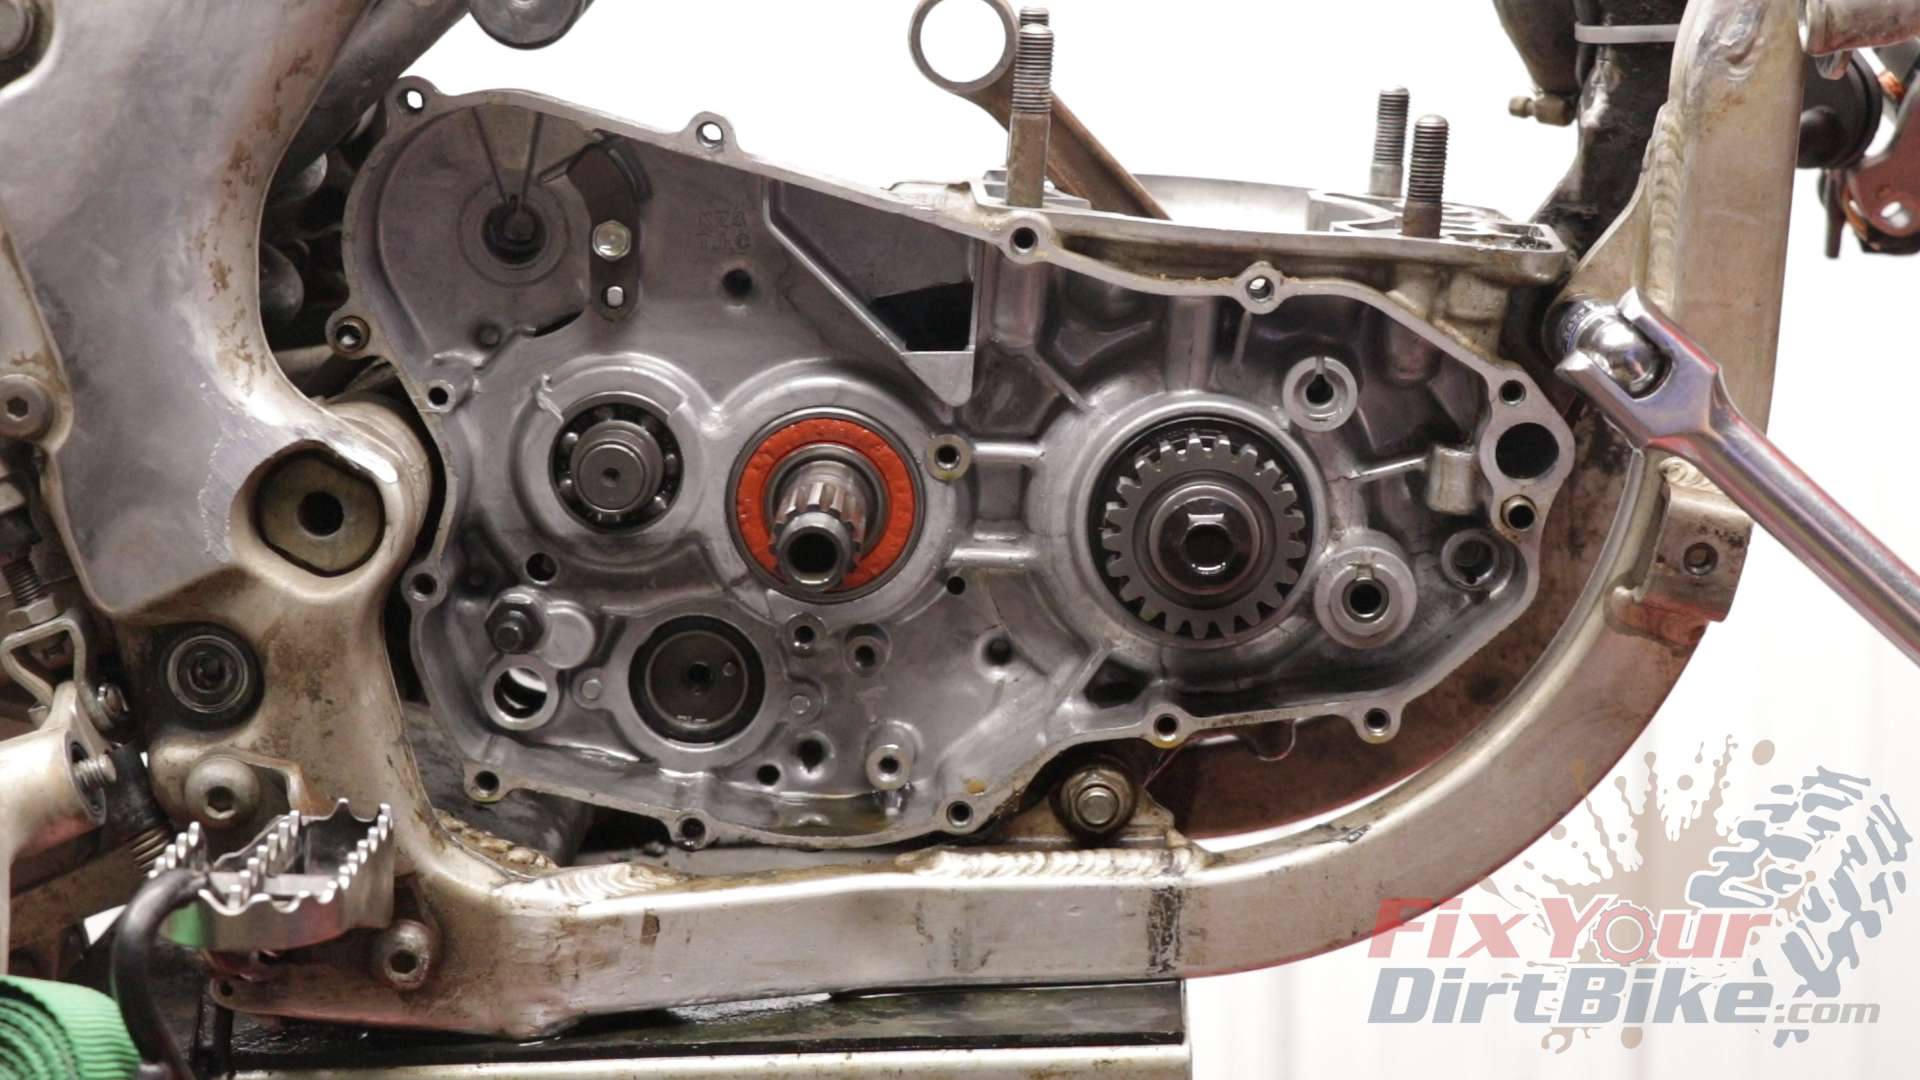
- With the case removed, clean and inspect the frame.

Crankcase Disassembly
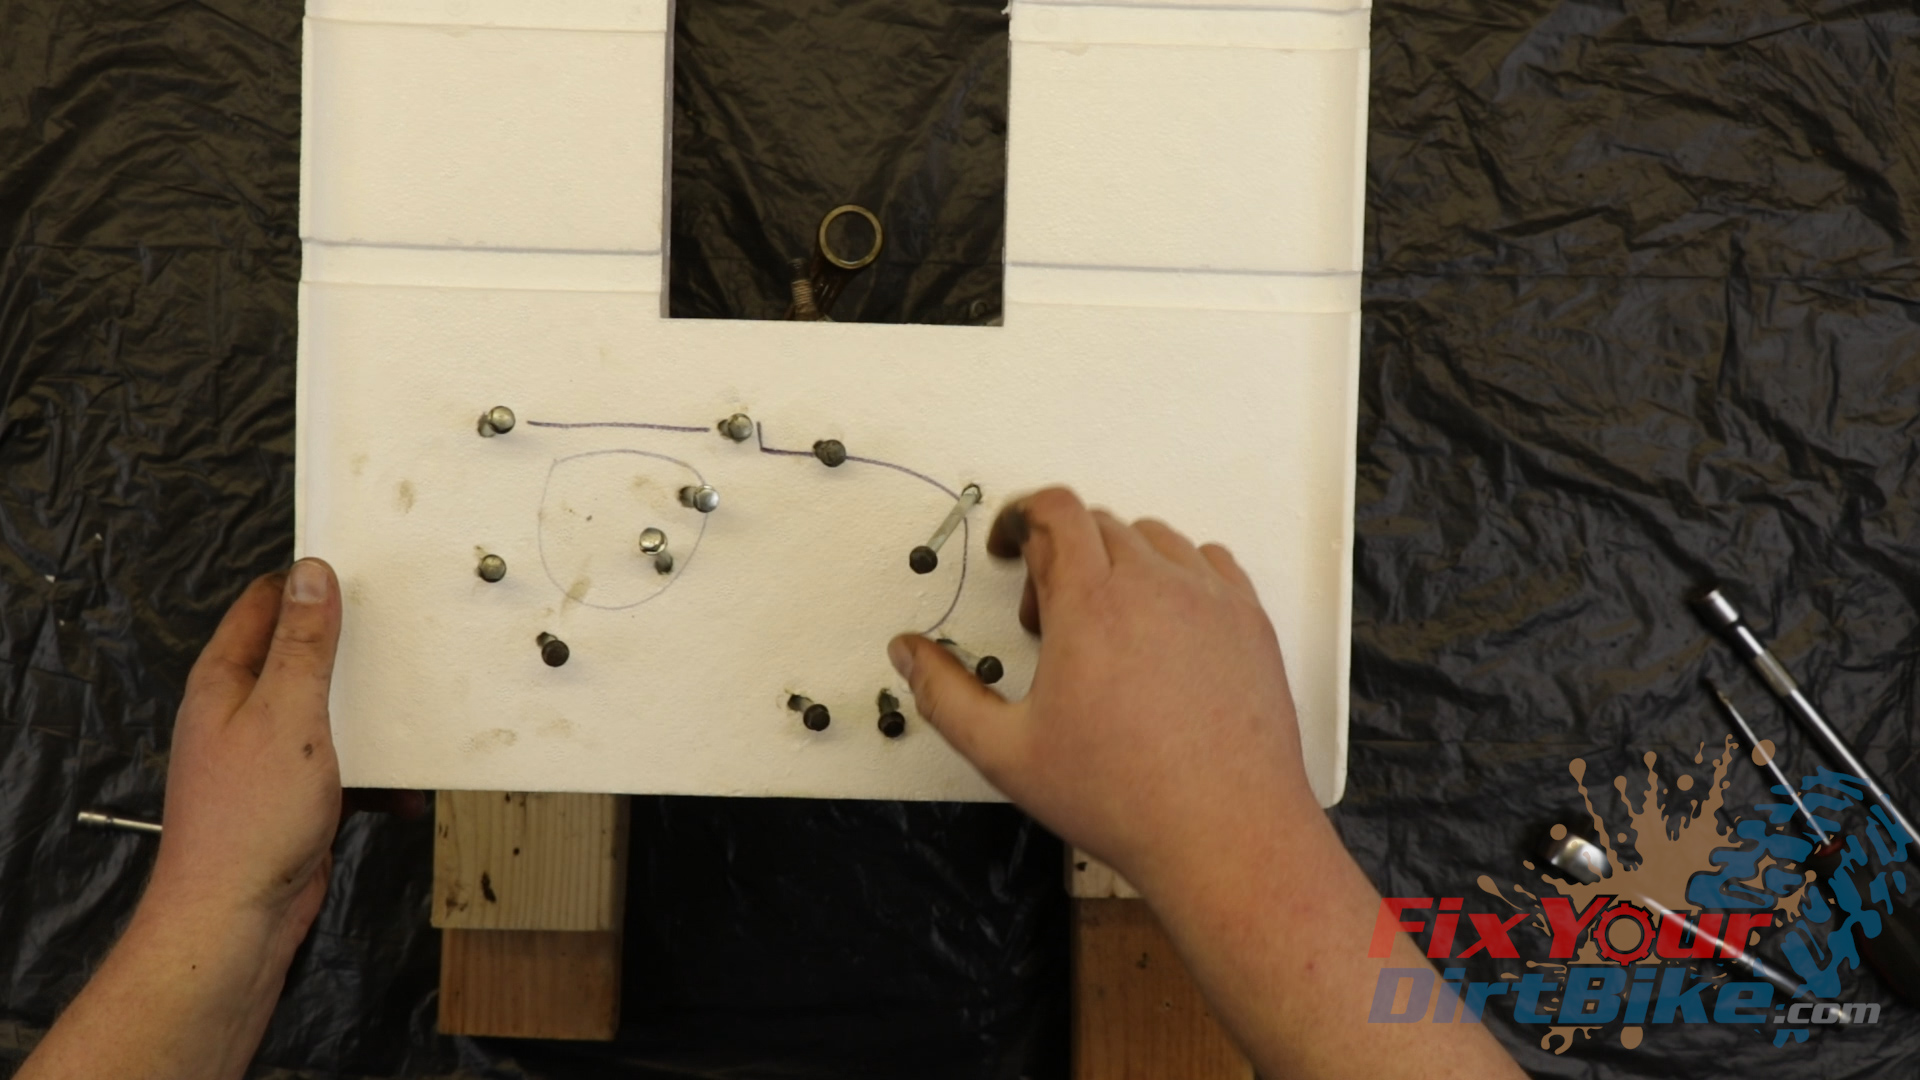
- Lay your crankcase on your blocks with the left side facing up. Loosen the 11 crankcase bolts in a crisscross pattern, ¼ turns at a time until they are all loose.
- The crankcase bolts vary in length, so outline the case on cardboard or styrofoam and place your bolts accordingly.
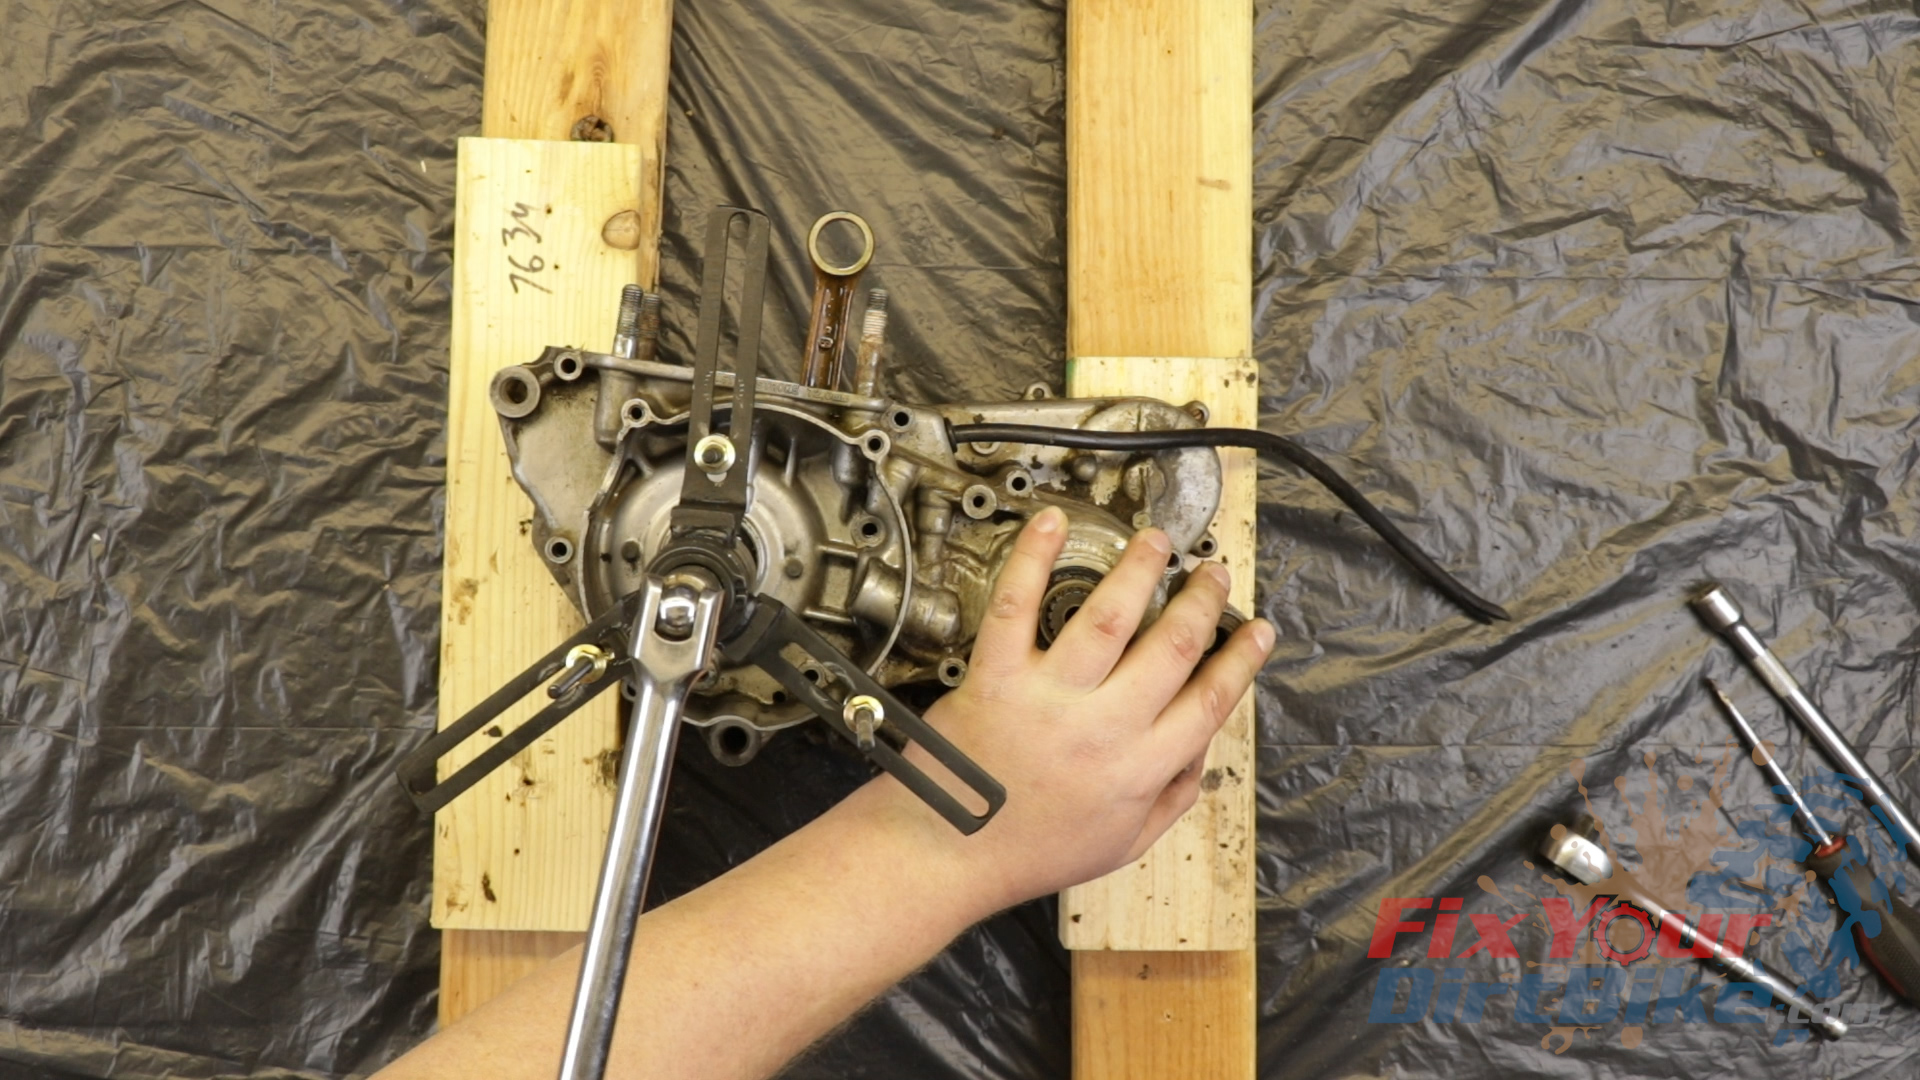
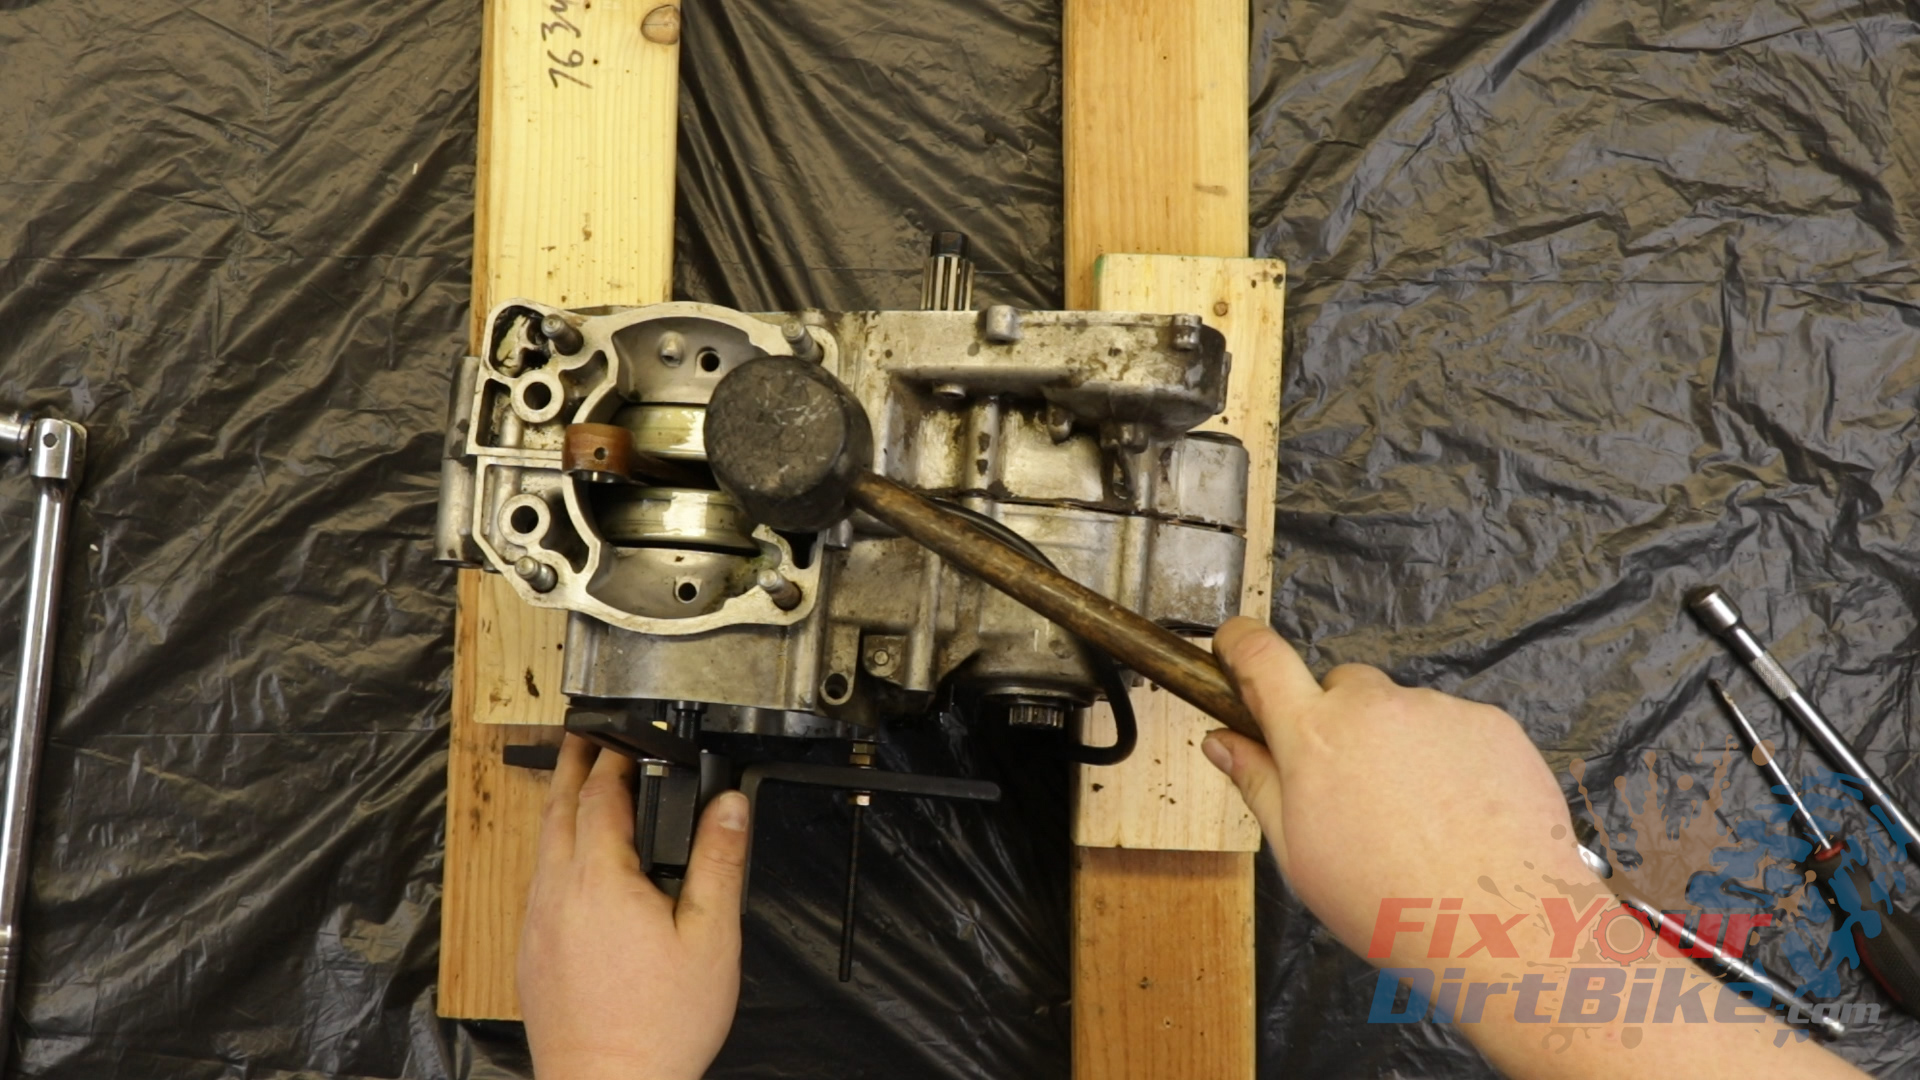
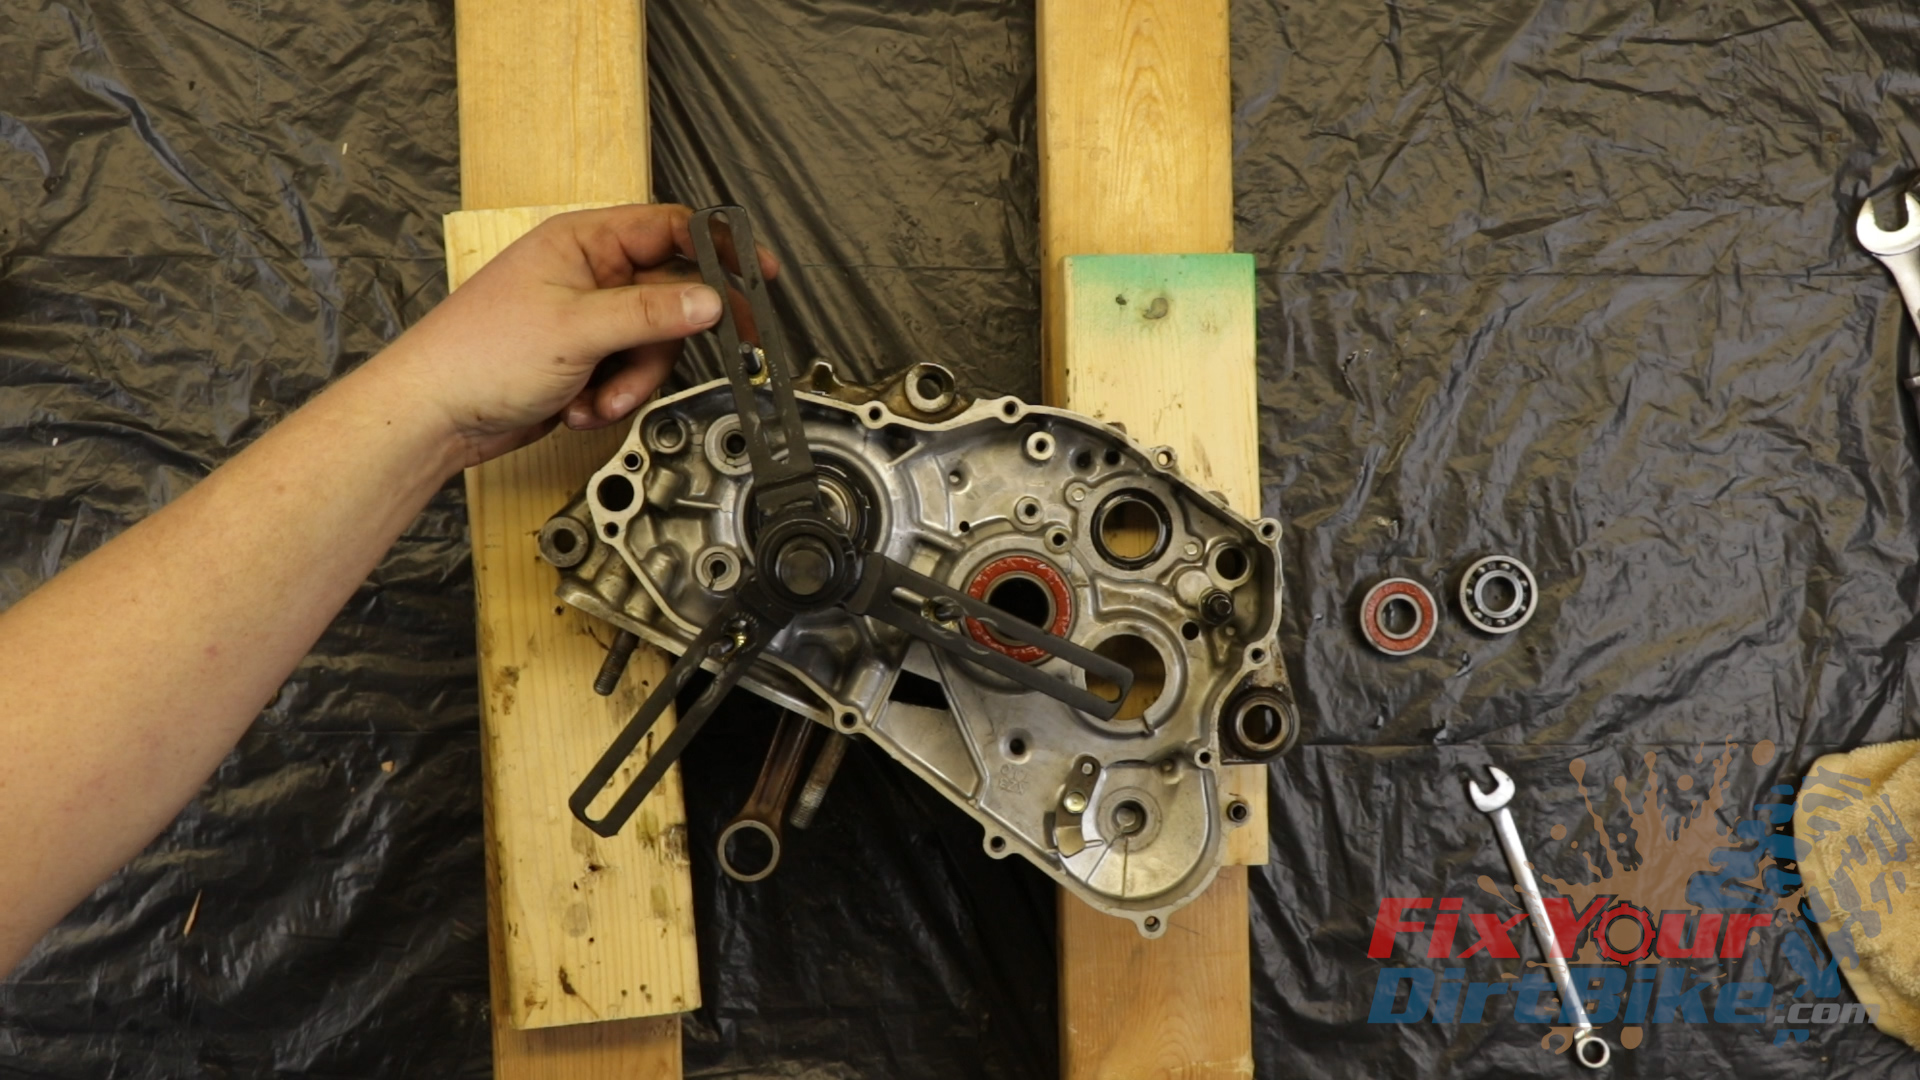
- Assemble your crankcase splitter and attach it to the case.
- Remember to keep the splitter parallel to the case.
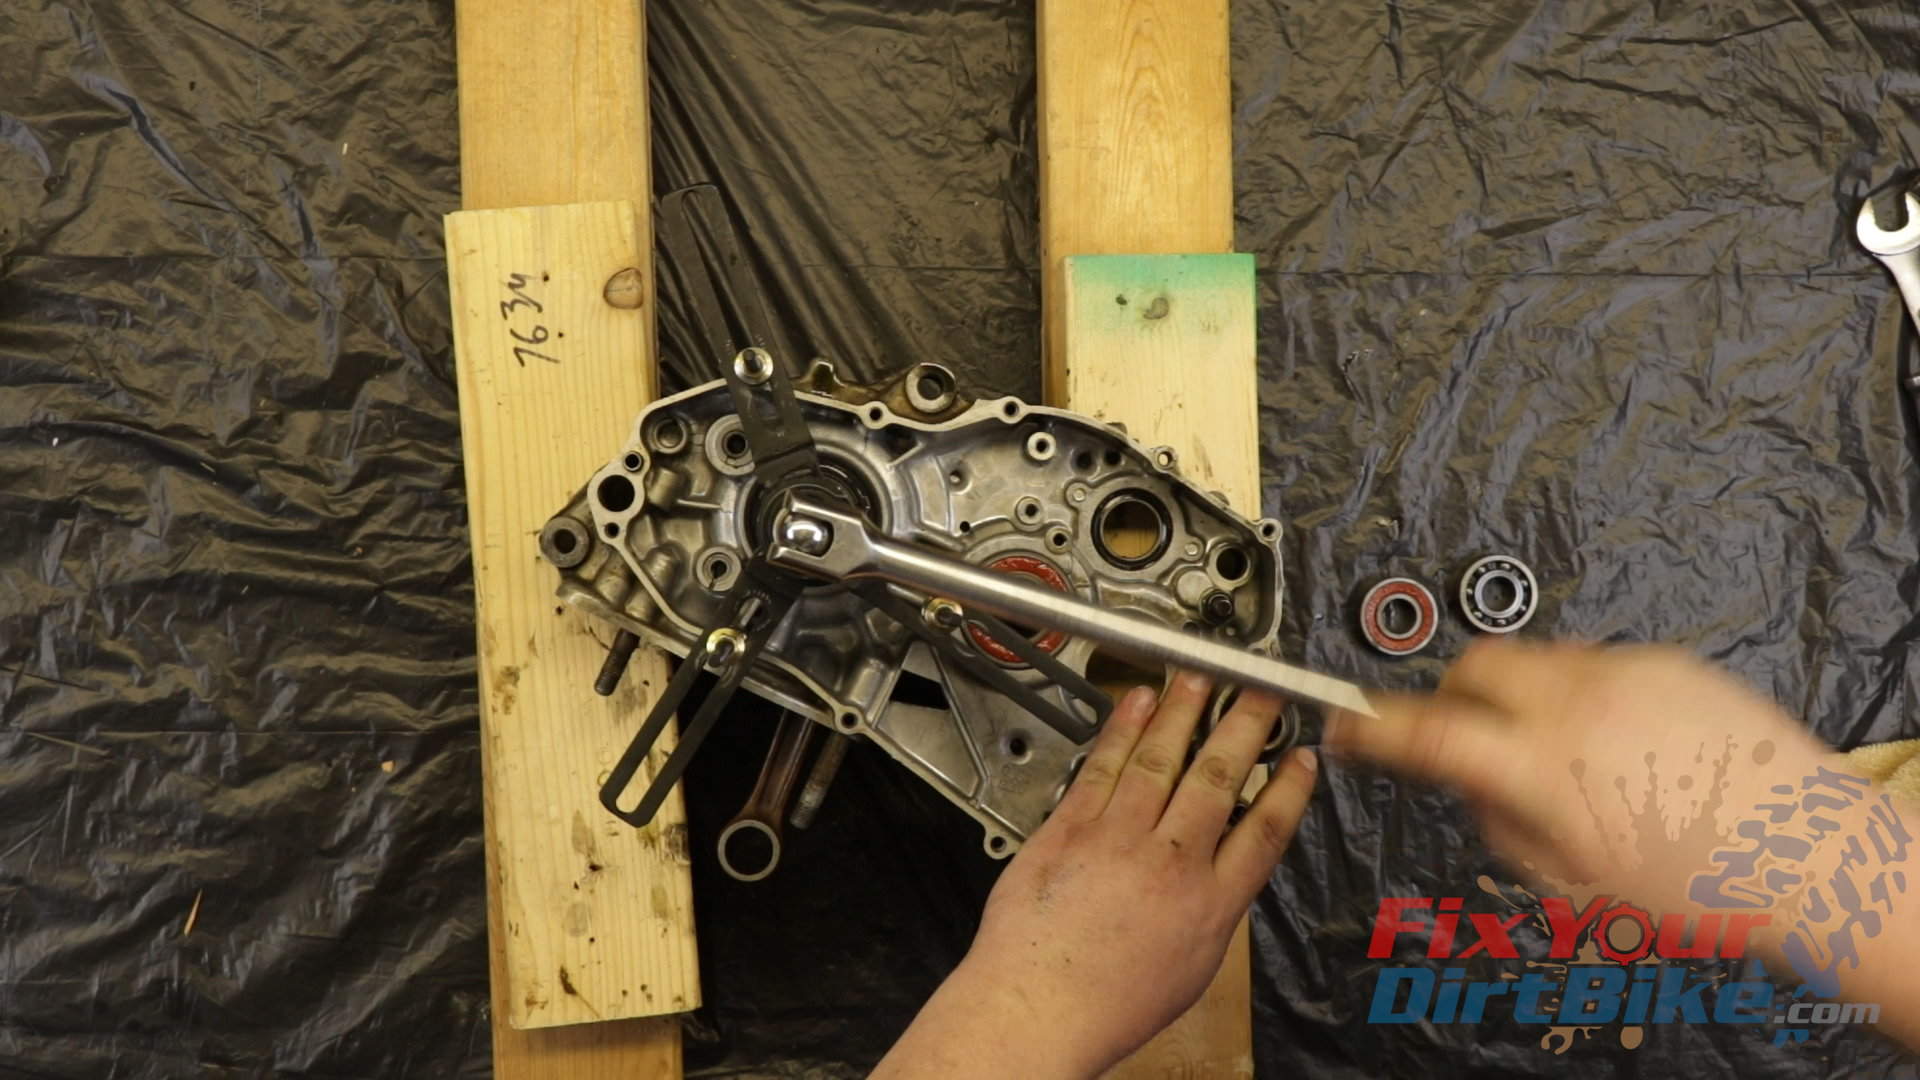
- Begin tightening the splitter nut.
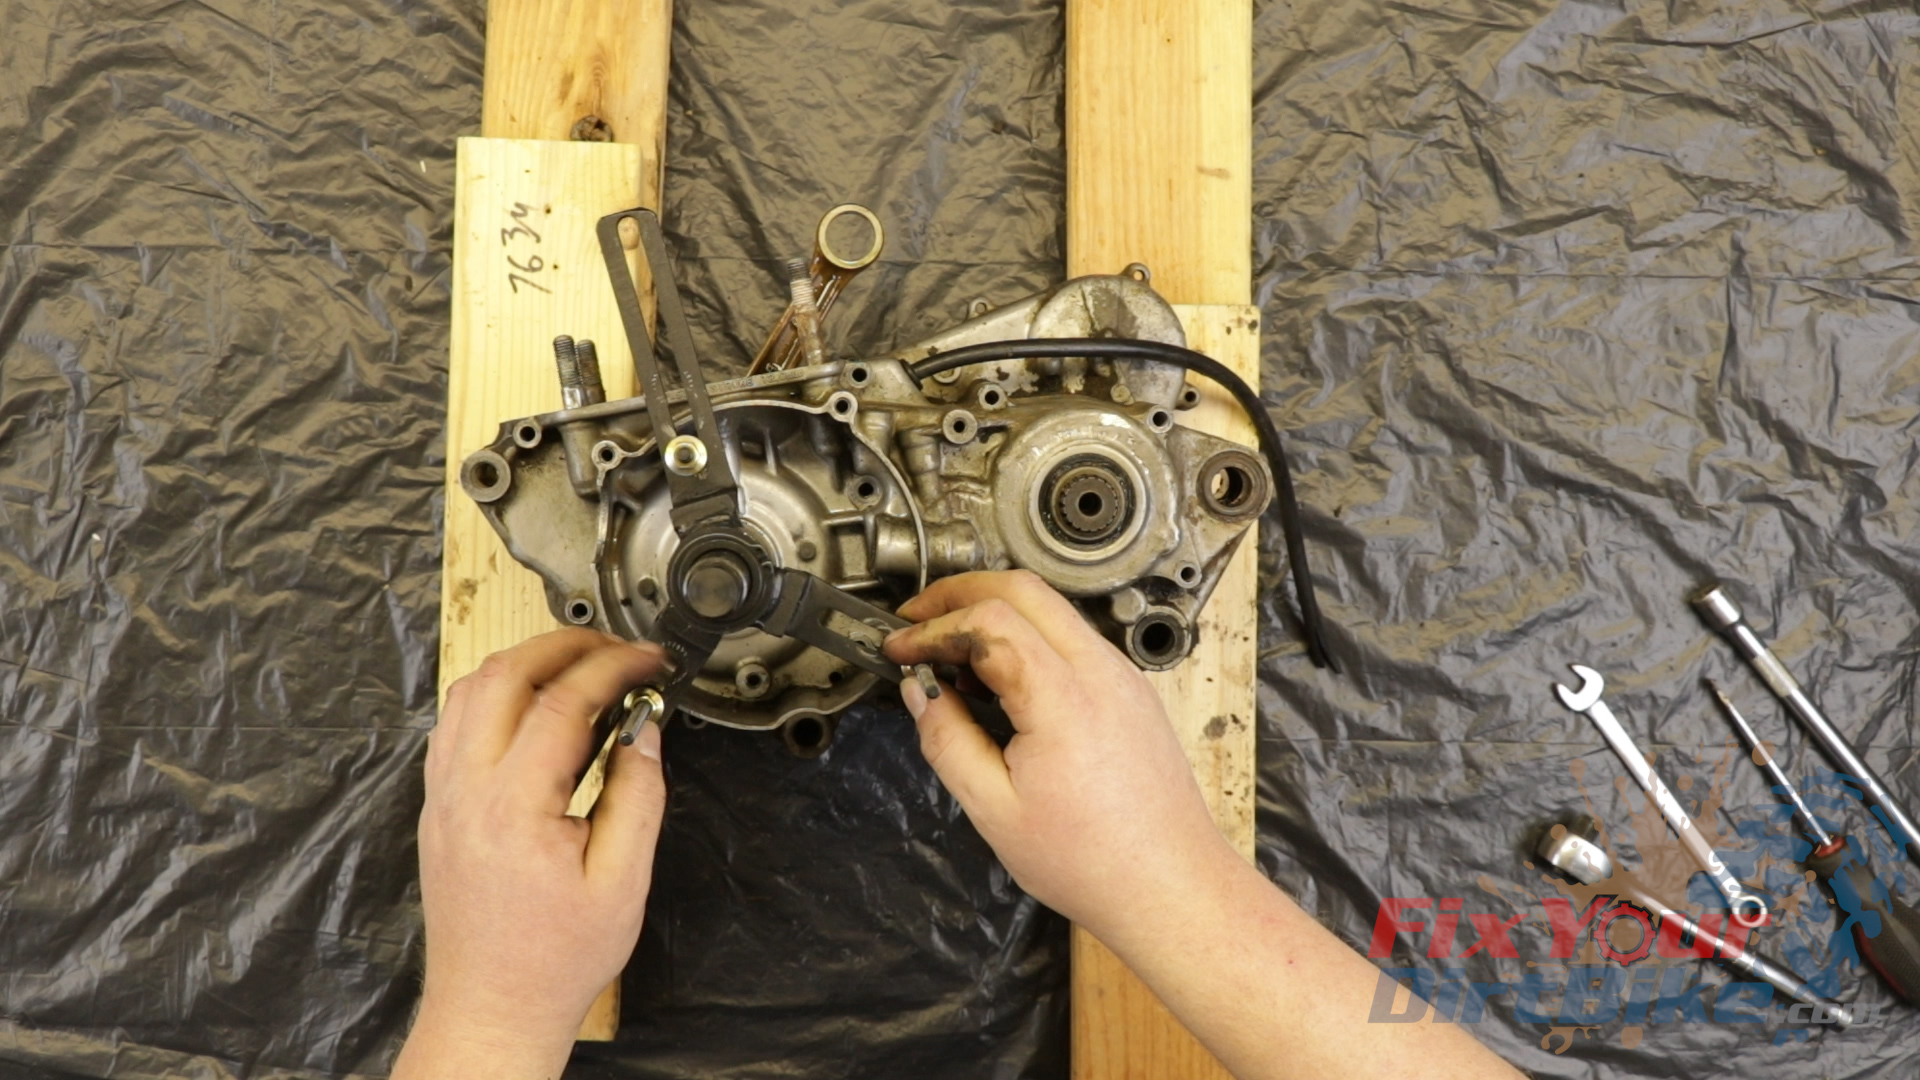
- After every turn, firmly tap the case seam with a rubber mallet. Make sure to check the case gap frequently. Ifif the case is separating unevenly, back out the splitter nut to remove pressure from the case. I had to tap aggressively on the front of the case where a dowel had seized.
- Remove the two alignment dowels, o-ring, and gasket material with the cases separated.
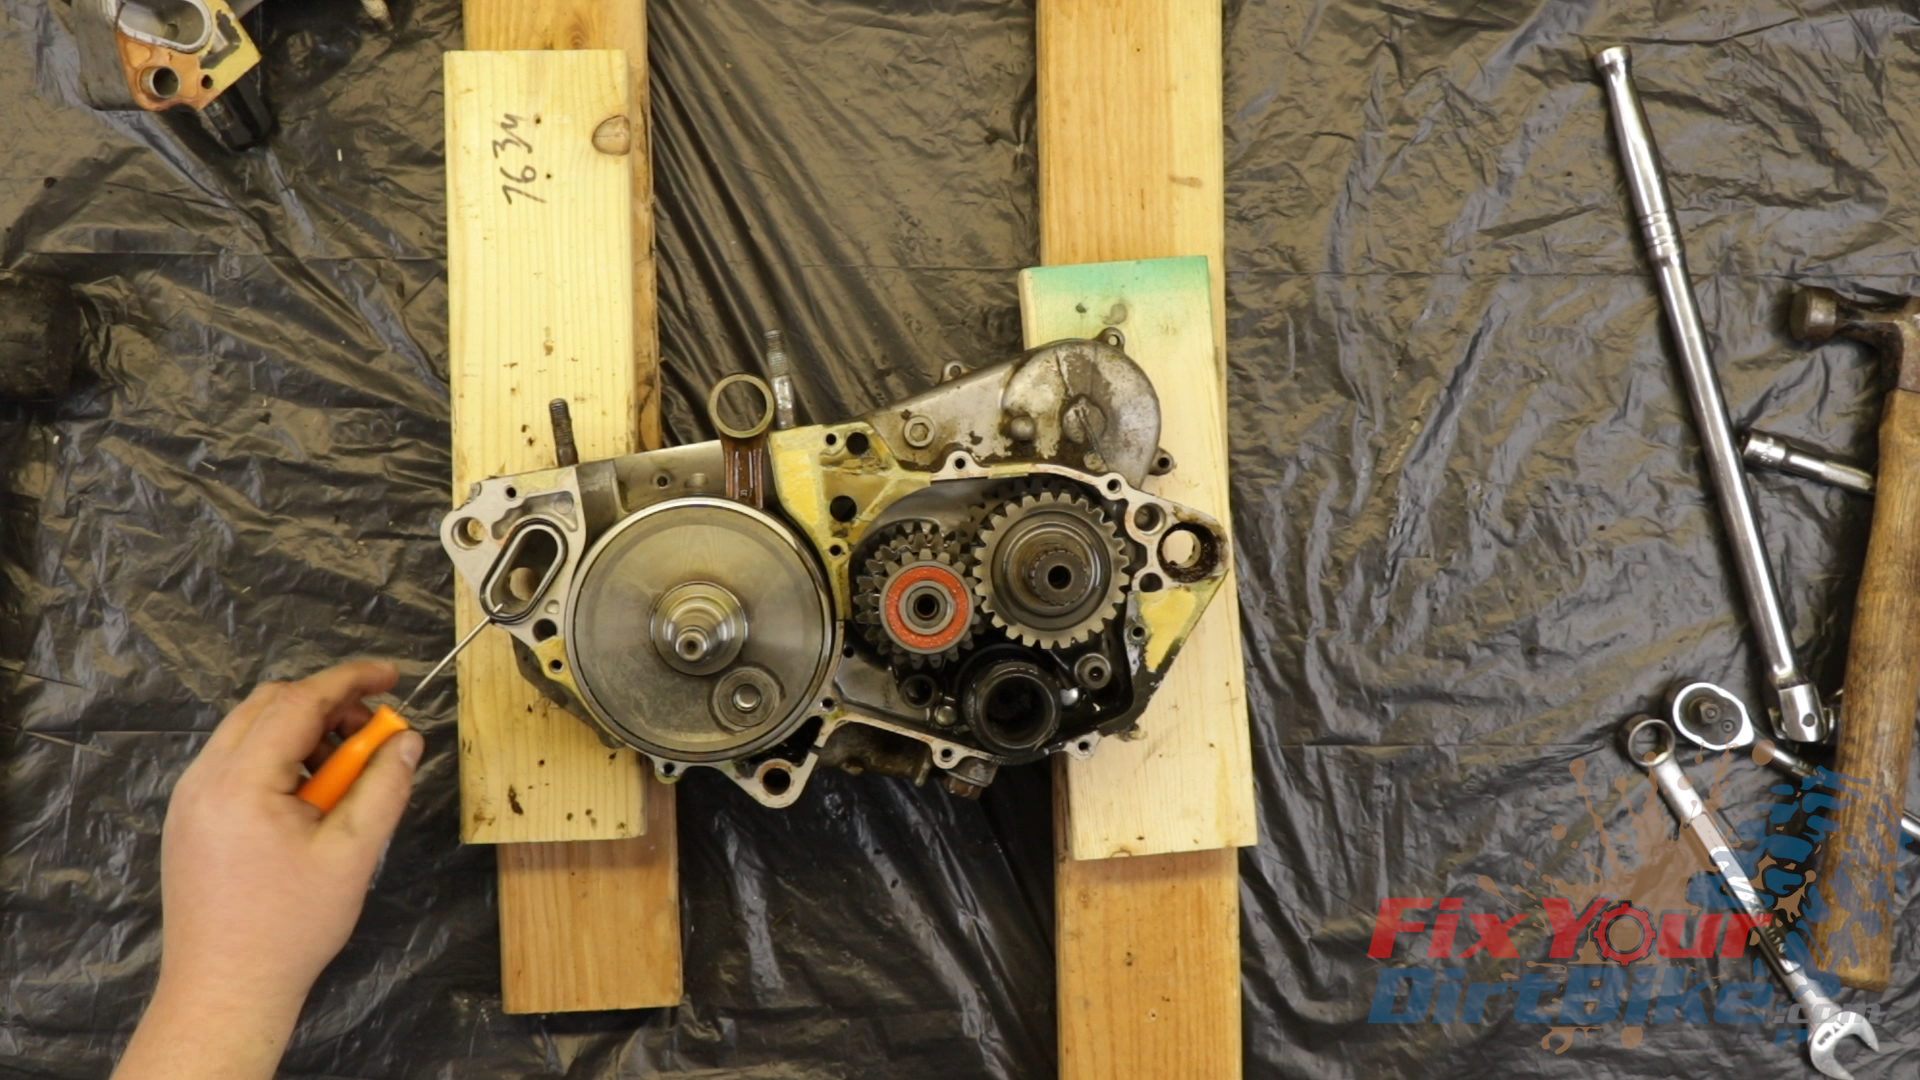
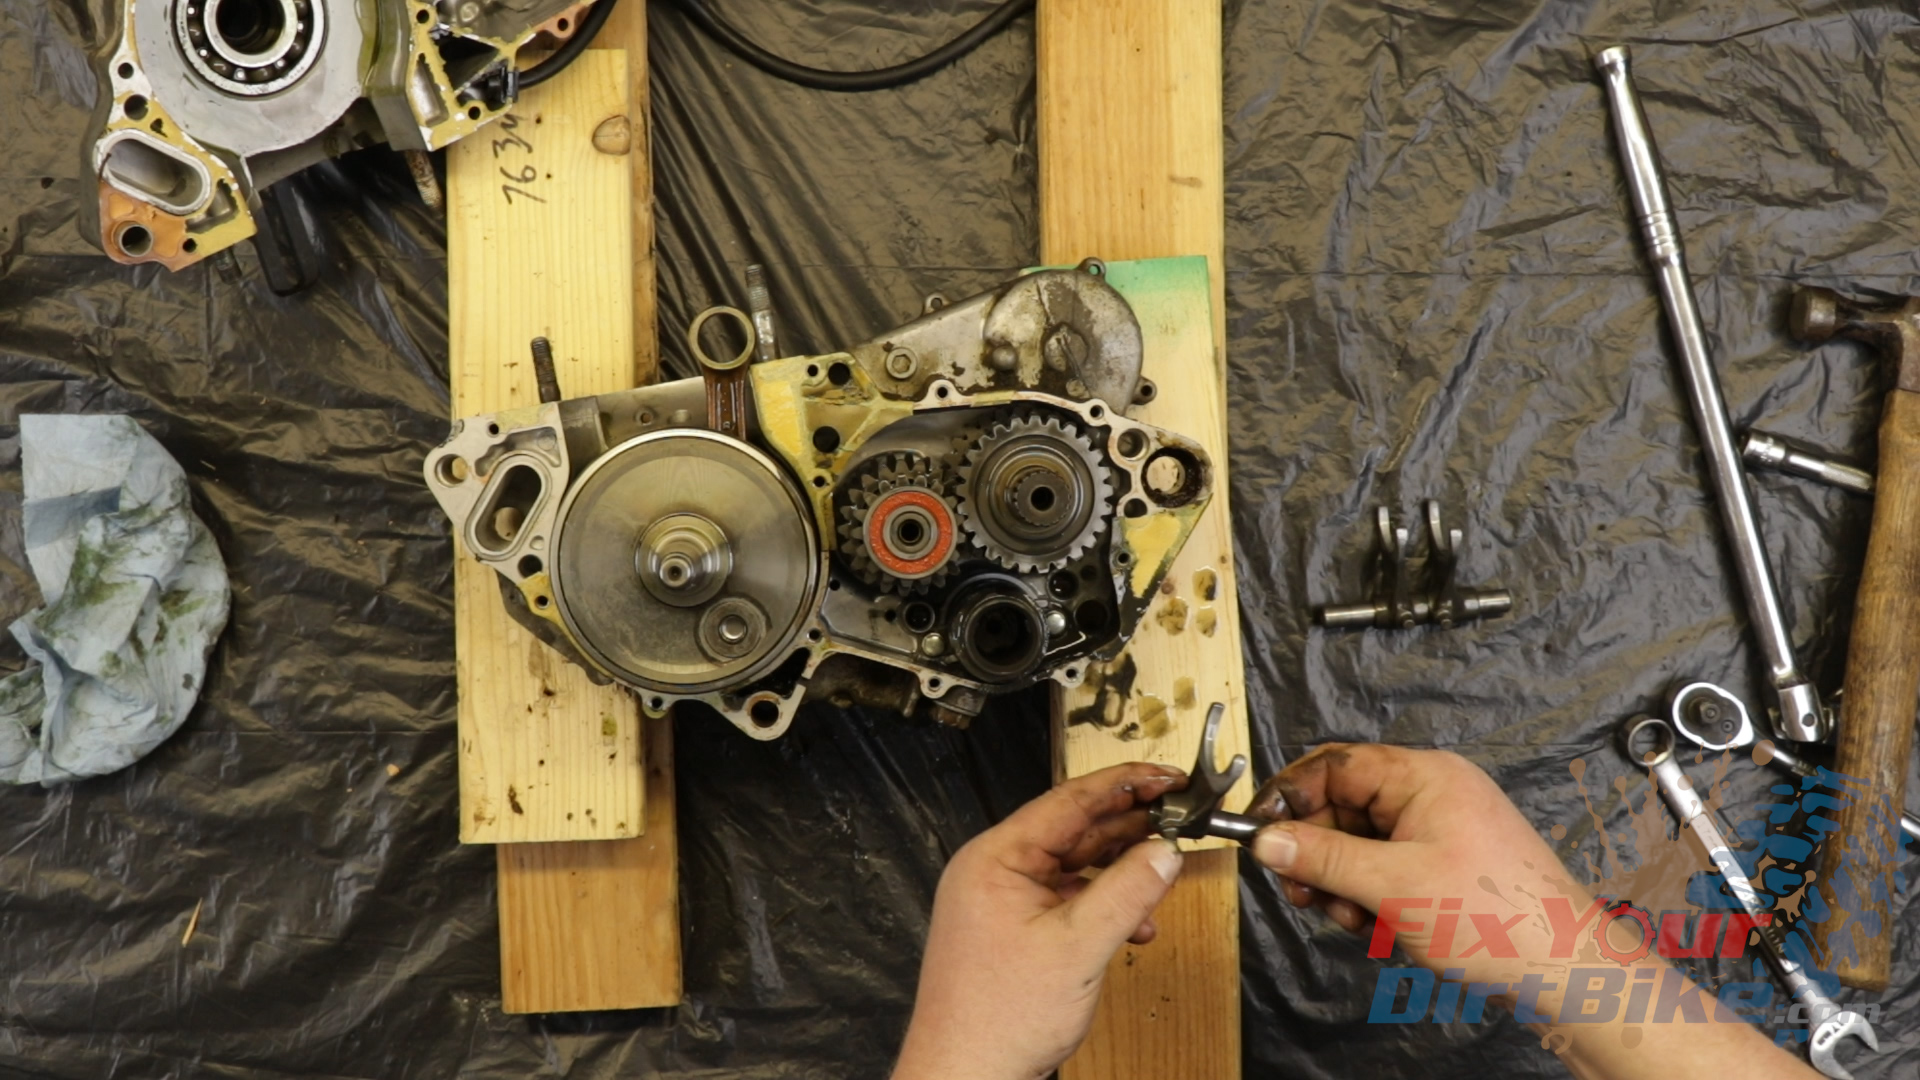
Transmission Removal
- Take every precaution you can when handling the transmission. Keep it oiled, wrapped, and clean at all times.
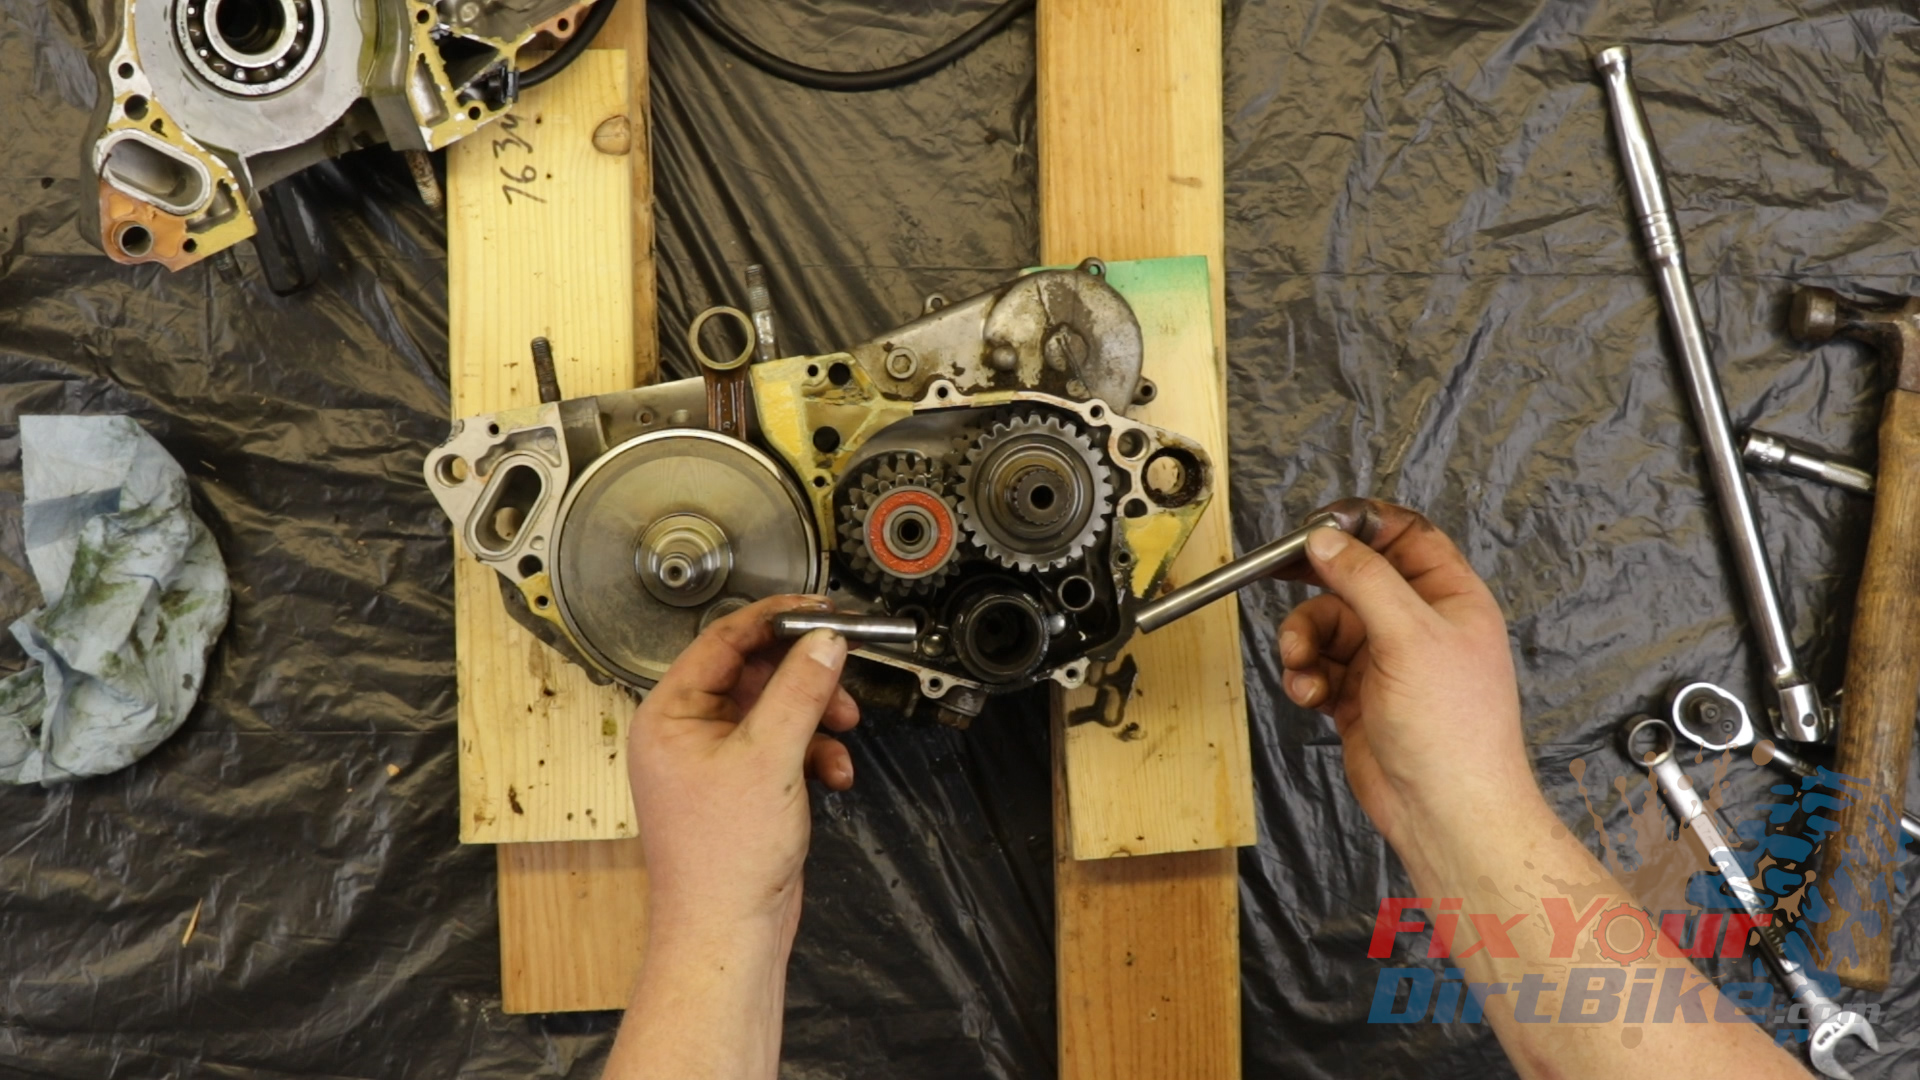
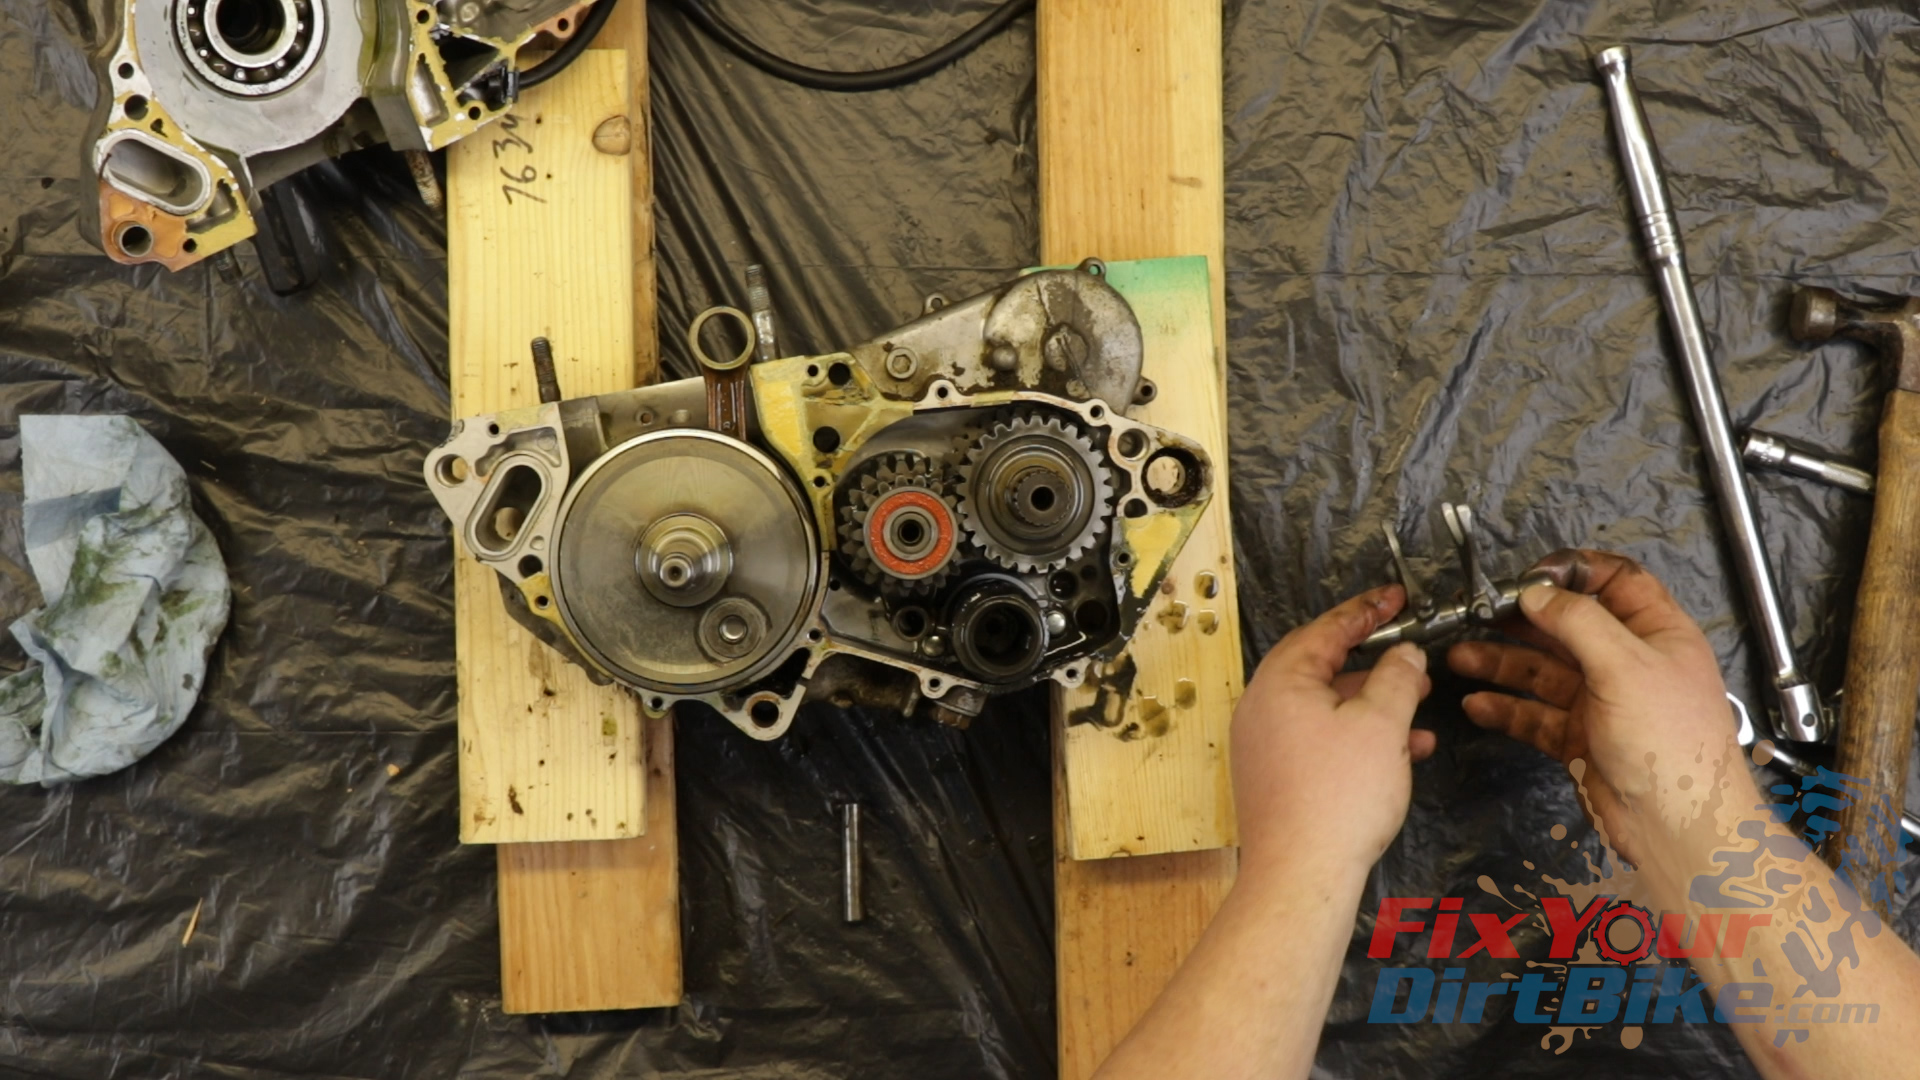
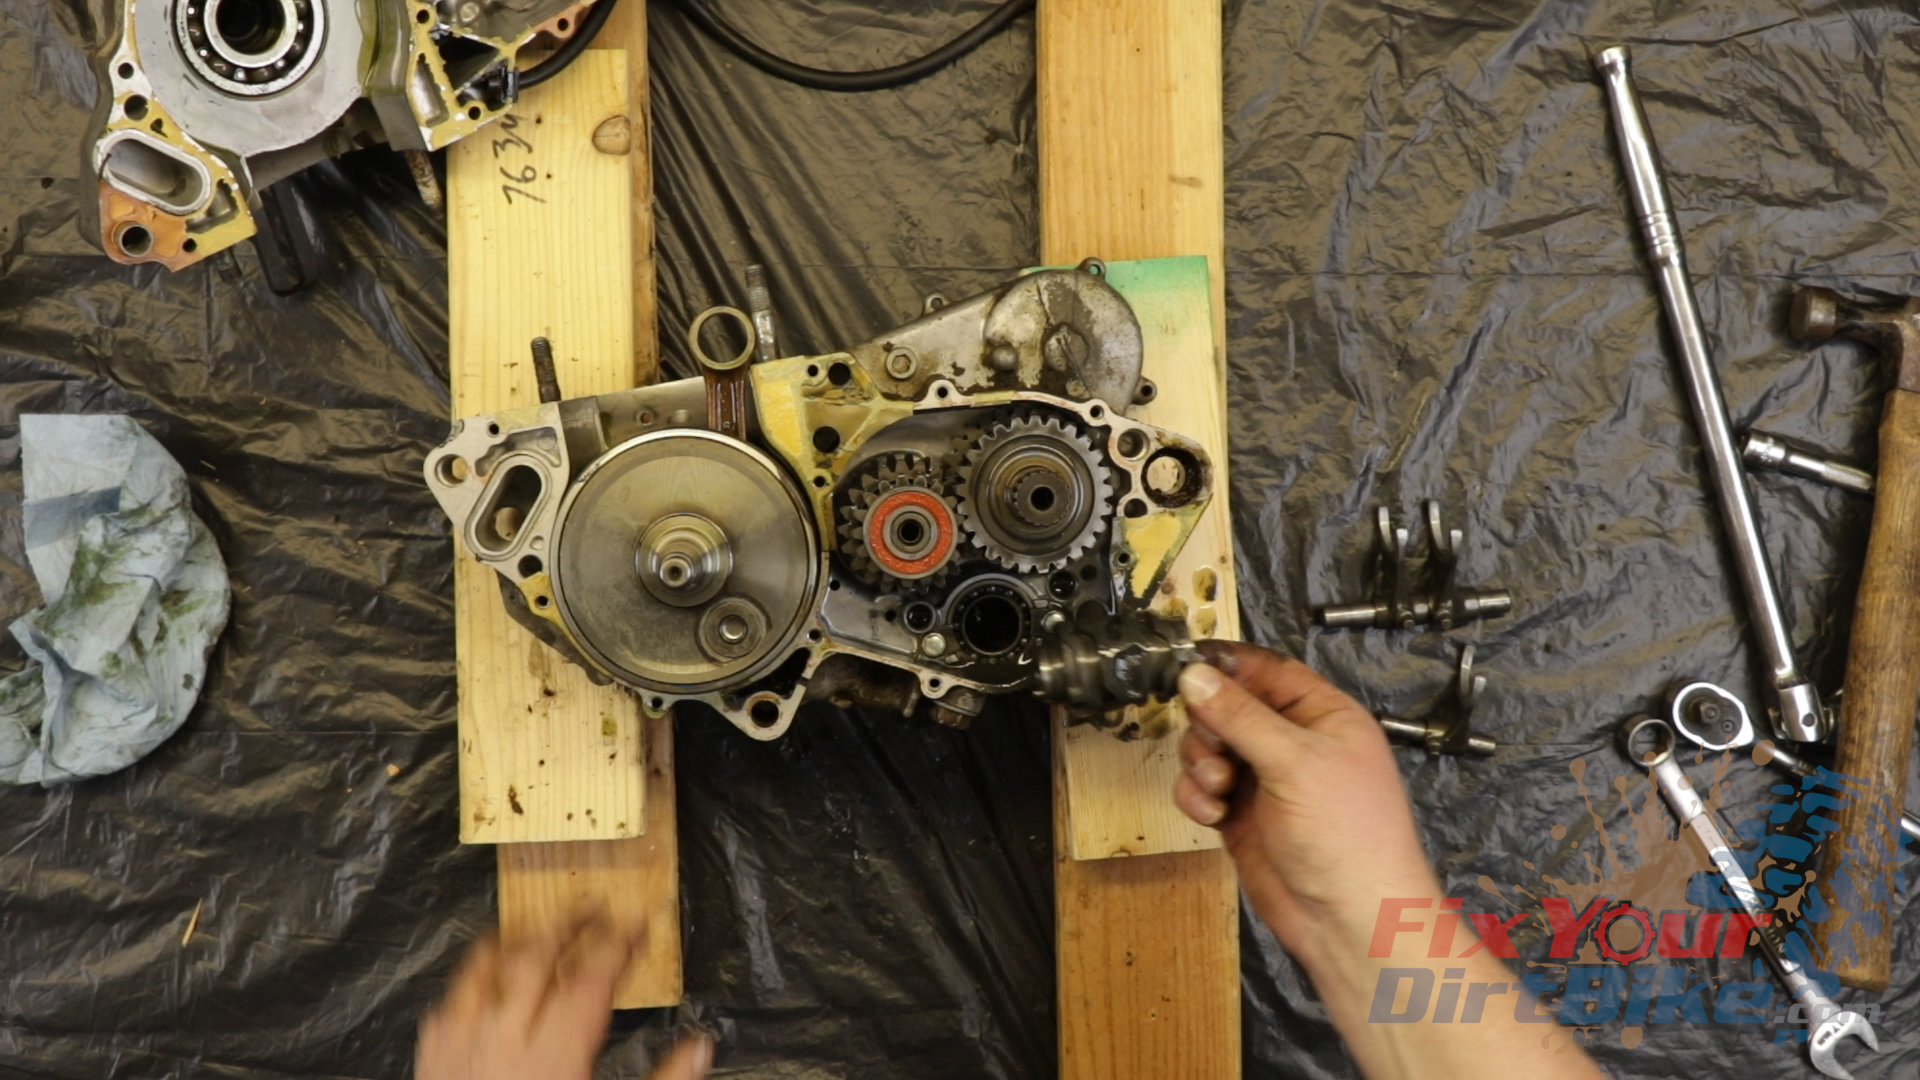
- Remove the two shift fork shafts and the shift drum and forks.
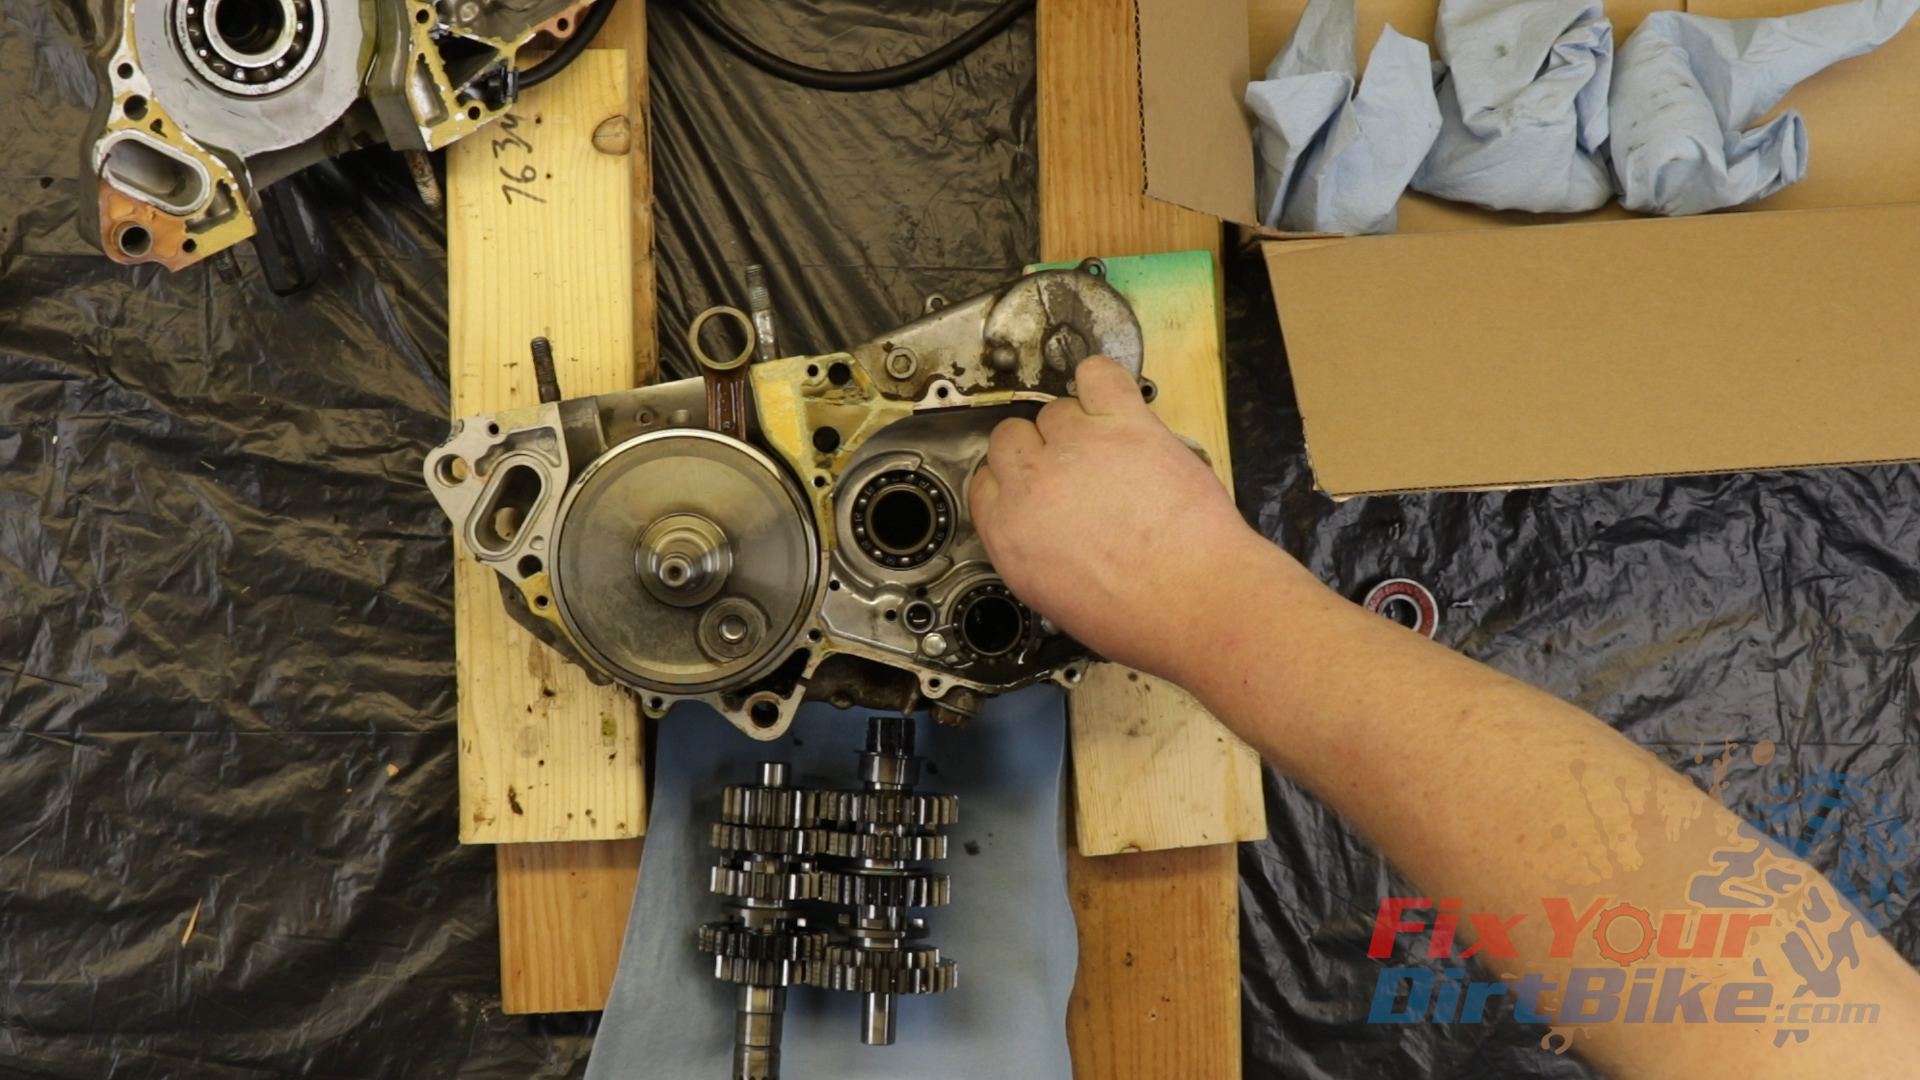
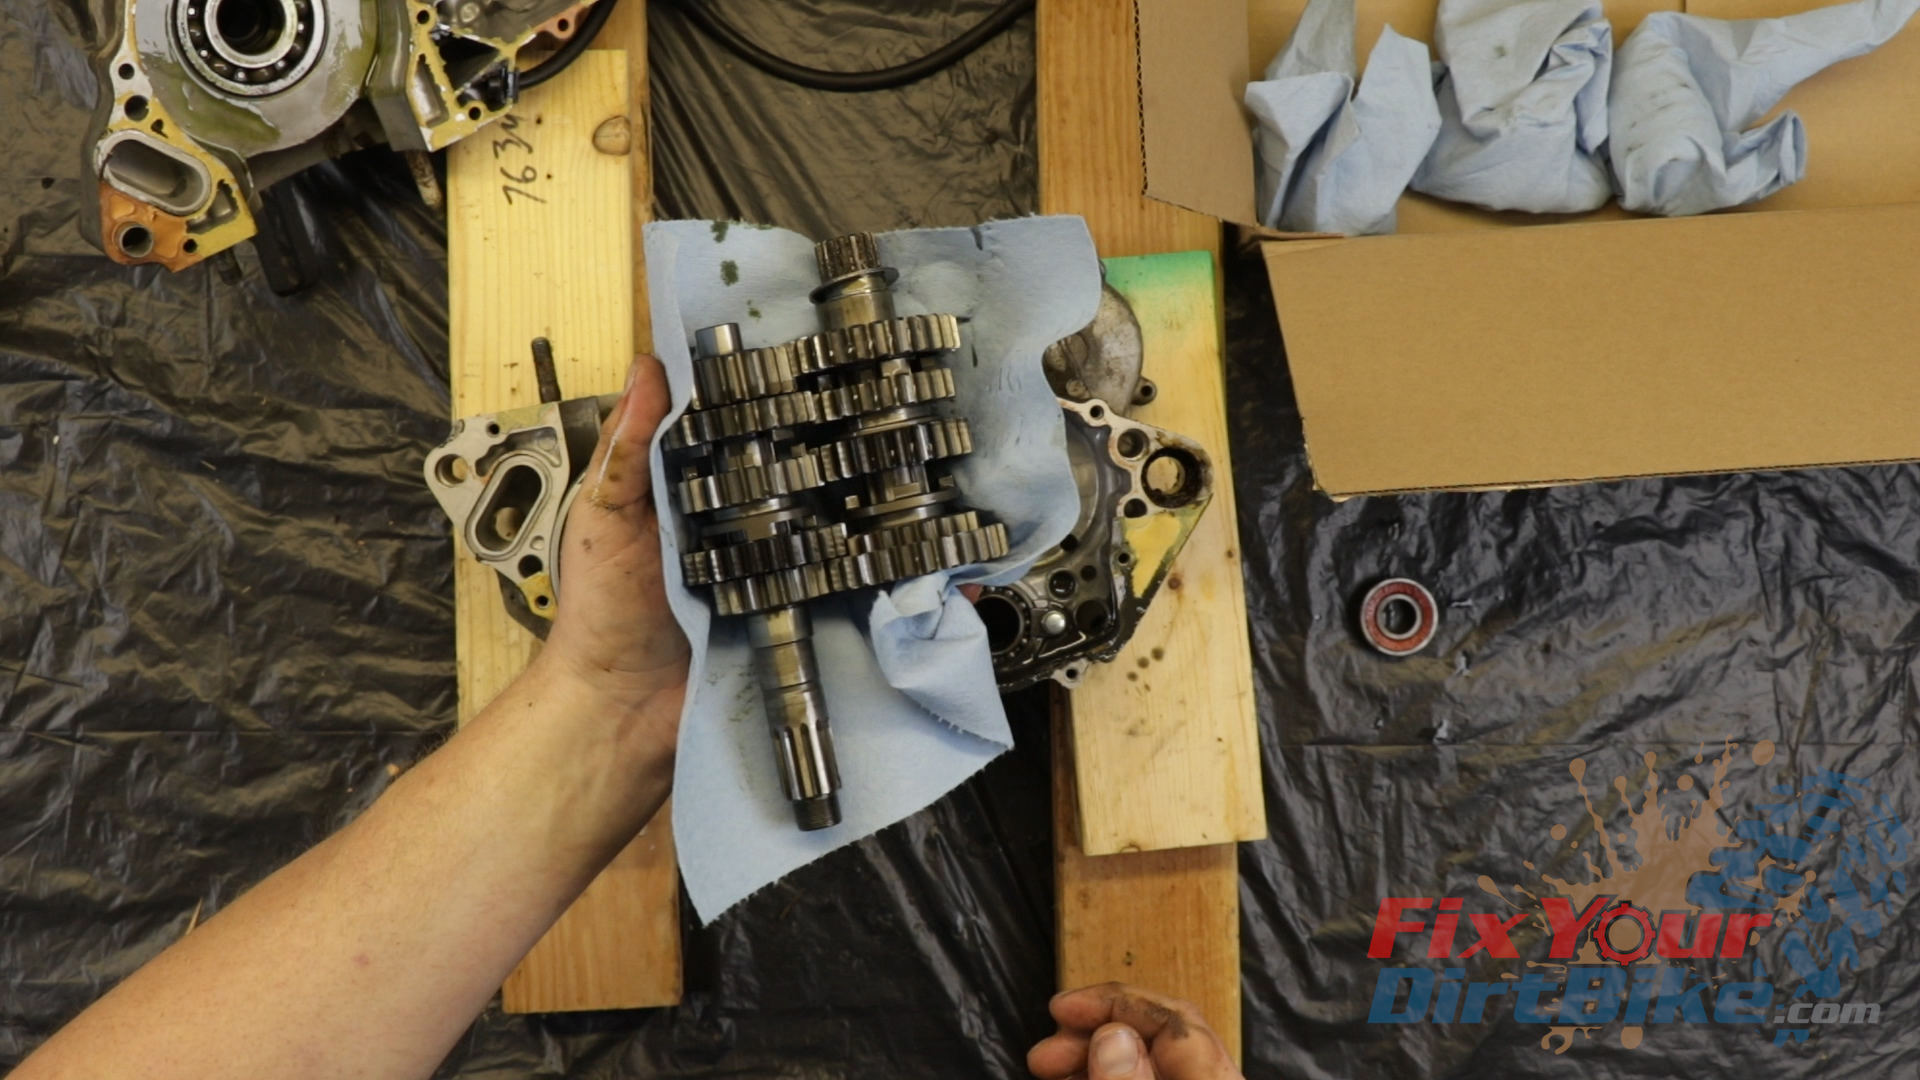
- Remove the main shaft and countershaft, keeping the gears meshed.
- Wrap the assemblies in a towel and set them aside.
Crankshaft Removal
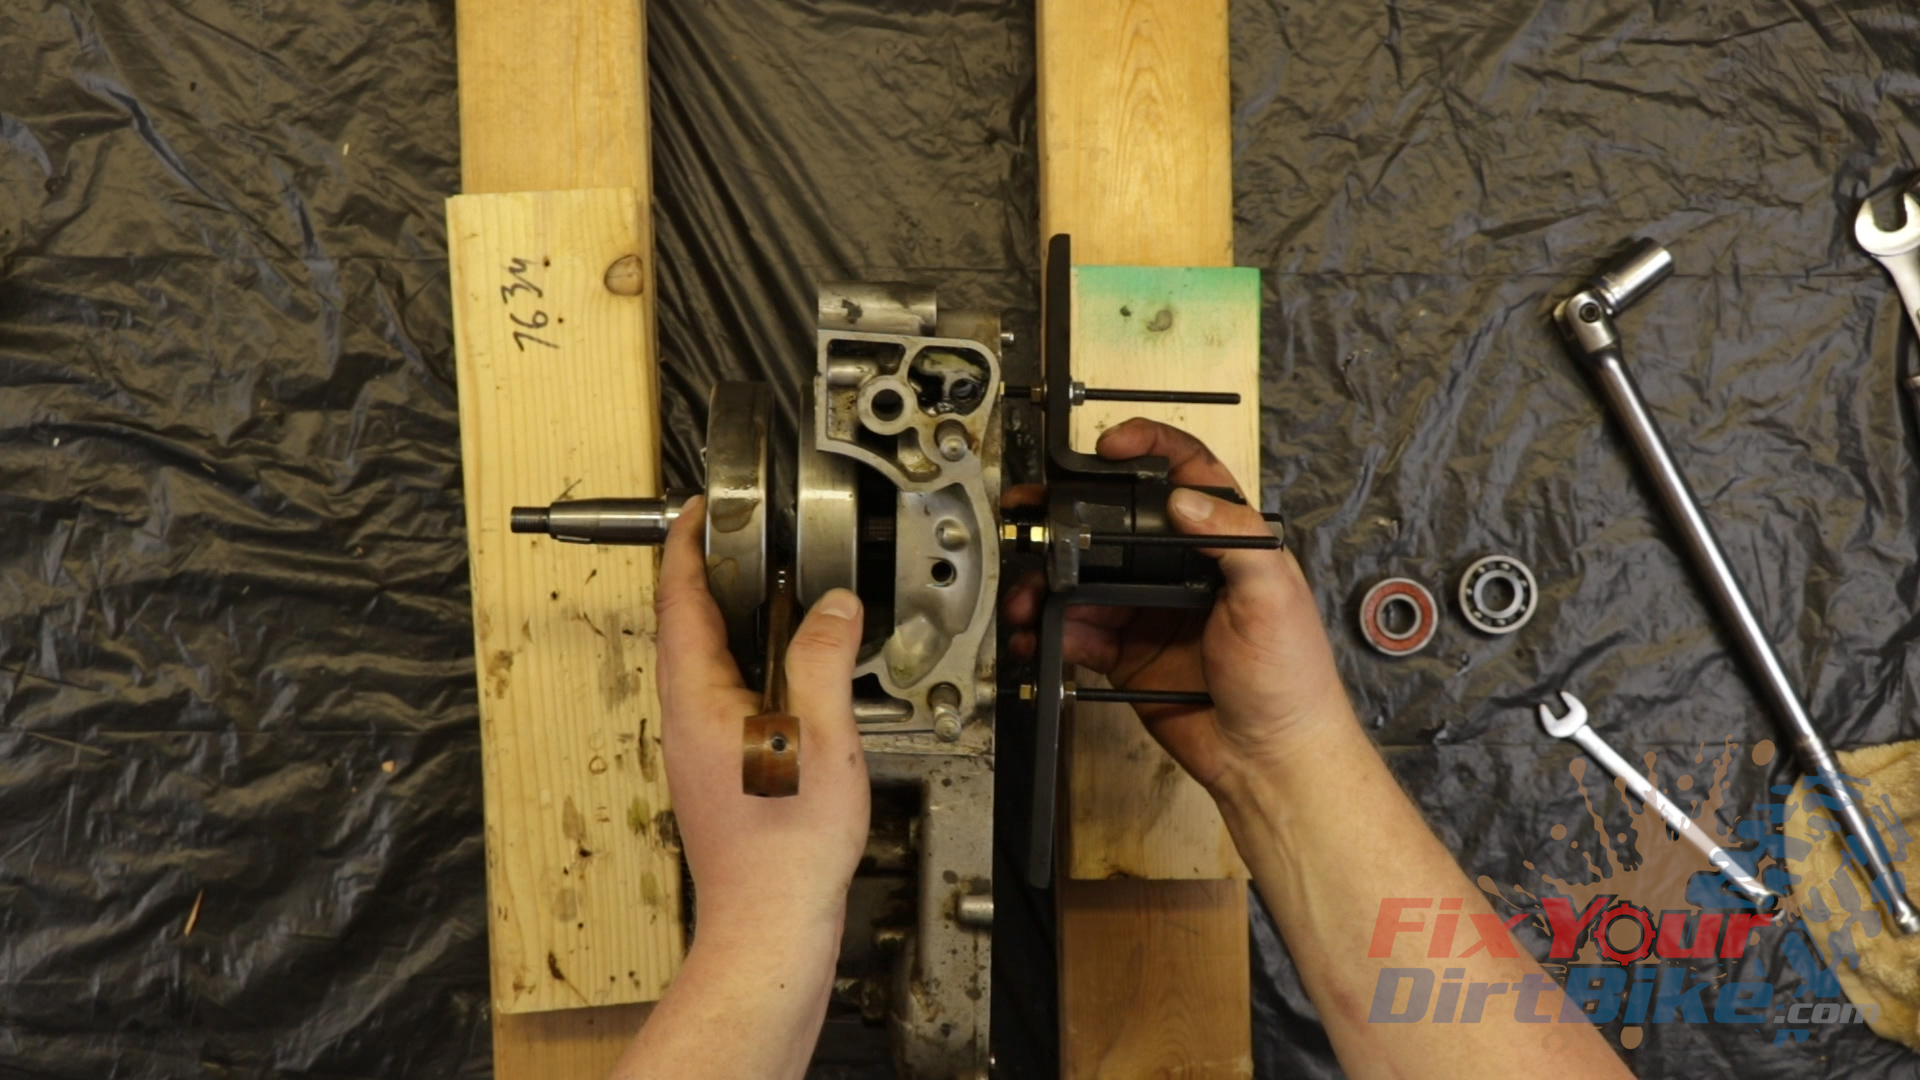
- Flip the right crankcase so the outside faces up, and place a layer of towels under the crankshaft. Attach the crankcase splitter with WASHERS… and press the crankshaft out of the case.
- Again, remember to keep the splitter parallel to the case.
- If your main shaft bearing comes out with the crankshaft, yomustto use your bearing splitter to remove the bearing from the shaft.
Clean & Inspect
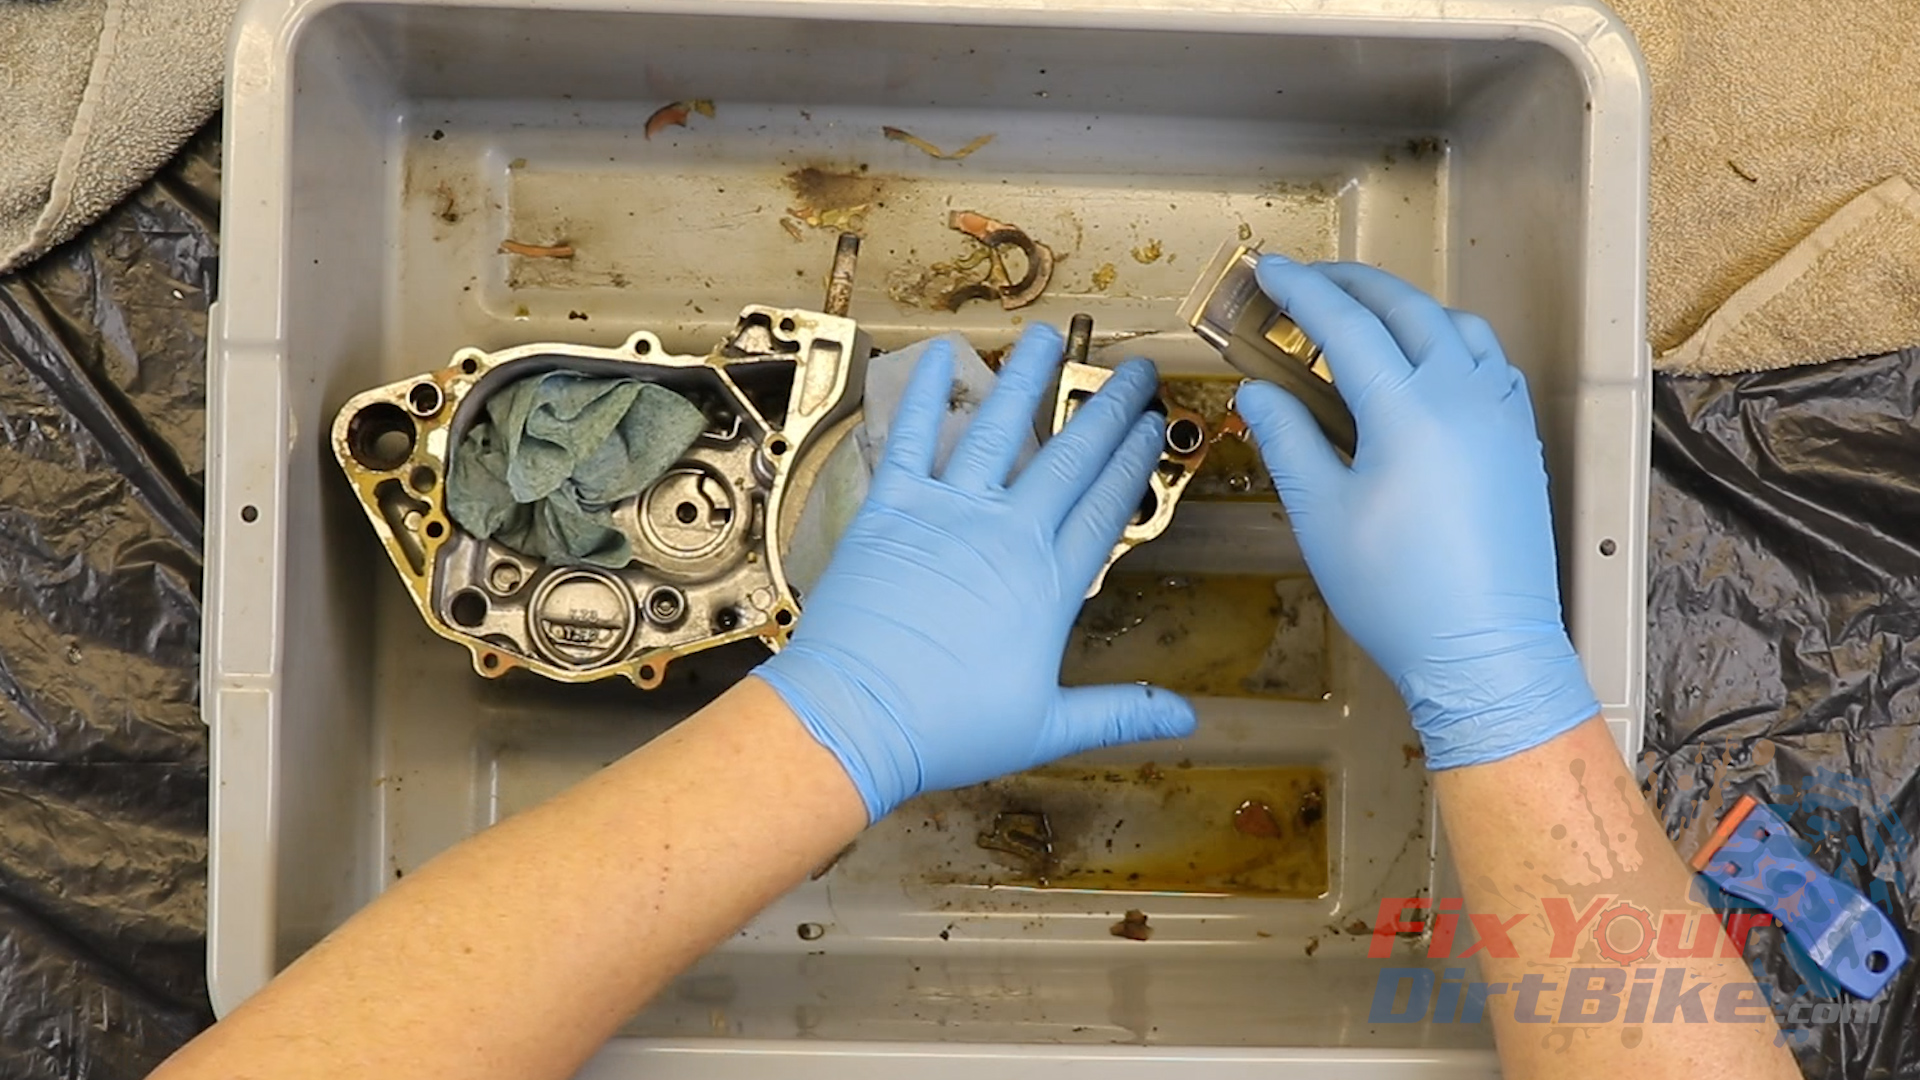
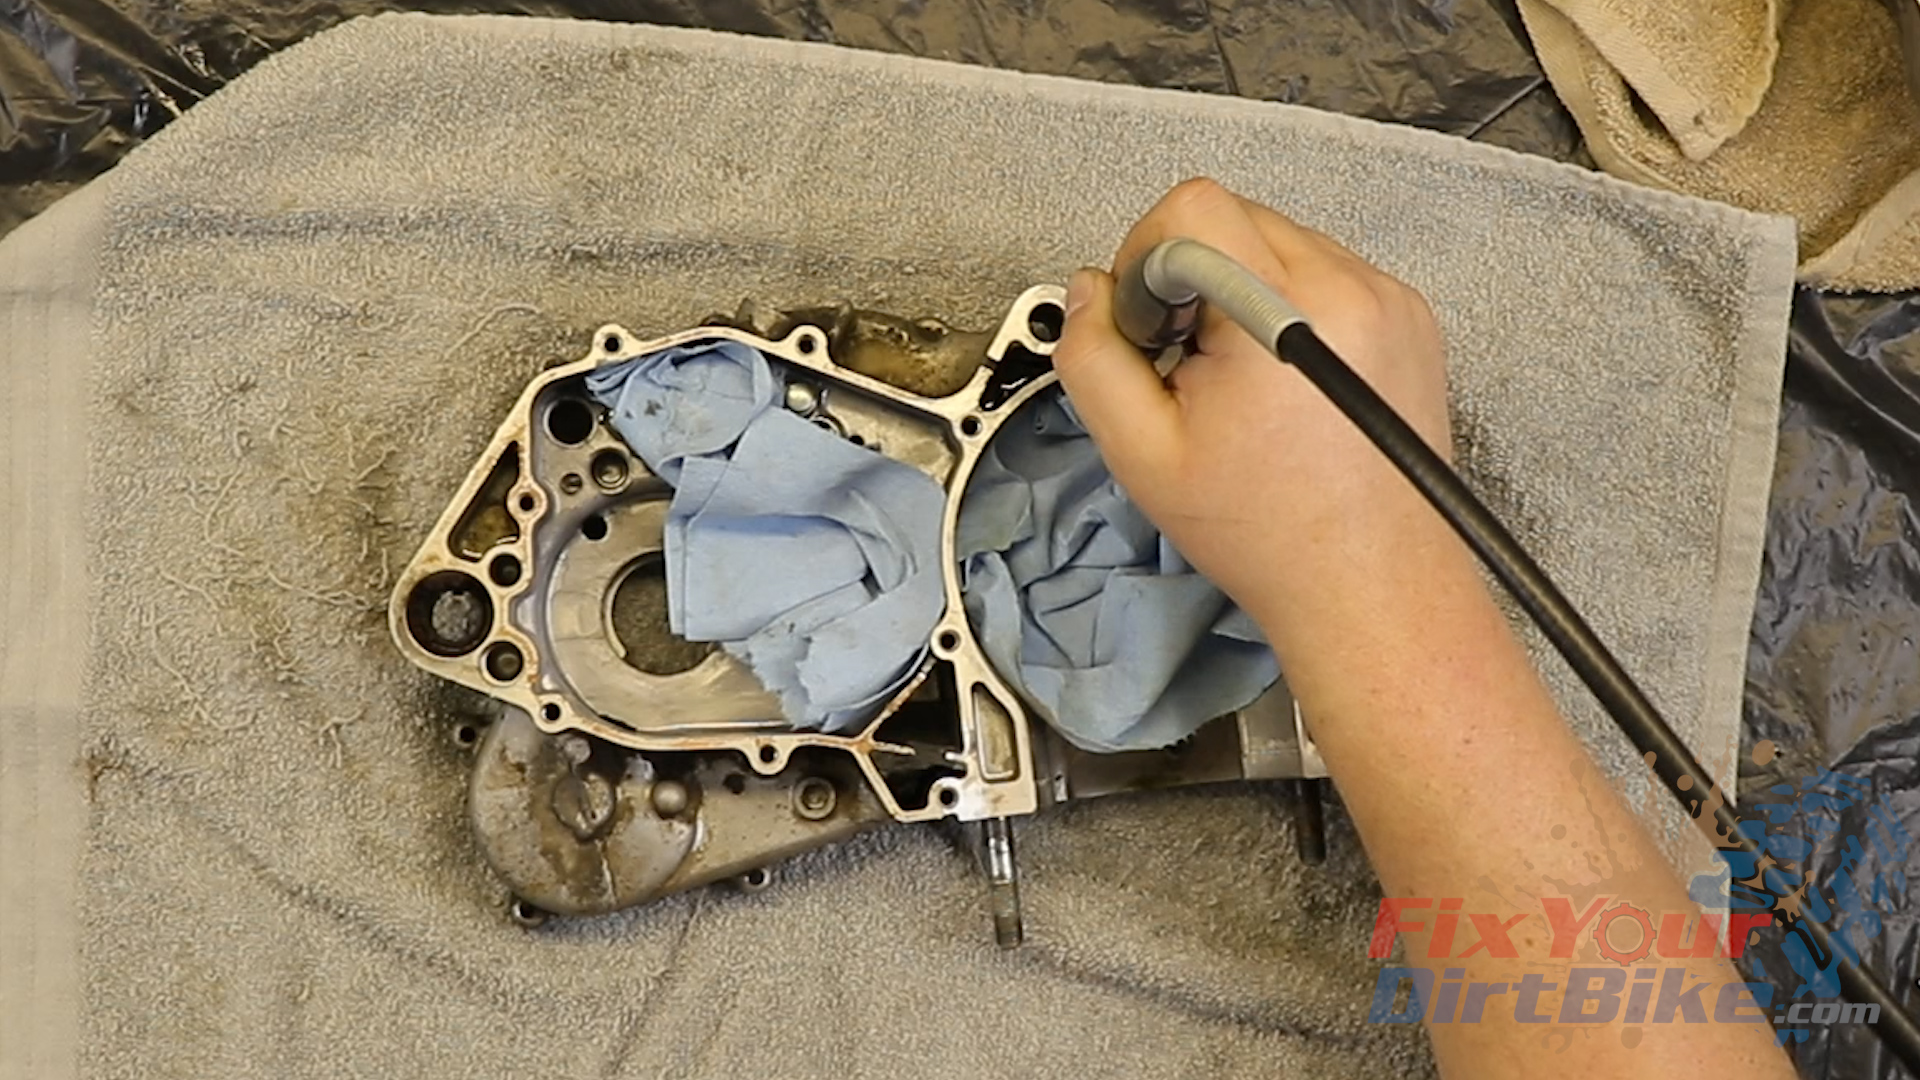
- The mating surfaces must be spotless and smooth to ensure a tight seal. Remove all gasket material from the mating surfaces with part cleaner and a plastic scraper. With the big pieces gone, move on to the tough spots with a flat razor, taking extra care not to gouge the surface.
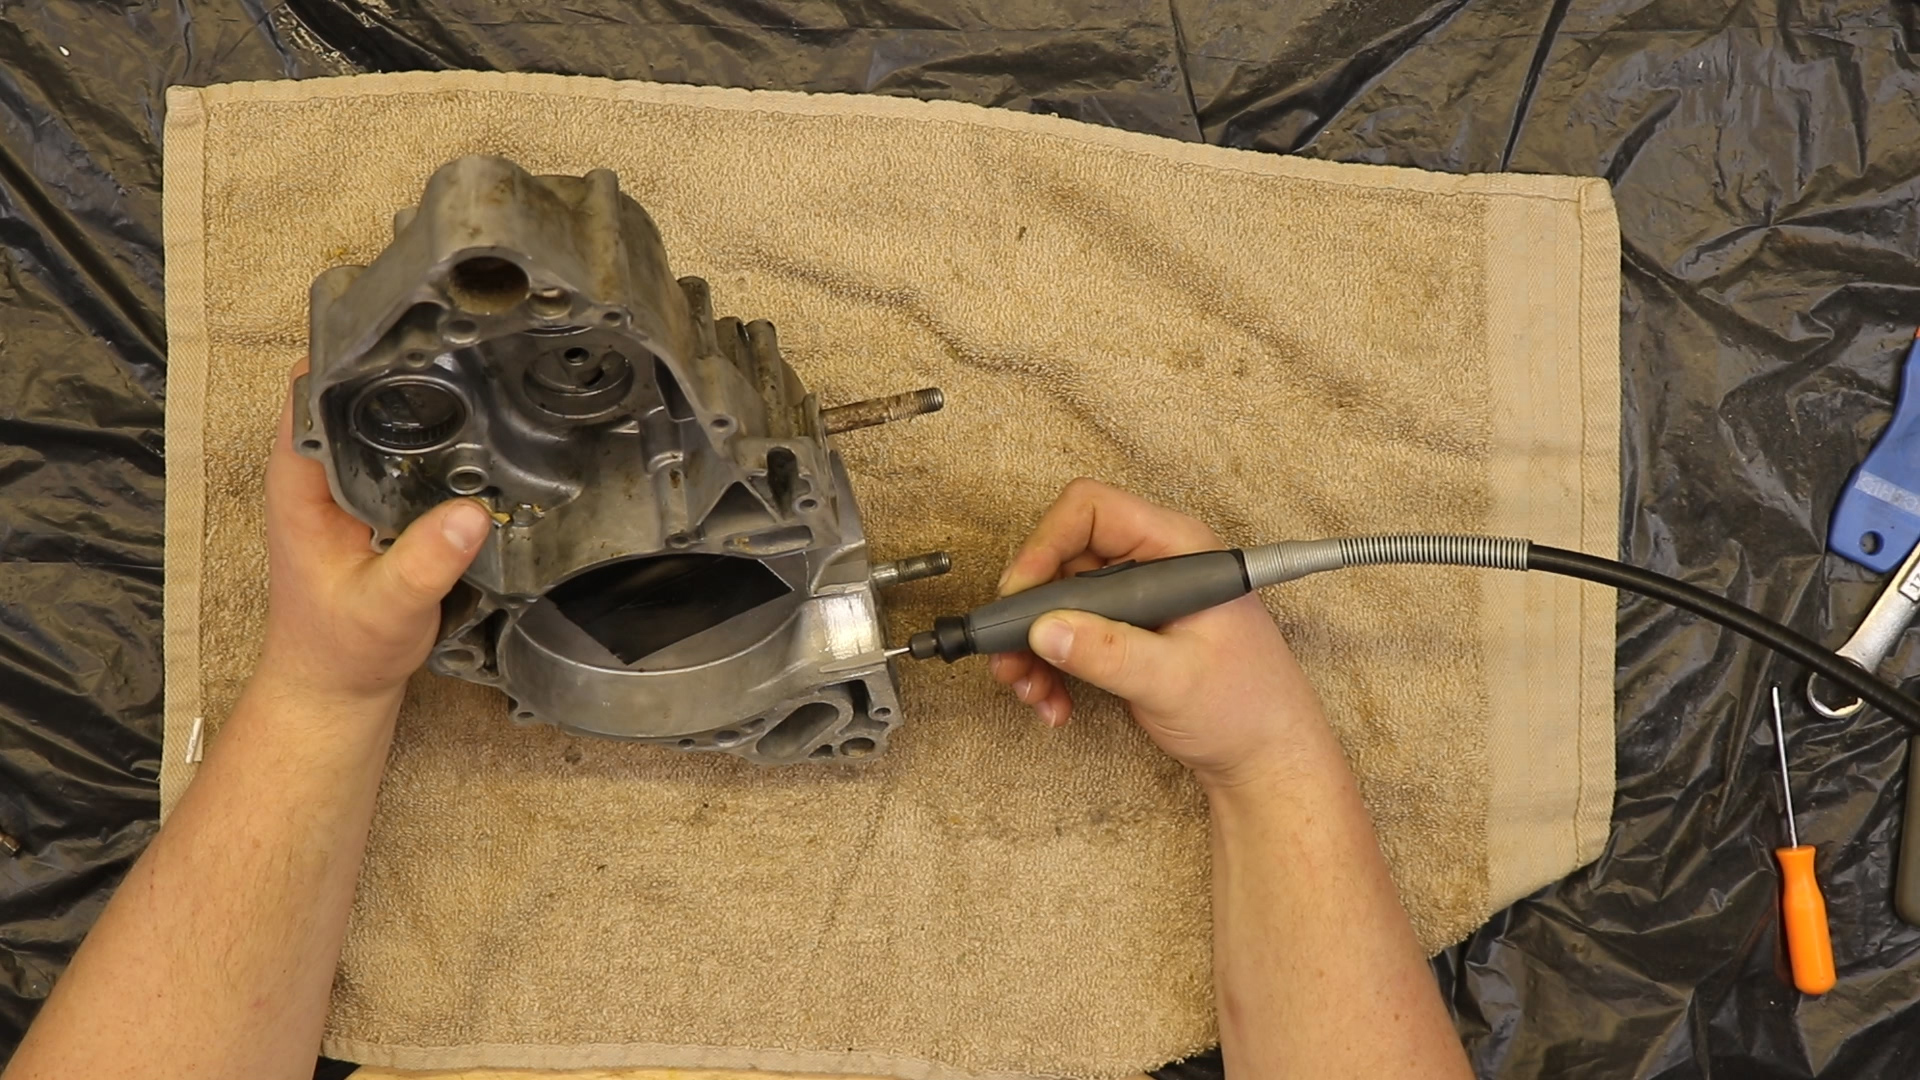
- With all the gasket material gone, give the surface a once-over with a fine-grit sanding disk. If you don’t have a Dremel, 600-grit emery paper will work just fine. When you are done, you want to have a smooth, almost mirror-like finish.
- This case has quite a few rough spots left over from casting. I have the equipment and the time, so I will smooth those out while I have the opportunity.
 Related: How to service the rear swingarm bearings on your 97-01 Honda CR250.
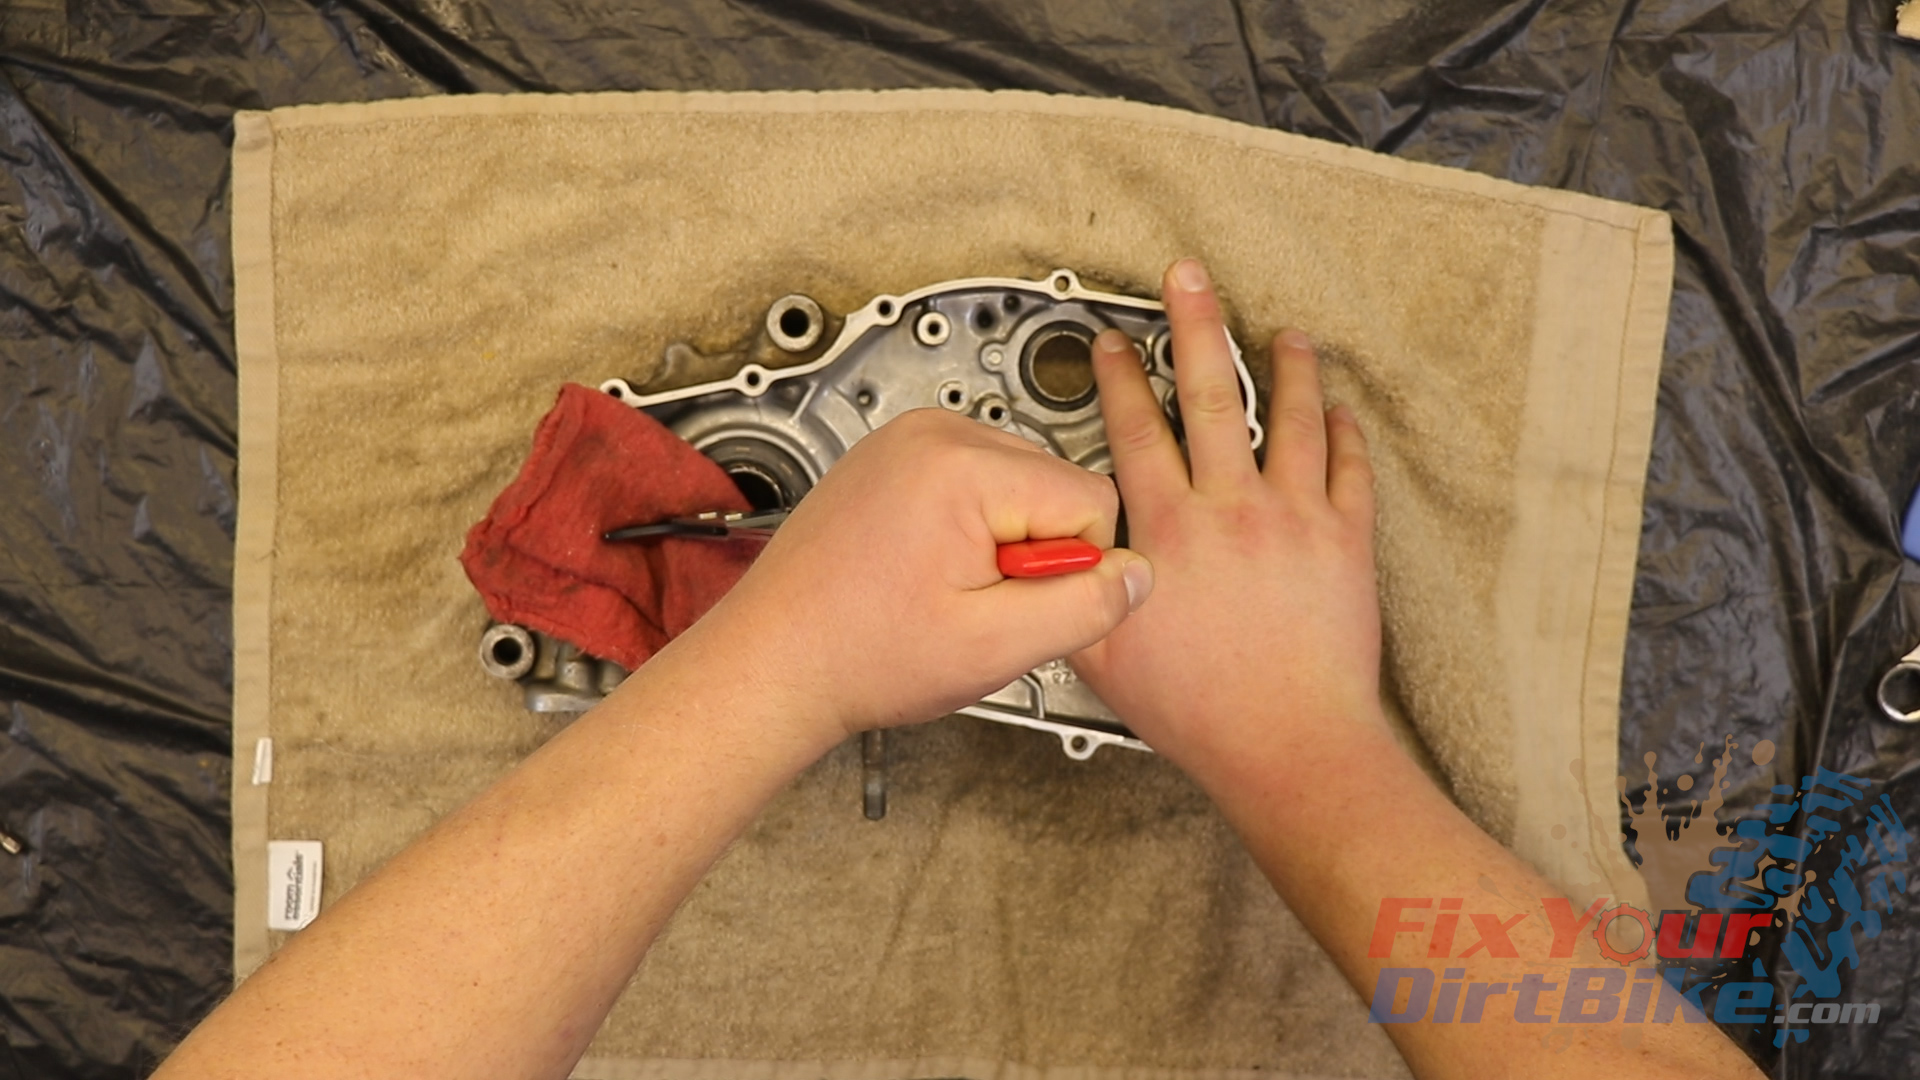
Remove Seals
- Remove the oil seals from the crankcase. Make sure to use a towel to protect the body.
- Thoroughly wash the crankcase with water and solvent, dry it thoroughly with compressed air, and coat it with WD40.
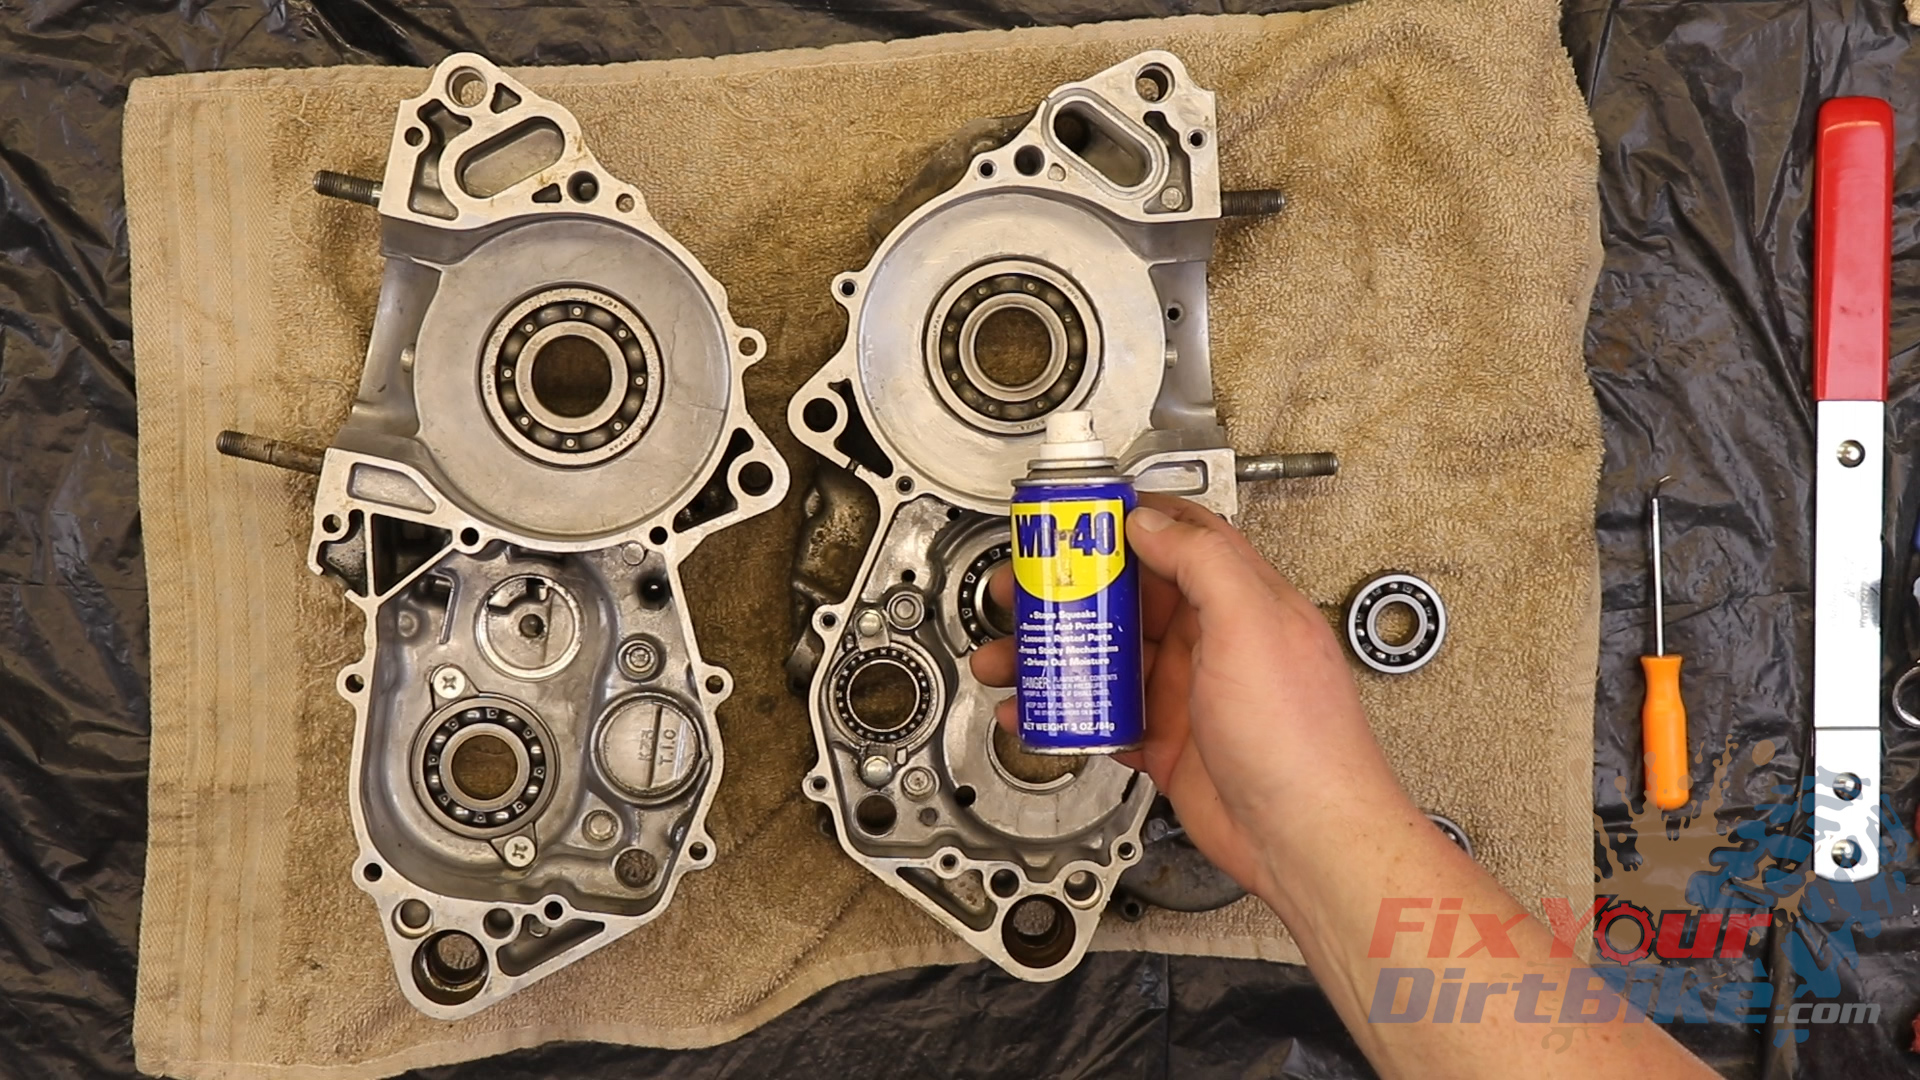
Inspect
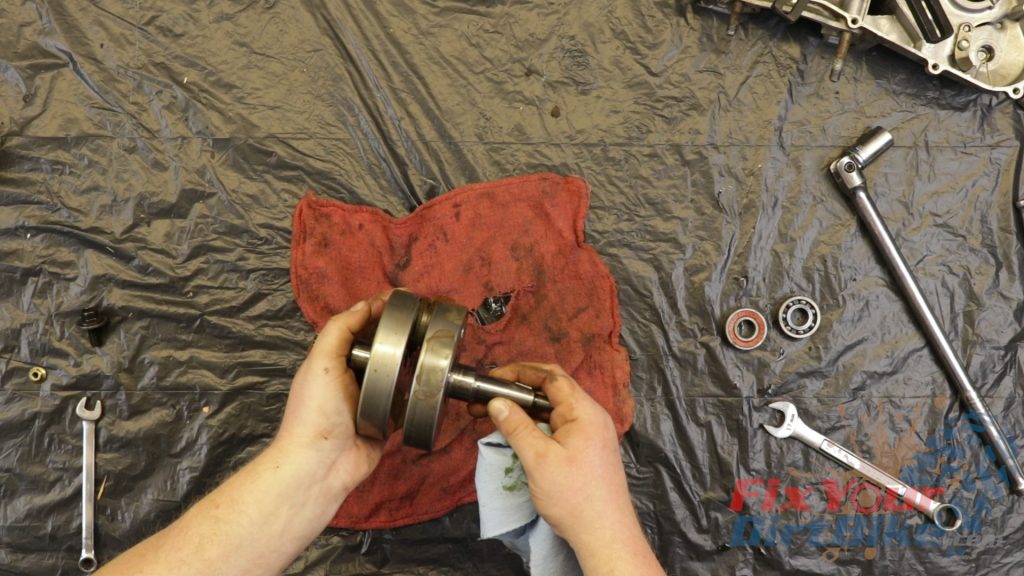
- With your case clean and shiny, check for any unusual wear or cracking. Inspect the crankshaft for cracks, rubbing, pitting, and heat damage.
- Check the connecting rod for play.
- If something doesn’t look right, take your crankshaft to a machine shop or dealership to have the runout and connecting rod radial clearance checked.
- This crankshaft is nonrepairable; if it is out of spec, you must replace it entirely.
Keep Your ’97-’01 CR250 Running Right!
- Service Specification
- Clutch Replacement
- Carburetor Service
- Engine Top End
- Engine Bottom End
- Brakes
- Exhaust
- Front Suspension
- Rear Suspension
- Wheels & Tires
- Kickstarter Inspection
- External Shift Linkage


