
How To Rebuild The Rear Shock Absorber On Your 2009 – 2010 Honda CRF450R
 The Tools You Will Need Are
- Bladder Removal Tool
- Seal Bullet
- Seal Head Setting Tool
- Schrader Valve Core Tool
- Punch
- Mallet
- 17mm Wrench
- 17mm Socket
- 15/16th Wrench
- 15/16th Crow’s Foot Extension
- Flat Head Screwdrivers
- Bench Vise
- Flat file
- Triangle file
- Heat gun
- Towels
- Parts Cleaner
- Safety Glasses
Shock Service Parts
You will need to replace every wearable part of your shock absorber during your rear shock rebuild, including but not limited too:
- Seal Head
- Reservoir Bladder
- Valve Bushing
- Valve O-Rings
- Compression Adjuster O-Rings
- Bump Stop
Pre-Service Notes
- I recommend opening the Service & Torque Specs in a new tab for easy reference.
- If you need parts and tools, make sure to buy them here!
- Pictures with captions are after the steps below.
- If you need any help don’t hesitate to ask!
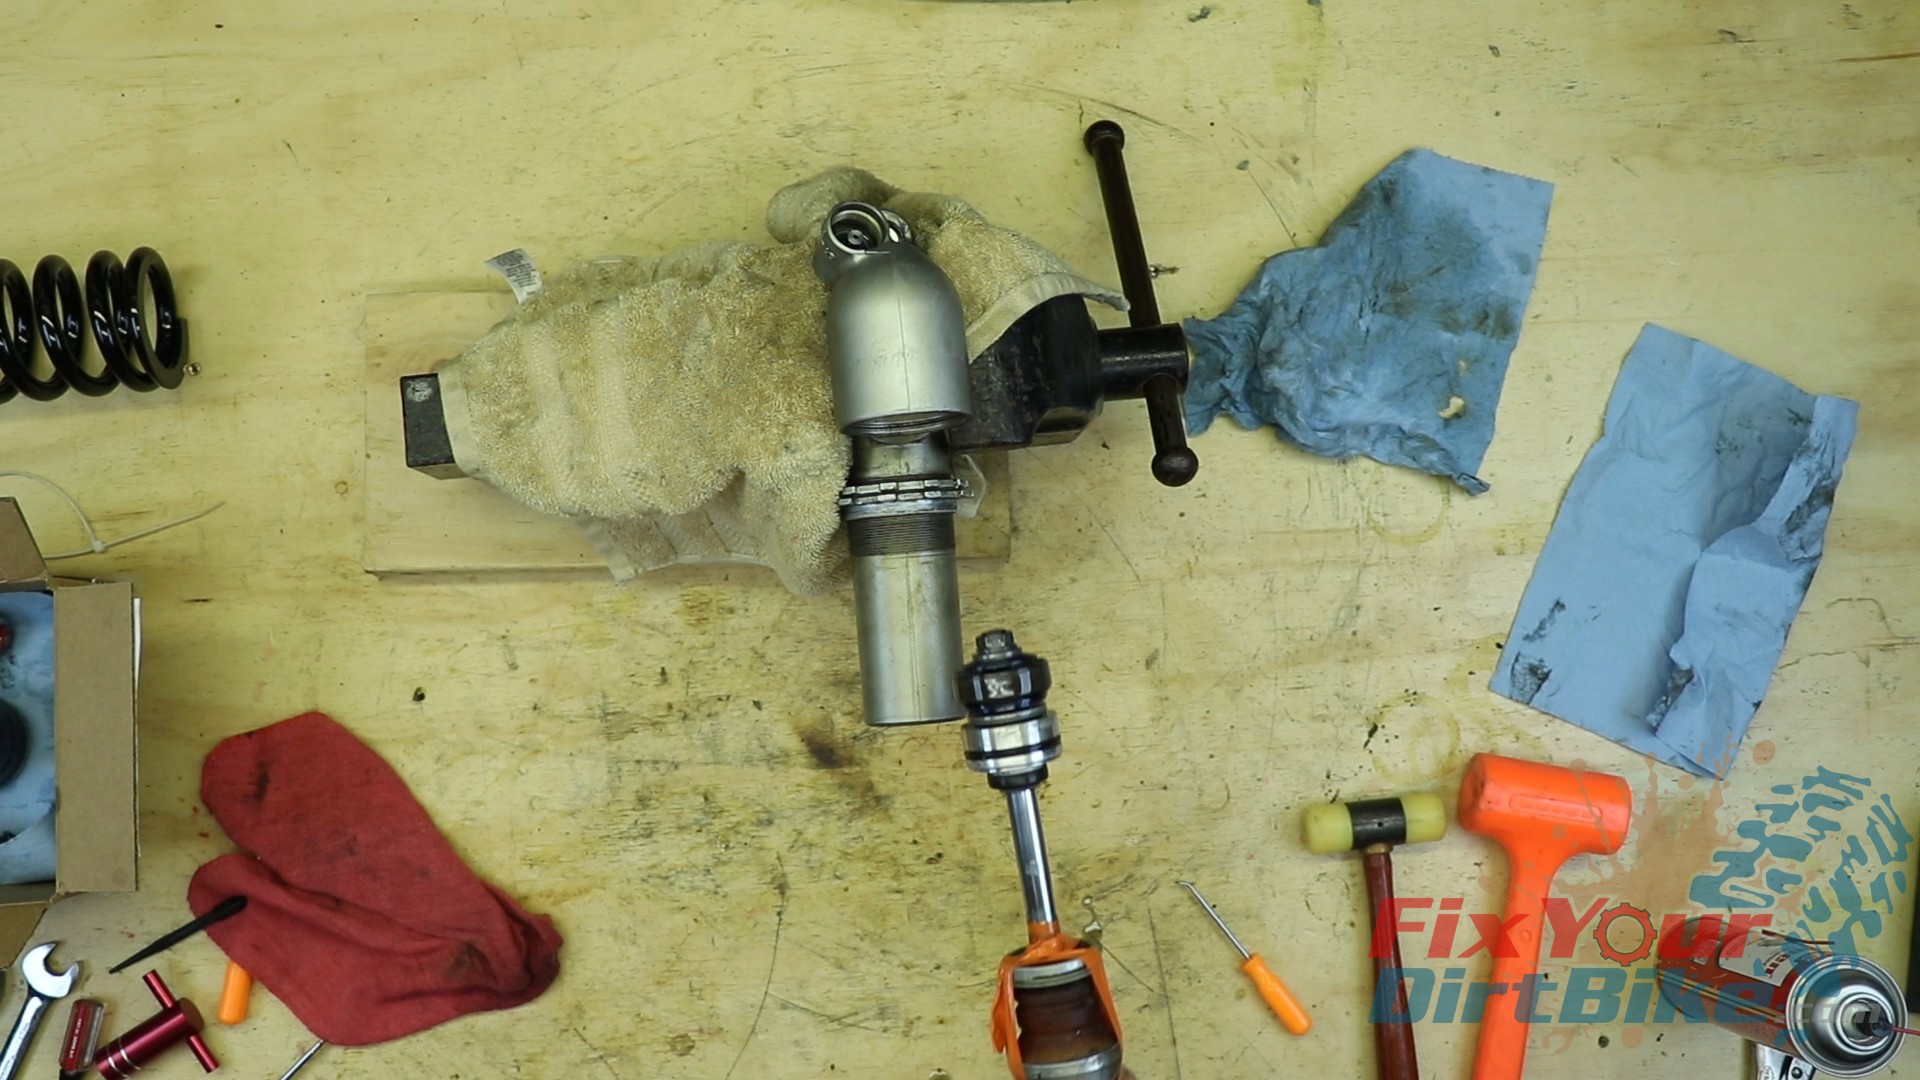
Shock Body Disassembly
Spring Removal
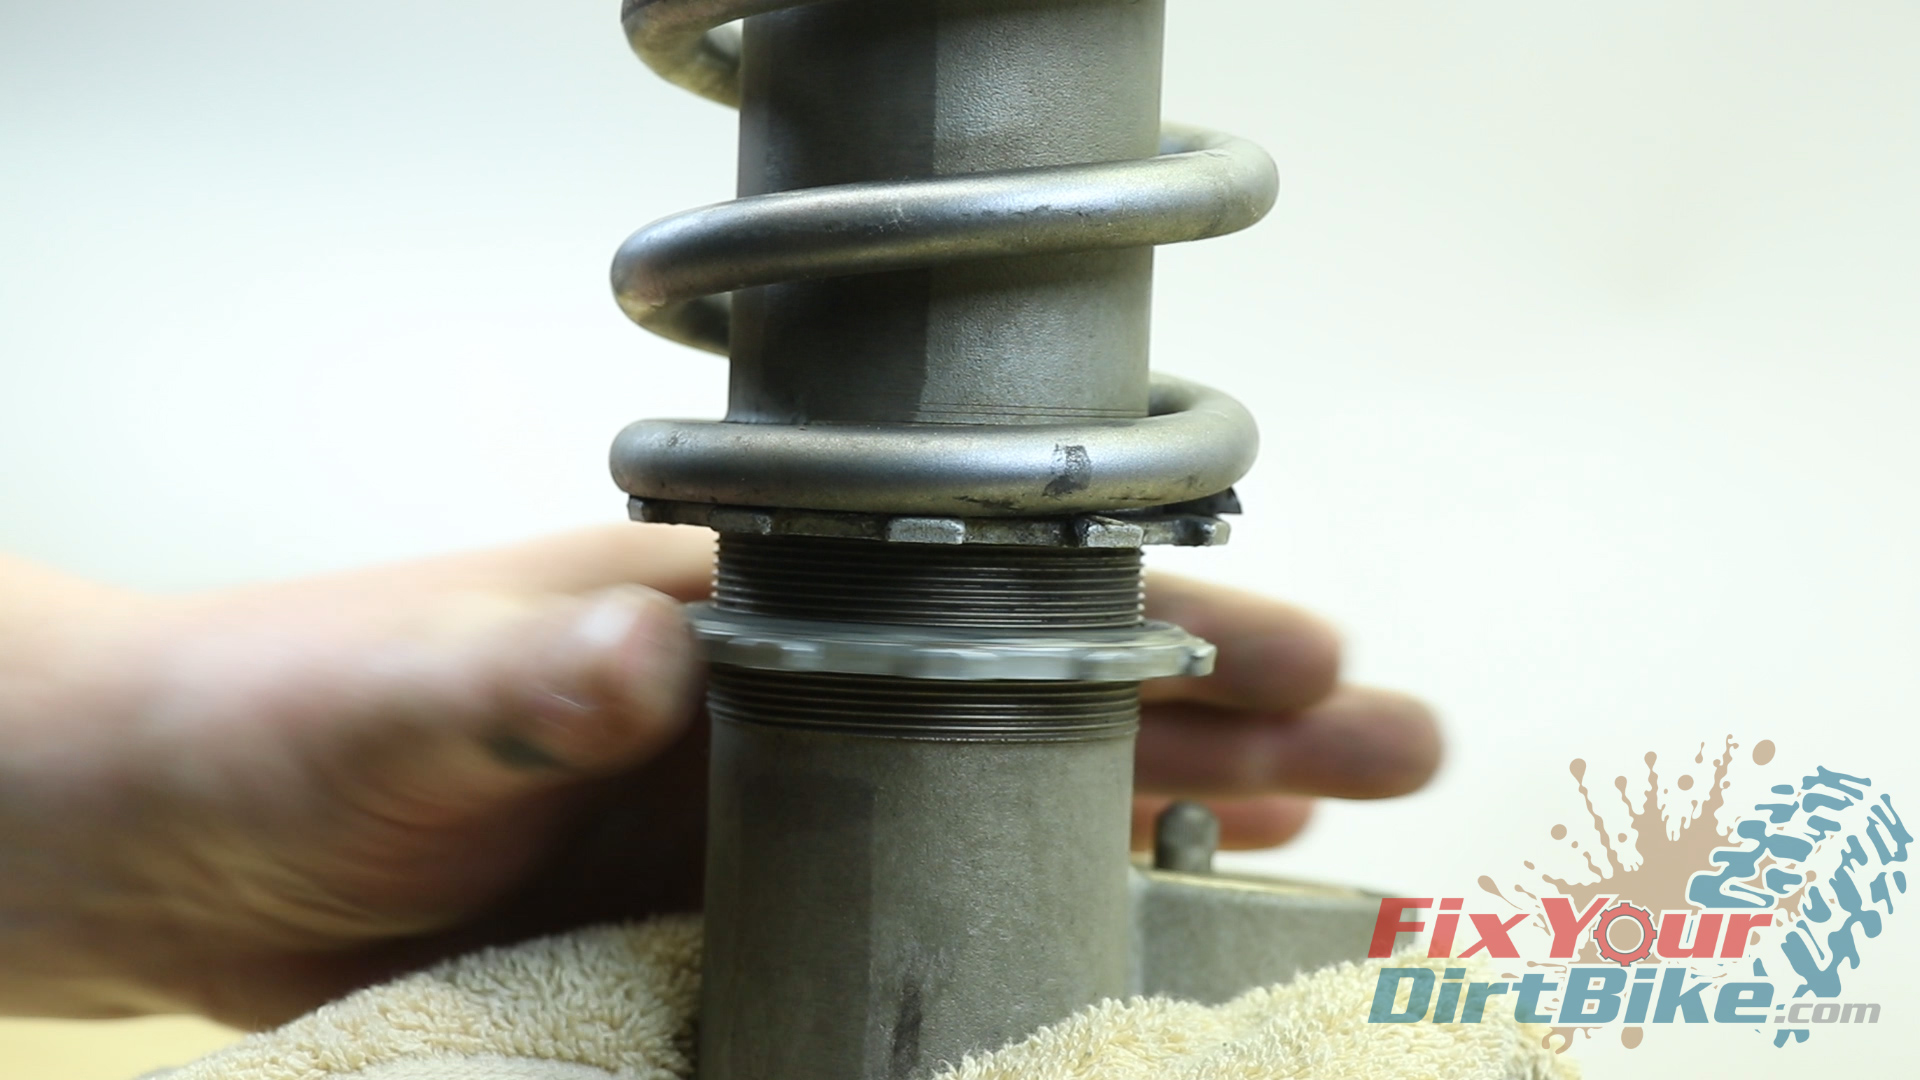
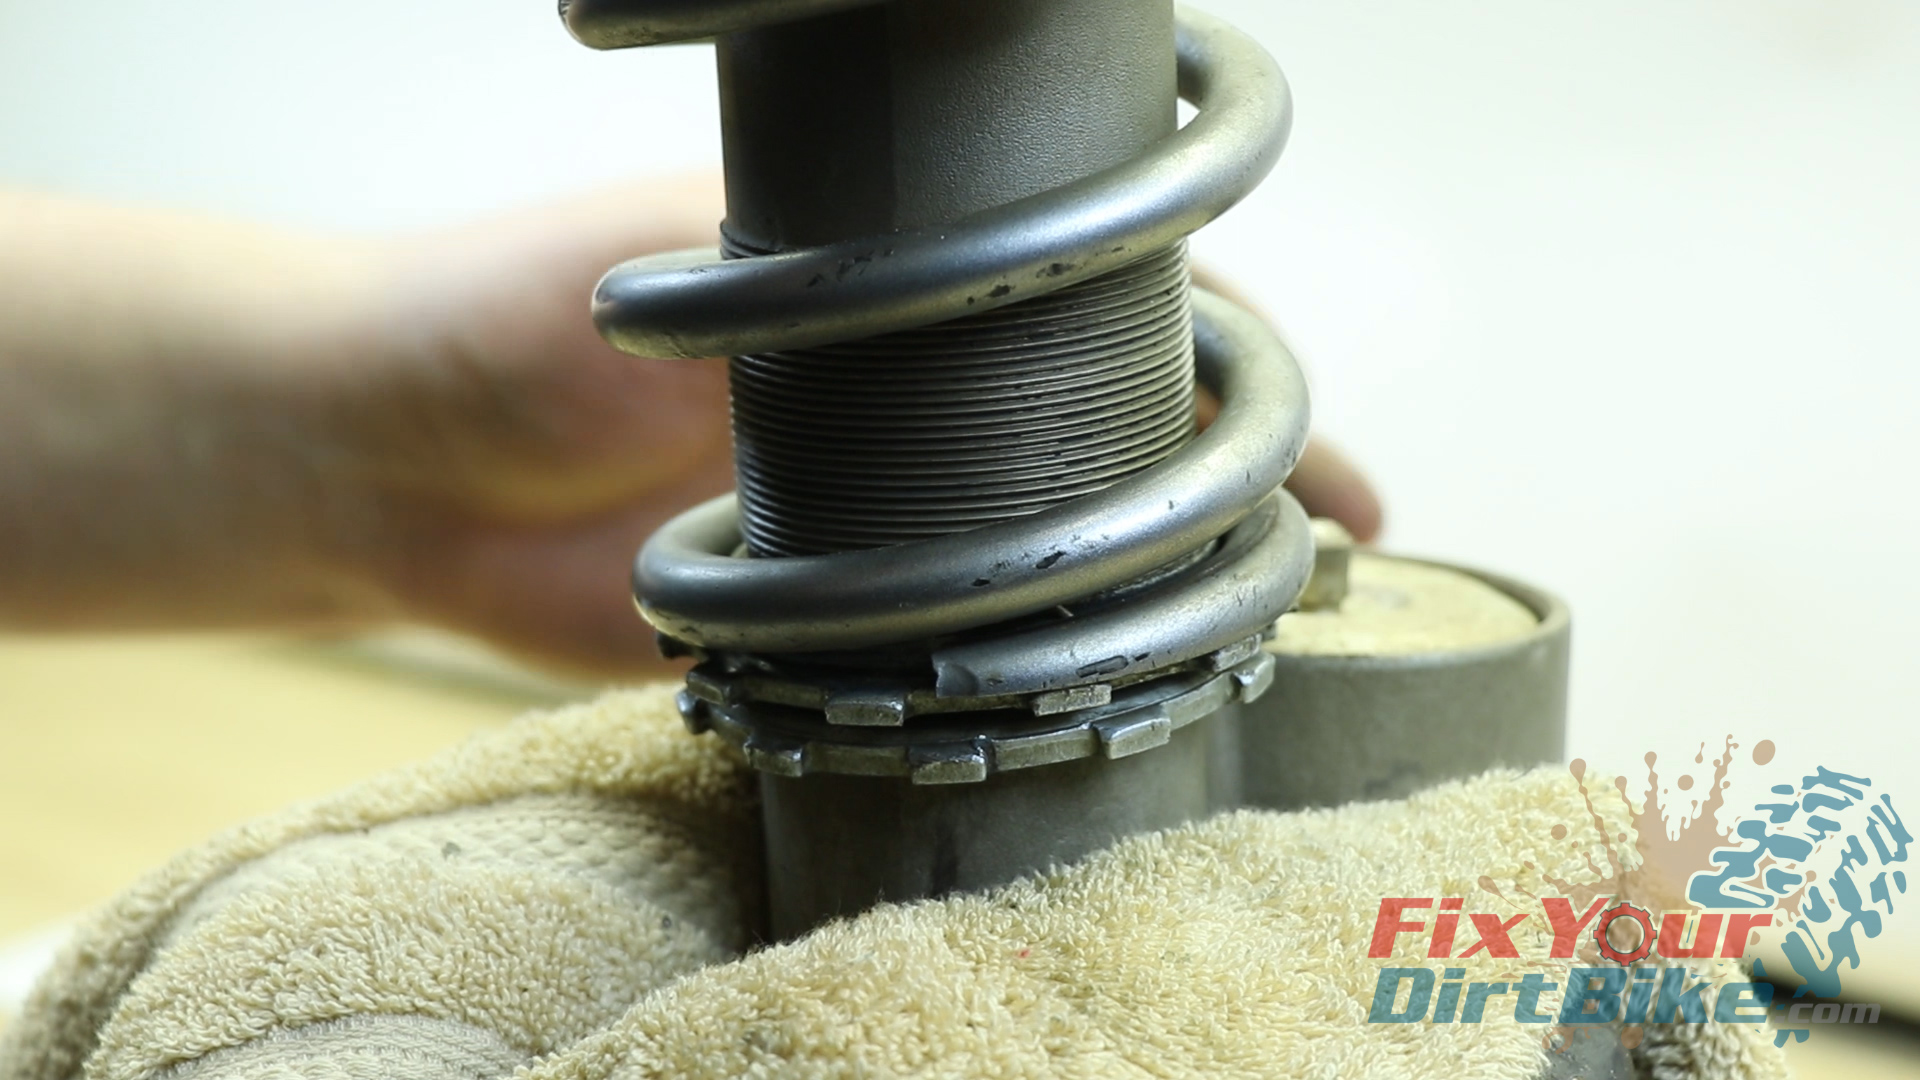
- Place your shock upside down in your vice and loosen the spring adjuster lock nut.
- Back the spring adjustment nut out, and remove the spring seat assembly and spring.
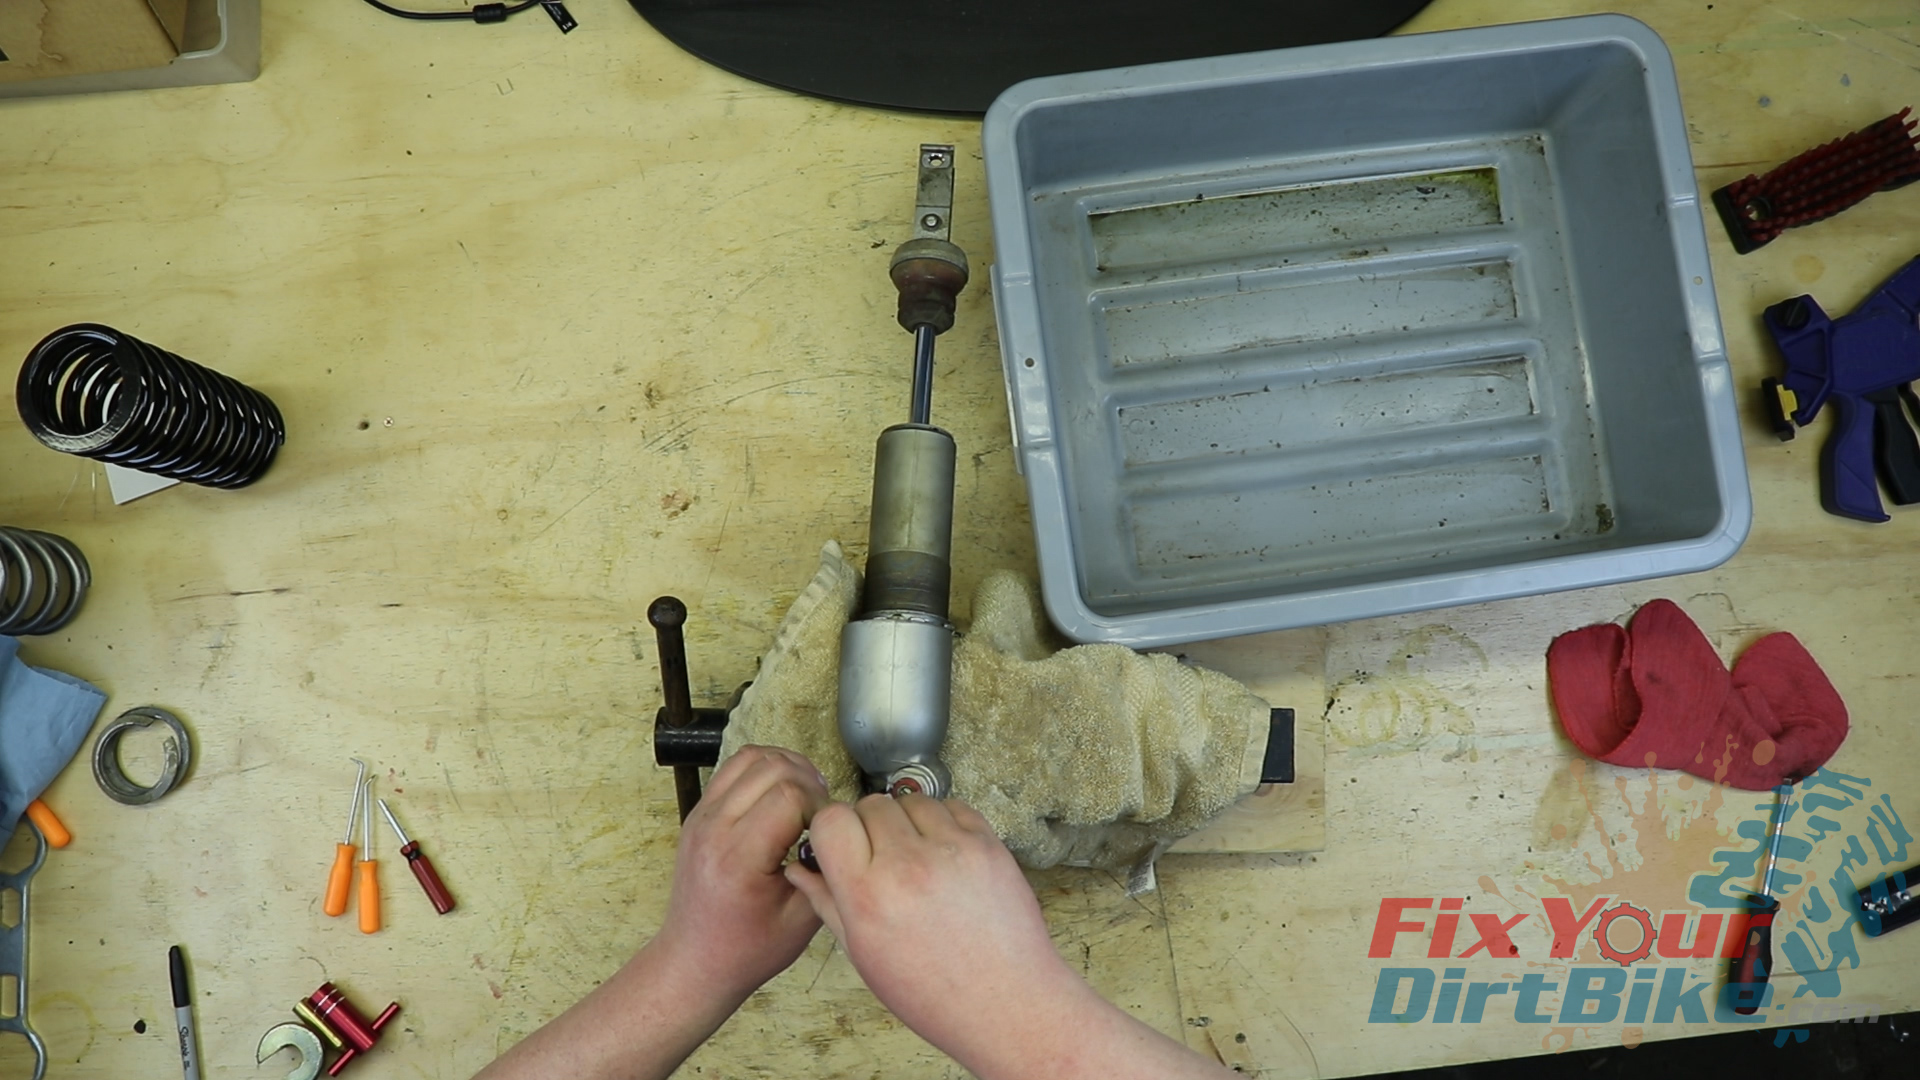
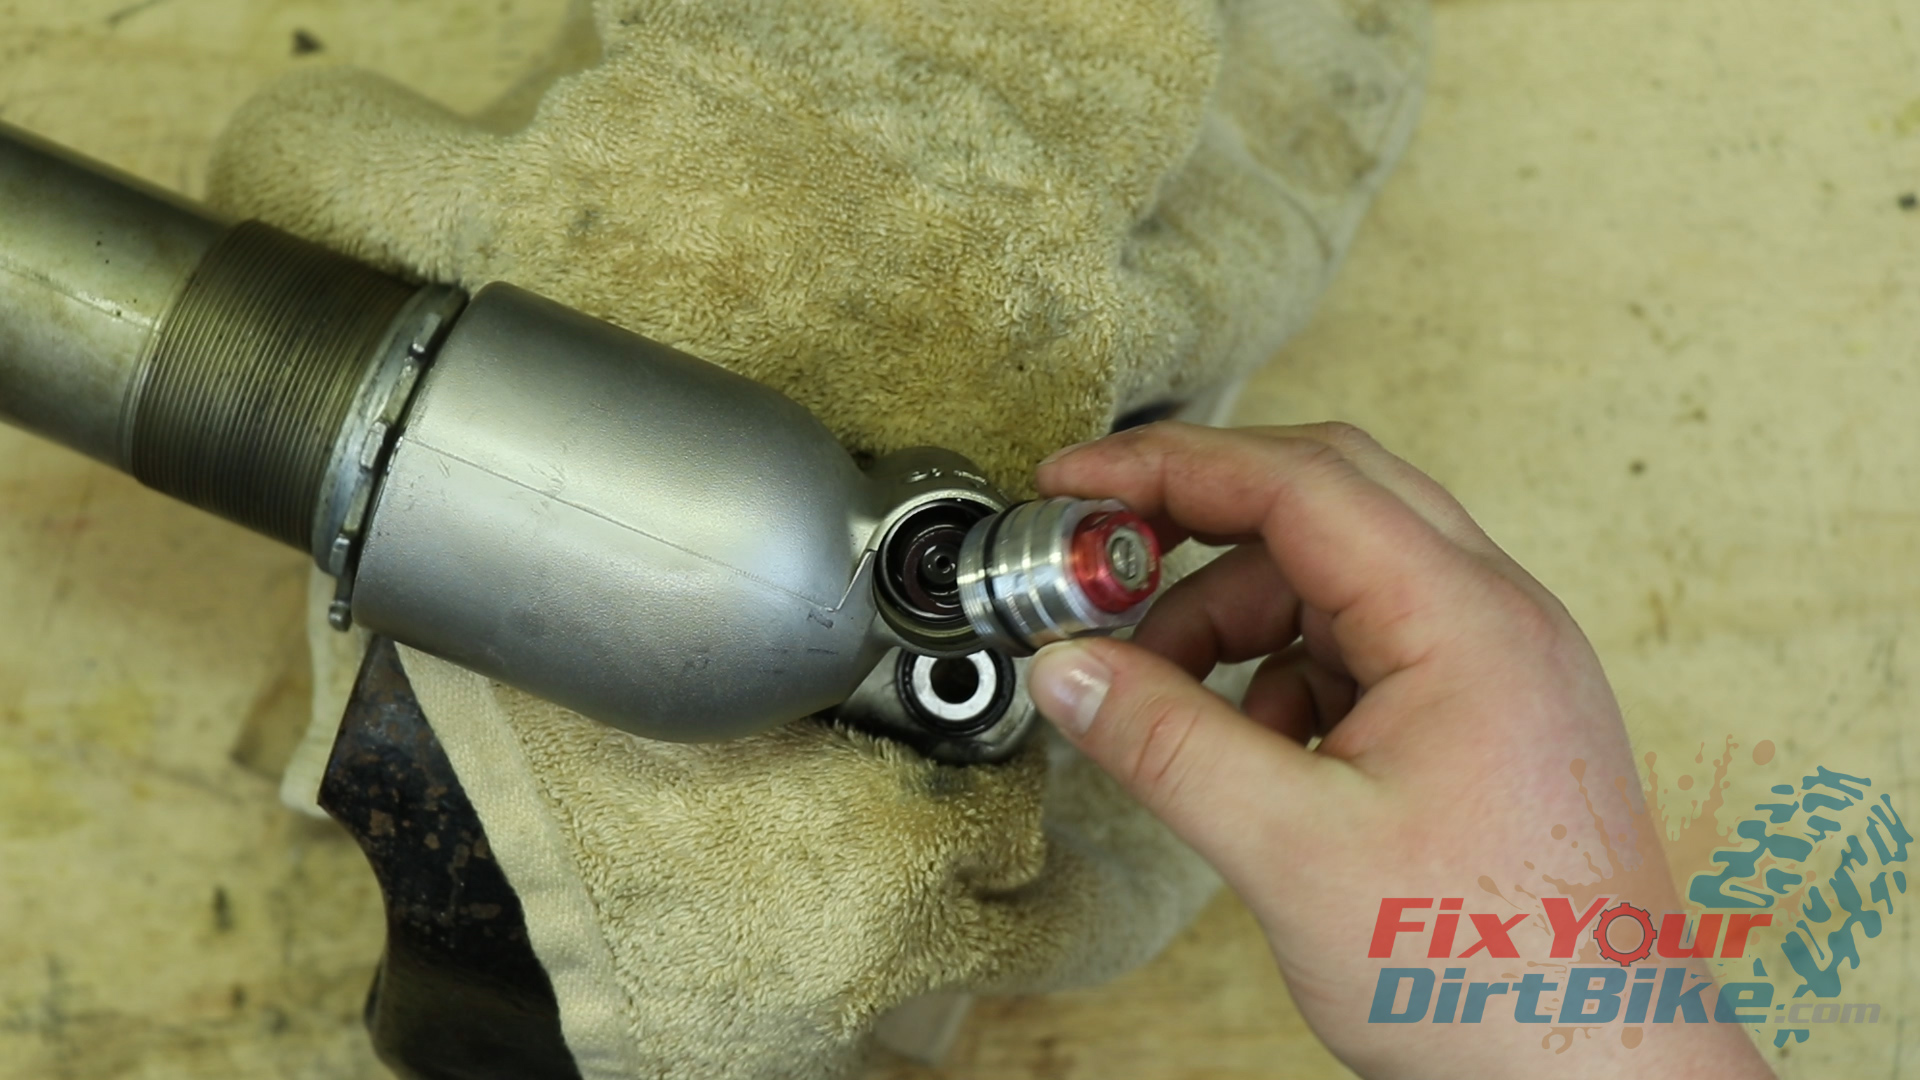
Reservoir Bladder Removal
- Completely back out the rebound, high-speed compression, and low-speed compression adjusters.
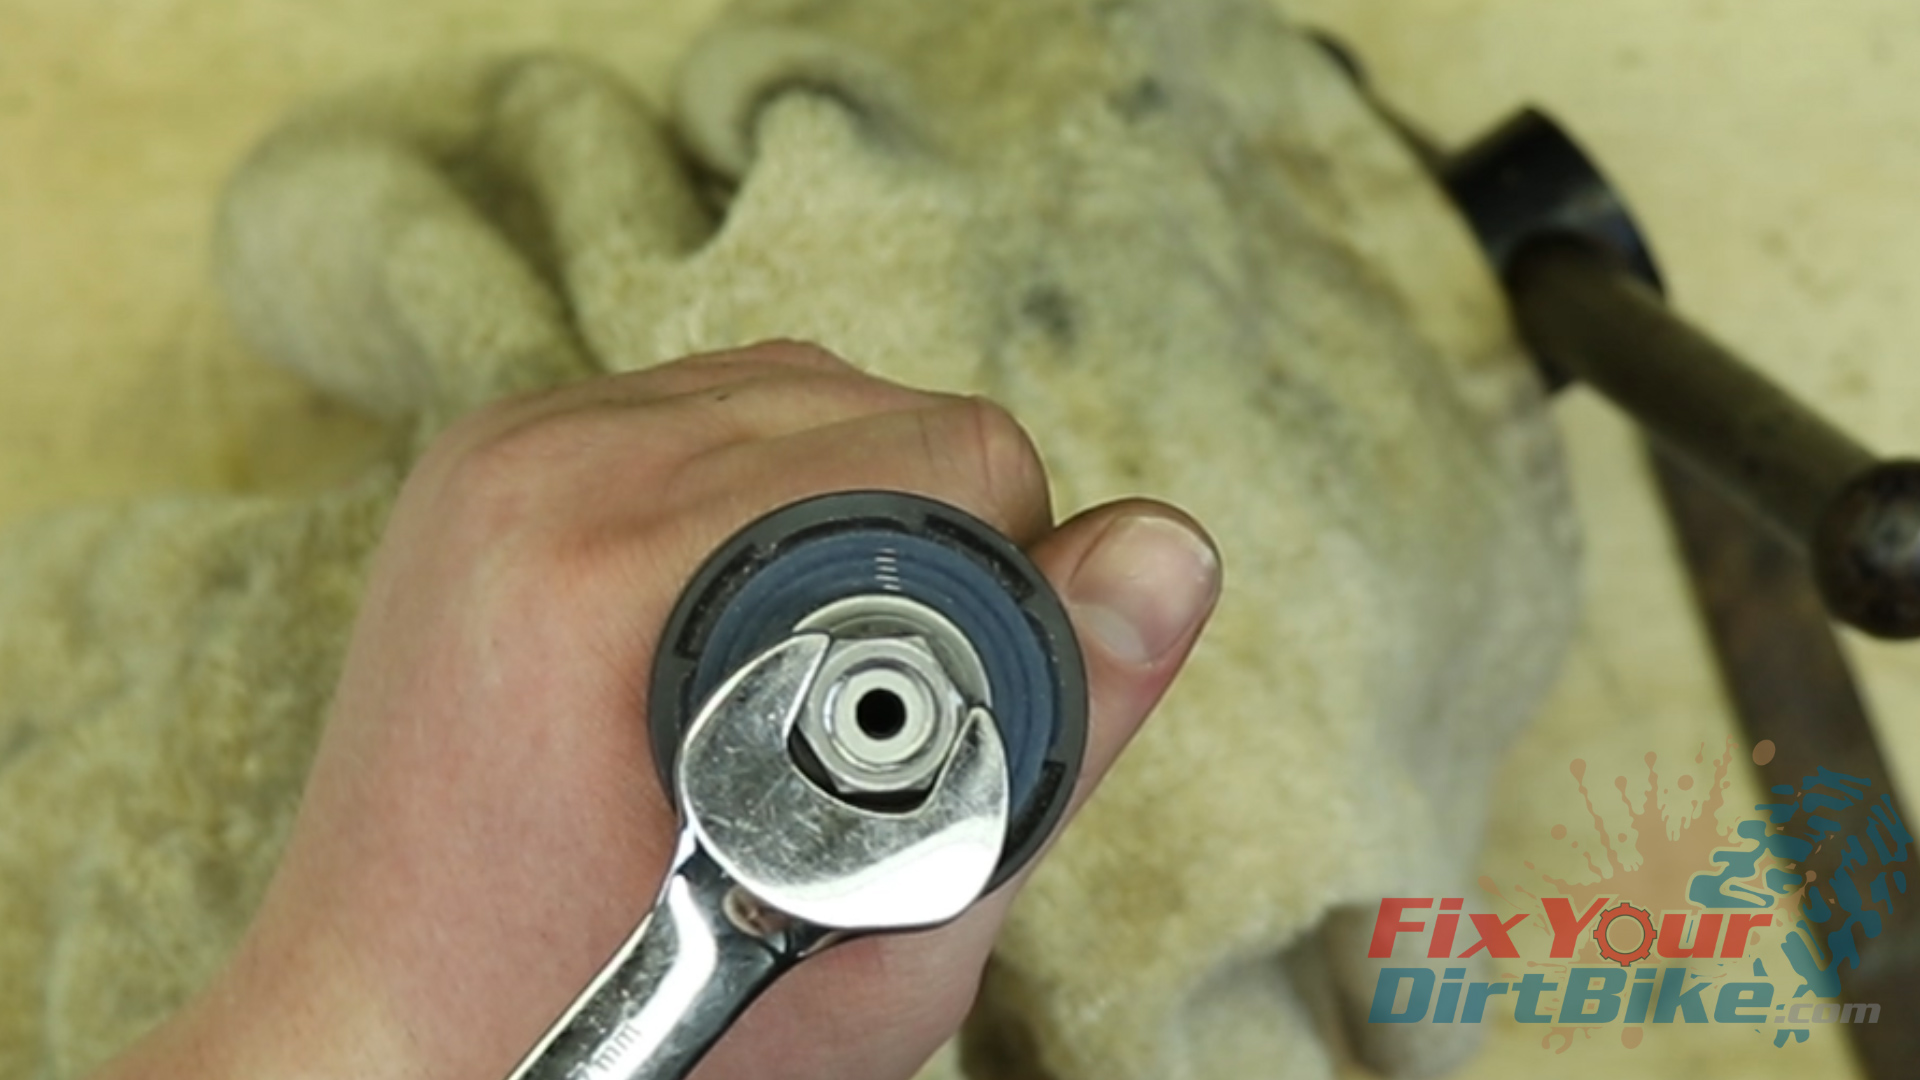
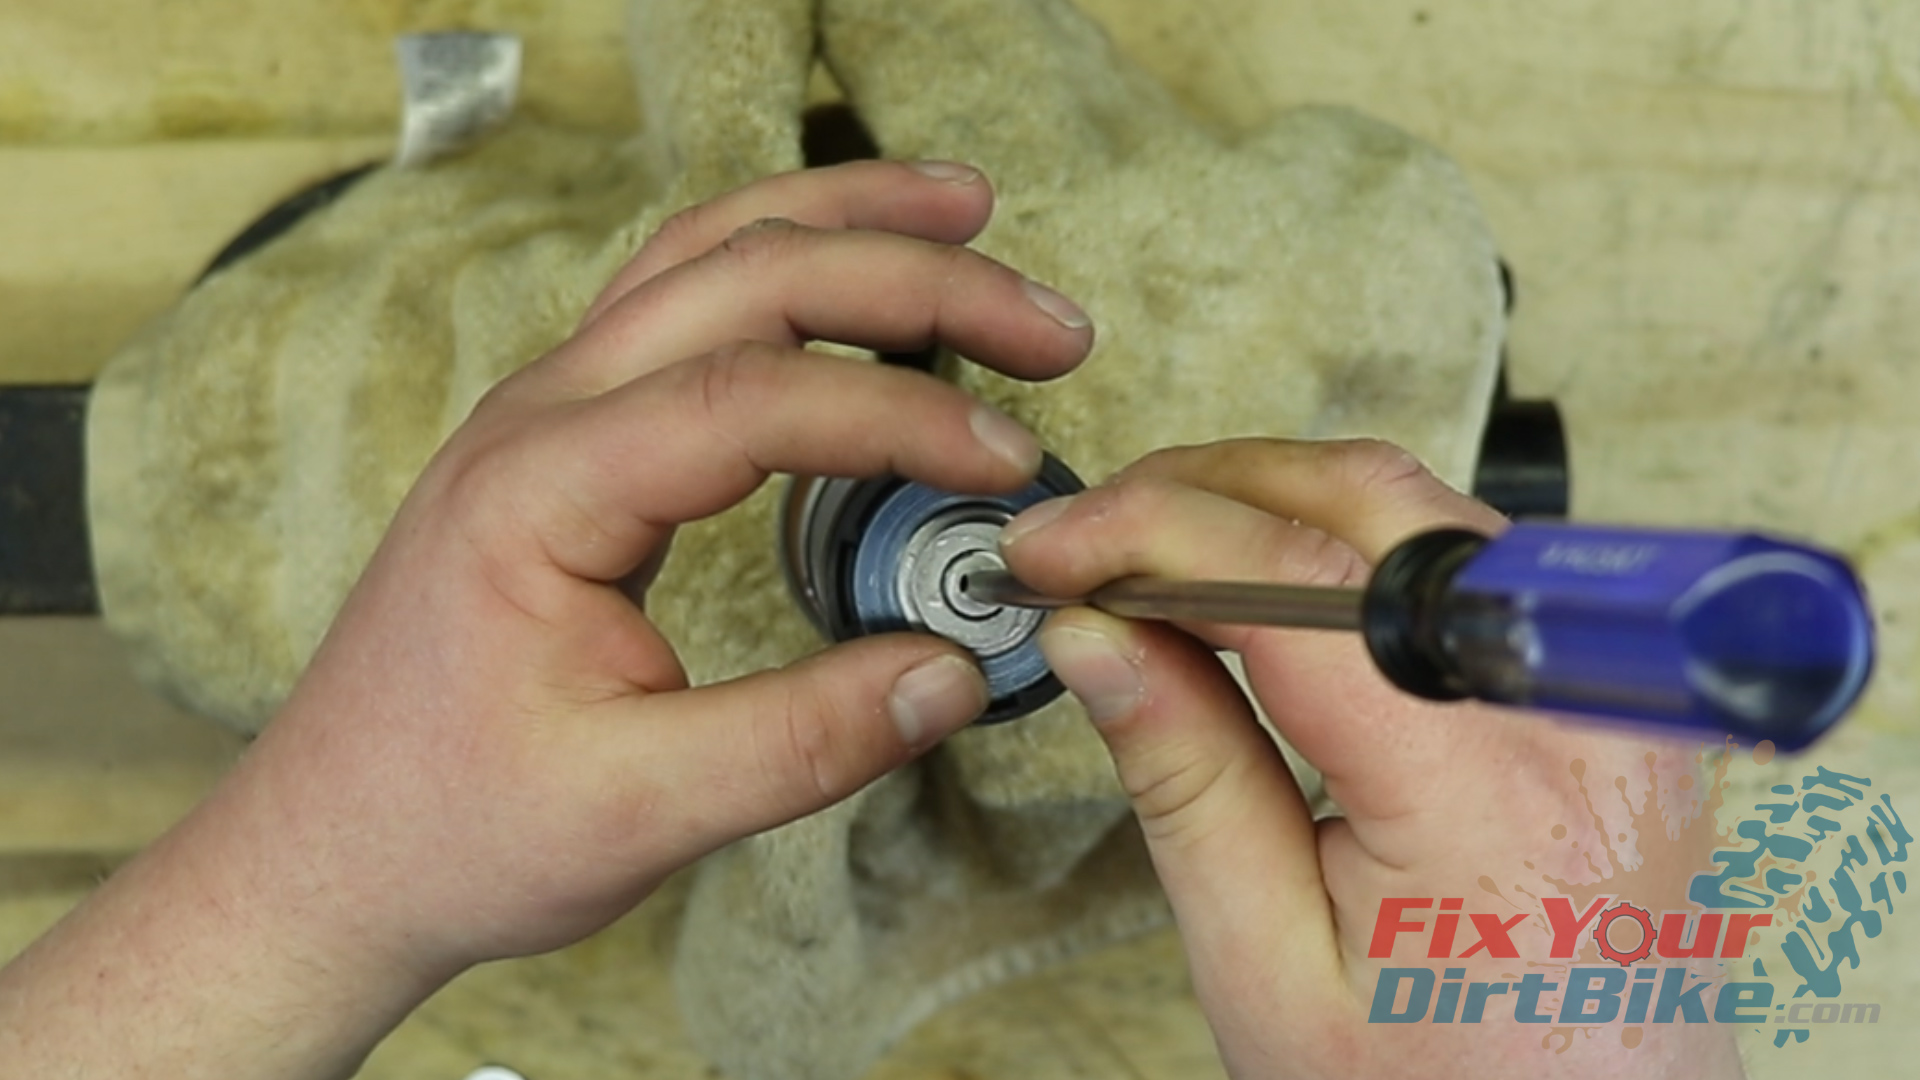
- Bleed the reservoir bladder, and remove the reservoir valve core.
- Remove the compression adjuster from the shock body.
- The compression adjuster core may be stuck in the shock body. If it is, finish disassembling the shock, then gently use two screwdrivers pushing in a back and forth motion until it works itself out.
- Pump your shock several times to drain the old oil from the compression adjuster hole.
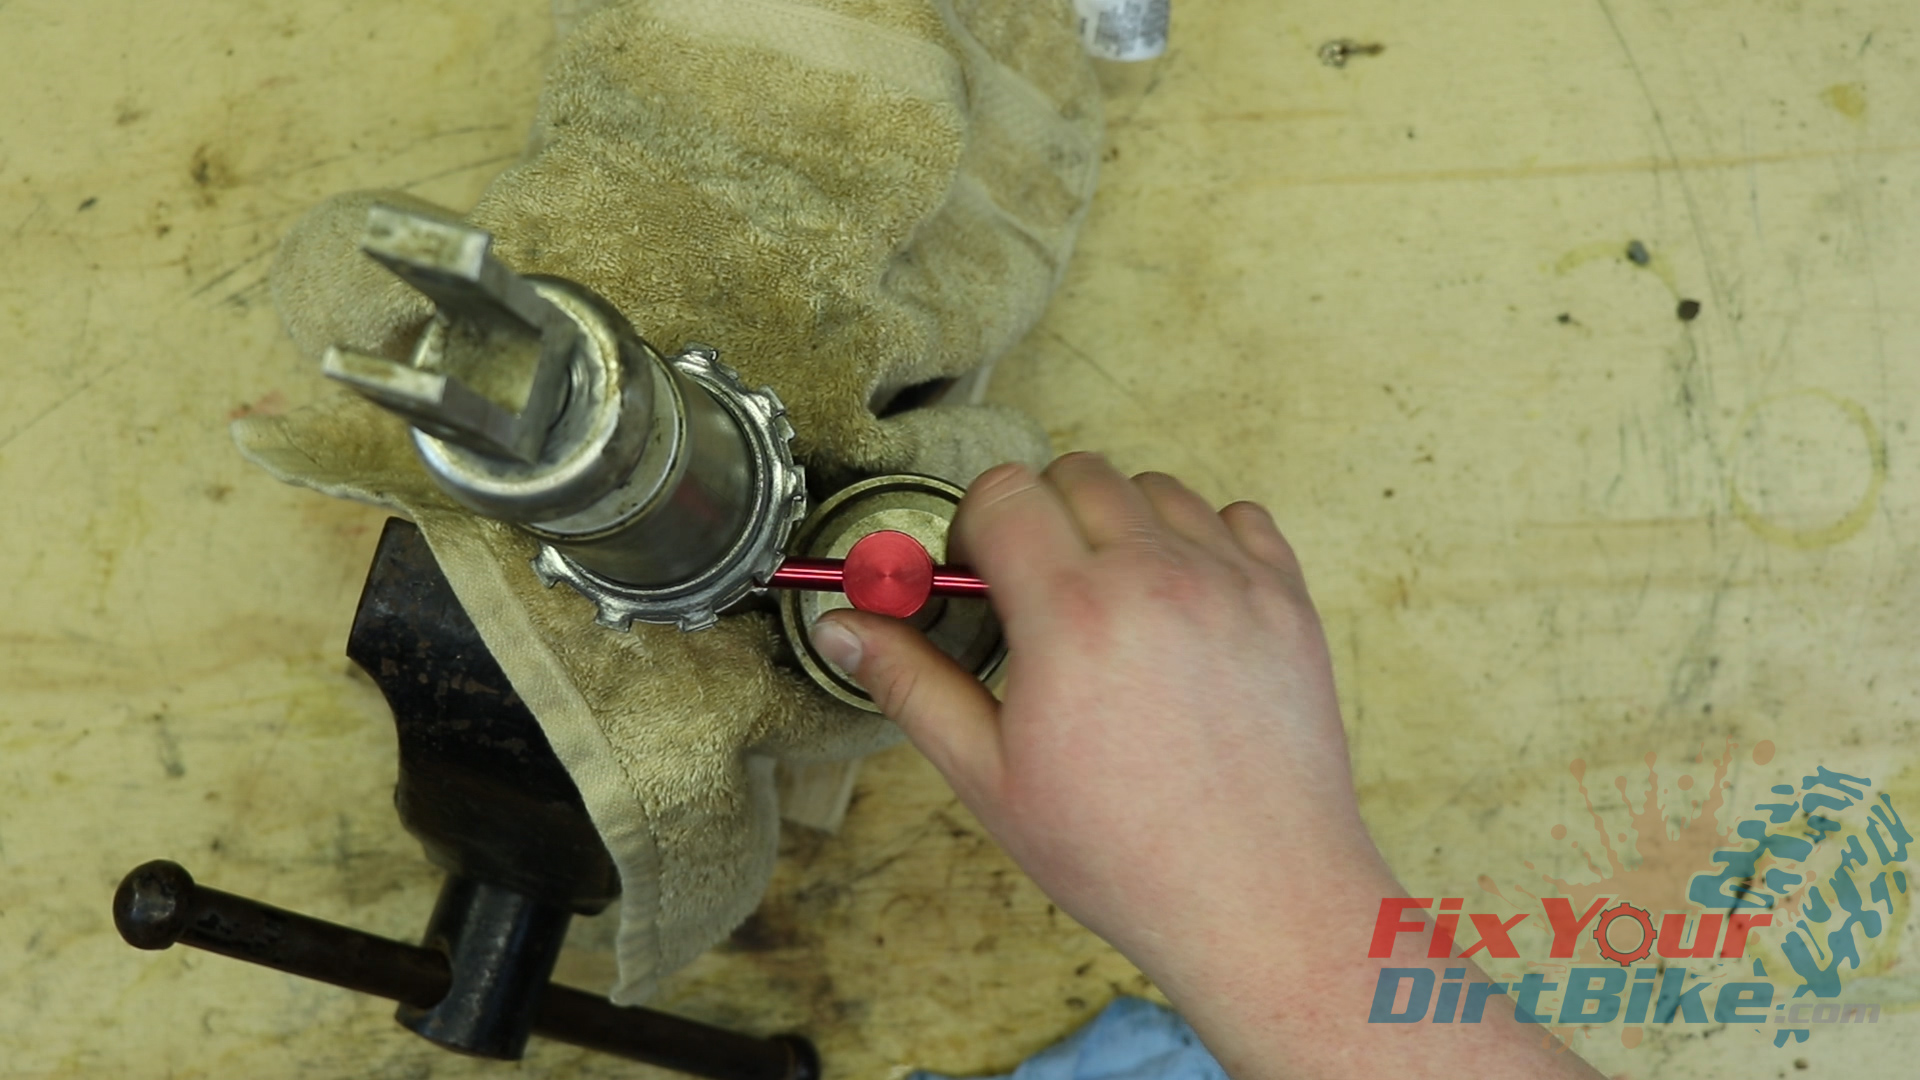
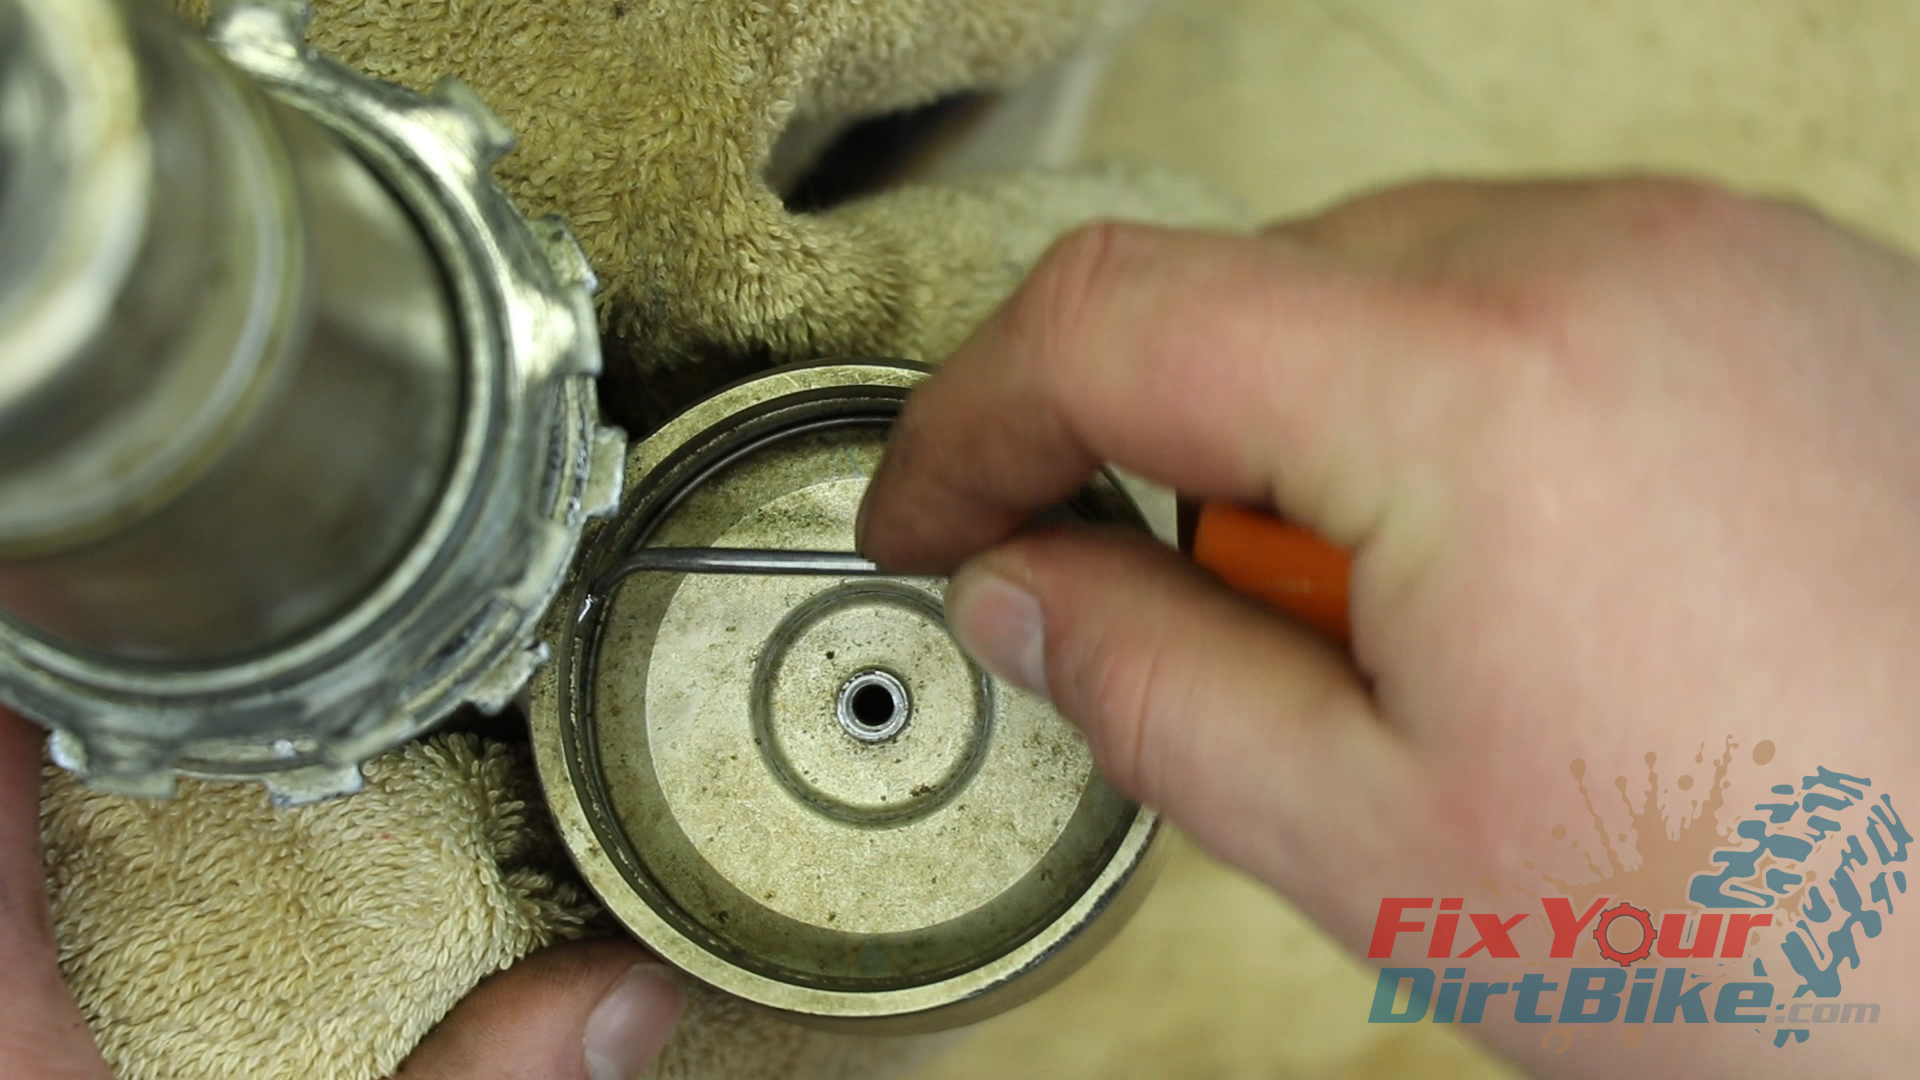
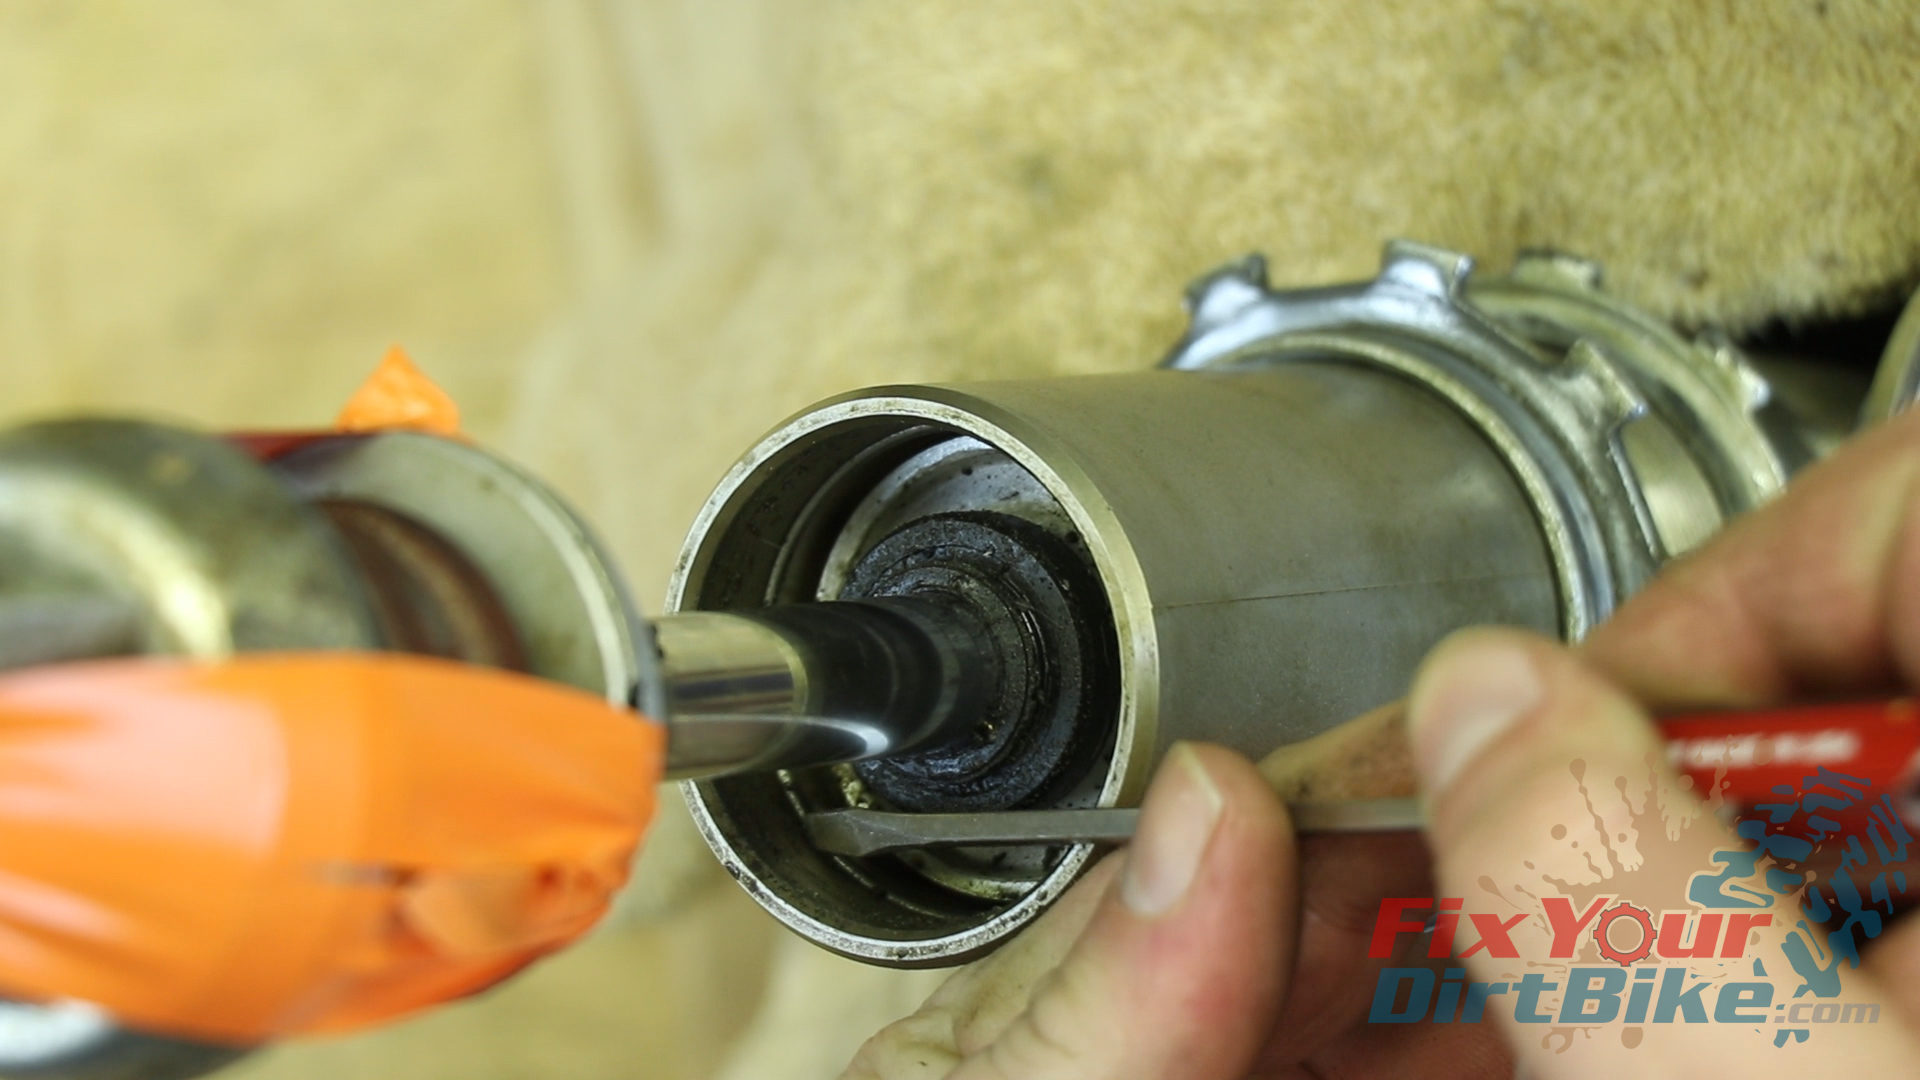
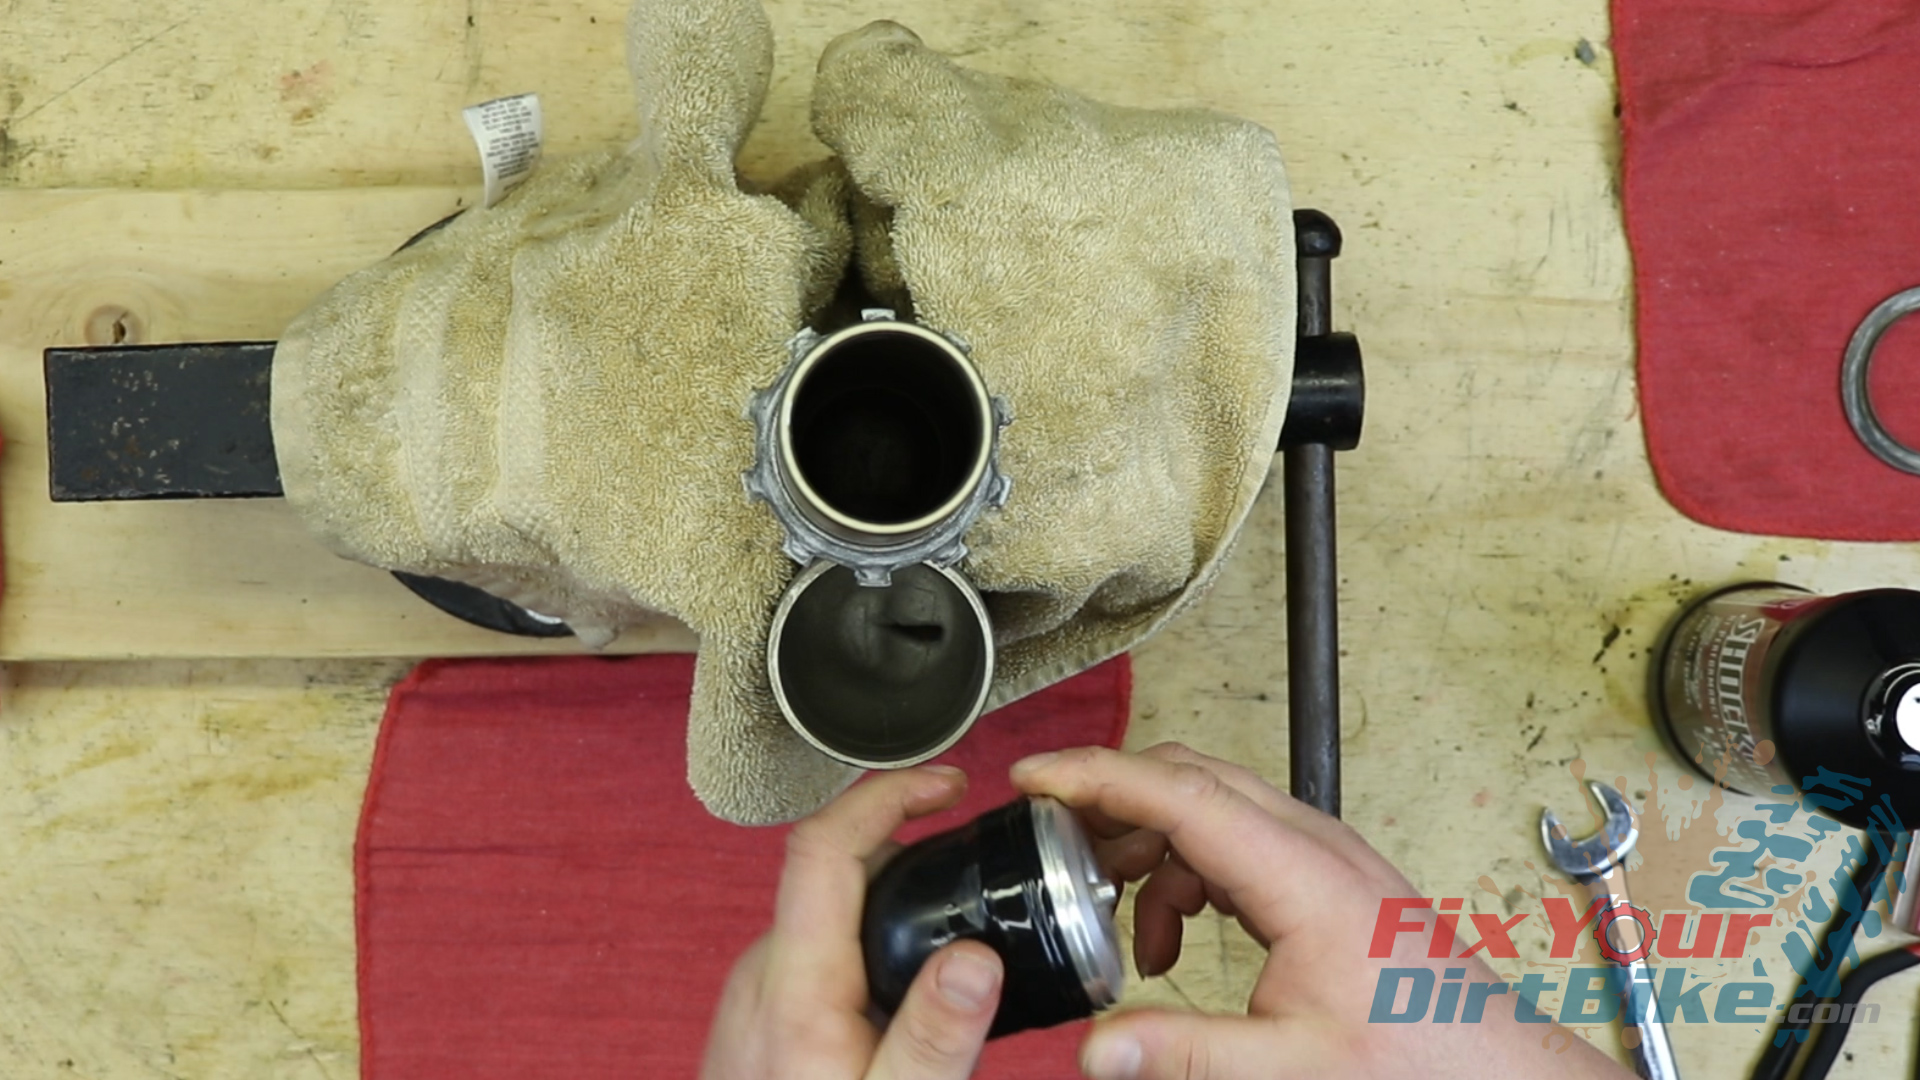
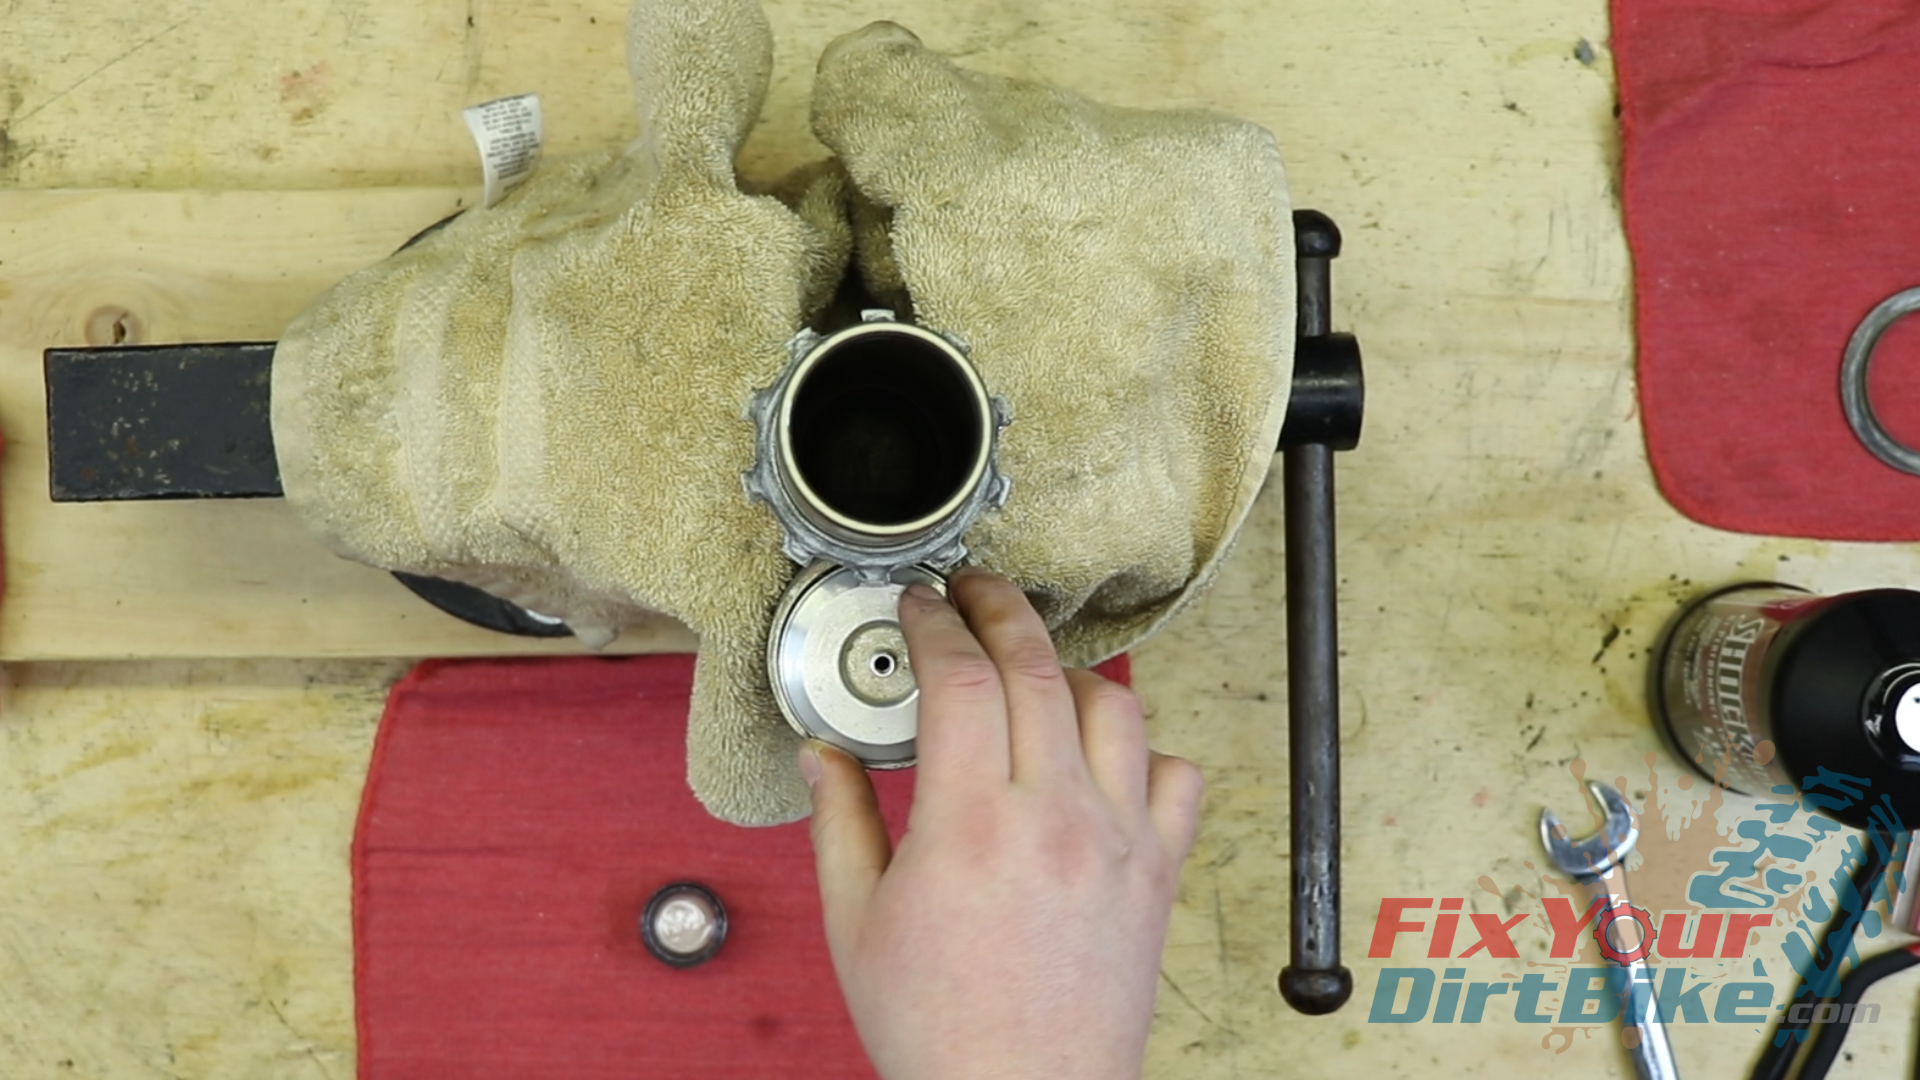
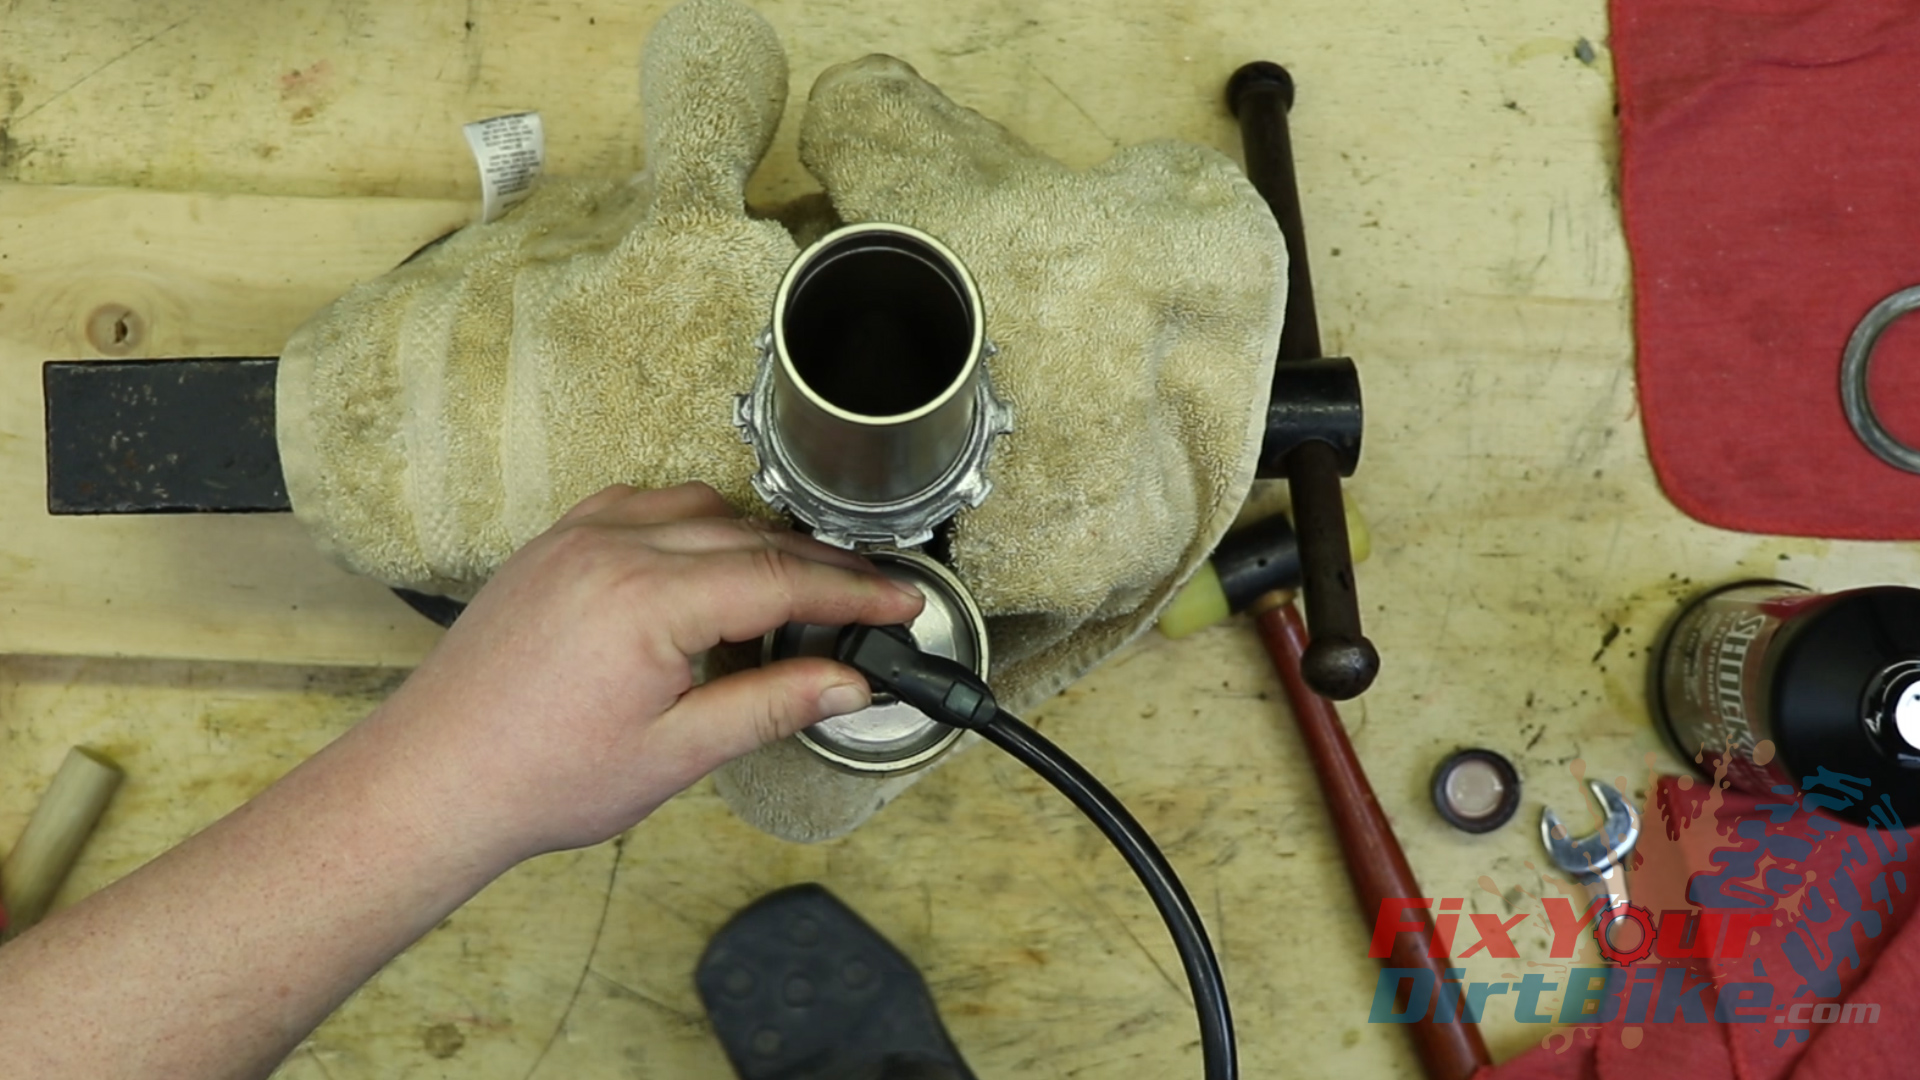
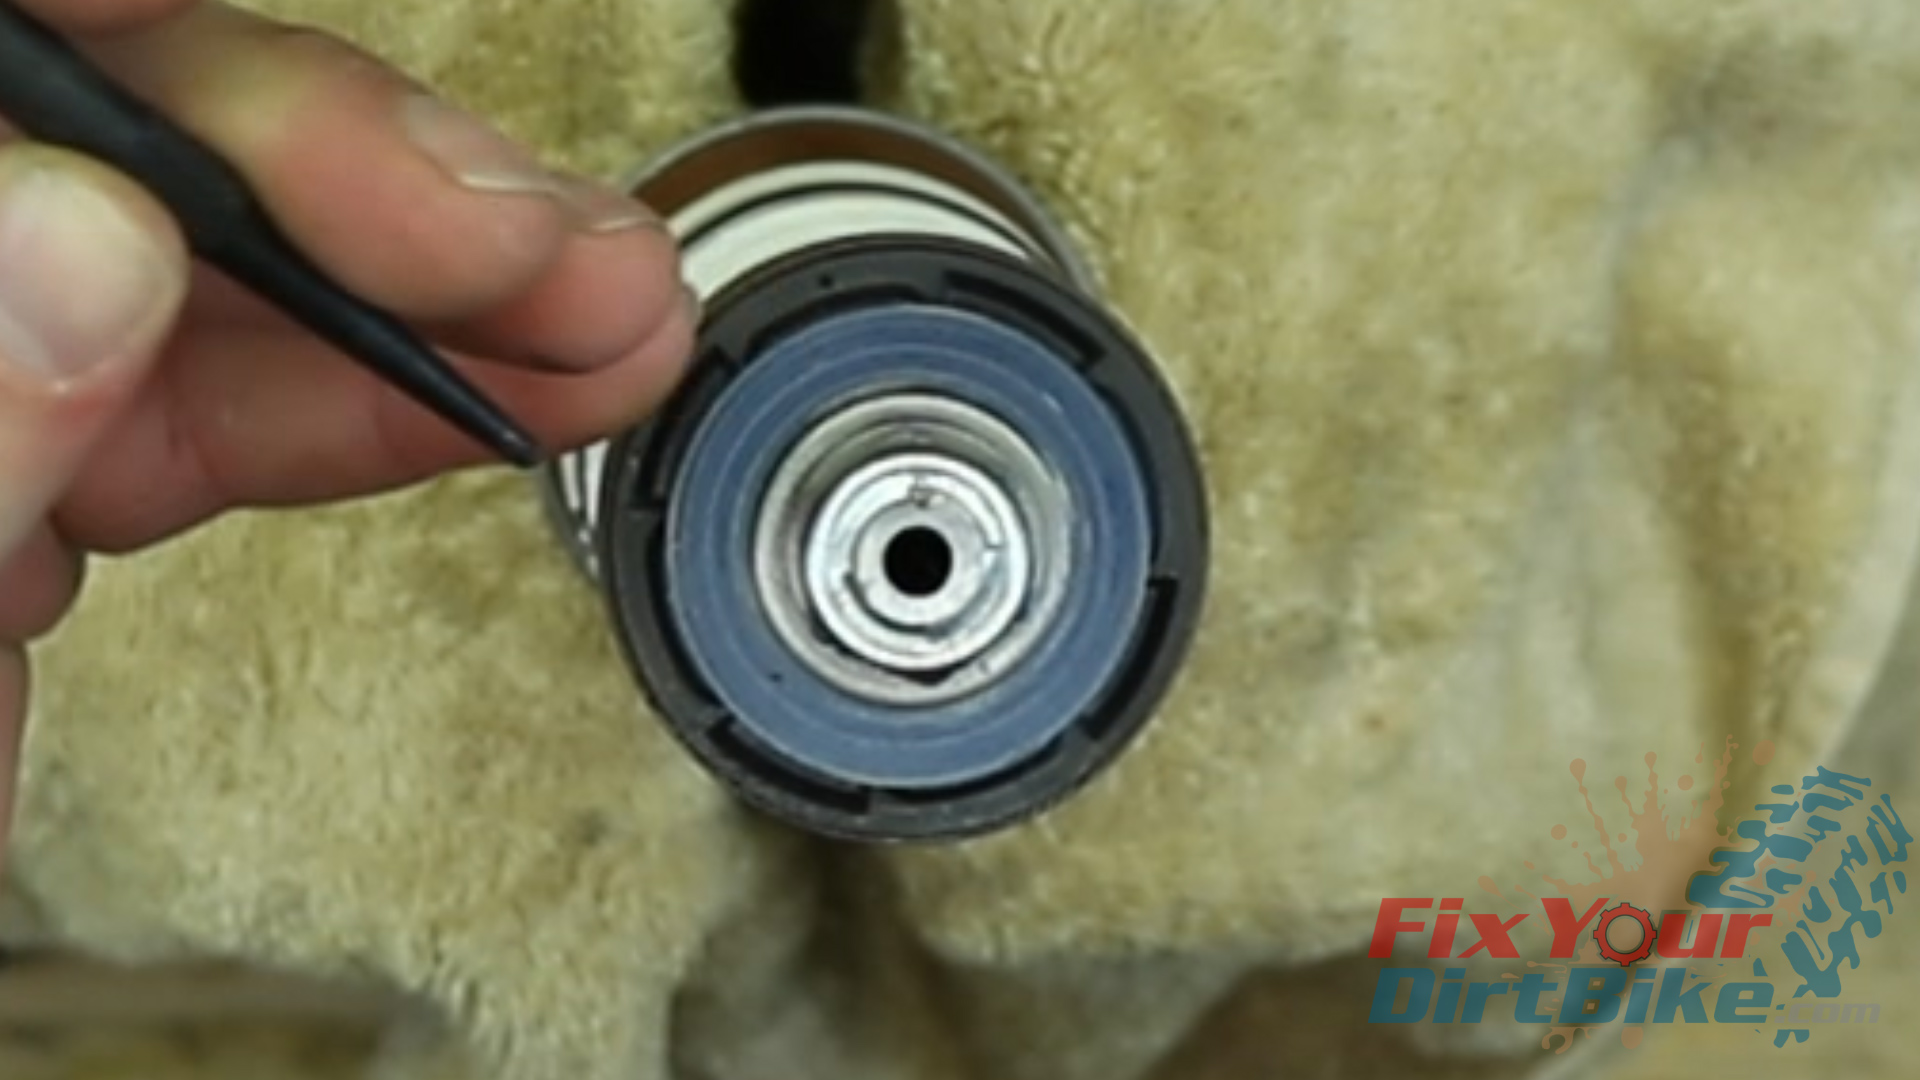
- Attach your reservoir cap puller to the bladder valve and drive the cap into the body just far enough to access the circlip.
- Remove the circlip with a combination of screwdrivers, pick, and patience. Be very careful not to scratch the reservoir wall.
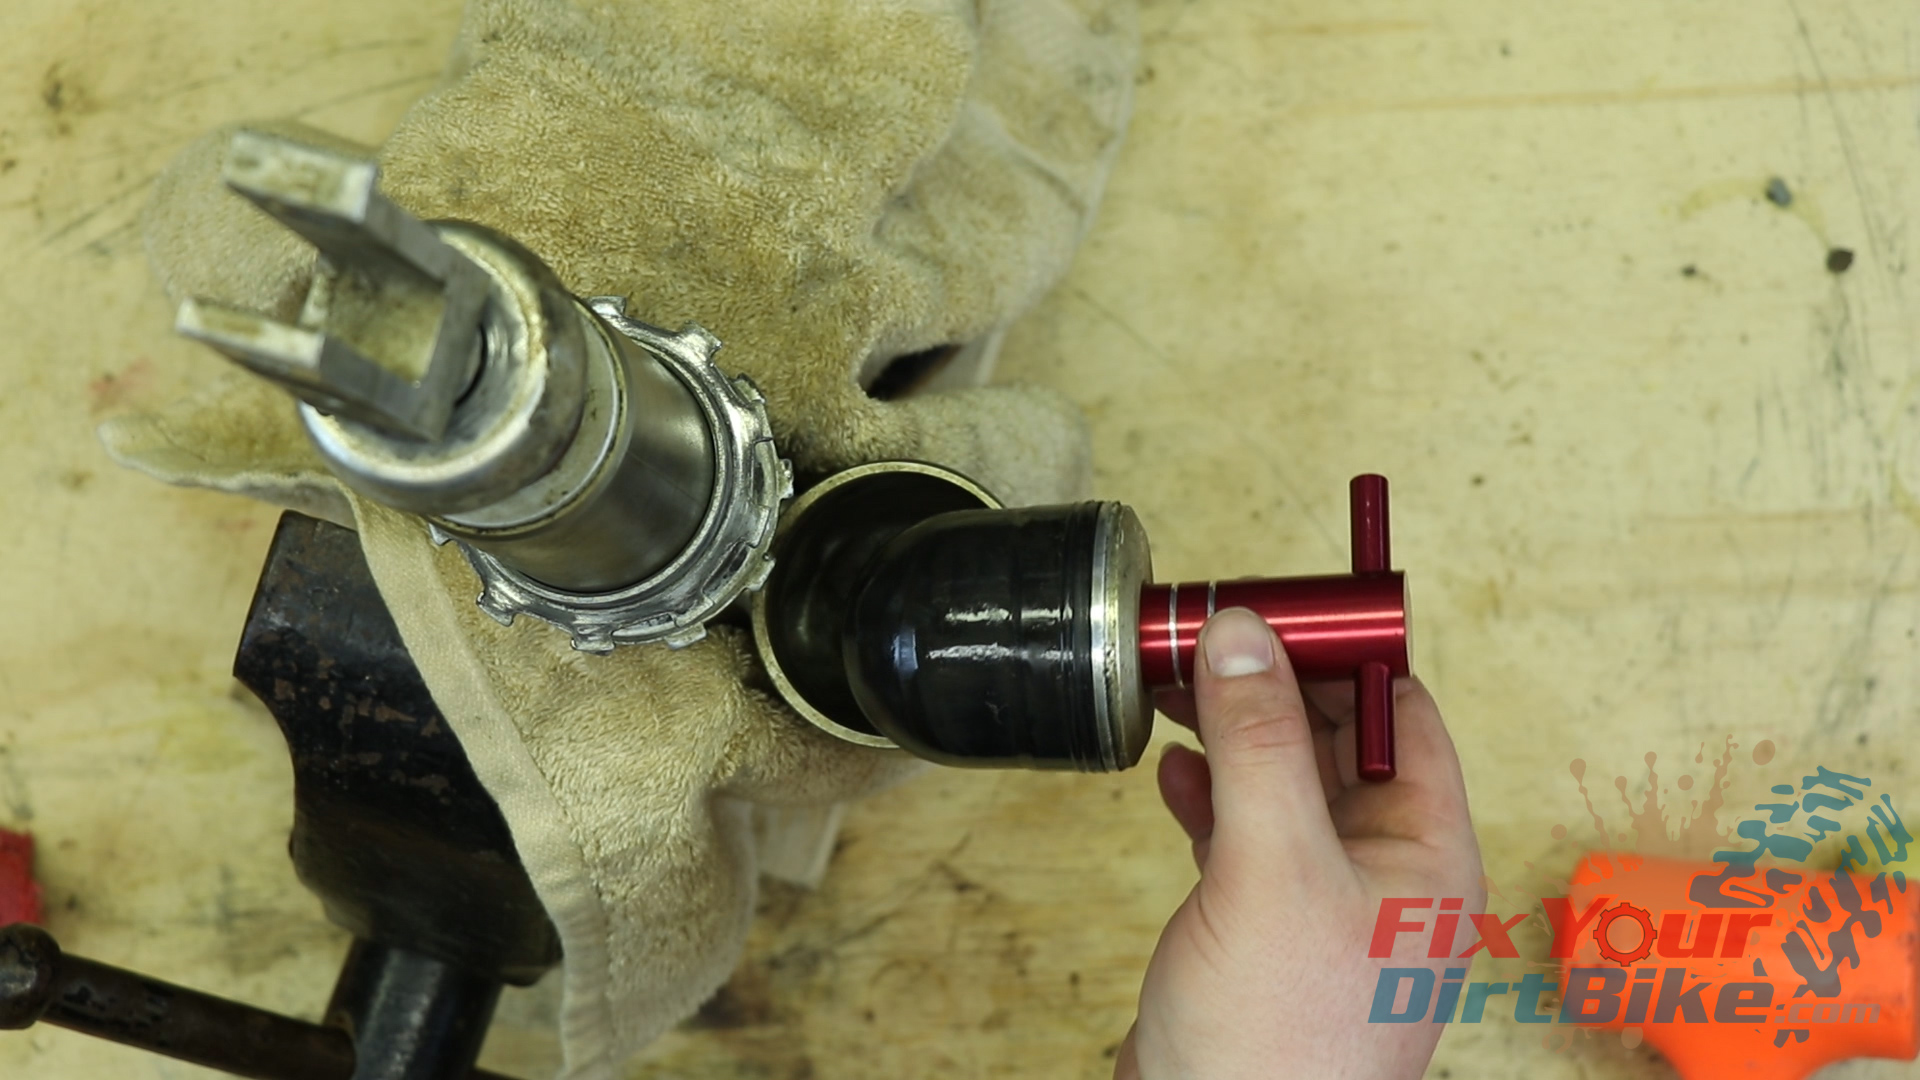
- Reattach your reservoir cap puller and remove the bladder from the reservoir.
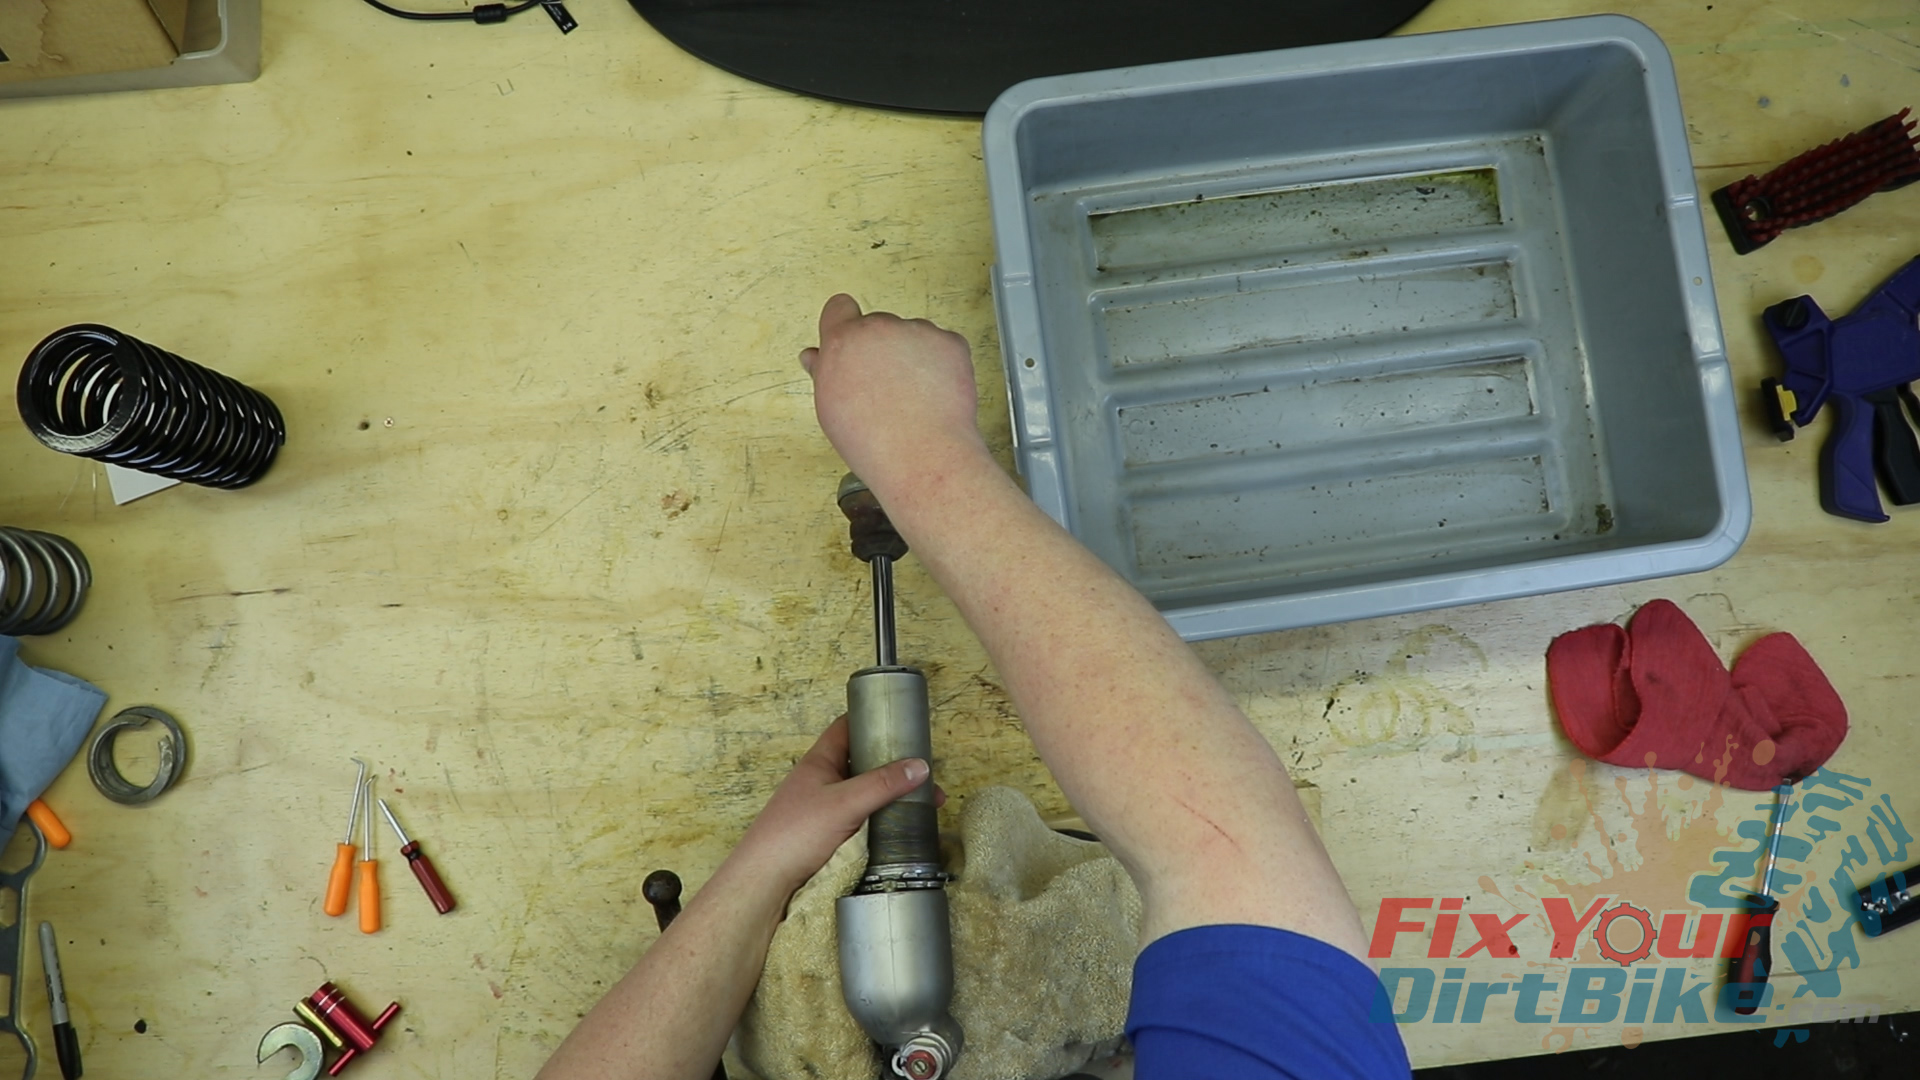

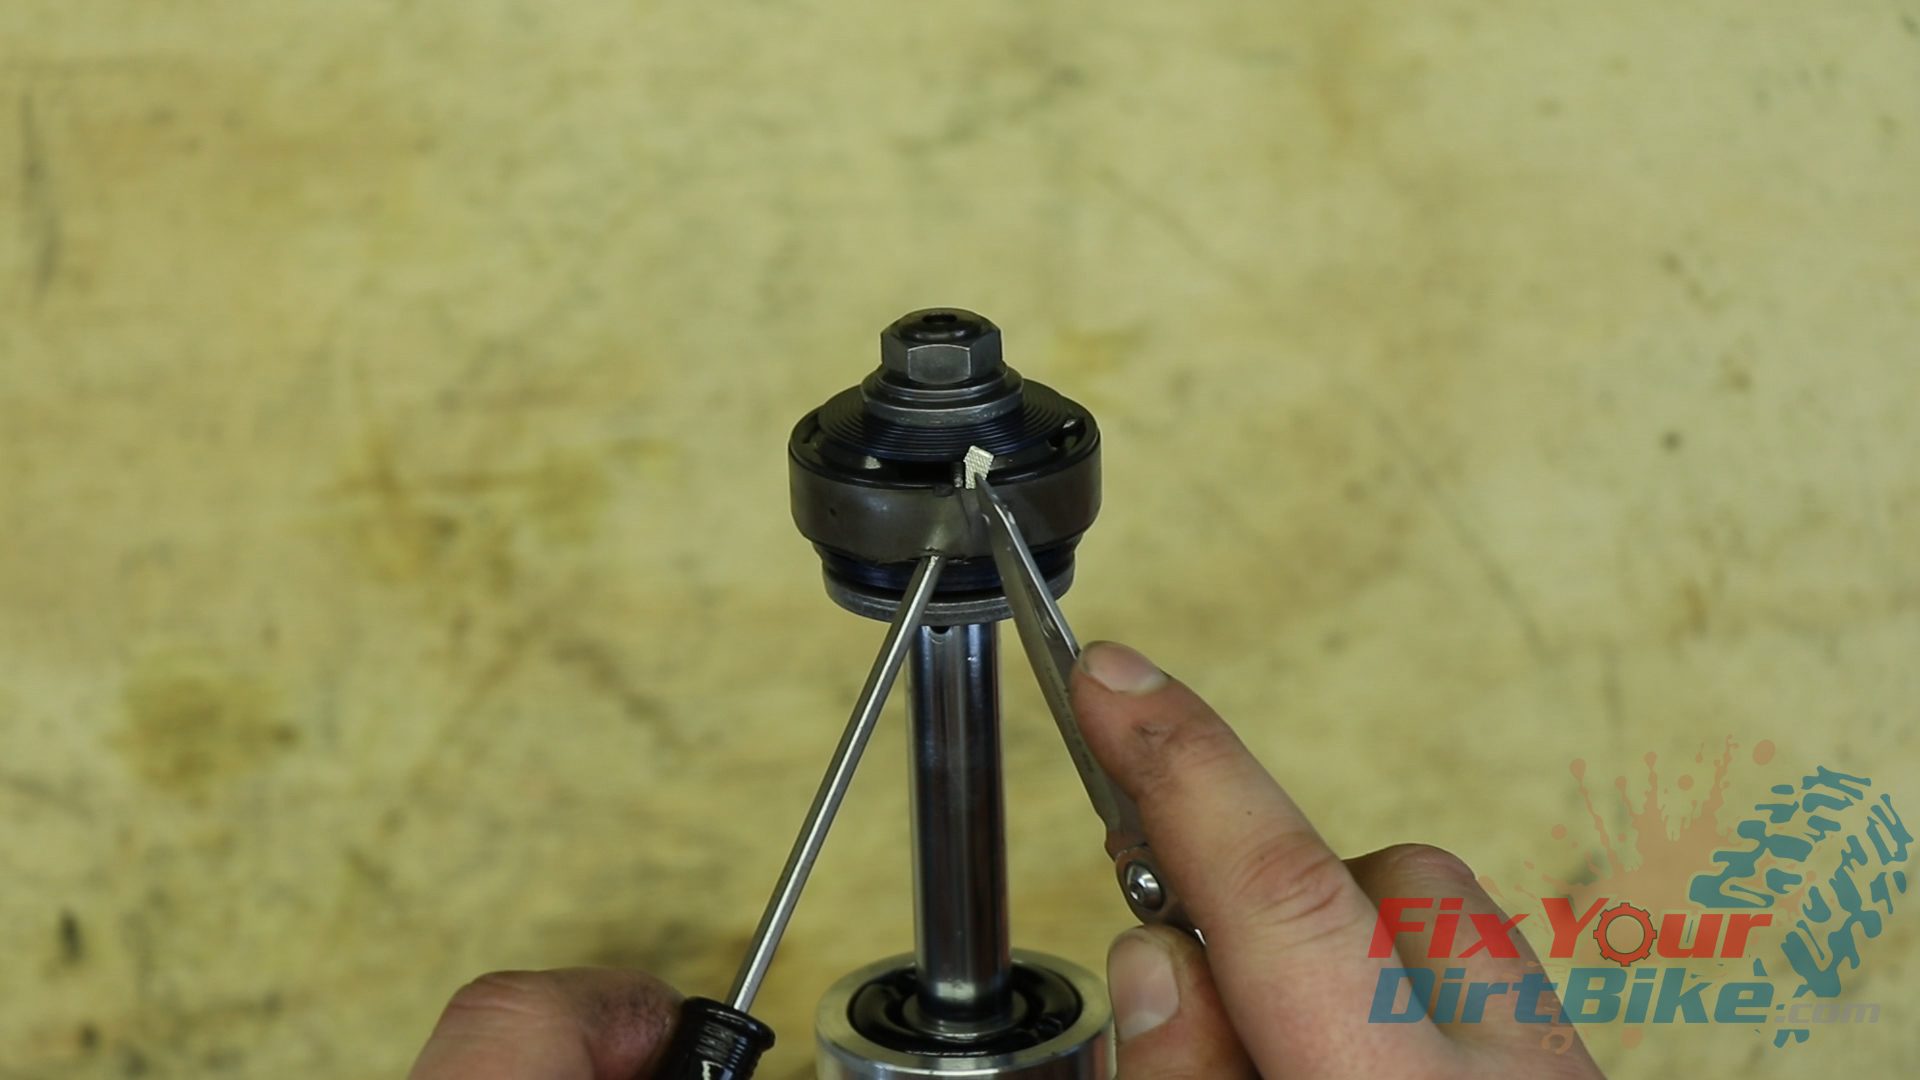
Shock Shaft Removal
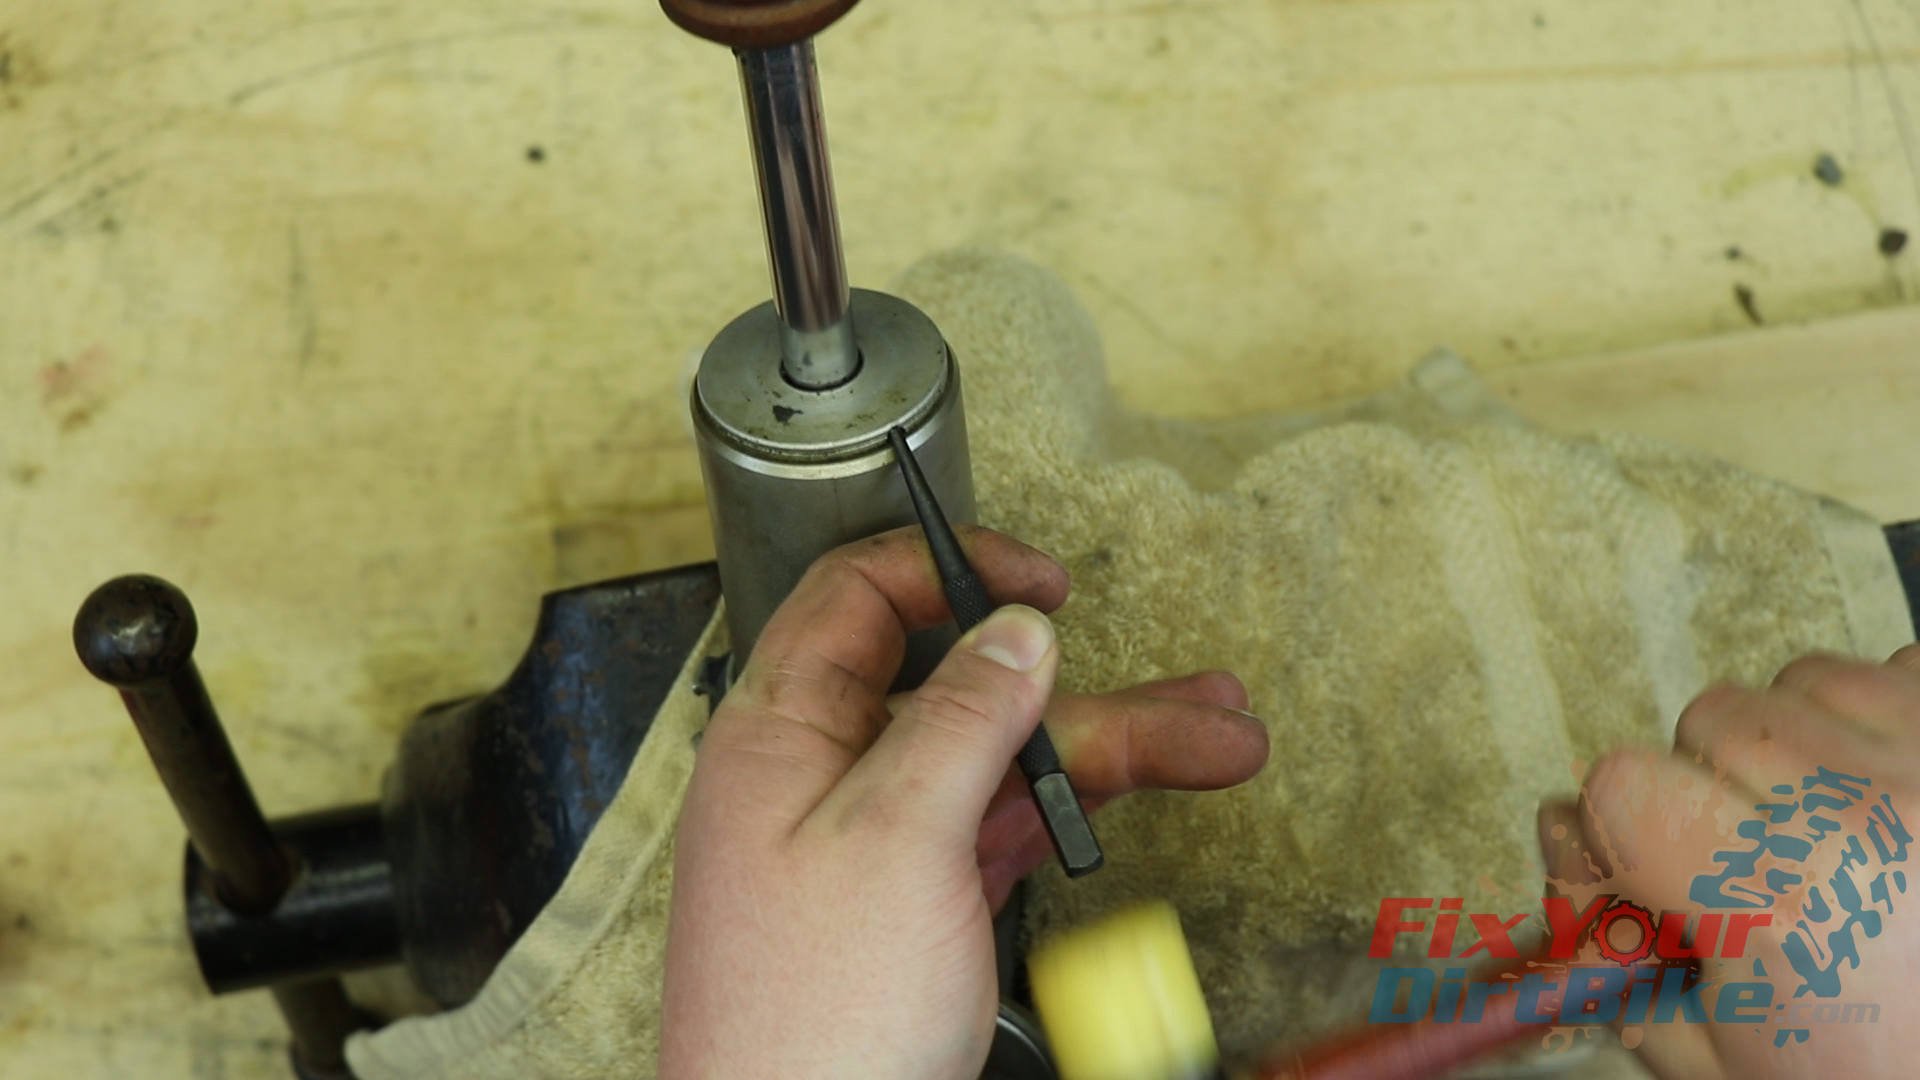
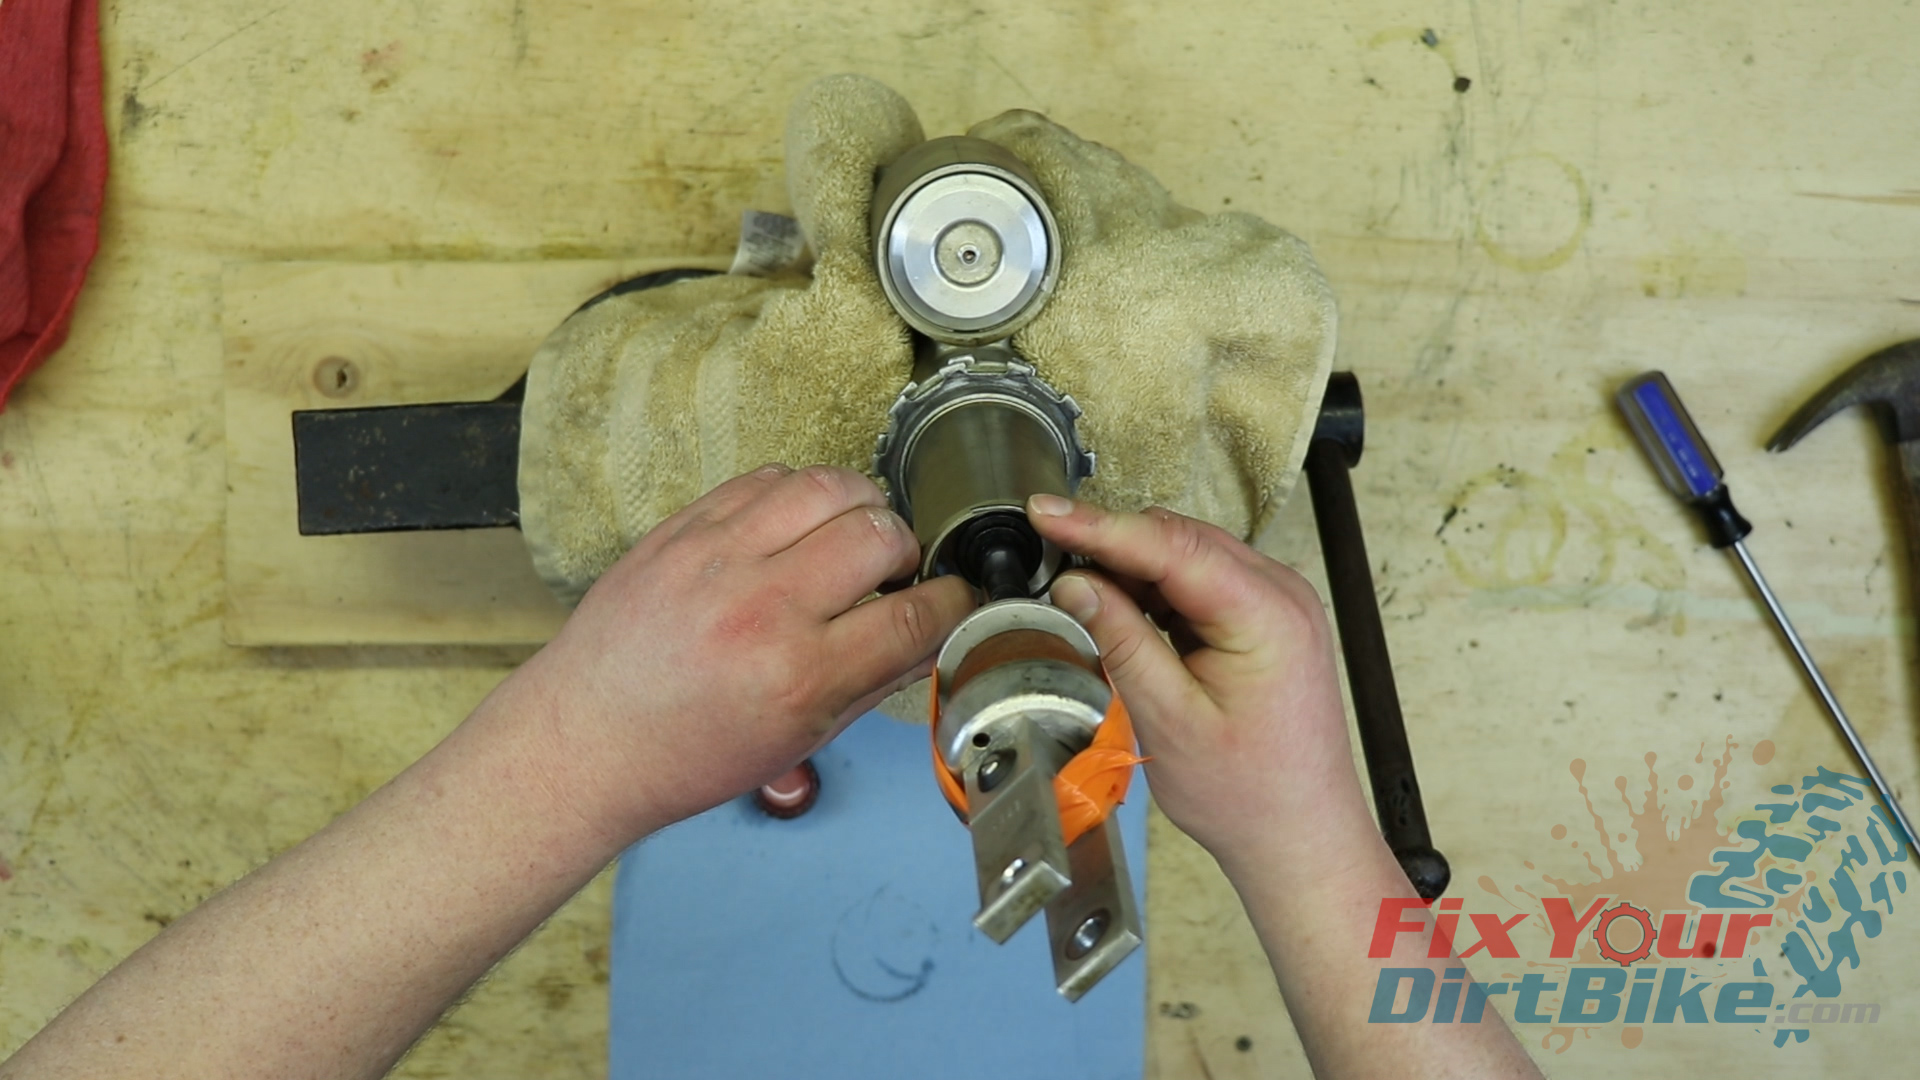
- Locate the two punch holes on the endplate, and using your punch and mallet, remove the plate.
- Secure the bumper seat, bumper, and shock stopper cap to the end of the shaft.
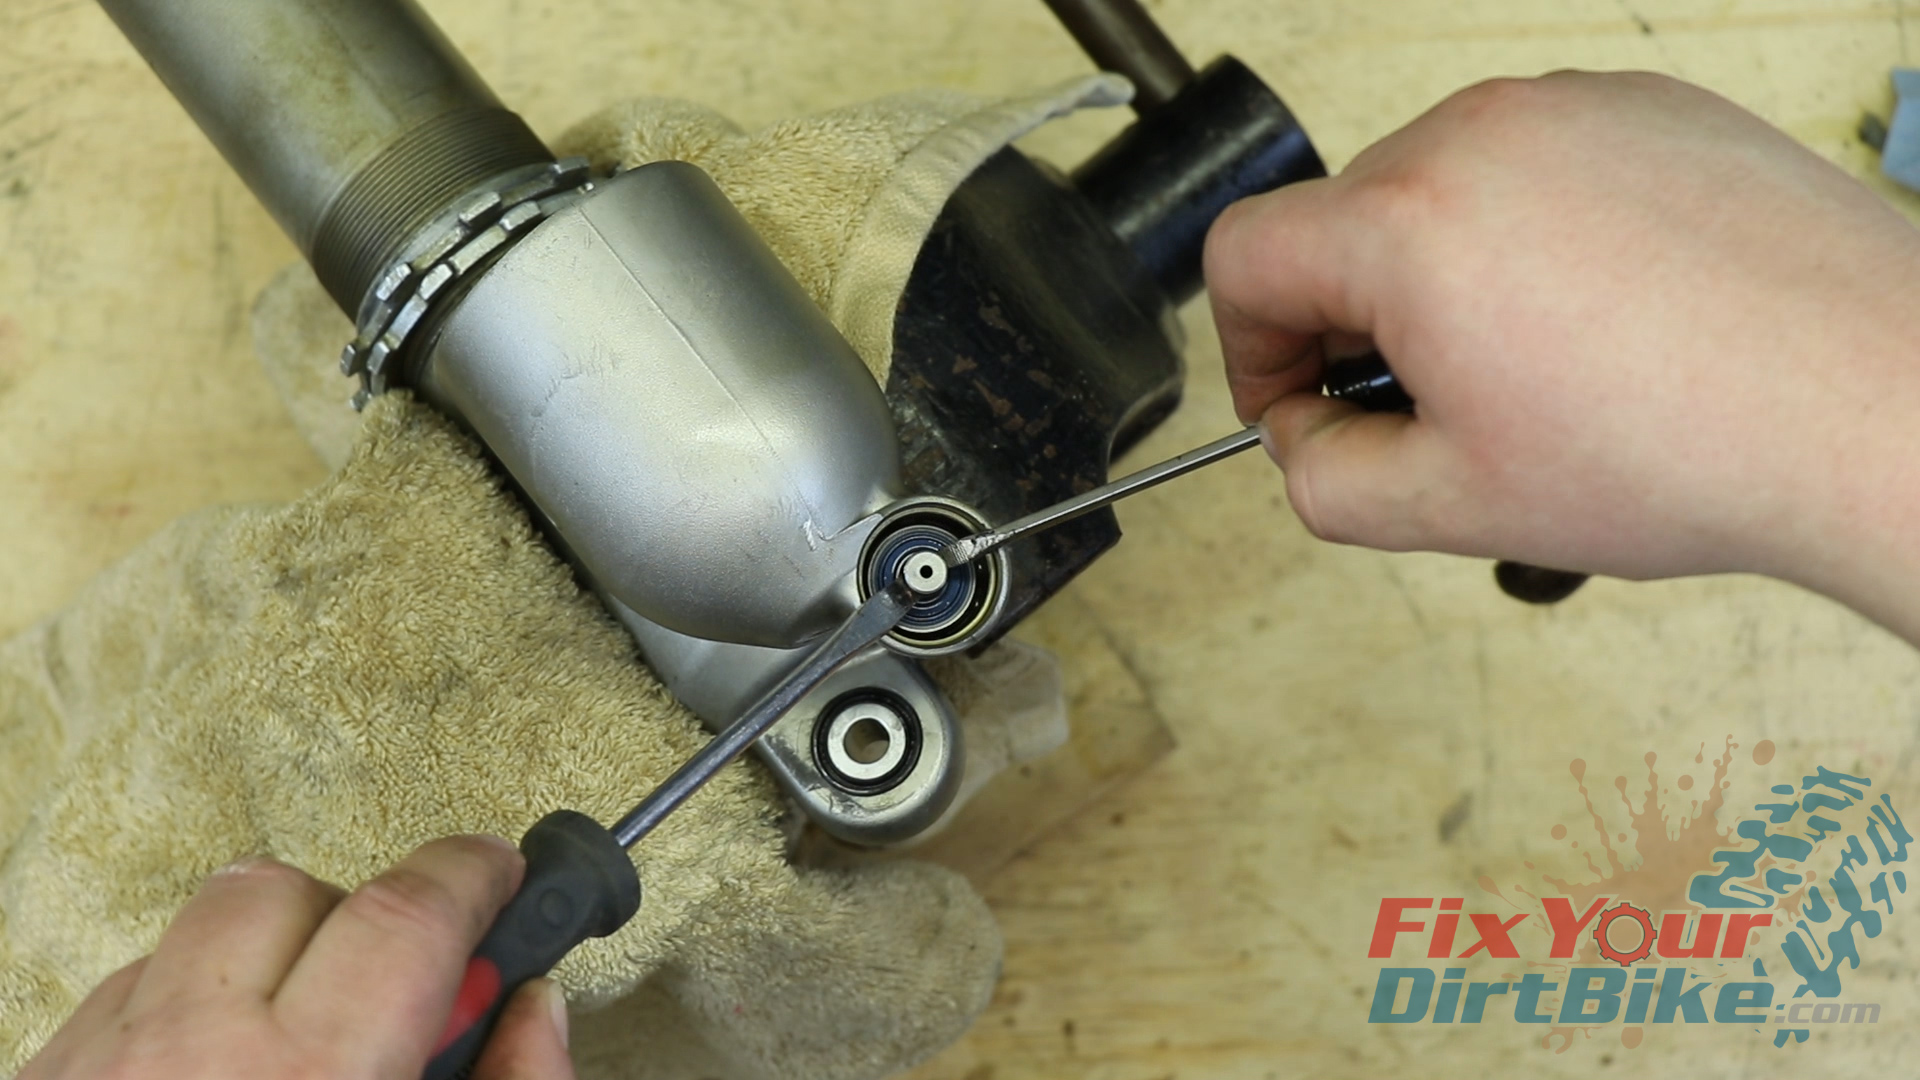
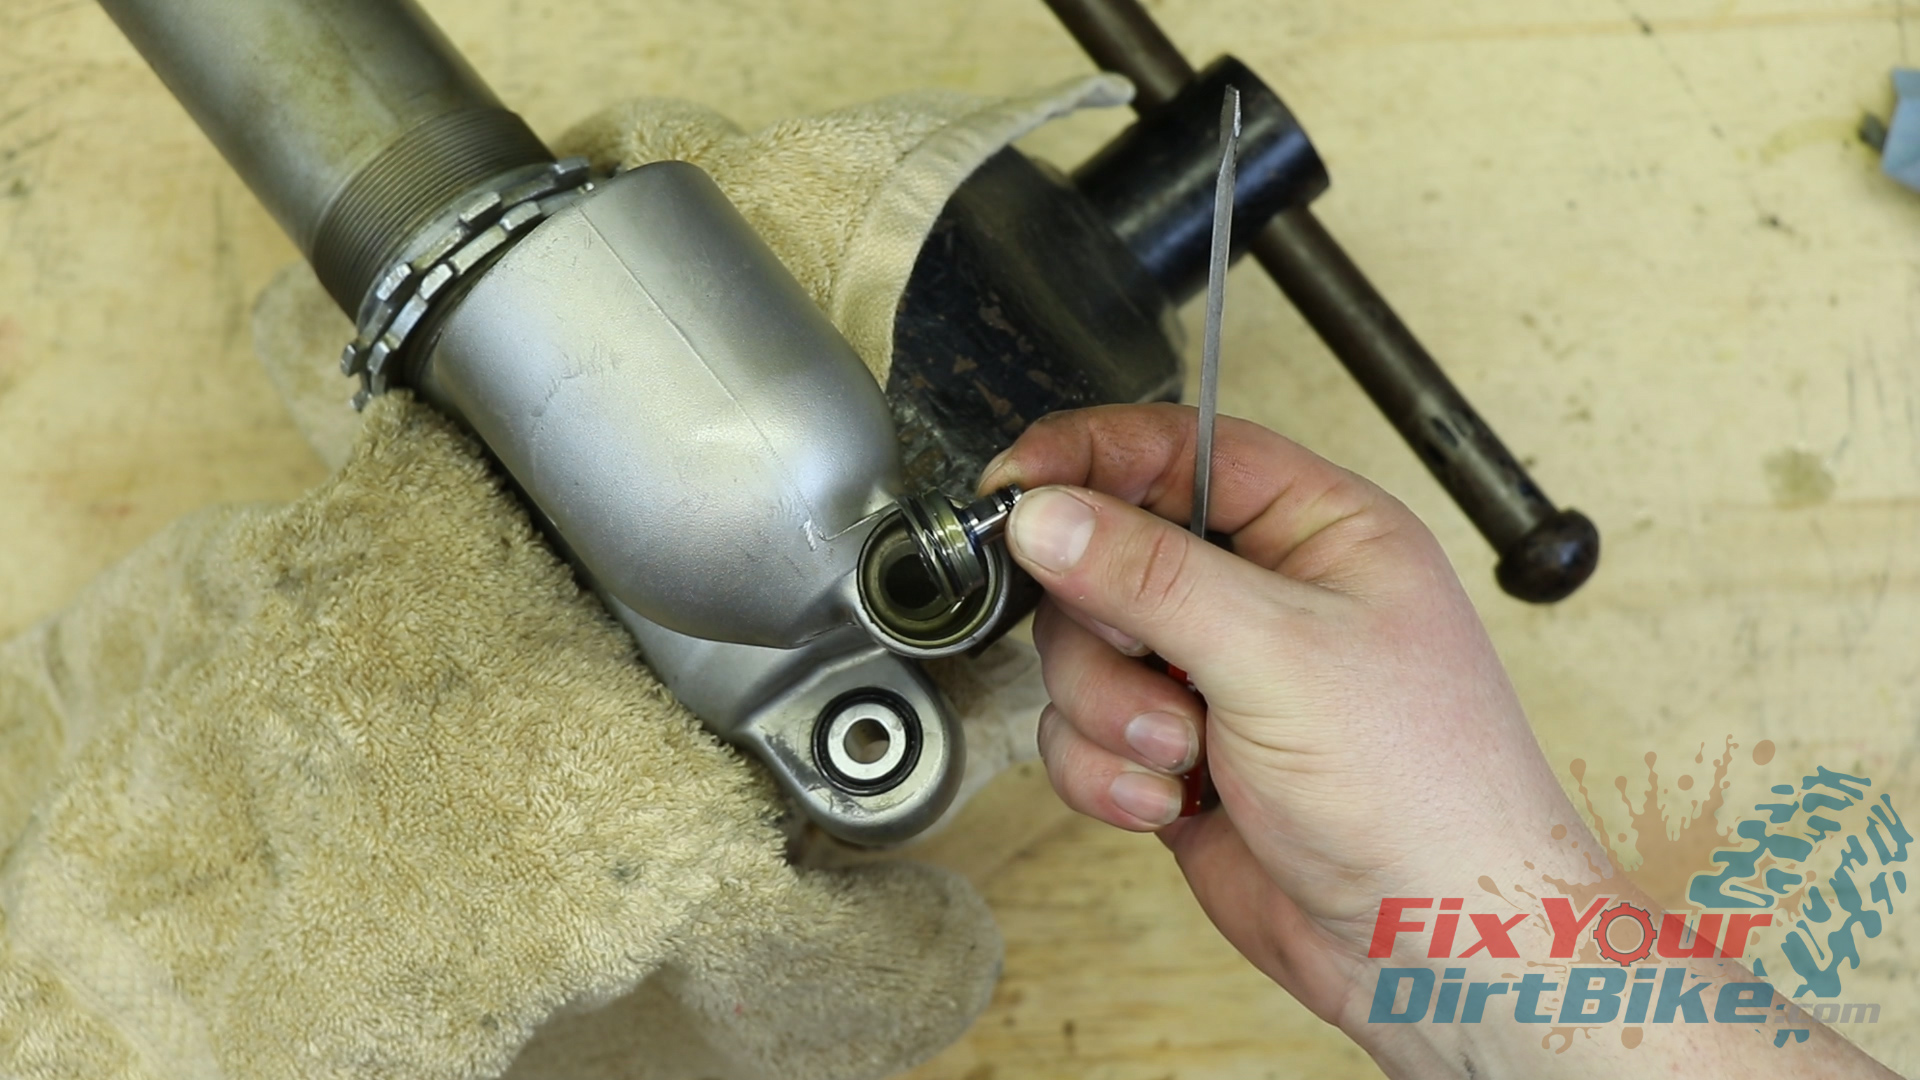
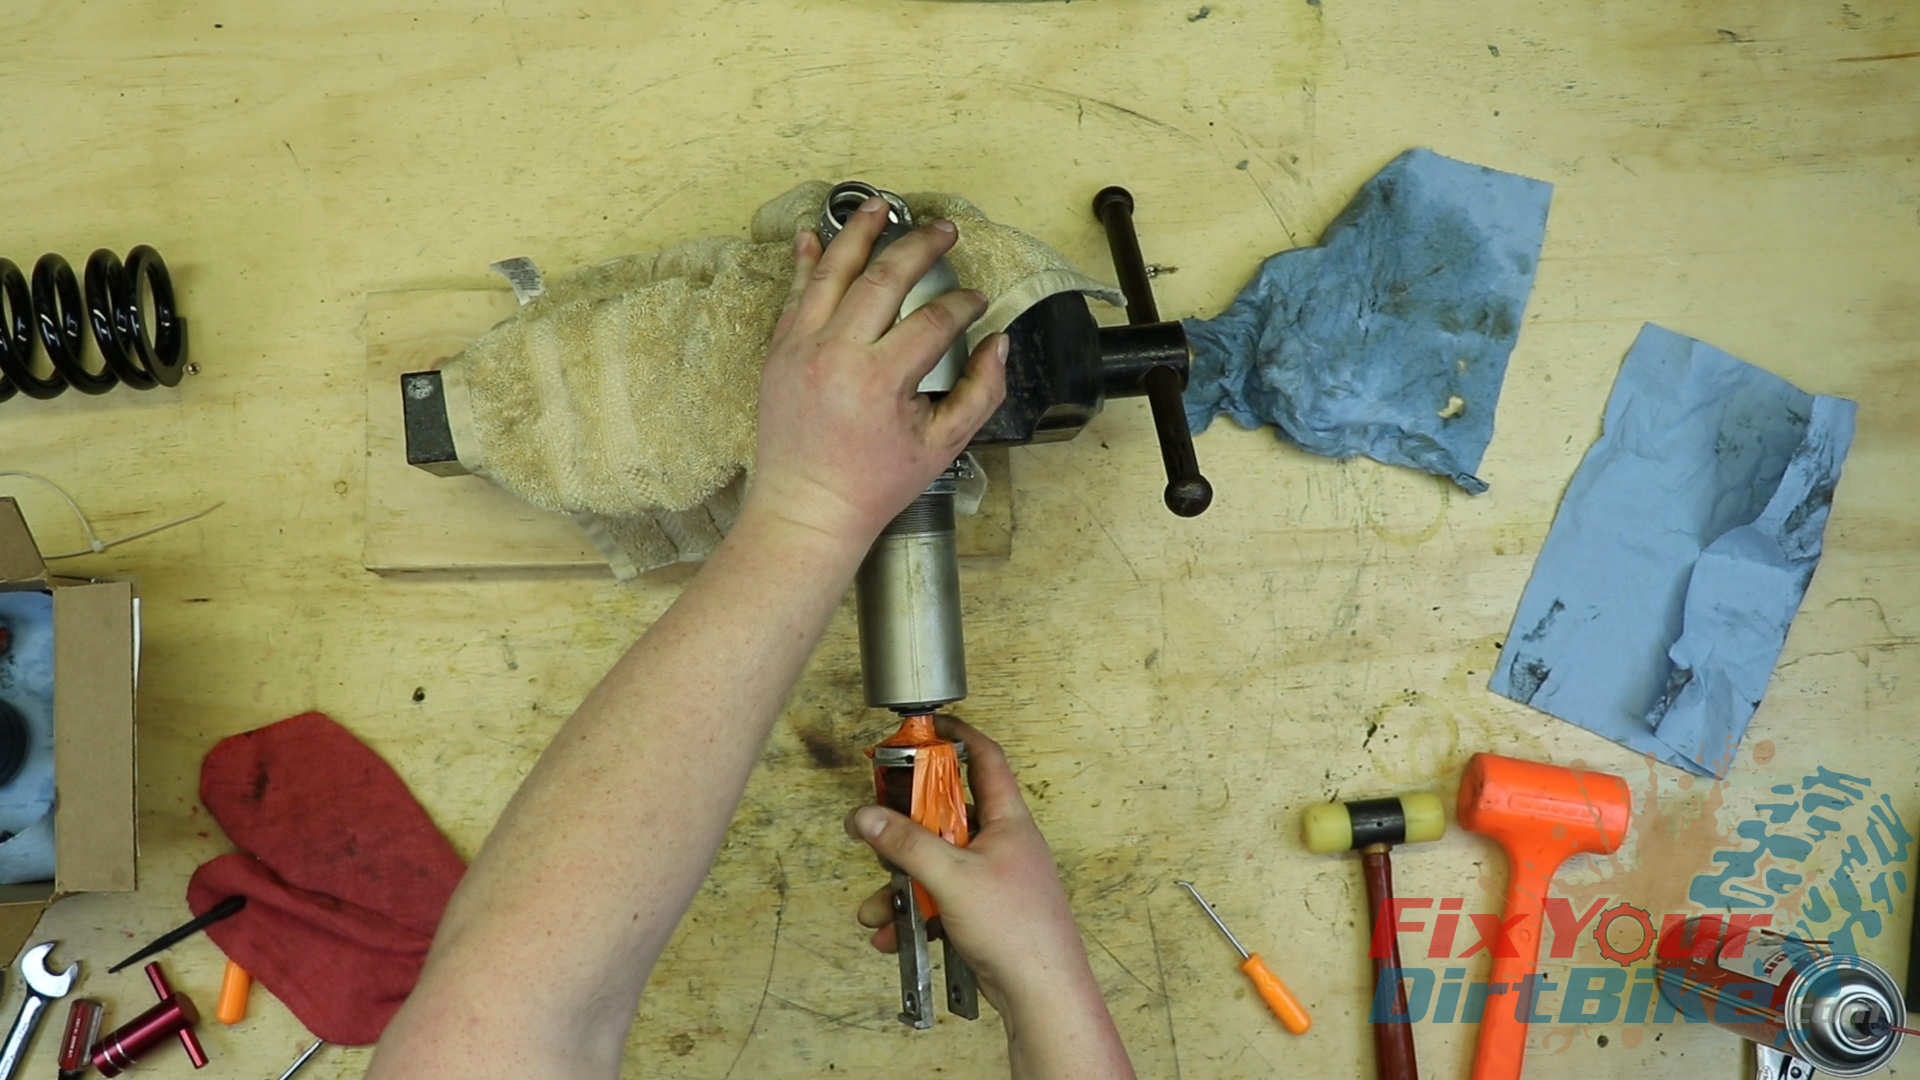
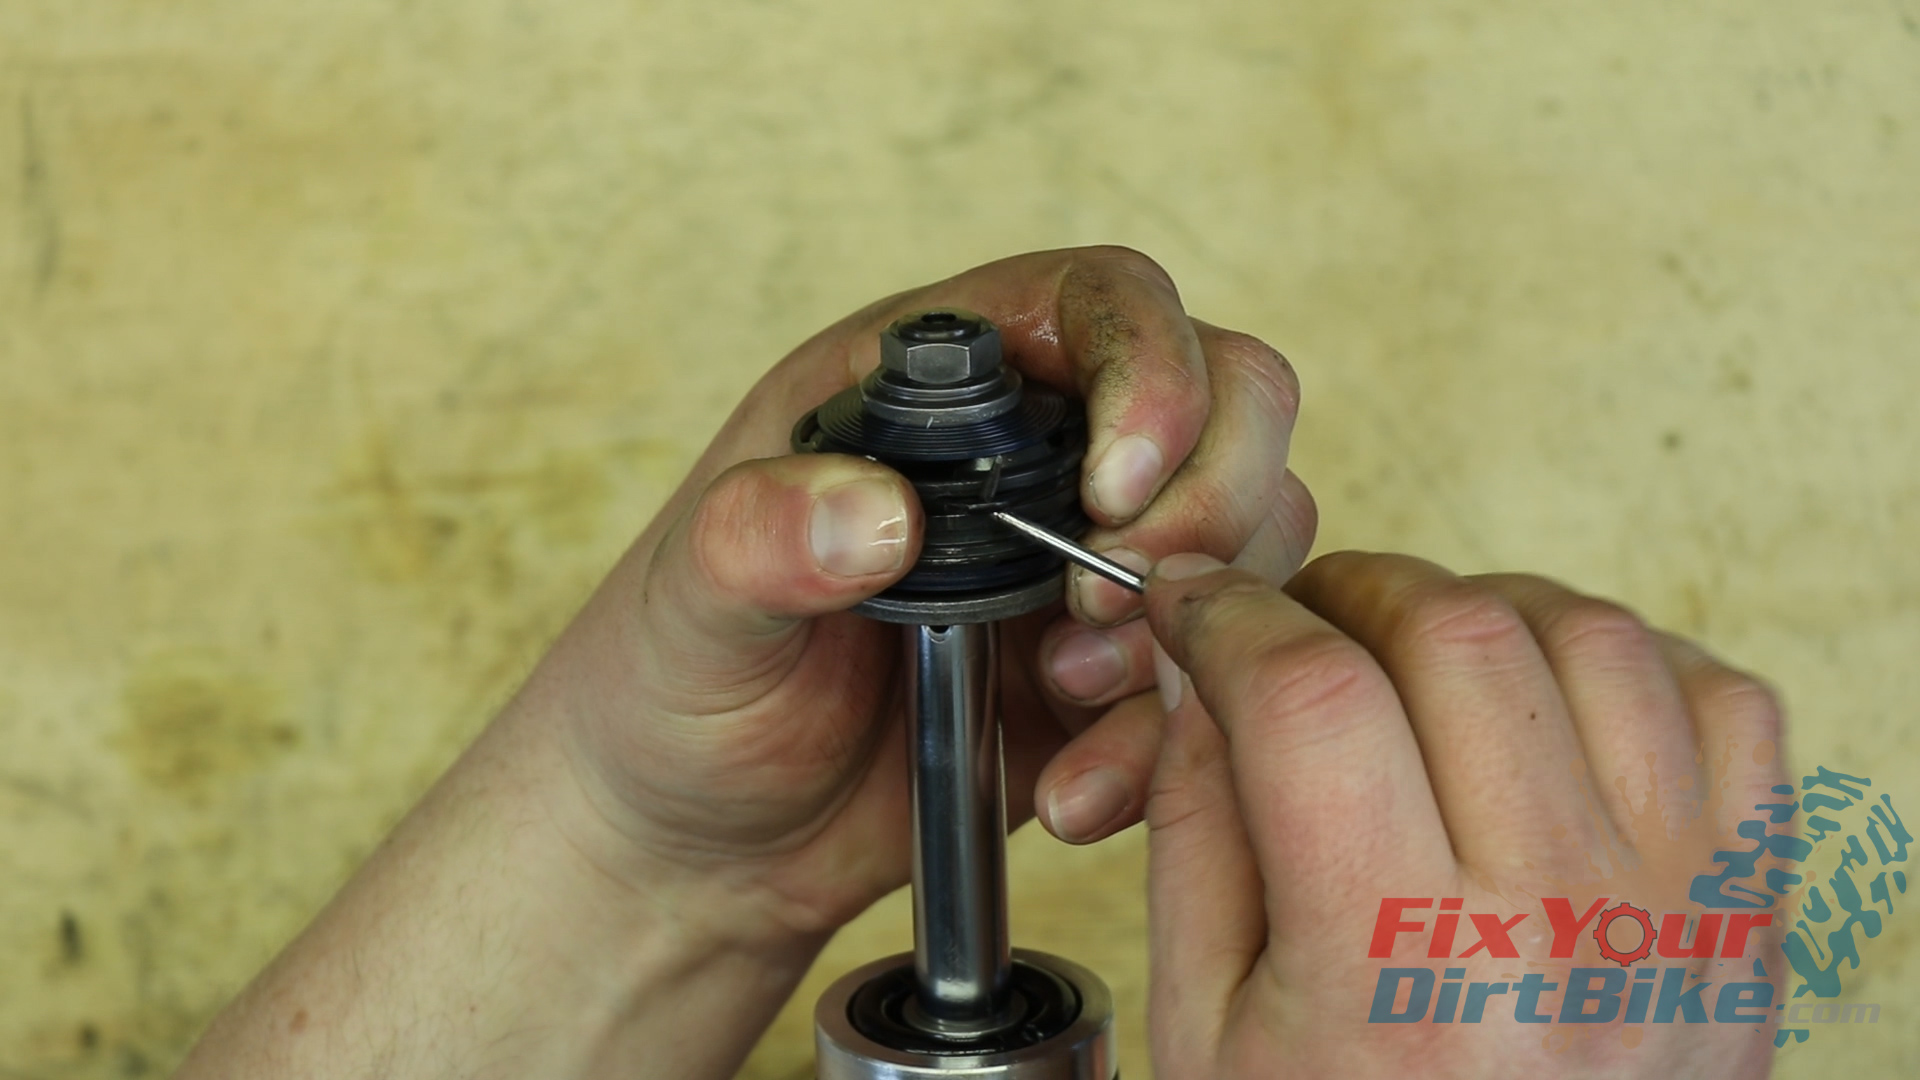
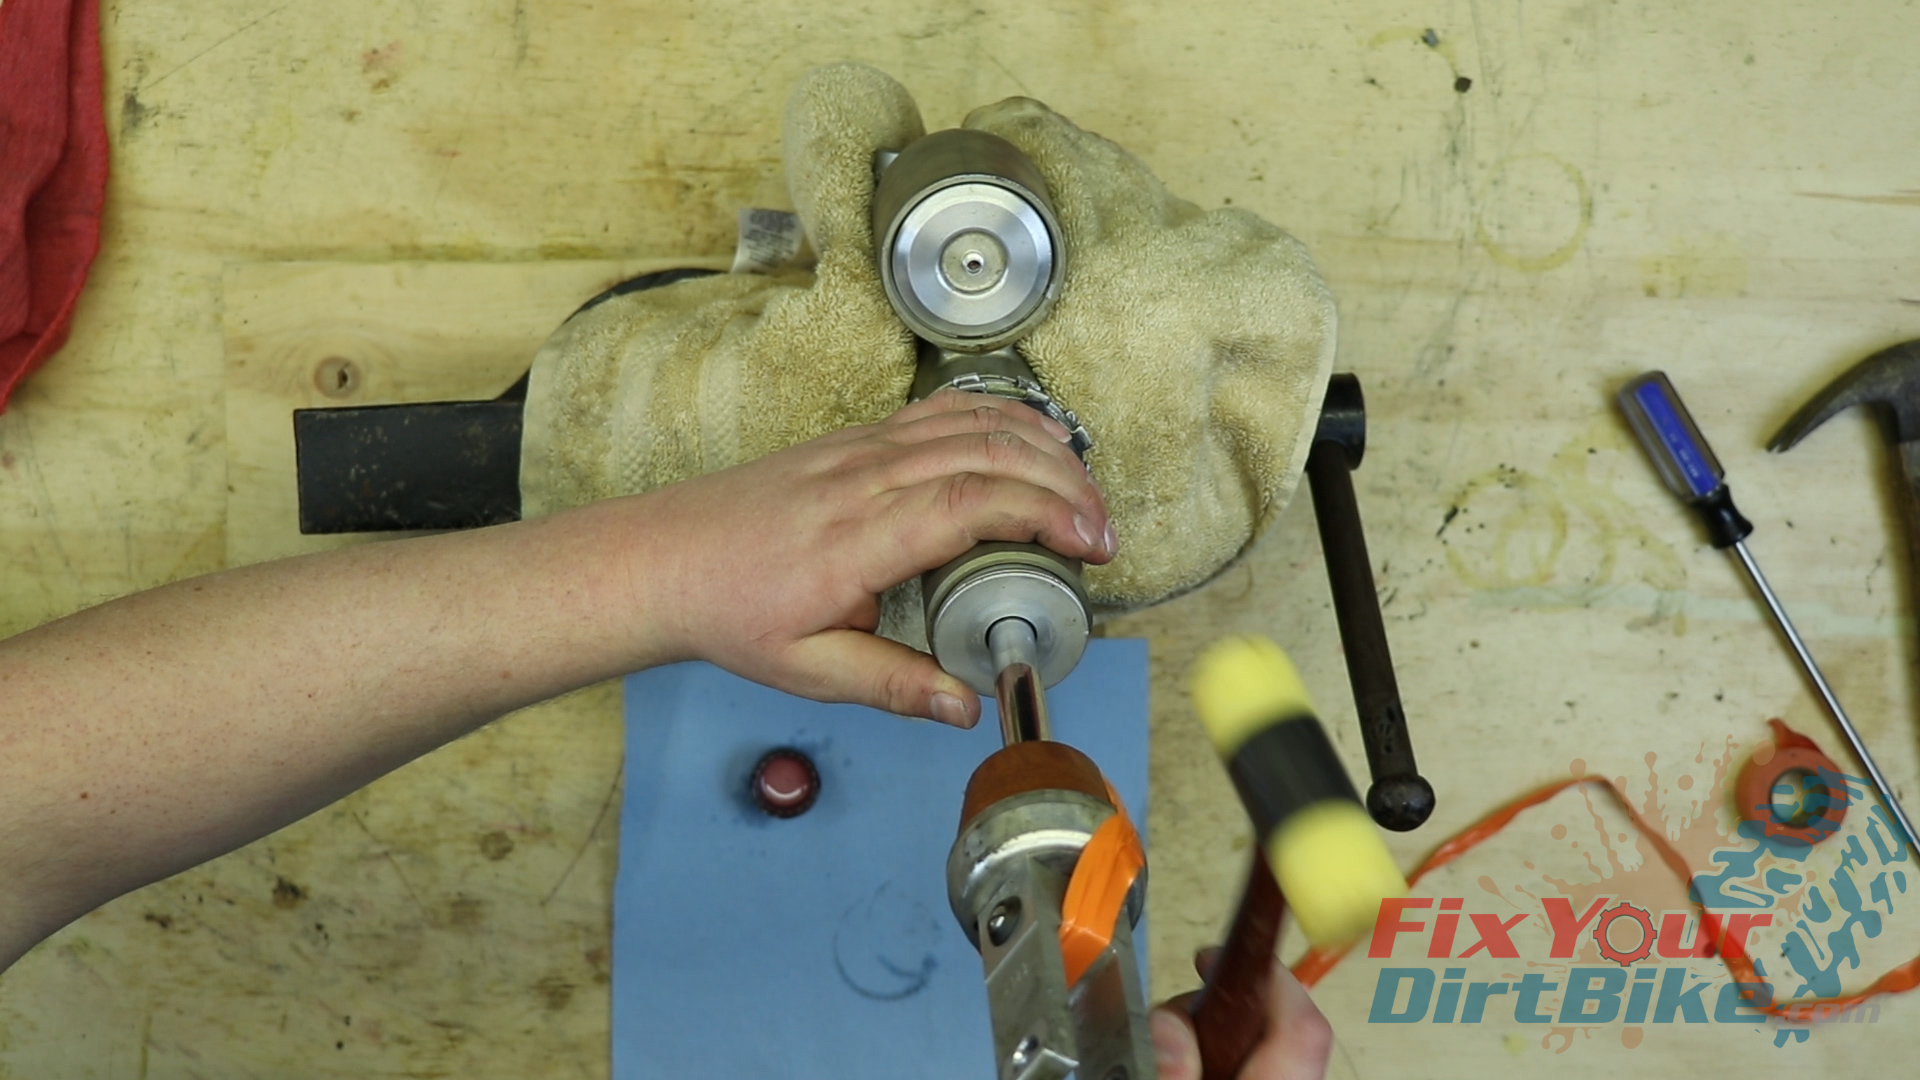
- Place your head setting tool and drive the seal head into the shock body far enough to access the retainer circlip.
- Remove the circlip with screwdrivers or a pick, taking care not to scratch the bore.
- Clean the seal head, and smooth down any scratches or burs. The bore must be smooth to remove the shaft.
- Aggressively remove the shaft from the shock body.
Related: Tune you shock like an AMA pro with Racetech’s Gold Valve kit.
New Rear Shock Rebuild Parts
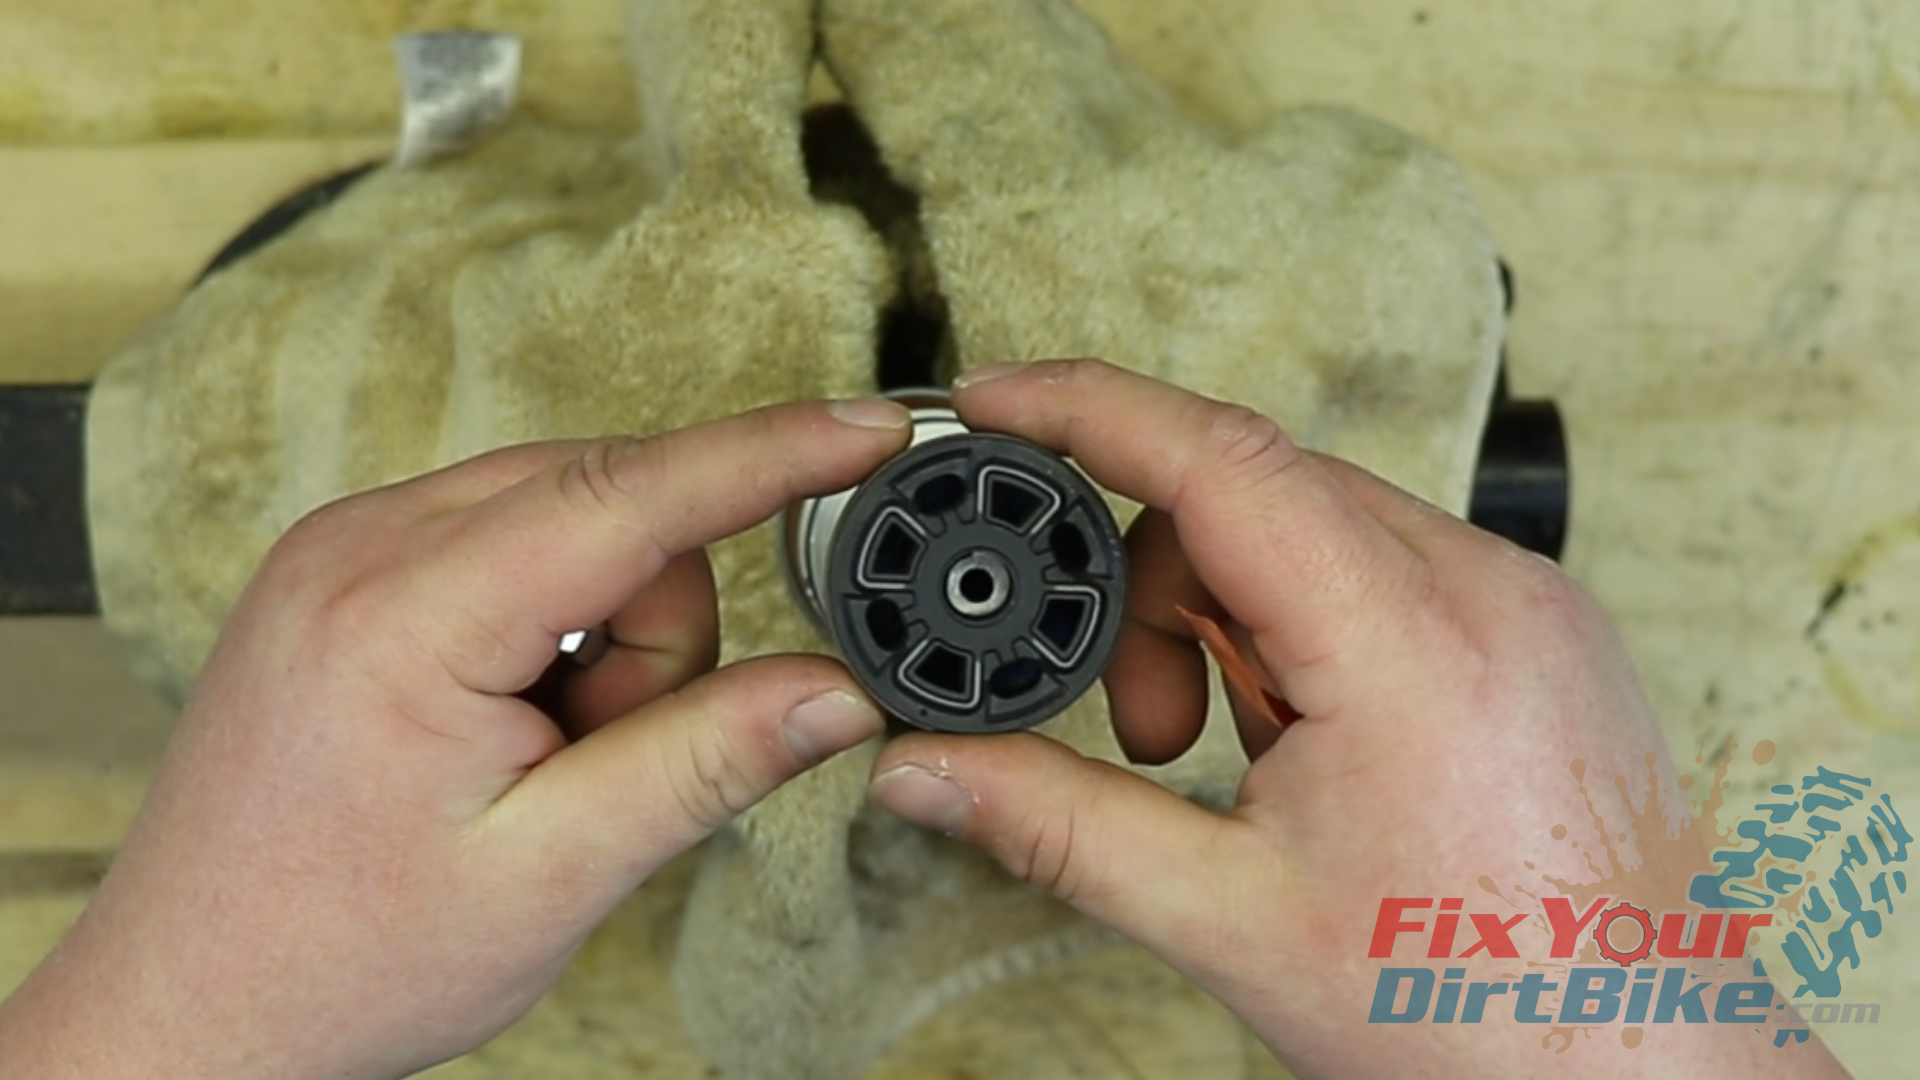
As always, check your new parts before you remove the old ones.
I am using a pivot works rebuild kit, but I’m less than impressed with it.
It replaces the stock rubber bumper with a polyurethane one, the reservoir bladder does not match the stock size, this kit does NOT include new o-rings for the compression adjuster, and the piston bushing is one solid piece.
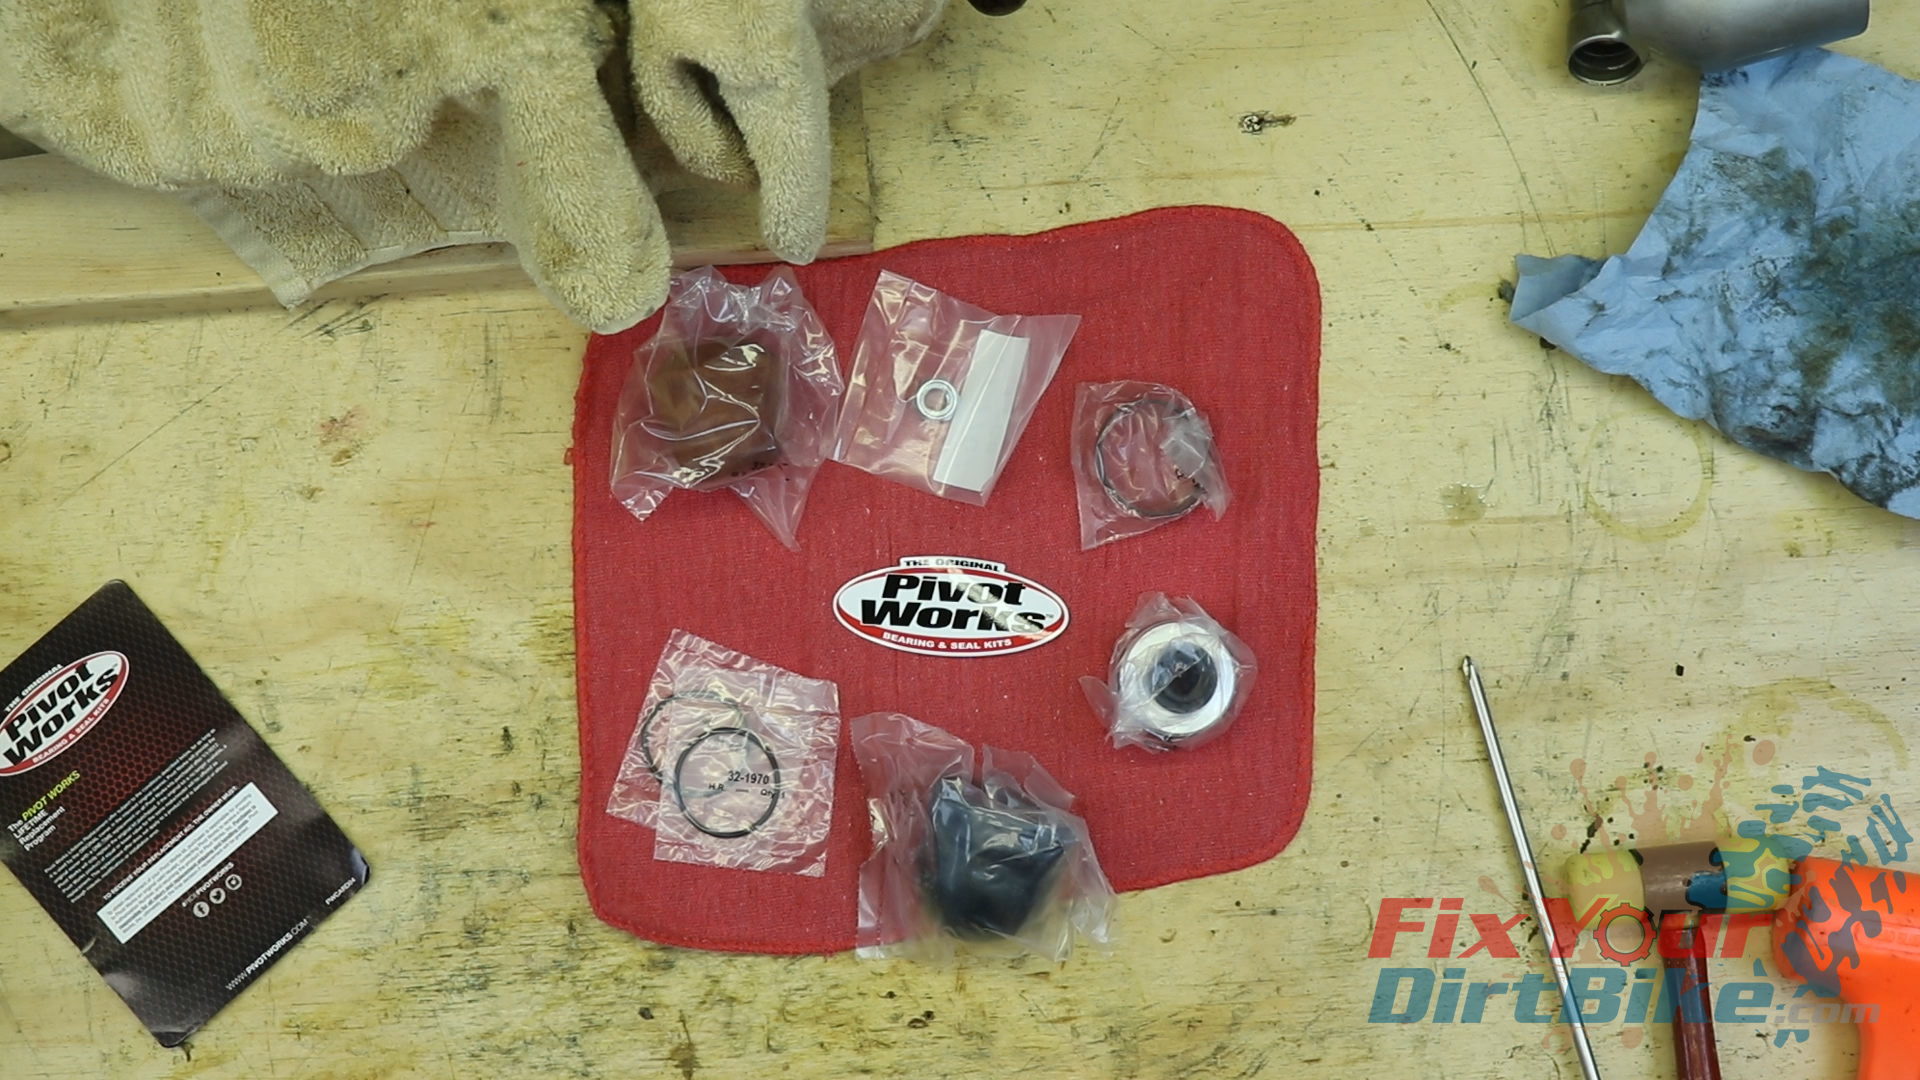
The solid bushing does match the stock one, but you need an installation kit, which most DIY guys, including myself, do not have.
You can install the bushing without the kit, but you need to be careful, and I’ll show you how later on.
Even with missing and mismatched parts, this rebuild does offer high-quality components.
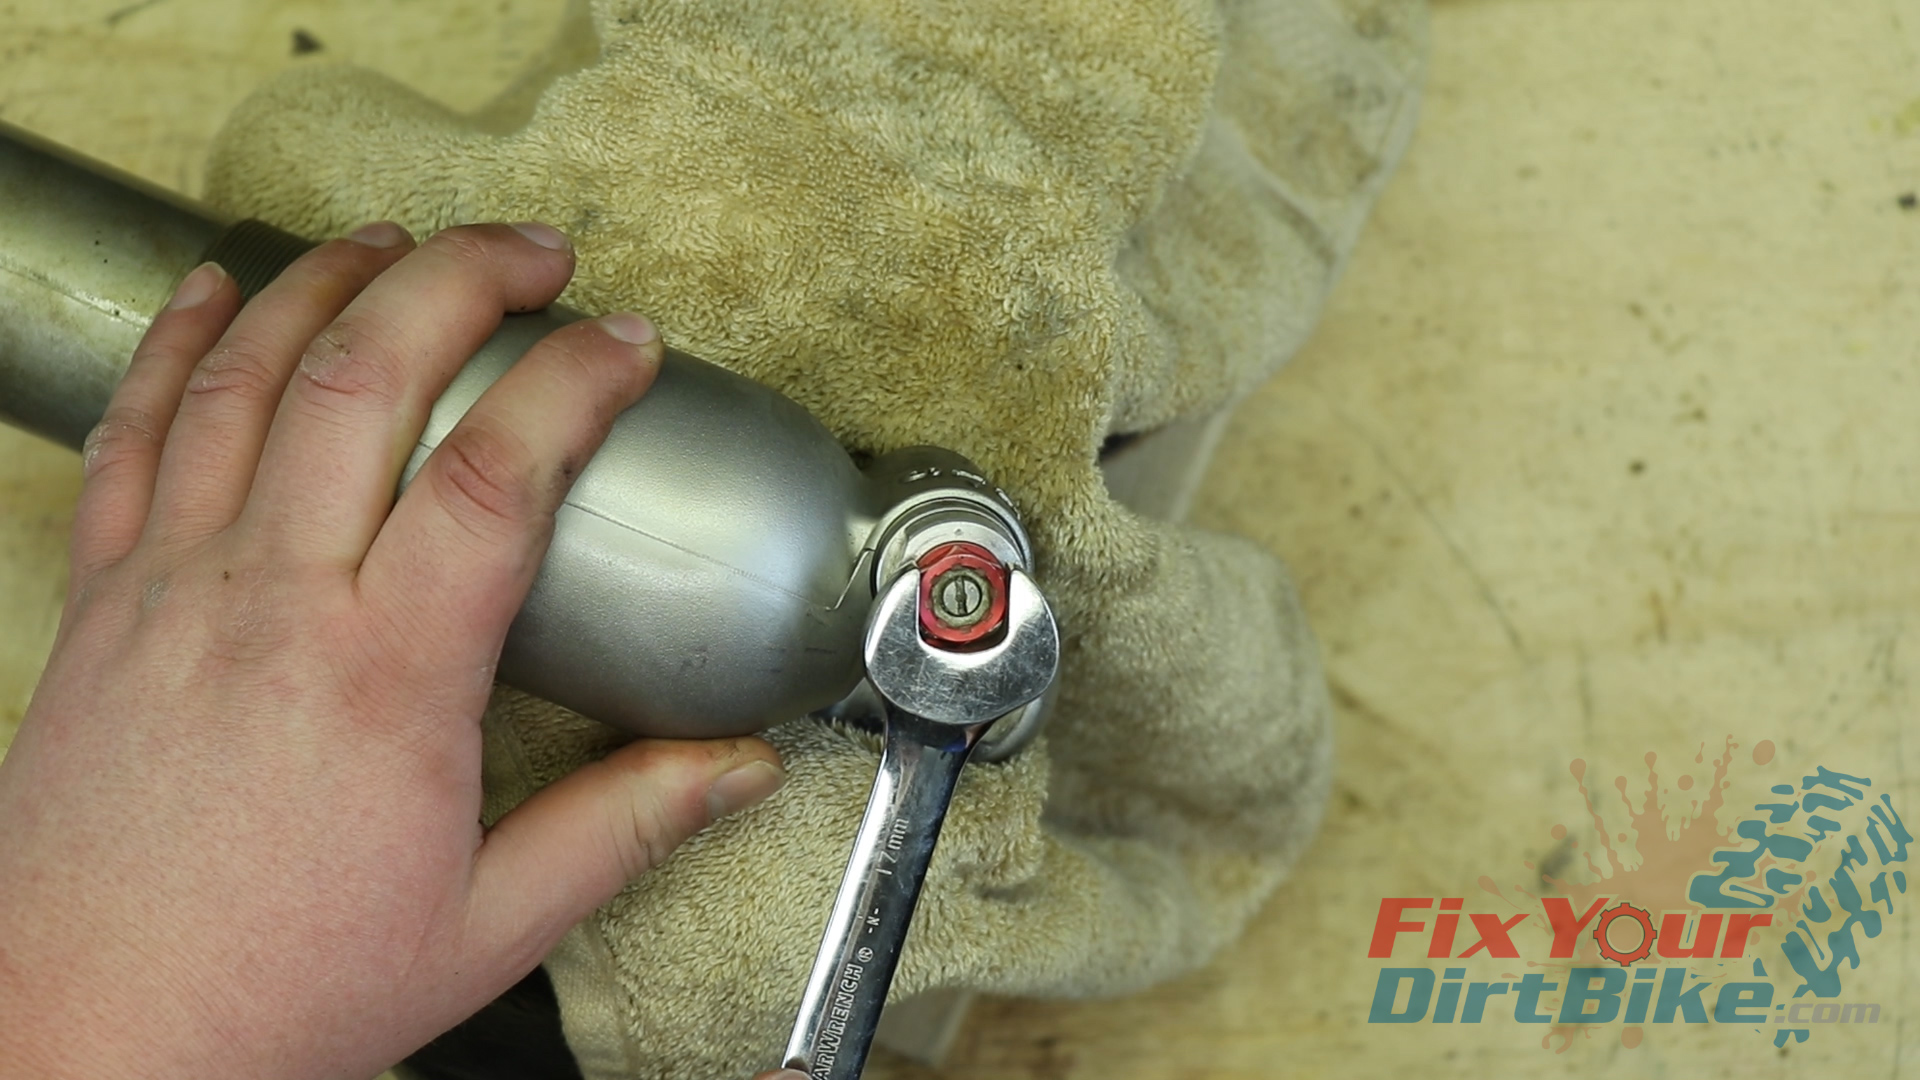
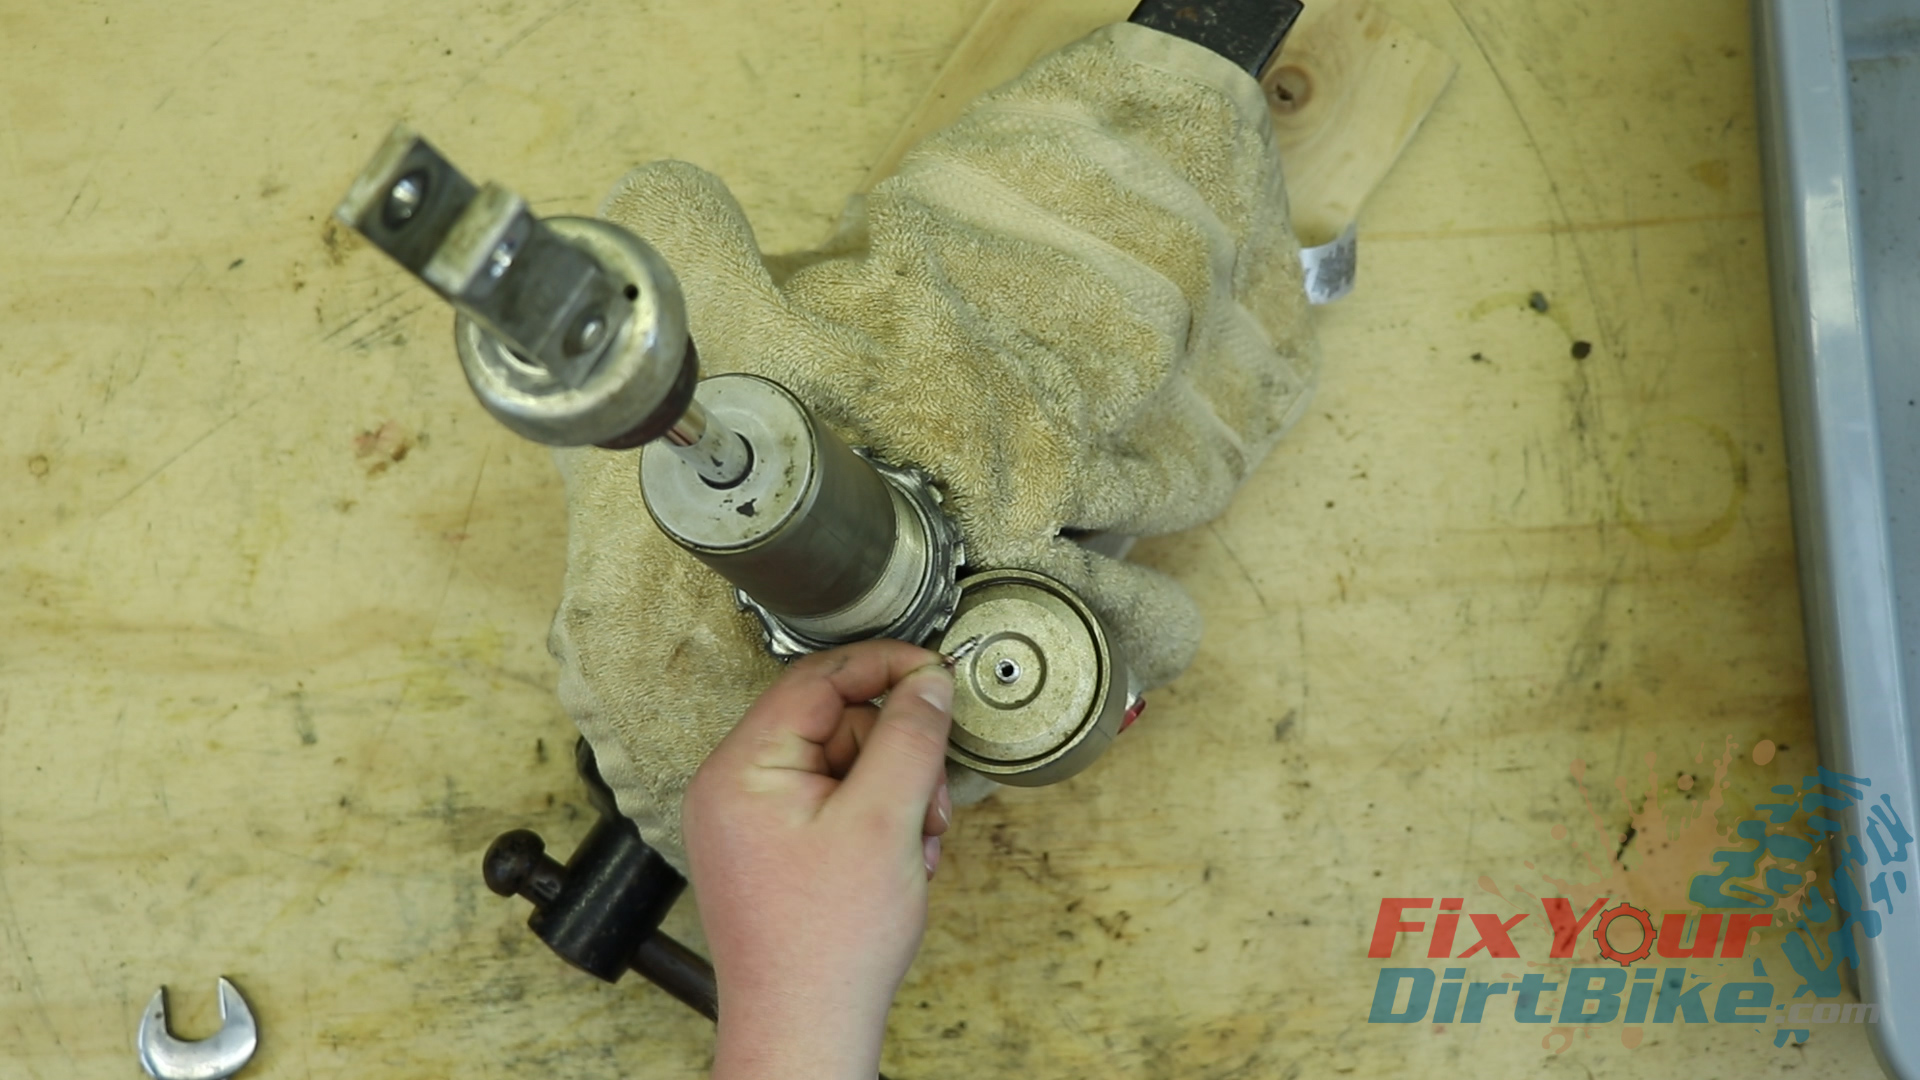
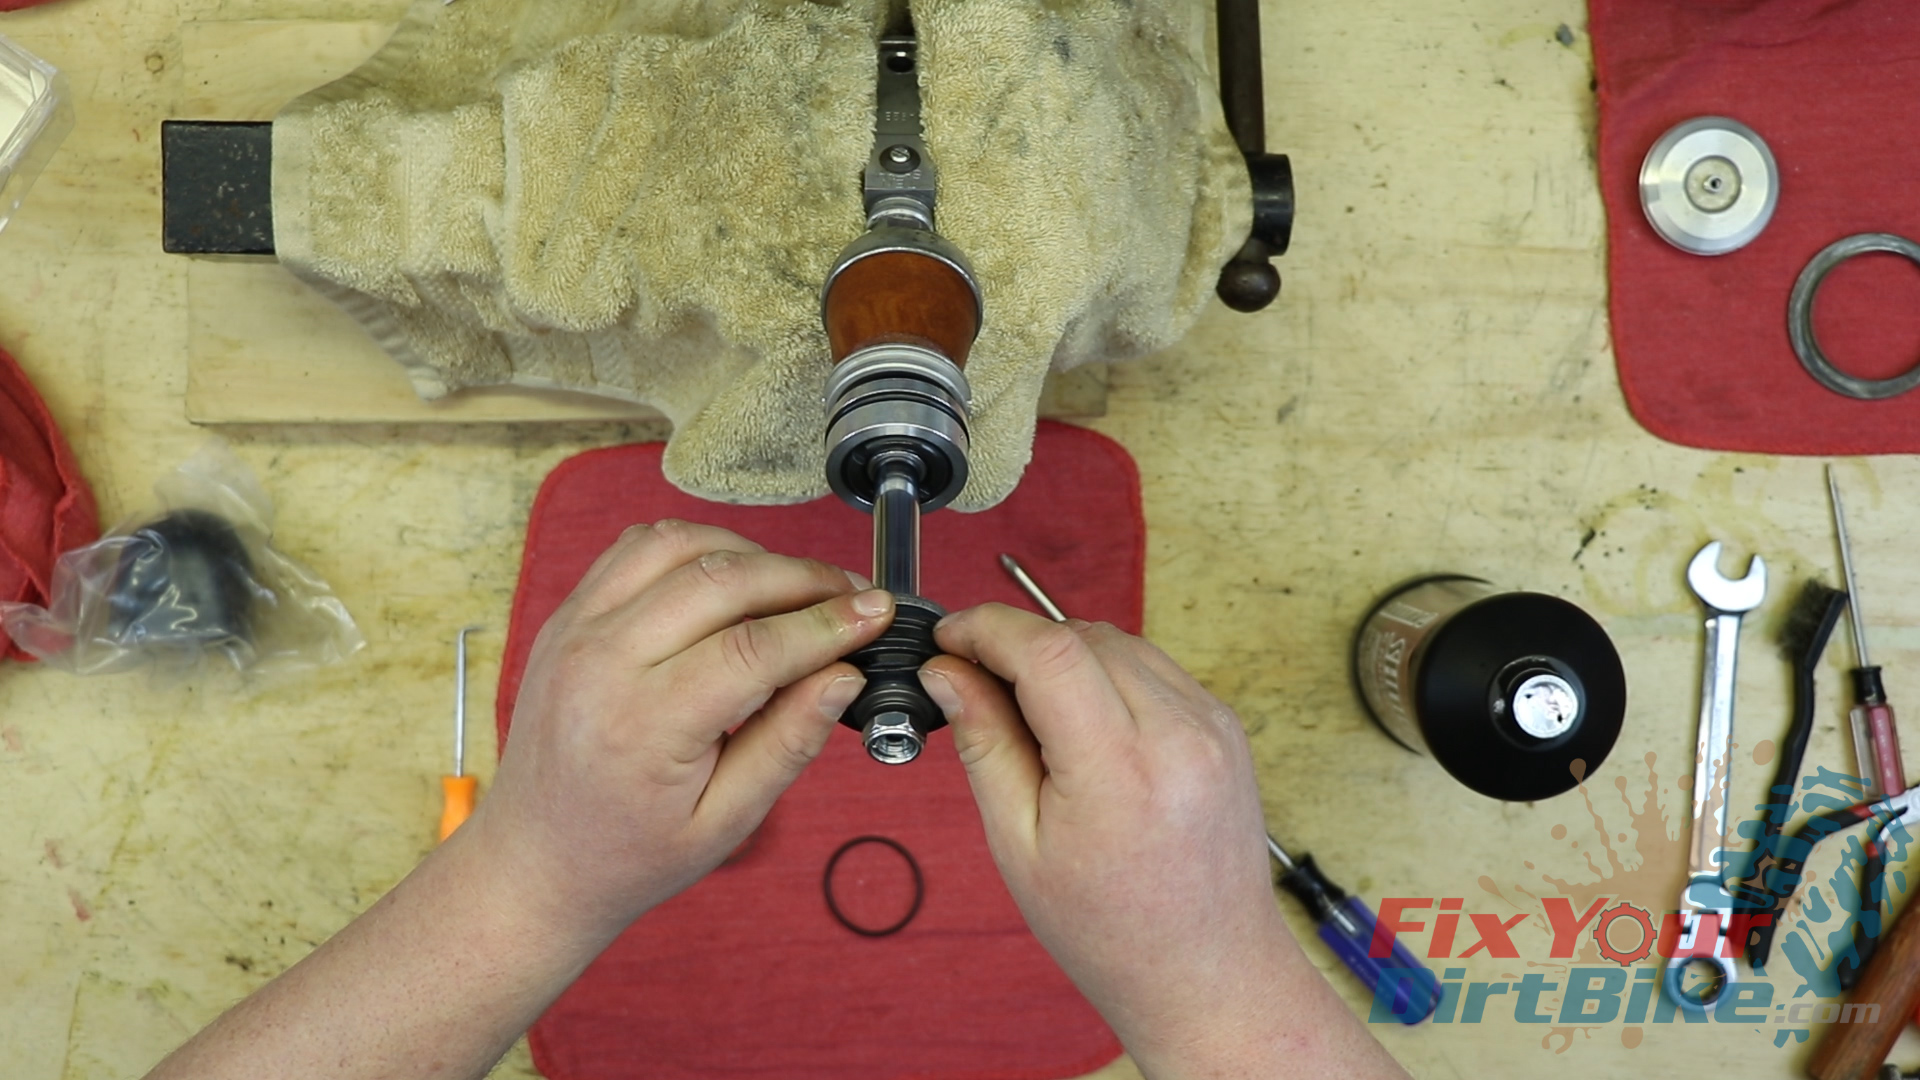
Rear Shock Shaft Service
- Remove the piston bushing and o-rings.
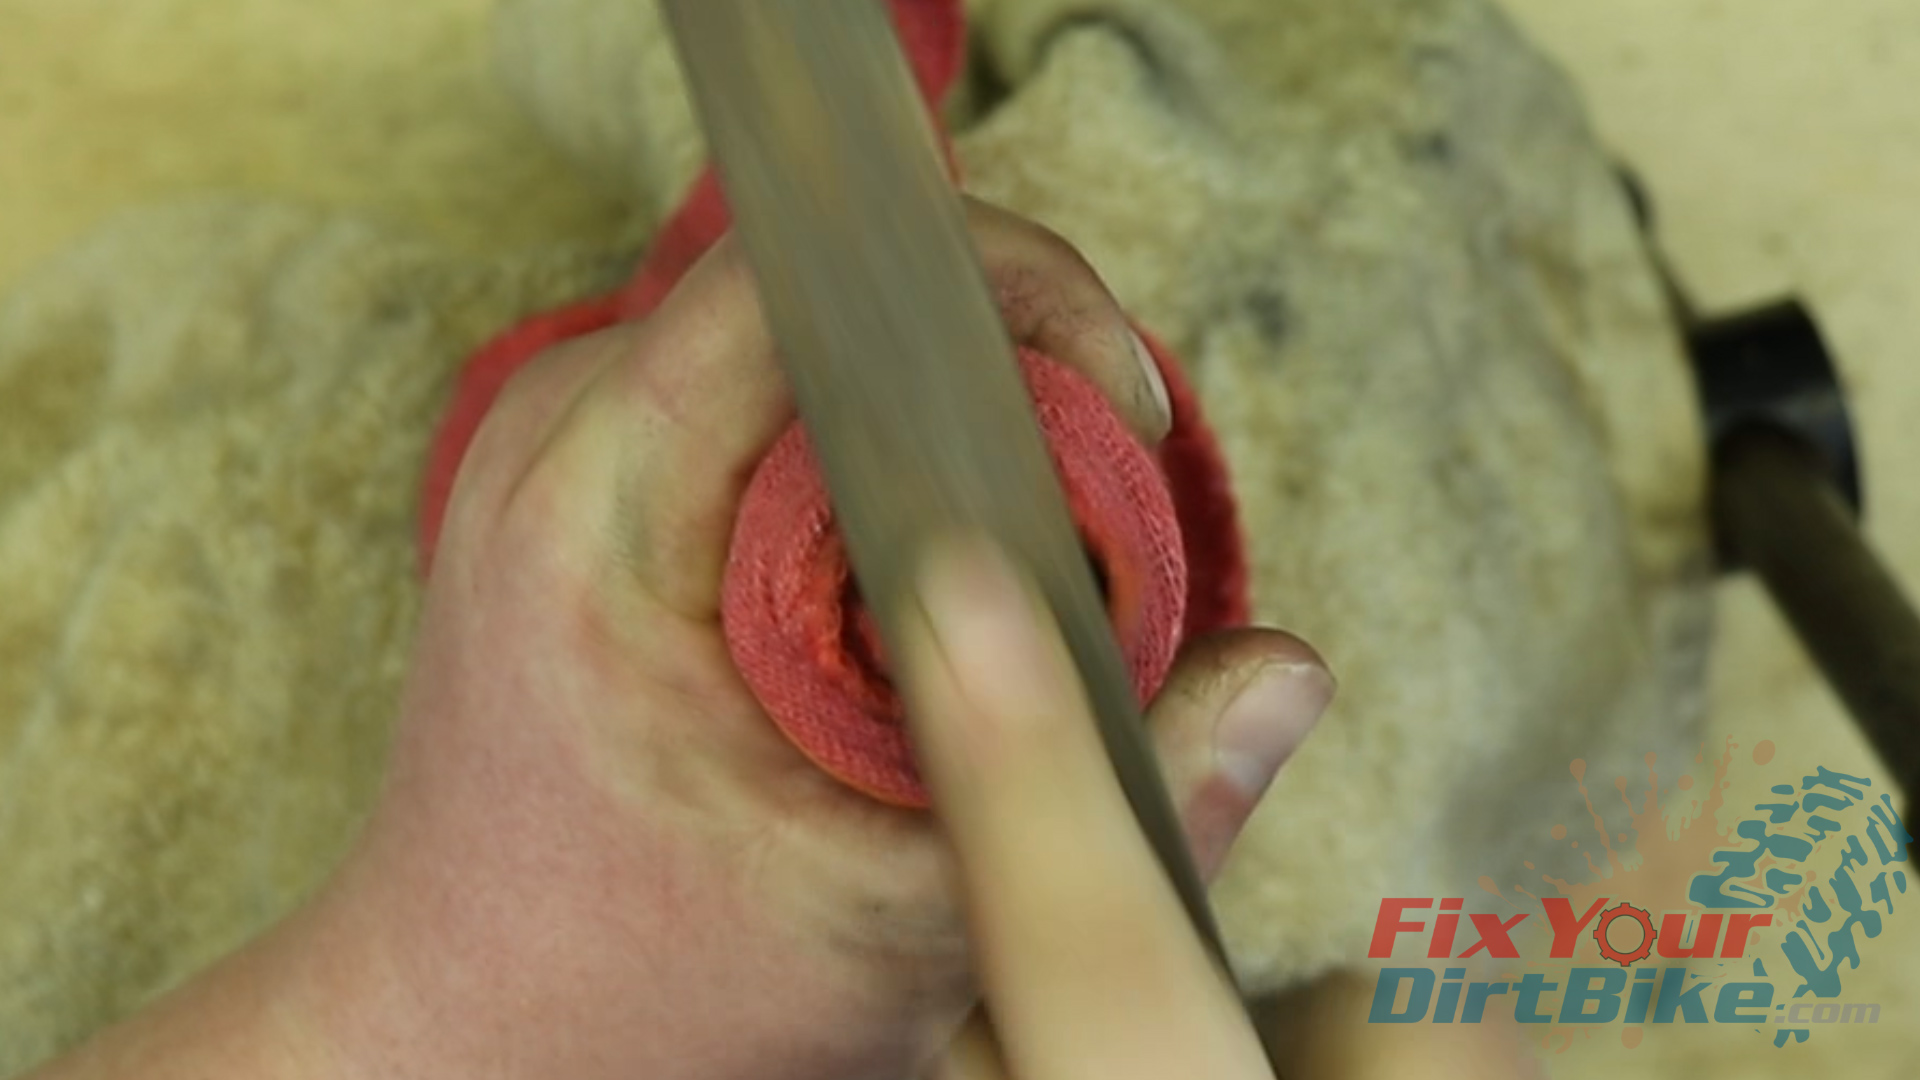
- The shock nut needs to be secured to the shaft to make sure it stays put. If your shock has been previously rebuilt, you will see punch marks where the nut meets the shaft.
- This shock has never been rebuilt, so the shaft end still mushrooms over the nut.
- In either case, you will need to wrap your piston in a shop towel and evenly file down the end of the shaft to free the nut.
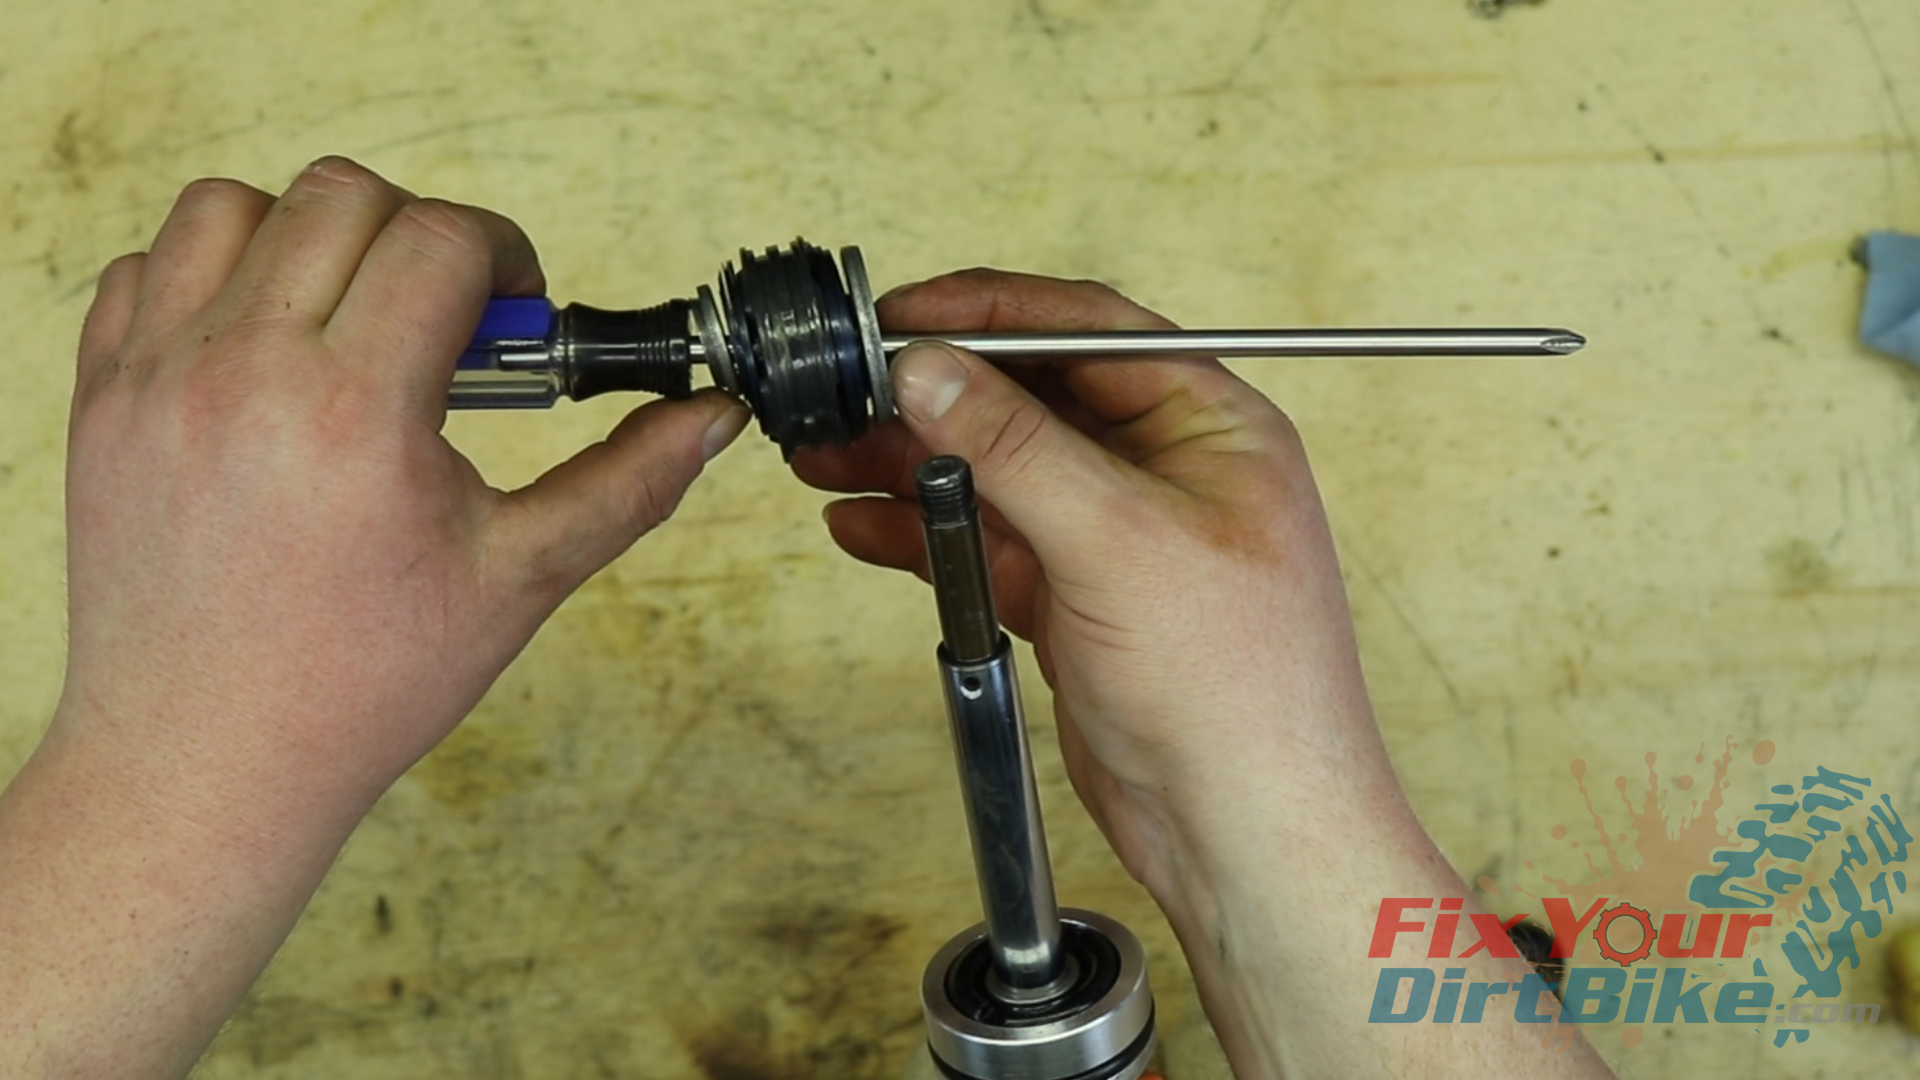
- Remove the nut, and transfer the shim stack and valve to a long screwdriver.
Related: How do octane ratings affect your dirt bike’s performance?
Clean & Inspect
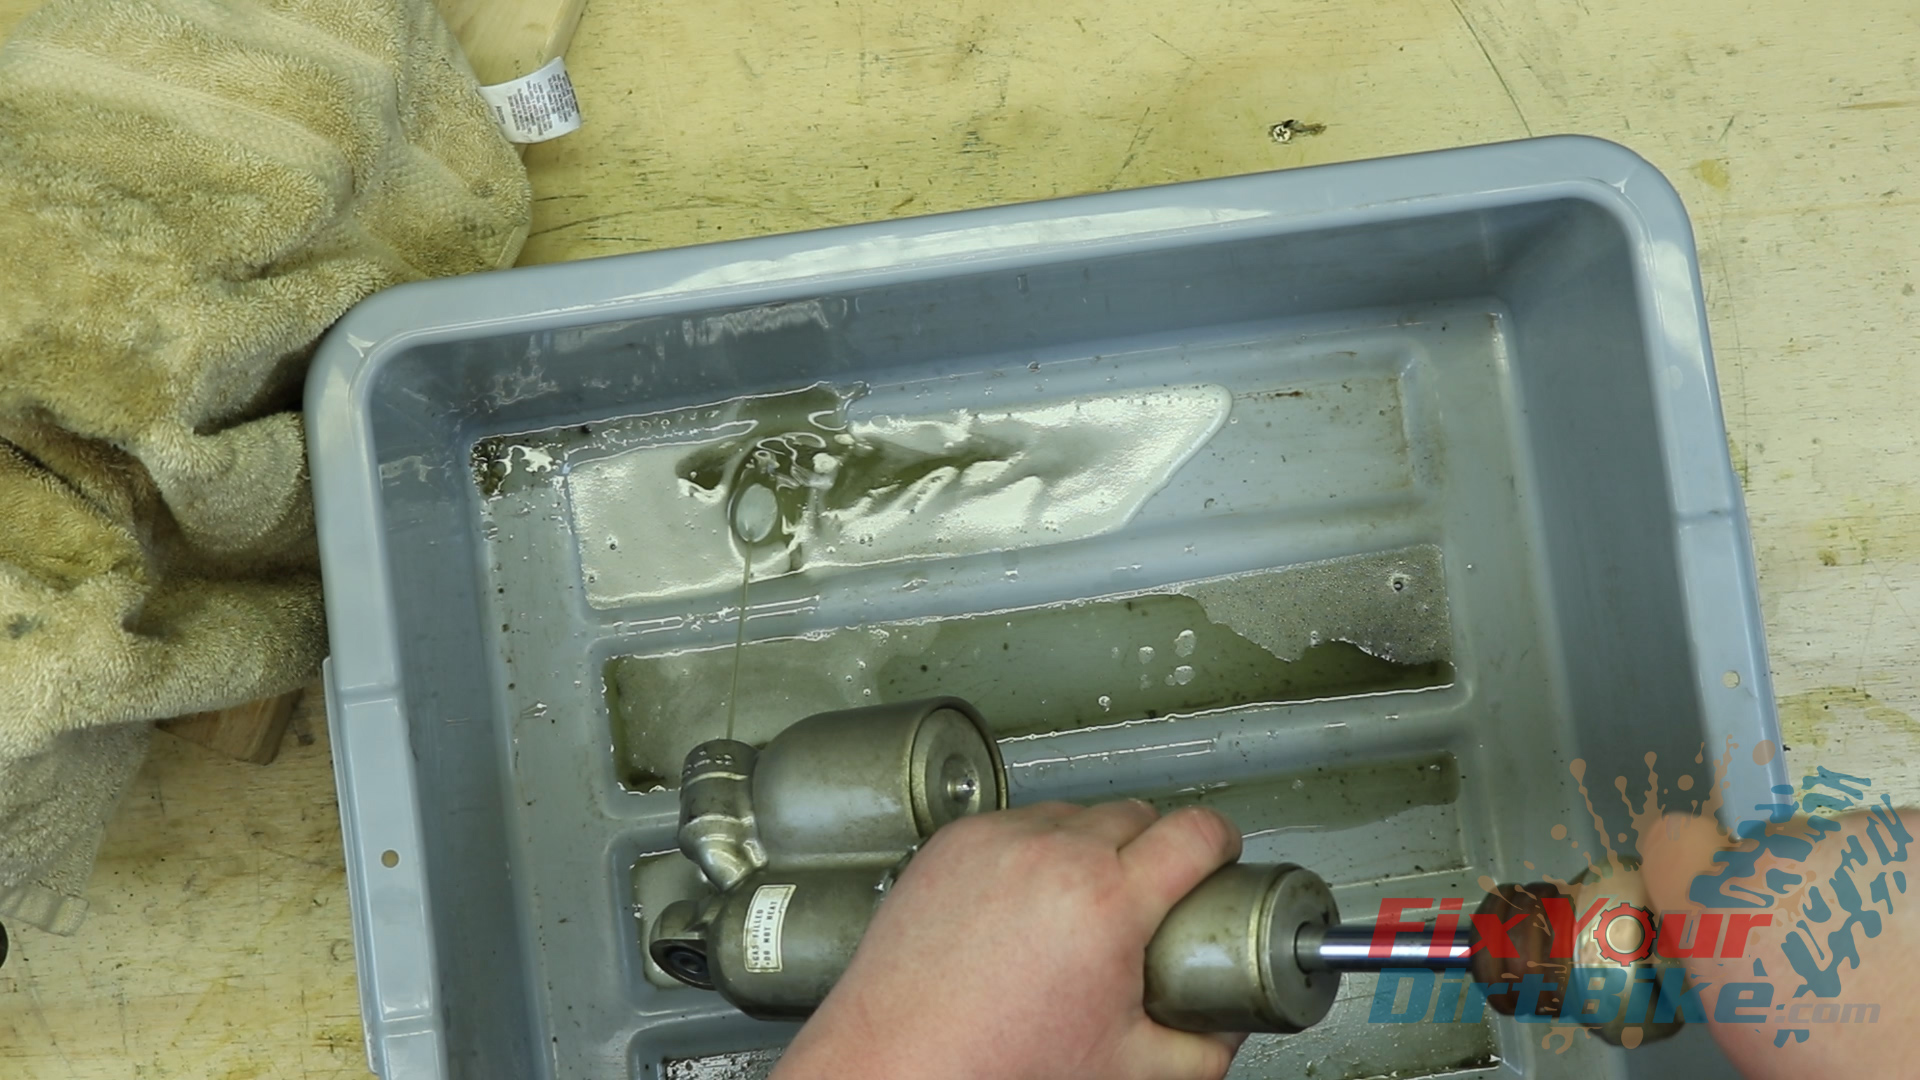
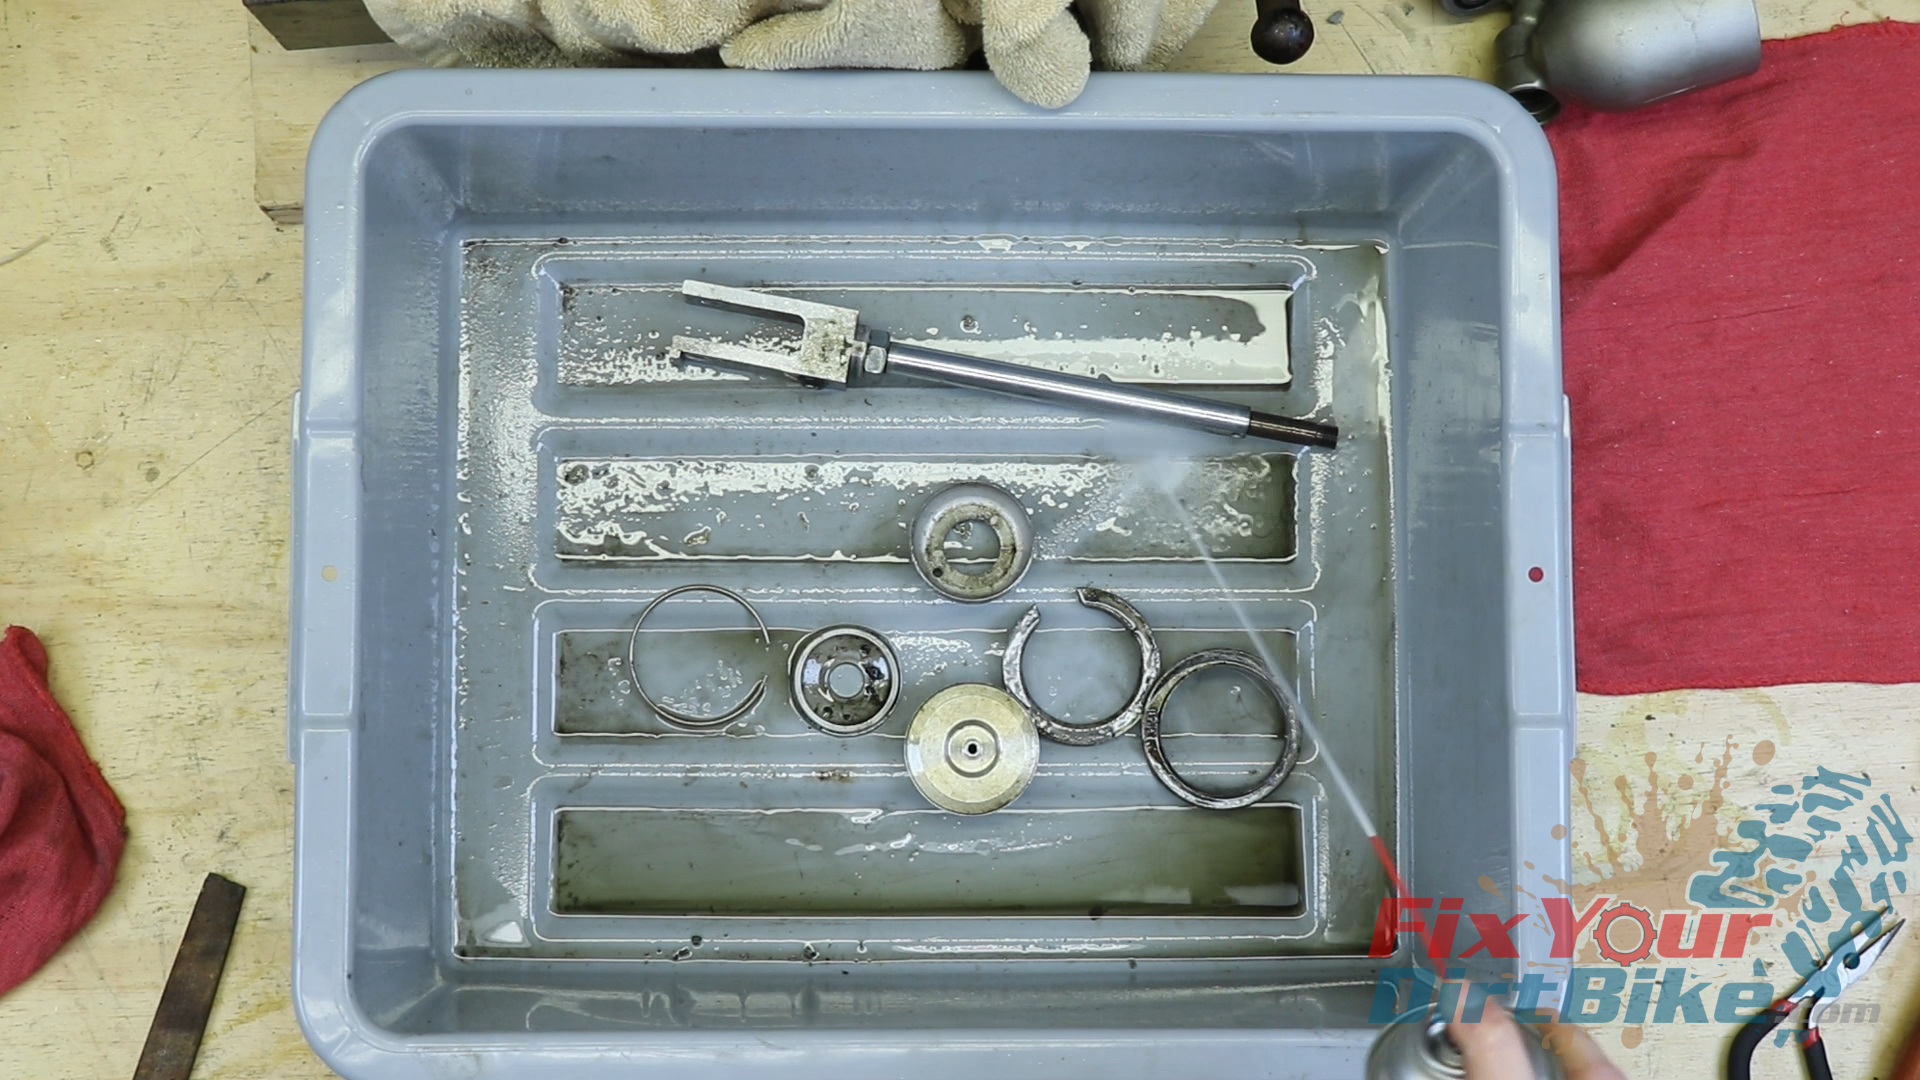
Clean
- Scrub the shaft components and the shock body with parts cleaner.
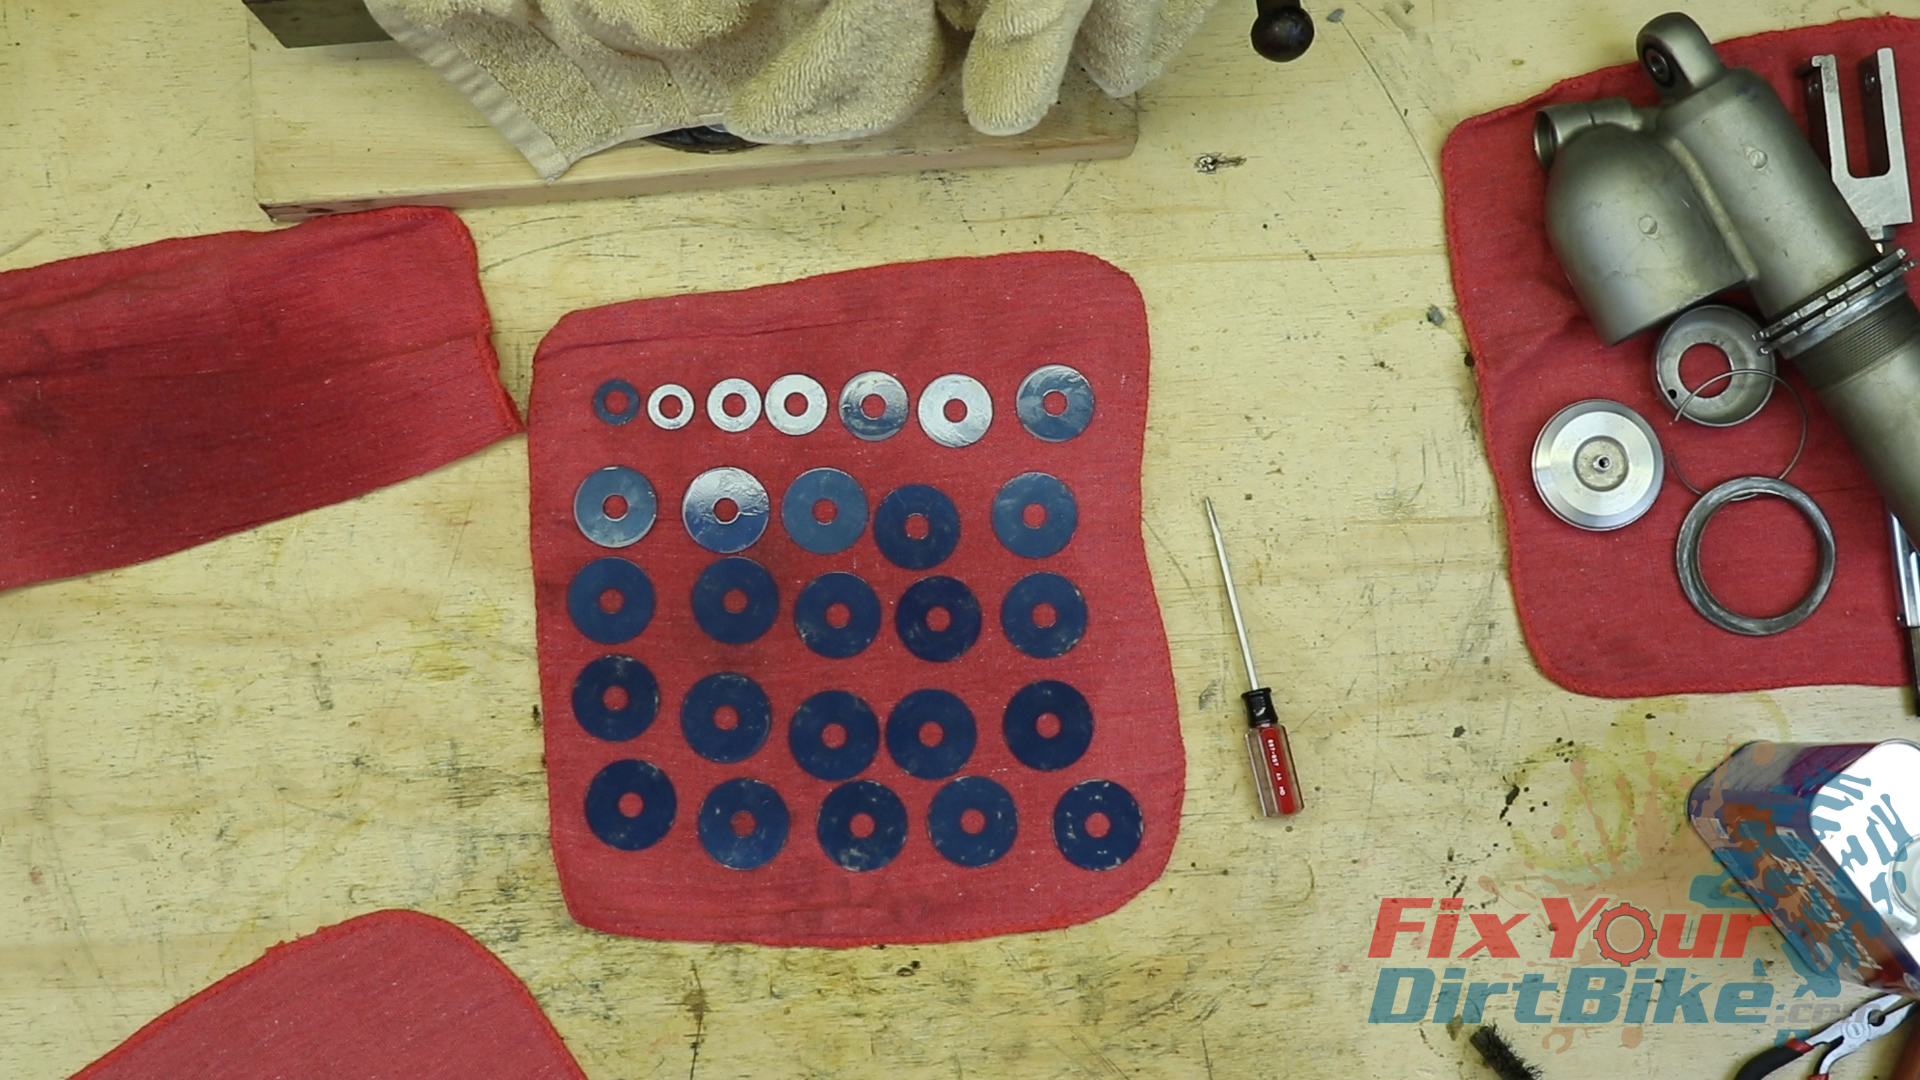
- Carefully separate and clean the shim stack, making sure to keep everything in order.
- If you lose track of your shim orientation, build the stack from largest to smallest, with the broadest end starting at the valve.
- This rebuild kit does not include o-rings for the compression adjuster. These parts are in good shape, so I am going to reuse them. So to clean the compression adjuster, I am going to wipe it down with a clean cloth and just a tiny bit of alcohol.
Inspect
- Dry your parts with compressed air, then inspect each component for excessive wear or damage.
- You will need to true the threads on the shock shaft.
- You can correct the threads using your triangle file. The old nut will be damaged, so use the new nut check your work.

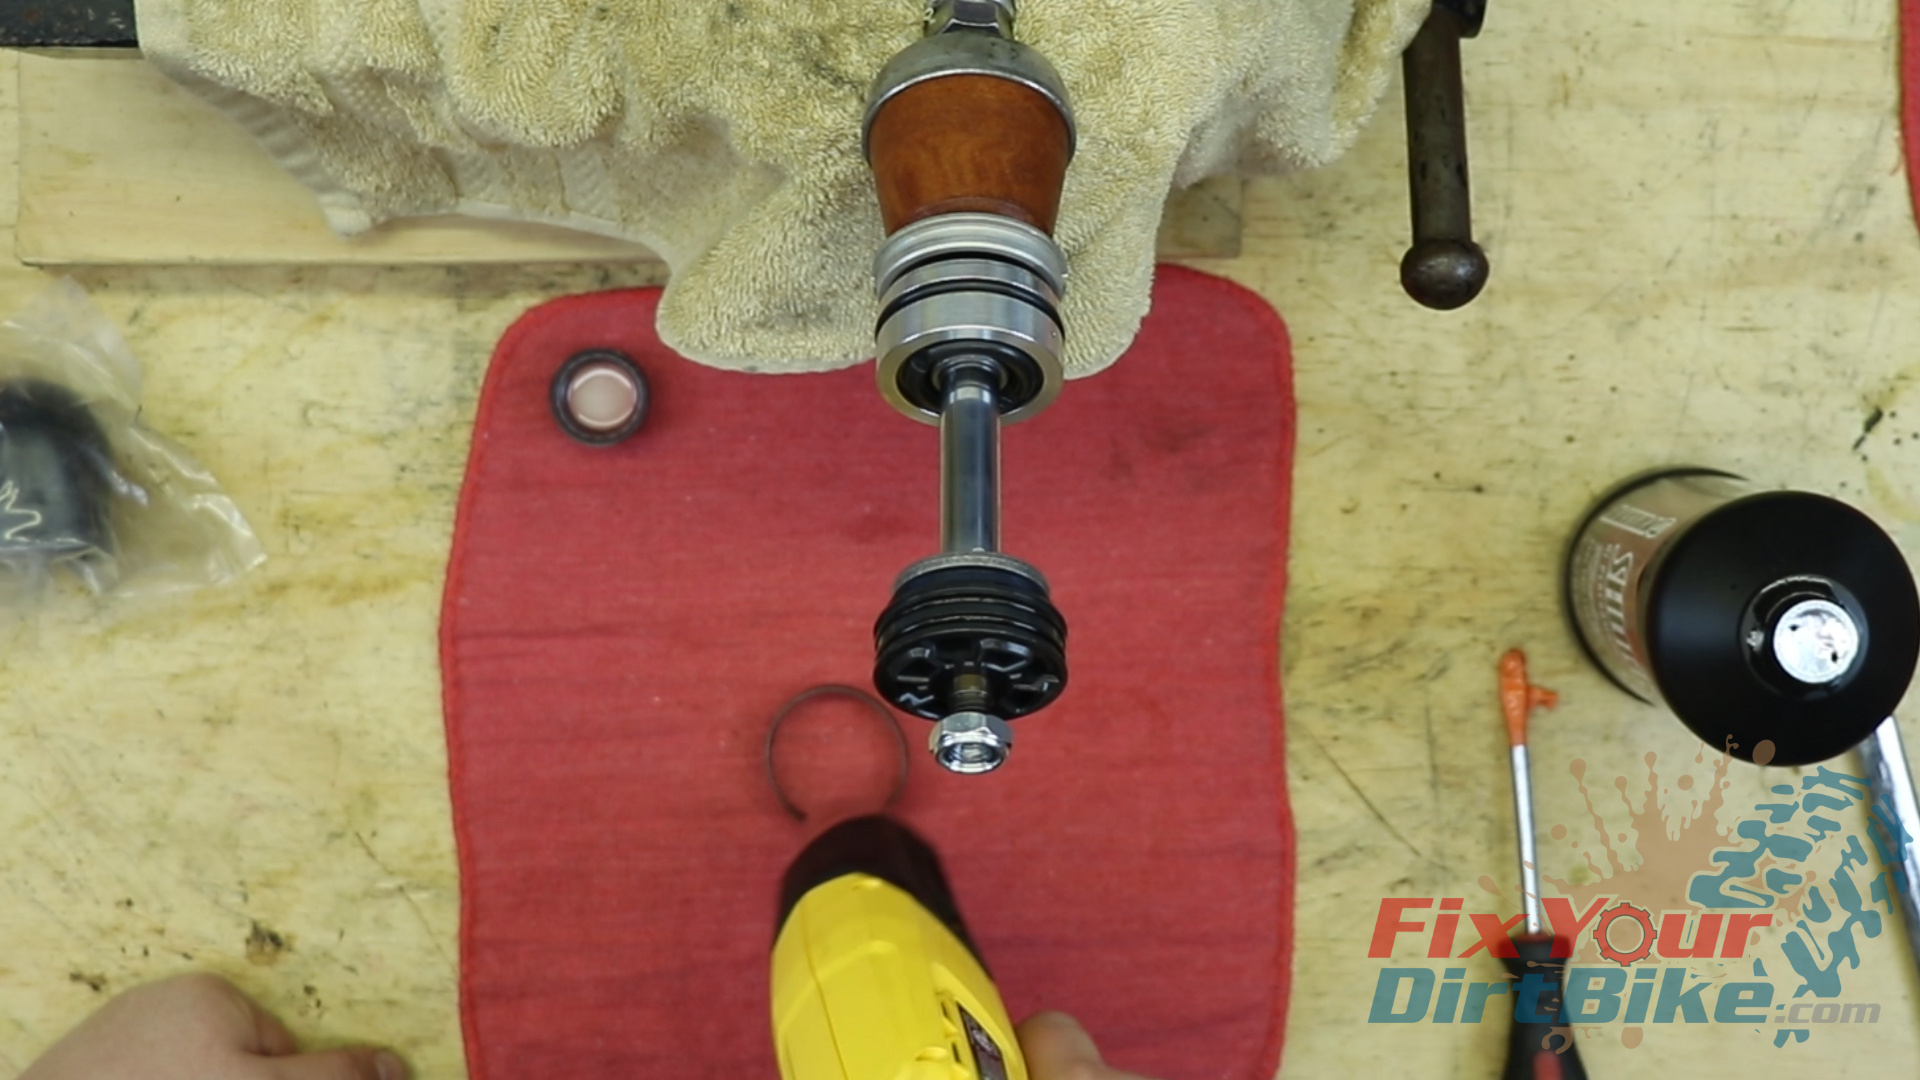
Rear Shock Shaft Assembly
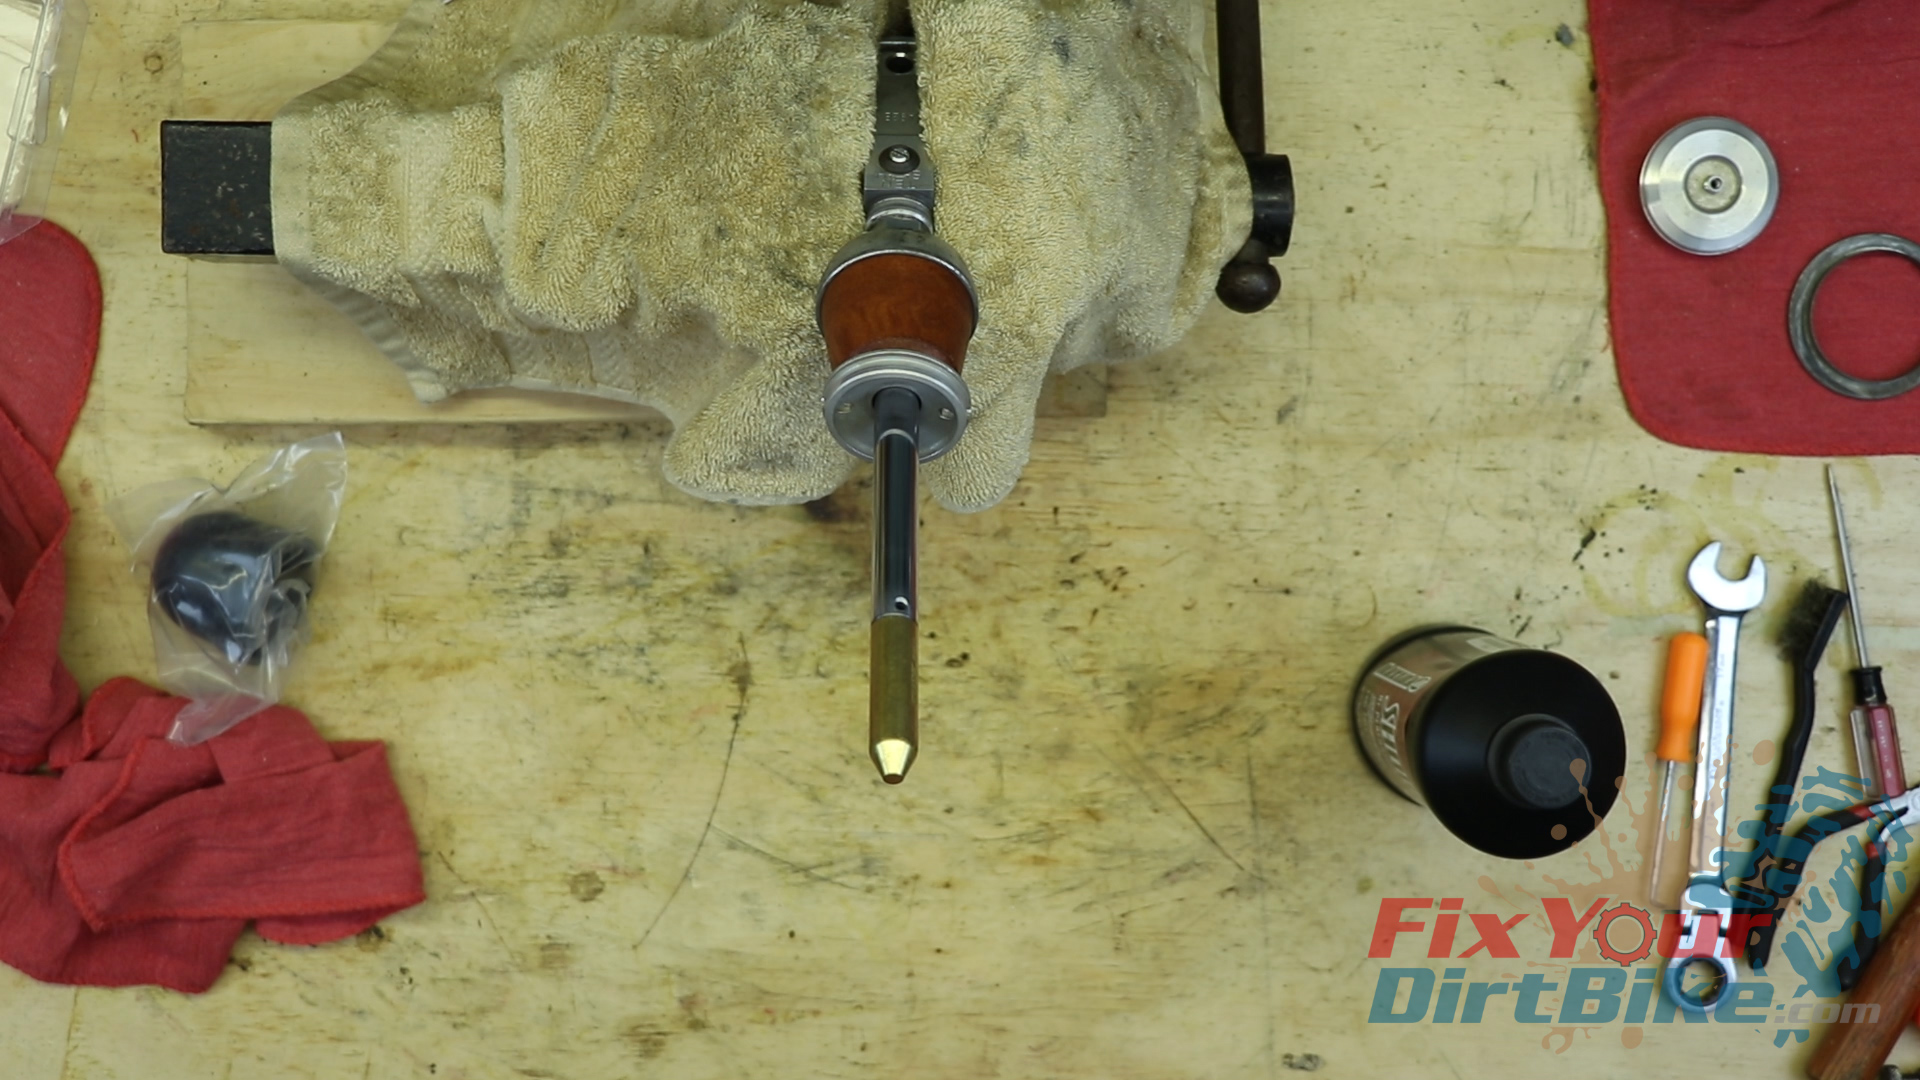
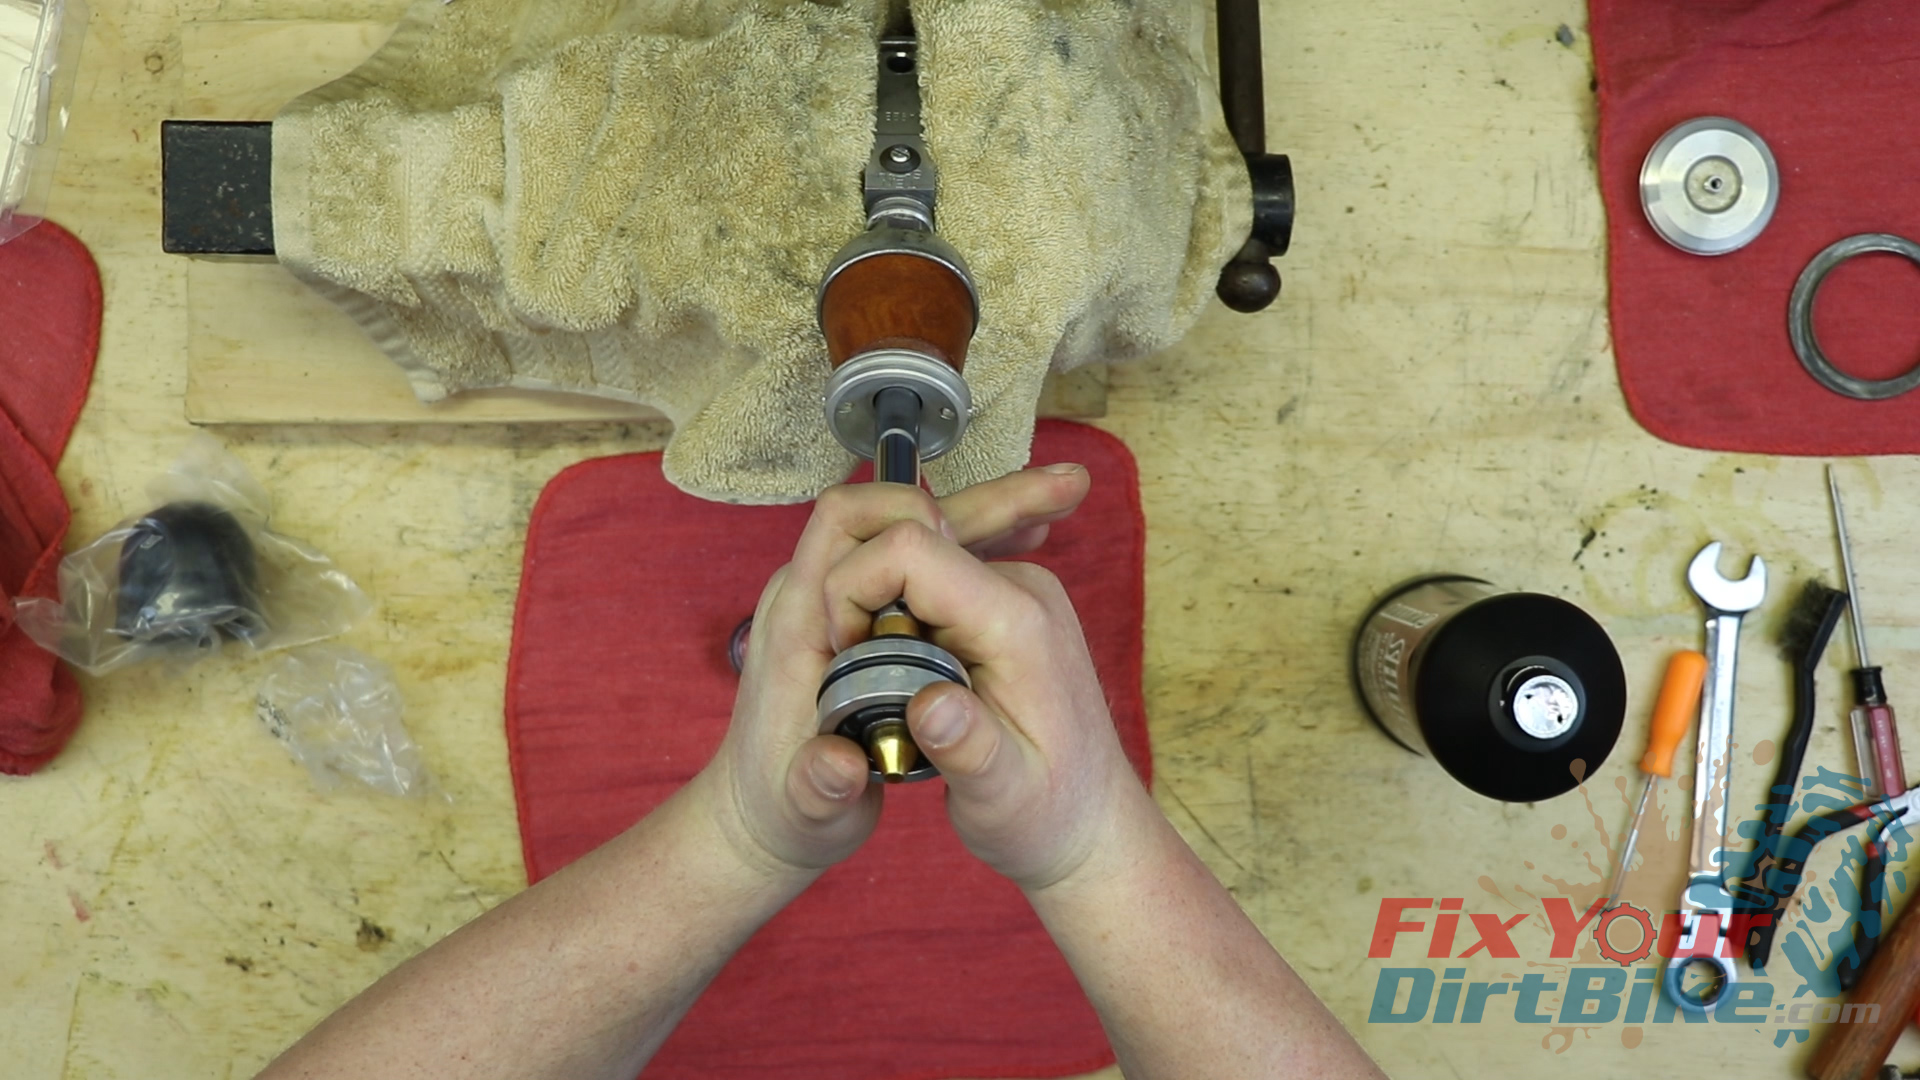
- Install your seal bullet over the shaft threads, followed by the bumper plate, bumper, and endplate.
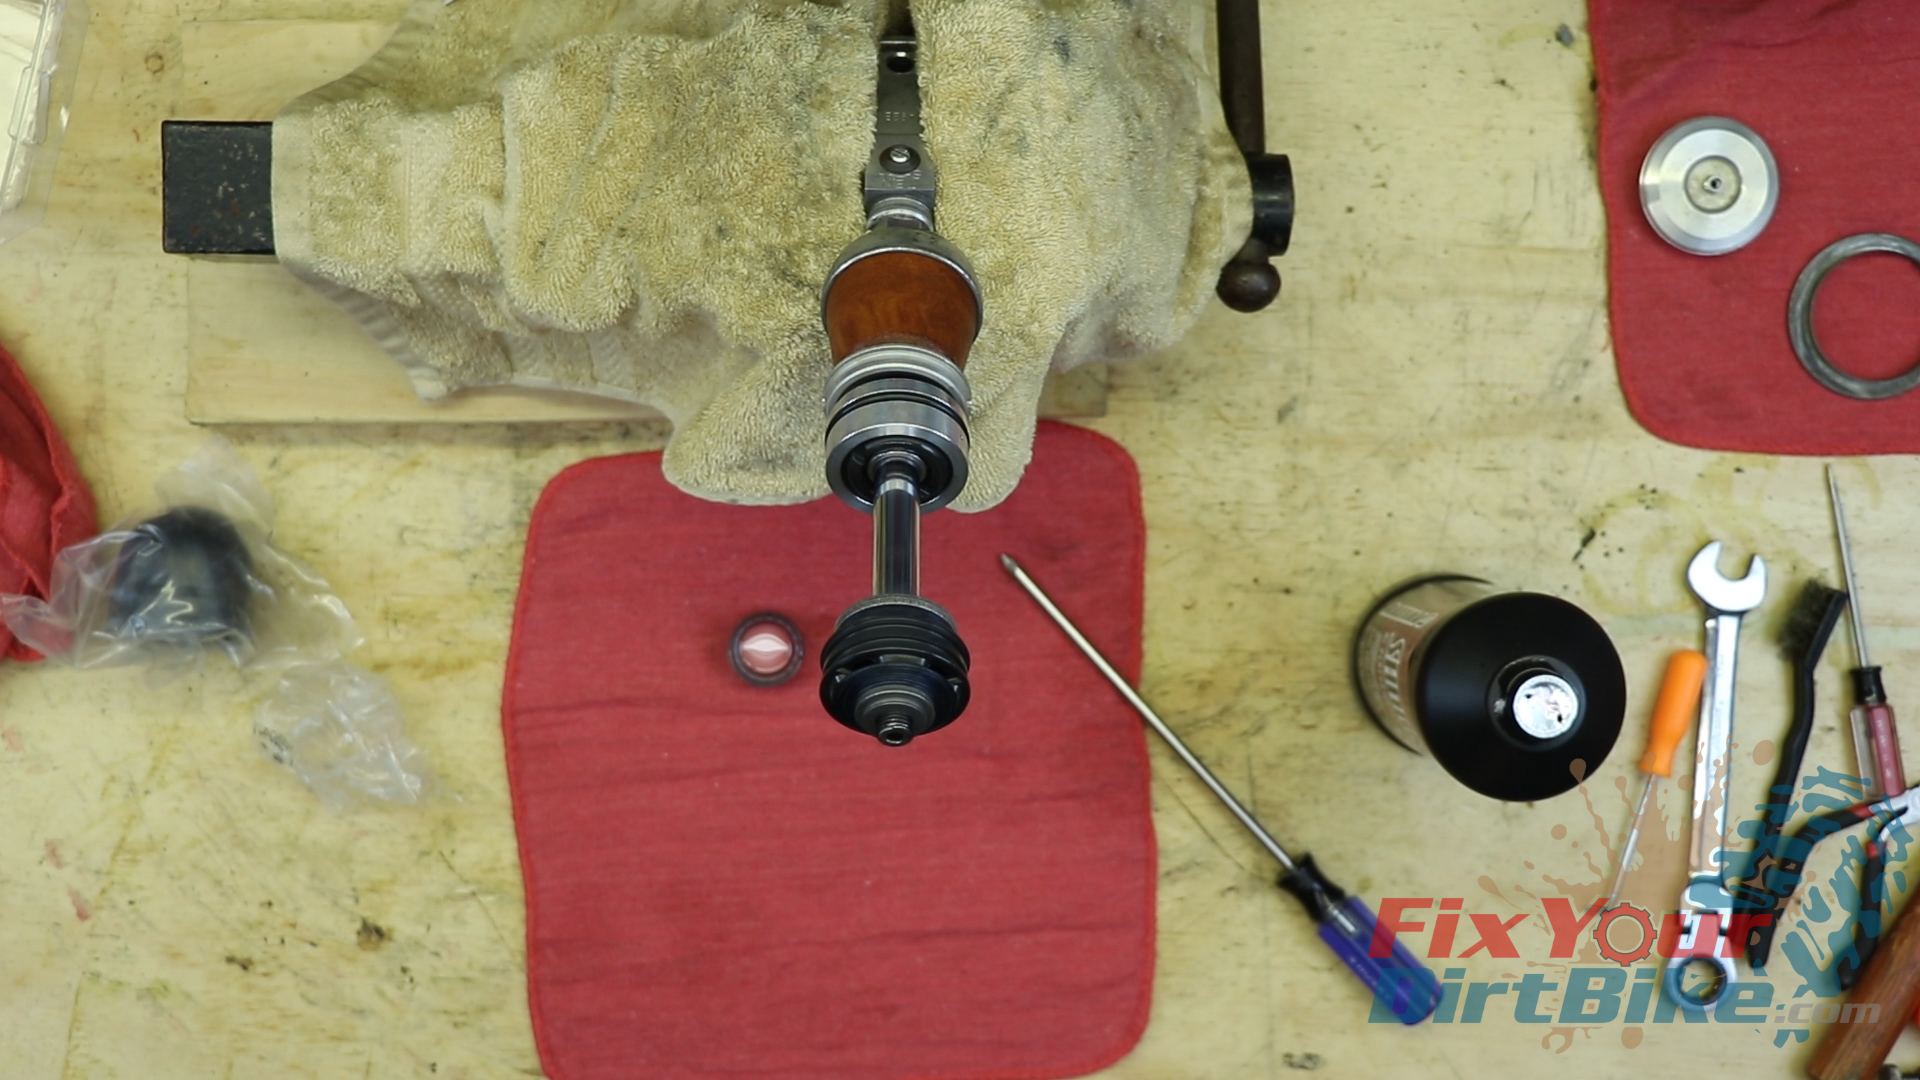
- Lubricate the new seal head with shock oil, and carefully install it onto the shaft.
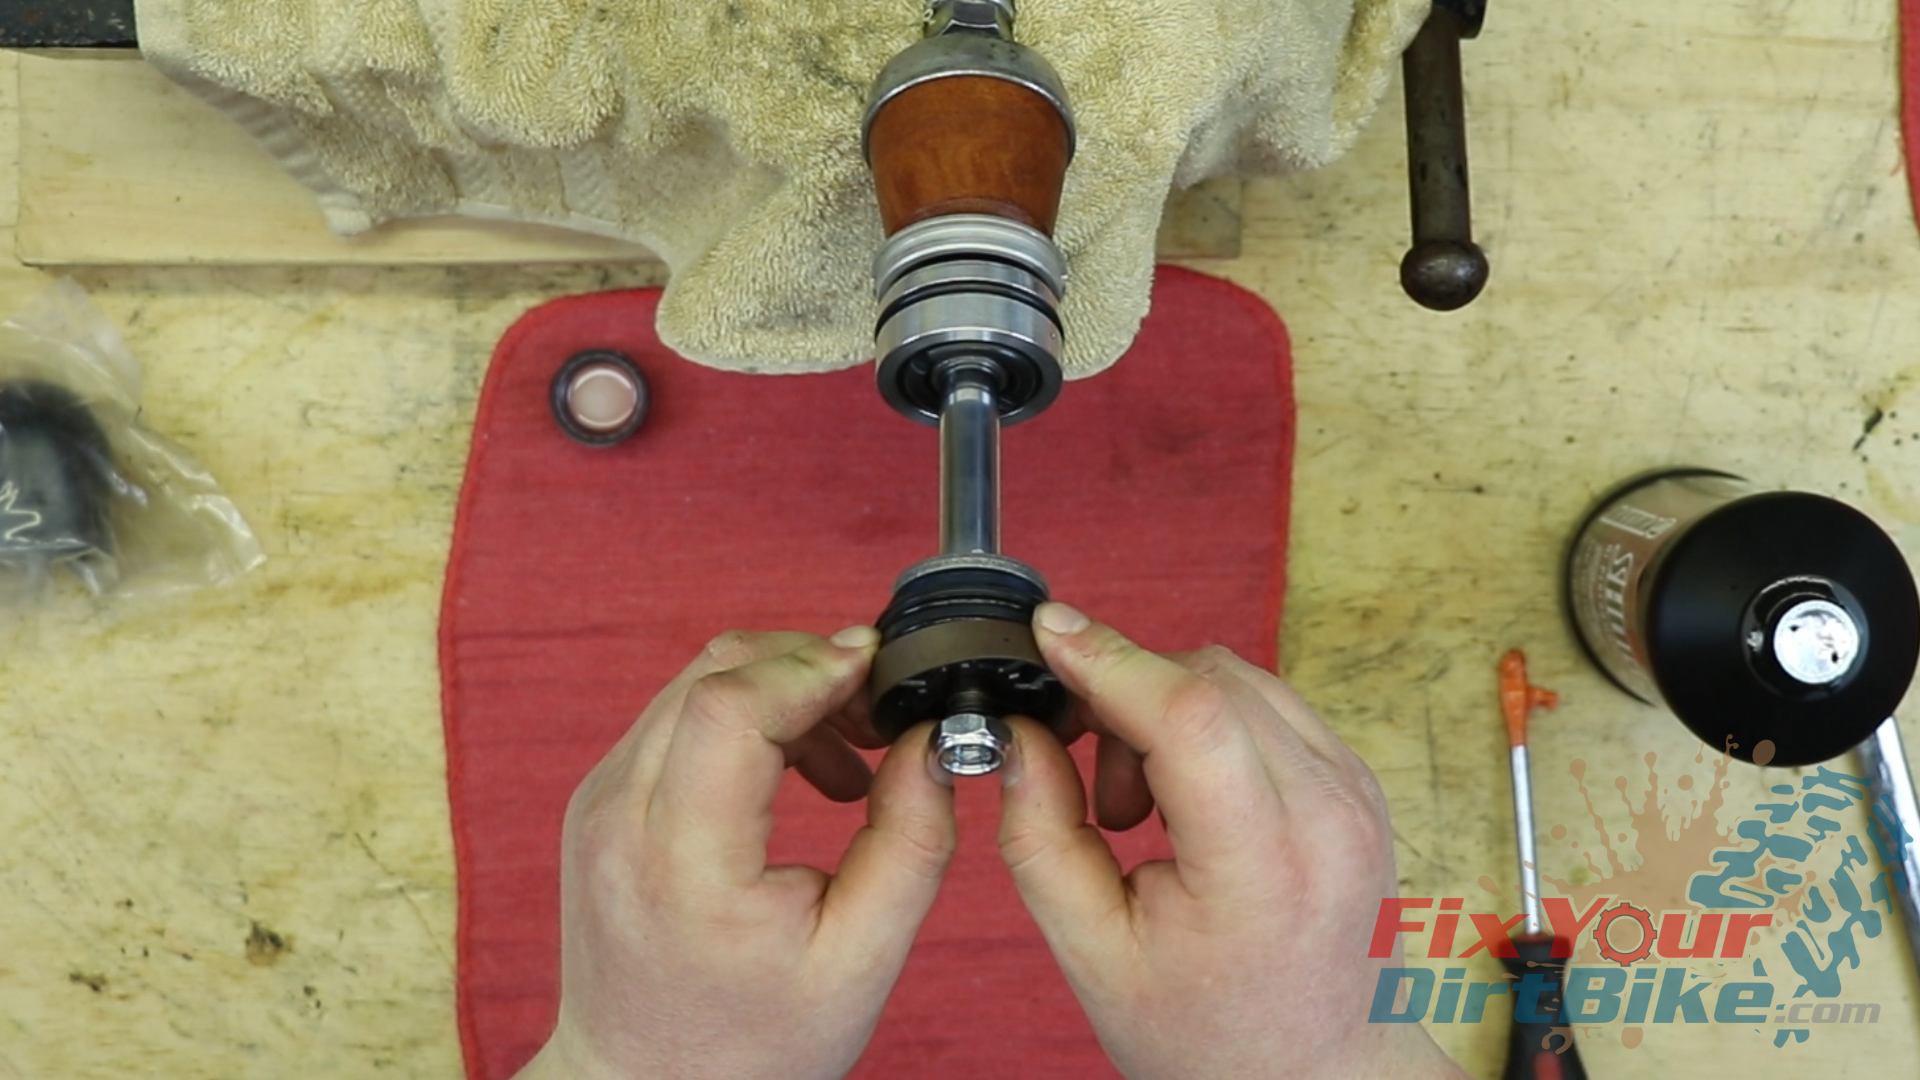
- Transfer your shim and valve stack to the shaft, install the nut hand tight, and install the two o-rings.
- Remove the nut, transfer the first shim stack back to your screwdriver, then replace the nut.
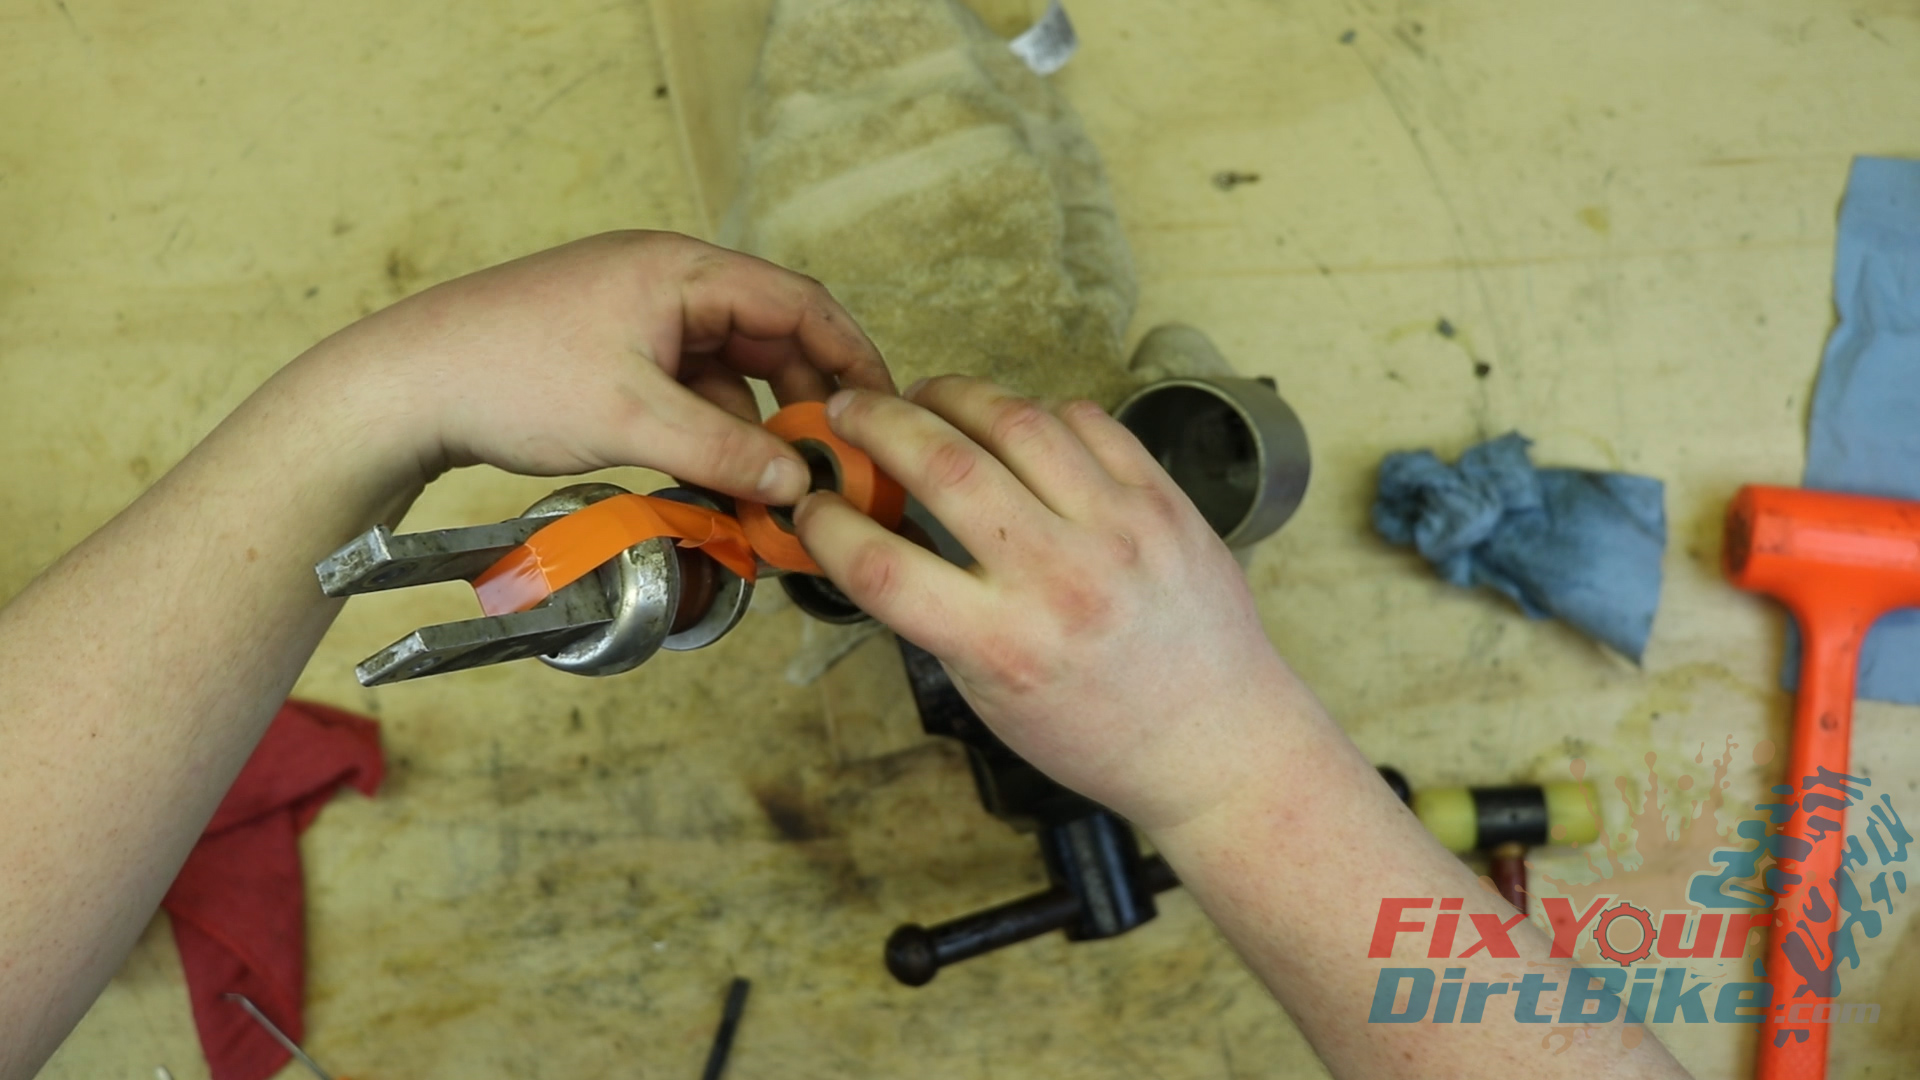
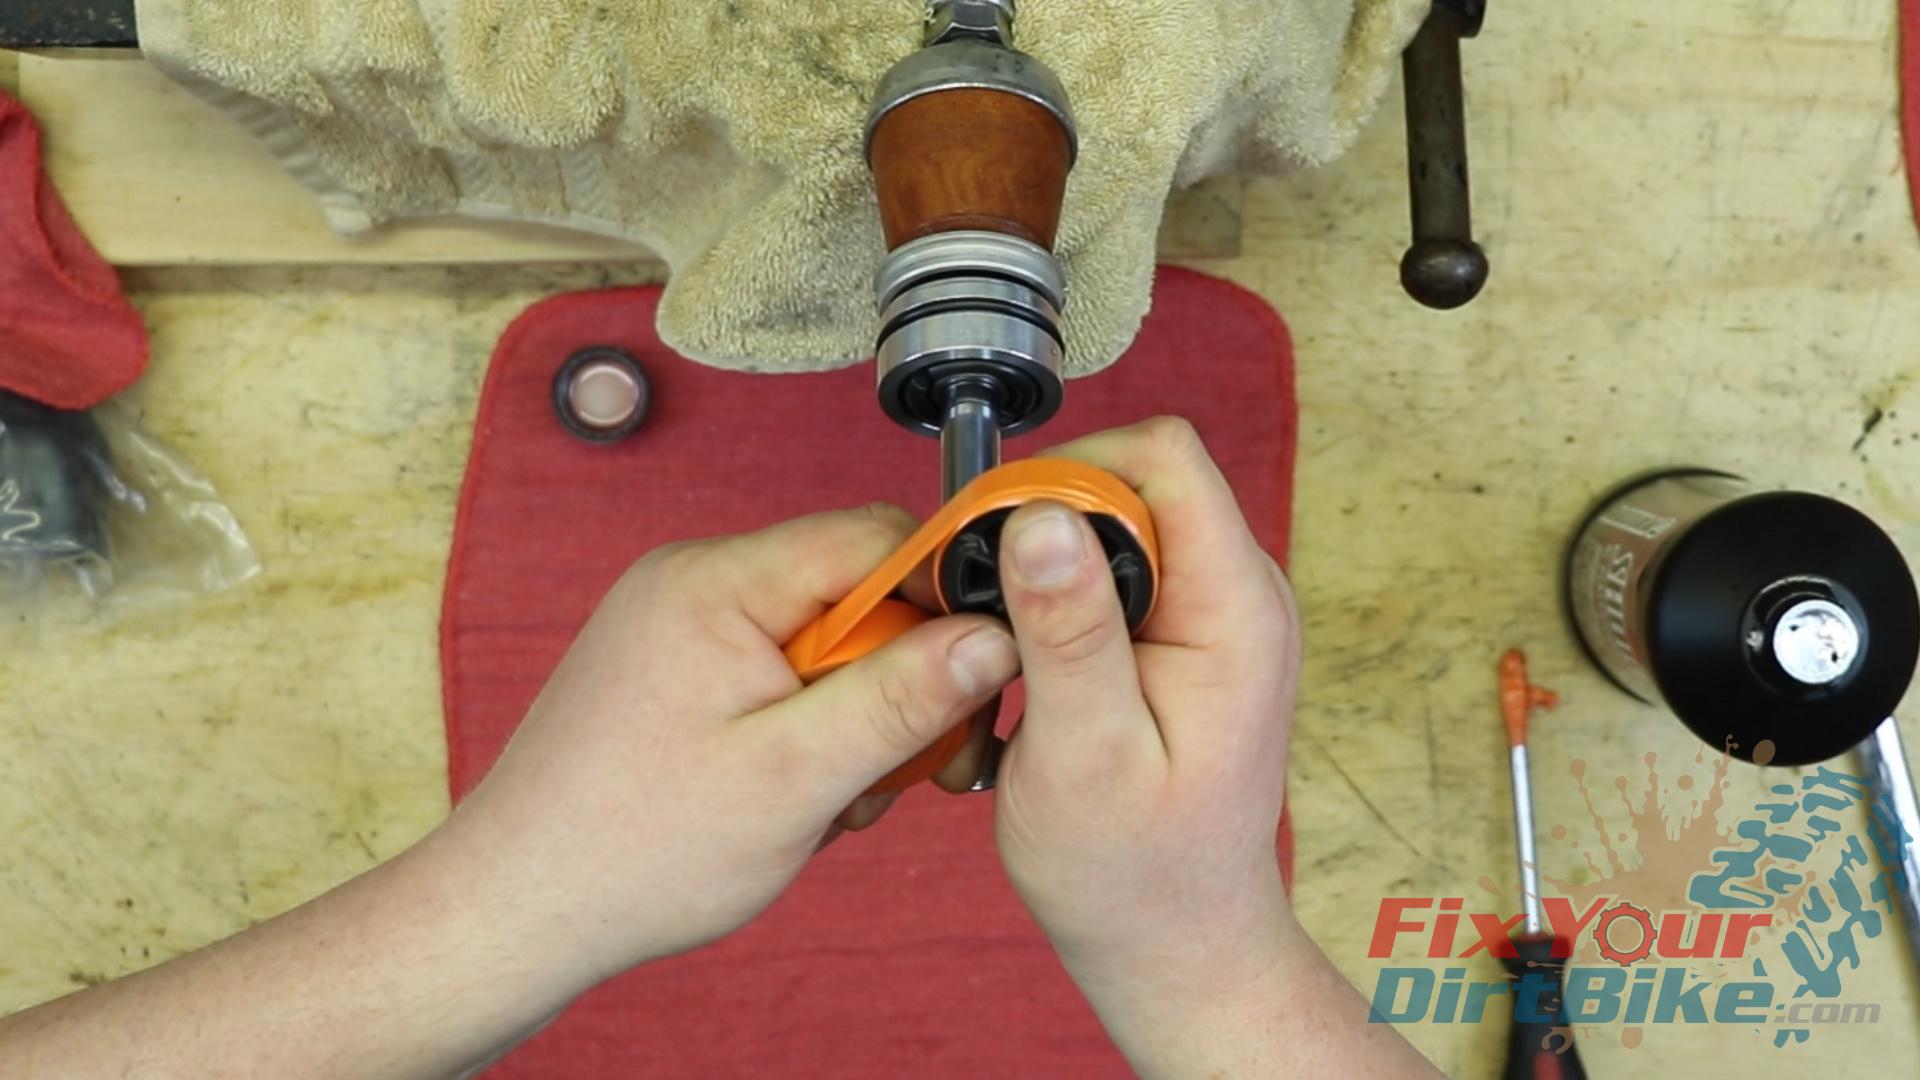
Bushing Install
- Here is where you need a lot of patience when installing the one-piece bushing.
- The proper way to install this bushing is by using an install kit that slowly stretches the bushing over a cone, then onto the valve.
- The problem with this is the kit costs a lot, and isn’t even available in the US, so you need to add international shipping and a few weeks of waiting.
- To add to the fun, you cannot pry the bushing onto the valve with screwdrivers without tearing the bushing or damaging the valve.
- I find the safest and free-est way to install the bushing is to heat it with a heat gun, then slowly stretch it with my fingers.
- The trick is to heat the bushing enough to be pliable, but not so much it burns your fingers.
- After you install the bushing, immediately wrap your valve with electrical tape as tight as you can, then put the valve in the freezer for a few hours to let it contract.
Related: Change your dirt bike’s tube and tire the right way and never pinch your tube again!
Rear Shock Body Assembly
- Oil the bladder lip, then connect it to the cap. Oil the outside of the bladder and install it into the reservoir past the circlip groove.
- Install the circlip, followed by the valve core.
- Inflate the bladder about seven psi to seat in against the retainer circlip.
- Take your shock valve directly from the freezer to the shock shaft.
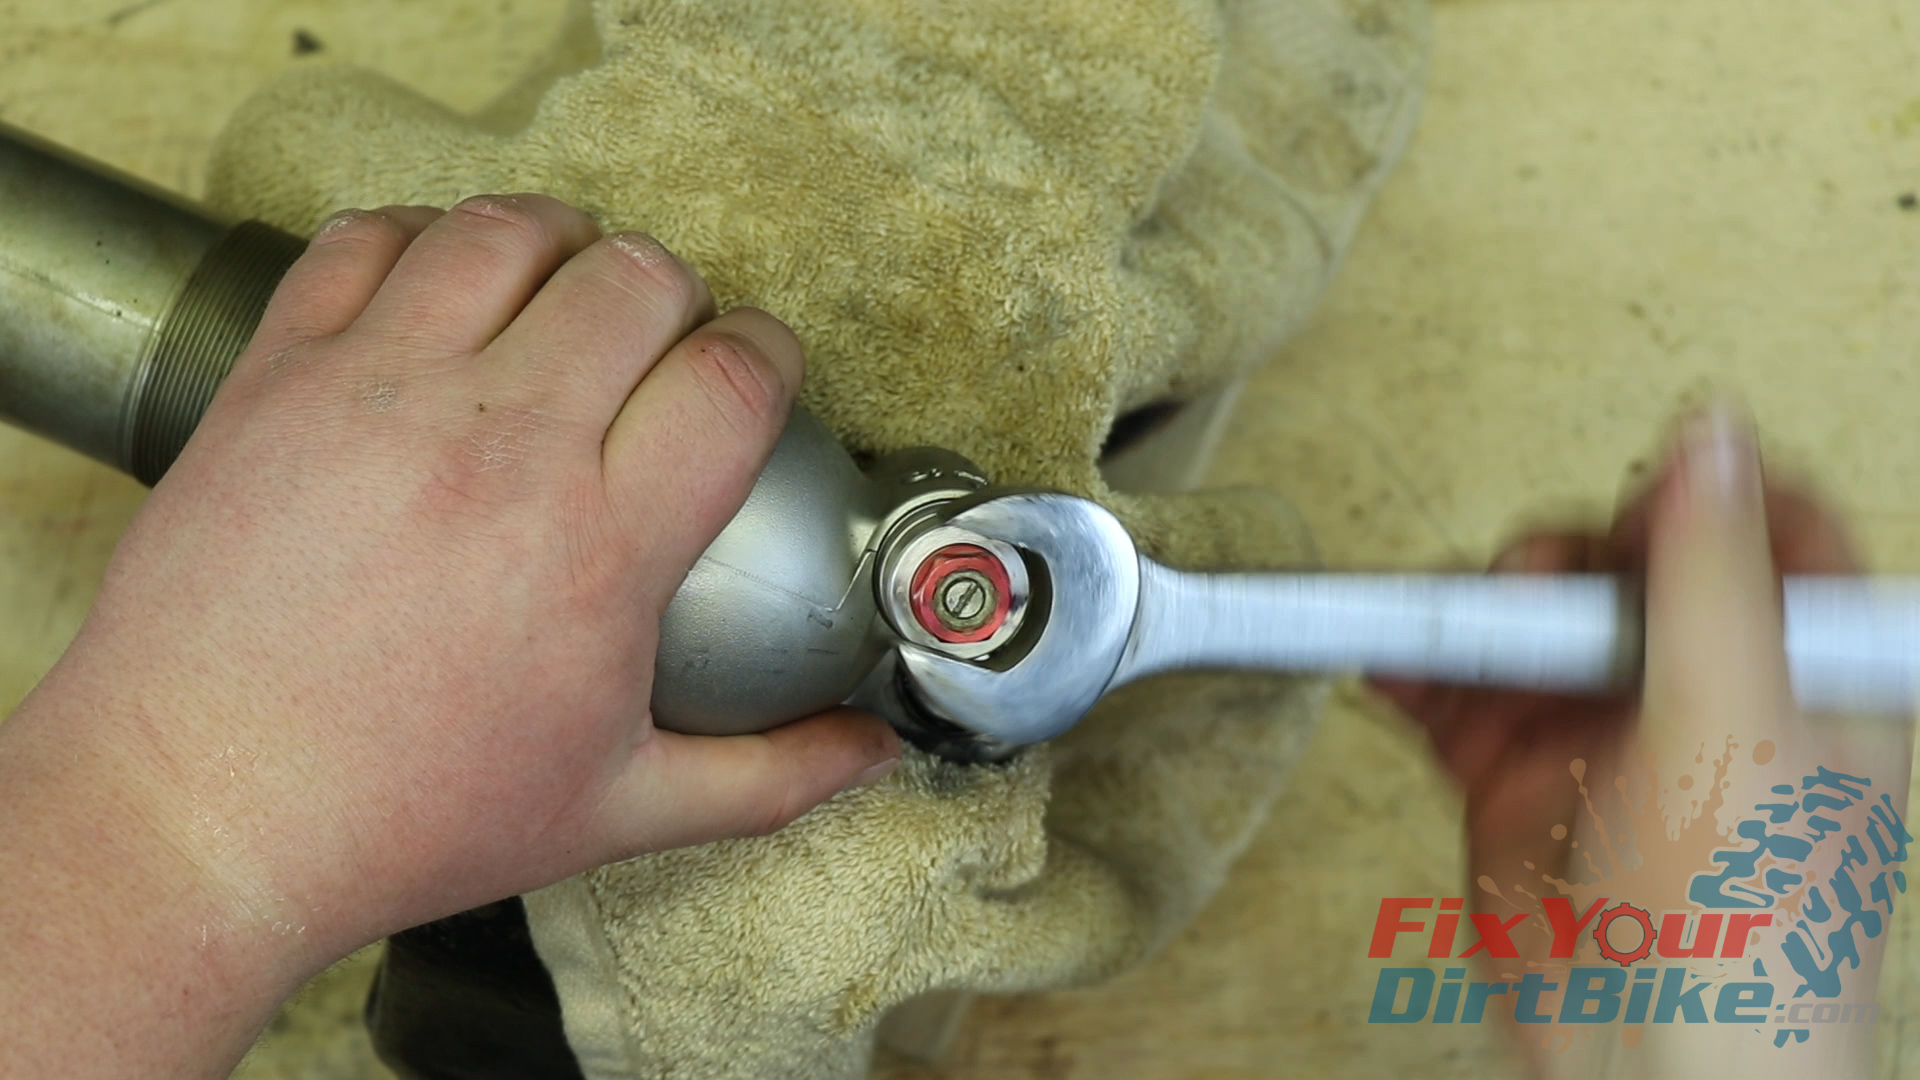
- Transfer the shim stack to the shaft, and install the nut.
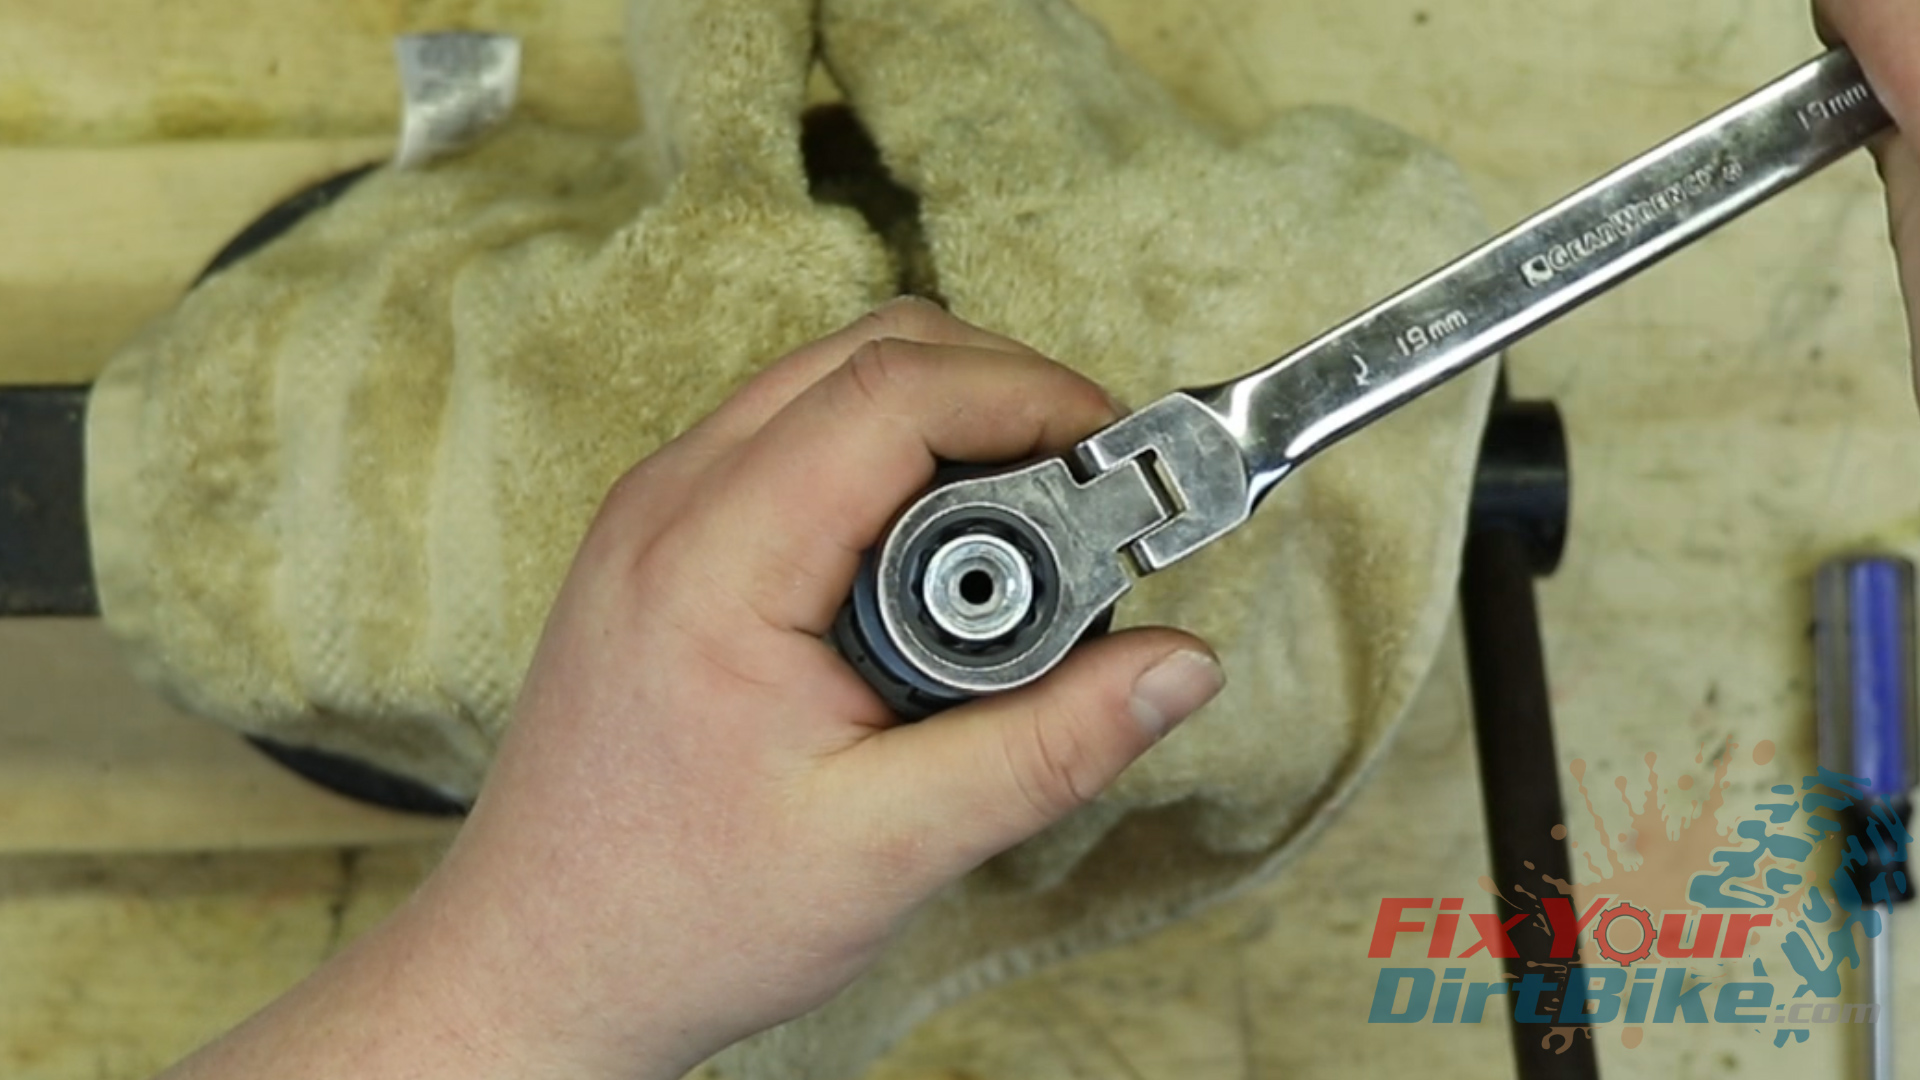
- Torque the shaft nut to 19 ft-lbs.
- Secure the nut to the shaft using your punch and a hammer, setting 3 to 4 stakes equally around the shaft end.
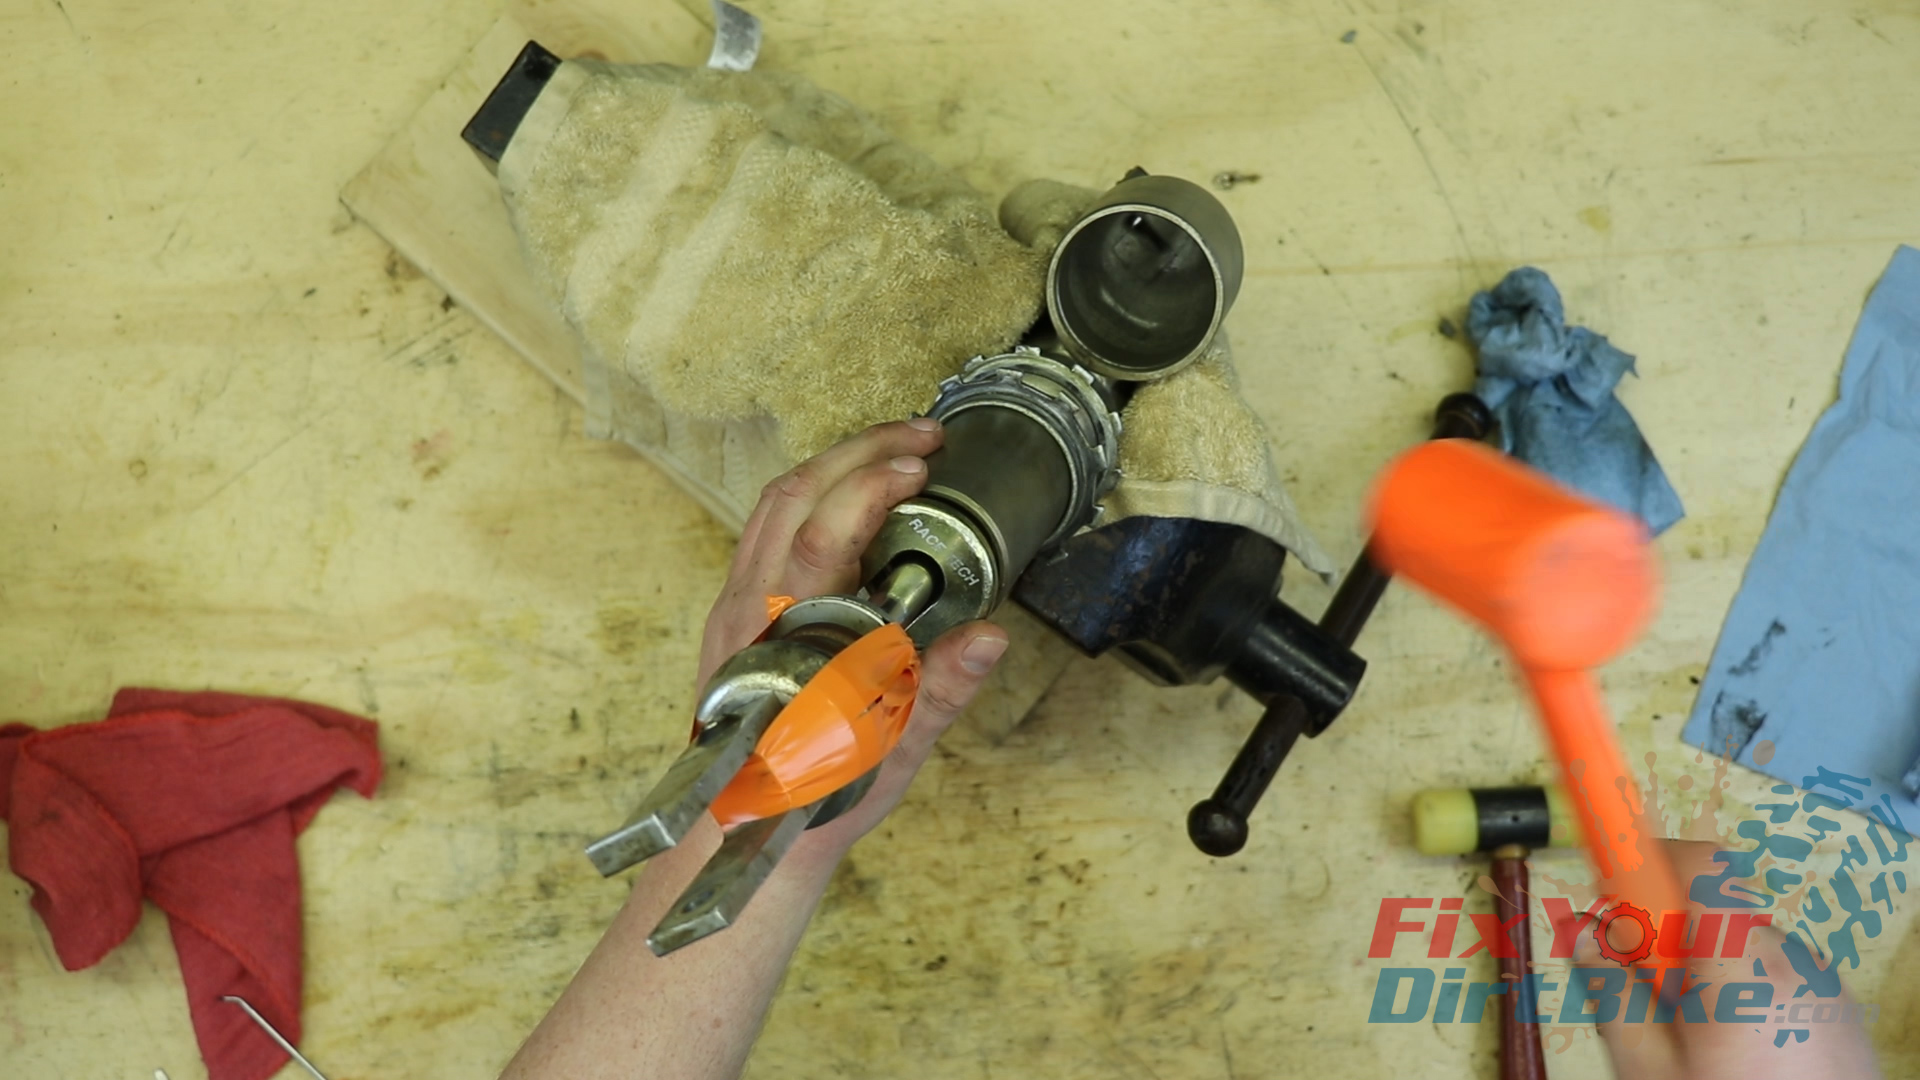
- Oil the shock shaft bore and piston, and install the shock shaft into the shock body.
- Install the seal head, followed by the retainer circlip.
- Set the end plate with your mallet.


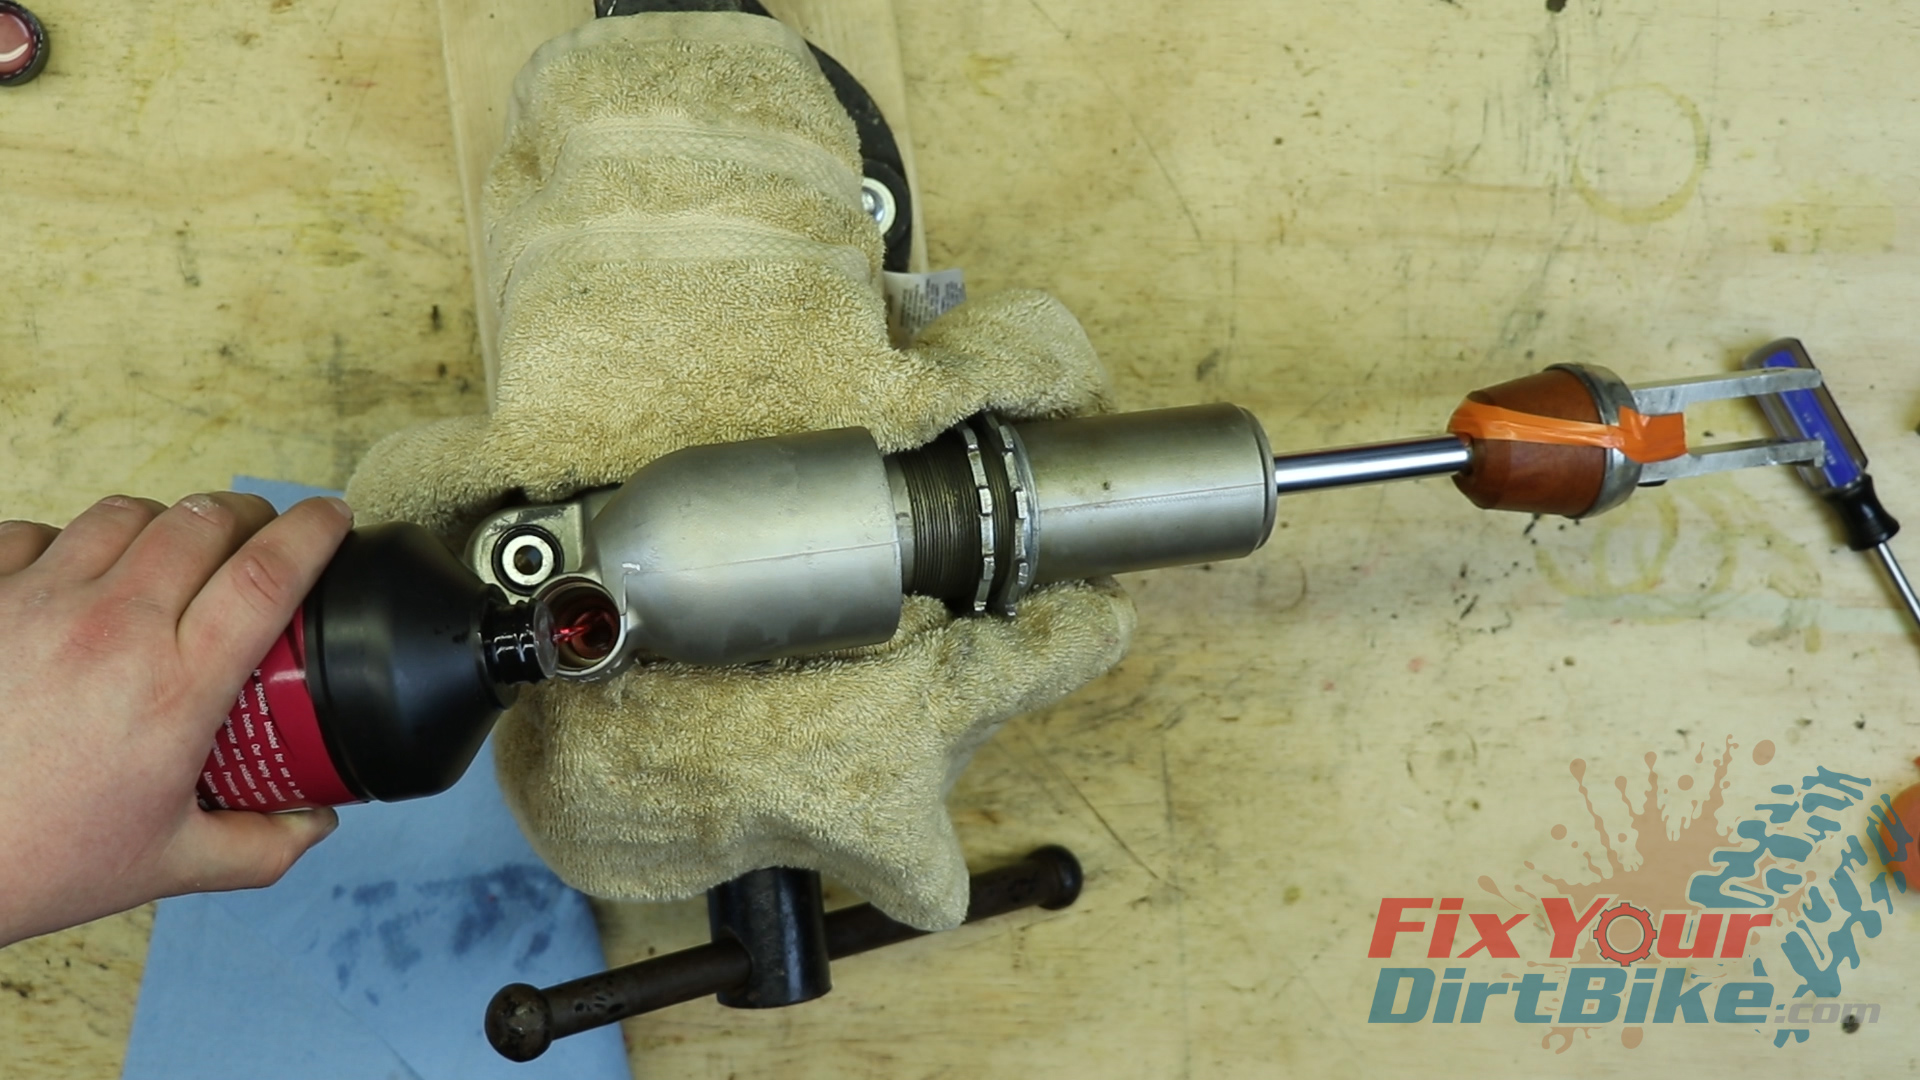
Fresh Oil
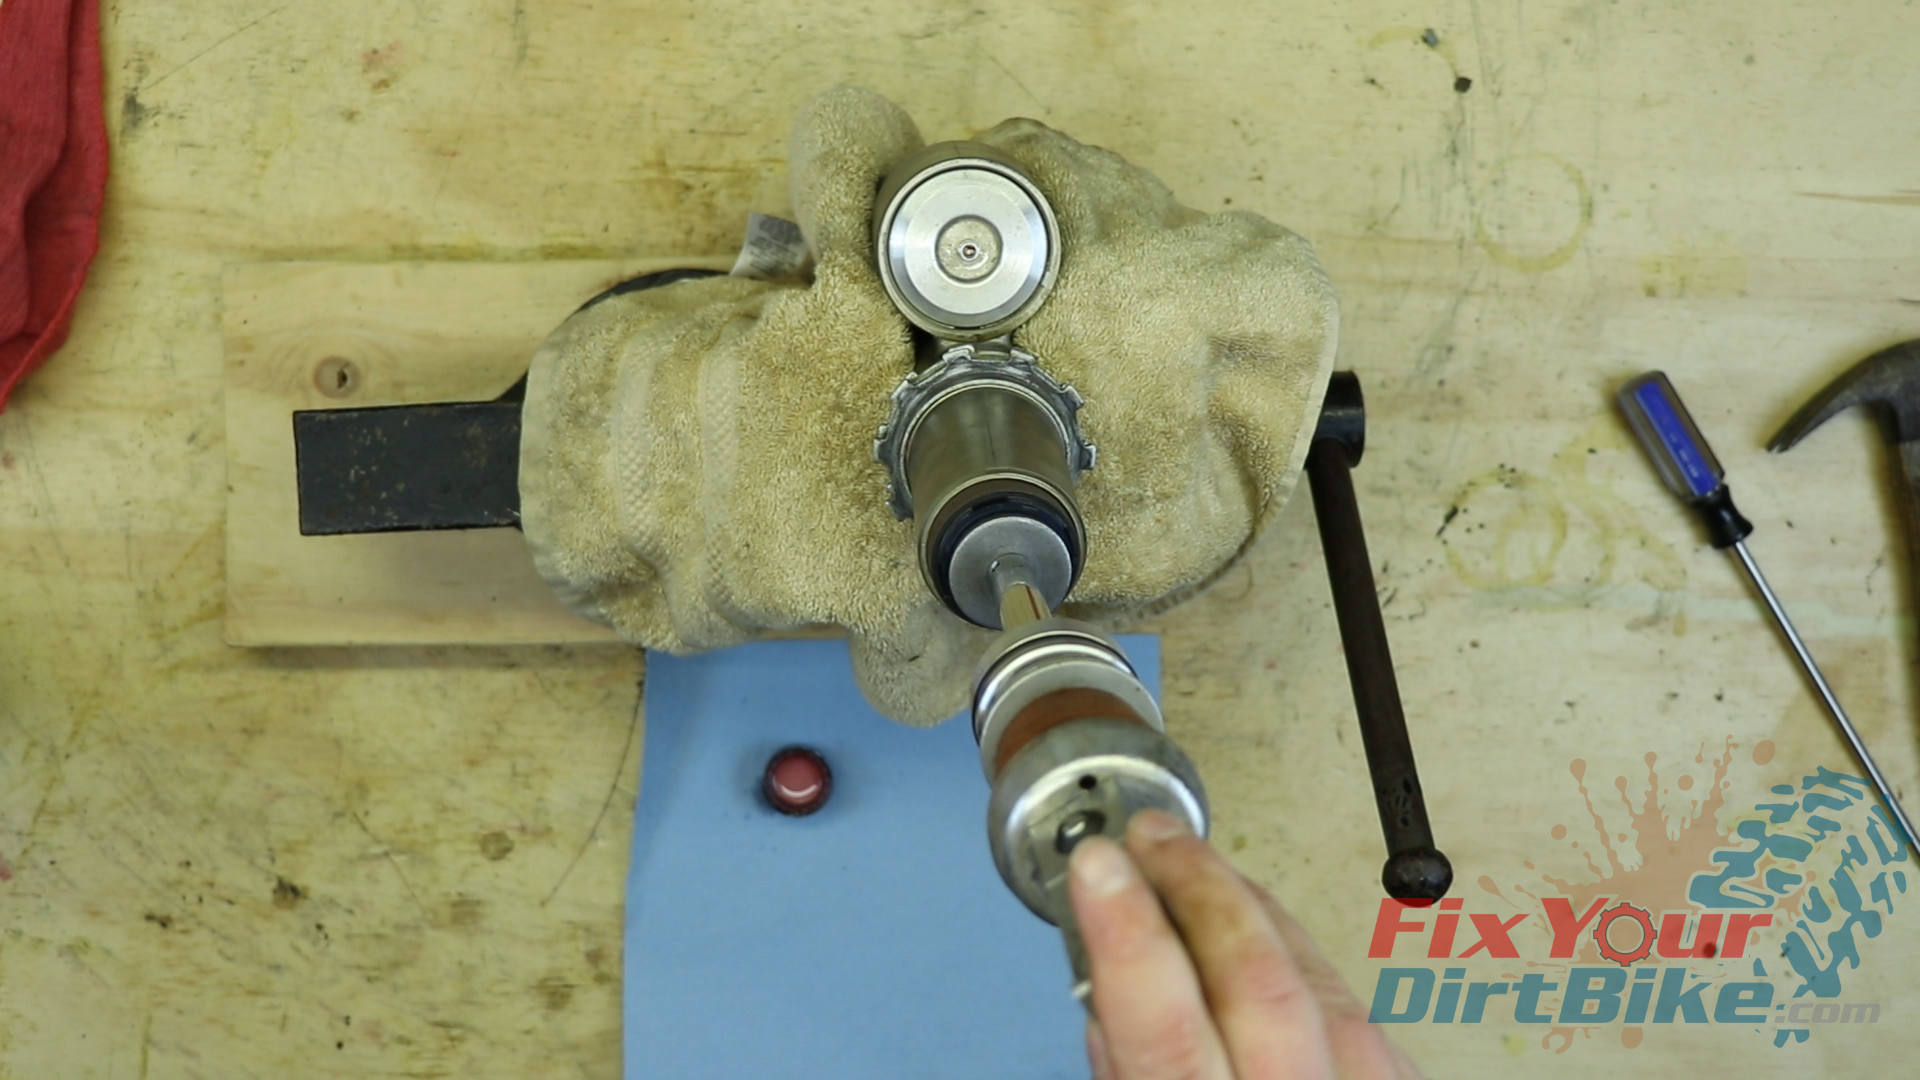
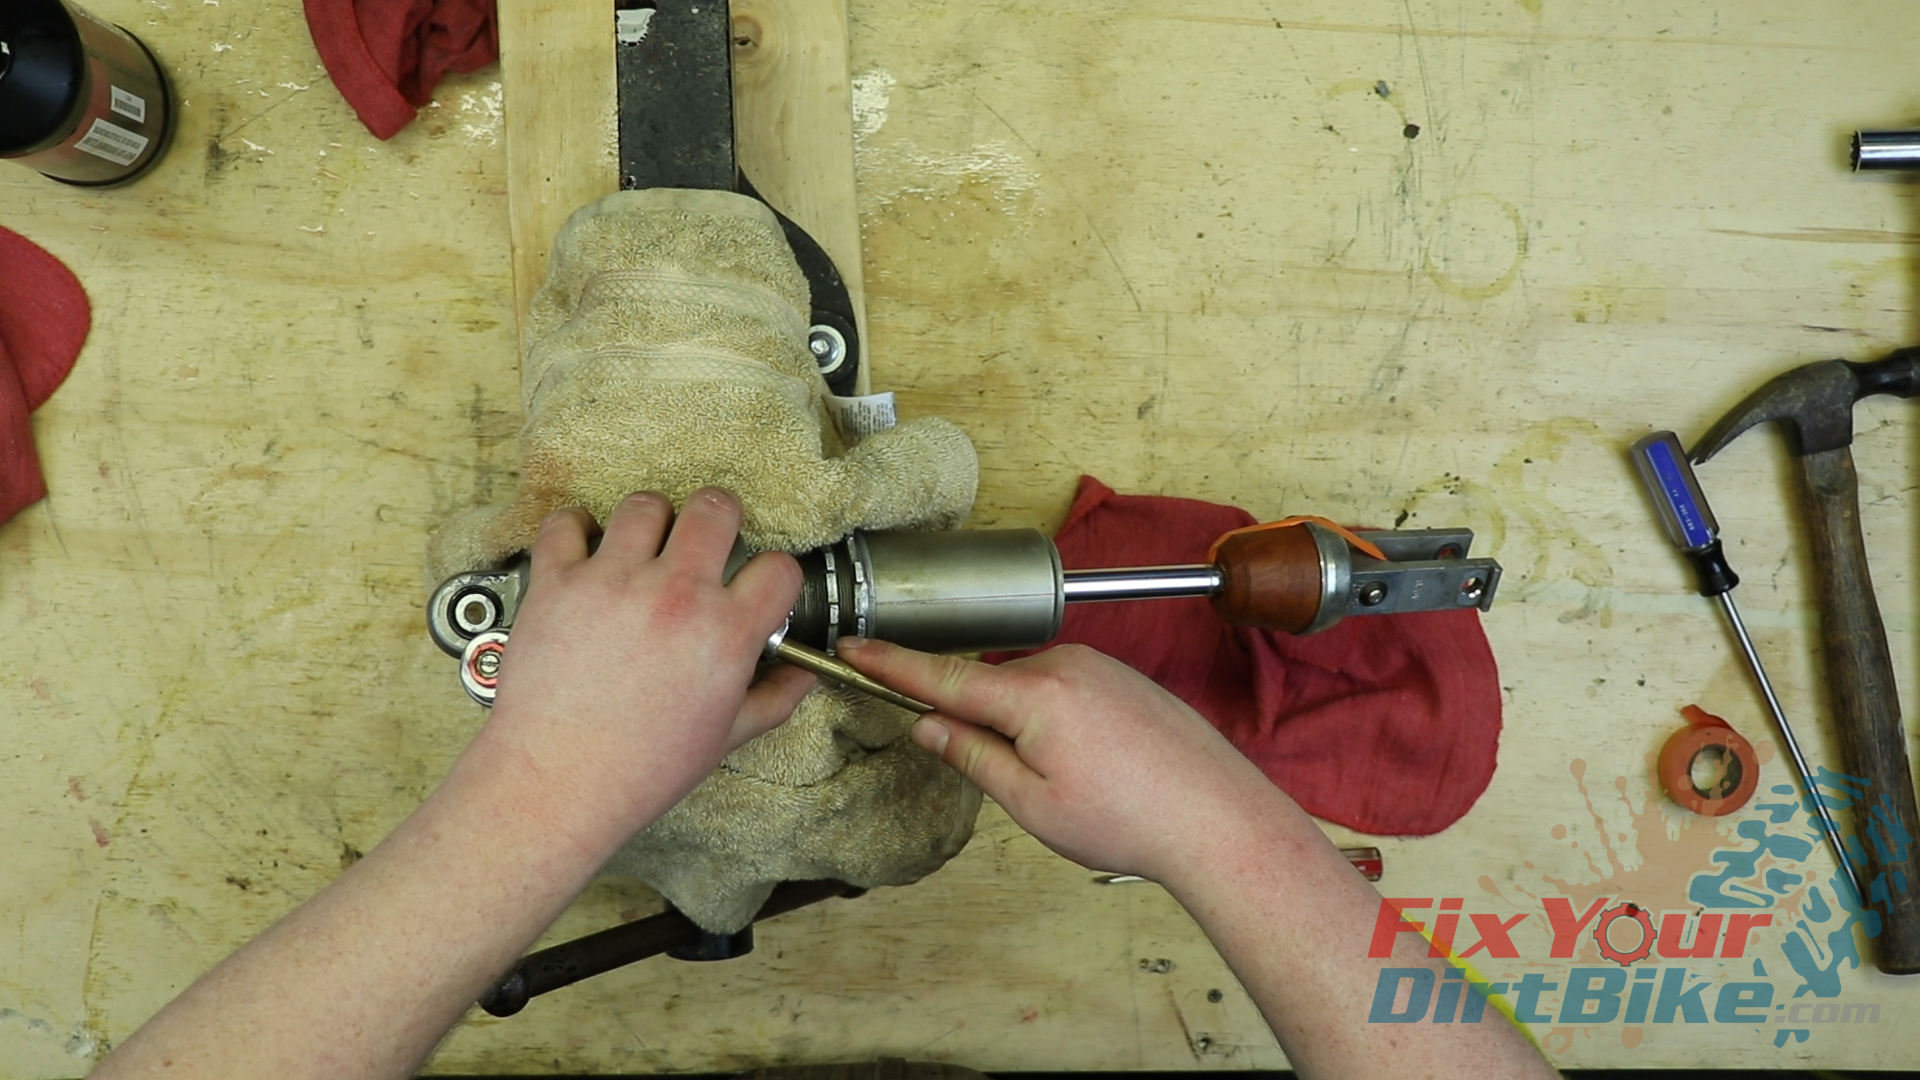
- Position your shock, so the compression adjuster hole is parallel to your work surface.
- Slowly fill the shock with oil.
- As you go, slowly work the shaft in and out to help free any trapped air, and continue to fill and pump until no bubbles can be seen.
- But be careful, or you will make a mess.
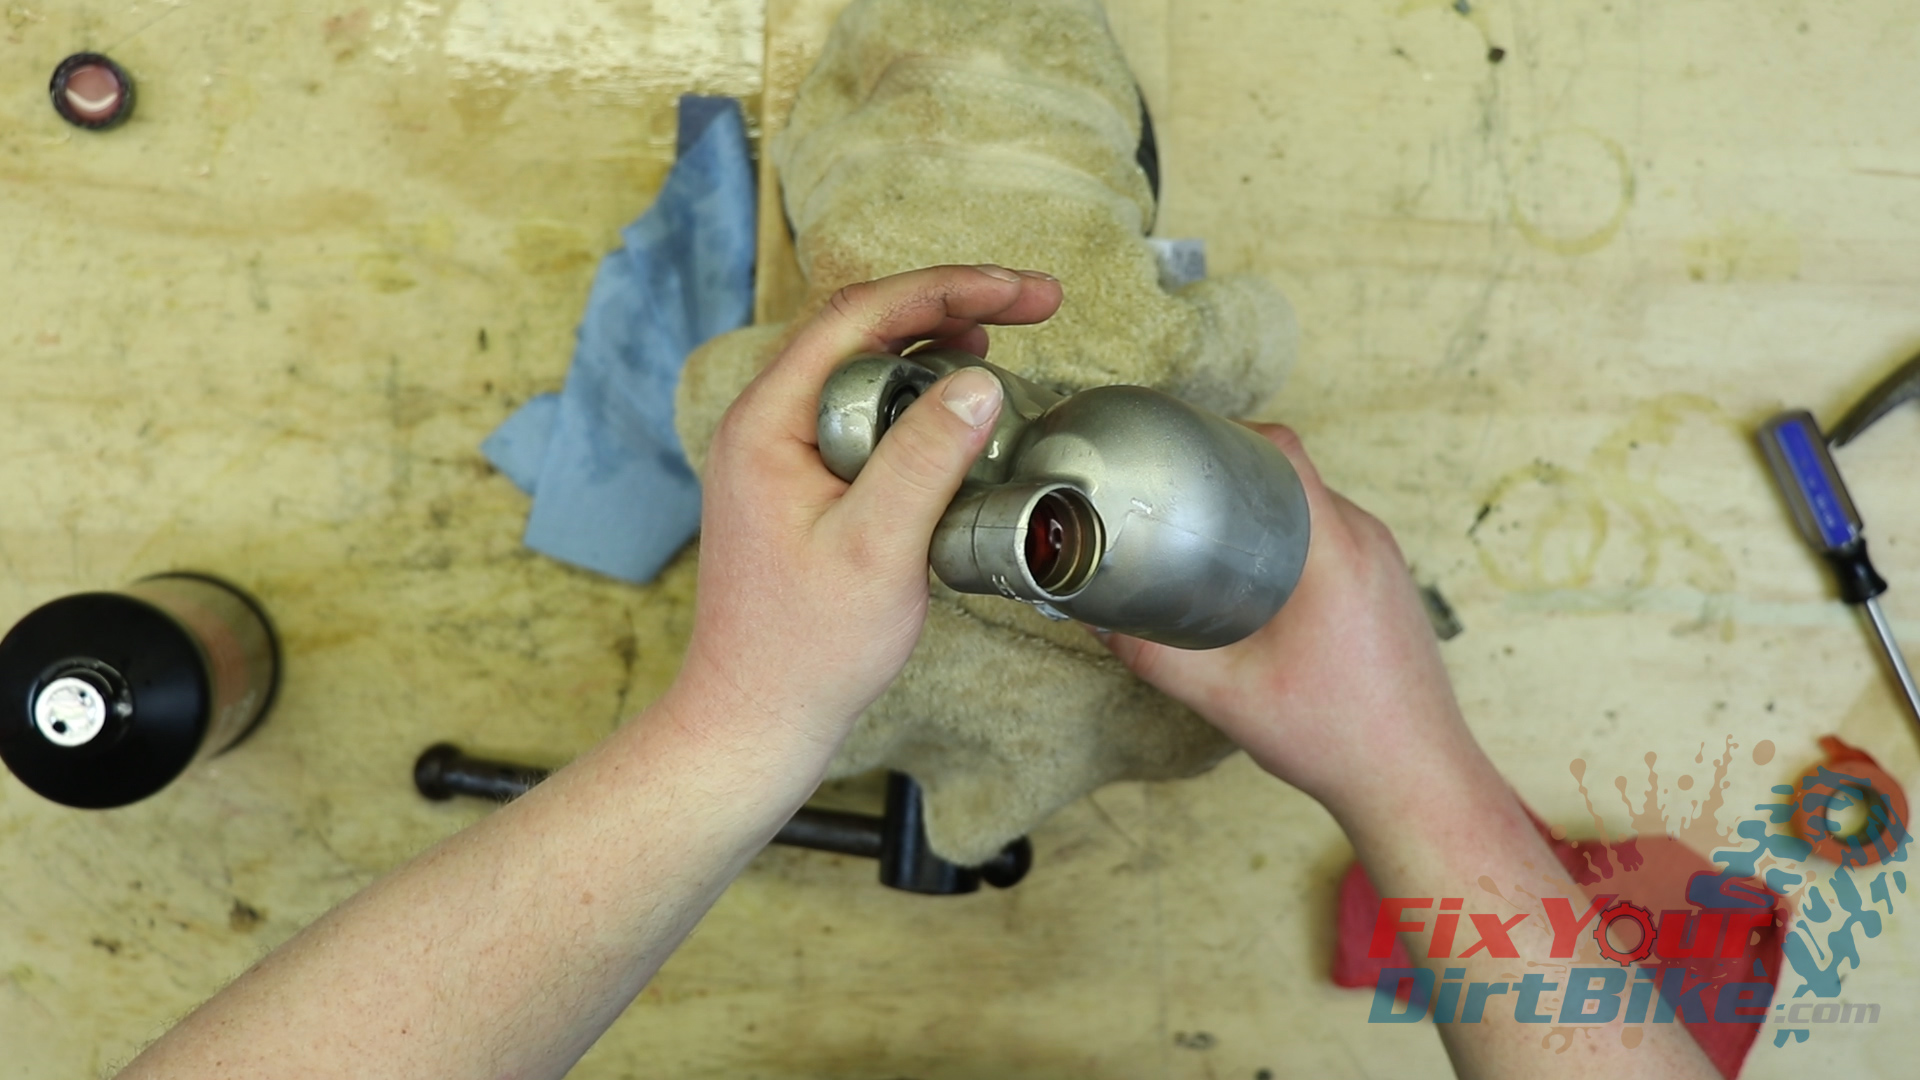
- With the body filled, remove your shock from your vice and tilt it back and forth to work oil into the reservoir.
- Top off the oil level as you go.
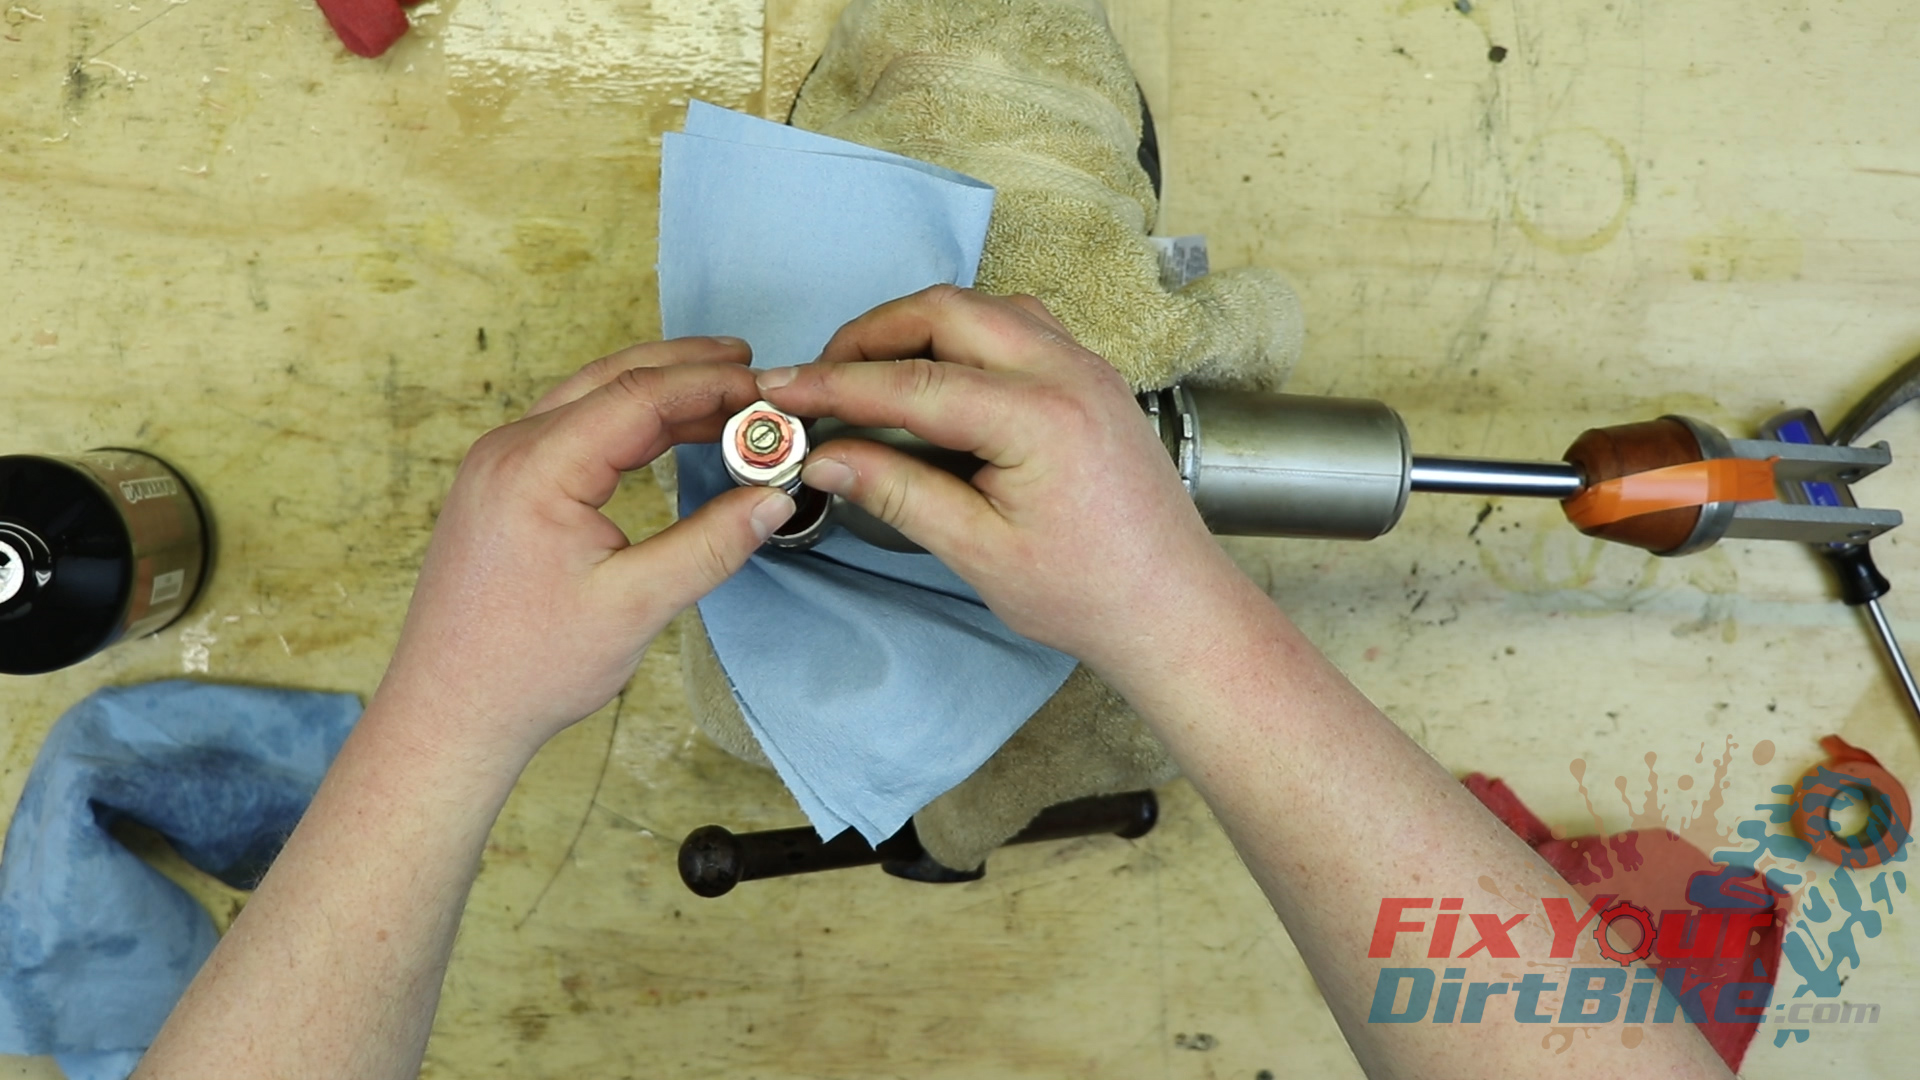
- Coat the compression adjuster in shock oil and install it into the body.
- The compression adjuster will displace some oil, so be ready with a towel.
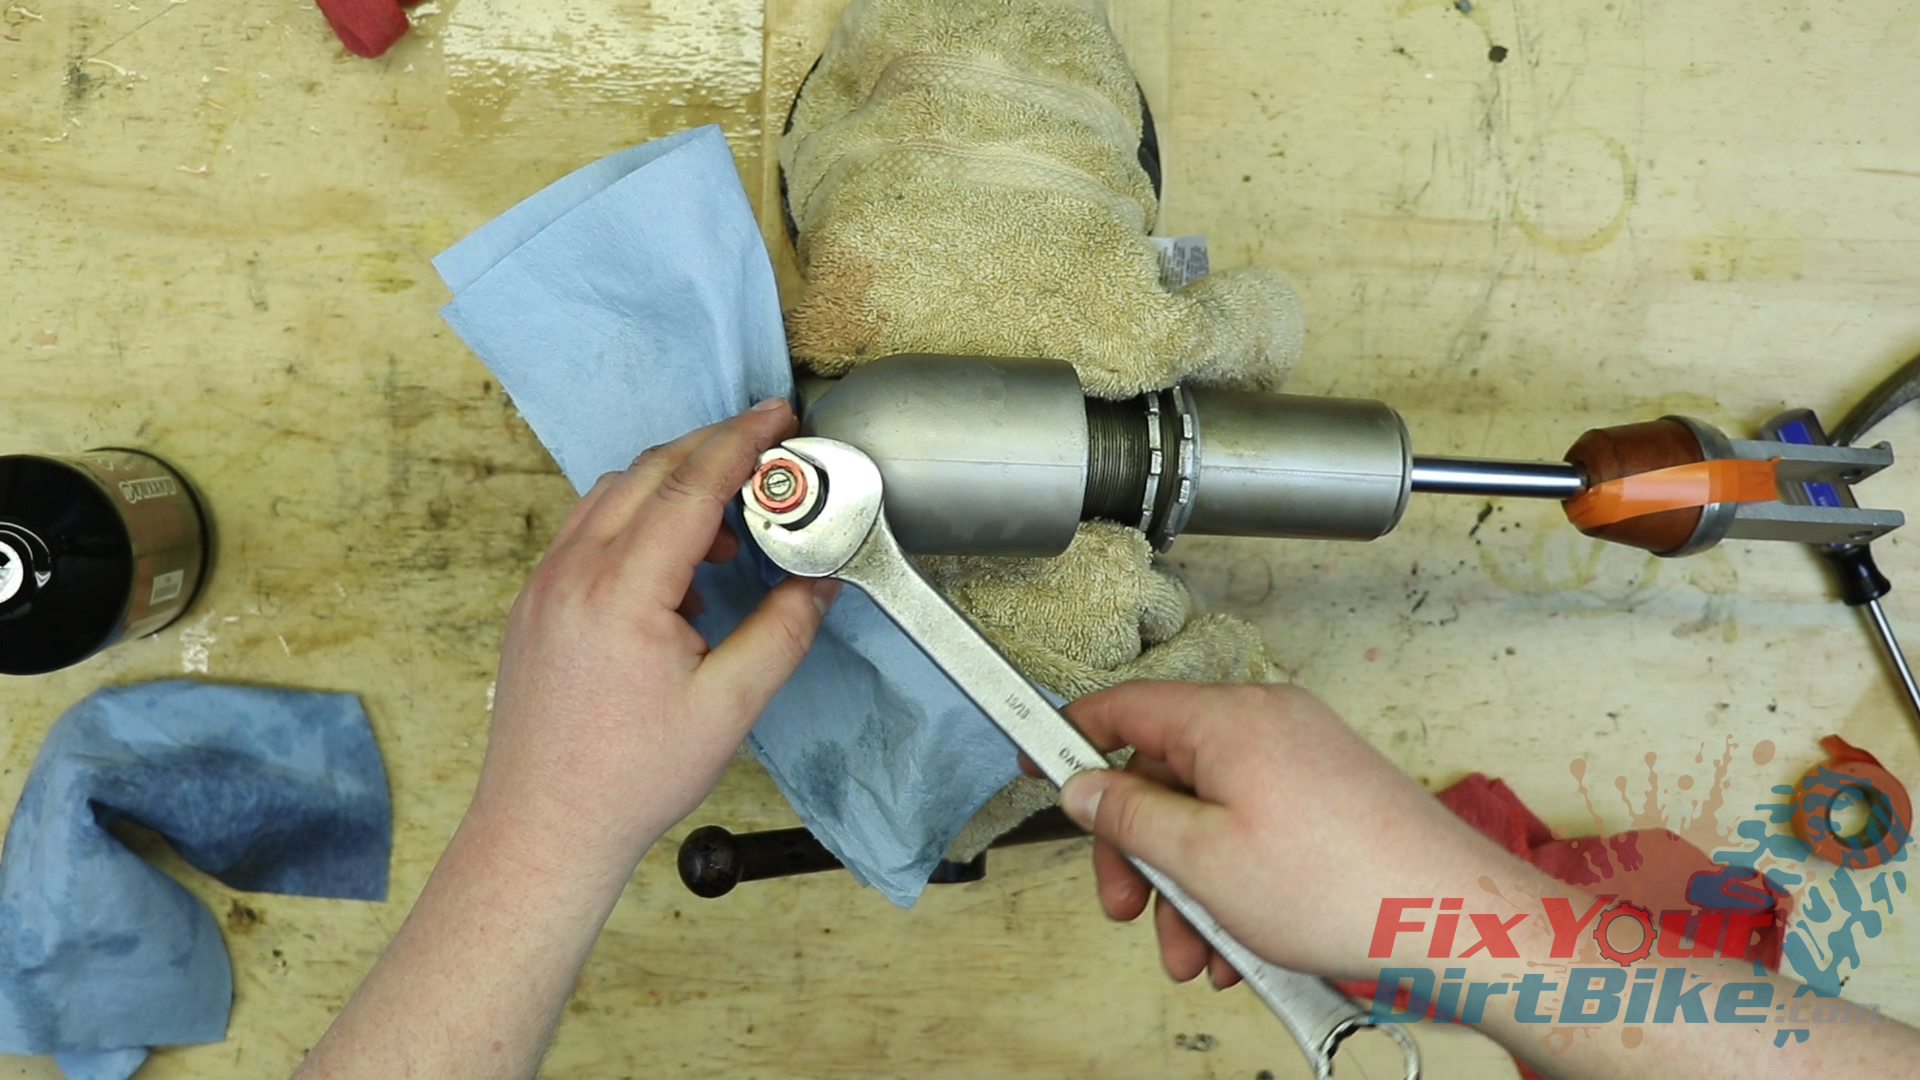
- Tighten the compression adjuster, then torque to 22 ft-lbs.
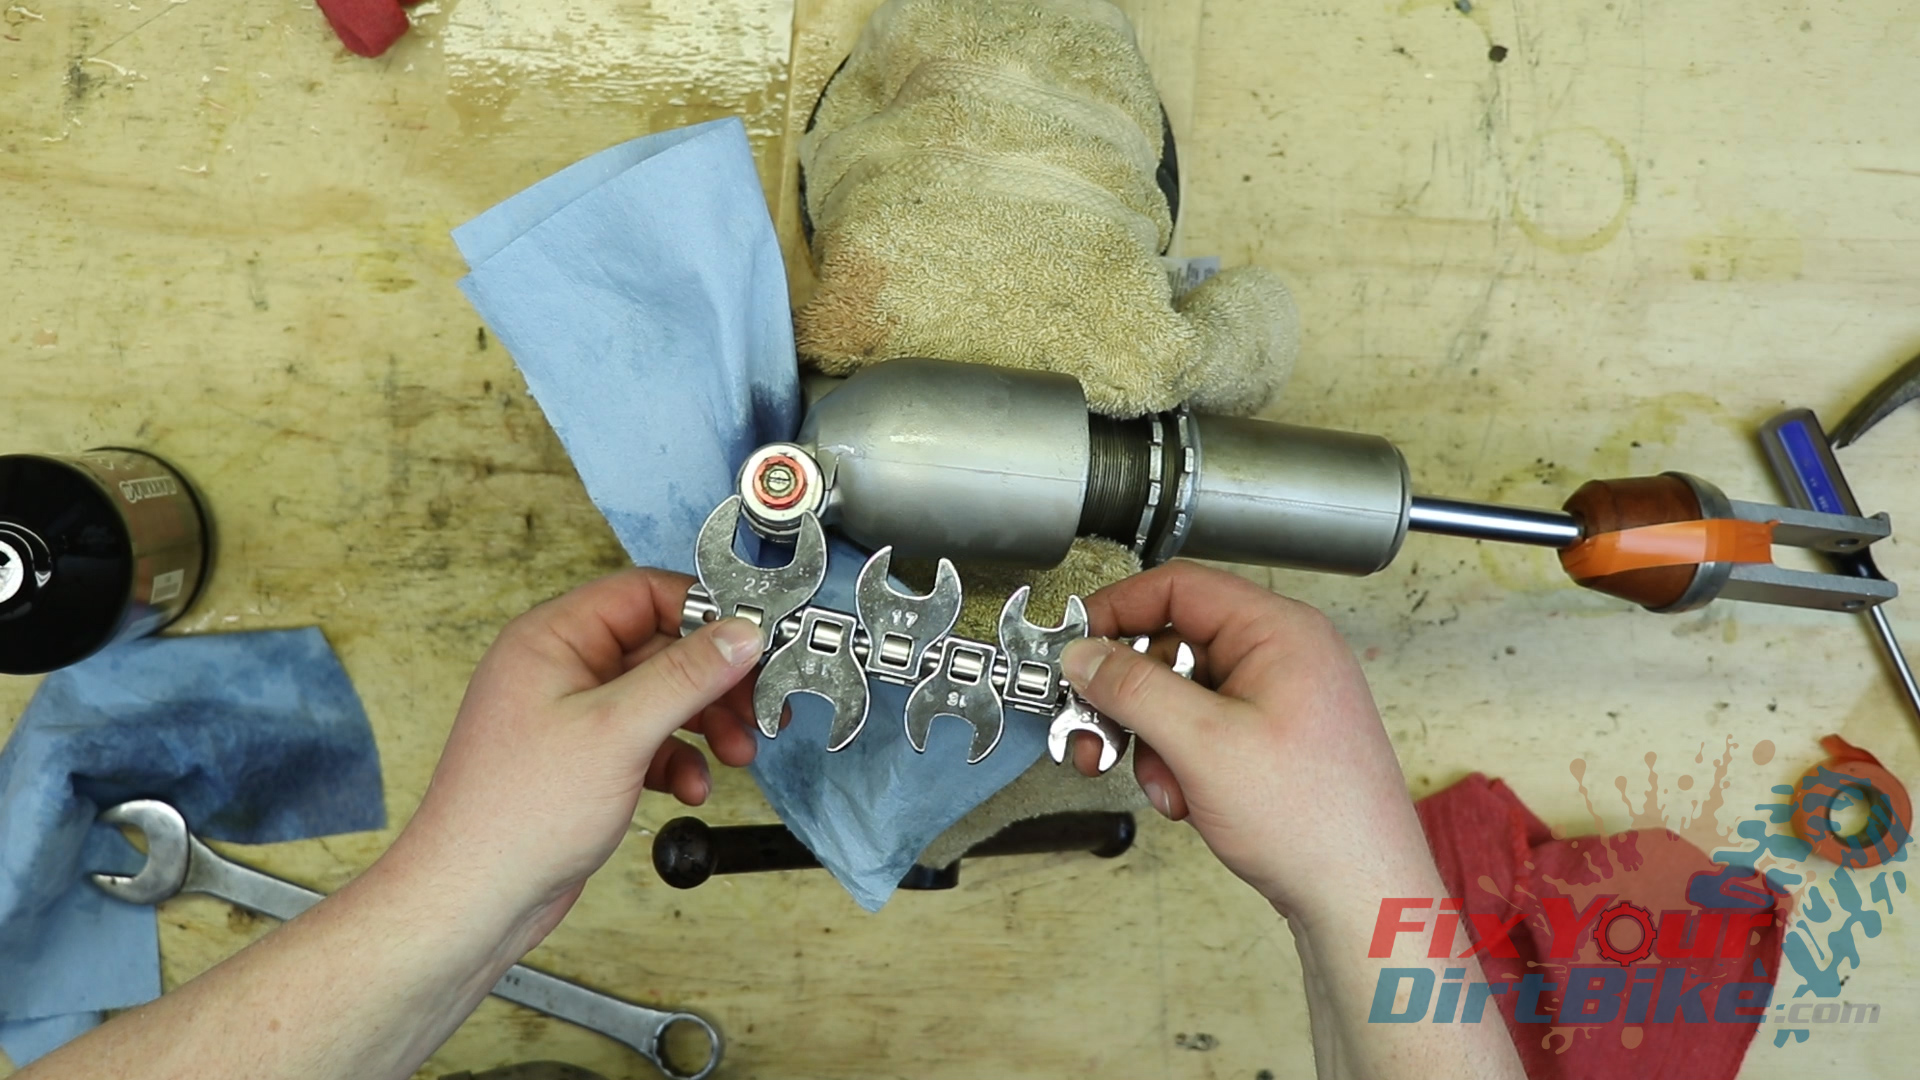
- You will not be able to fit a socket over the compression adjuster, so you will need to use a crows foot extension on your torque wrench.
- Make sure to keep the crow’s foot extension at a 90-degree angle to your wrench.
Testing Your Rear Shock Rebuild
- To make sure your rebuild was successful, fill the reservoir with as much air as you can, but no more than 145 psi.
- Work your shaft in and out a few times, then let your shock sit for a few hours.
- If nothing is leaking from the seal head, reservoir cap or compression adjuster you are good to go, and you can bleed the reservoir.
- Most powersports shops can refill your shock with nitrogen for cheap.
- Stock Pressure Is 145 PSI
If you have any questions about this shock rebuild, please let me know in the comments or on social.
Keep Your ’09-’10 CRF450r Running Right!
