
How To Rebuild The Forks On Your 2009 – 2010 Honda CRF450R
The Tools You Need Are:
- 35mm Fork Cap Wrench
- 49mm Fork Damper Wrench
- 15mm Box Wrench
- 17mm Socket
- Torque Wrench
- Waste Oil Bucket
- Plastic Wrap
- Vise
- Pick
- Flathead Screwdriver
- Lots of Towels
- Safety Glasses
The Fork Rebuild Parts:
The only parts you need is a new ’09-’10 Honda CRF450r front fork rebuild kit and fresh fork oil – (Amazon). I am using a pivot works kit that includes almost everything for this fork service. The only thing this rebuild kit is missing is a spring seat bushing, but those rarely wear out.
Pre-Service Notes
- Start with your bike on a stand with the front wheel, brake caliper, and fork protectors removed.
- I recommend opening the Service & Torque Specs in a new tab for easy reference.
- If you need parts and tools, make sure to buy them here!
- Pictures with captions are after the steps below.
- If you need any help don’t hesitate to ask!
Front Fork Disassembly
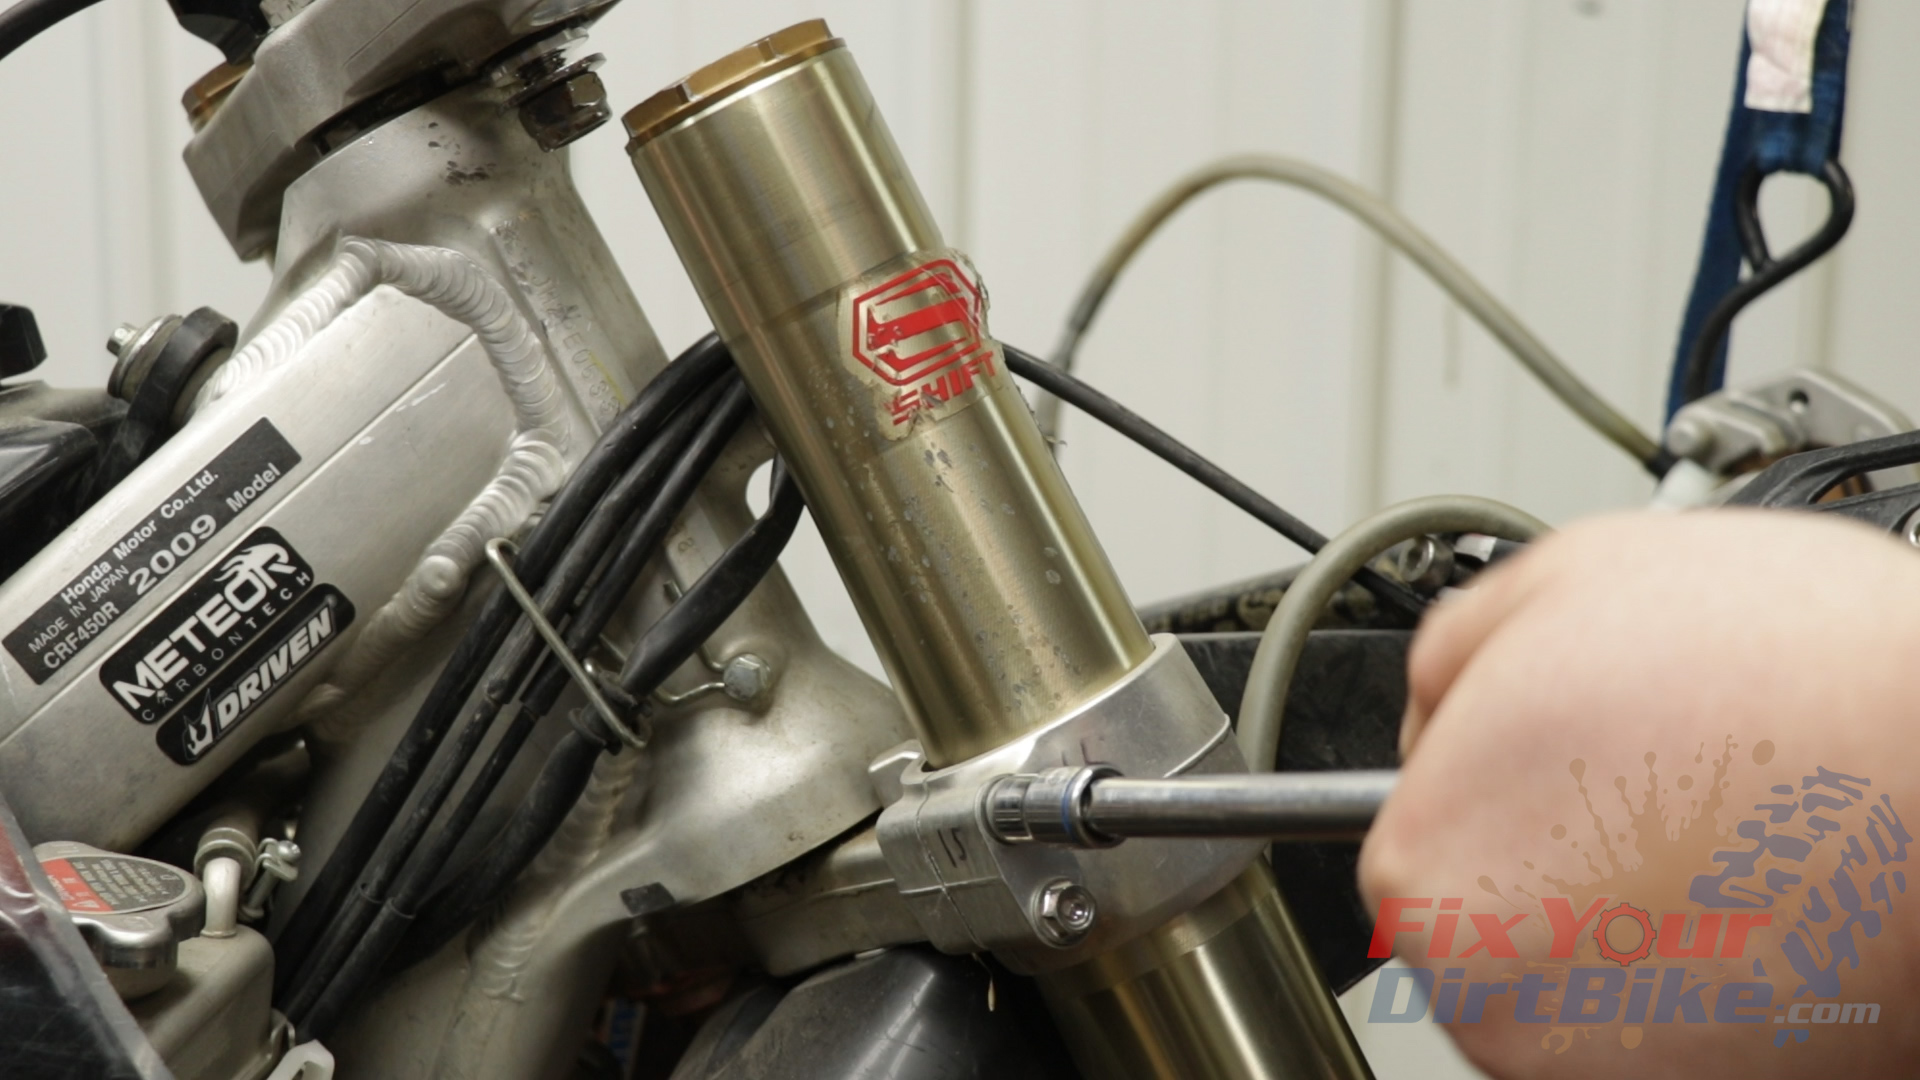
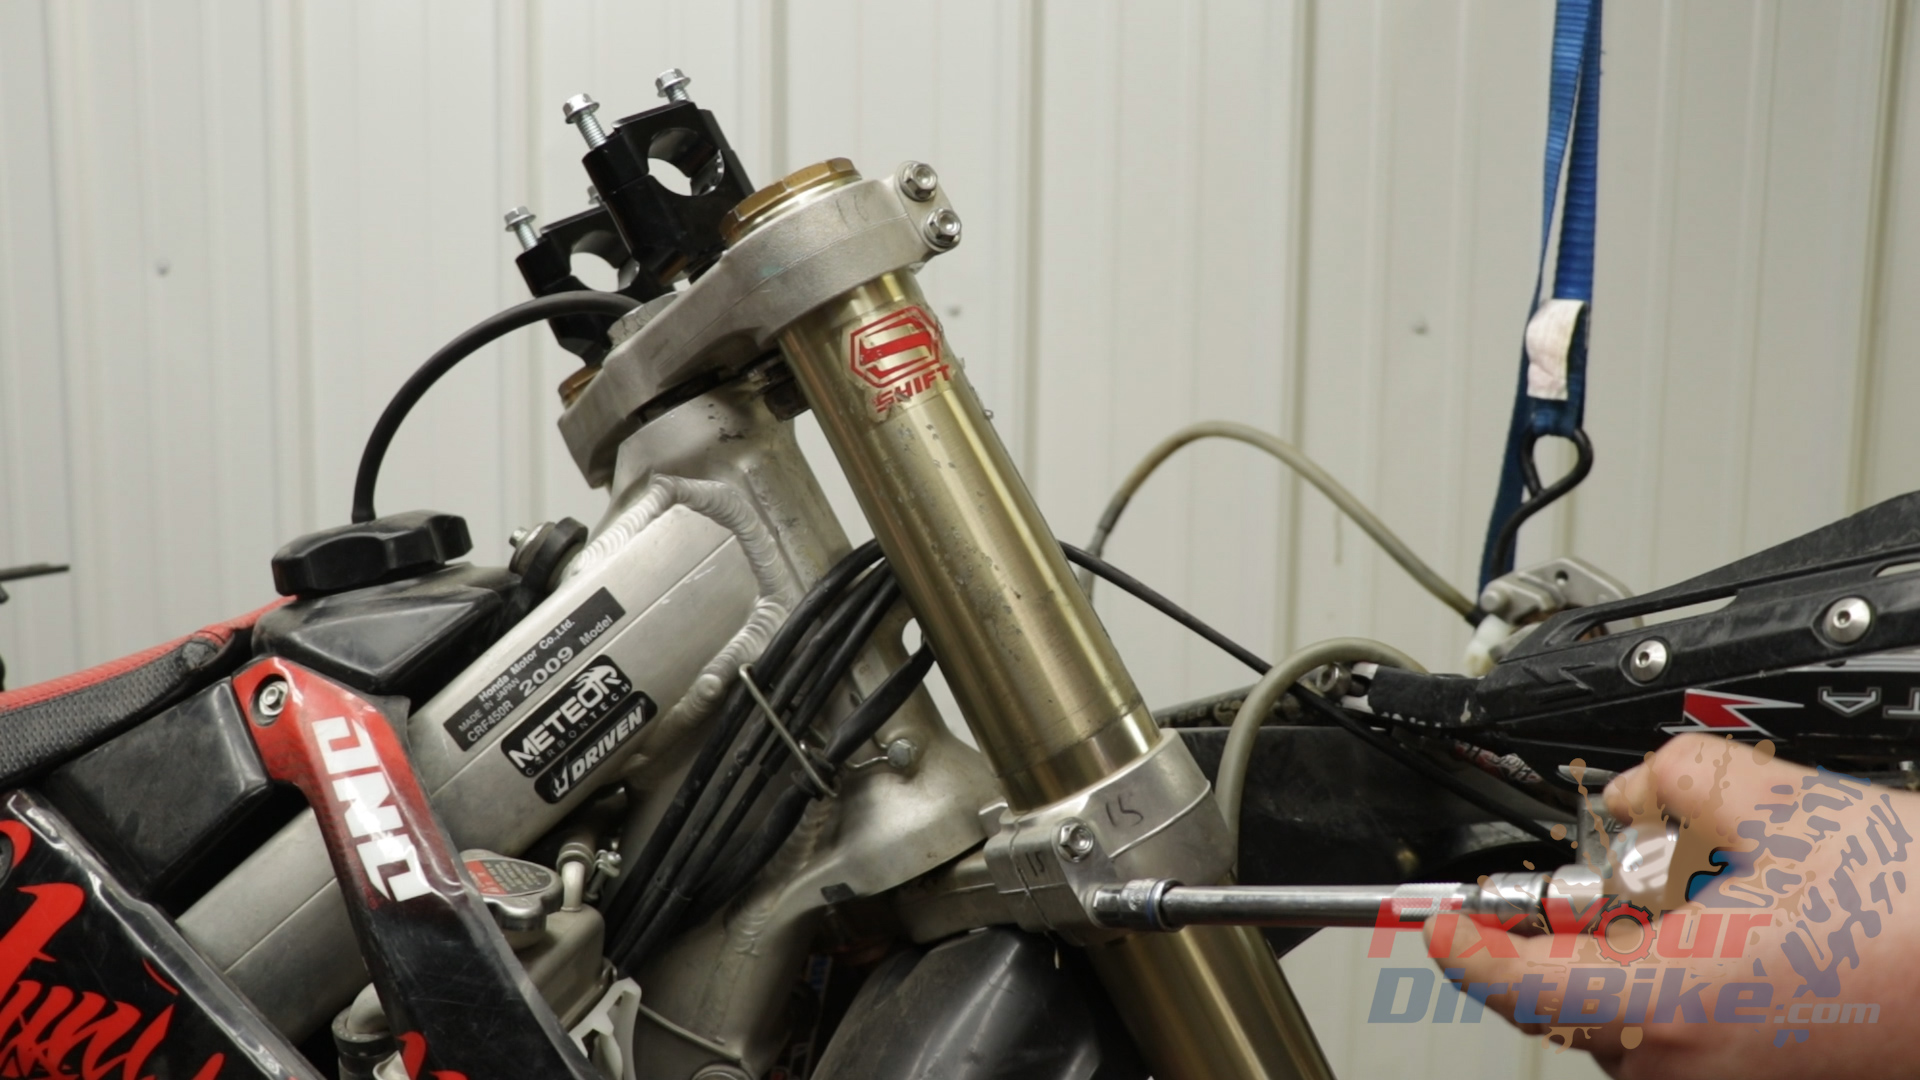
- Your fork cap wrench might not fit due to the handlebar risers, so loosen the top and bottom fork bridge pinch bolts, then drop your fork below the top bridge.
- Tighten the lower pinch bolts, and loosen the fork damper with the fork still mounted in the bridge.
- Do not remove the cap; get it loose.
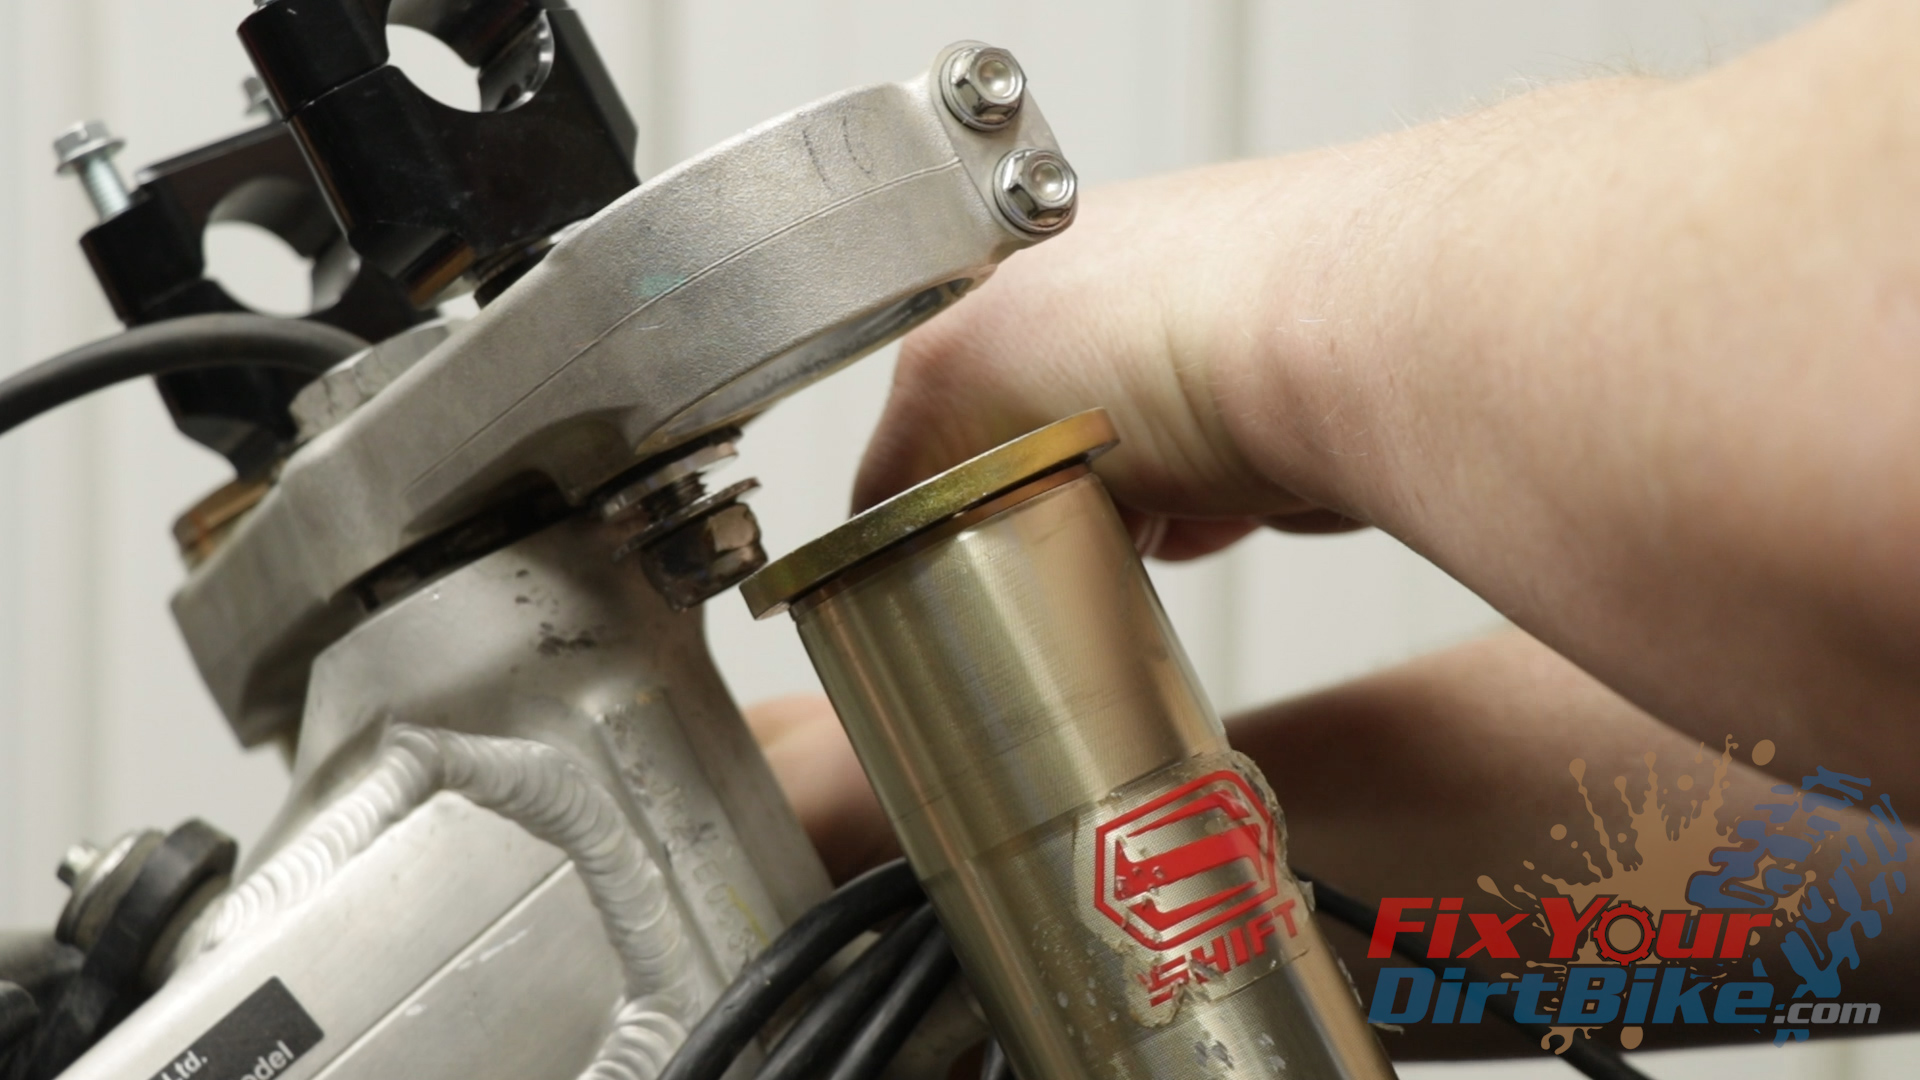
- Loosen the bottom pinch bolts and remove your fork.
- Turn the compression adjuster (top) and rebound adjuster (bottom) out, and write down the number of clicks.
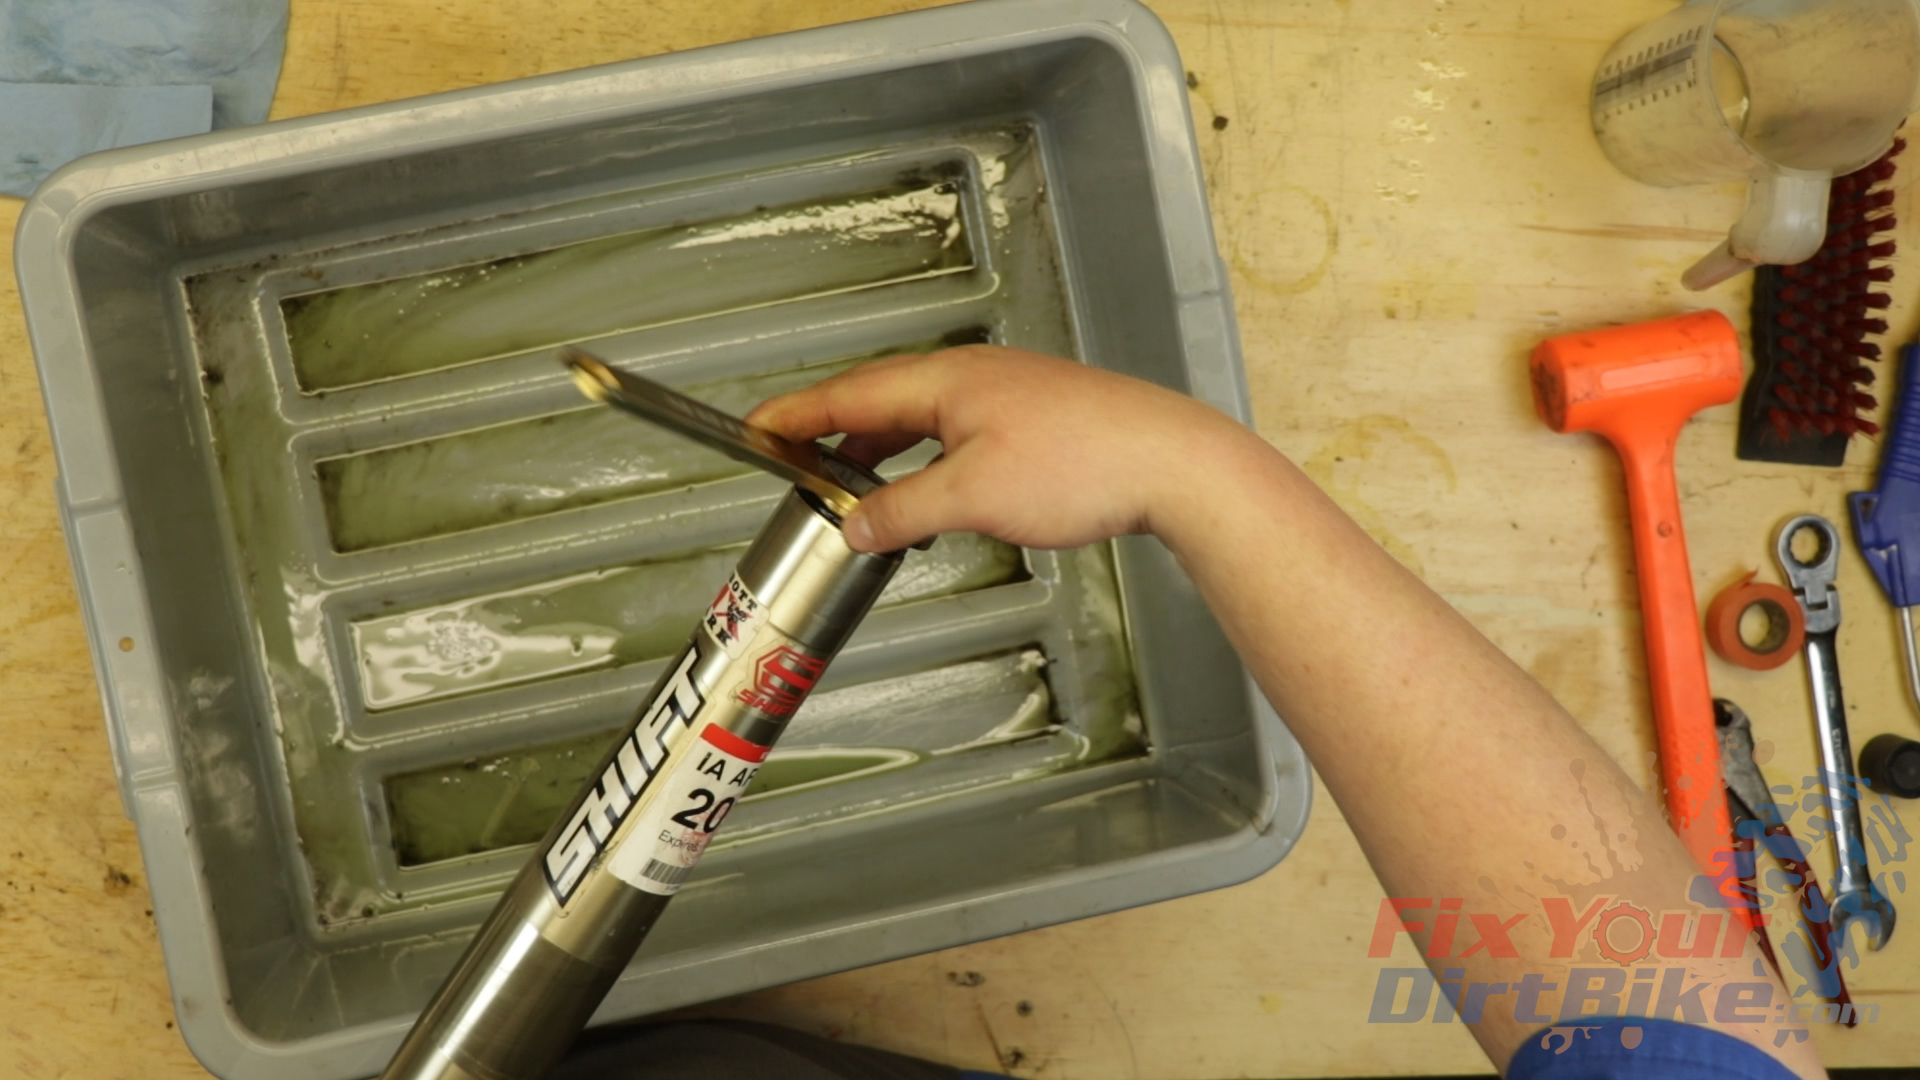
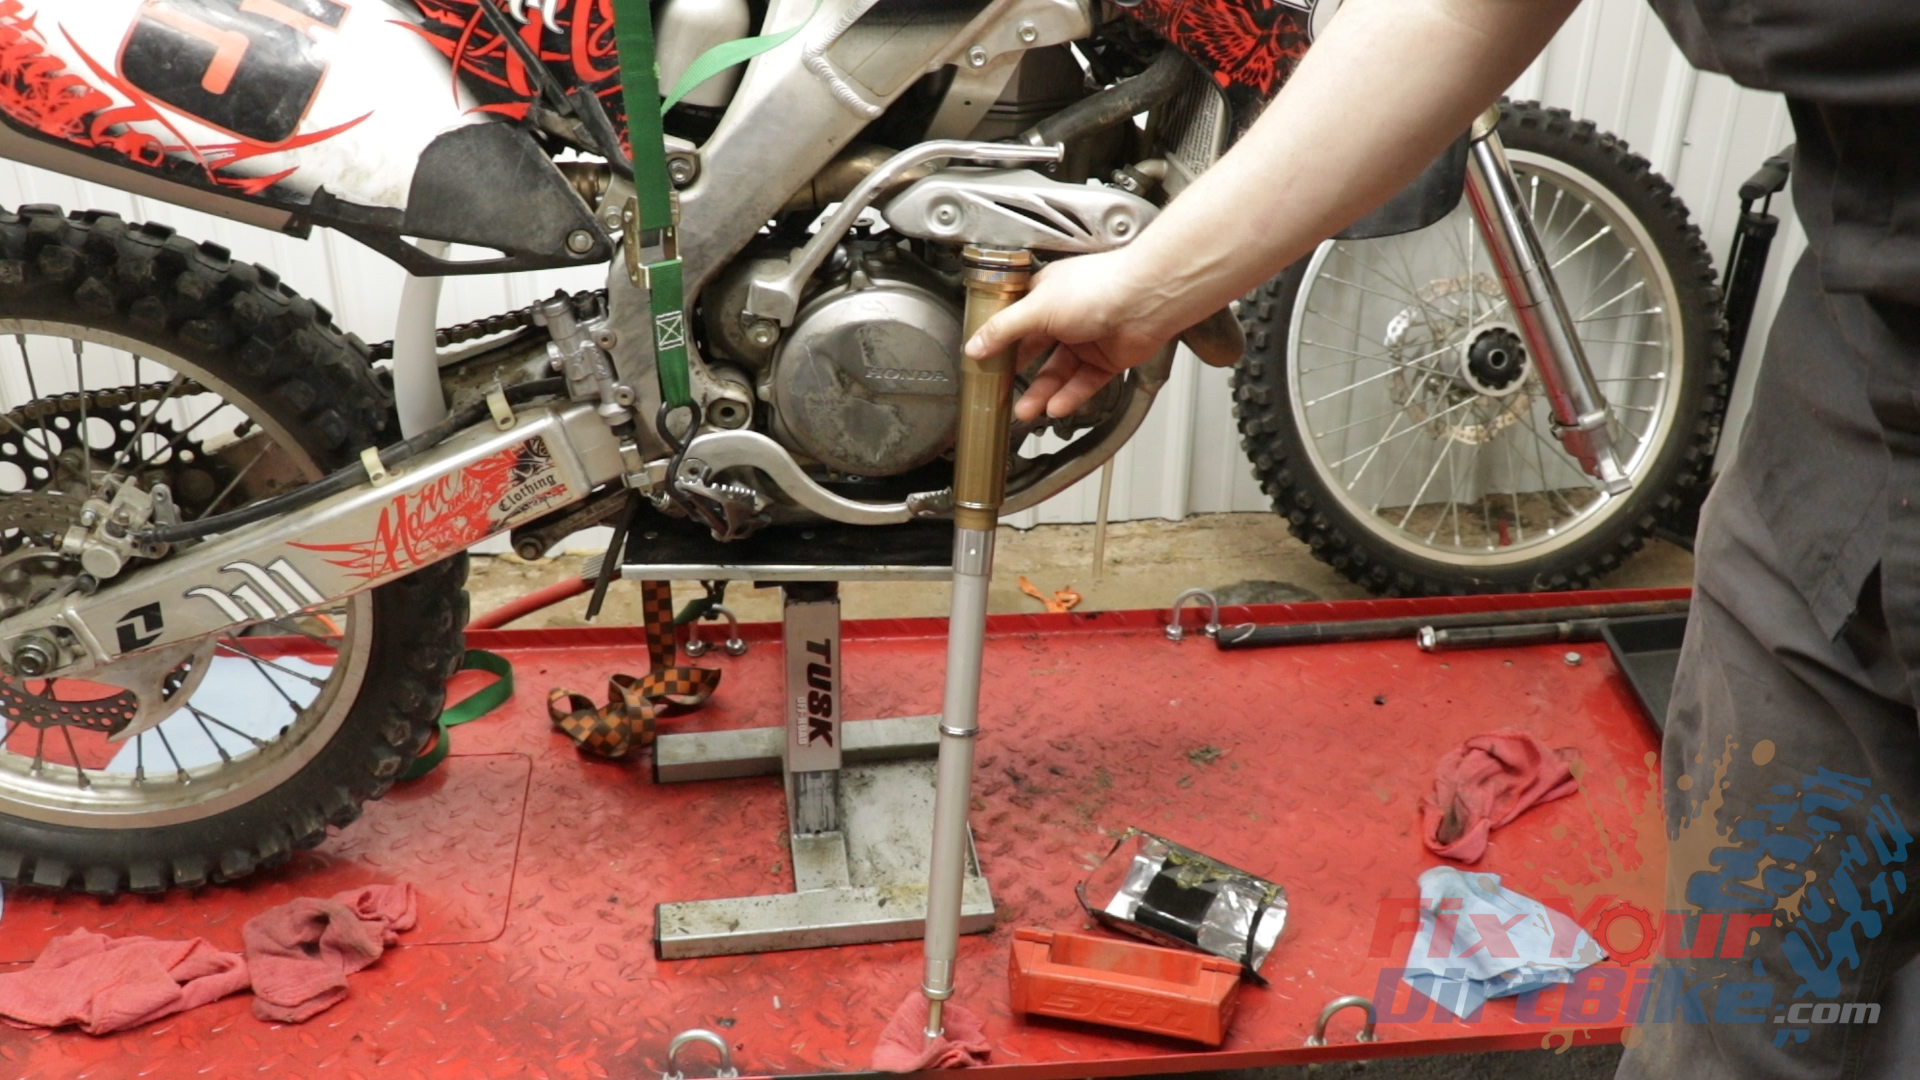
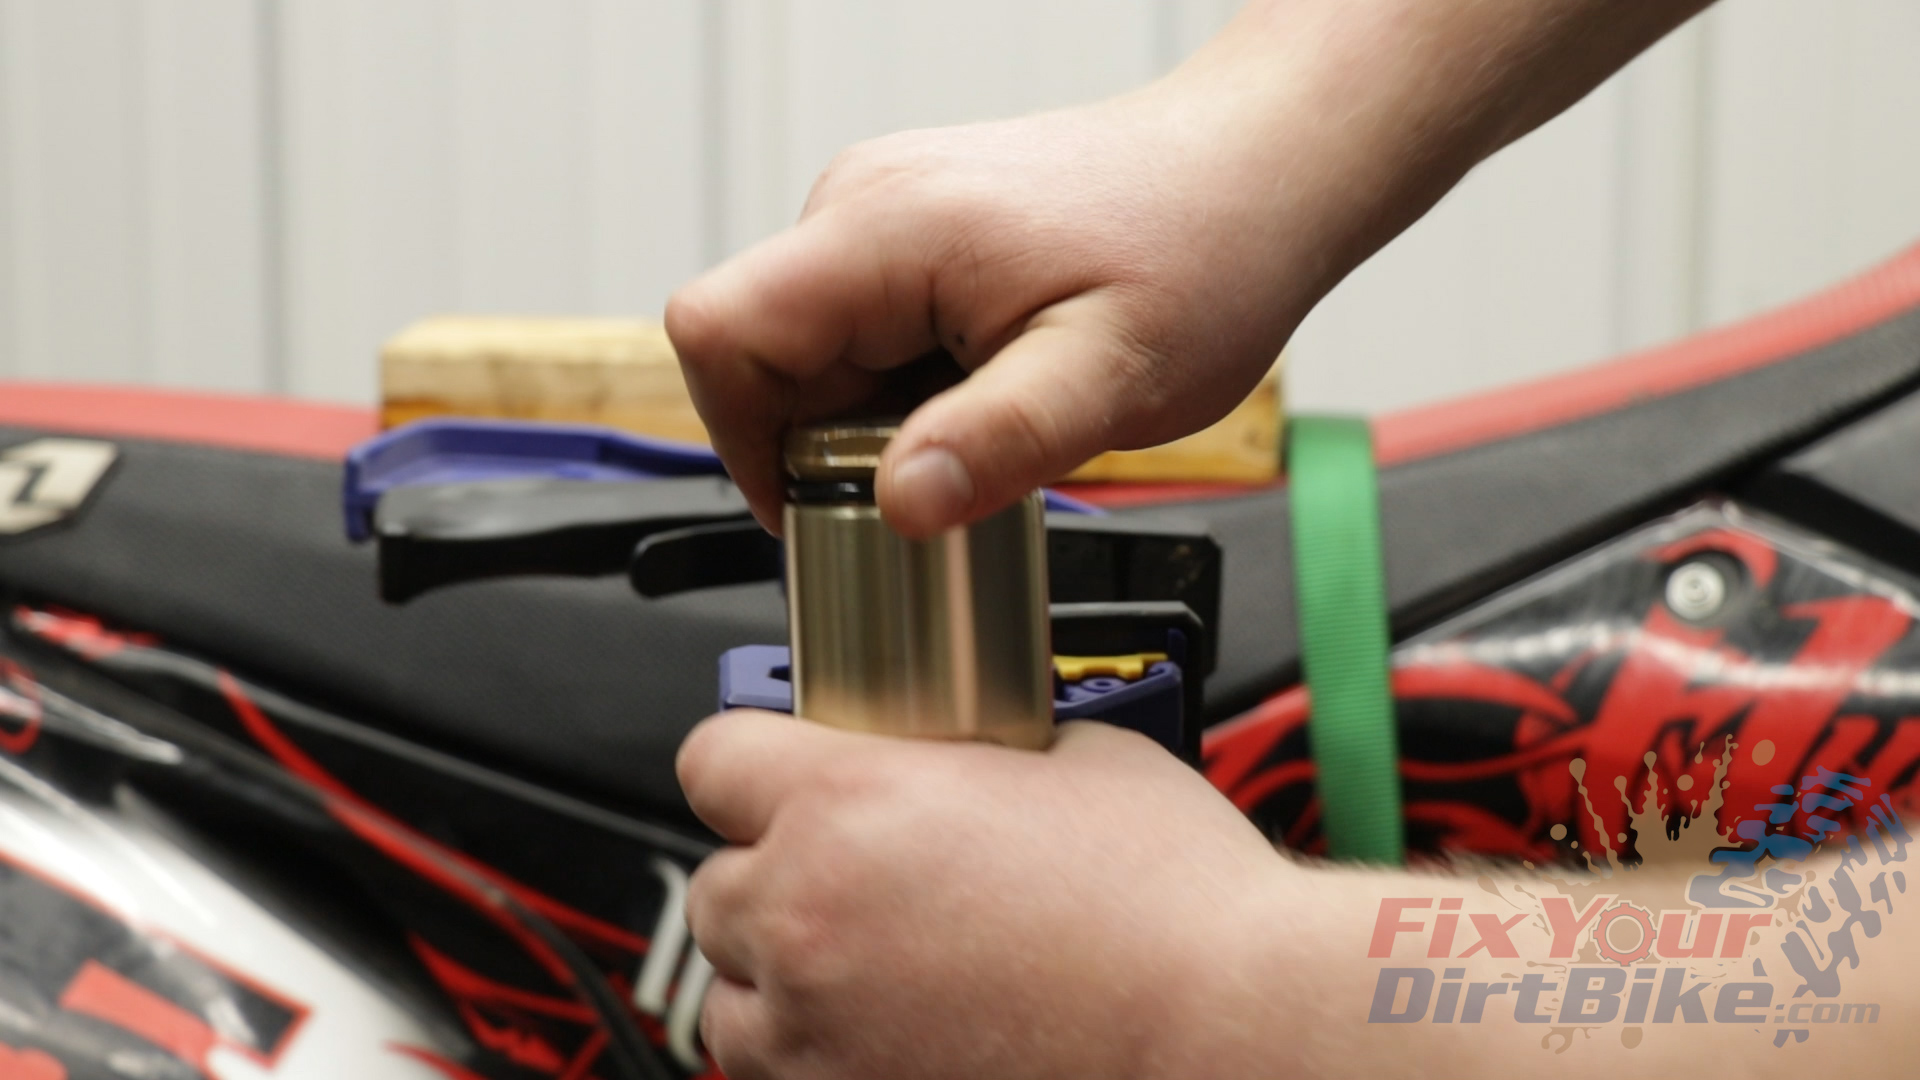
- Hold your fork at an upright angle, loosen the fork damper, and slide the outer tube down to the axle mount.
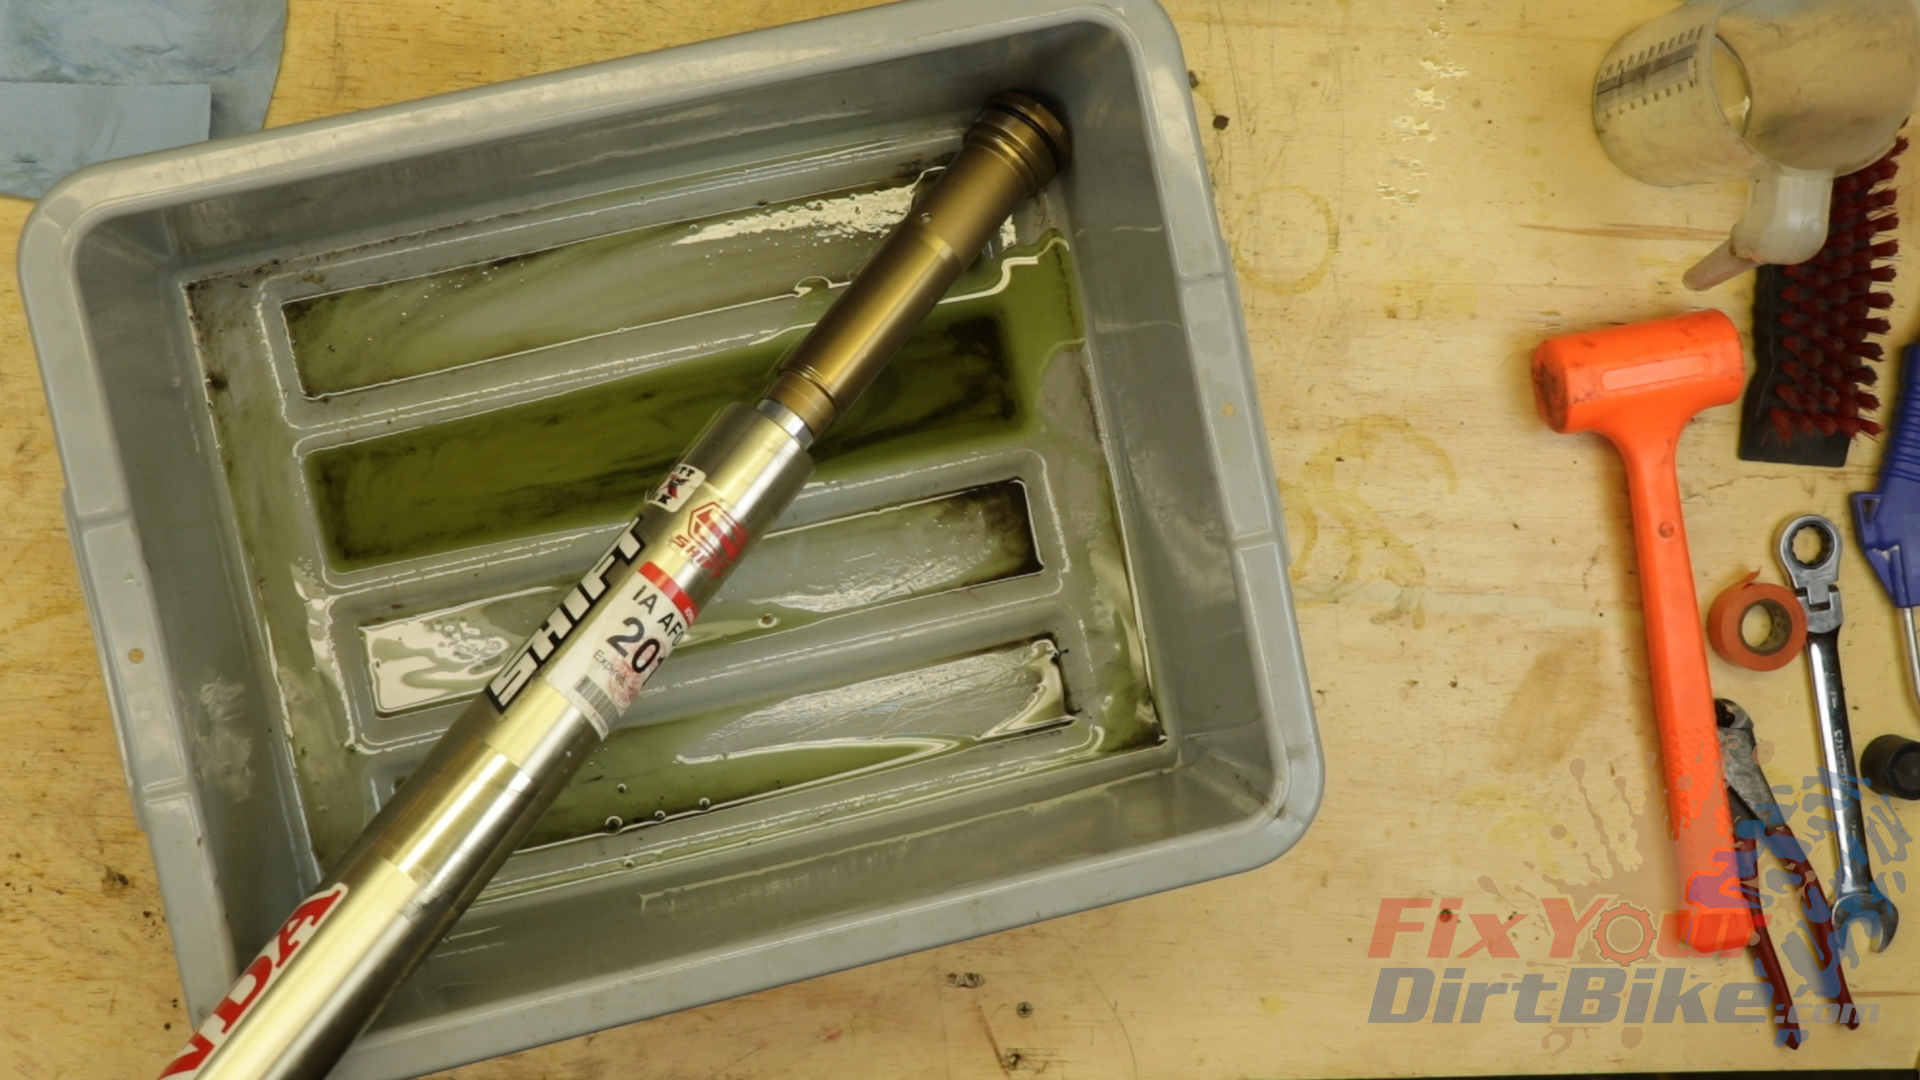
- Drain the old oil from the outer tube and damper holes.
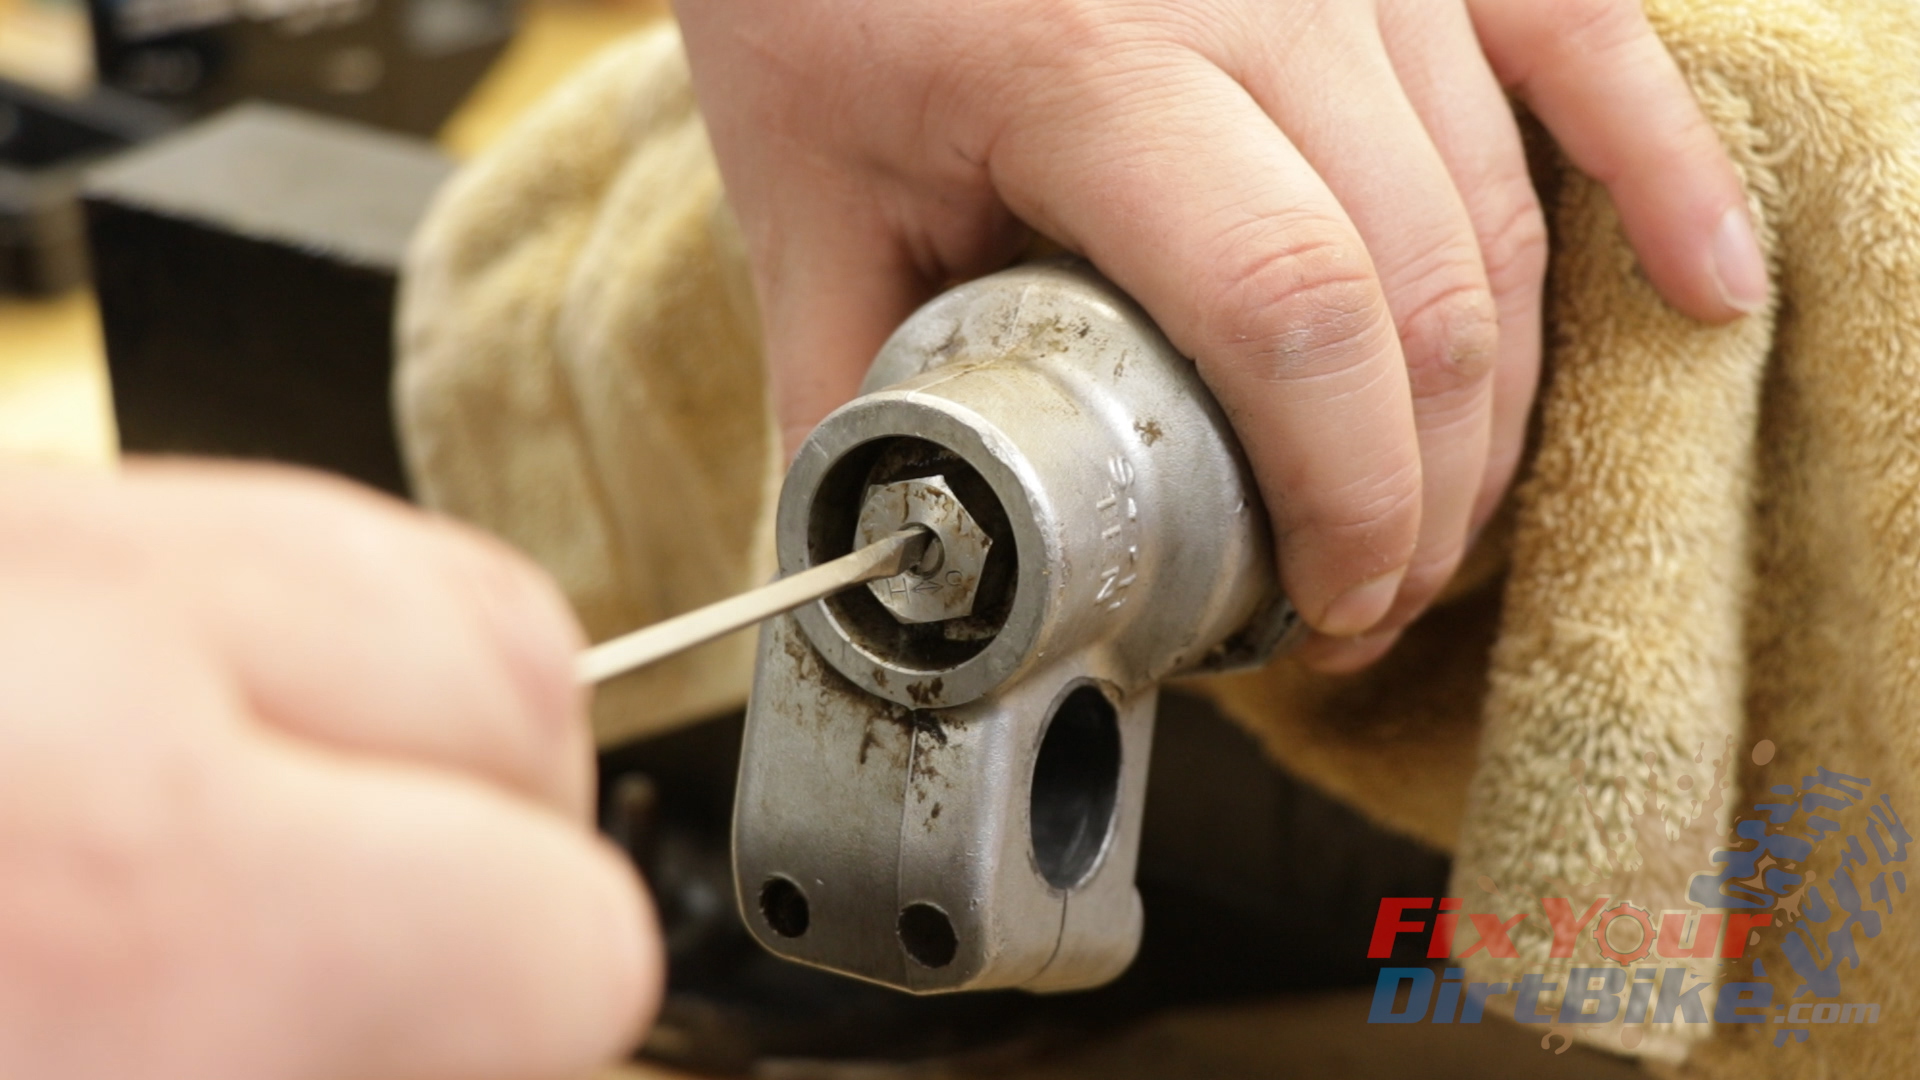
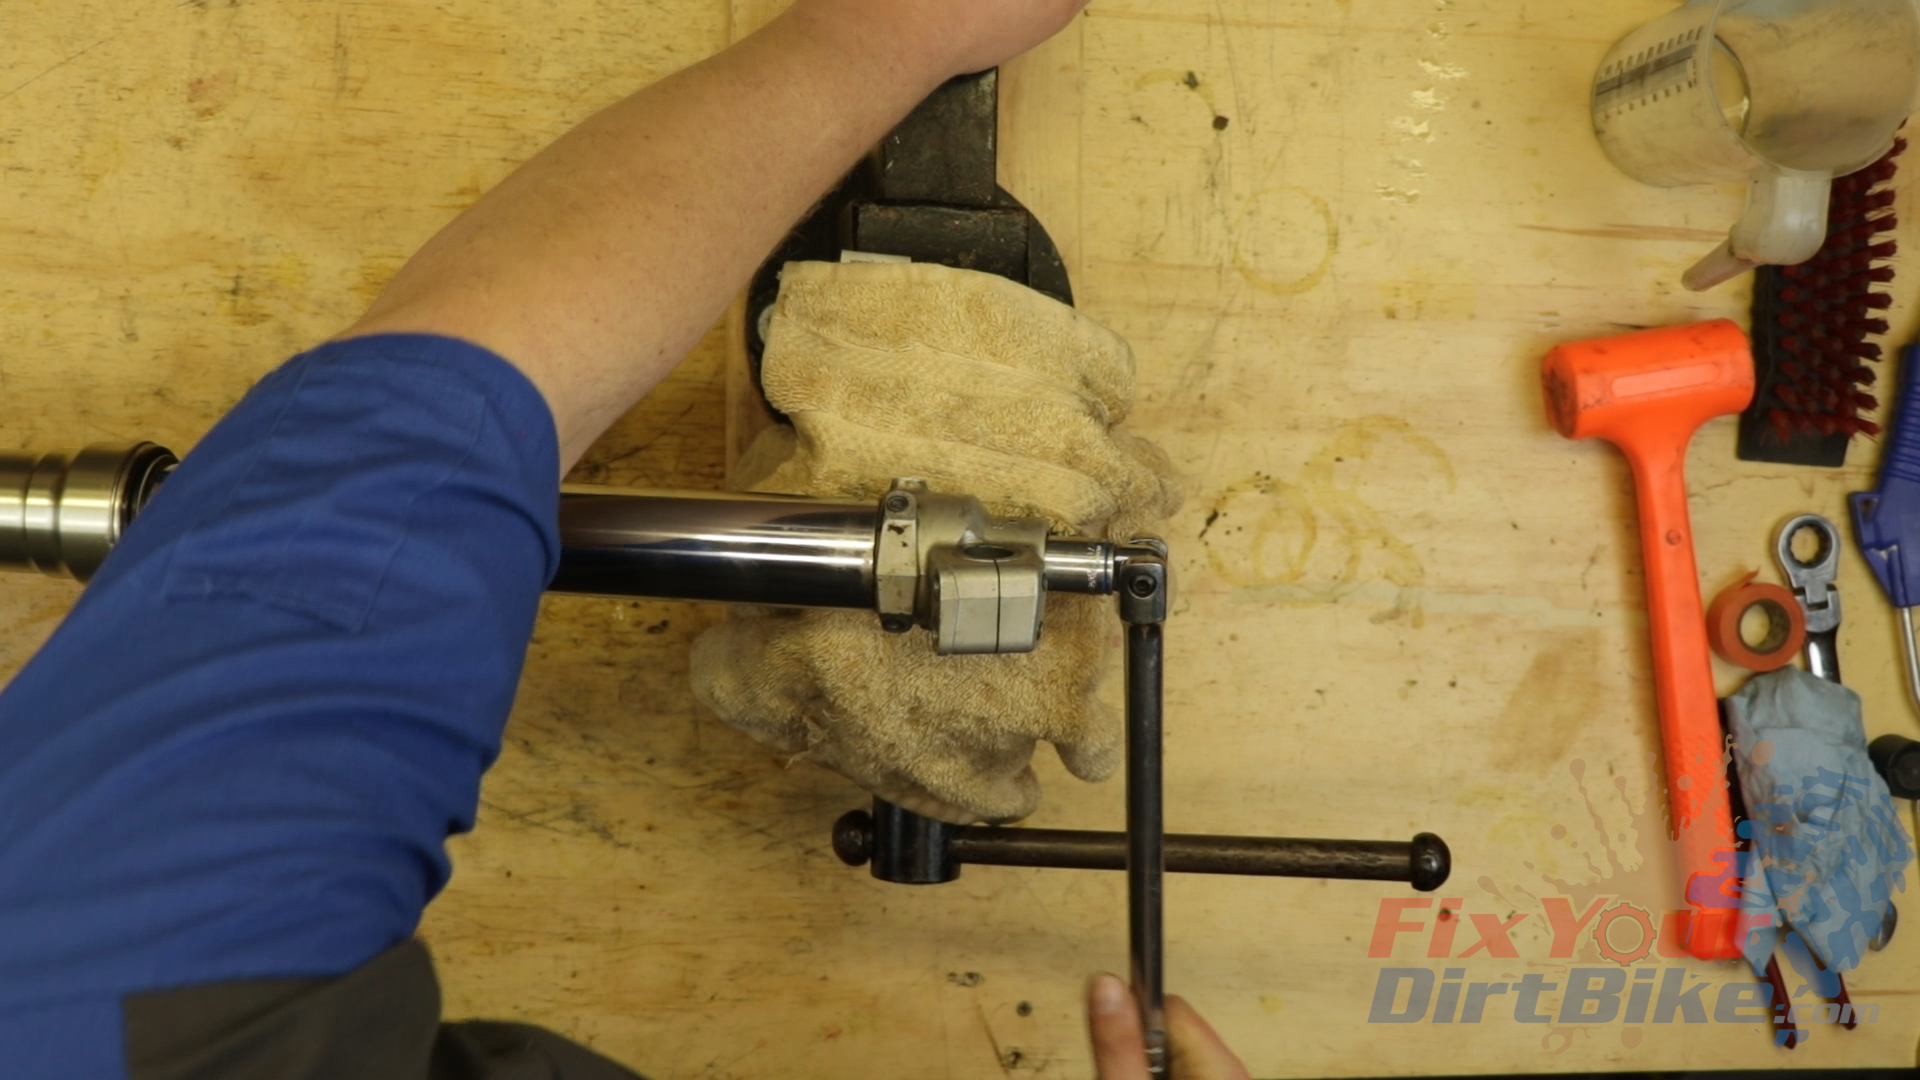
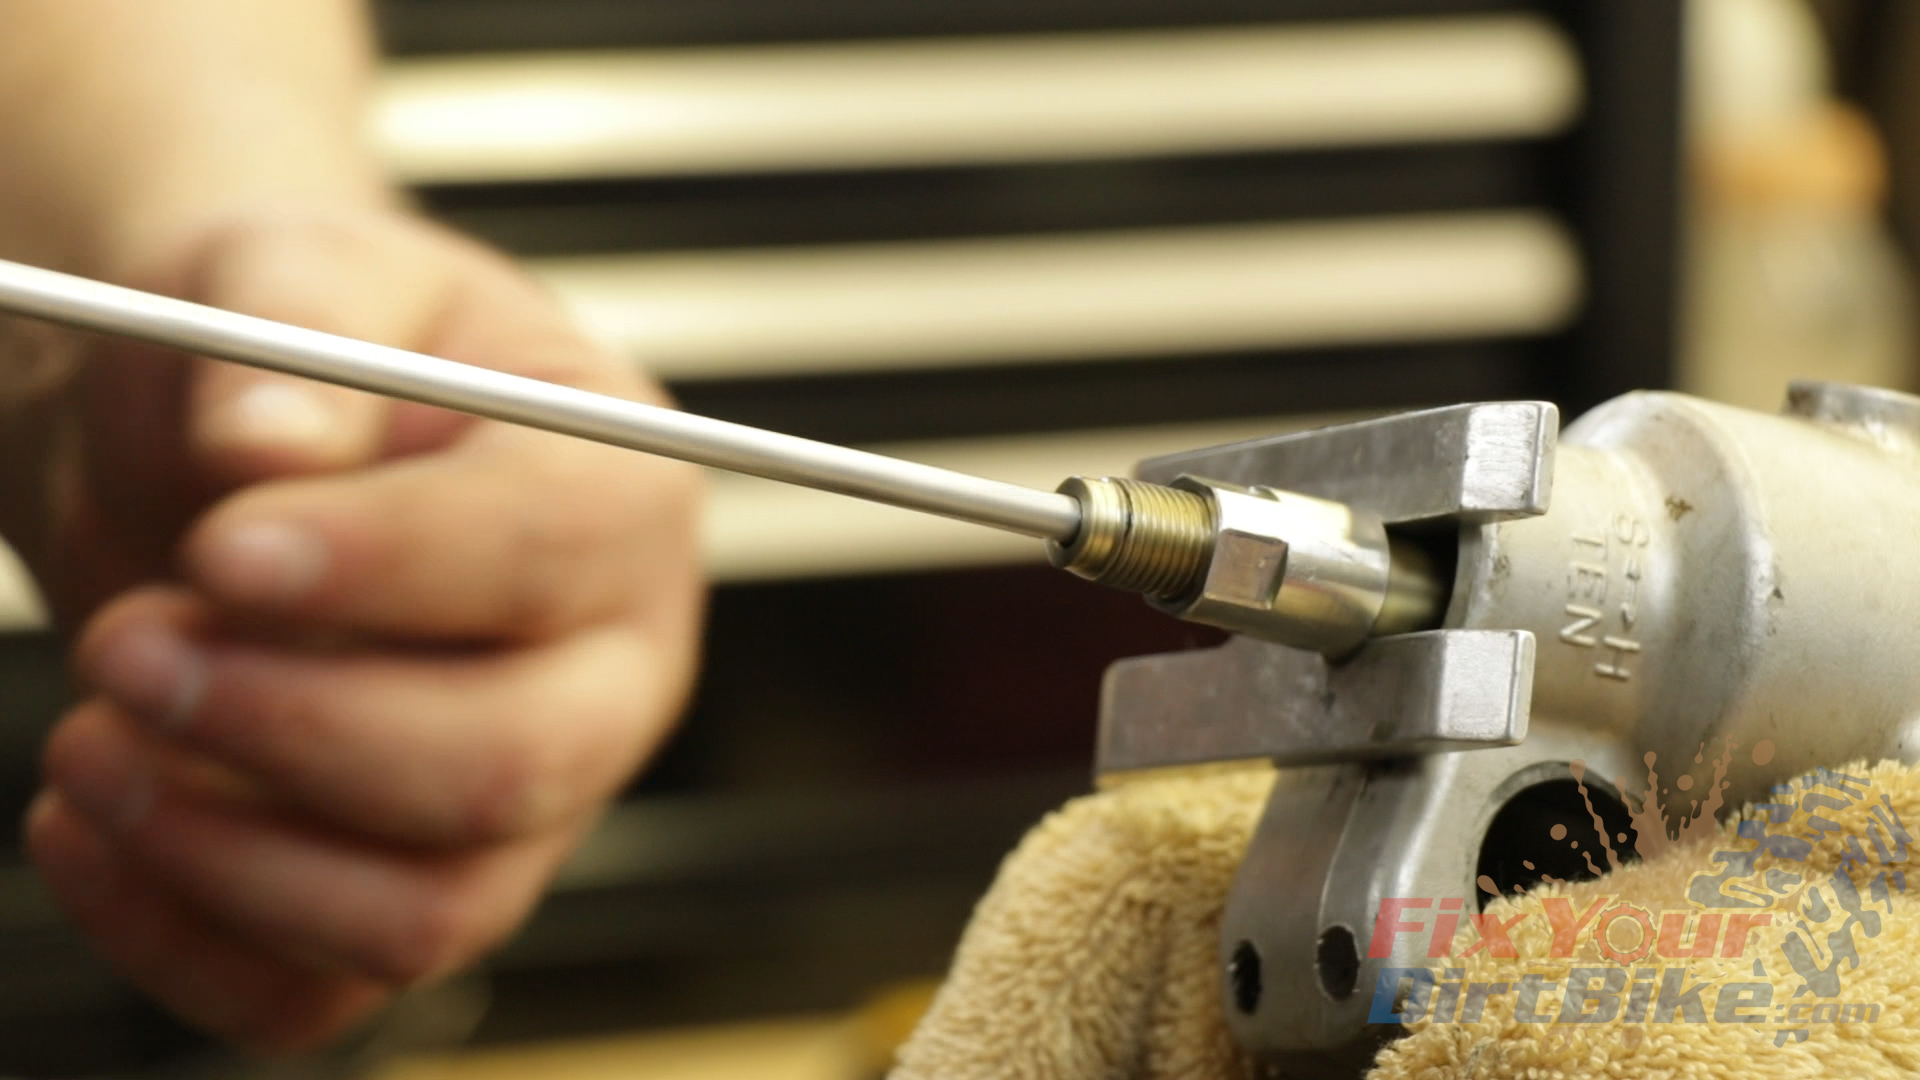
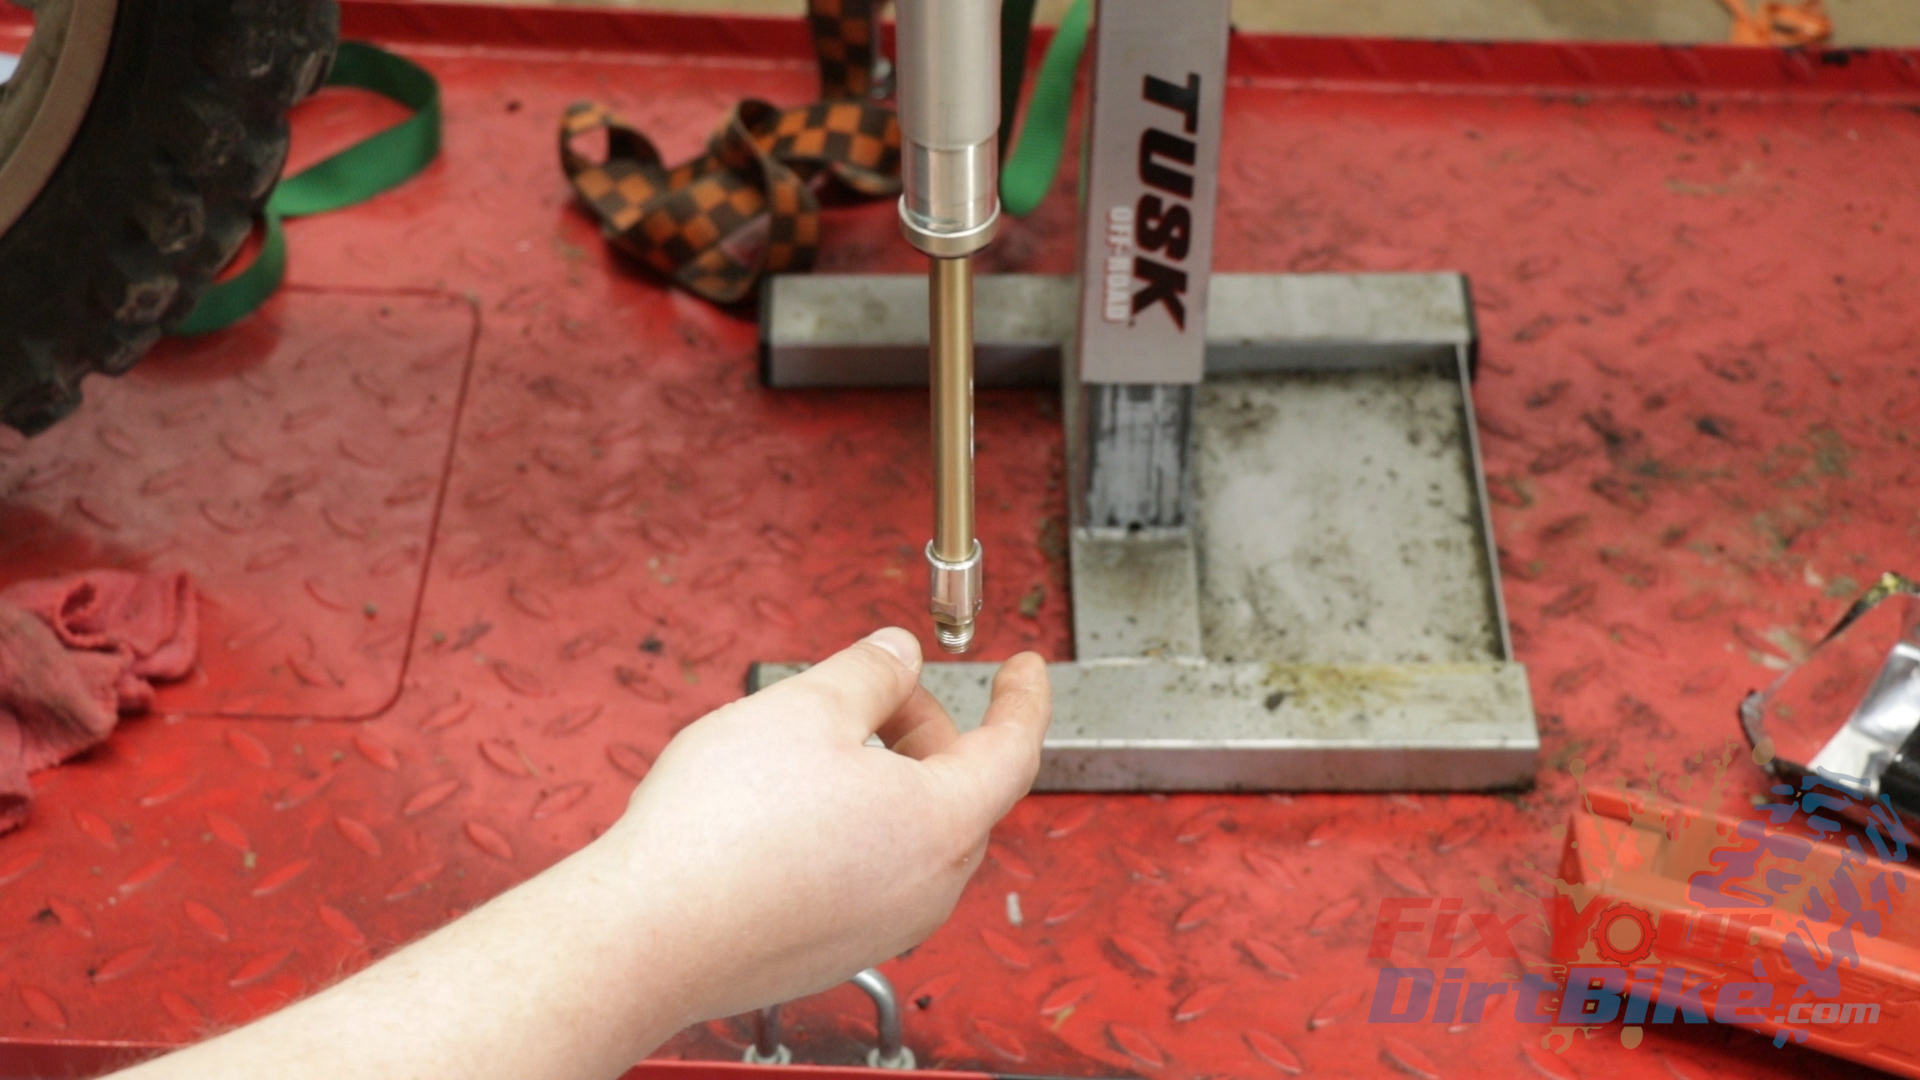
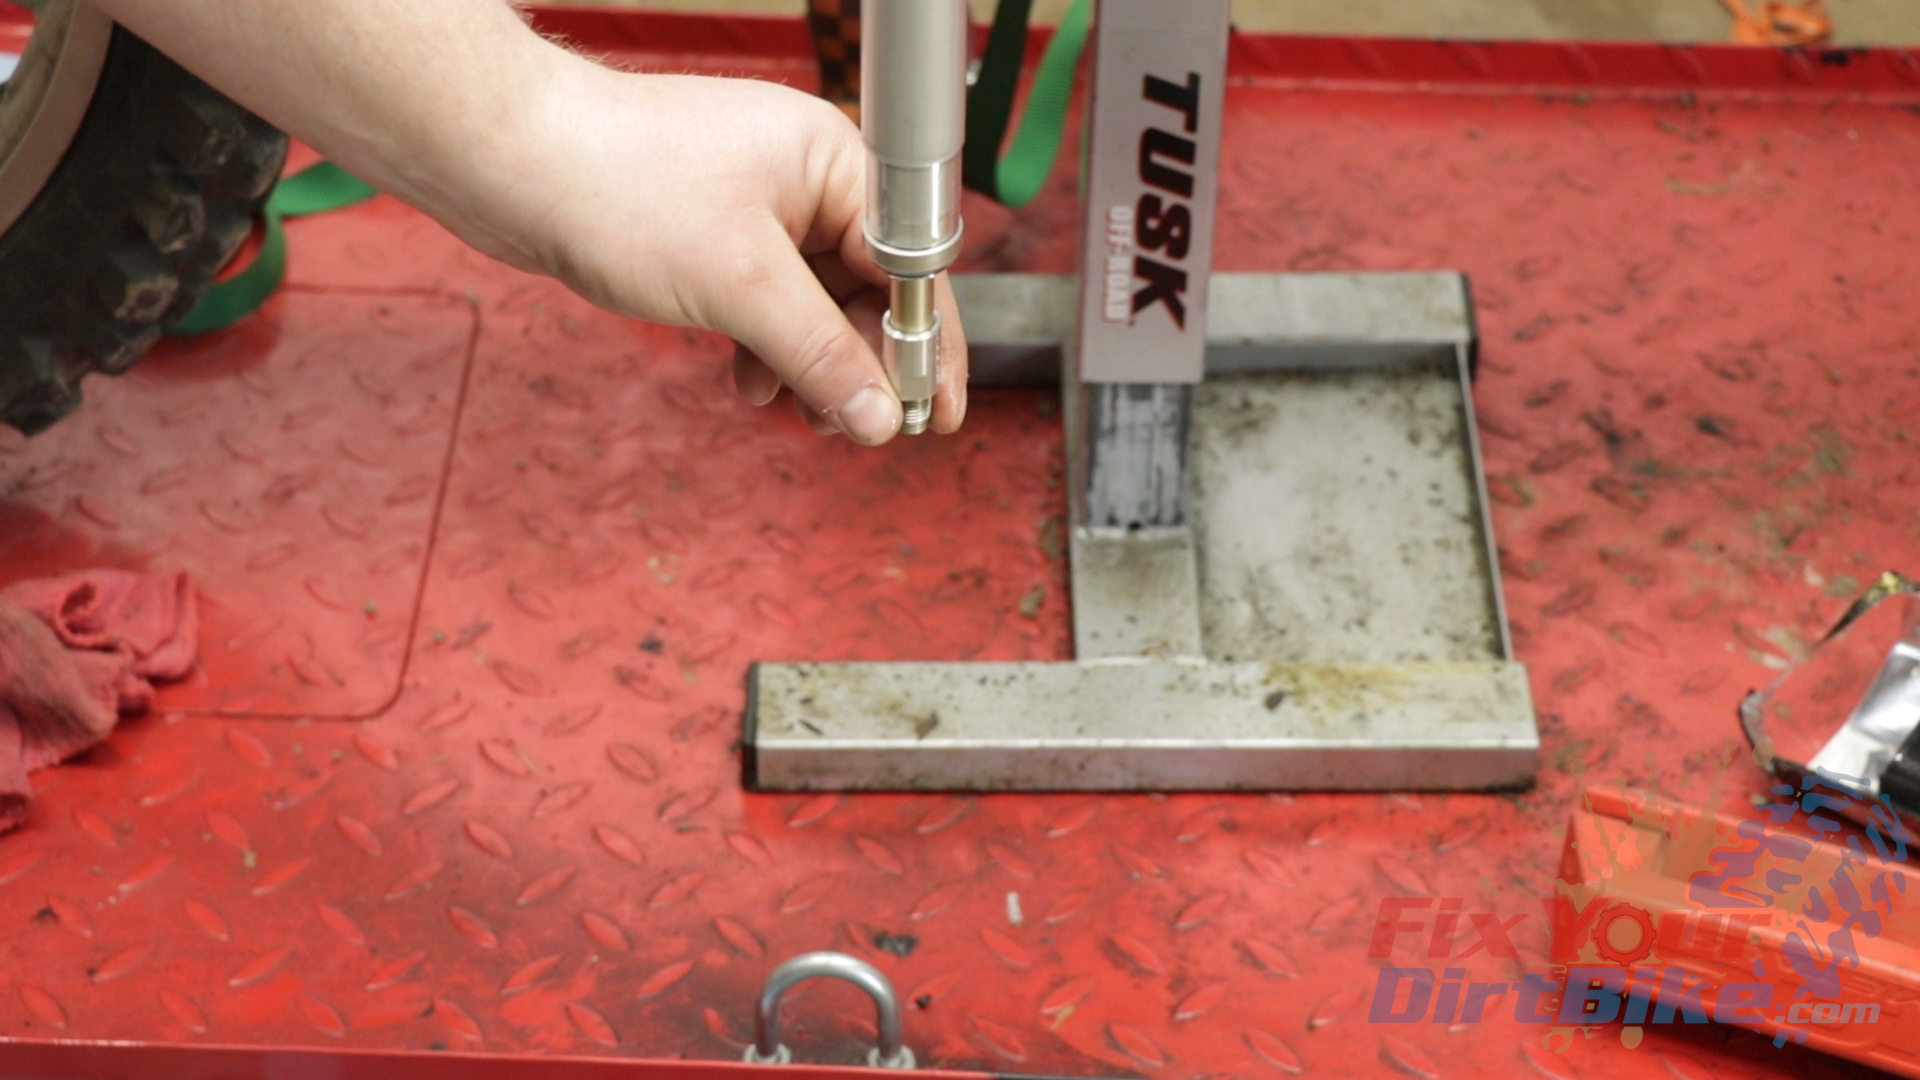
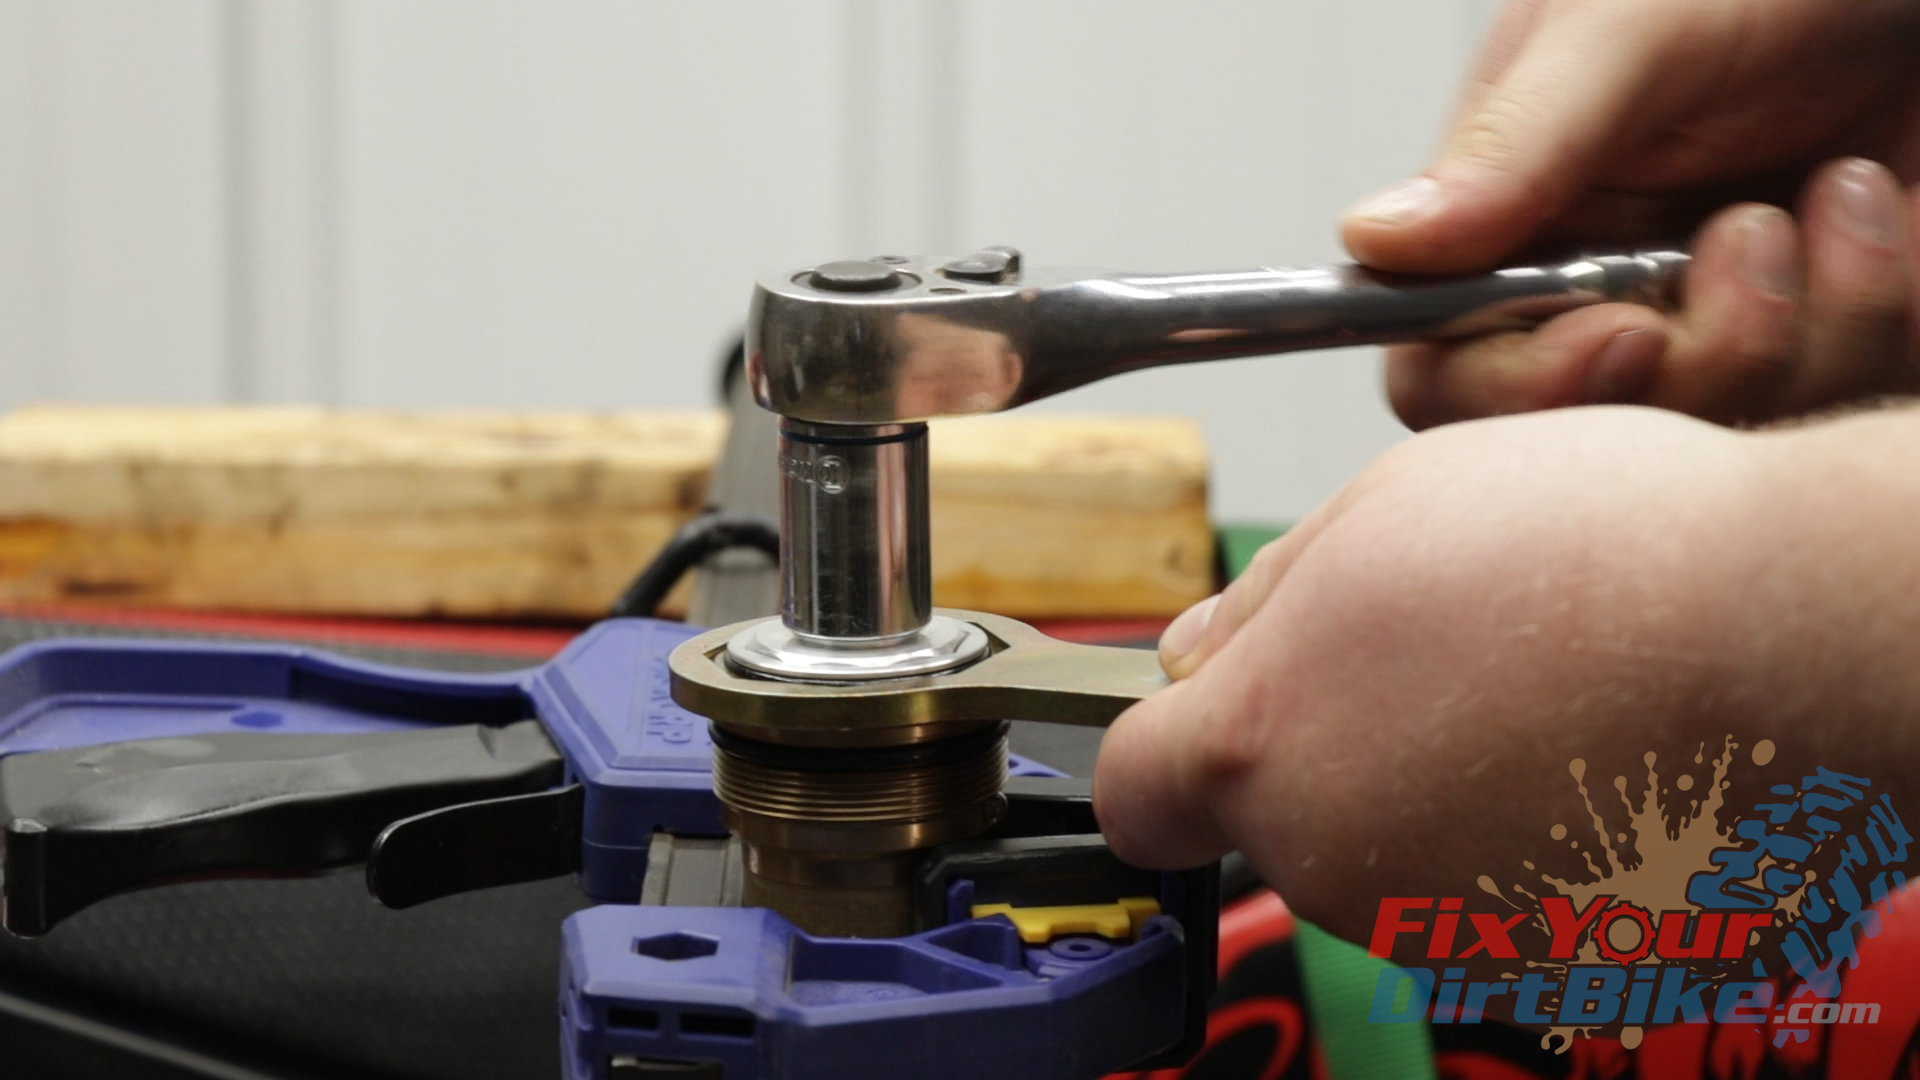
- Reconnect the damper and tube, then loosen the center bolt.
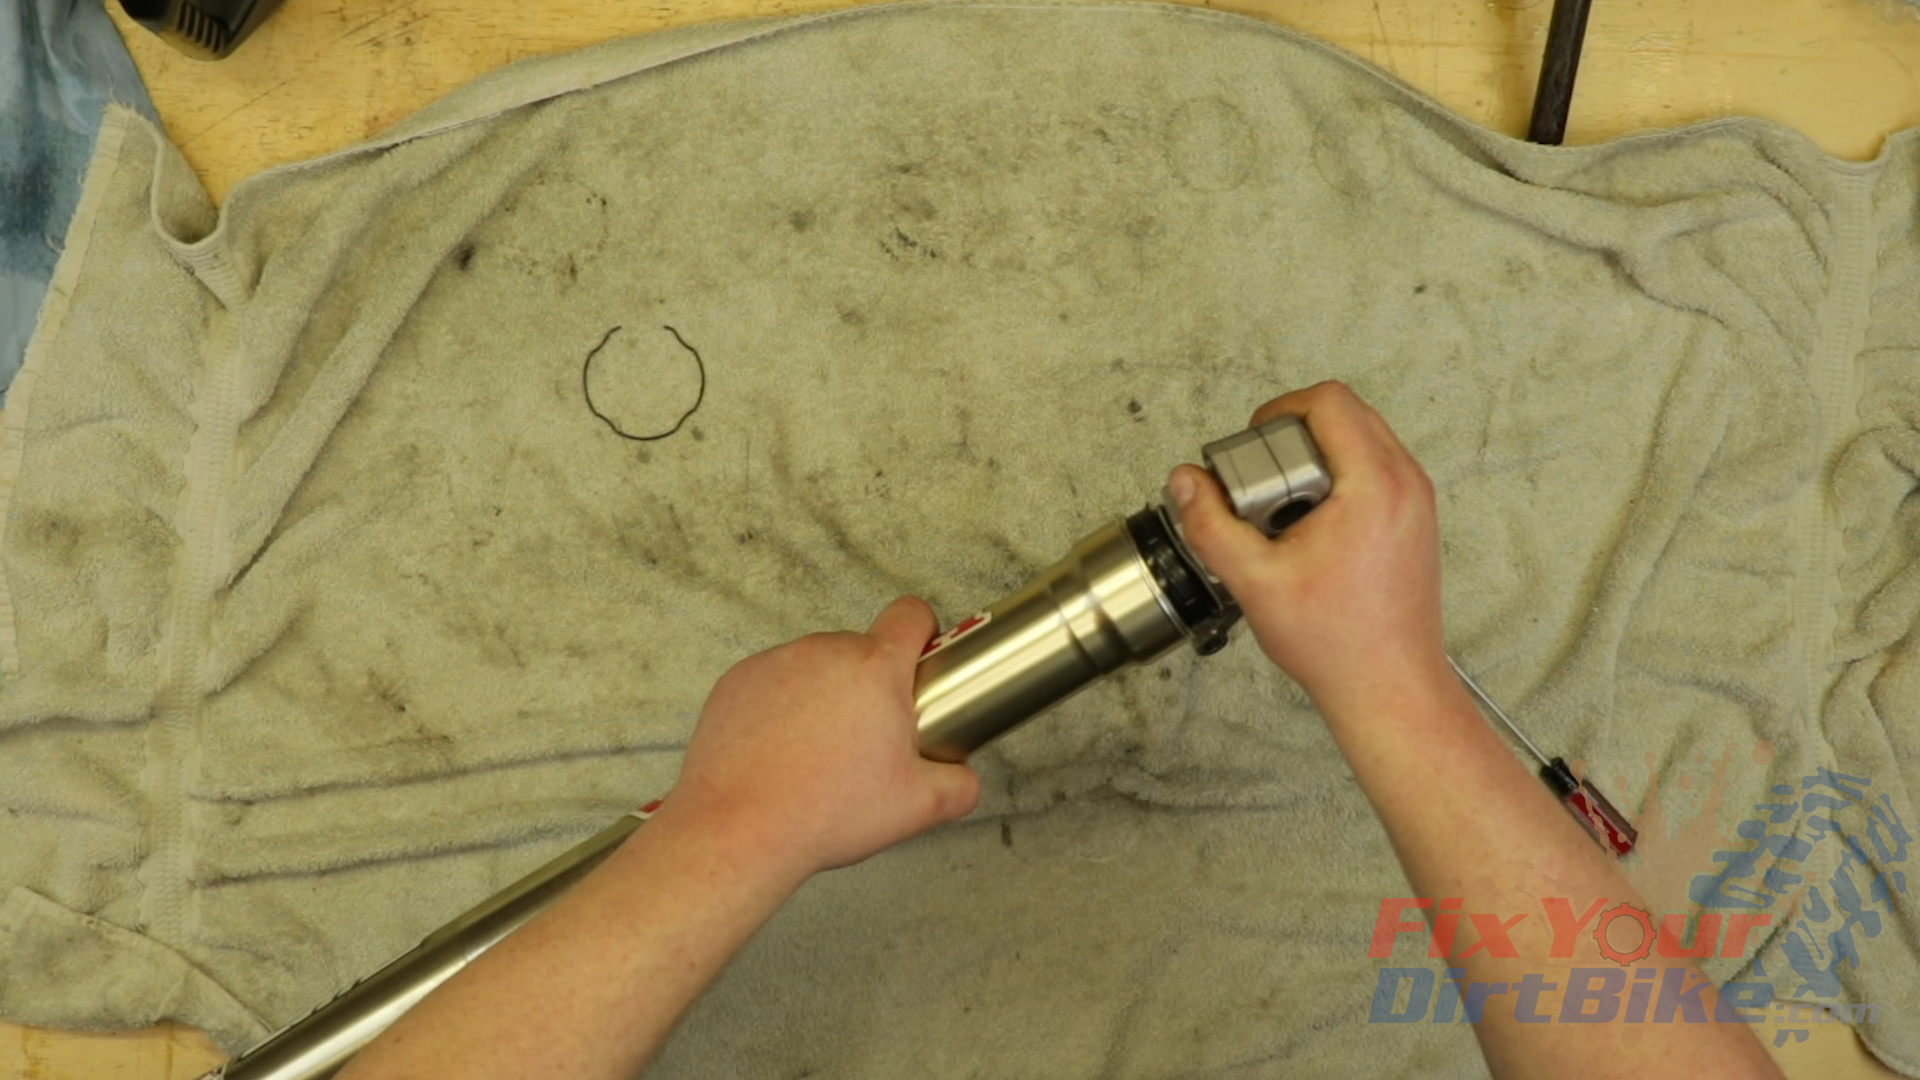
- Flip your fork, so the axle holder is facing up and install your damper rod holder tool by pushing down on the axle holder.
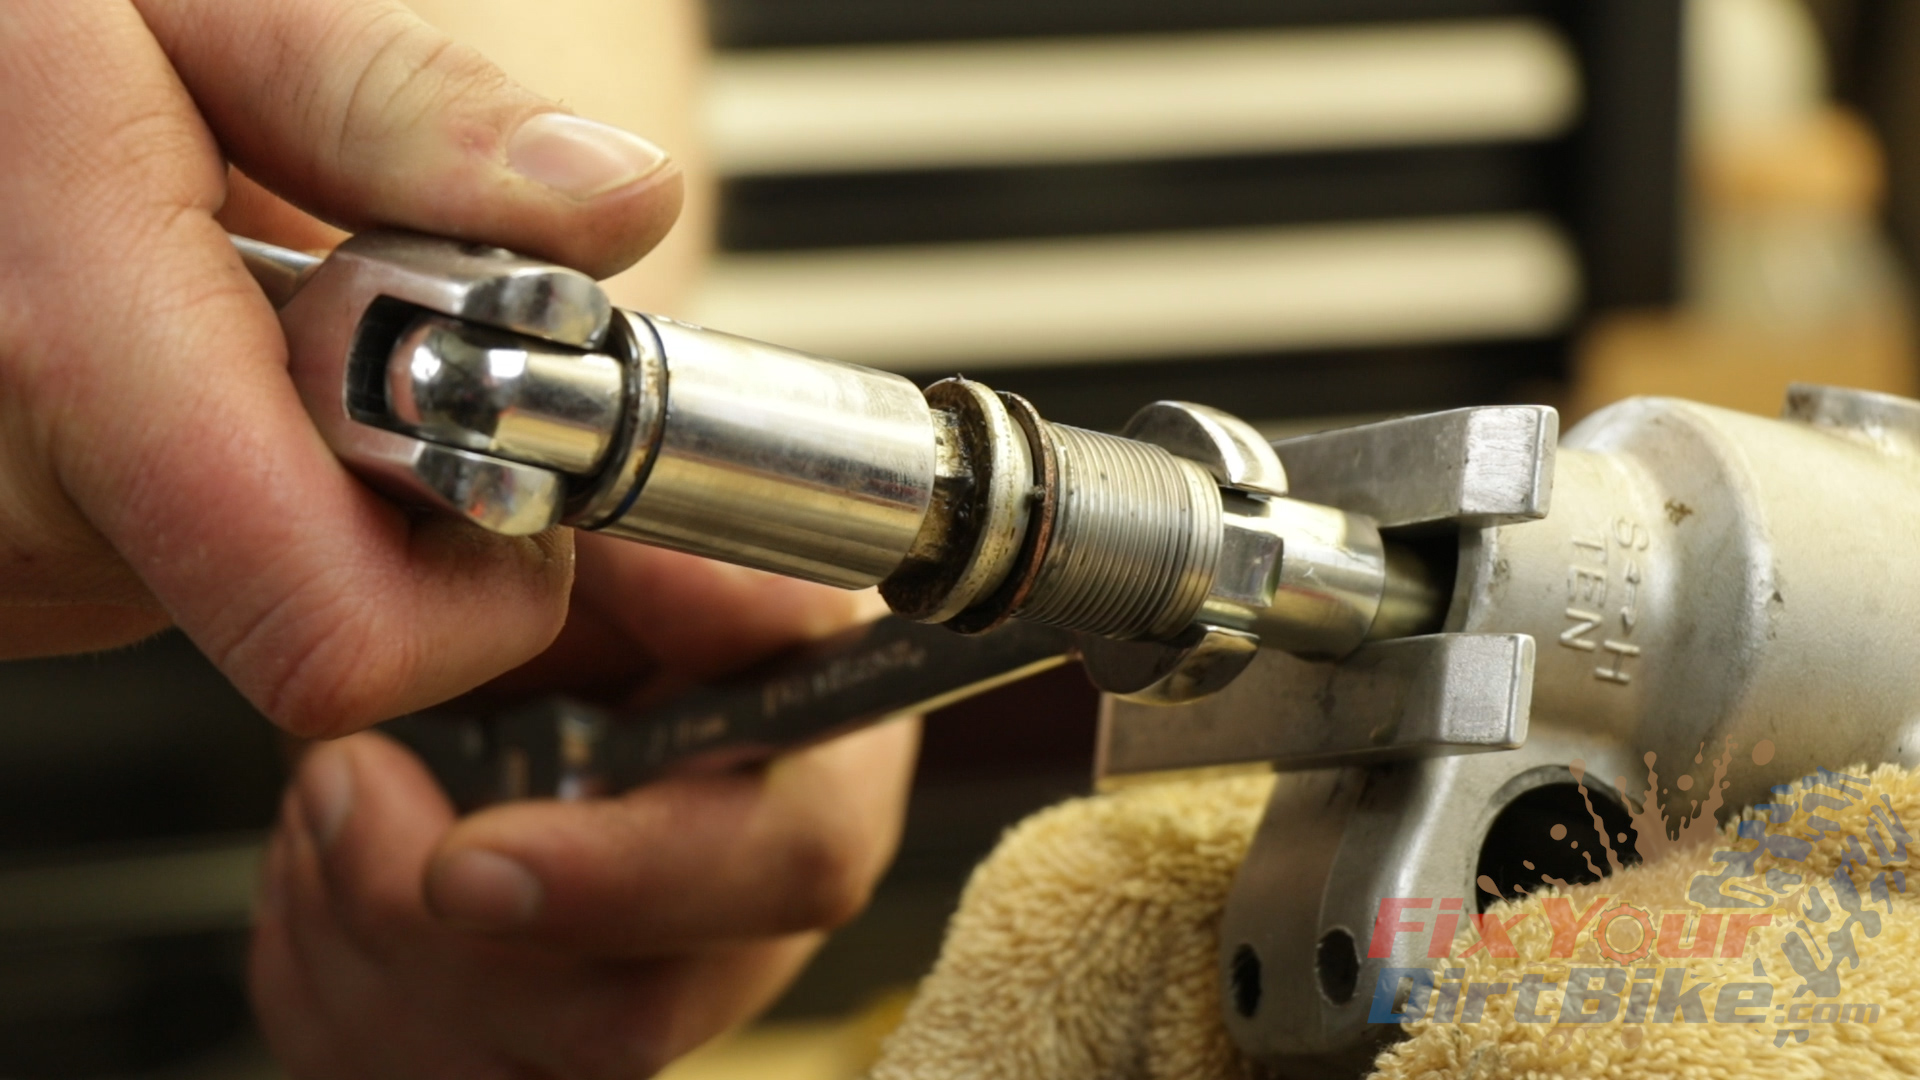
- Loosen the center bolt lock nut, then remove the center bolt, followed by the pushrod.
- Remove the rod holder, then remove the damper from the fork tubes, followed by the spring.
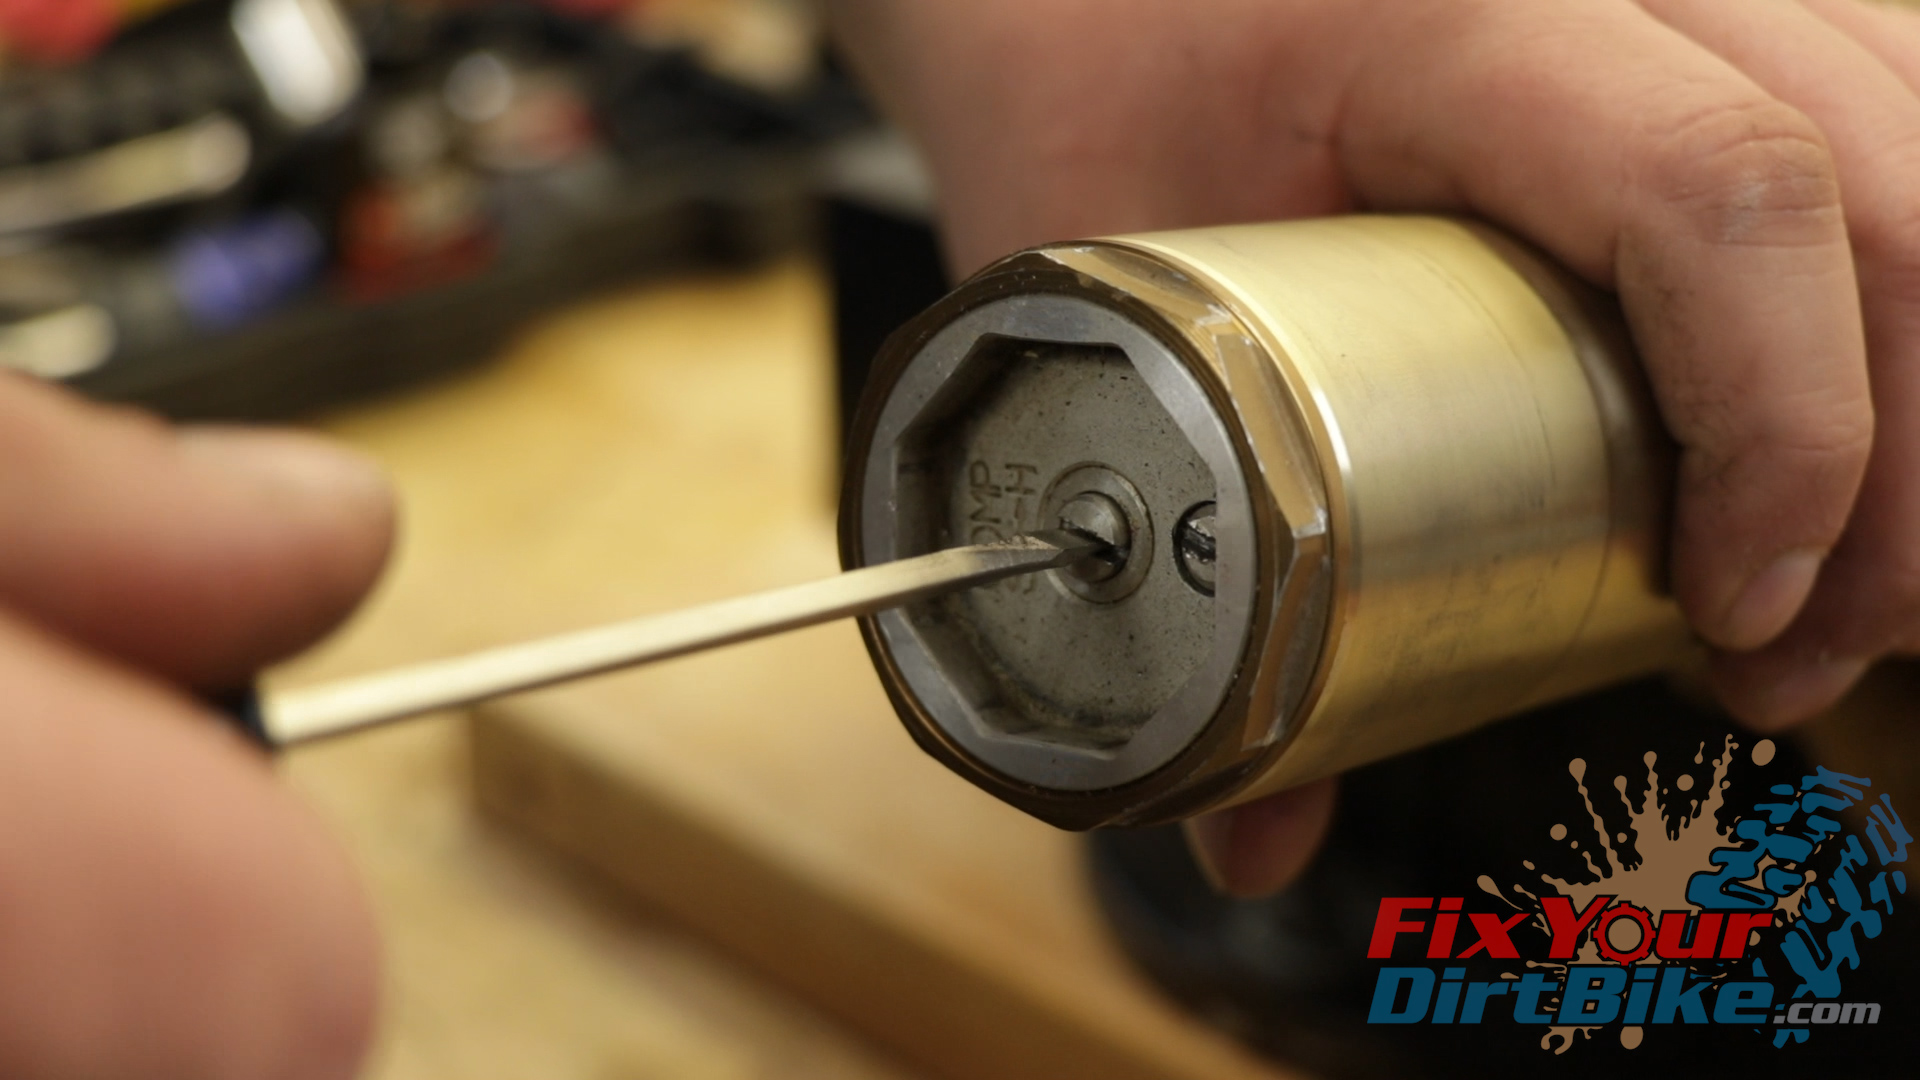
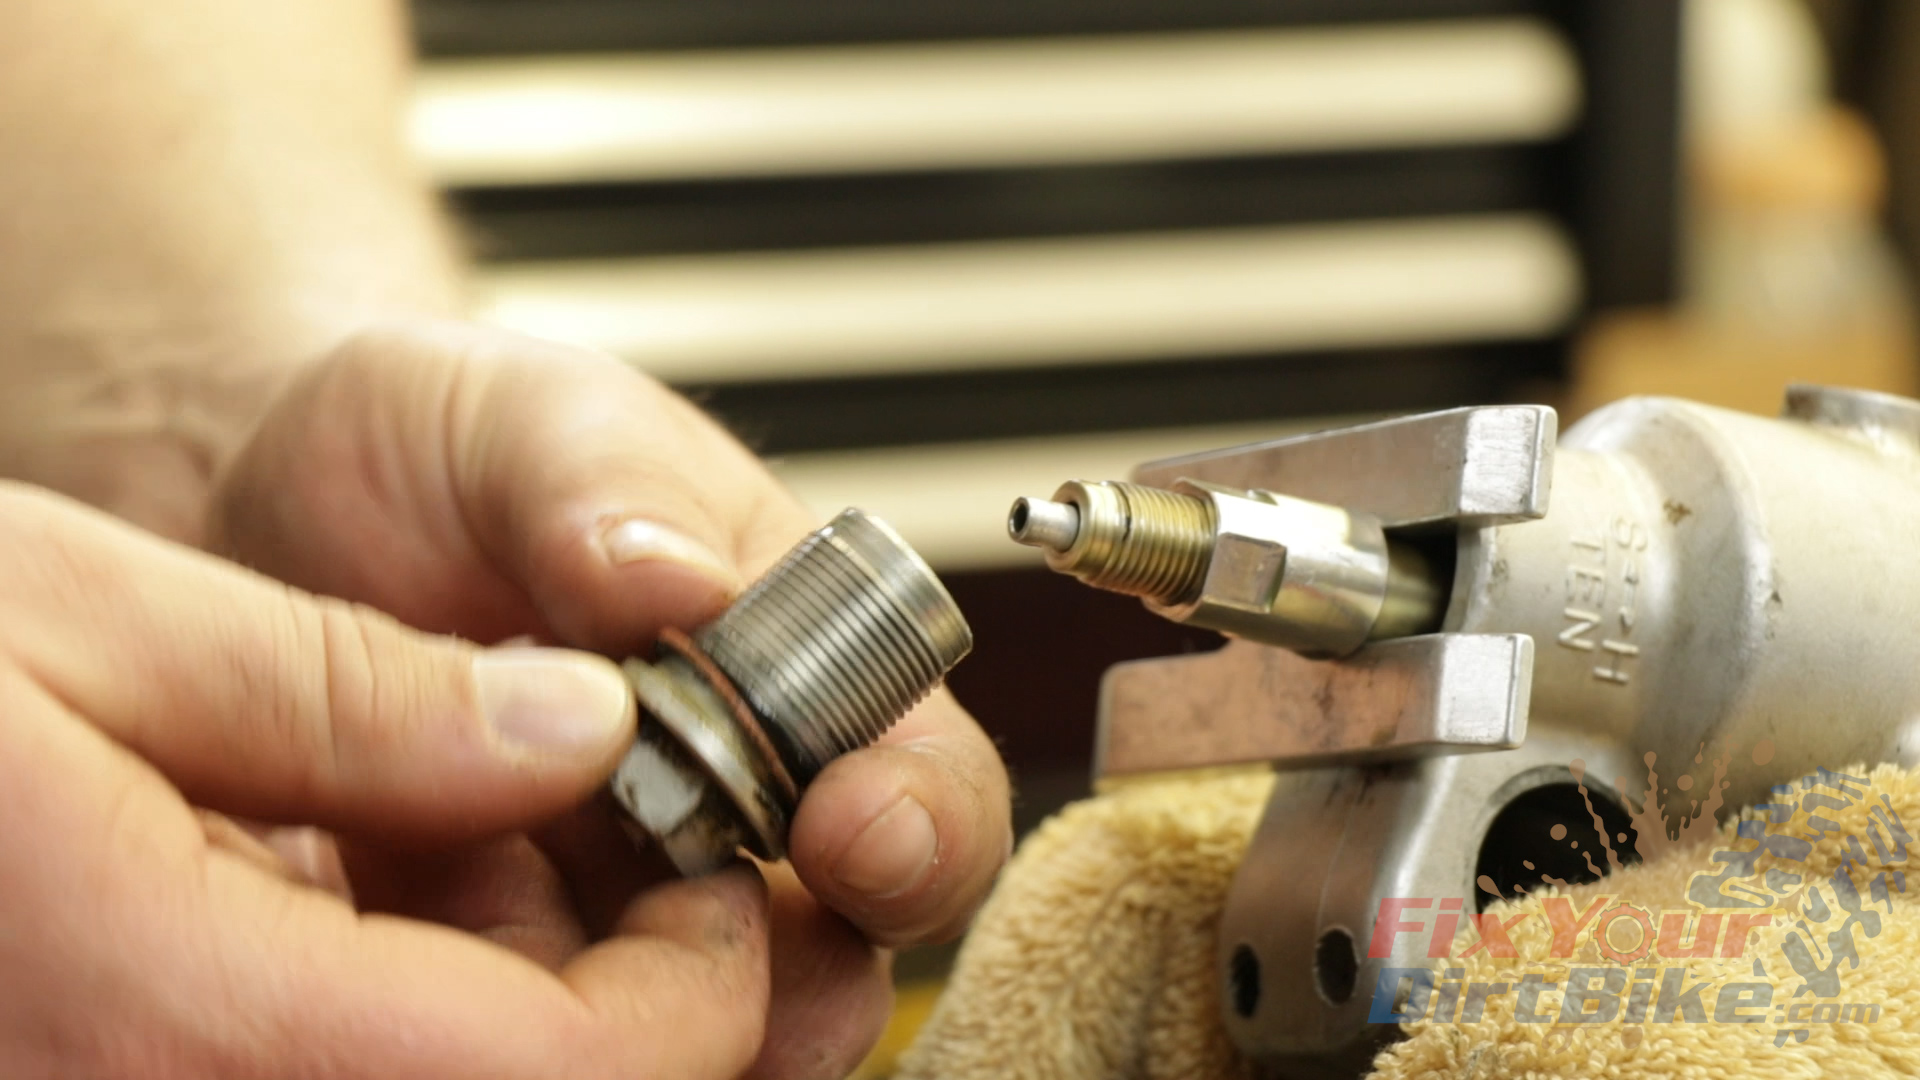
- Remove the fork cap from the damper and set aside.
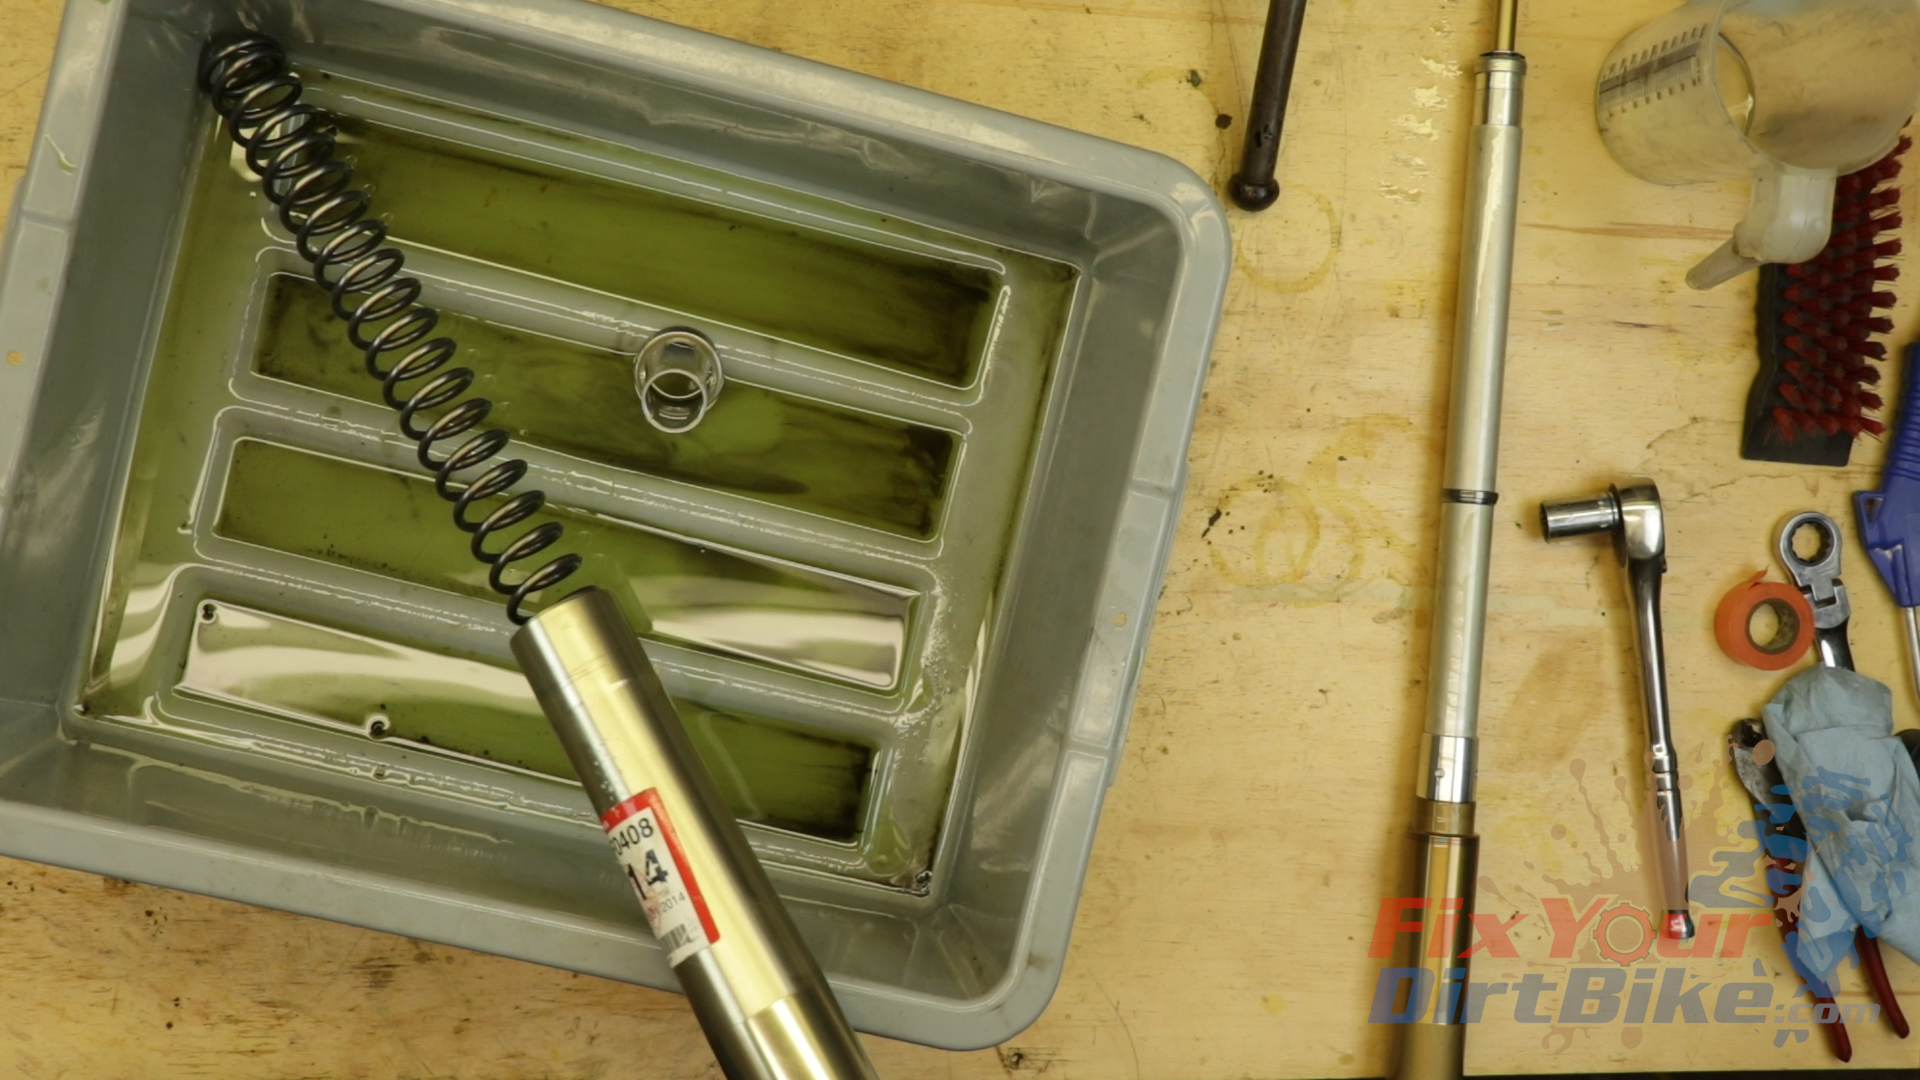
- Pump the damper several times to drain the old oil.
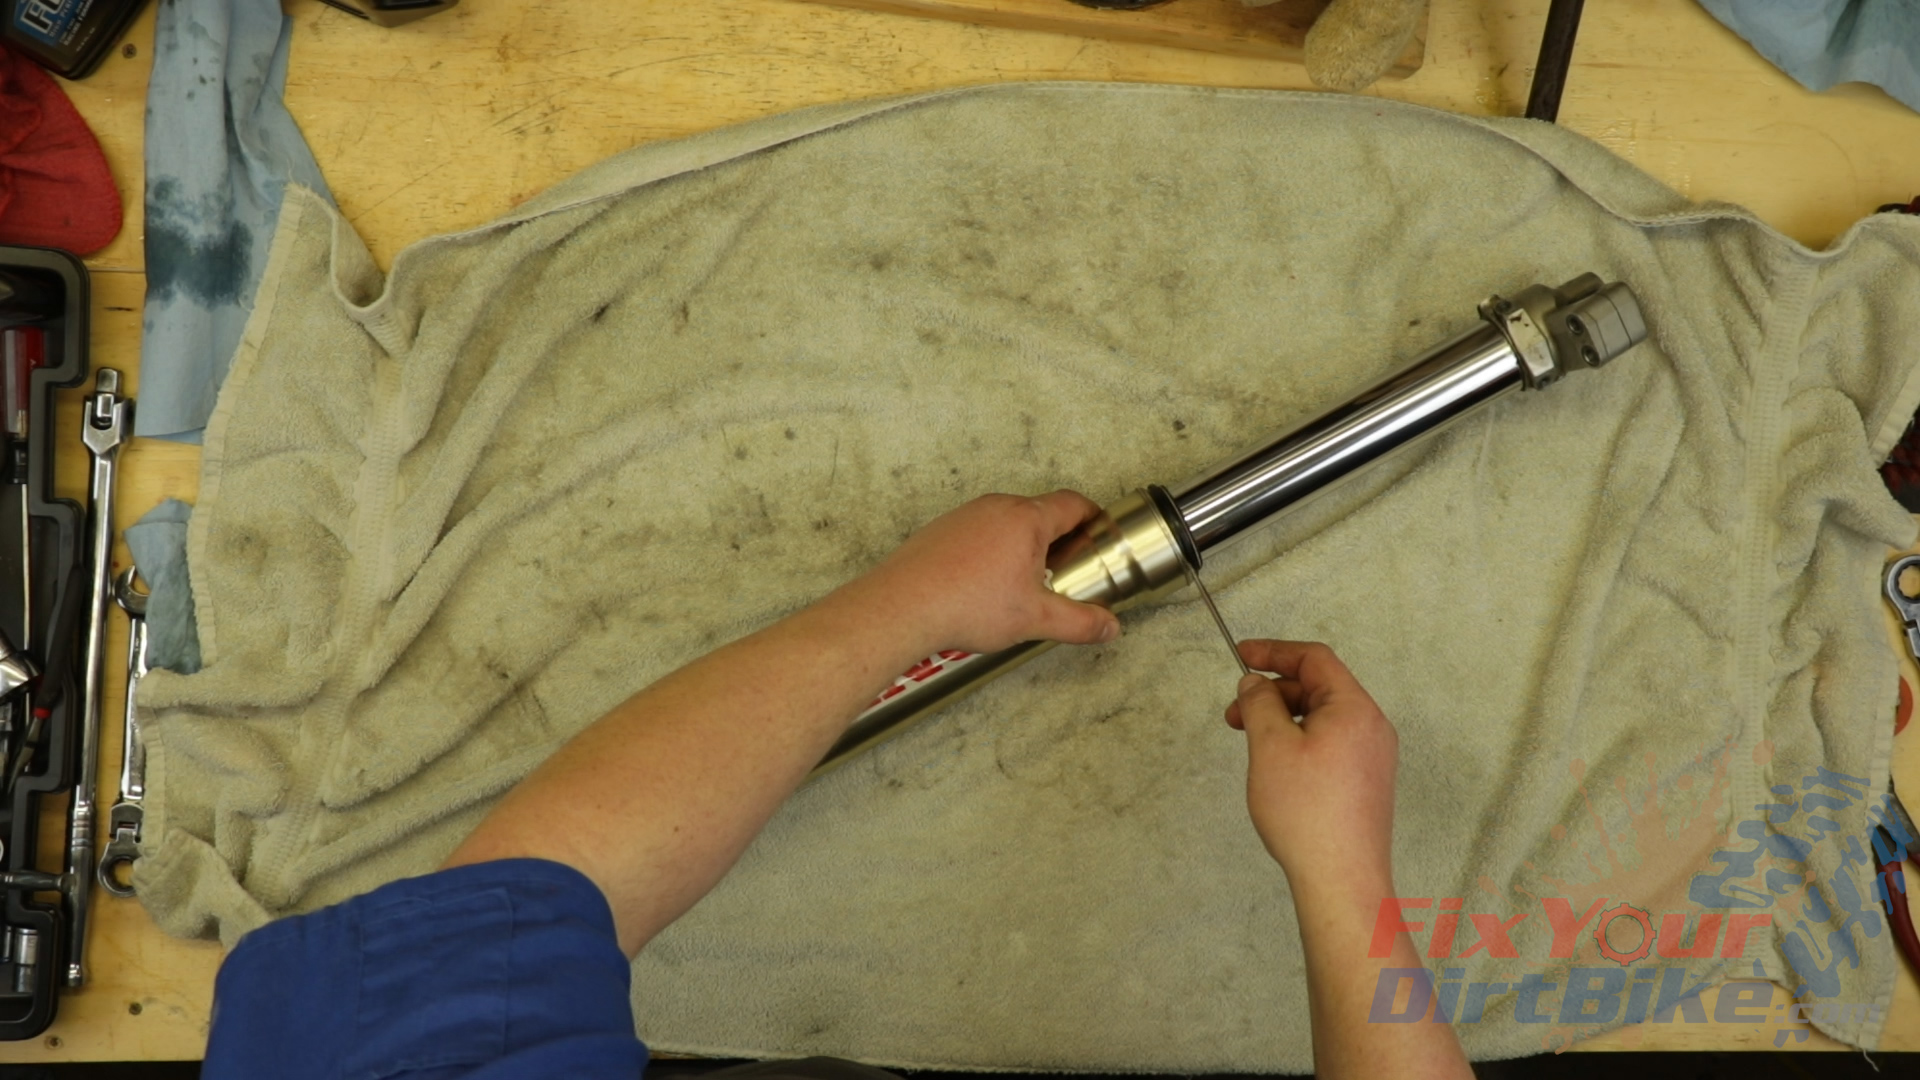
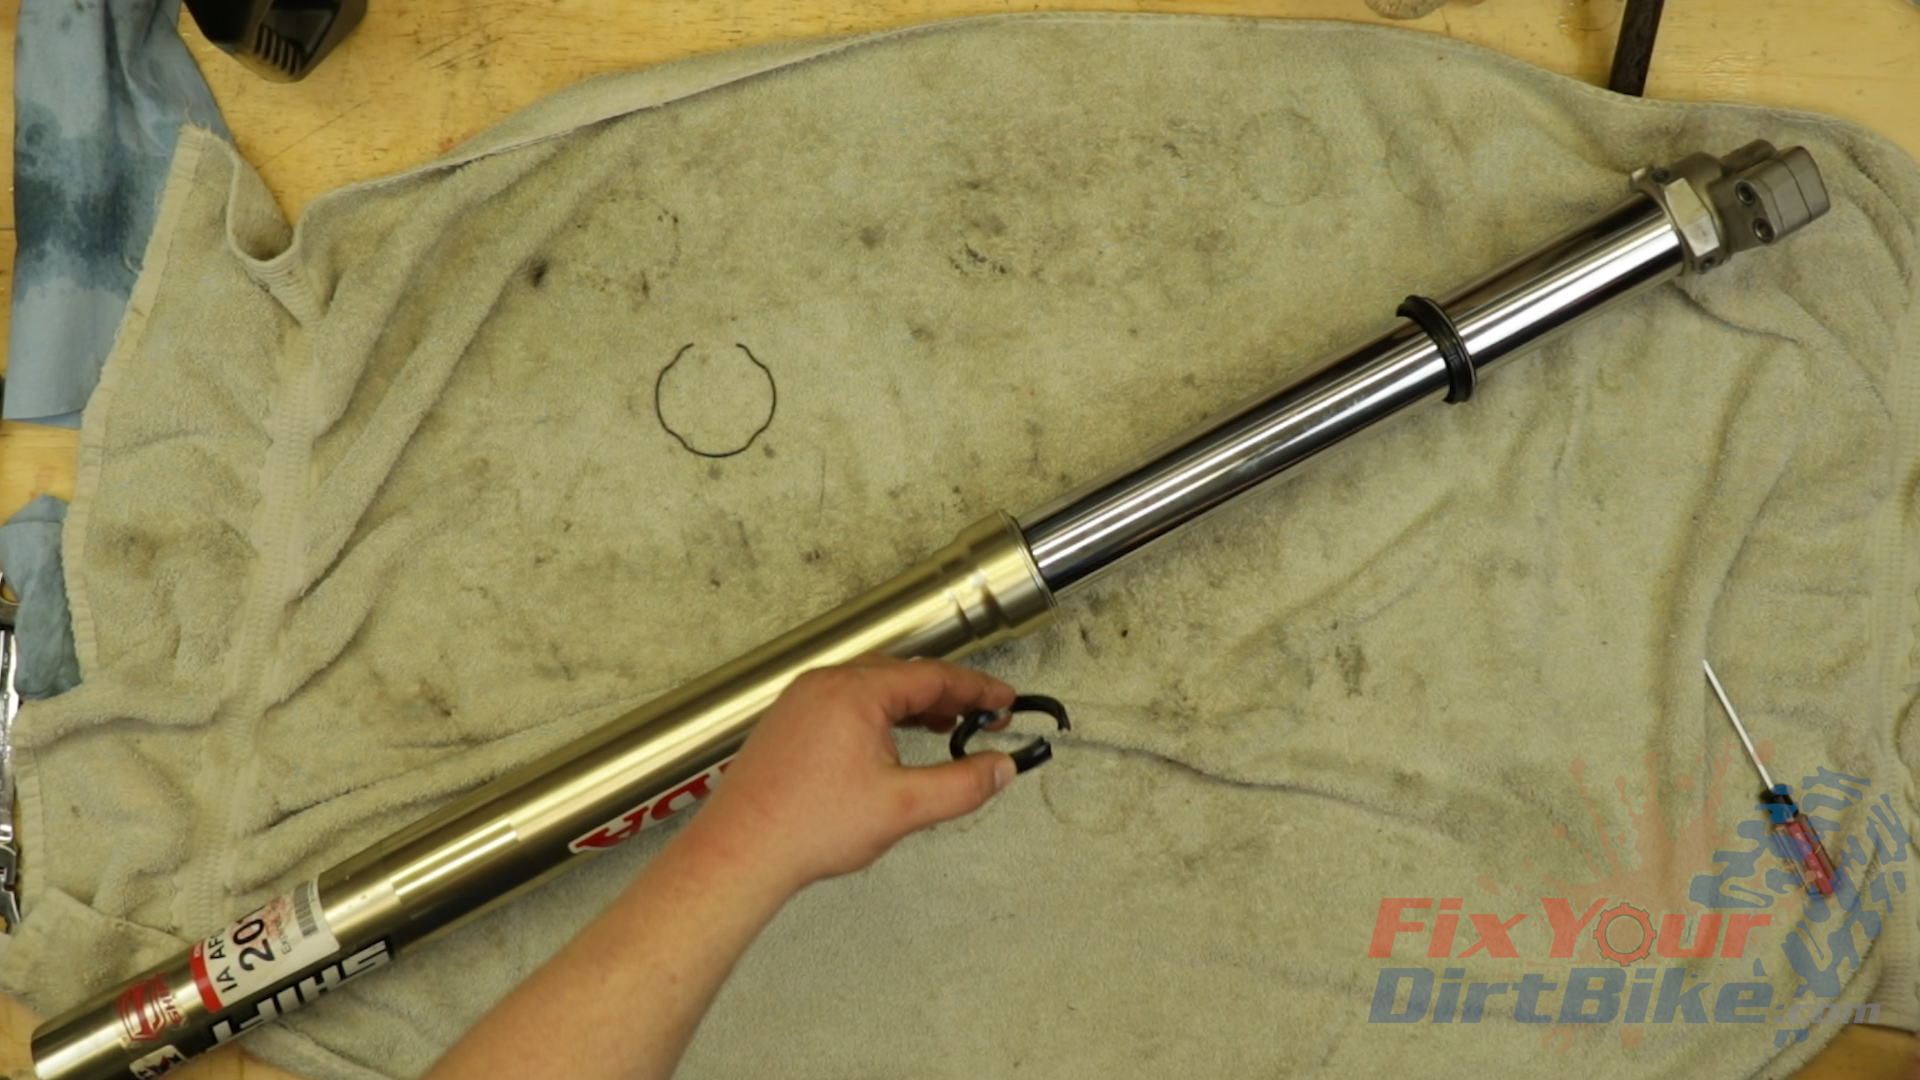
- Remove the dust seal and stopper ring from the fork tubes.
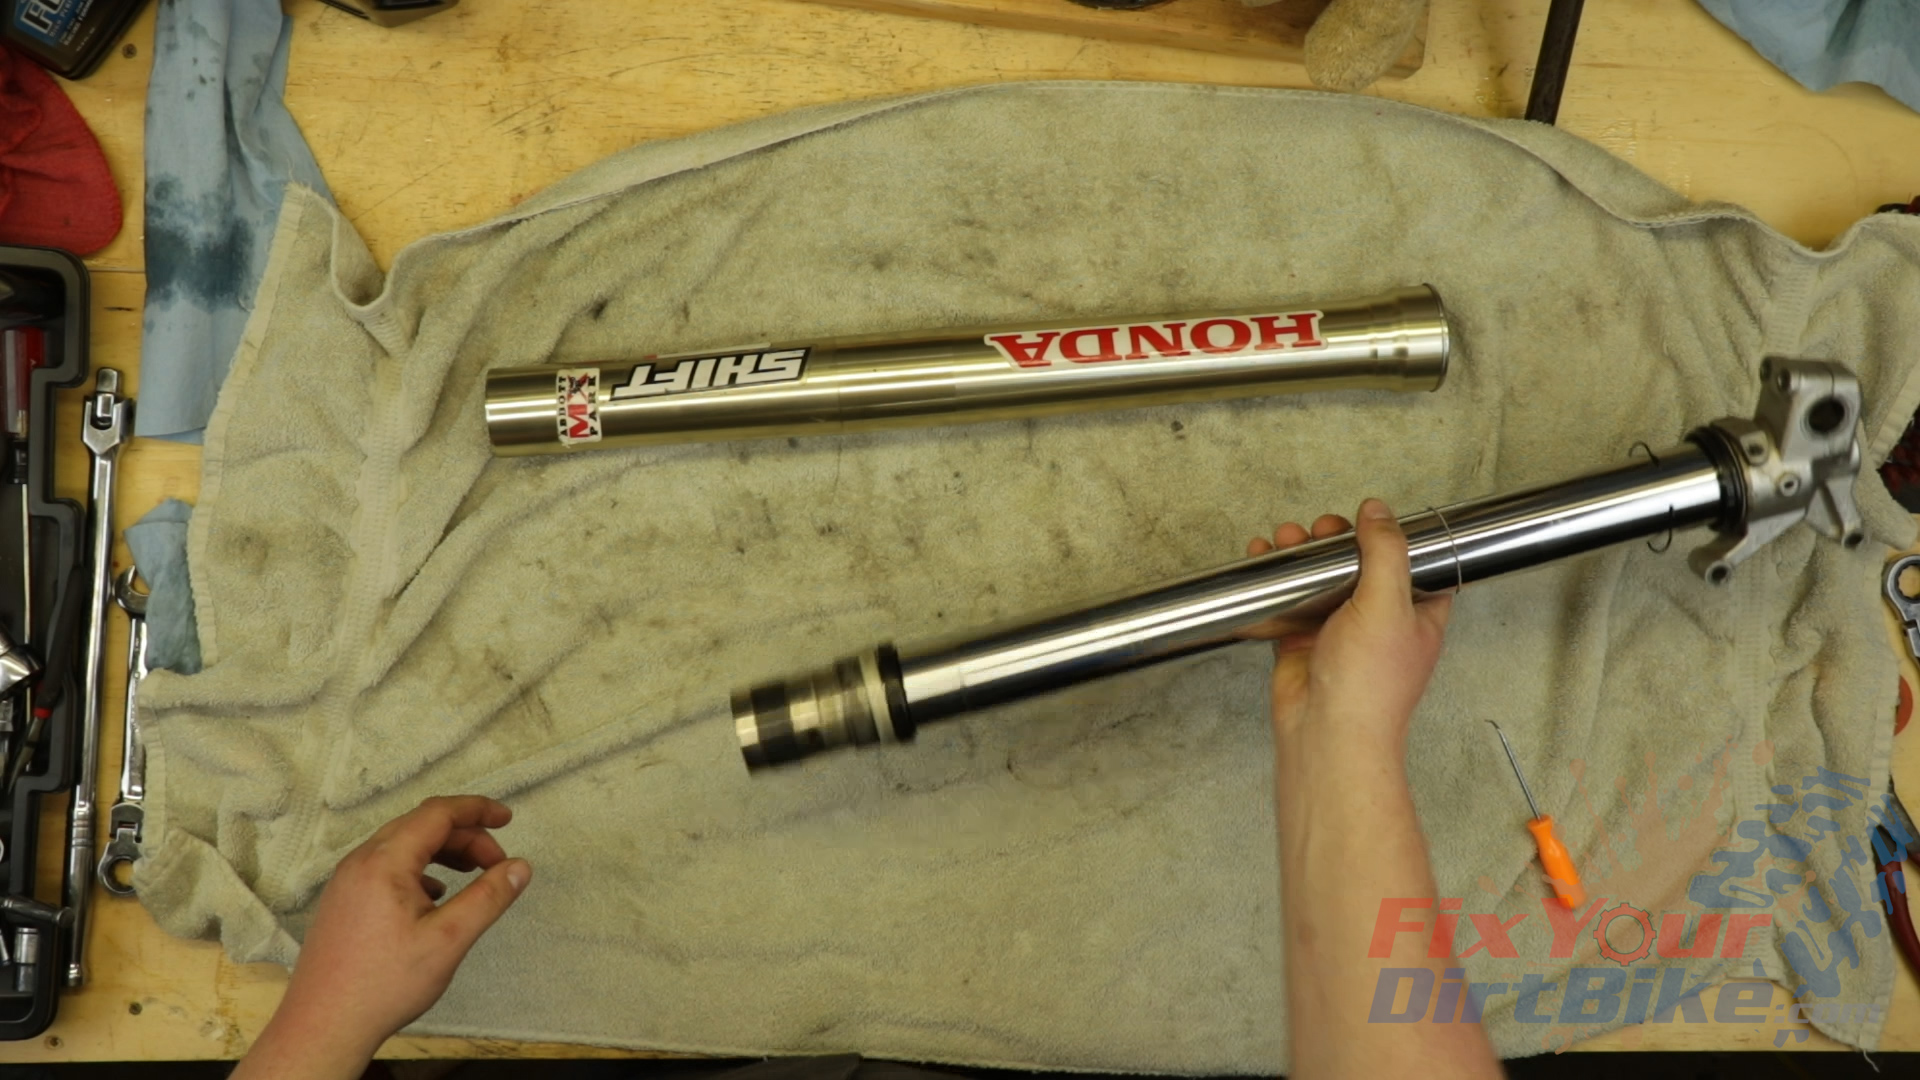
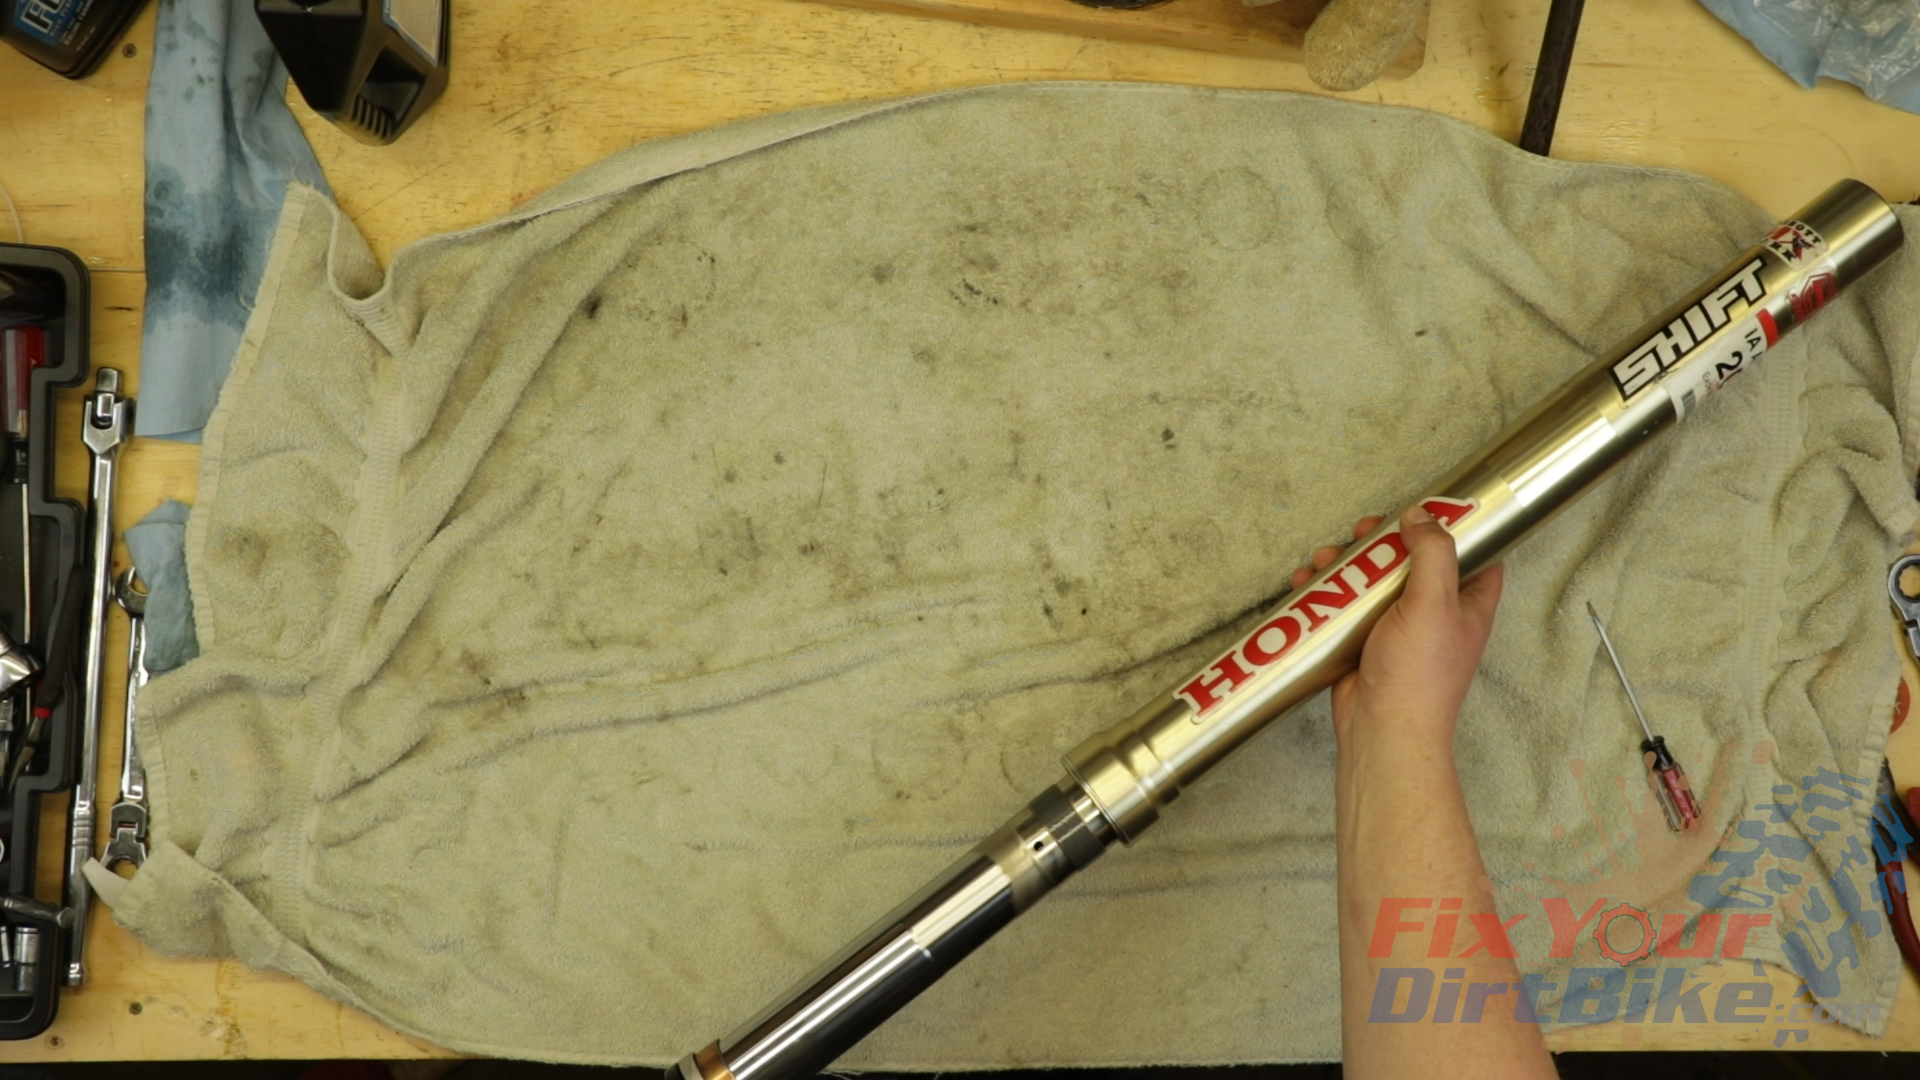
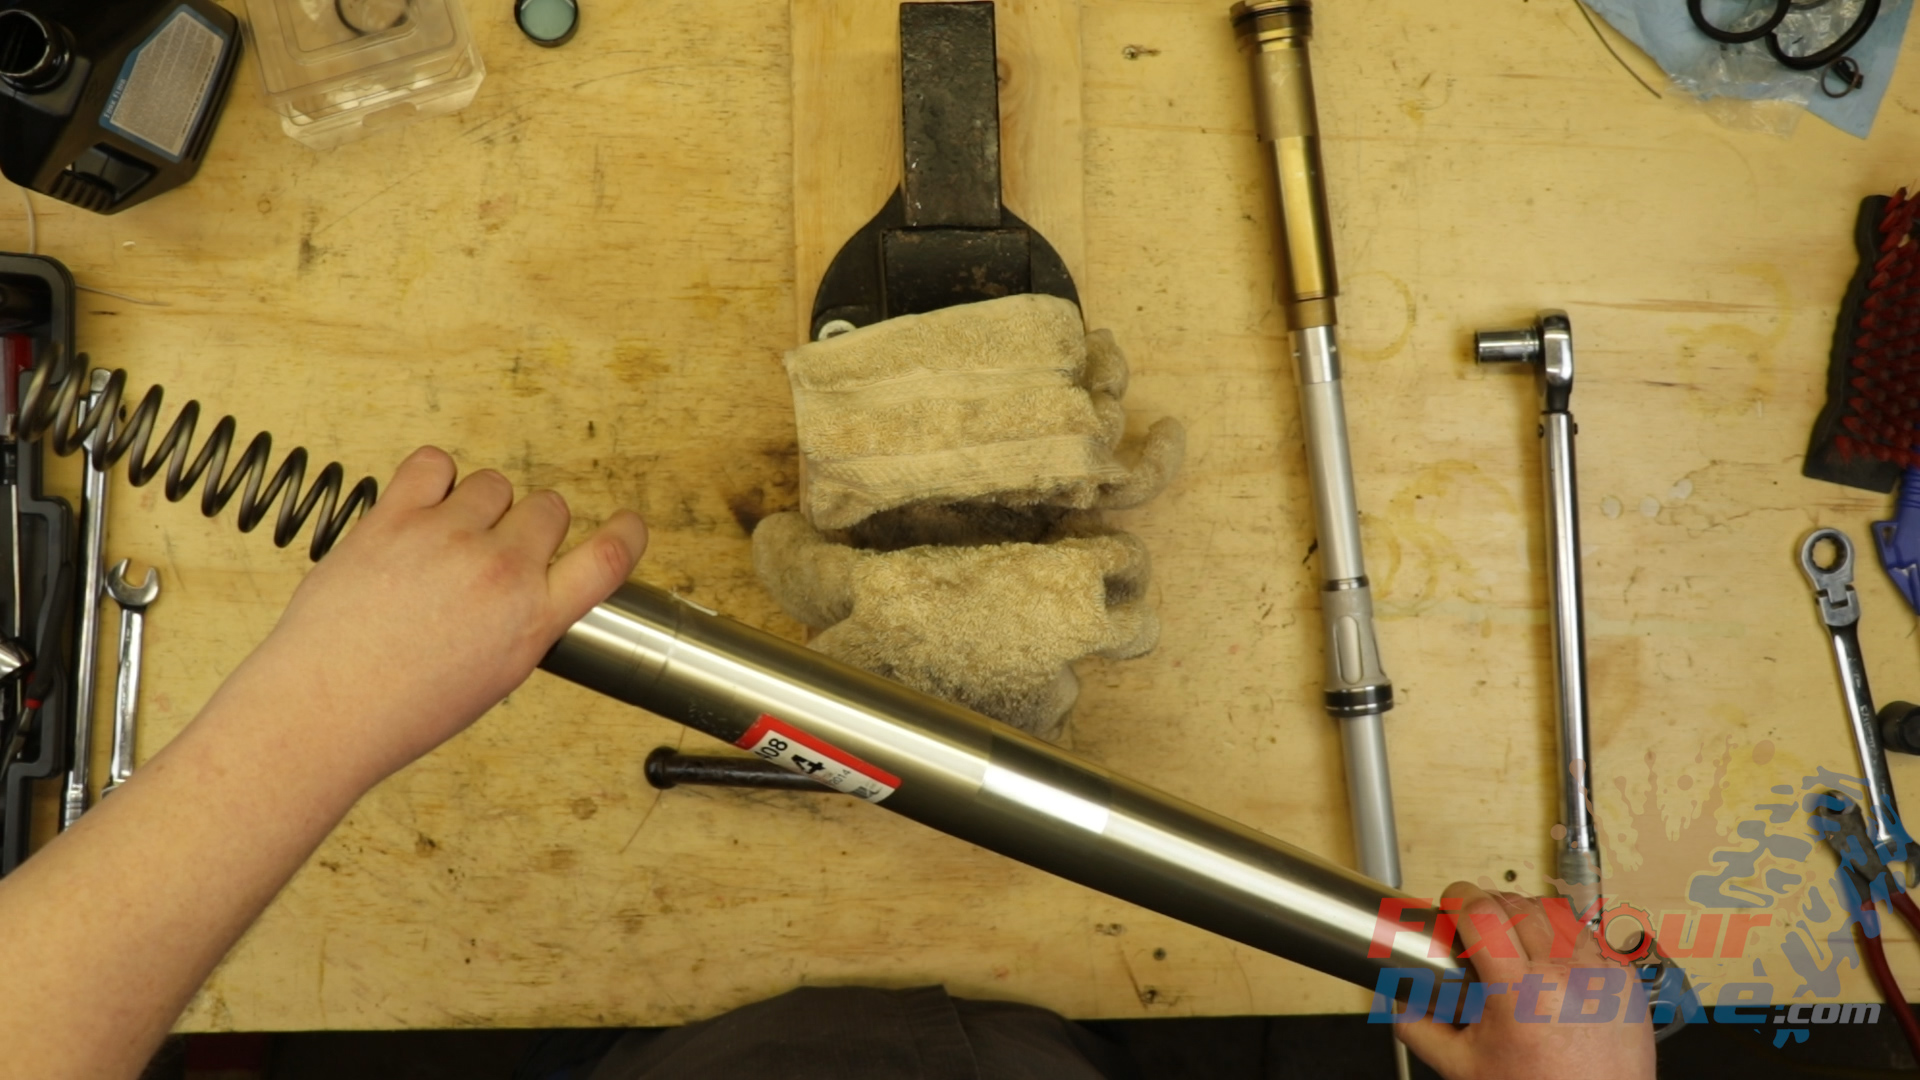
- Aggressively separate the outer fork tube from the inner fork tube.
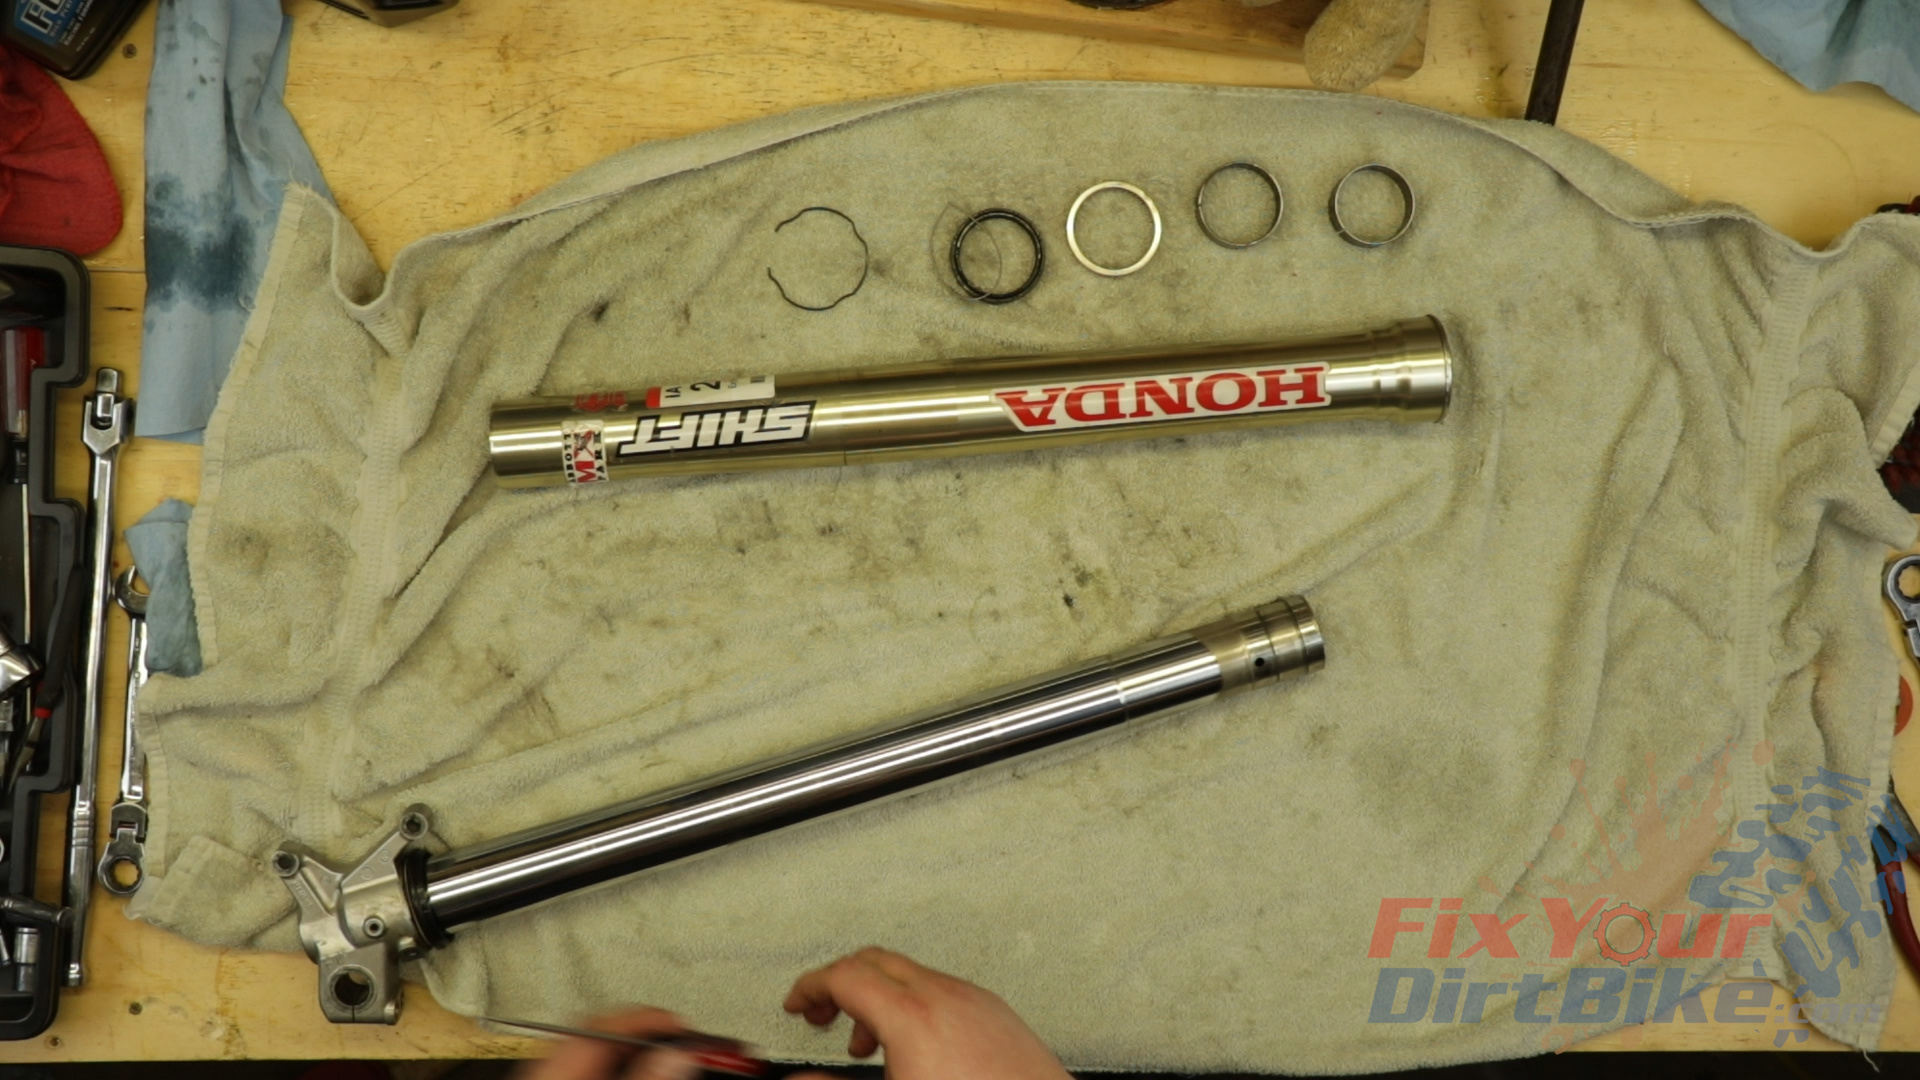
- Using a flathead screwdriver, carefully remove the slider bushing, followed by the guide bushing, backup ring, oil seal, and dust seal.
- Clean and inspect the tubes.


Related: What oil are you going to refill your forks with?
New Fork Rebuild Parts
I am using a new Pivot Works rebuild kit for this ’09-’10 Honda CRF450r fork service. This kit comes with all the bushings and o-rings needed for the tubes, fork cap, and center bolt. This kit does not come with a replacement stopper ring, backup ring, or spring seat bushing, but it does NOT have new wear rings for the outside of the tube.
Fork Tube Assembly
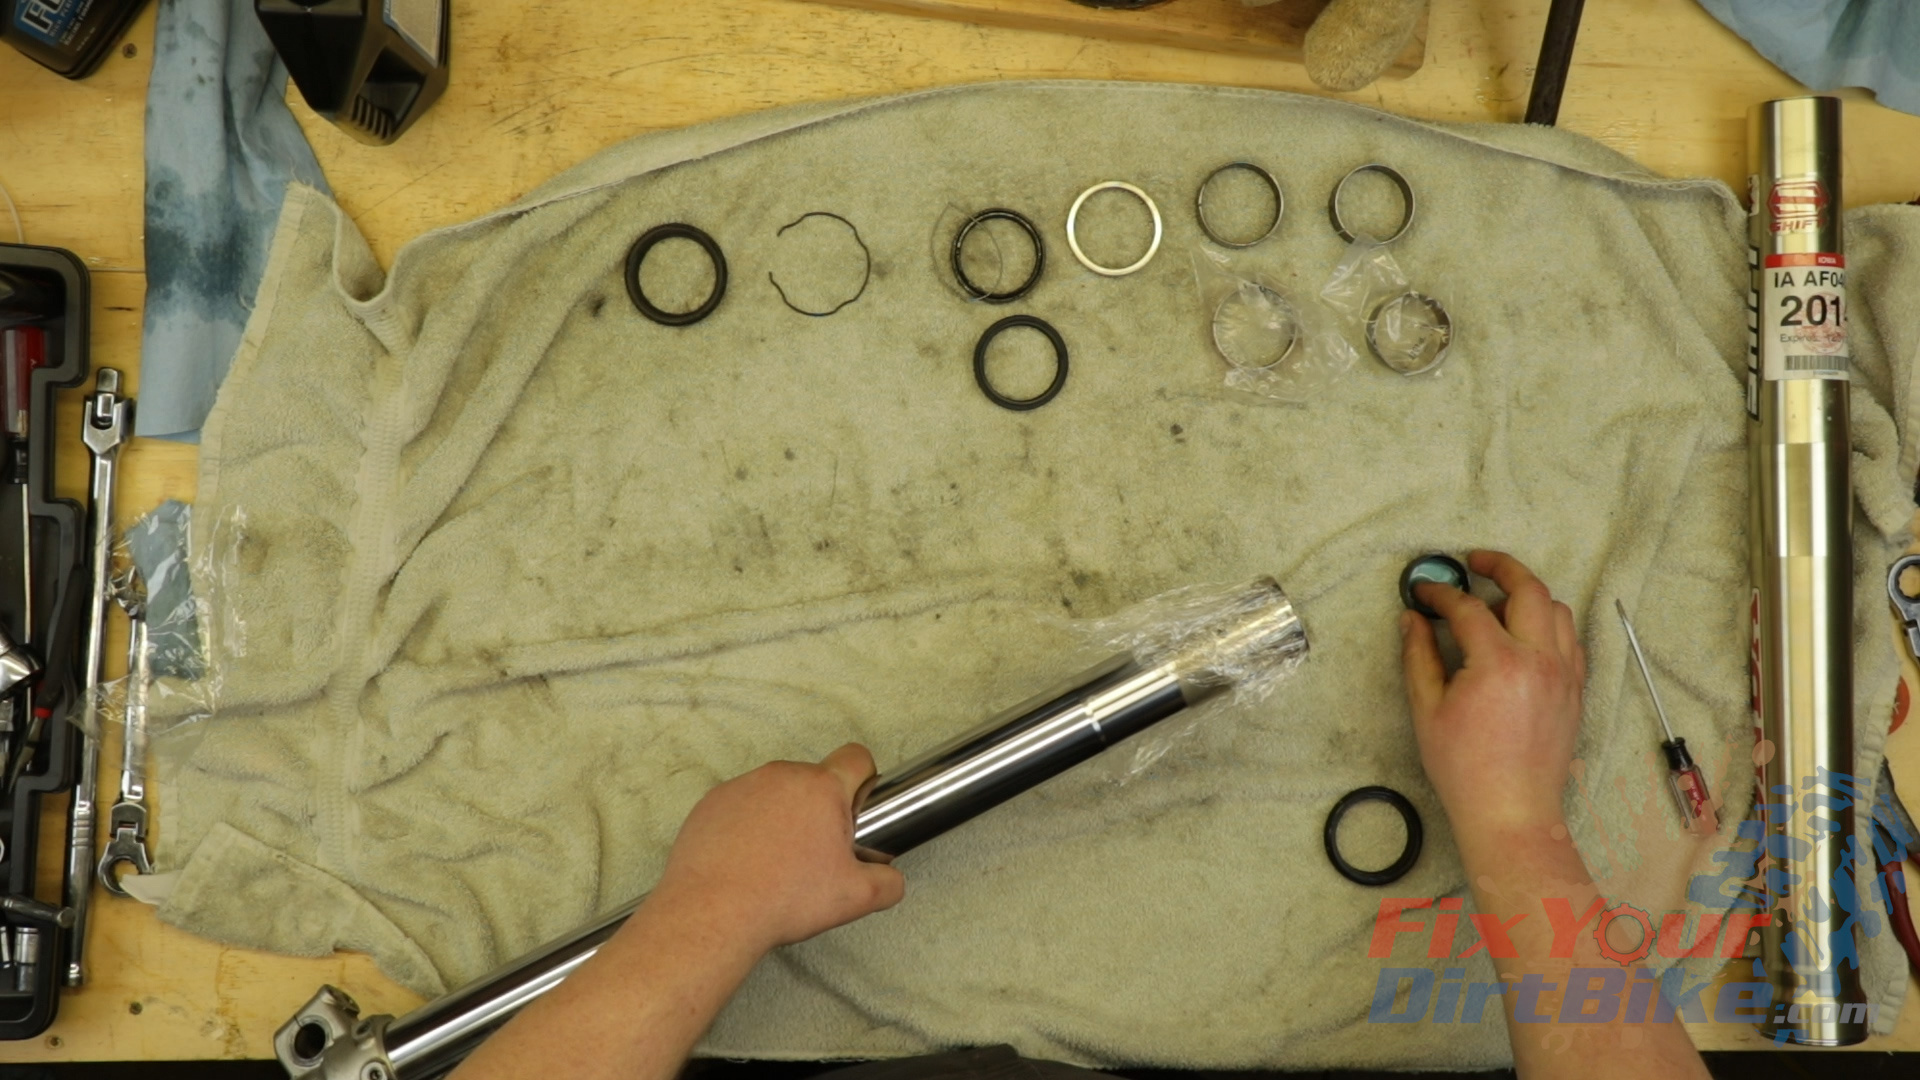
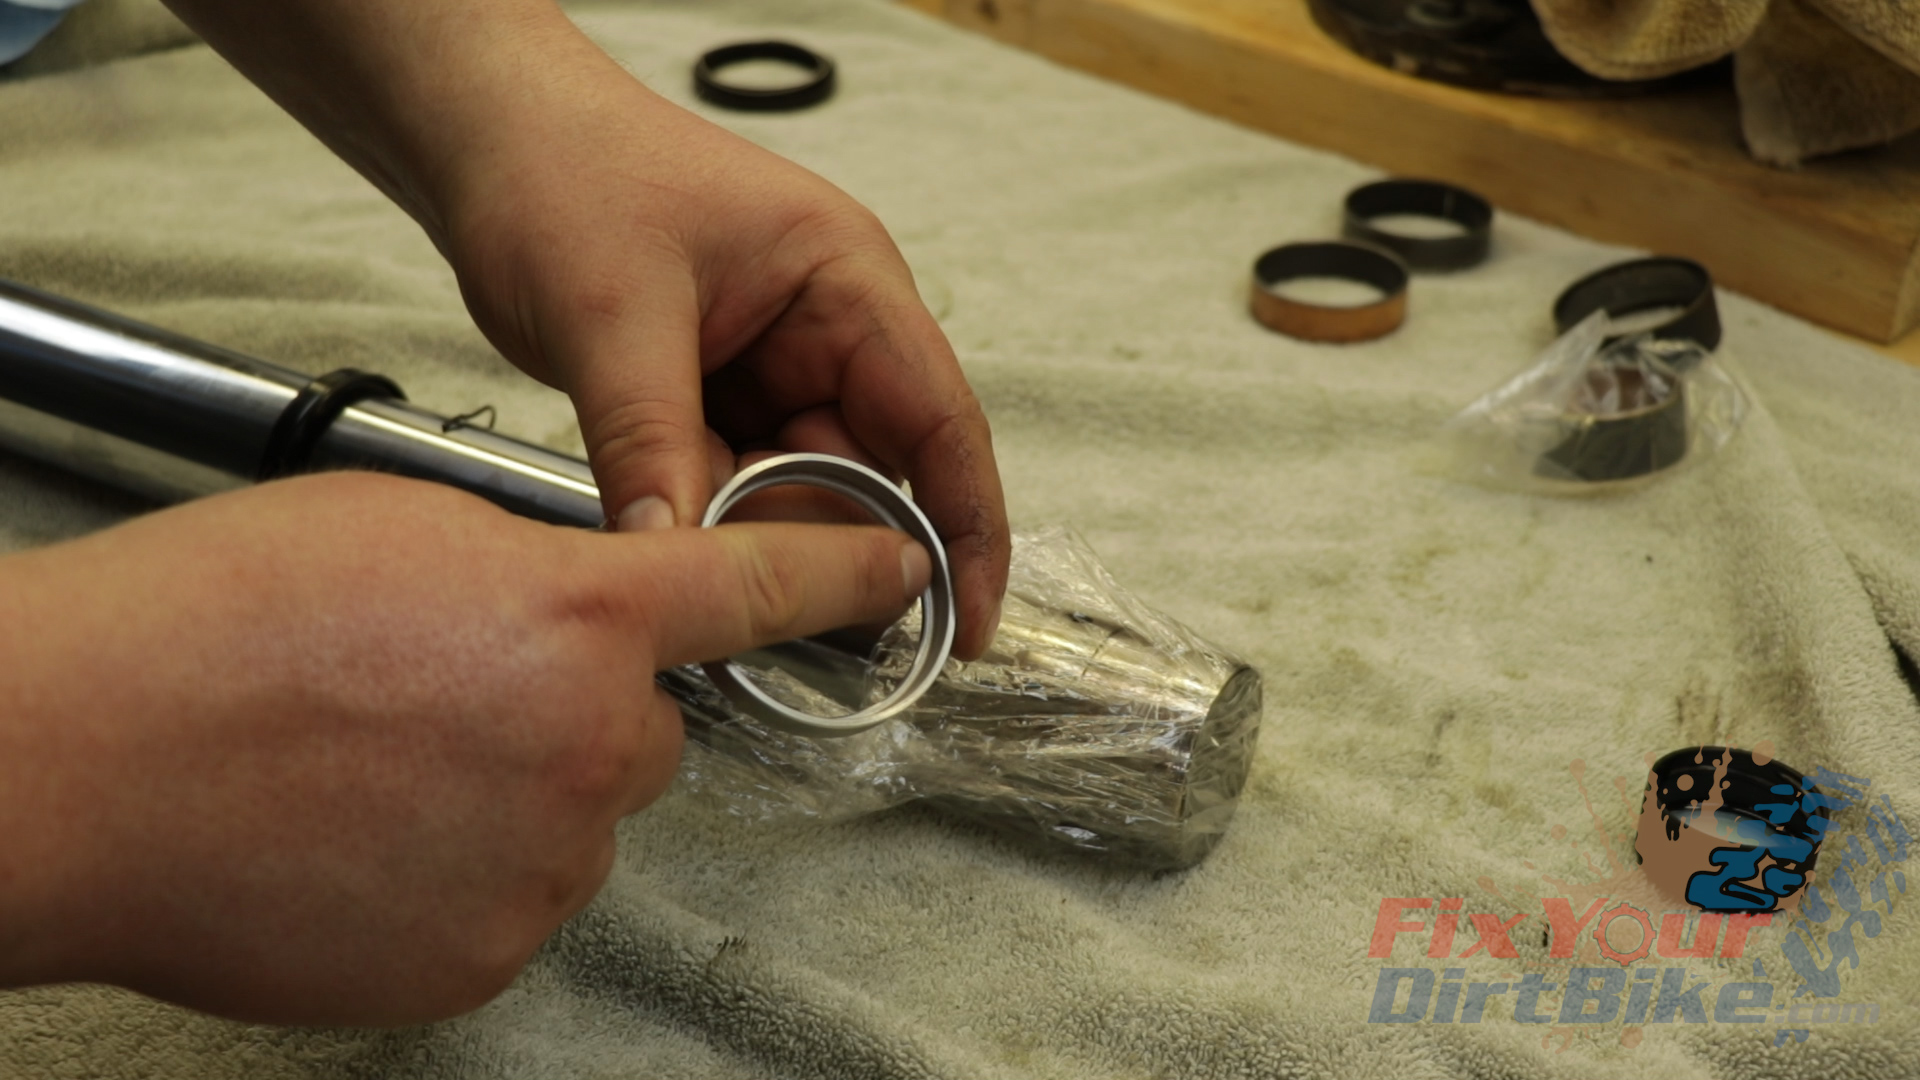
- Wrap the end of the inner tube with plastic wrap, and apply a light layer of fork oil.
- Install the dust seal, stopper ring, oil seal, backup ring, guide bushing, and slider bushing.
- Install the backup ring with the shoulder side facing the axle holder, and the open side facing the end of the tube.
- Oil the end of the inner tube and join it with the outer tube.
- If you don’t have a seal driver, you can use the old oil seal for seating the new one.
- Remove the stopper ring, cut the old oil seal, and wrap it around the tube upside down.
- Push the old seal up to the new seal, and use the axle holder to drive the new seal into place.
- You don’t need to use much force for seating the oil seal, so don’t go crazy with the pounding.
- Install the stopper ring, check for any binding or dragging, then install the dust seal.

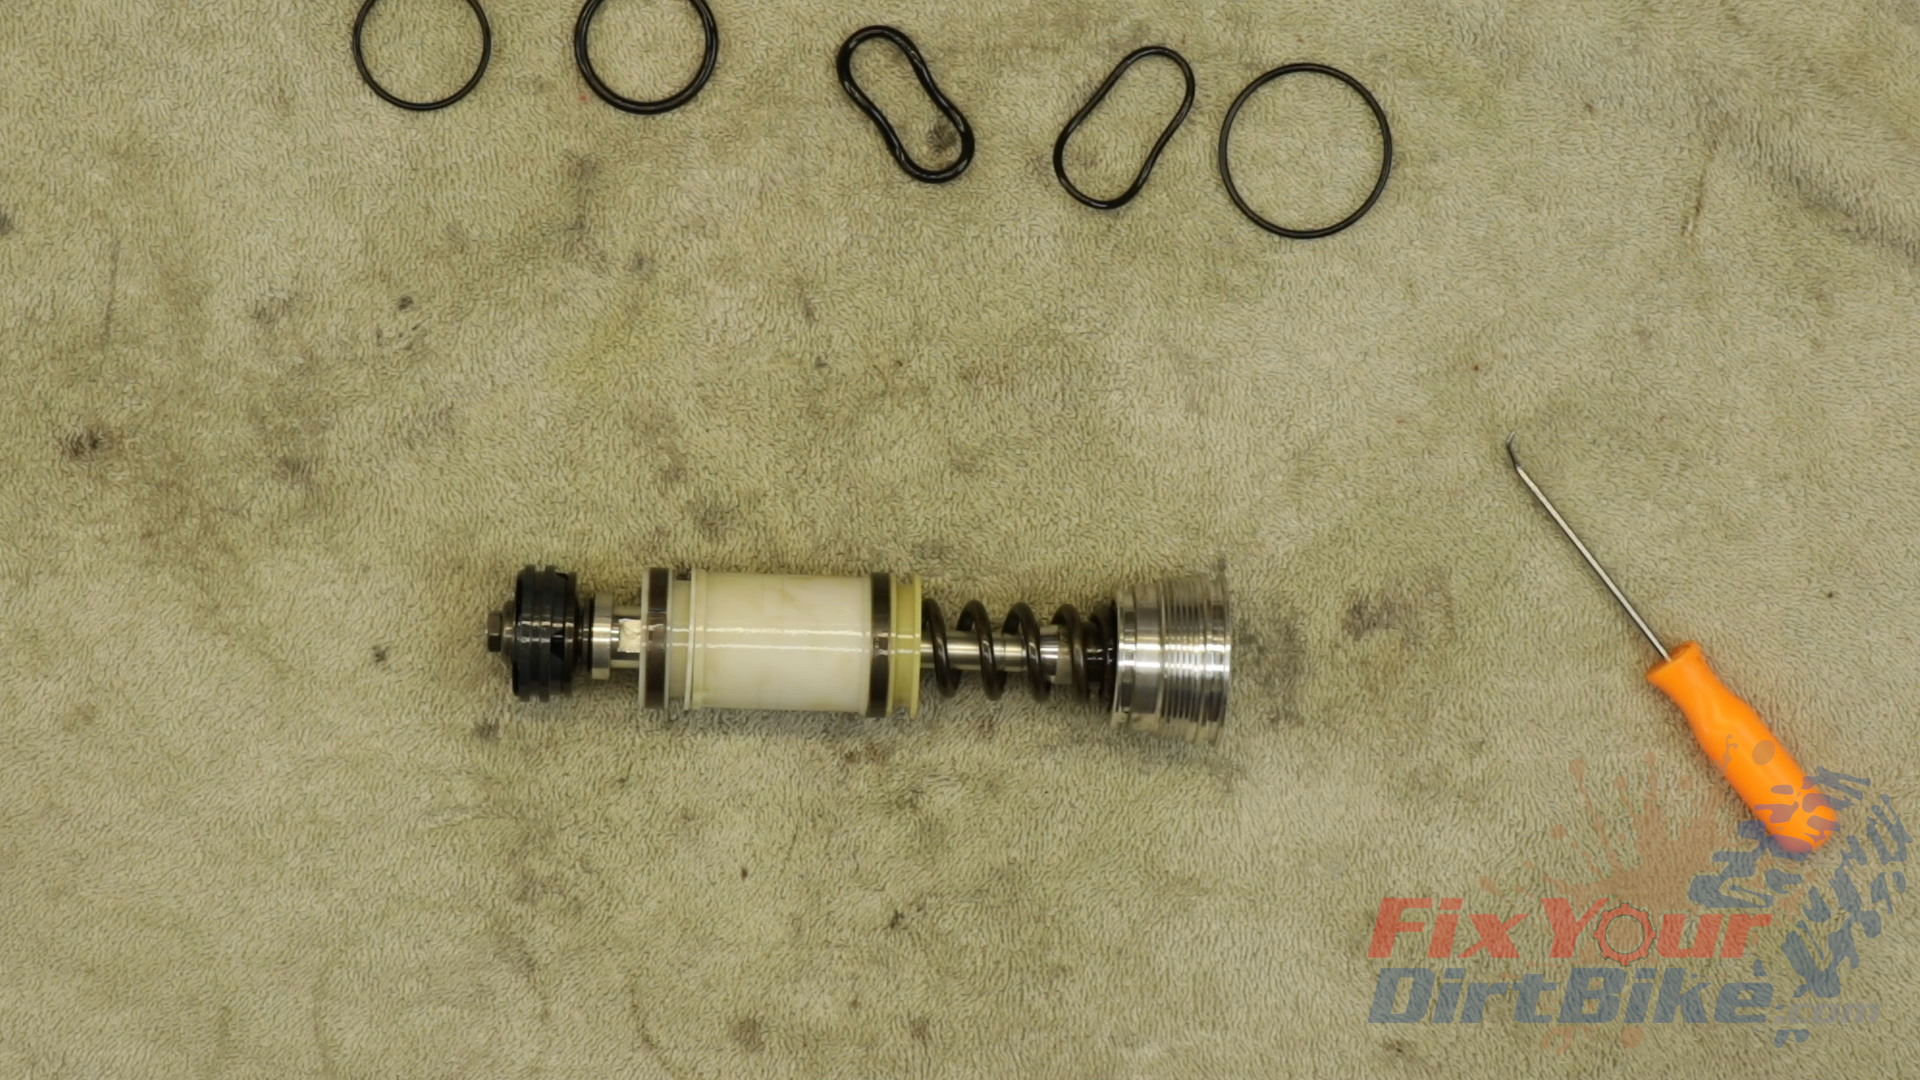
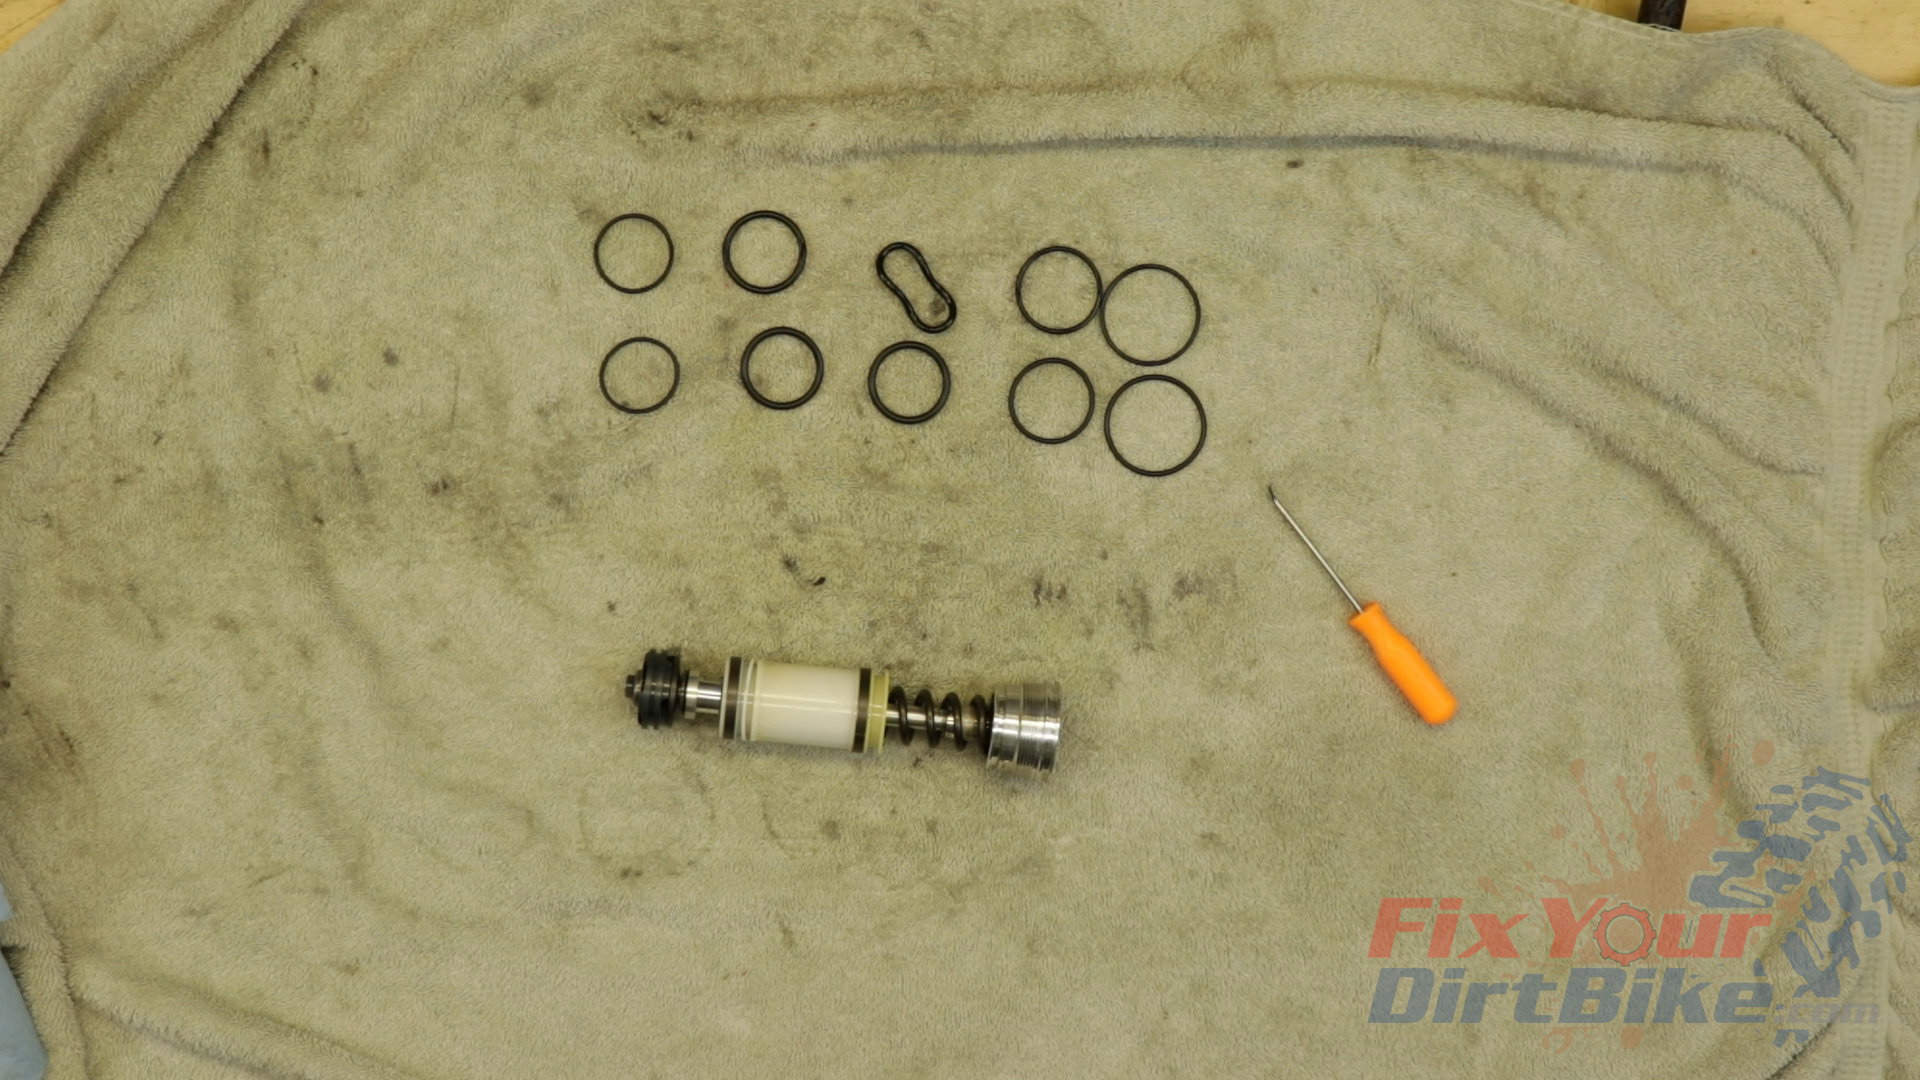
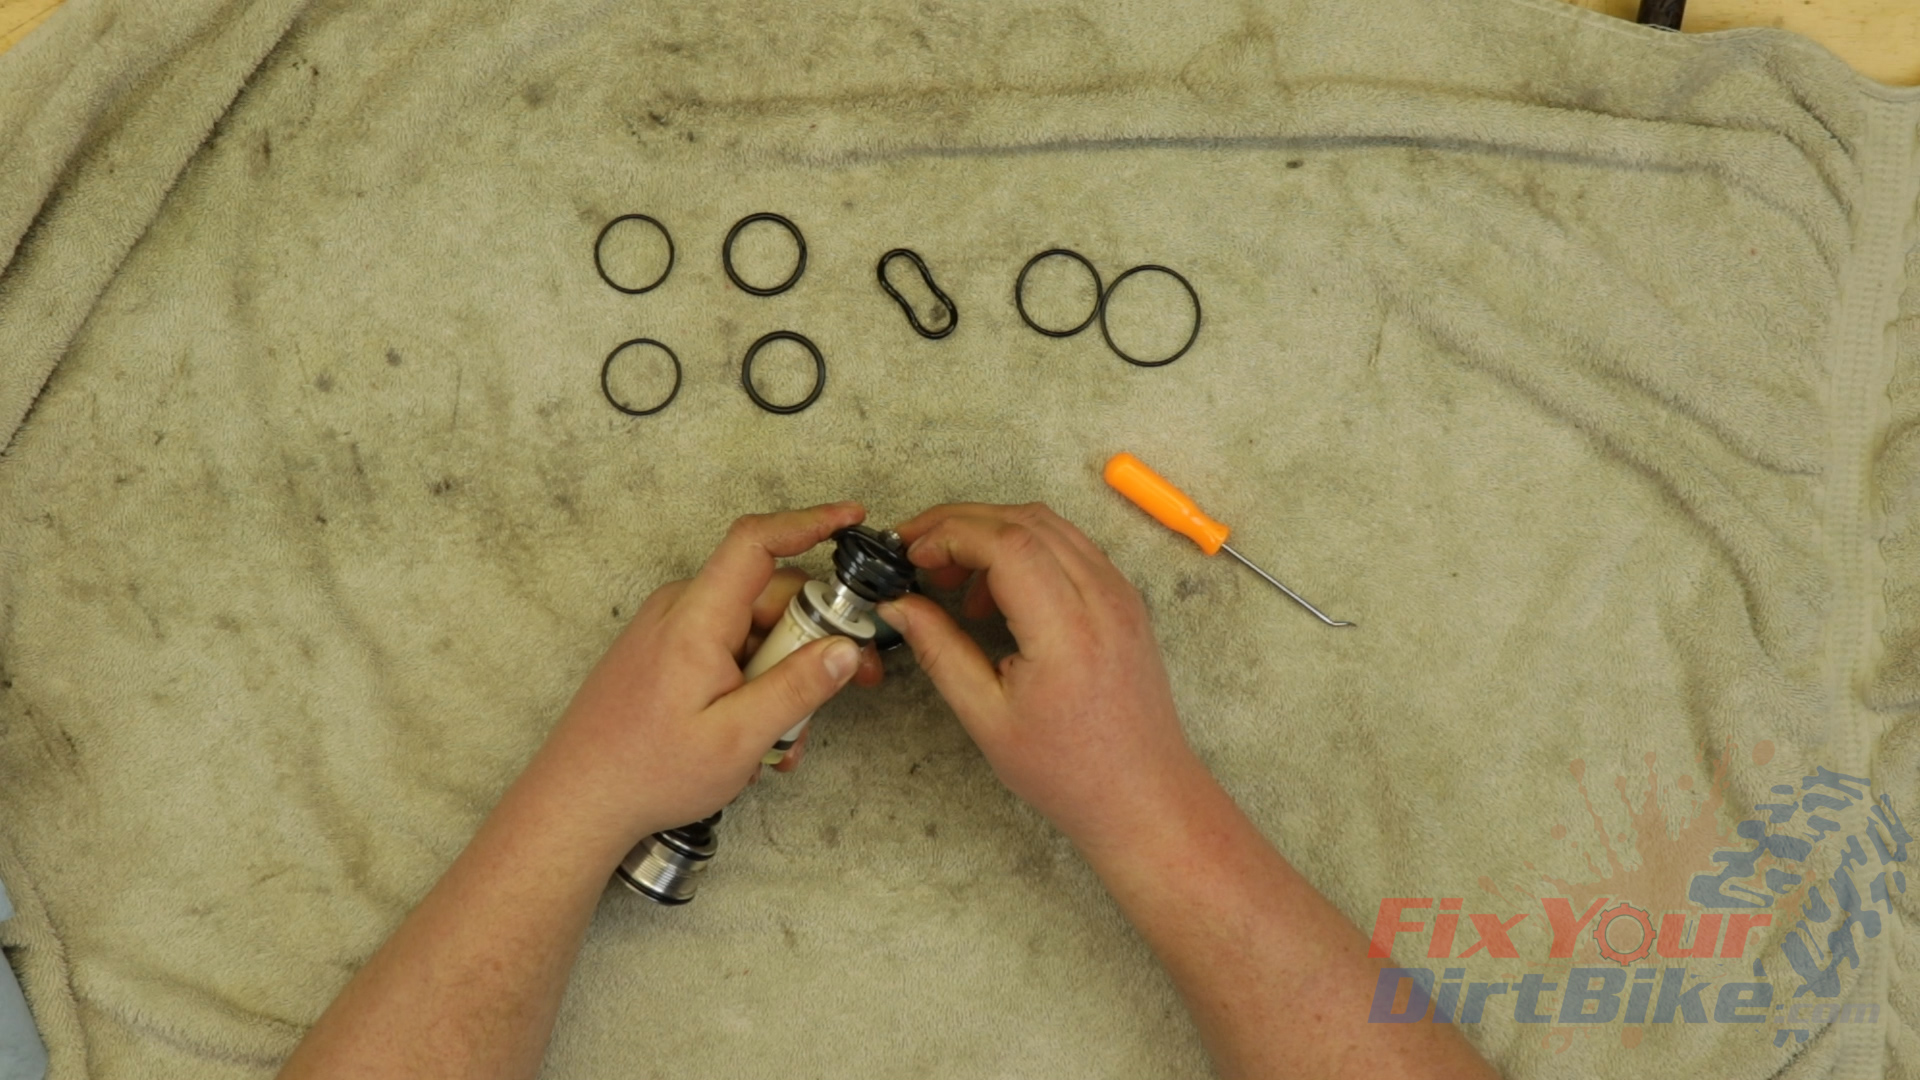
Tube Cap Service
- Remove the o-rings in order from the bottom to top, and keep track of their order.
- Clean the fork cap as thoroughly as you can.
- Match up your new o-rings, and install them in order with a light coating of fork oil.
Clean And Inspect
Clean and inspect the center bolt, spring seat collar, and pushrod.
Fork Damper Assembly
- The fork damper uses hydraulic force only, so we need to take extra care when removing air.
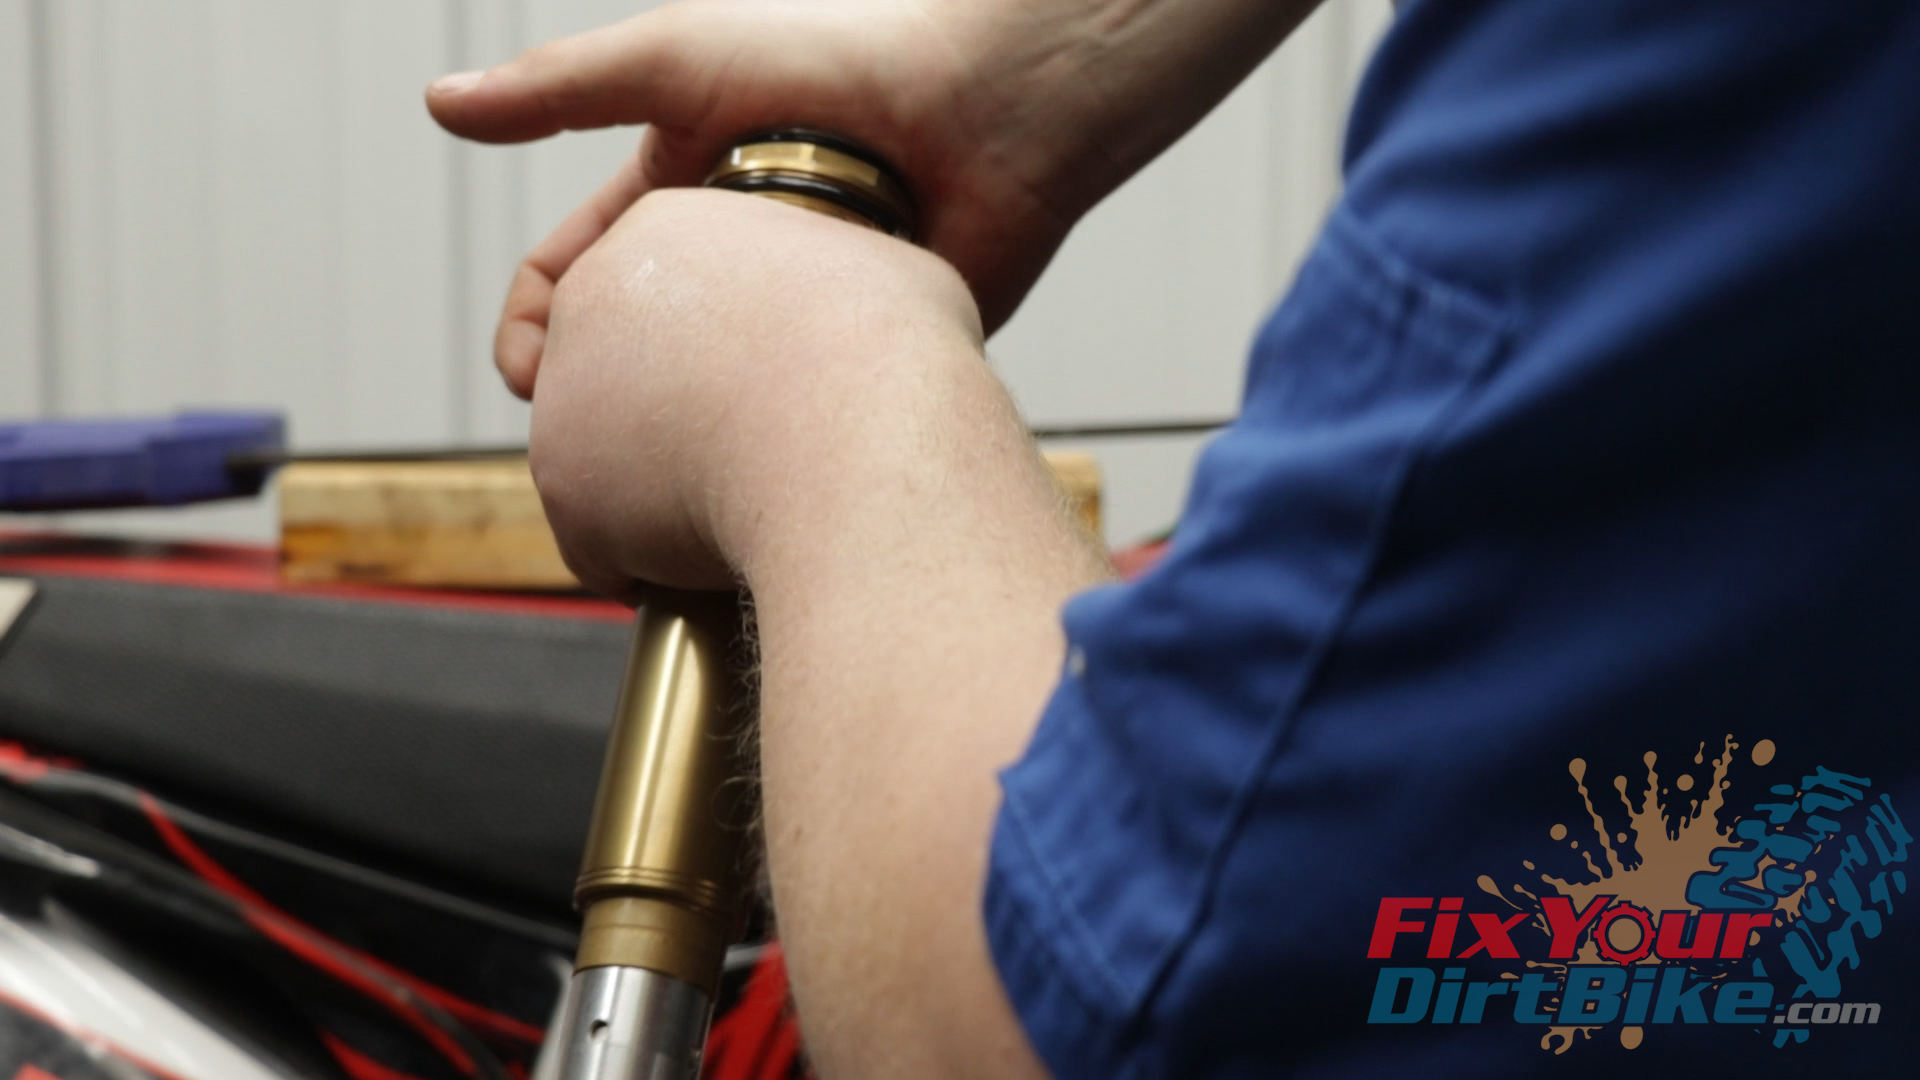
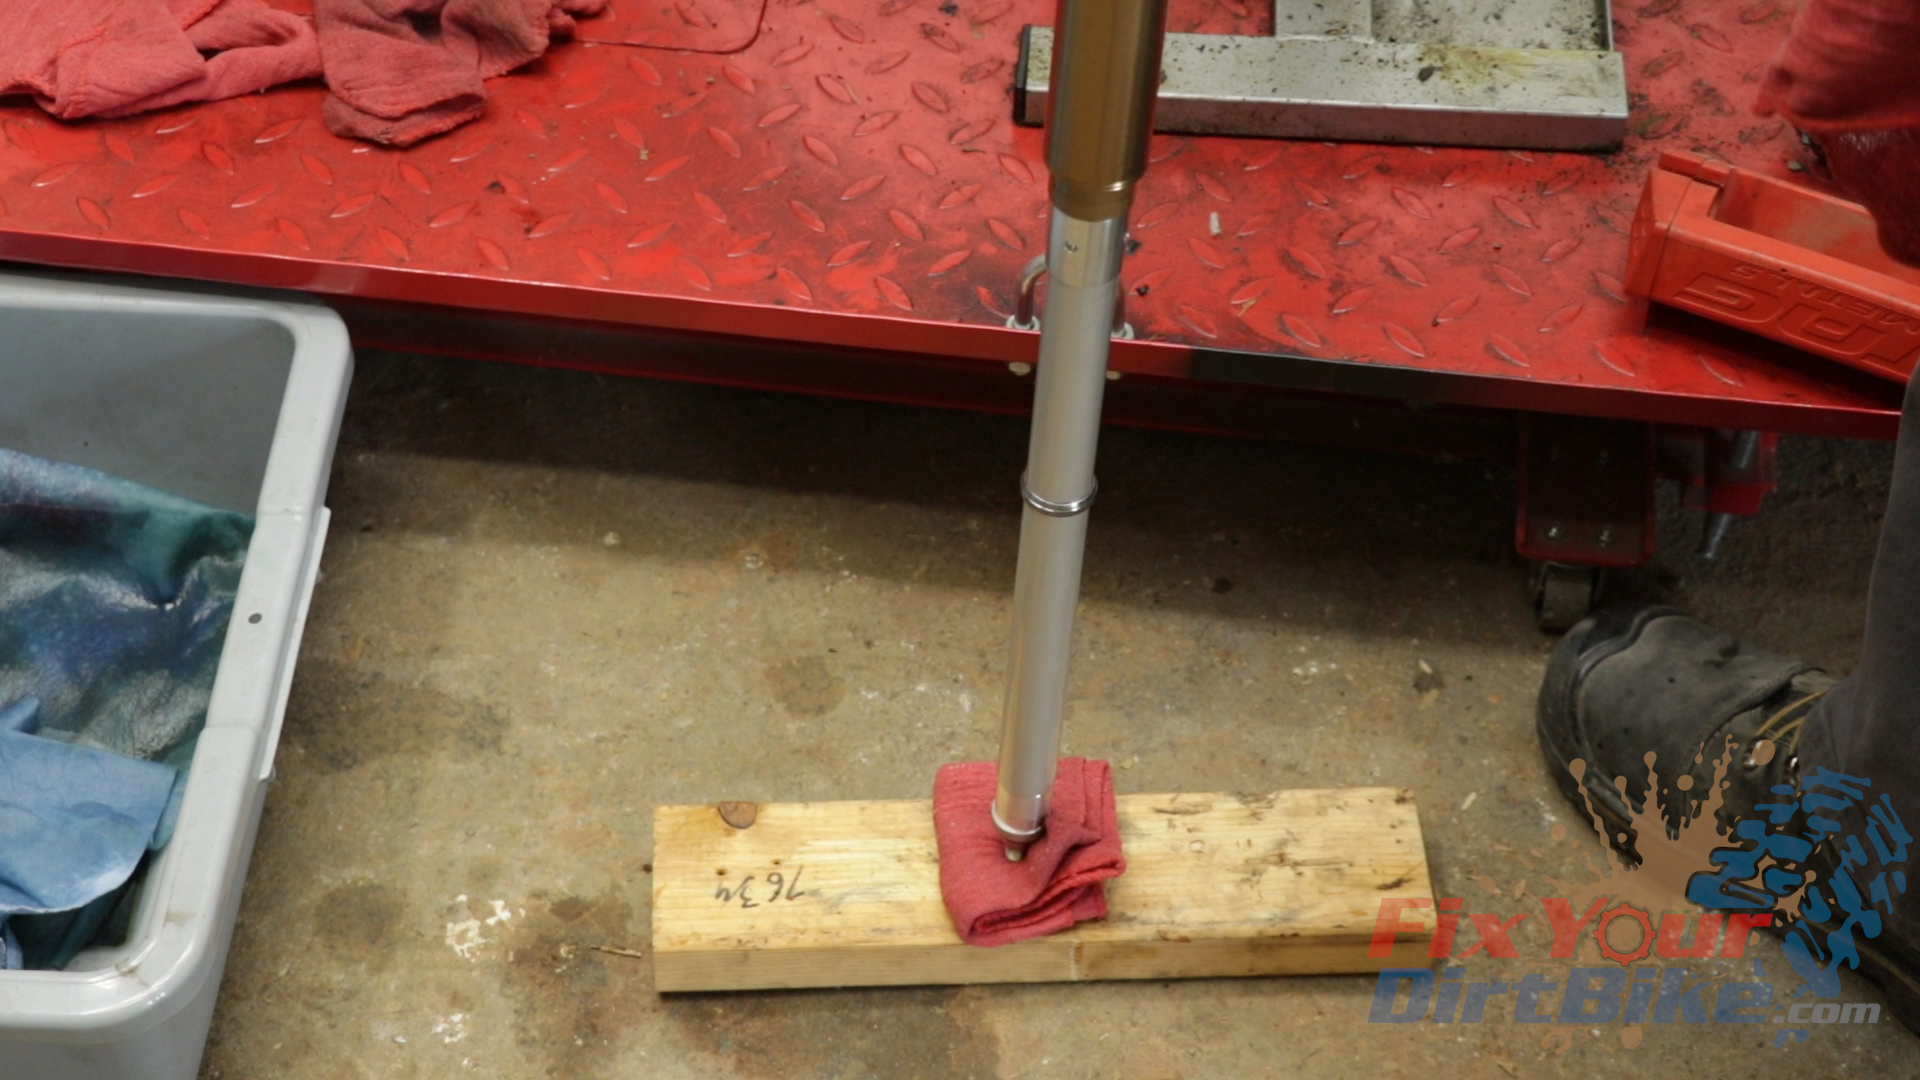
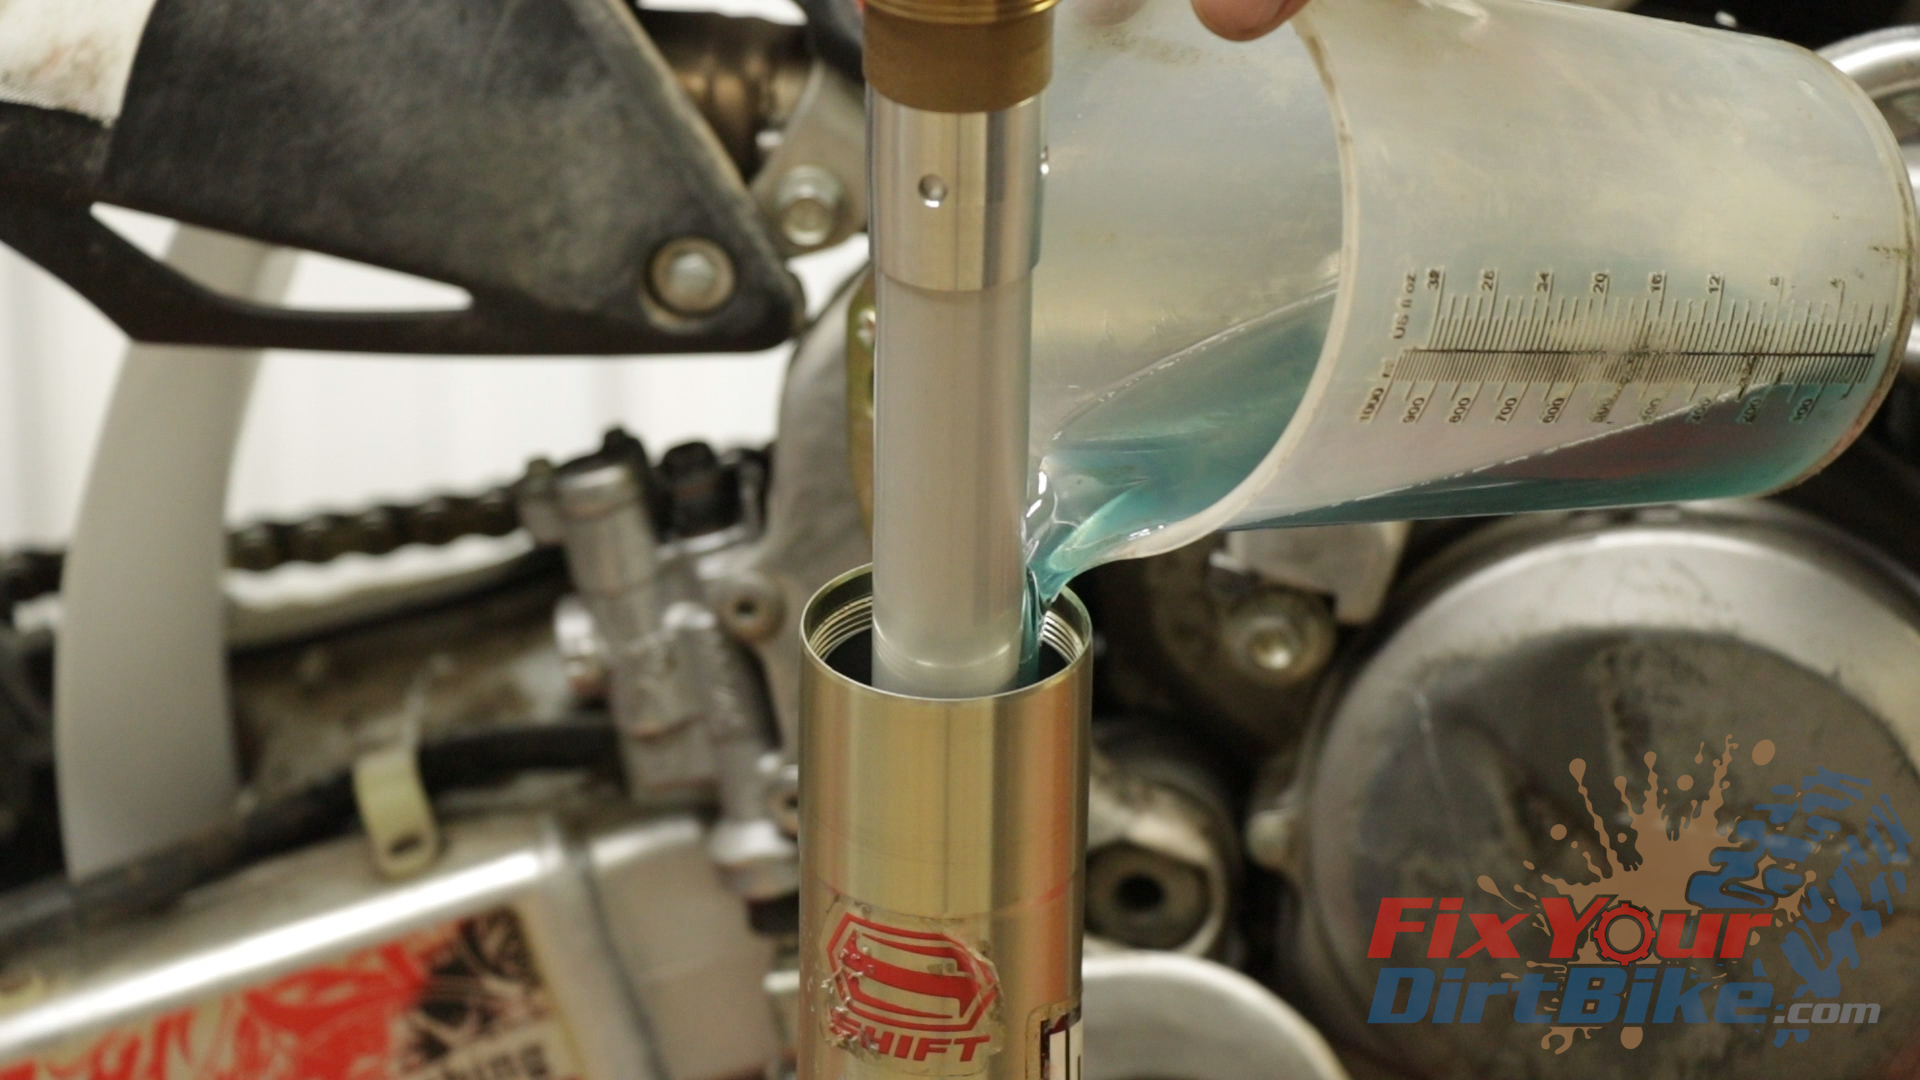
- Hang your damper, and fill it with 7.1 ounces of fork oil.
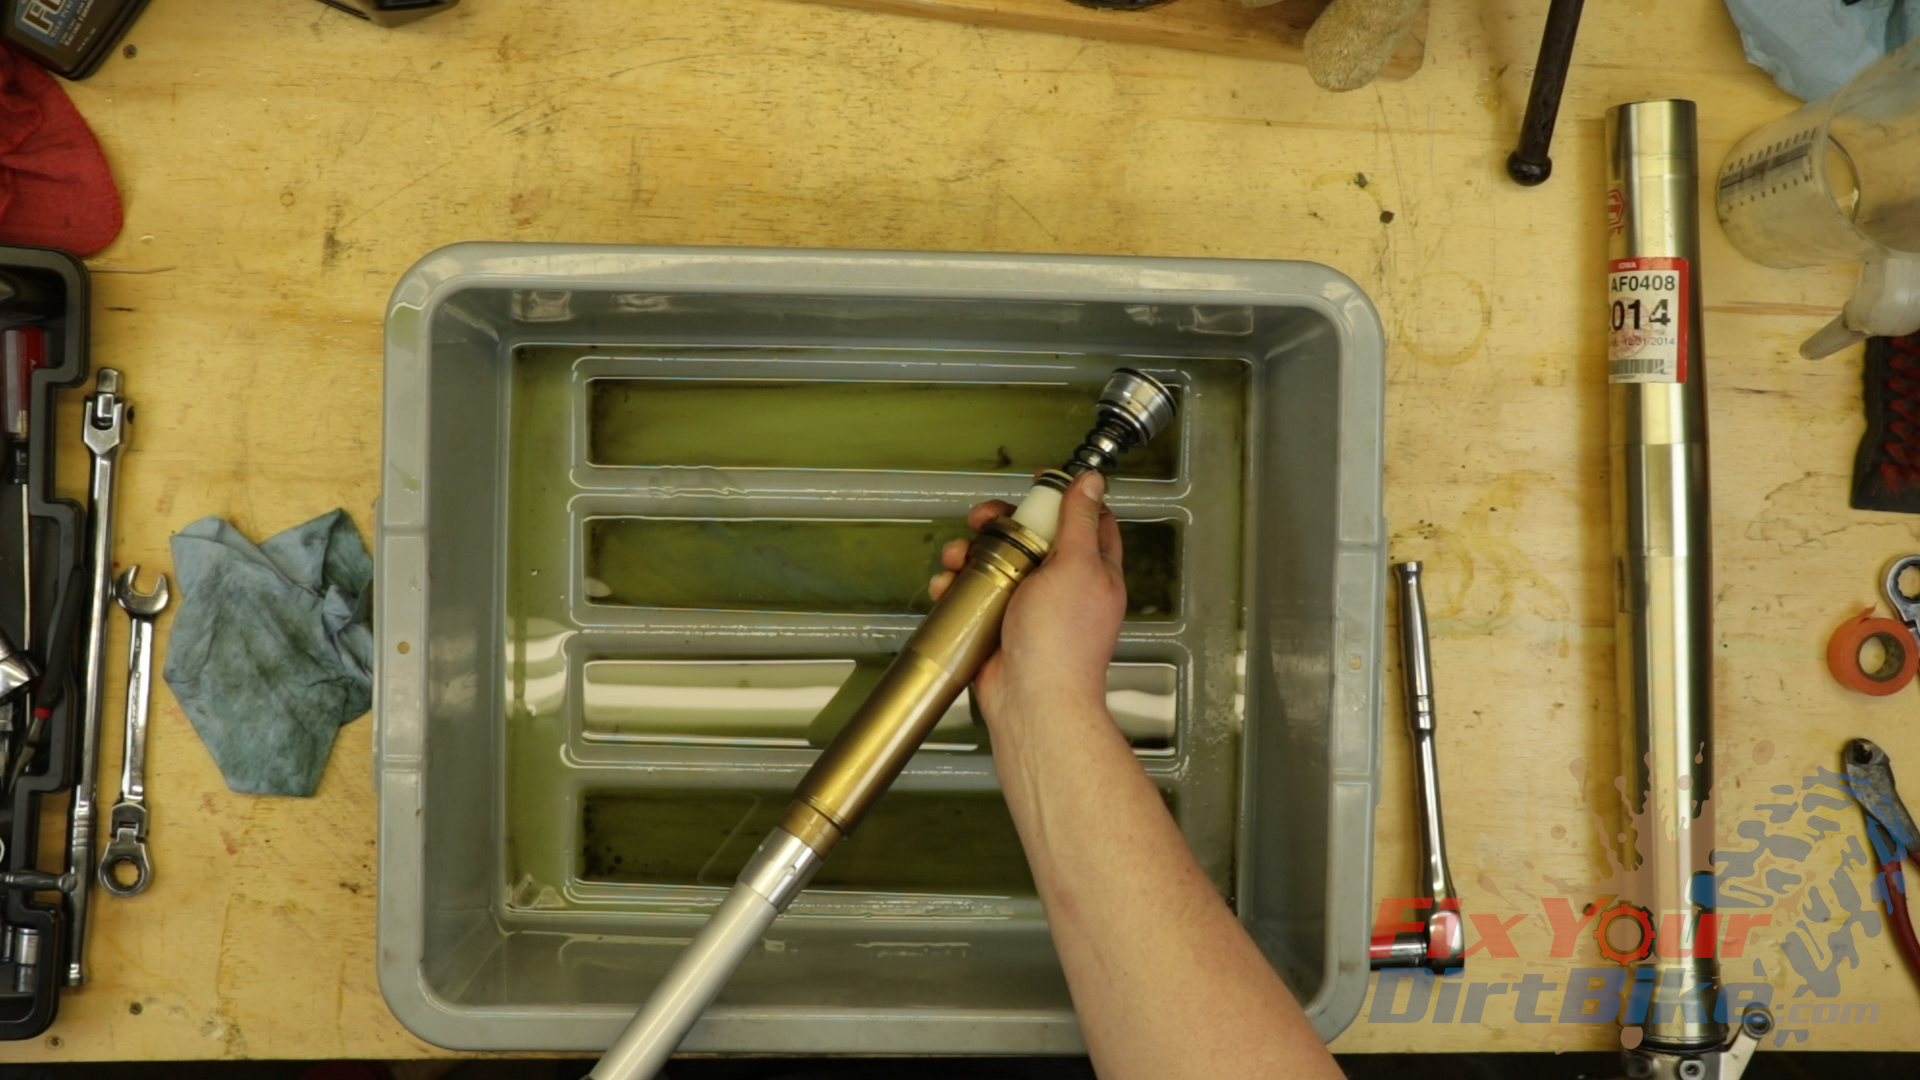
- Slowly pump the damper piston to remove any trapped air, and bleed excess fluid.
- If you pump too fast, you will remove too much fluid, so start with short strokes, gradually getting longer, until you reach a full stroke.
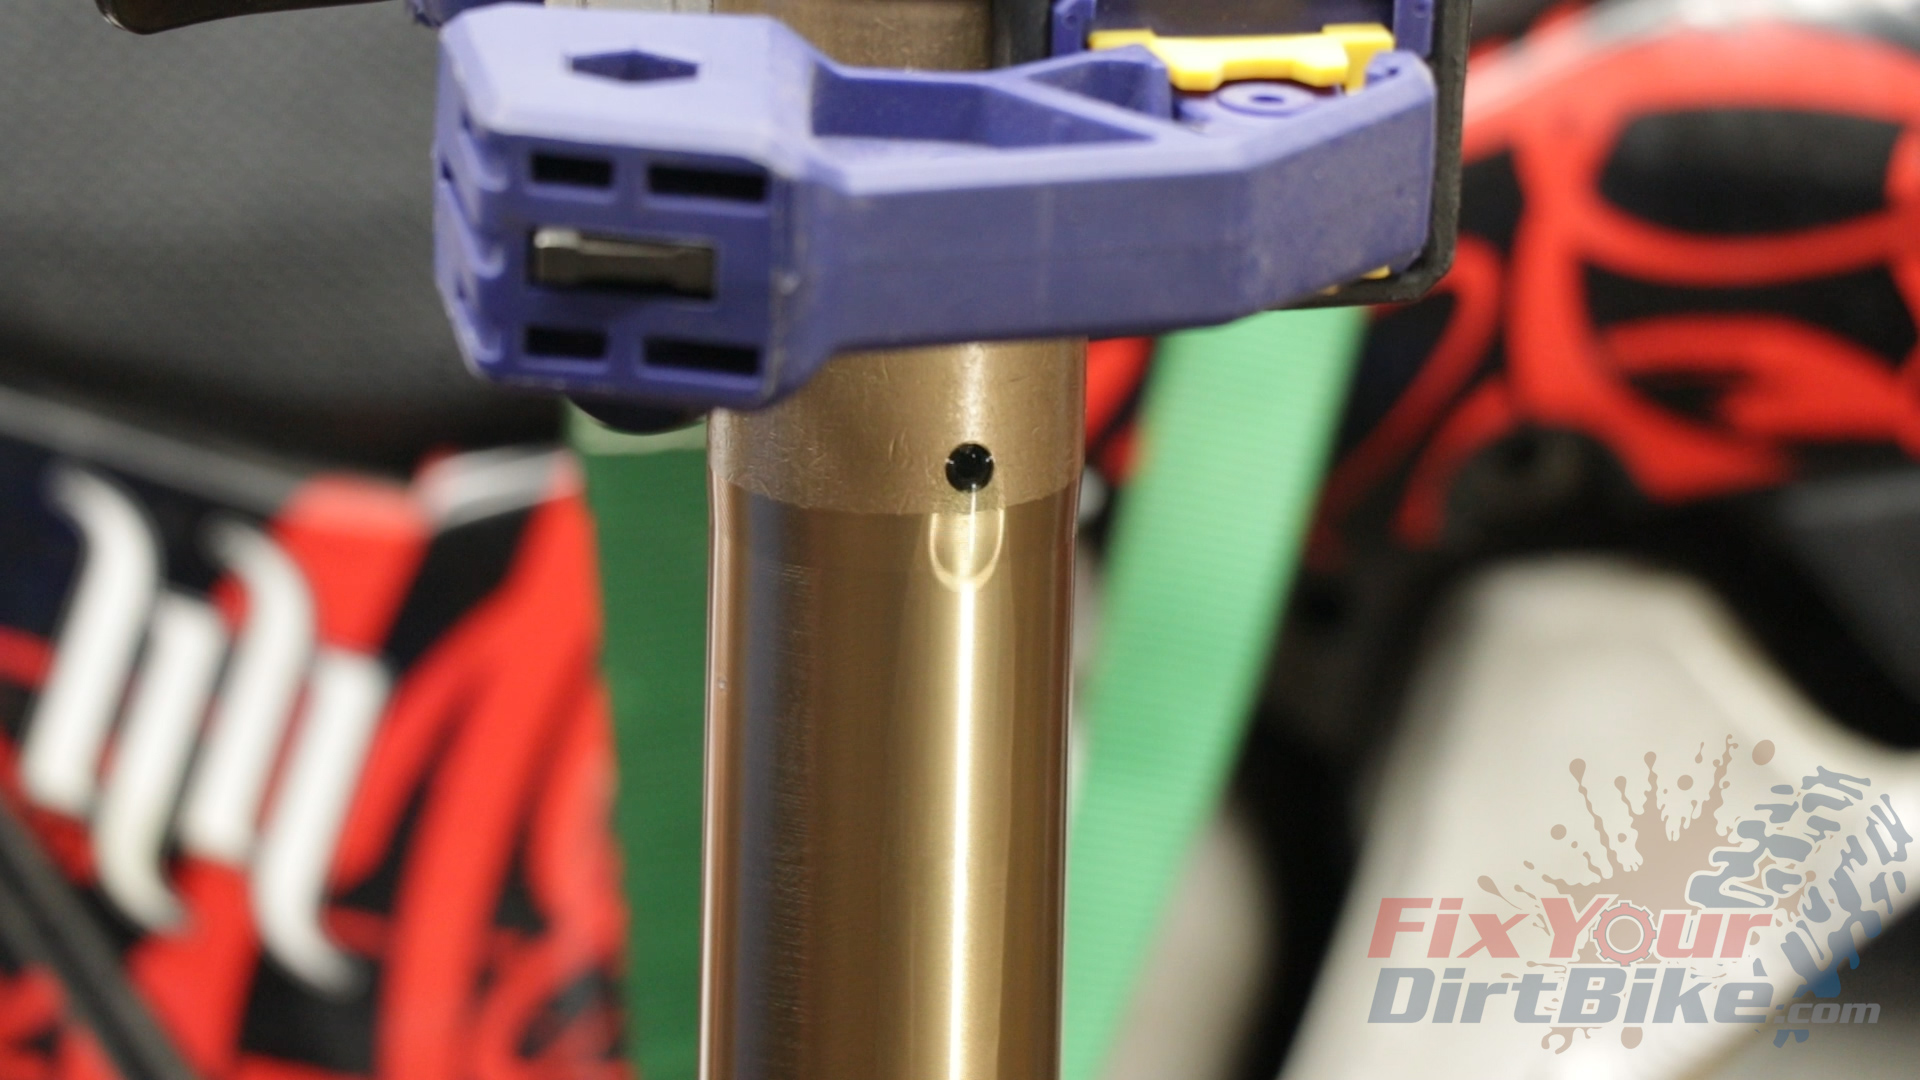
- You should feel the air getting pushed out, and see the excess oil exiting the drain hole.
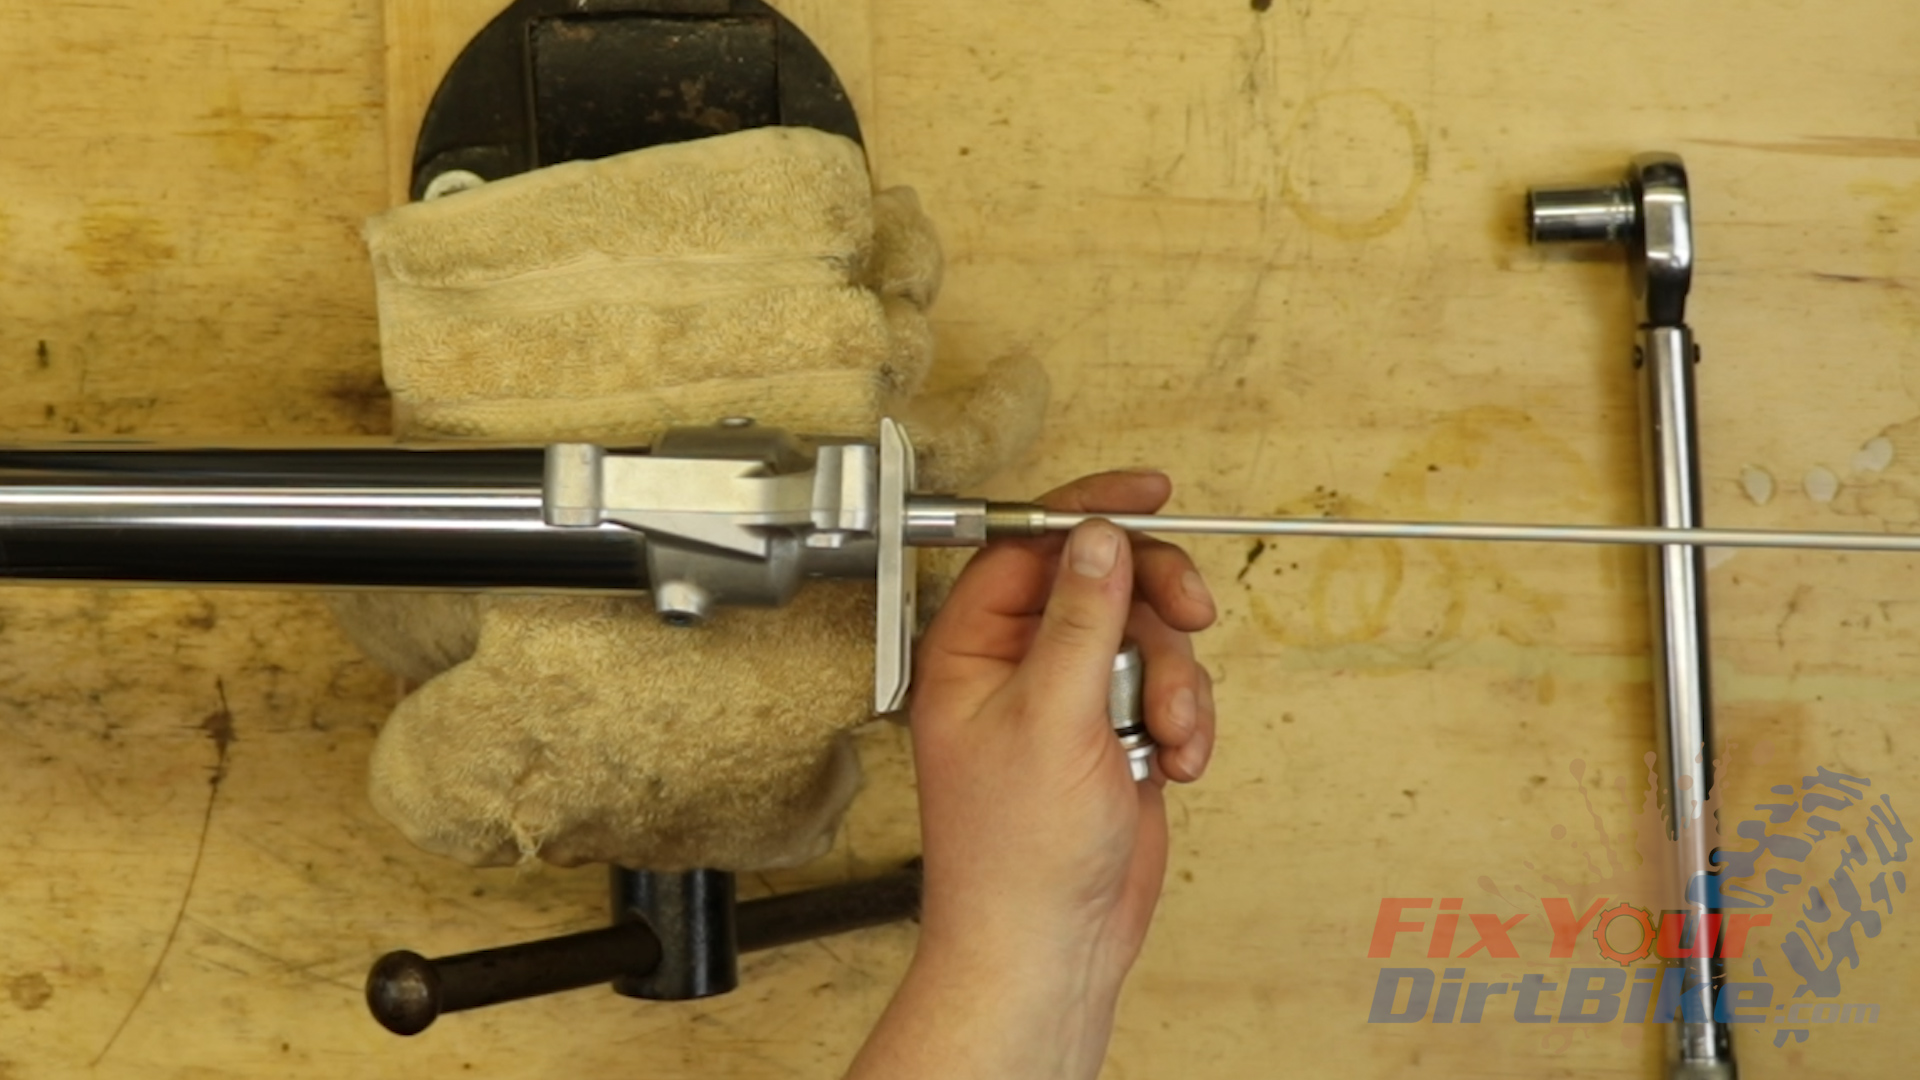
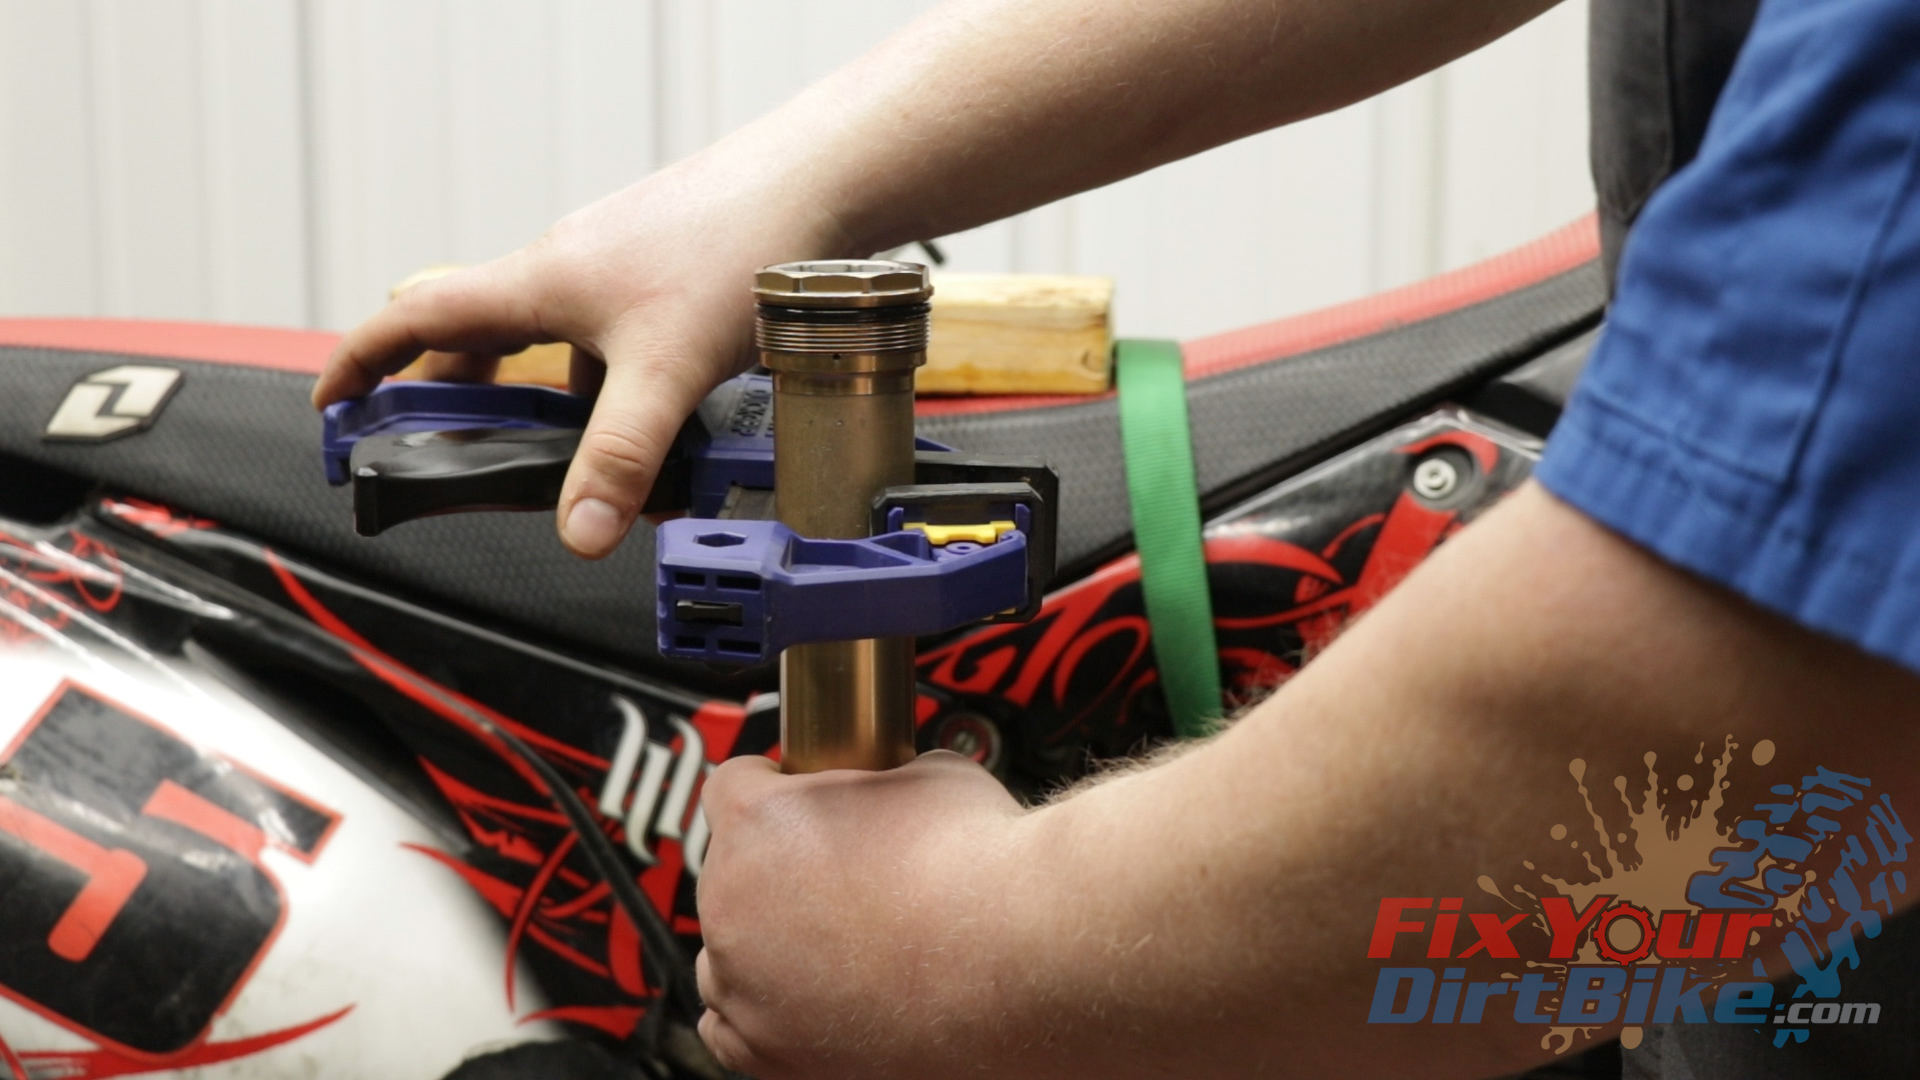
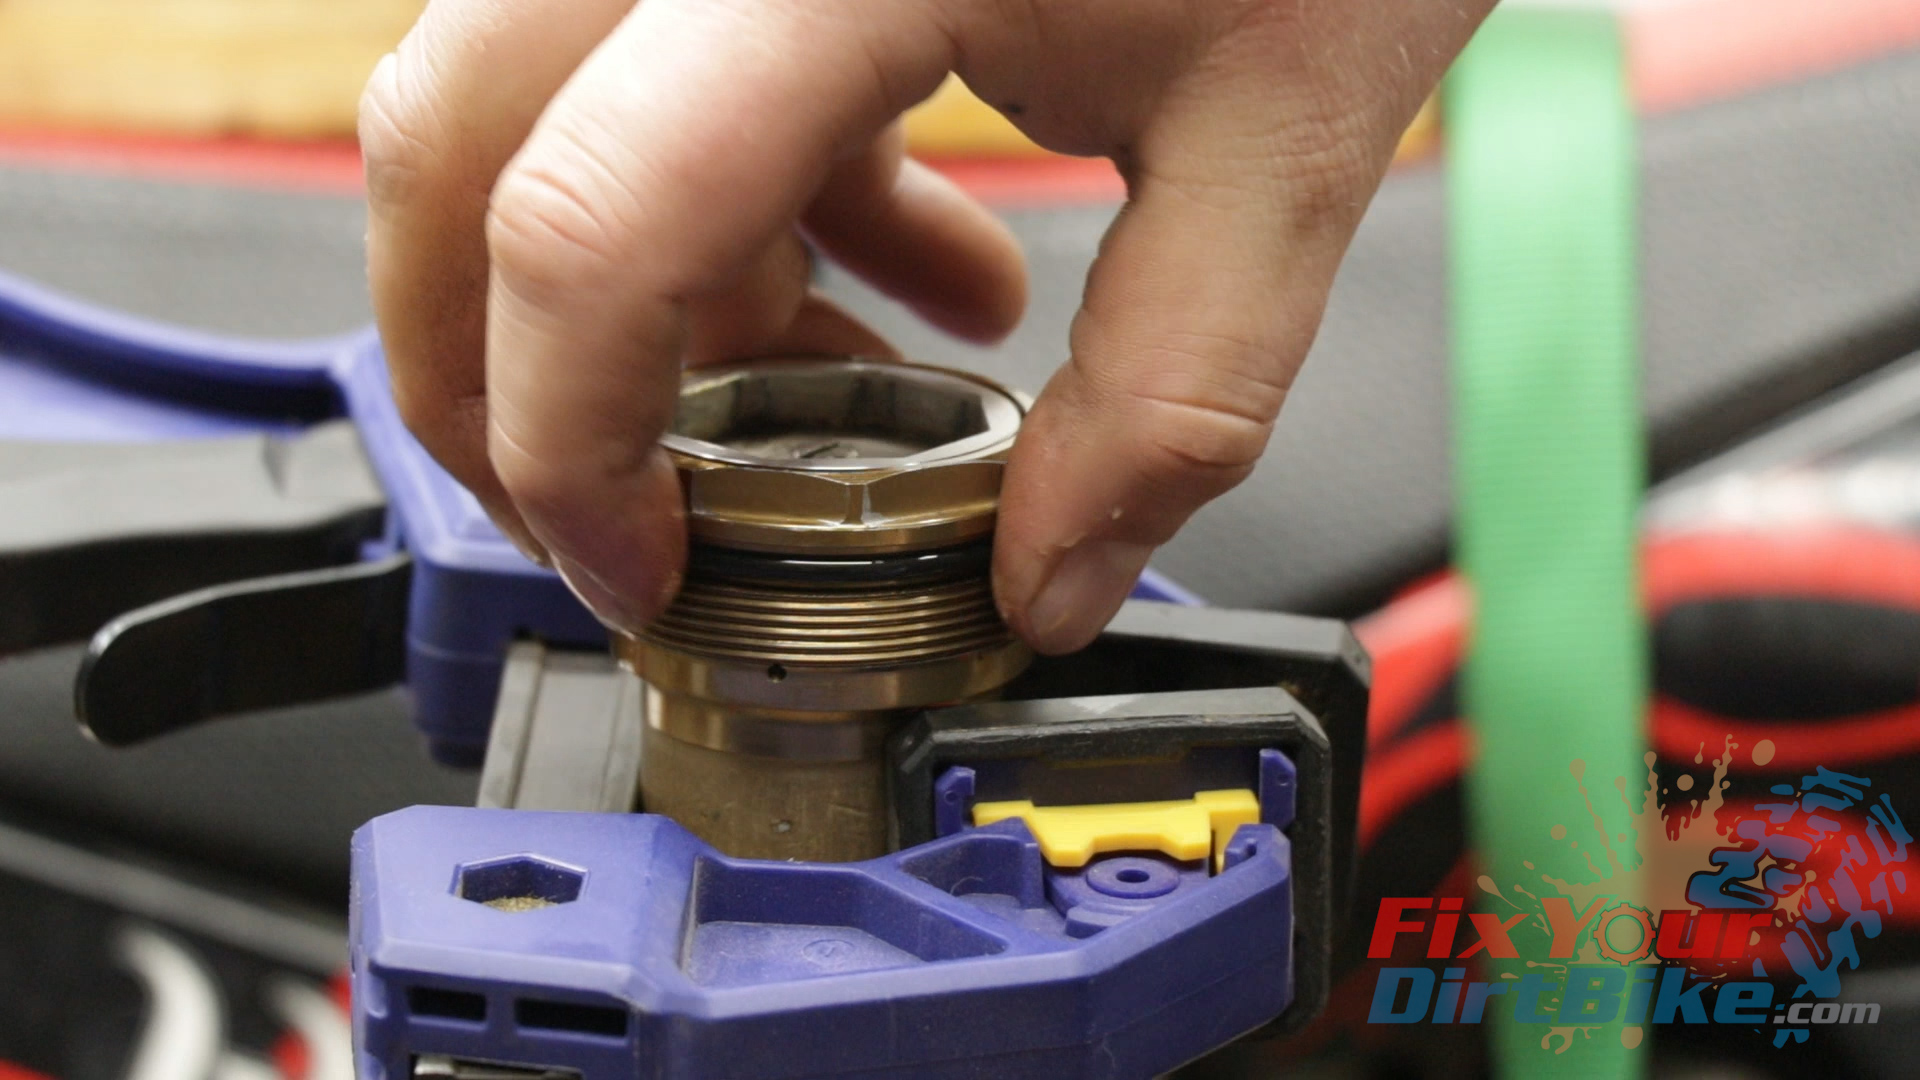
- To install the fork cap, you will need to compress it slightly to catch the threads.
- If the cap installs without resistance, you do not have enough oil in the damper. The fork cap will be impossible to install if there is too much fluid in the damper.
- Slowly drain the oil little by little until the cap can install while maintaining resistance. The apparent issue with this is getting the oil level just right, and the air voided completely.
- Fortunately, this damper is self-regulating and will expel excess fluid on its own, which you will experience during testing.
- With the cap wrestled into place, torque the fork cap to 21-foot-pounds.
Related: How the front wheel hub works on your dirt bike.
Fork Damper Testing
- Double-check that the compression adjuster is backed out all the way, wrap the top of your damper with a shop towel, then fully compress your damper several times to blow out any excess oil.
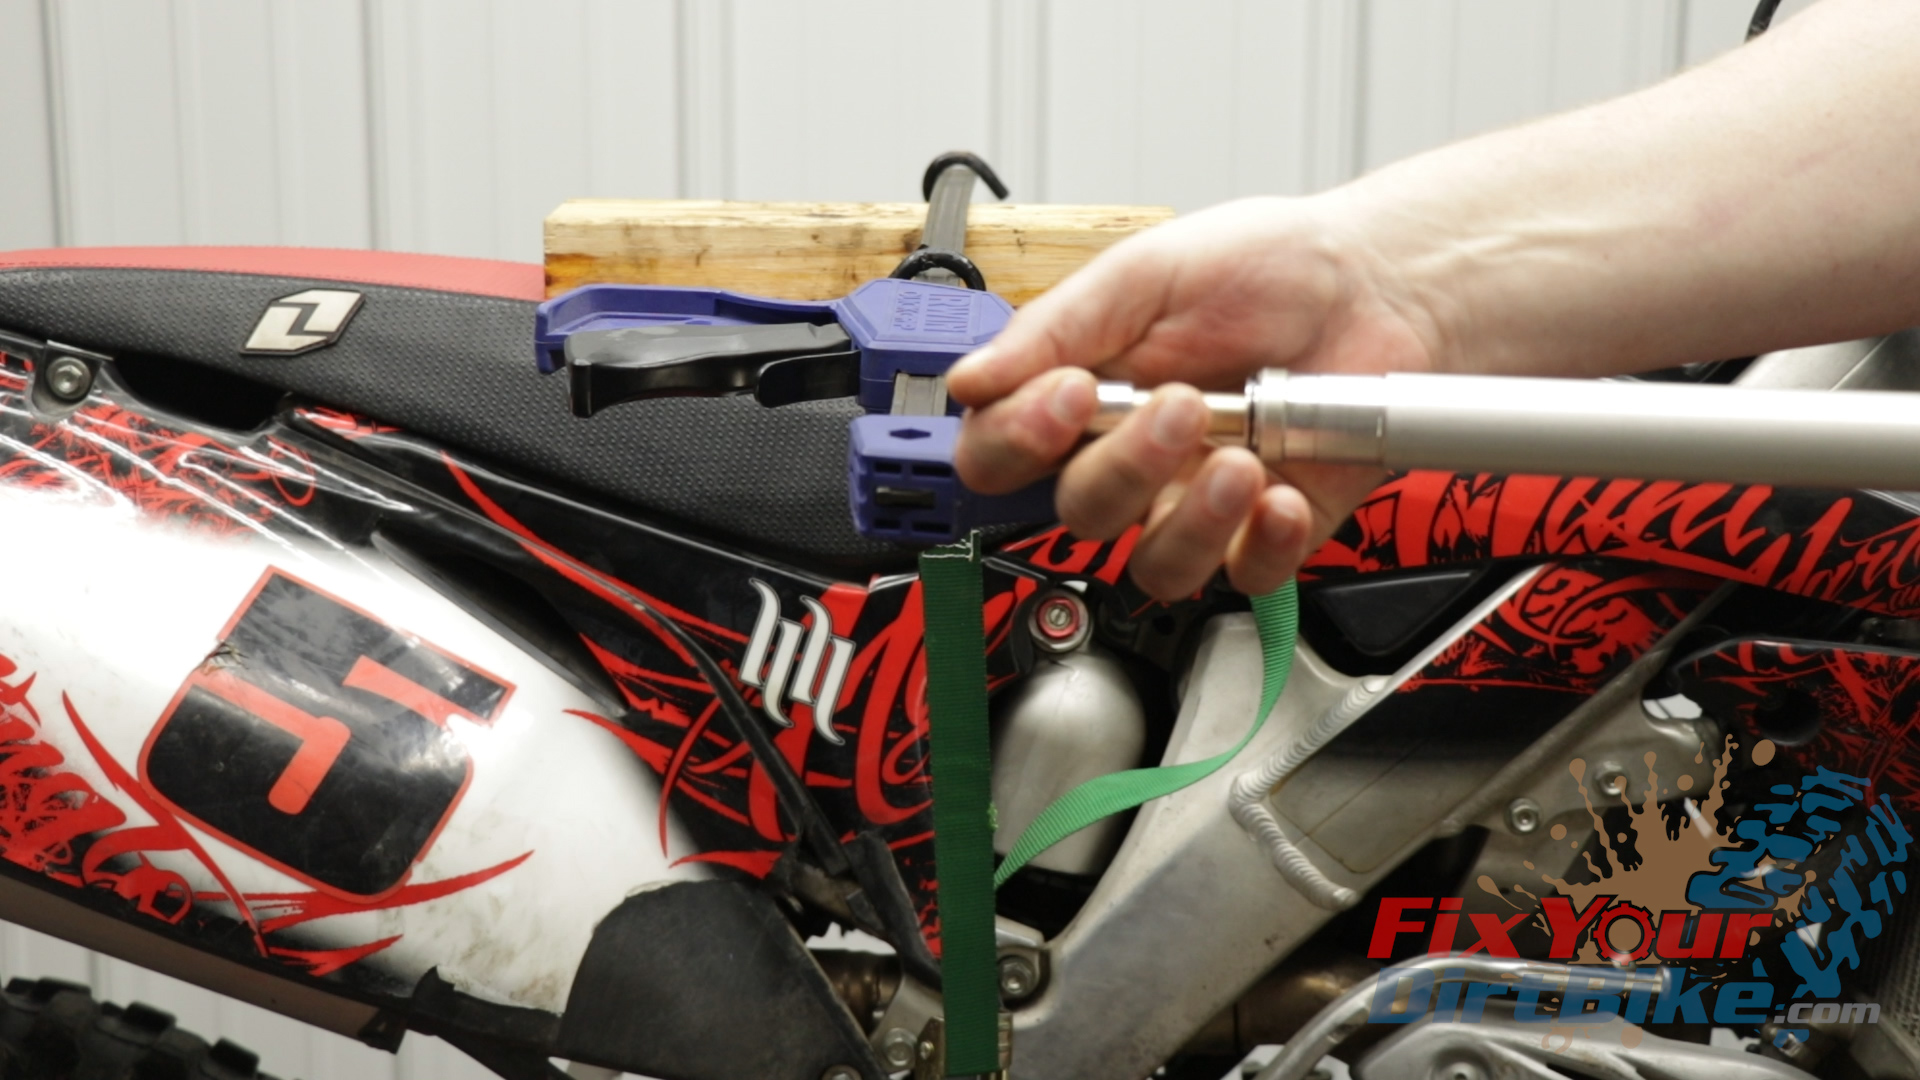
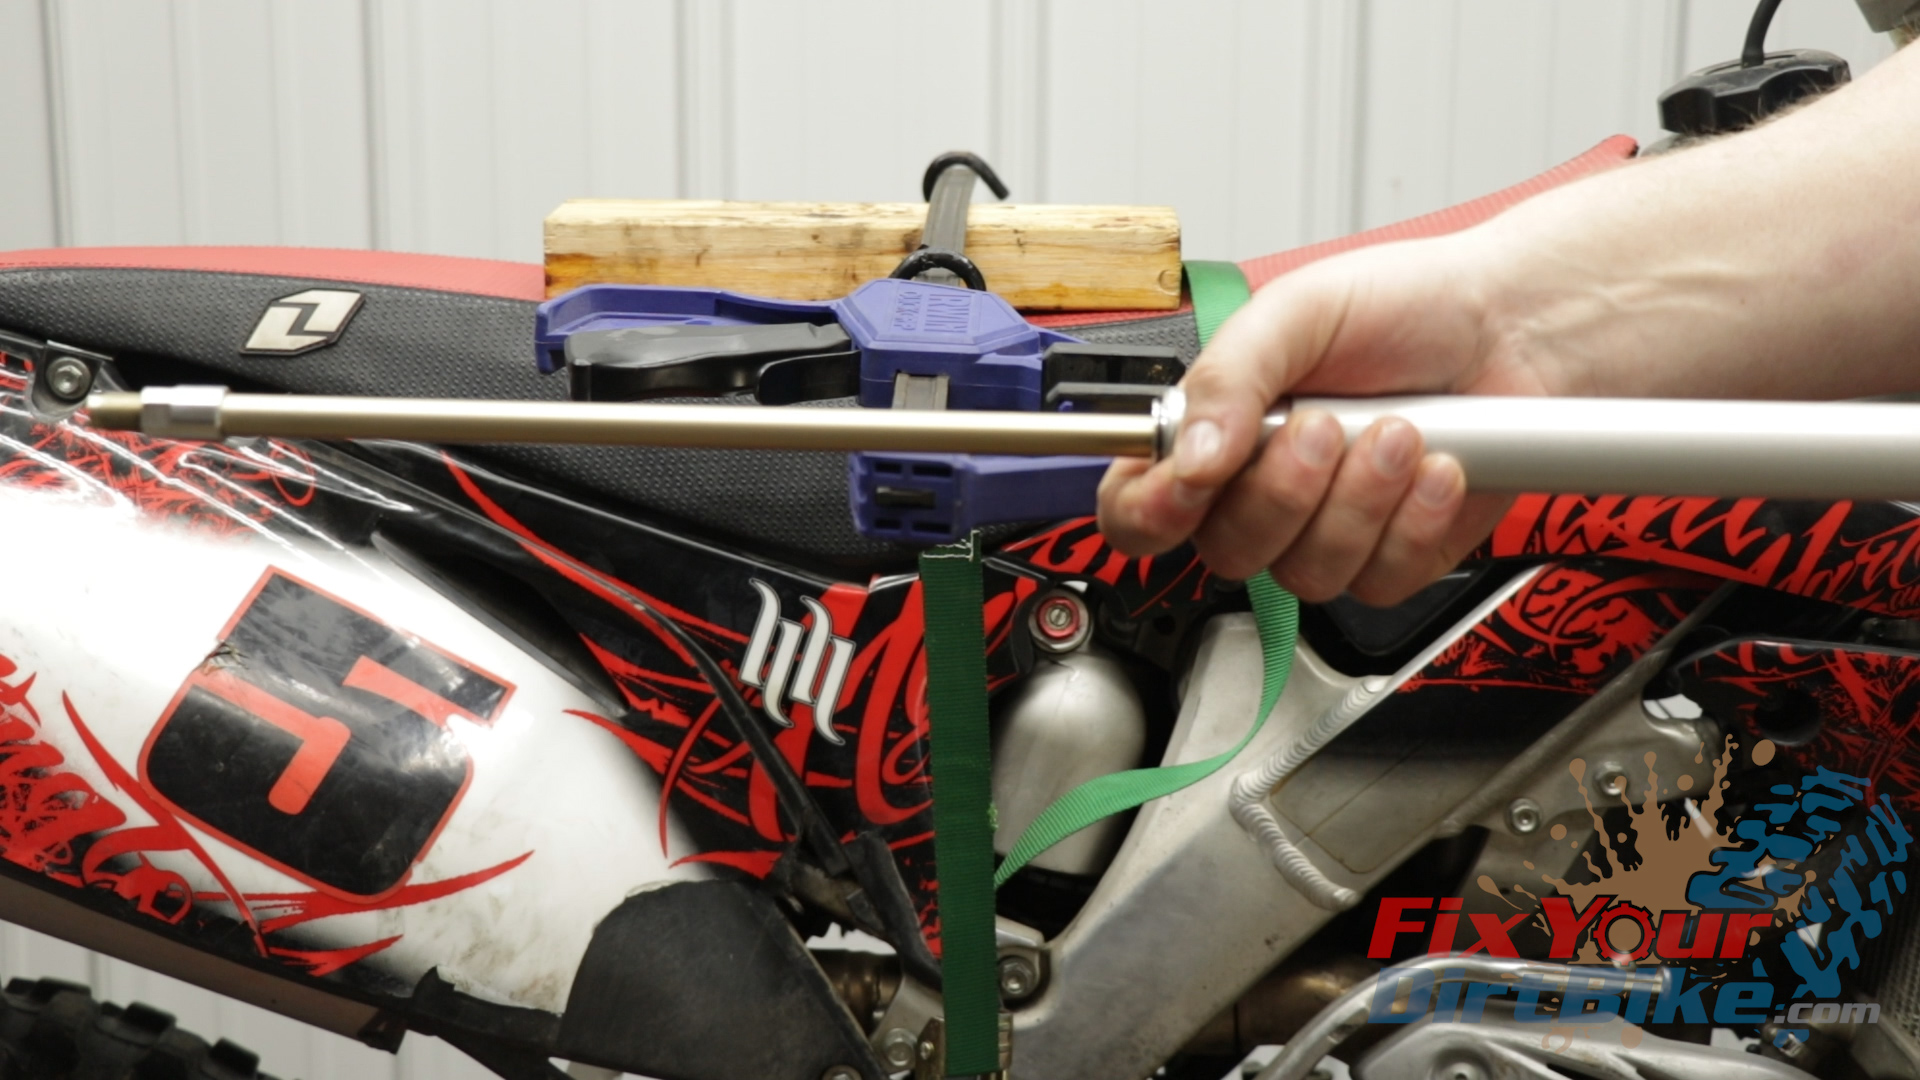
- To test your damper, hold it horizontally, and completely compress the piston.
- Release the piston, then watch and feel how it extends.
- The extension should be smooth. If you see jitters or feel air moving around, you will need to remove the cap and try again.
- If everything looks good, compress your damper and wedge it somewhere vertically for 10 minutes.
- Take you damper out of time out and check for any leaks. Perform the horizontal extension test again, and if your piston does not extend smoothly, you will need to repeat the bleeding process.
Fork Assembly
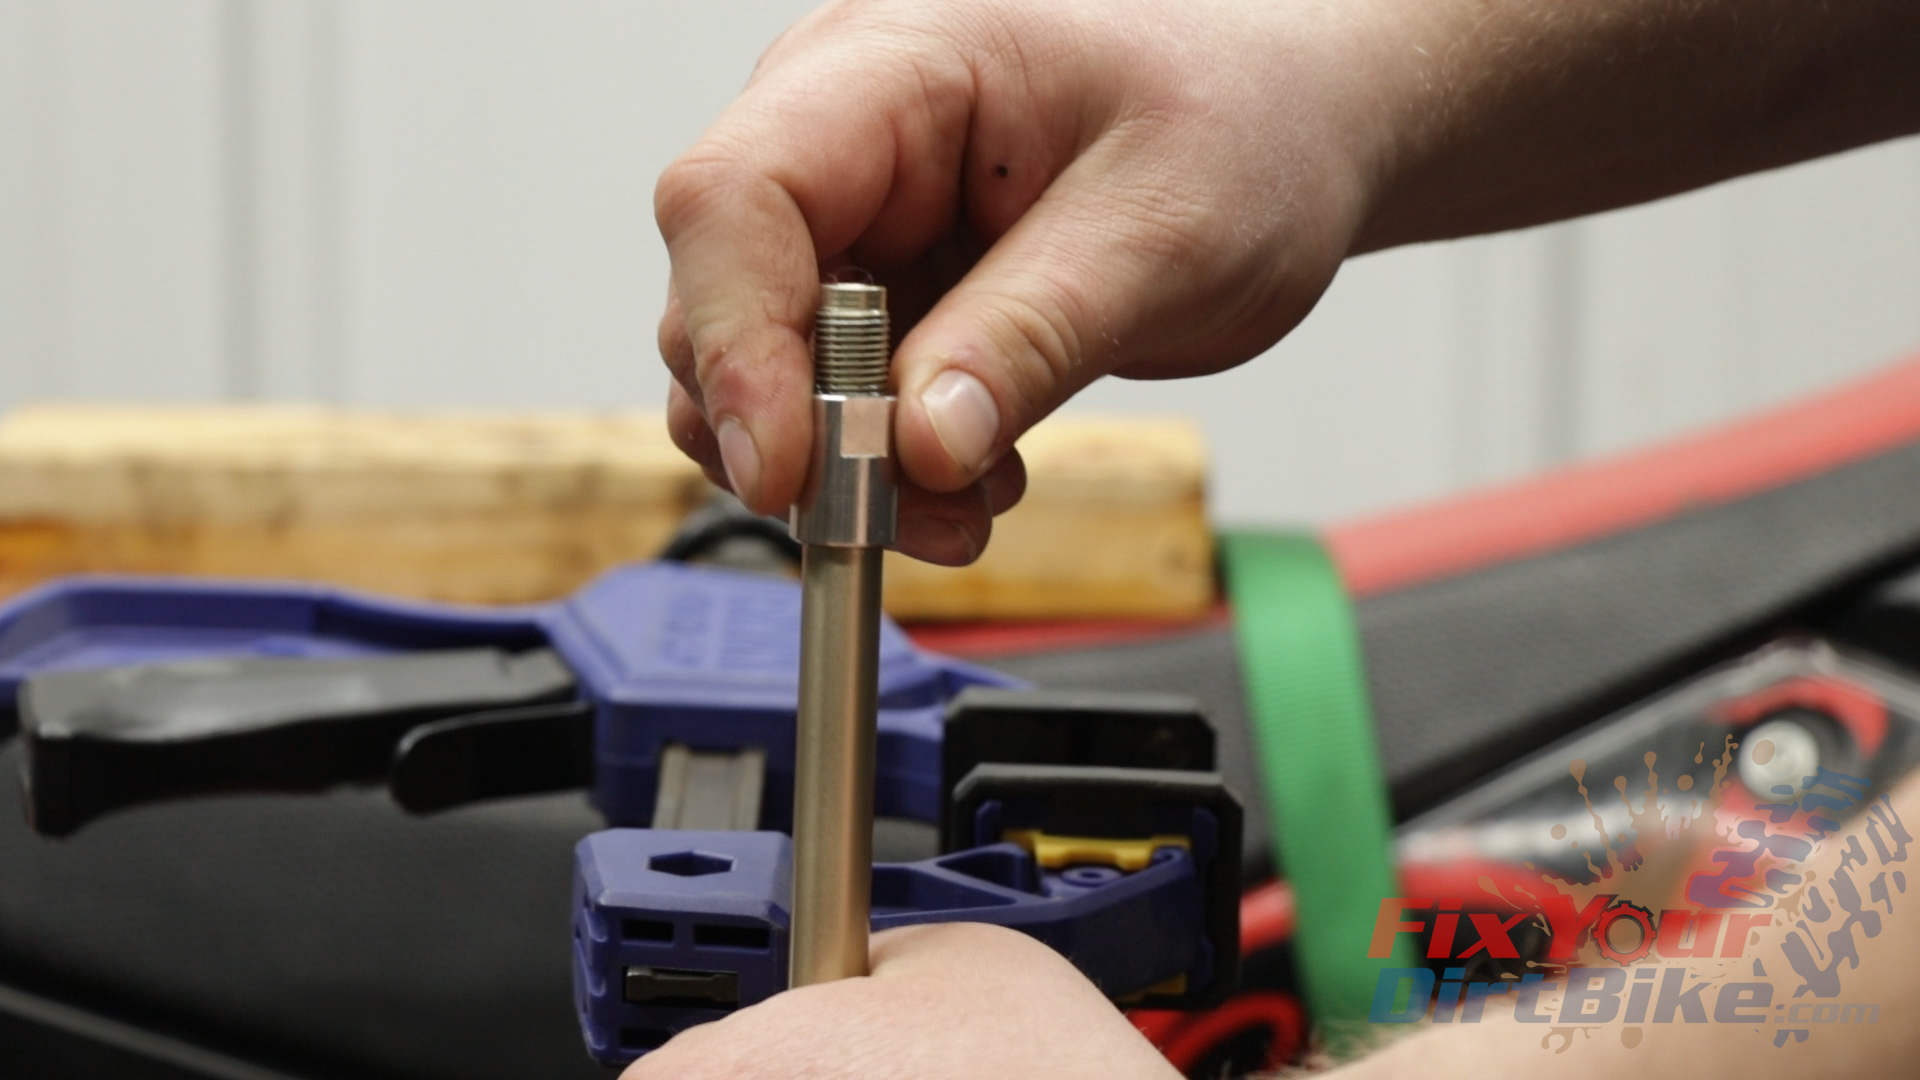
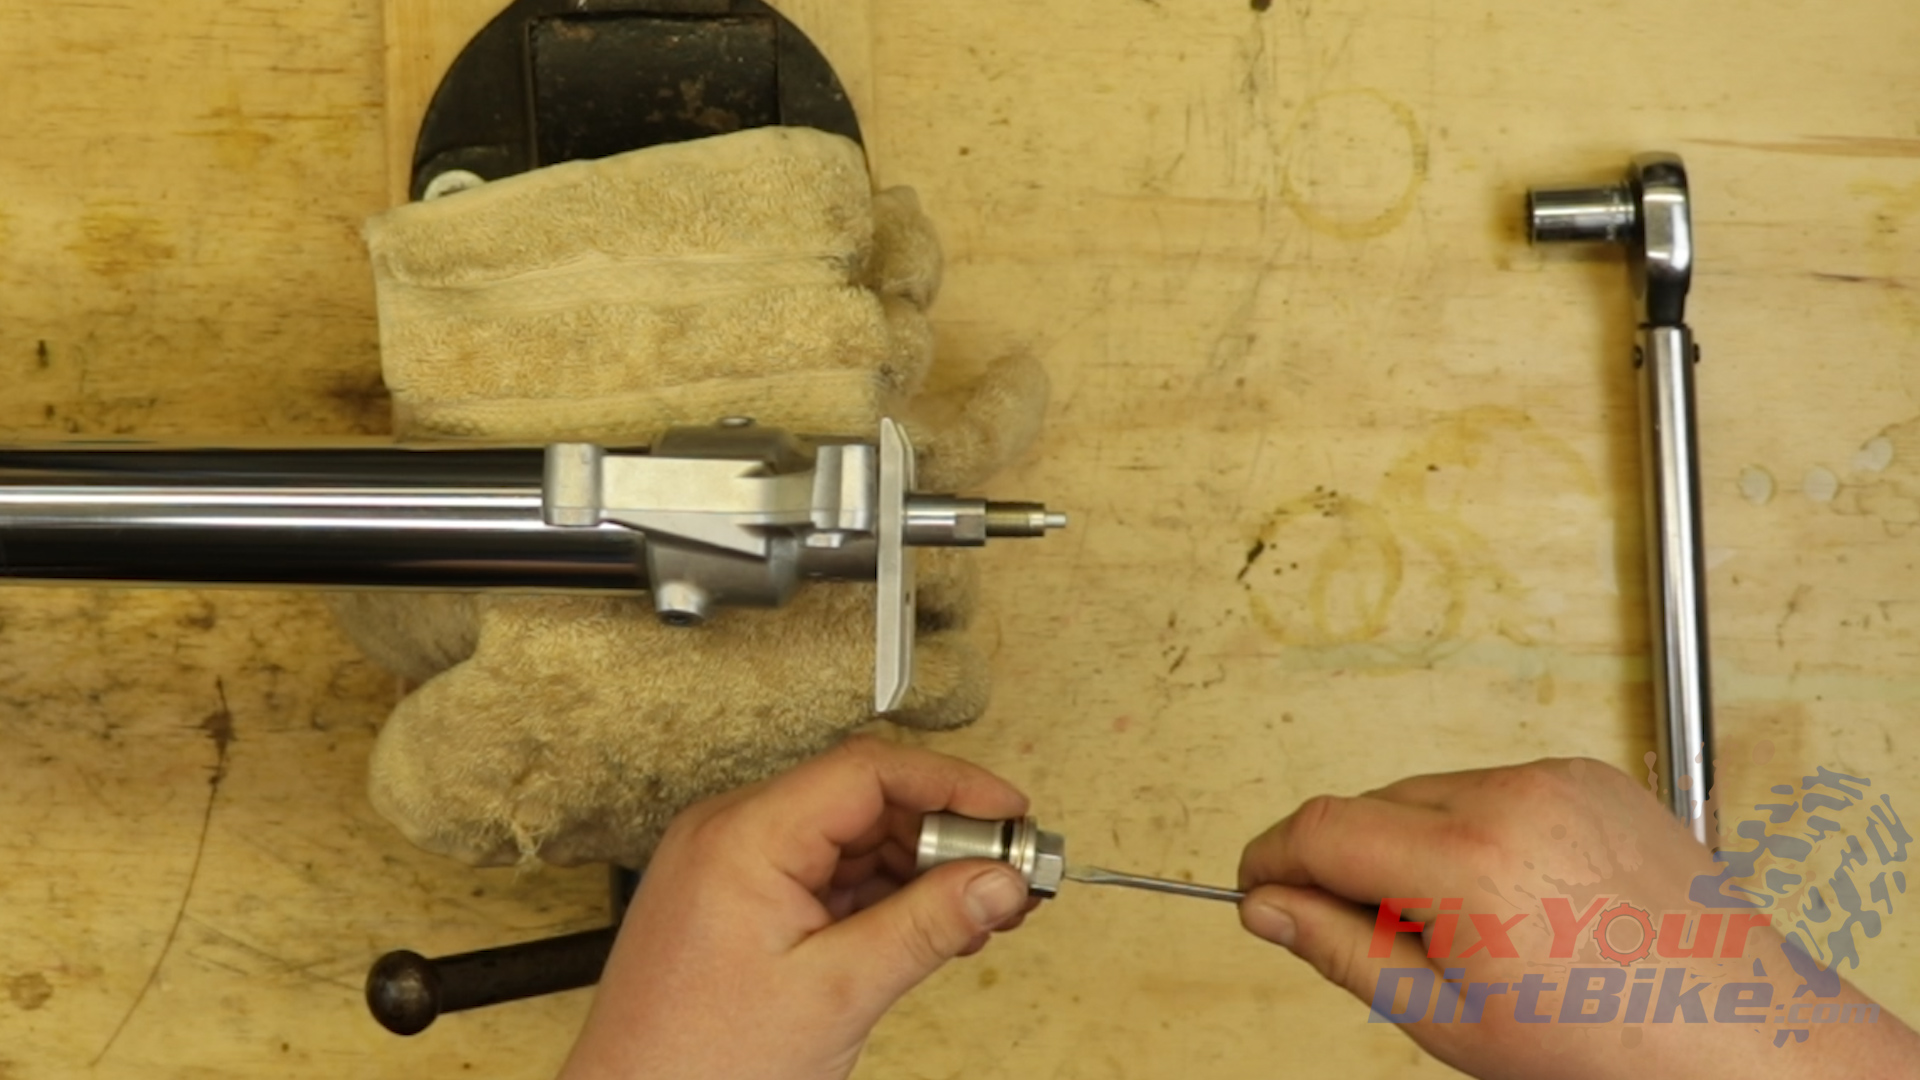
- Tighten the center bolt lock nut against the rod, and measure the distance from the locknut to the end of the threads.
- The distance should be 16 to 18 mm.
- Install the spring seat.
- Place your spring in the fork tube, and install the fork damper unit.
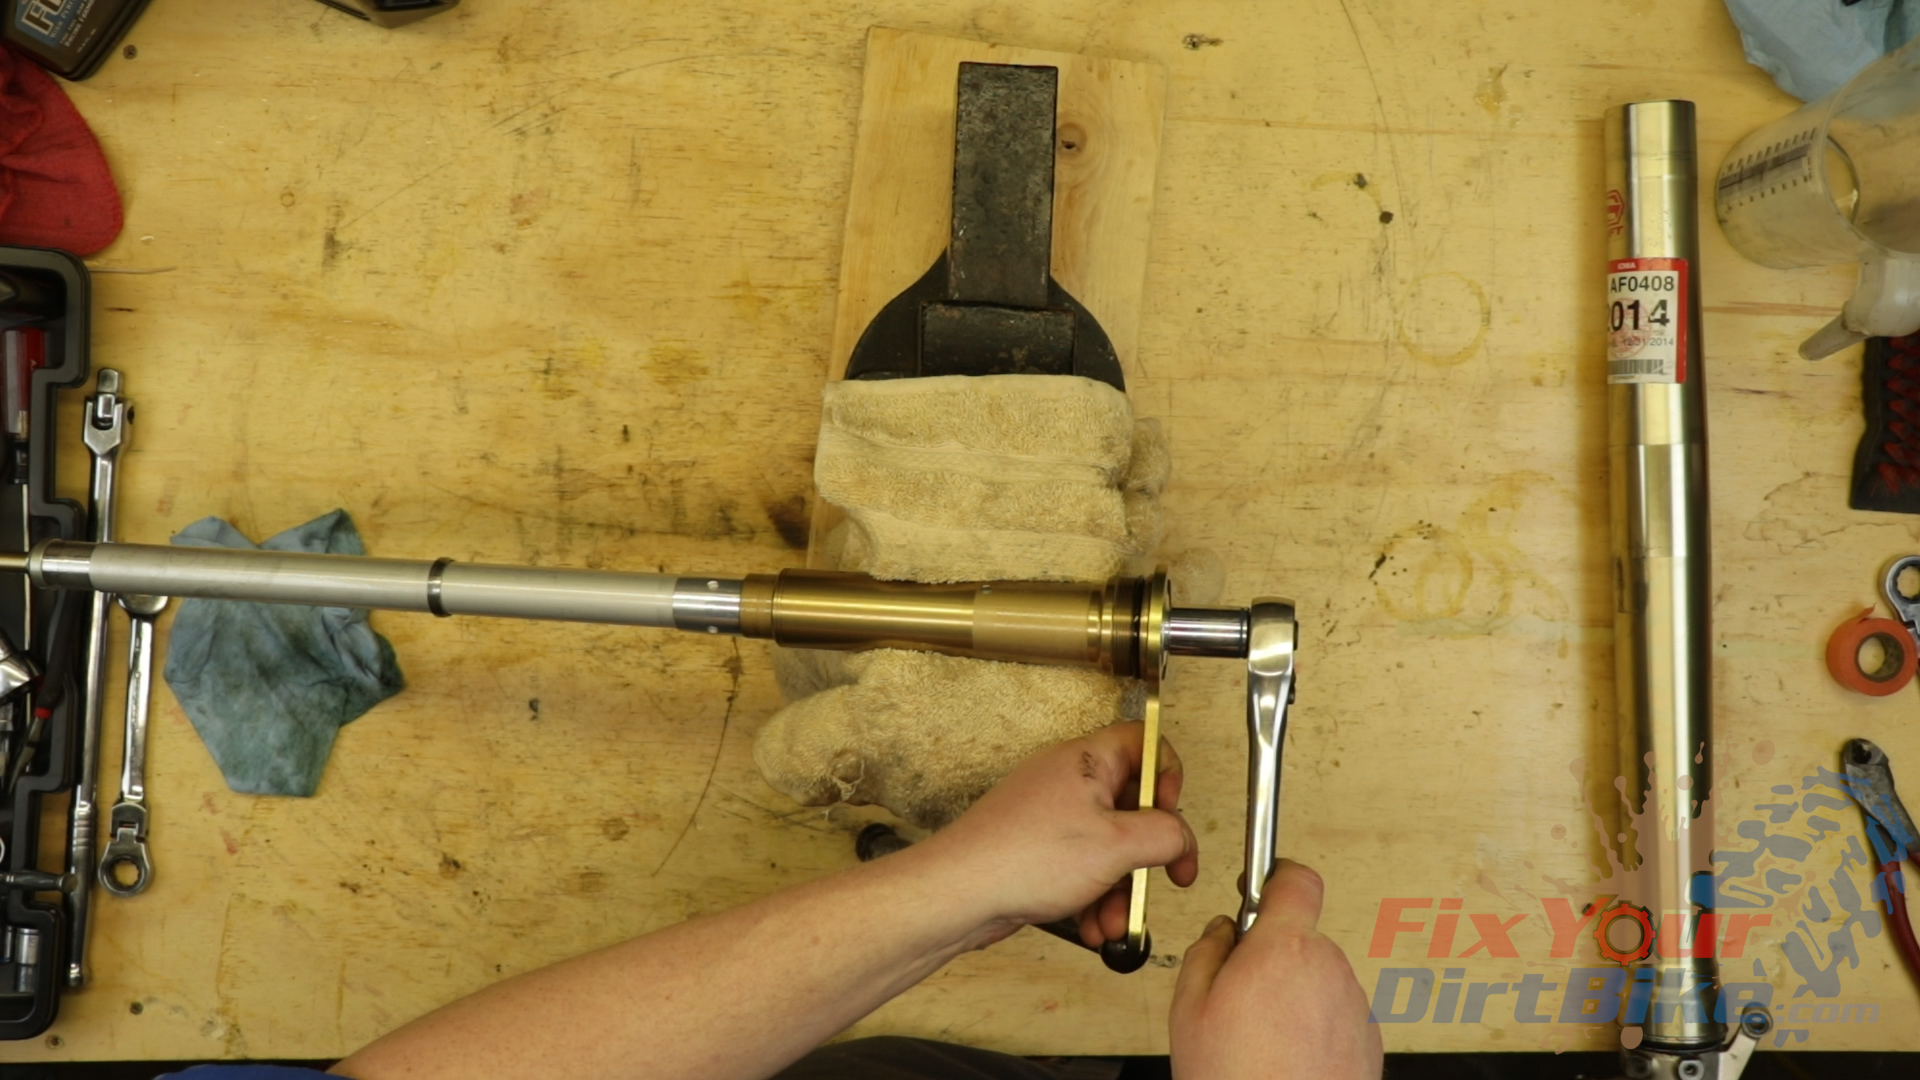
- Thread the outer tube onto the damper, flip your fork, and install the rod holding tool.
- Install the pushrod.
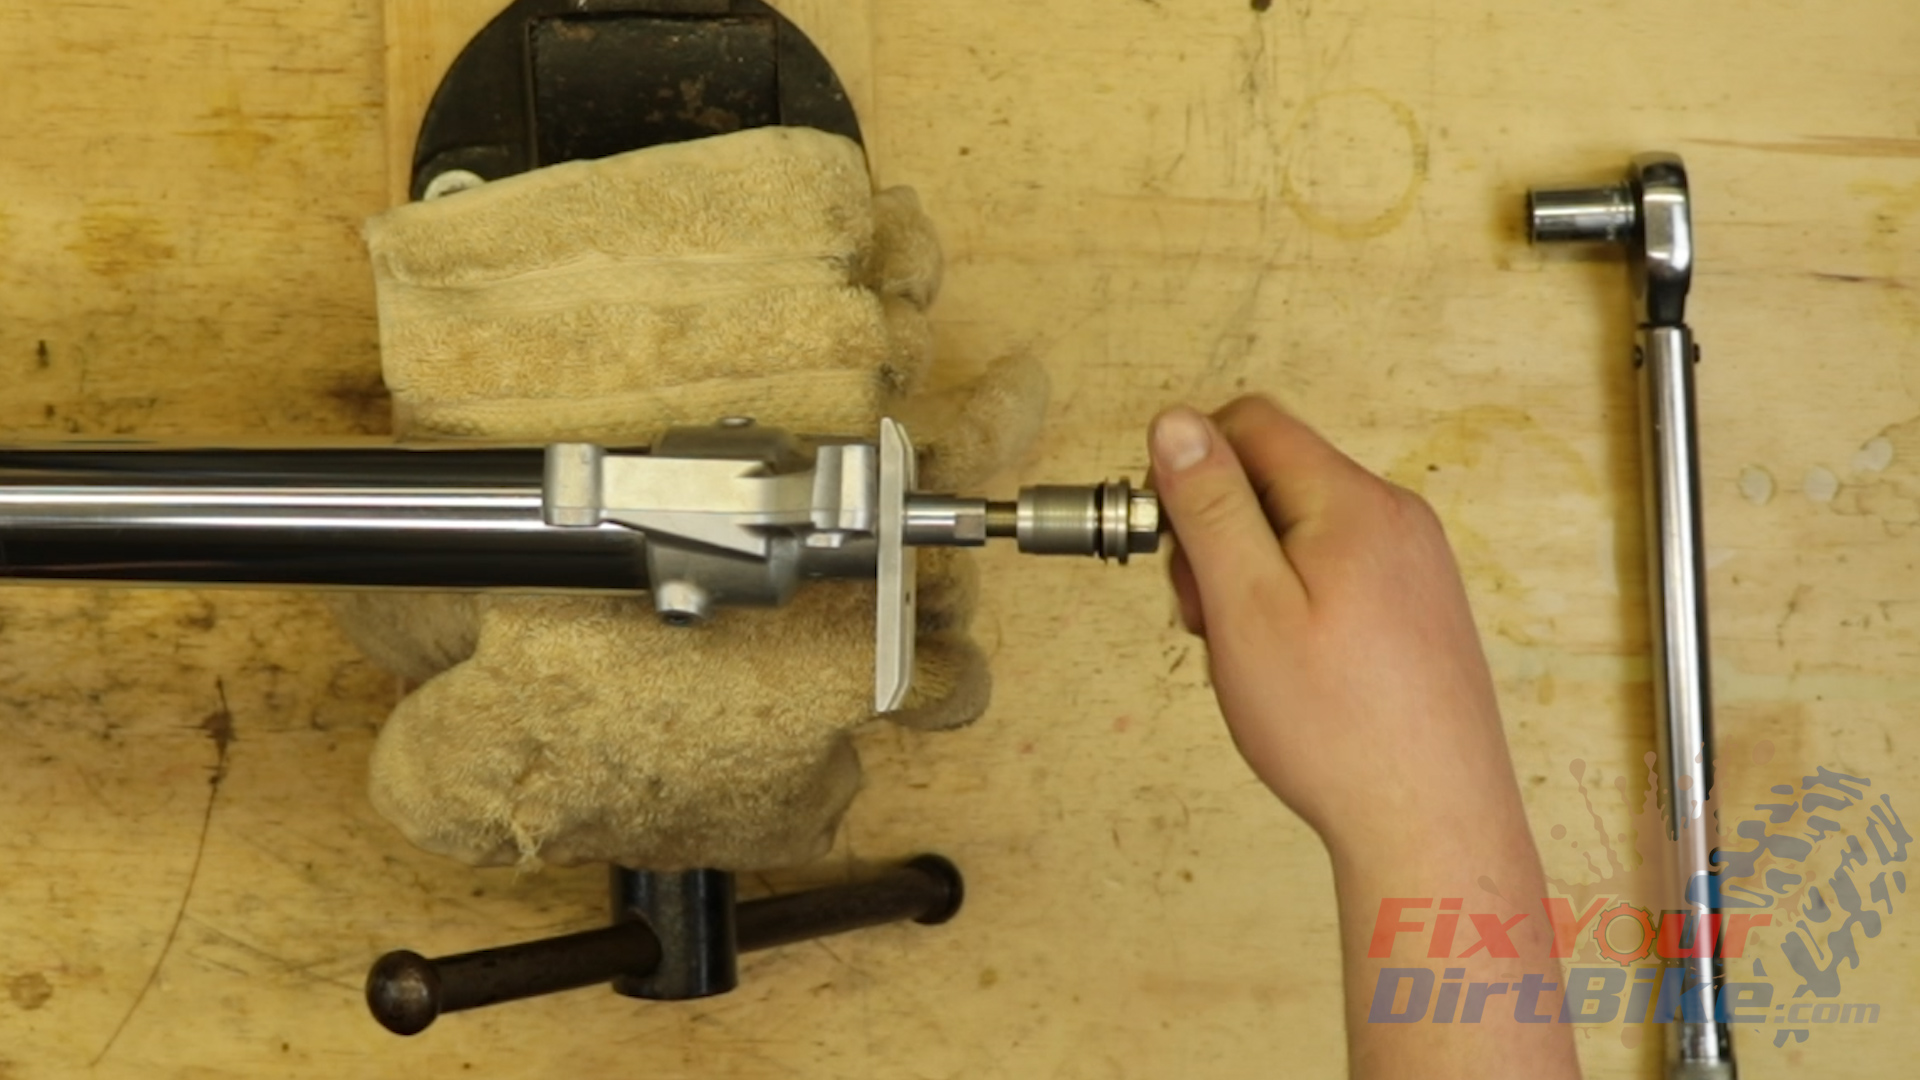
- Double-check that the rebound adjuster is backed out all the way, then thread it onto the damper rod.
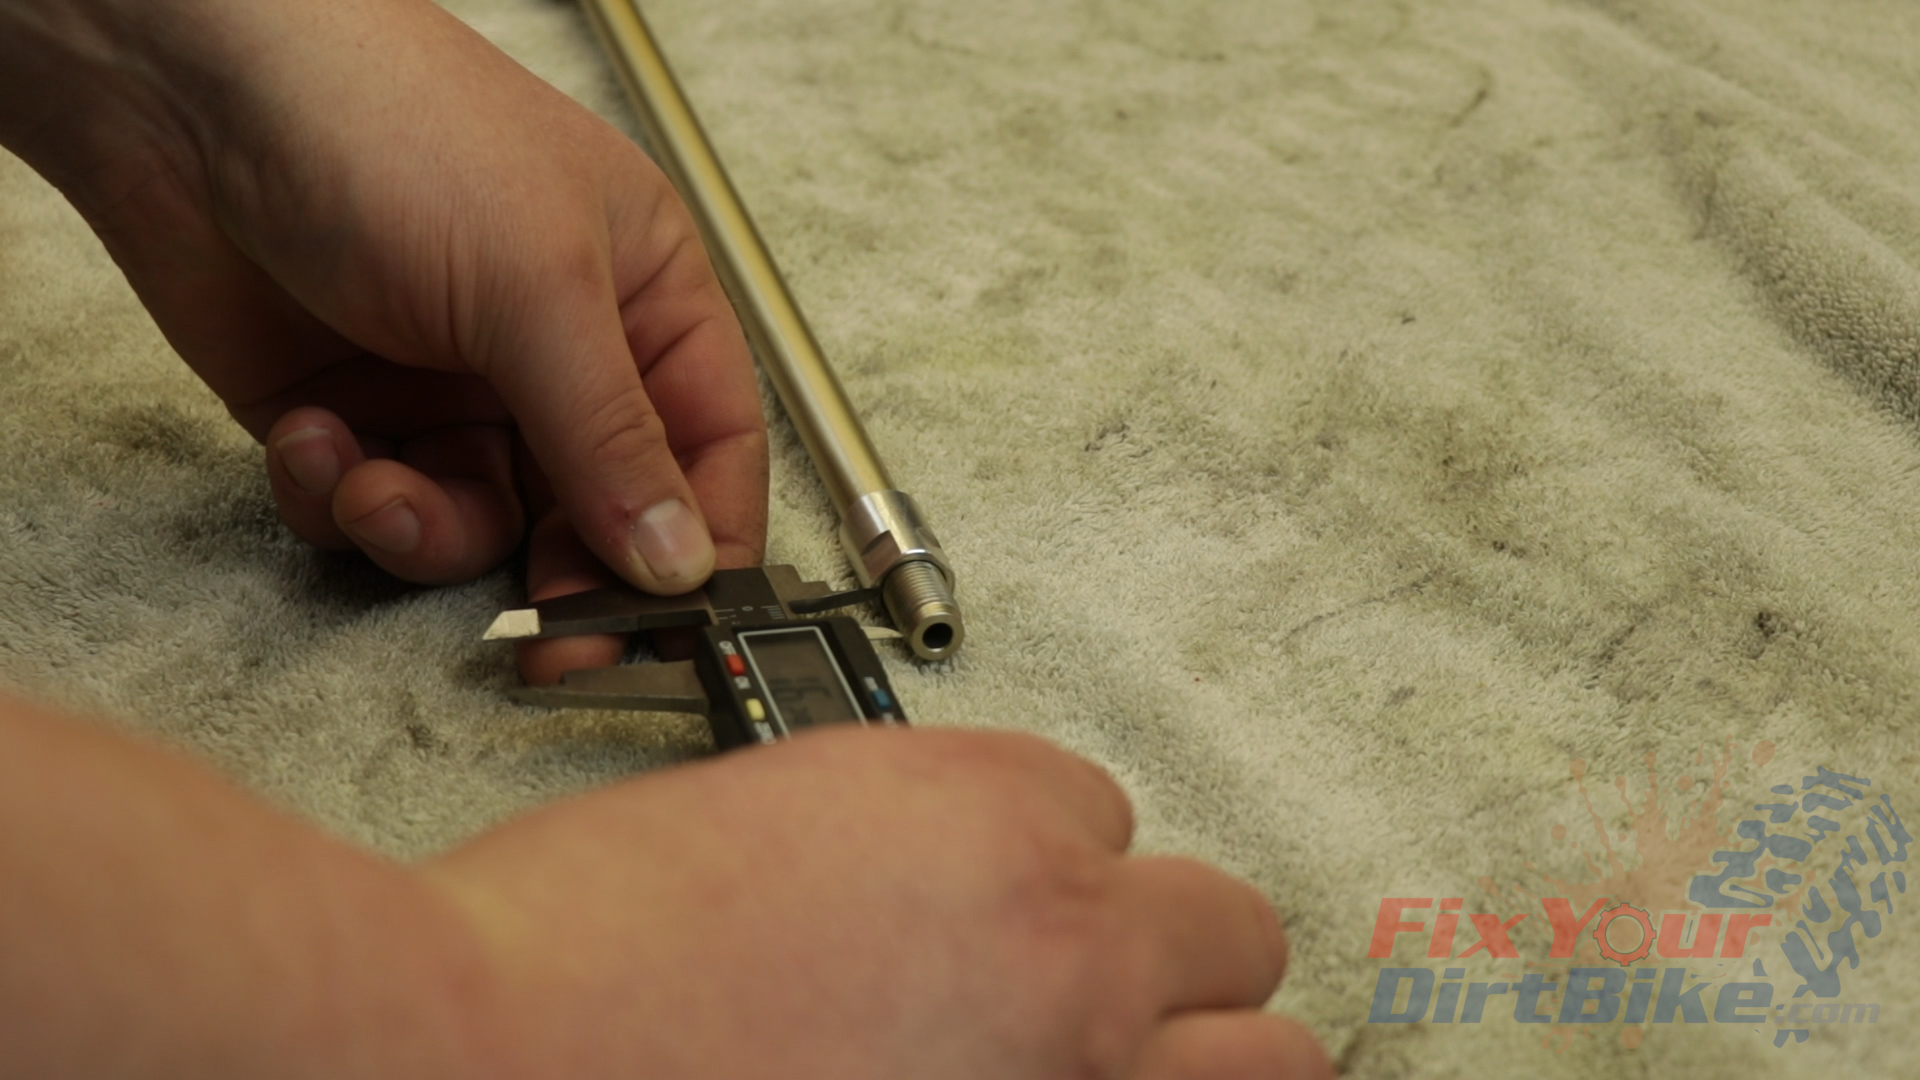
- Measure the distance between the center bolt and the lock nut.
- The distance should measure between 1 and 3.5mm.
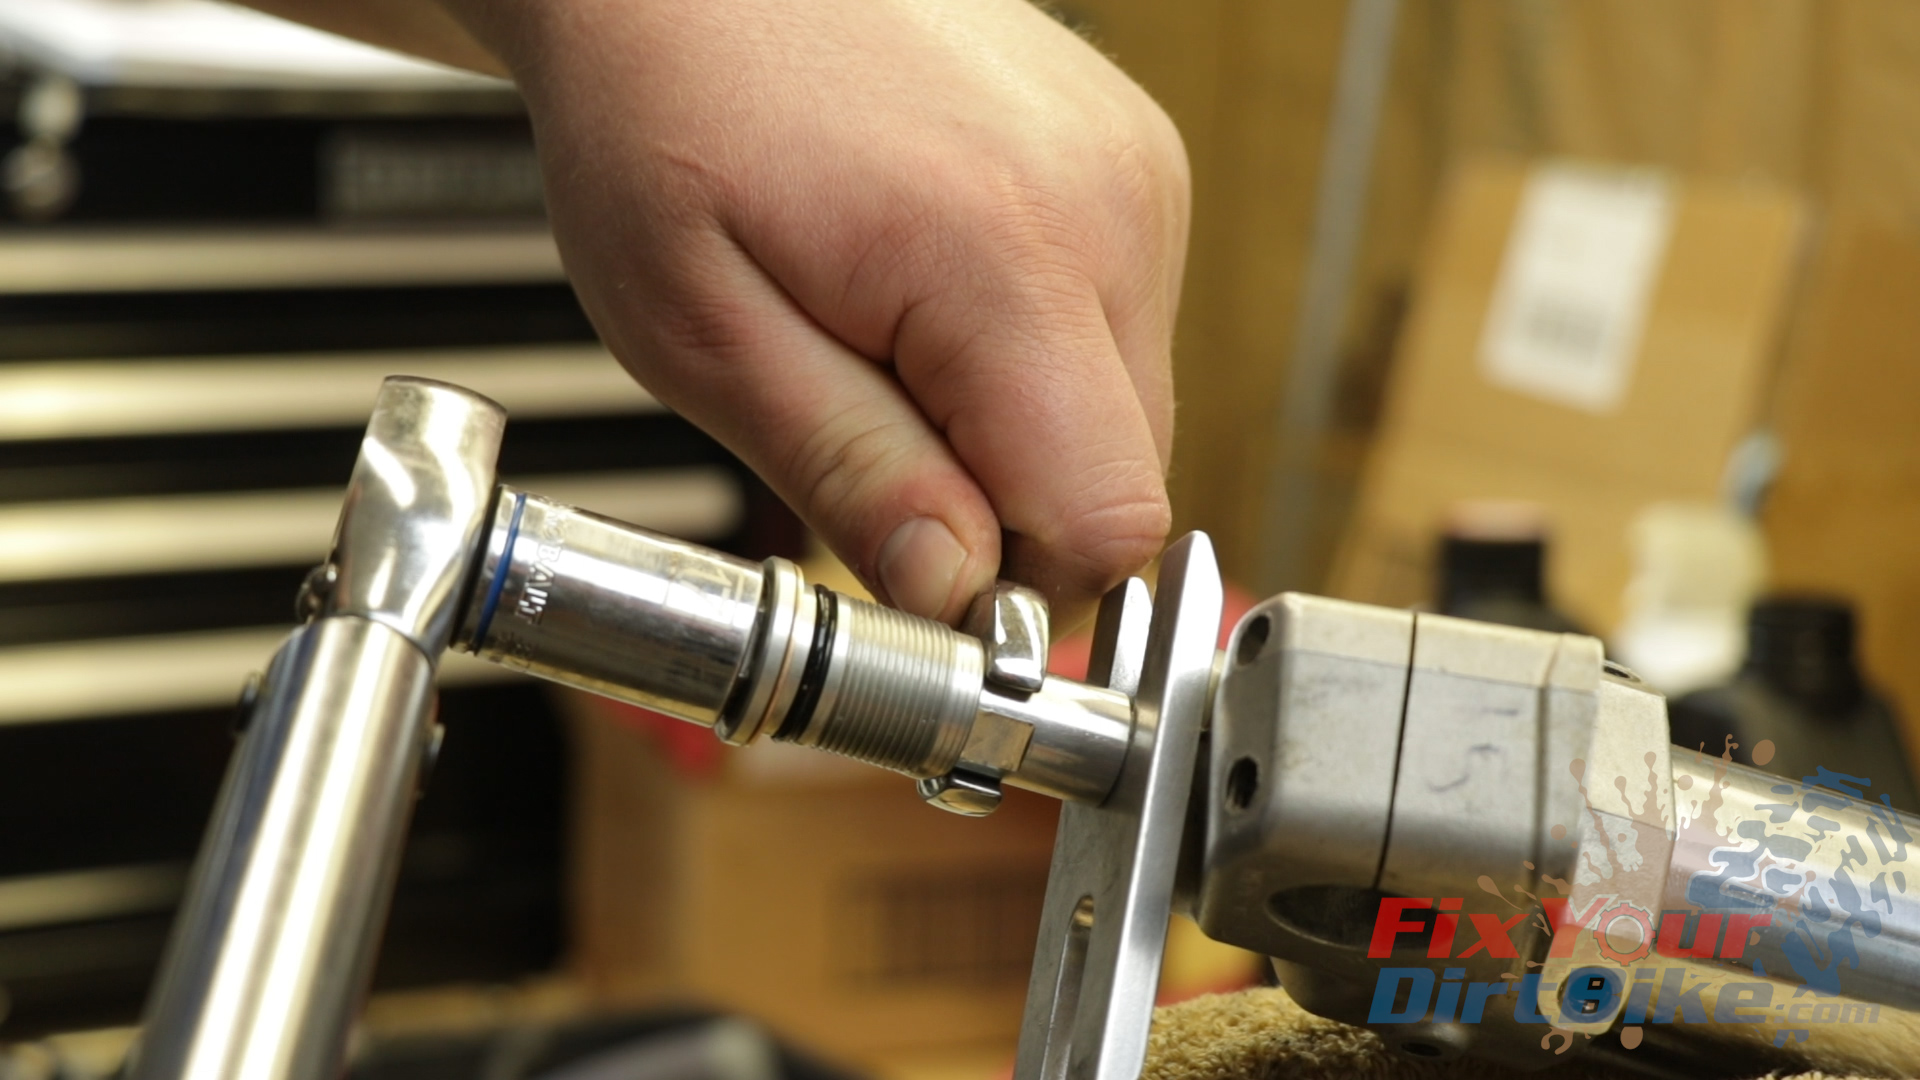
- Engage the center bolt lock nut, and torque the center bolt to 21-foot-pounds.
- Apply thread lock to the center bolt, then remove the holding tool.
- Tighten the center bolt and torque to 41 foot-pounds.
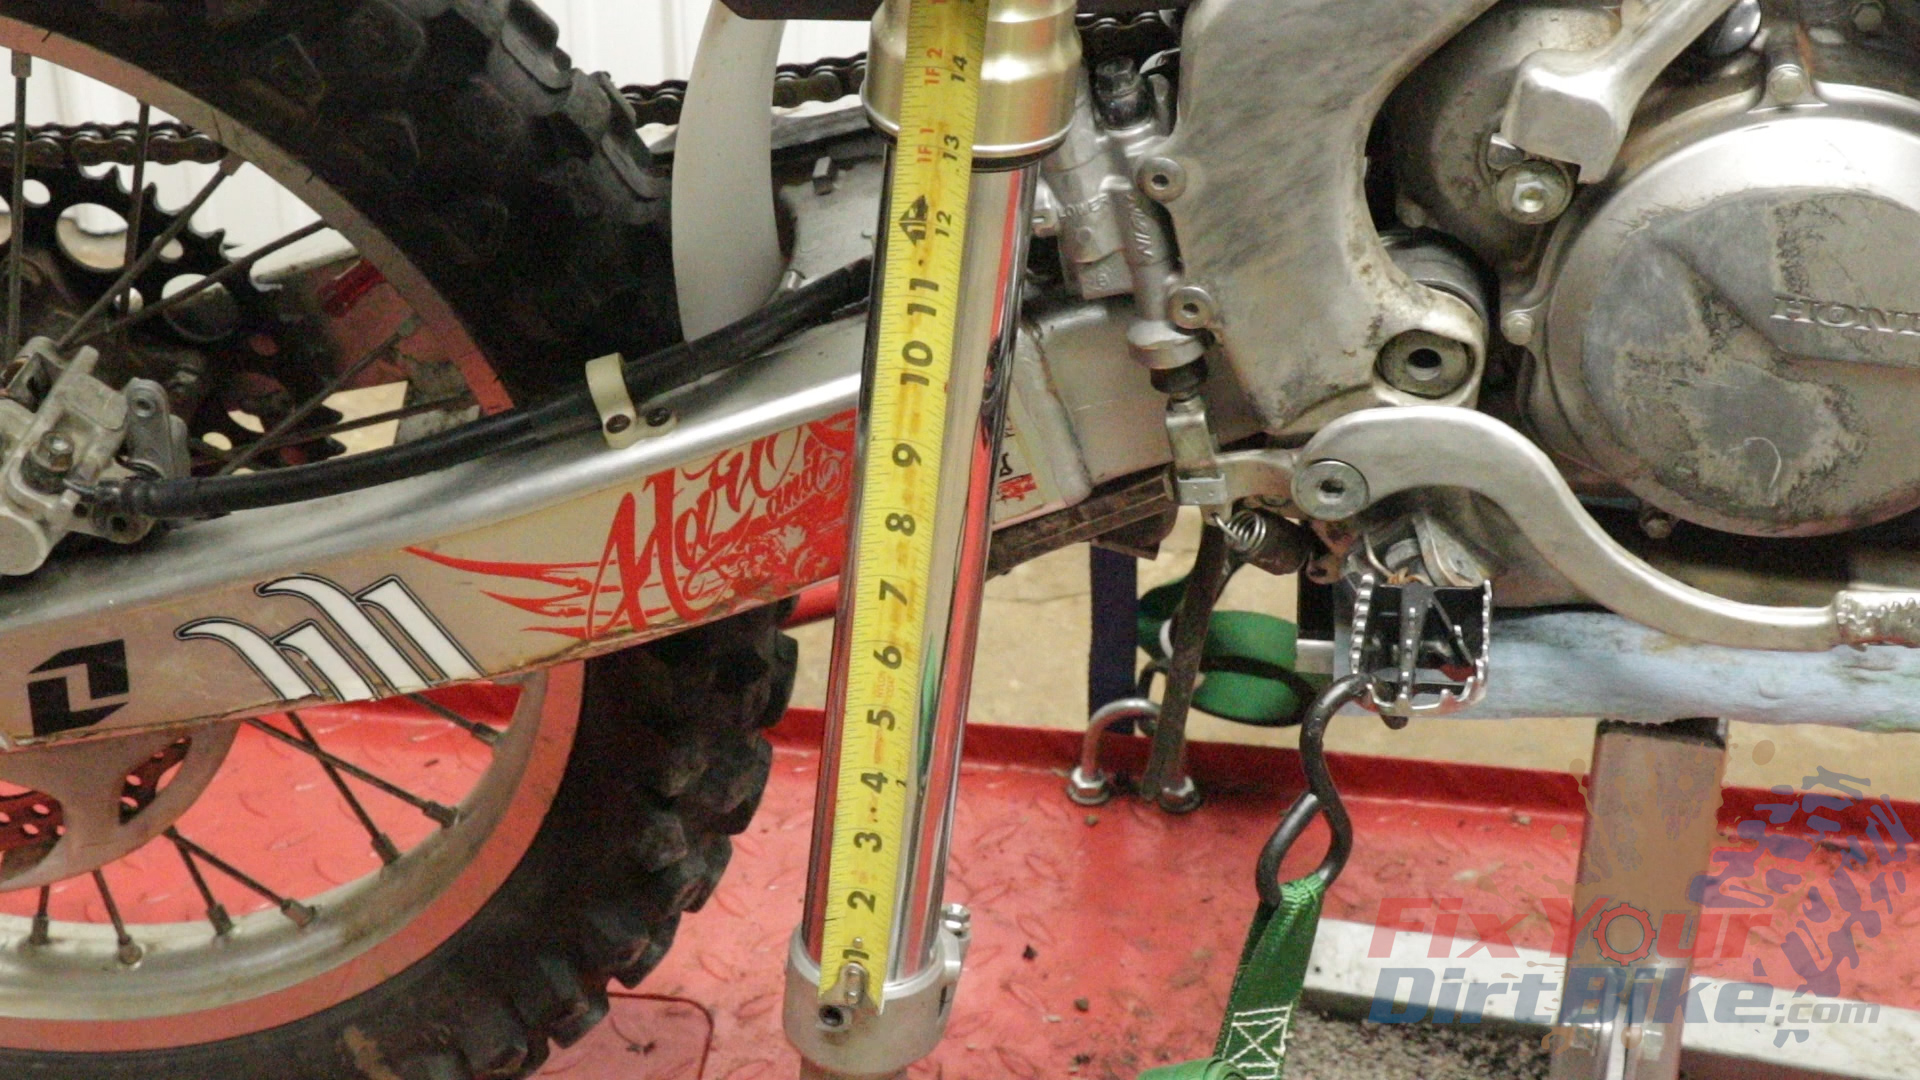
- Hold your fork vertical, and measure from the tube to the axle holder.
- The distance should be 319mm, or 12 and 5/8ths inches.
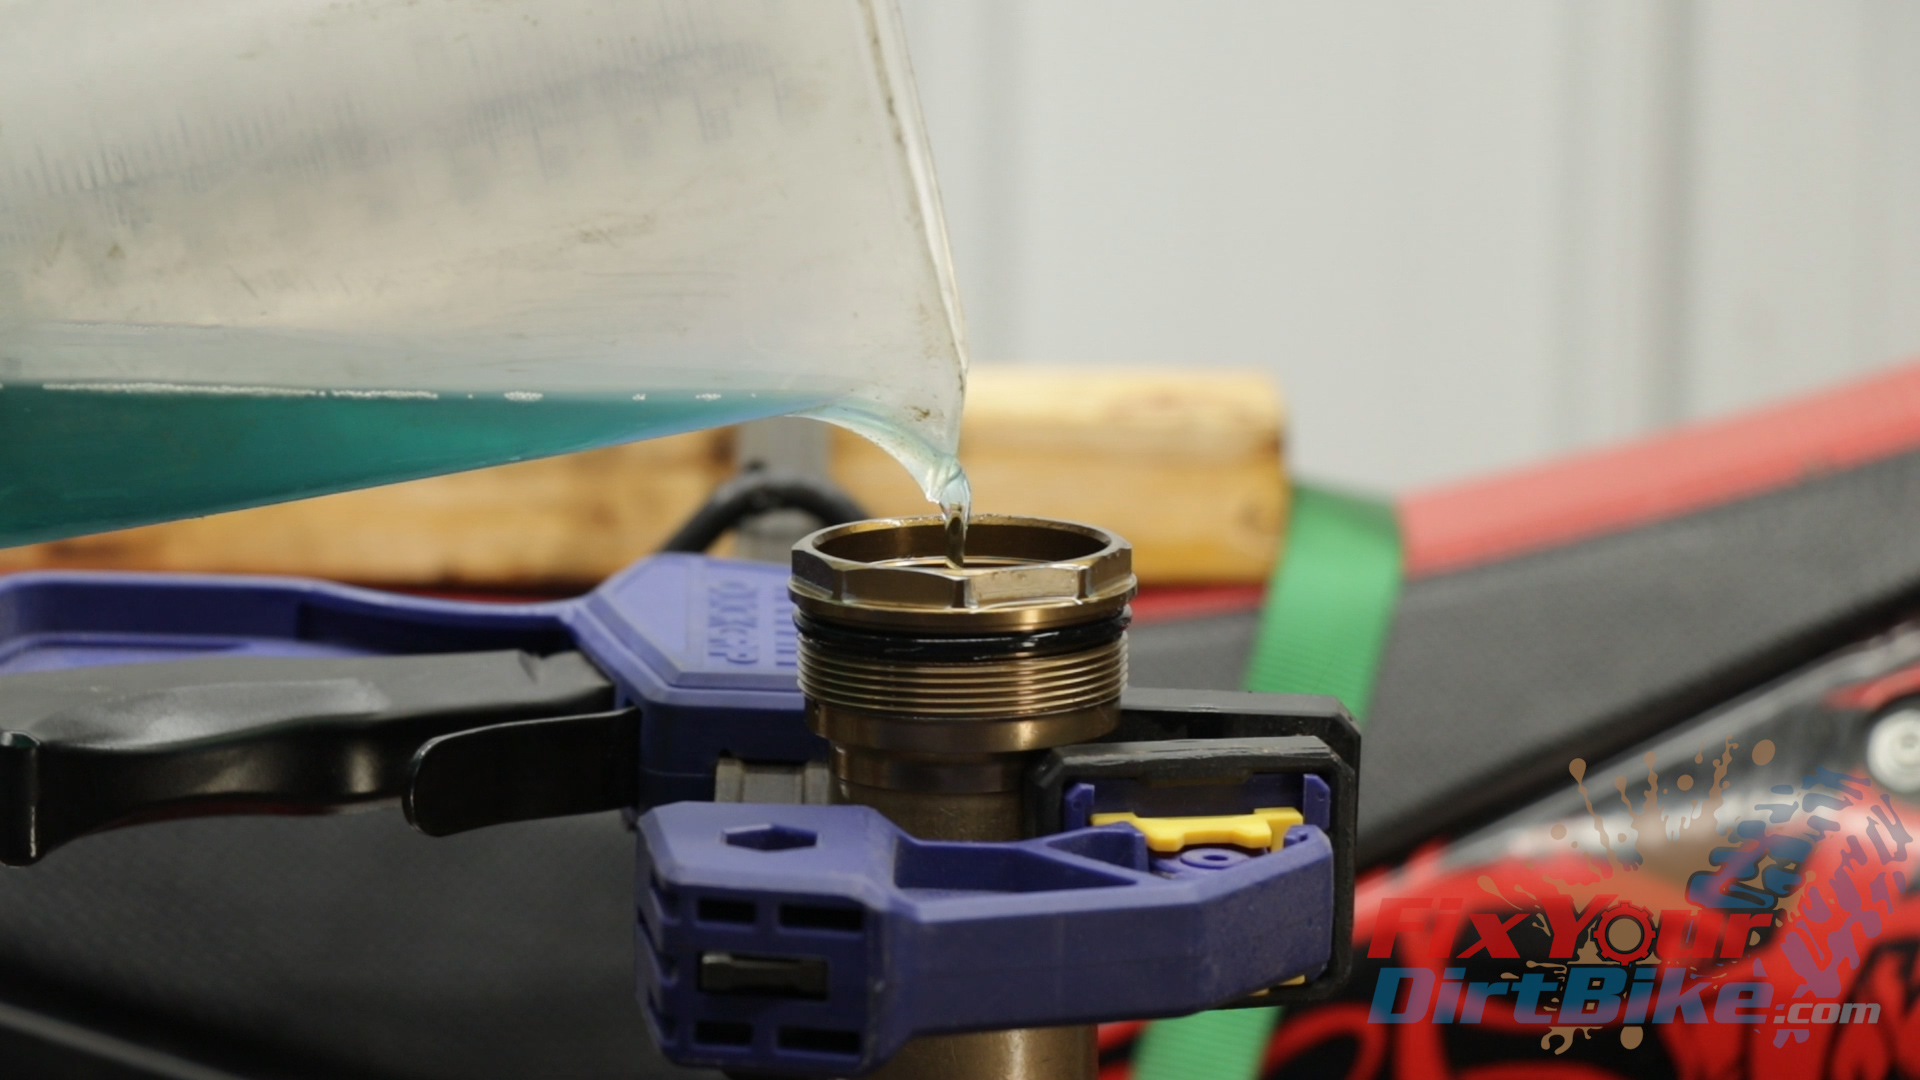
- Unscrew the damper, let the outer tube slide down to the axle holder, and hang your fork by the damper.
- Fill your tube with 10 to 12 ounces of fork oil, depending on how soft you want your suspension.
- Replace the damper o-ring, thread the fork tube onto the damper for the last time, and tighten.


Related: How to remove and install the front wheel on your dirt bike.
Fork Installation
- Reset your compression and rebound adjusters to the recorded number.
- Install your fork just under the top fork bridge and tighten the lower pinch bolts.
- Firmly tighten the damper, then loosen the lower pinch bolts.
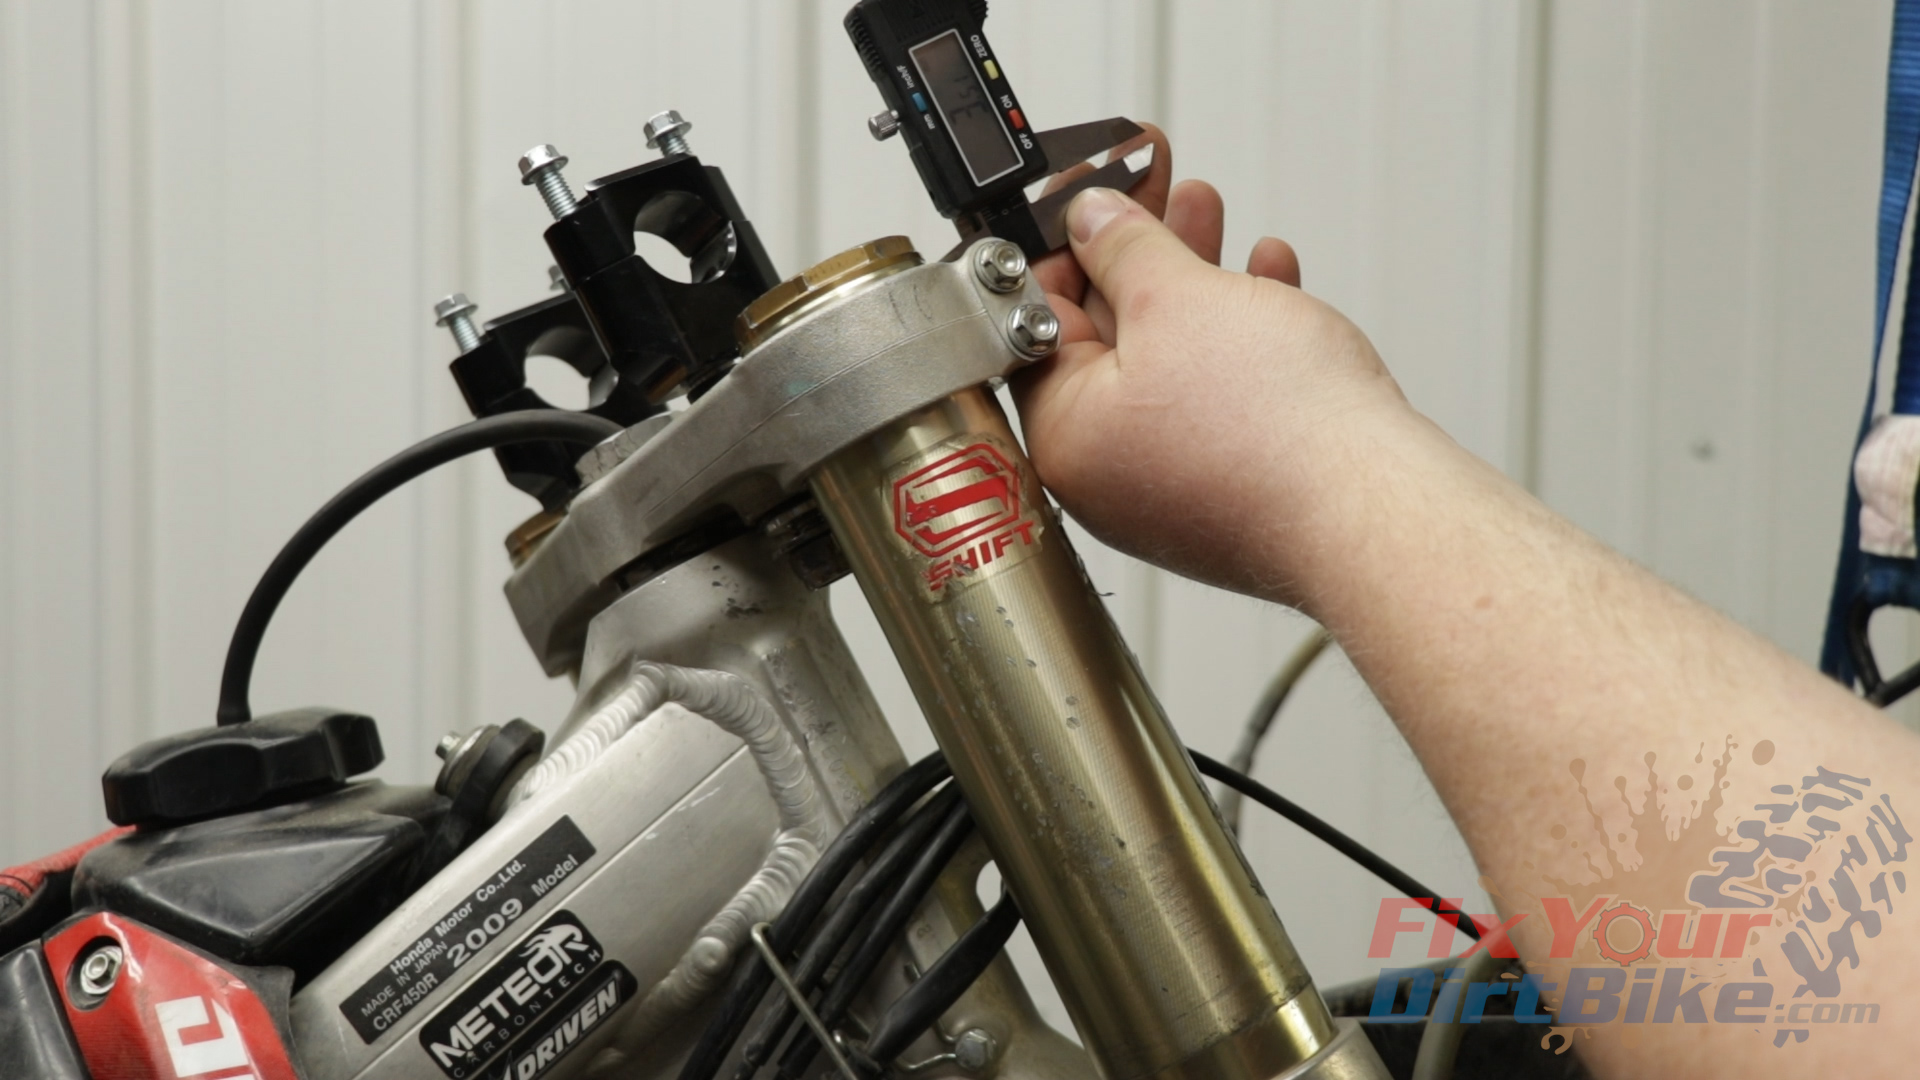
- Install your forks with the bottom of the damper flush with the bridge.
- I like my geometry slightly forward, so I typically install my forks 3 to 5 mm above the fork bridge.
- Torque the top pinch bolts to 15-foot-pounds, and the bottom pinch bolts to 16-foot-pounds.
If you have any questions about this fork rebuild, please let me know in the comments or on social.
Keep Your ’09-’10 CRF450r Running Right!
- Service Specification
- Clutch Replacement
- Fuel System Service
- Engine Top End
- Brakes
- Exhaust
- Front Suspension & Steering
- Rear Suspension
- Wheels & Tires
- Kickstarter
- External Shift Linkage
