
How To Service The Reed Valves On Your 97-01 Honda CR250
 The Tools You Will Need
- 8mm Socket
- Feeler Gauge
- Plastic Scraper
- Philips Screwdriver
- Threadlocker
- Carburetor Cleaner
- Shop Towels
The Parts You Will Need
- New Set Of Reeds – 14111-KZ3-B11
- New Gasket – 14132-KZ3-880
Servicing your reed valve will cost around $20 for OEM parts, and take about half an hour to complete.
Pre-Service Notes
- Start with your bike on a stand with the carburetor removed.
- I recommend opening the Service & Torque Specs in a new tab for easy reference.
- If you need parts and tools, make sure to buy them here!
- Pictures with captions are after the steps below.
- If you need any help don’t hesitate to ask!
Reed Valve Removal
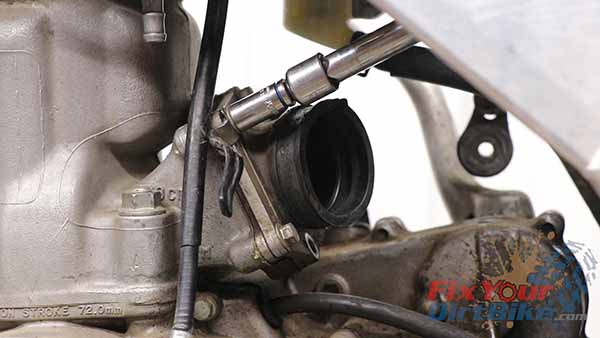
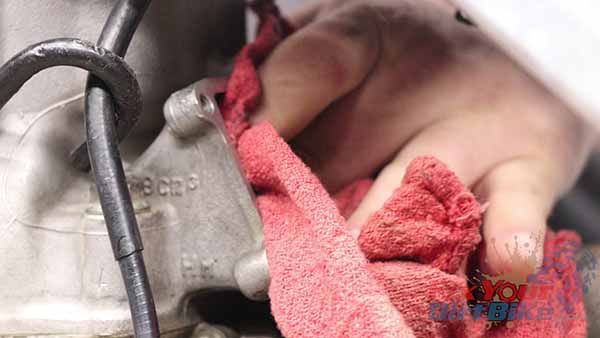
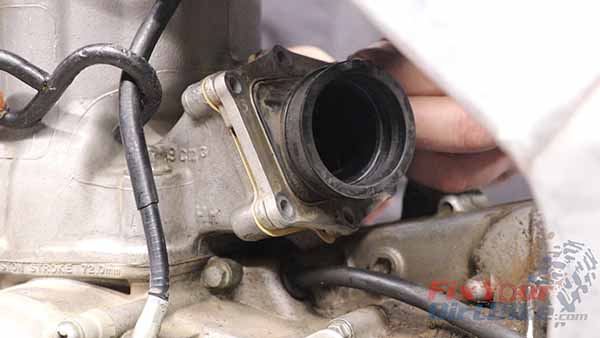
- Remove the carburetor boot mounting bolts, then pull the reed valve assembly and gasket.
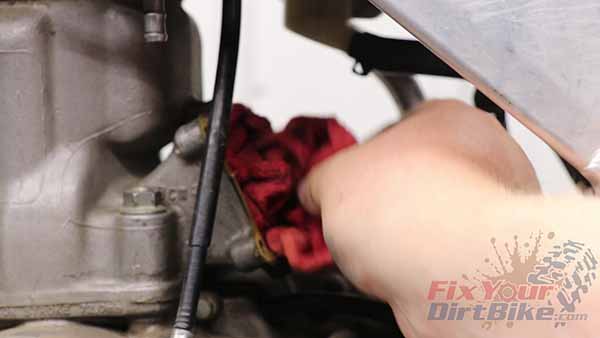
- Make sure to stuff a shop towel in the reed valve housing to keep junk out of your crankcase.
Clean & Inspect
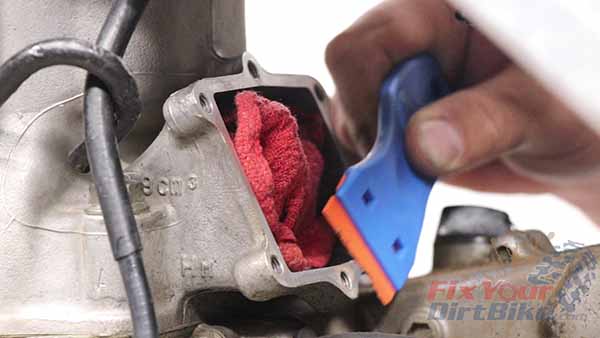
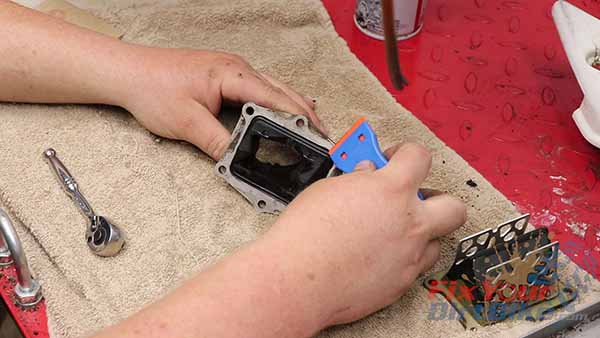
- Clean the reed valve housing inside and out with a PLASTIC scraper.
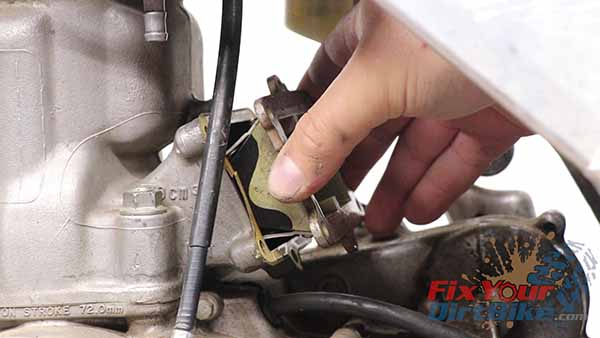
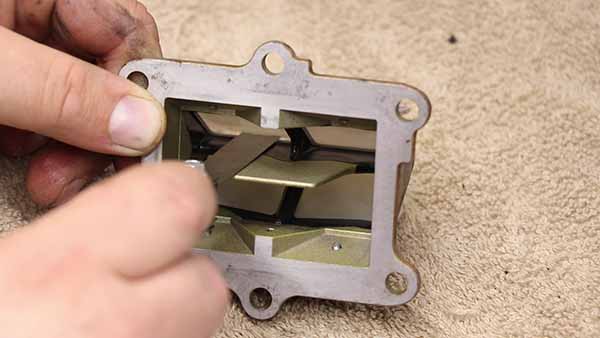
- Inspect the reeds for any visible damage. If you find any, replace your reeds.
- Inspect the reed valve body and reed stoppers.
- If your reeds look good, use your feeler gauge to measure the clearance between the reed ends and the body.
- Maximum Clearance: 2mm
- If you find a missing screw, you might want to check out your crankcase.
- These valves are within spec, but since I don’t know when they were serviced last, I am going to install a set of new pedals.
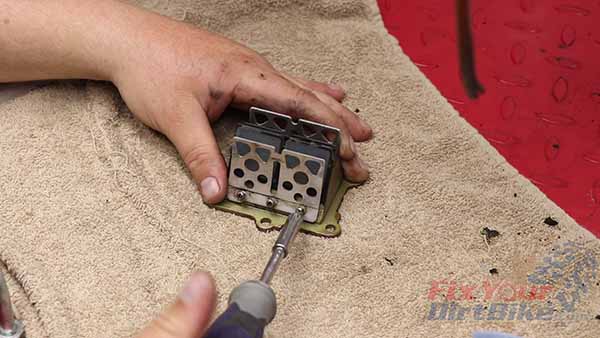
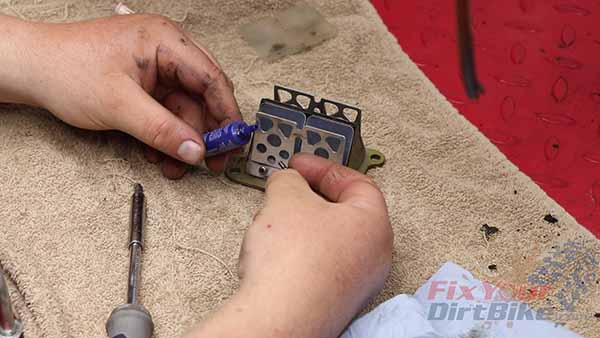
- Remove the reed stopper mounting screws, discard the old pedals, and clean the body.
- Align your new pedals, and install the screws with thread locker.
- I find it easier to thread the screws a few turns, then pull each one out individually to apply thread locker.
- Make sure the thread locker does not get on the pedals.
Related: This Lectron self-adjusting carb will take your bike to the next level!
Reed Valve Installation
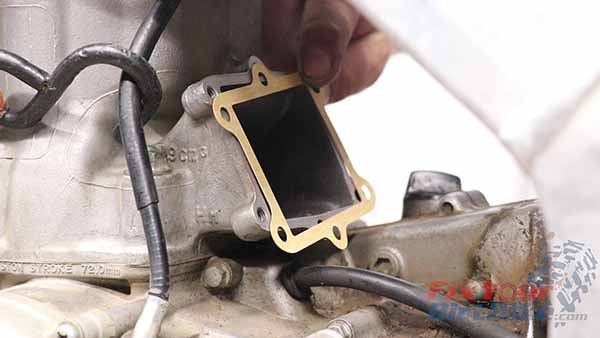
- Remove the shop towel from the reed valve housing, and install the new reed valve gasket, with the tacky side in.
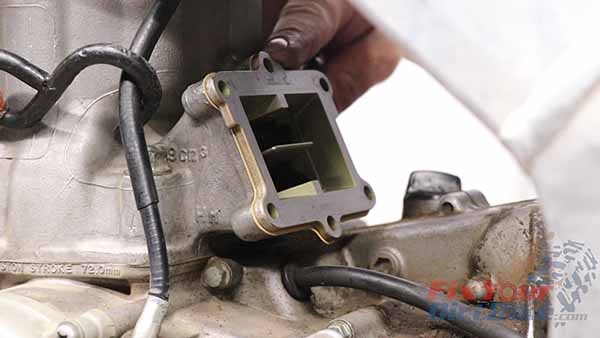
- Install the reed valve assembly with the tabbed side facing up.
- Make sure the clutch guide is mounted on the top left side of the assembly.
- Install the mounting bolts finger tight, then gradually tighten them in a criss-cross pattern.

If you have any questions or anything to add, please leave them in the comments or on our FaceBook page!
Keep Your ’97-’01 CR250 Running Right!


