
How To Change The Brake Pads On Your 97-01 Honda CR250
 The Tools You Will Need
- Flathead Screwdriver
- 6mm Hex Wrench
- 6mm Hex Socket
- Needle-nose Pliers
- Ft-lb Torque Wrench → https://amzn.to/3DOqm4B
- In-lb Torque Wrench → https://amzn.to/4j9LDpC
The Parts You Will Need
- New ’97-’01 Honda CR250 Brake Pads → https://amzn.to/4afOhX0
Changing your pads can cost between $5 and $25, depending on what pads you go with, and should only take about 15 minutes.
The procedure for changing the front and rear pads is the same, so if you can do one, you can do the other.
It is much simpler to remove and install your pads with the caliper on the bike, using the brake disc as a guide.
Pre-Service Notes
- I recommend opening the Service & Torque Specs in a new tab for easy reference.
- If you need parts and tools, make sure to buy them here!
- Brake fluid damages everything, so keep your towels handy!
- Pictures with captions are after the steps below.
- If you need any help, don’t hesitate to ask!
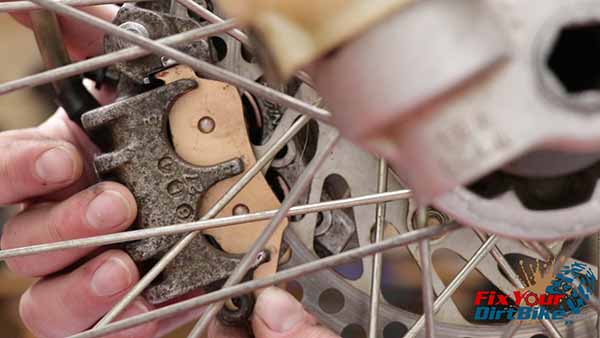
Brake Pad Removal
- Make sure to start your pad change with clean calipers.
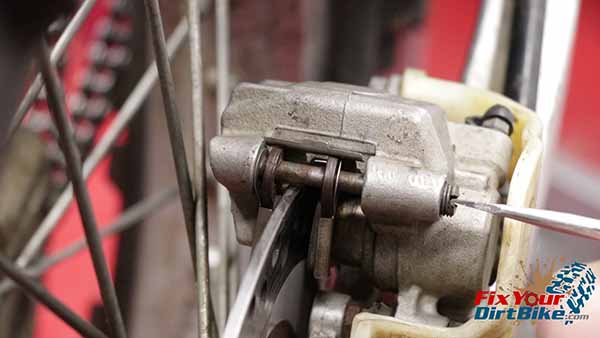
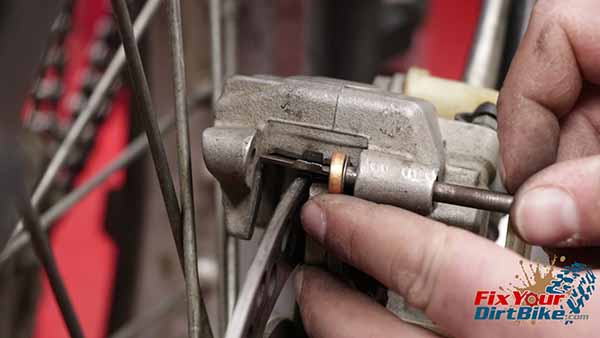
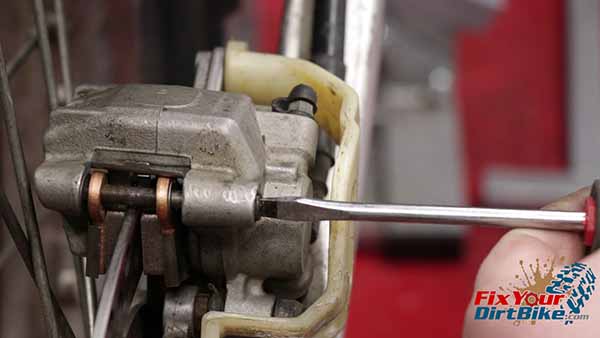
- Start by removing the pin plug.
- If your plug is stuck, you can place your screwdriver on the plug and tap the end of your screwdriver with a hammer.
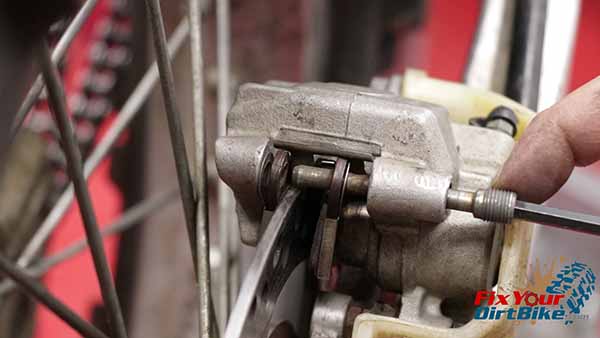
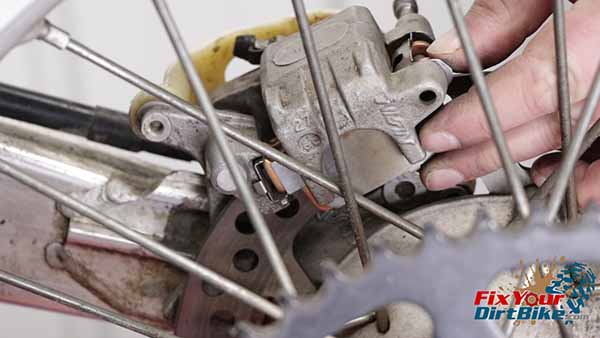
- Remove the pad pin and pull the pads.
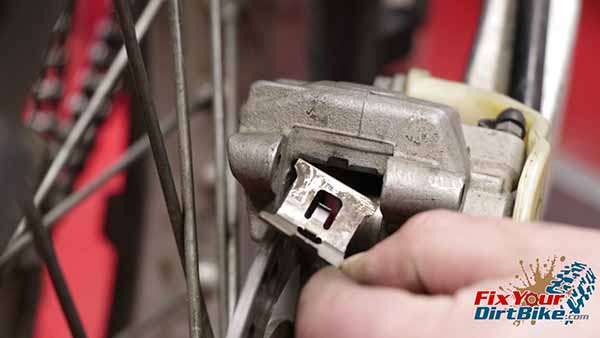
- Remove the pad spring.
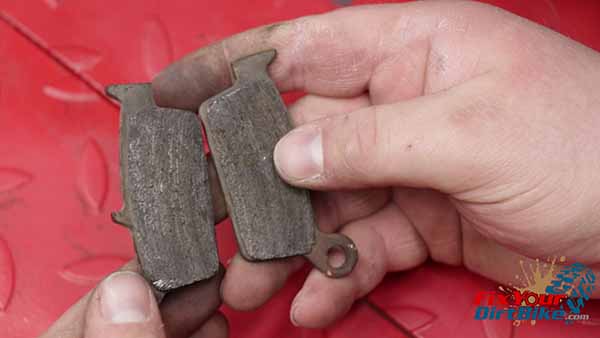
Clean & Inspect Brake Pads
Unless something is damaged, you only need to replace your pads.
Make sure to wipe down as much of the caliper as possible before installation.
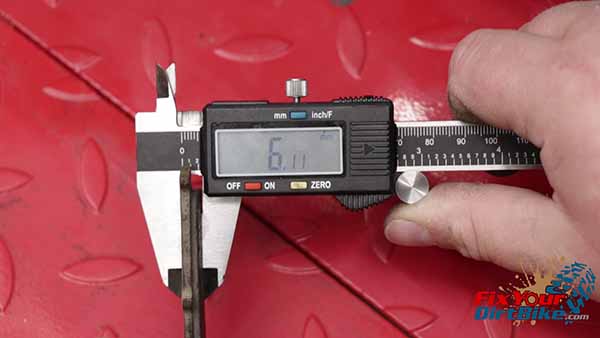
Measure Brake Pads
- The pad service limit for the front and rear brakes is 1mm.
- These pads are within spec, but change them if your pads are like this.
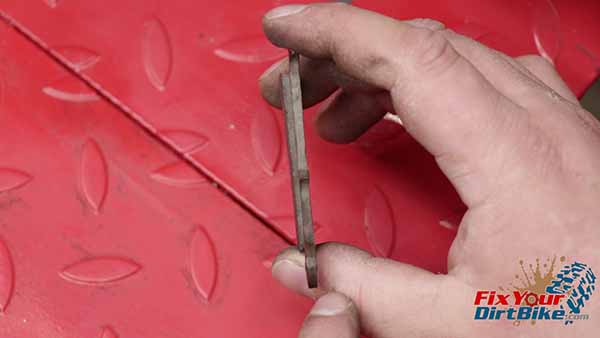
- Check the wear pattern on your pads. If they are worn unevenly, like this one, you have a dragging caliper pin or pad pin.
Brake Pad Installation
- Press your caliper against the disk to push the pistons into the caliper body, making room for the new pads.
- If your old pads were worn down, you might need to bleed your brakes to remove excess fluid.
- Replace the pad spring.
- You will not be able to see your outside pads when installing your pads, so you must feel for the pad retainer. And if it will feel like this looks.
- Place the outside pad fist and hold it in place with the pin.
- Place the inside pad, then install the pad pin and pad pin plug.

Torque Specifications
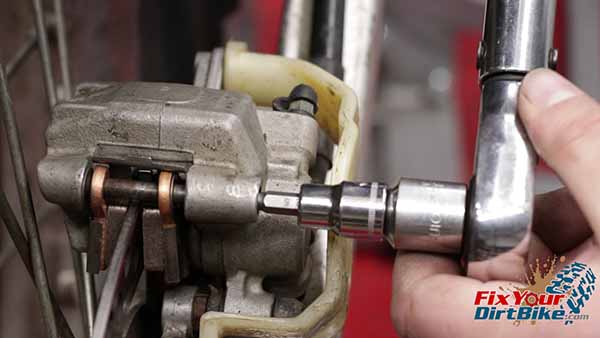
- Pad Pin 13 ft-lbs
- Pin Plug 27 in-lbs
- If you want to help fix your dirt bike to the next level, check out my Patreon page!
If you have any questions or anything to add, please leave them in the comments or on our Facebook page!
Keep Your ’97-’01 CR250 Running Right!
- Service Specification
- Clutch Replacement
- Carburetor Service
- Engine Top End
- Engine Bottom End
- Brakes
- Exhaust
- Front Suspension
- Rear Suspension
- Wheels & Tires
- Kickstarter Inspection
- External Shift Linkage


