
How To Reverse Bleed, Fill, Or Replace The Brake Fluid On Your Dirt Bike.
Bleeding Tools And Supplies:
- Large Syringes → https://amzn.to/4aBFhvl
- Hose
- Zip Ties
- Handy Wire
- Towels
- Brake Cleaner → https://amzn.to/4jv9v7a
- 8mm Wrench
- Safety Glasses → https://bulltru.com
Pre-Service Notes
- If you need parts and tools, make sure to buy them here! → https://amzn.to/40uWvWN
- Pictures with captions are after the steps below.
- If you need any help, don’t hesitate to ask!
Reverse Bleeding Setup
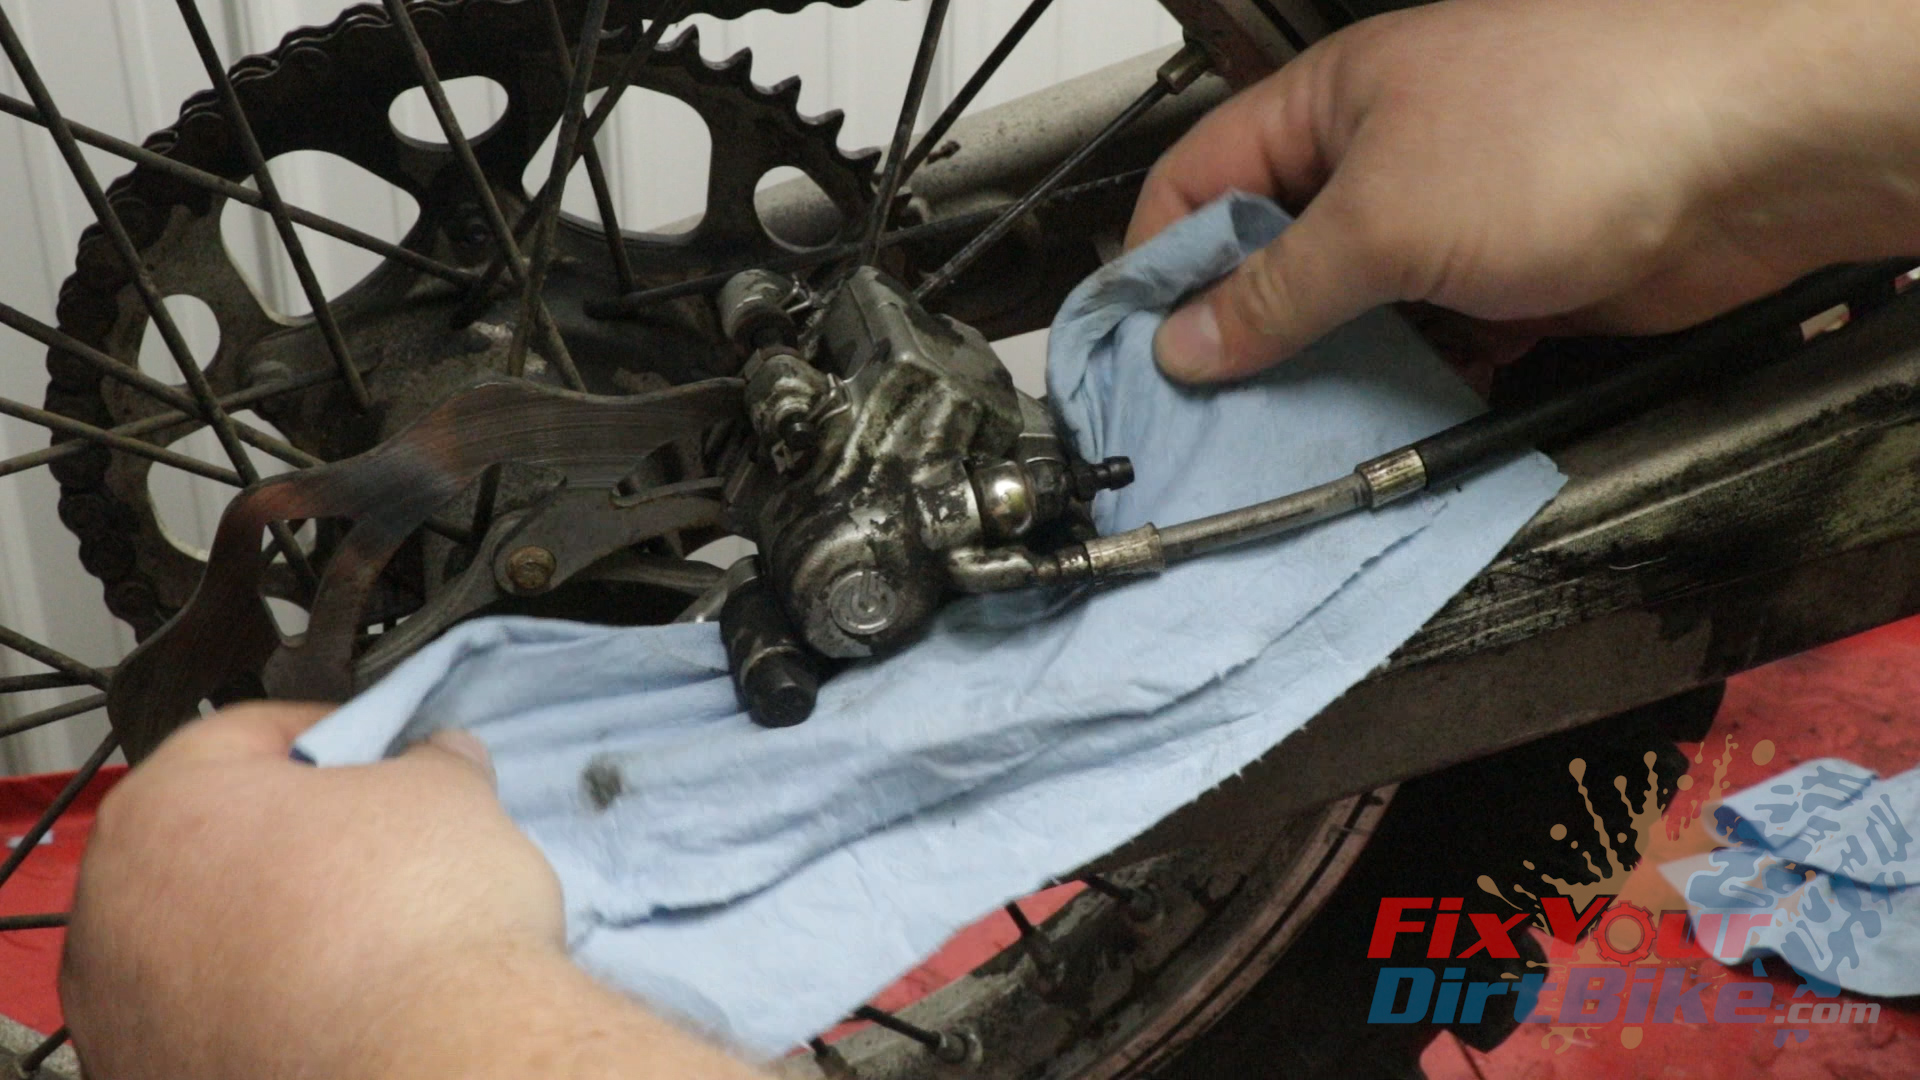
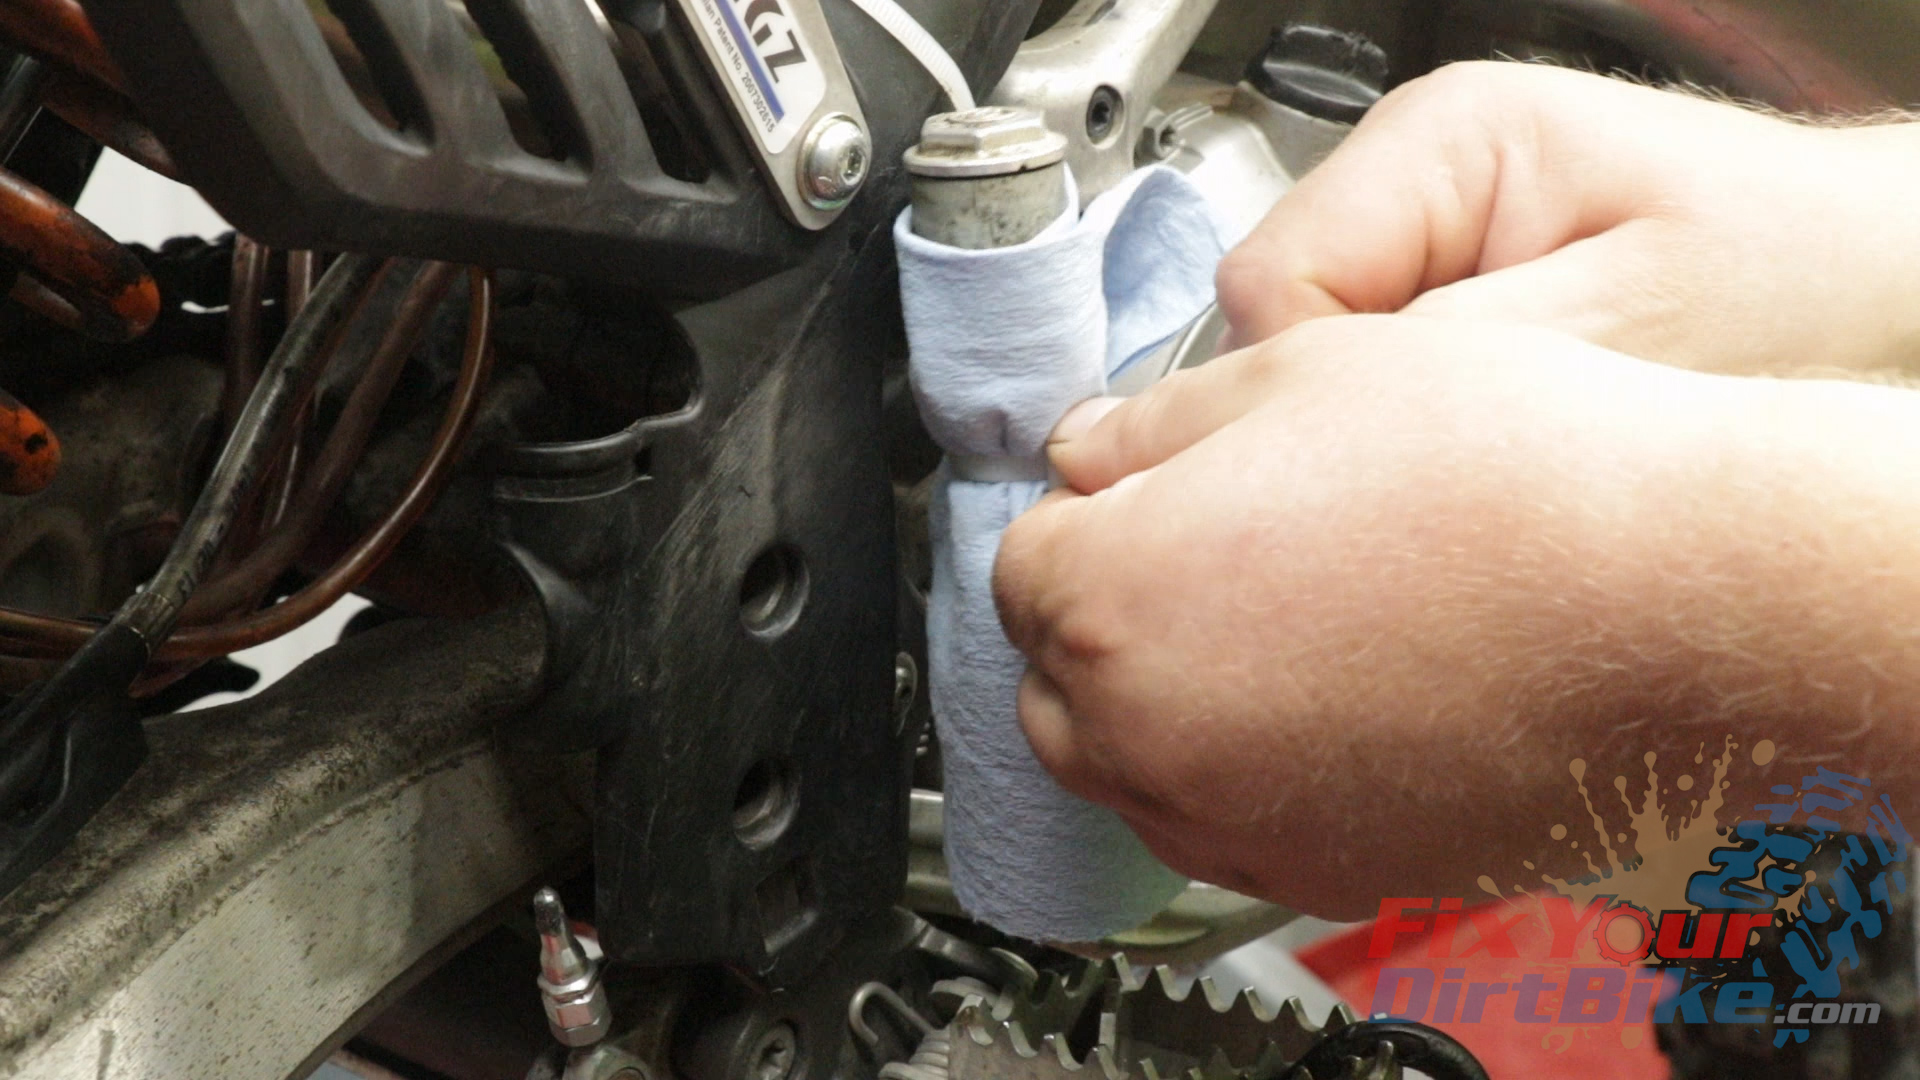
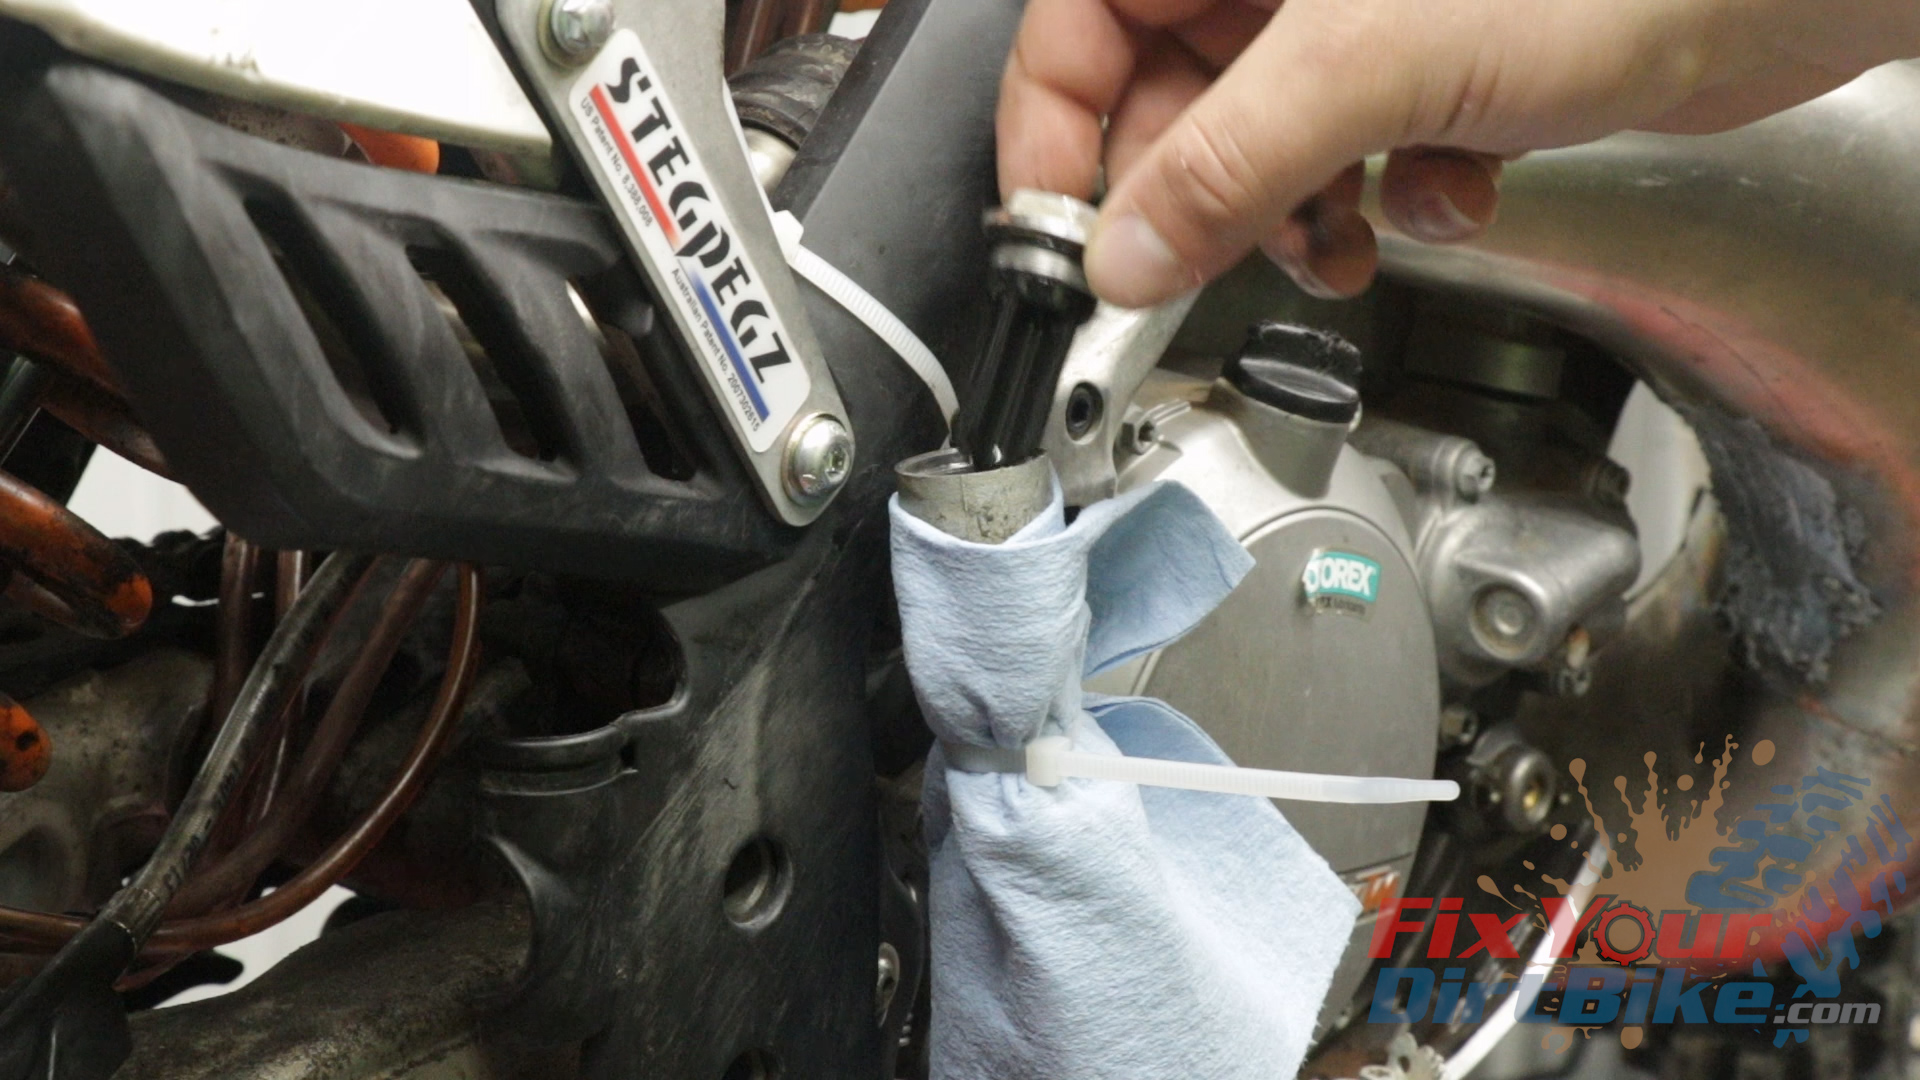
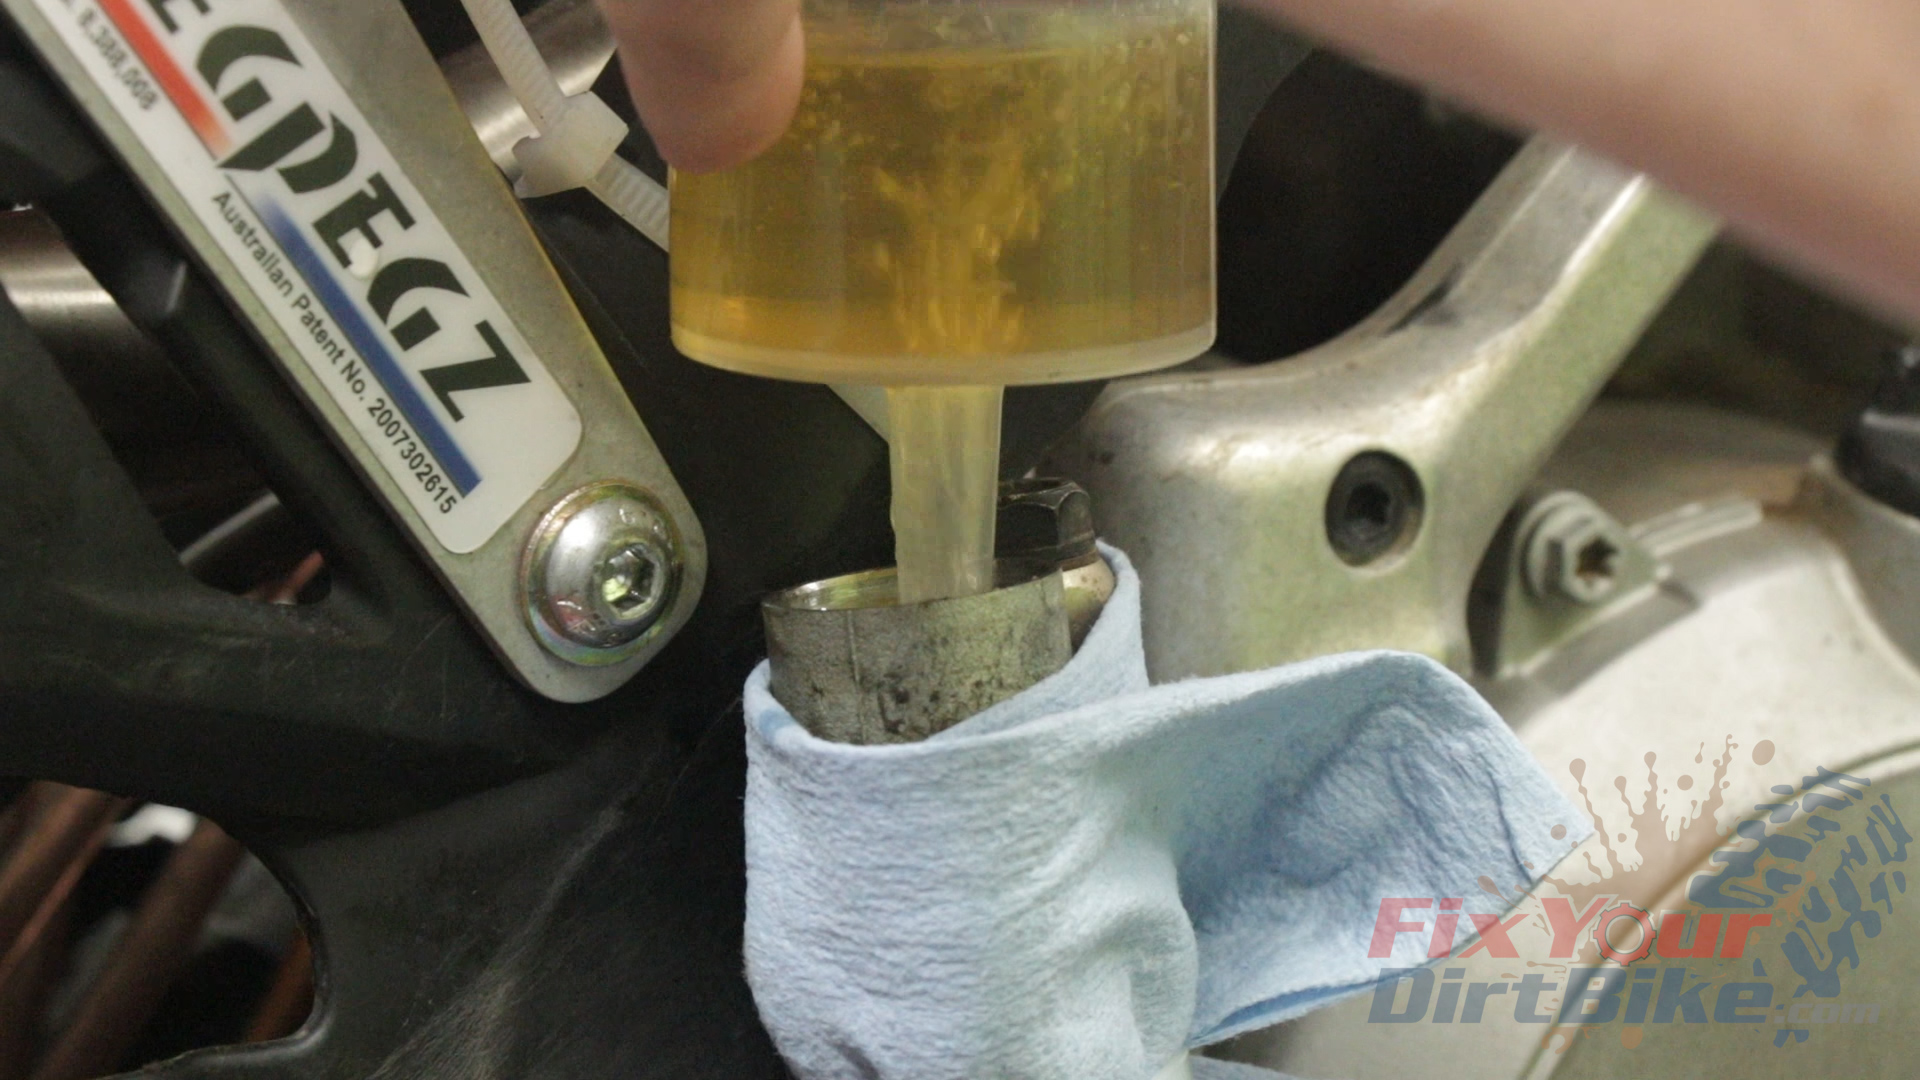
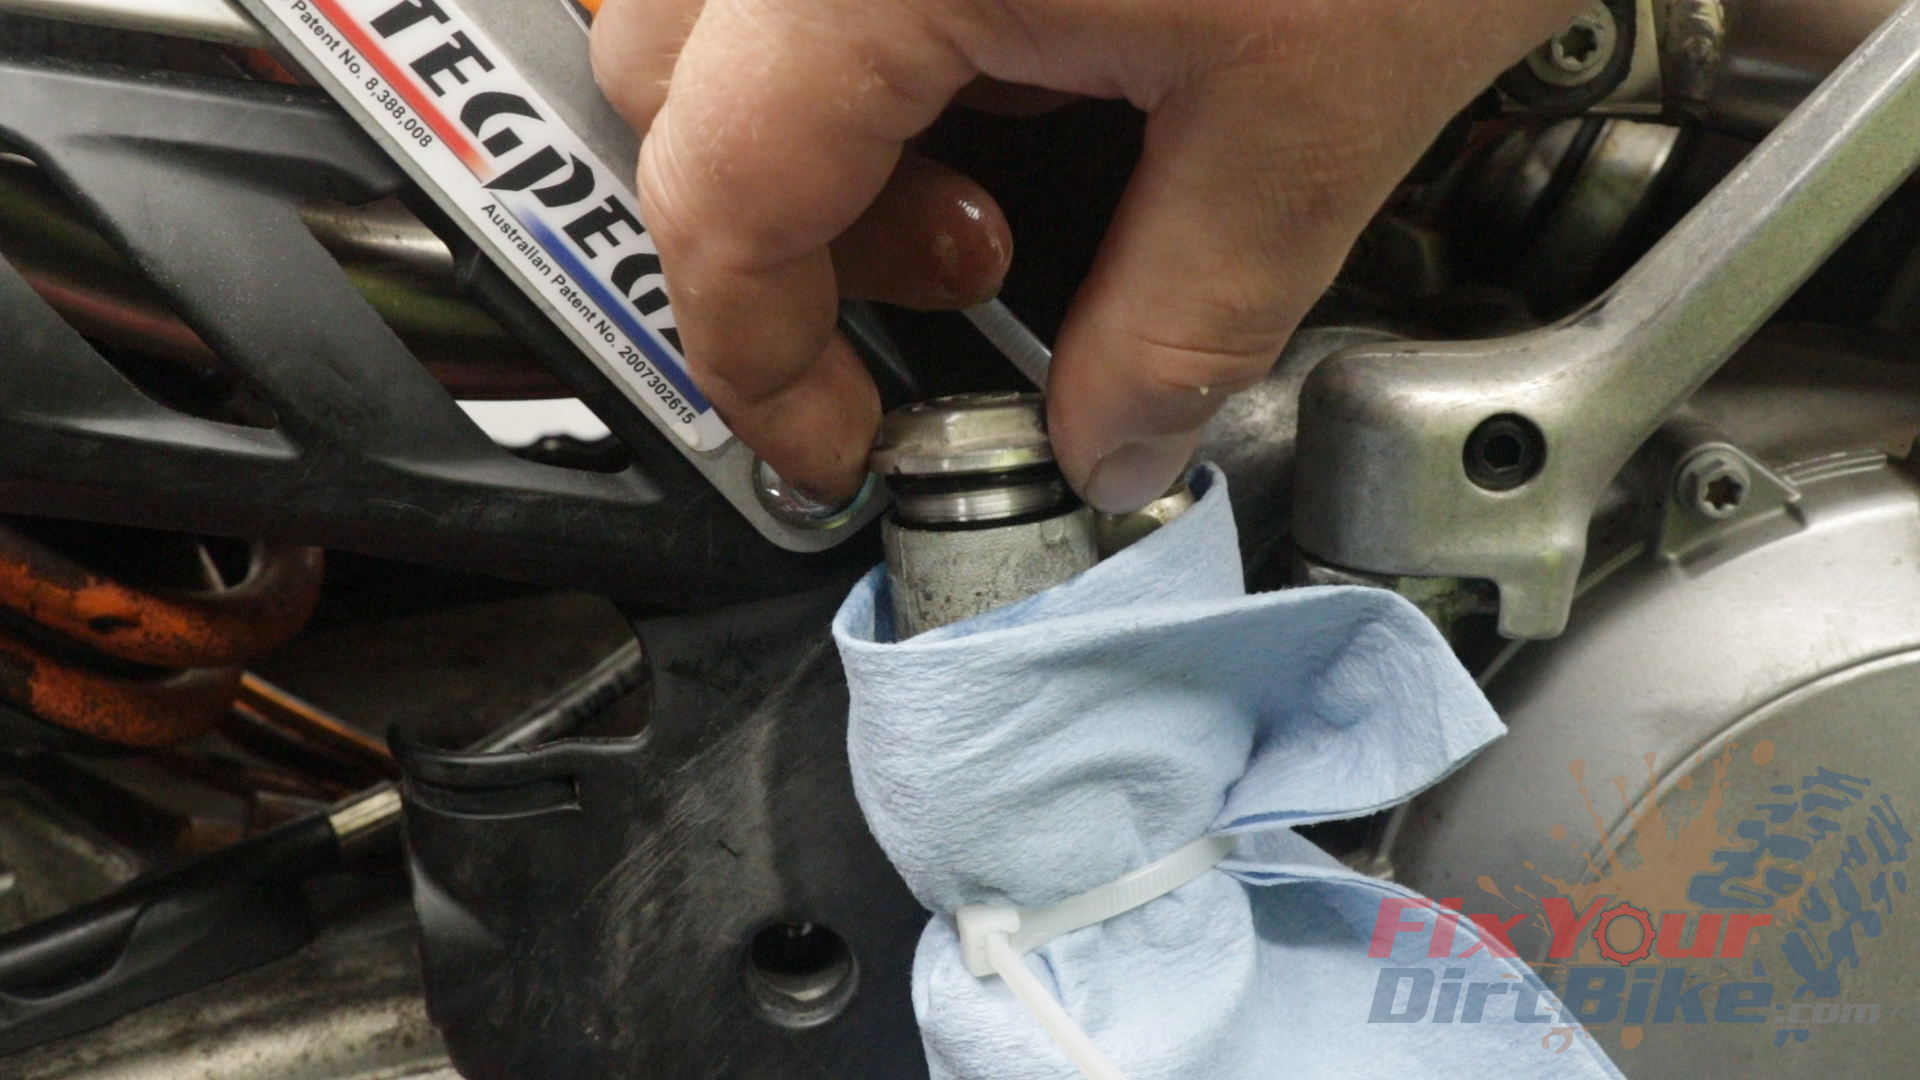
- Prep your bike by wrapping the brake caliper and reservoir in a towel and removing the reservoir cap.
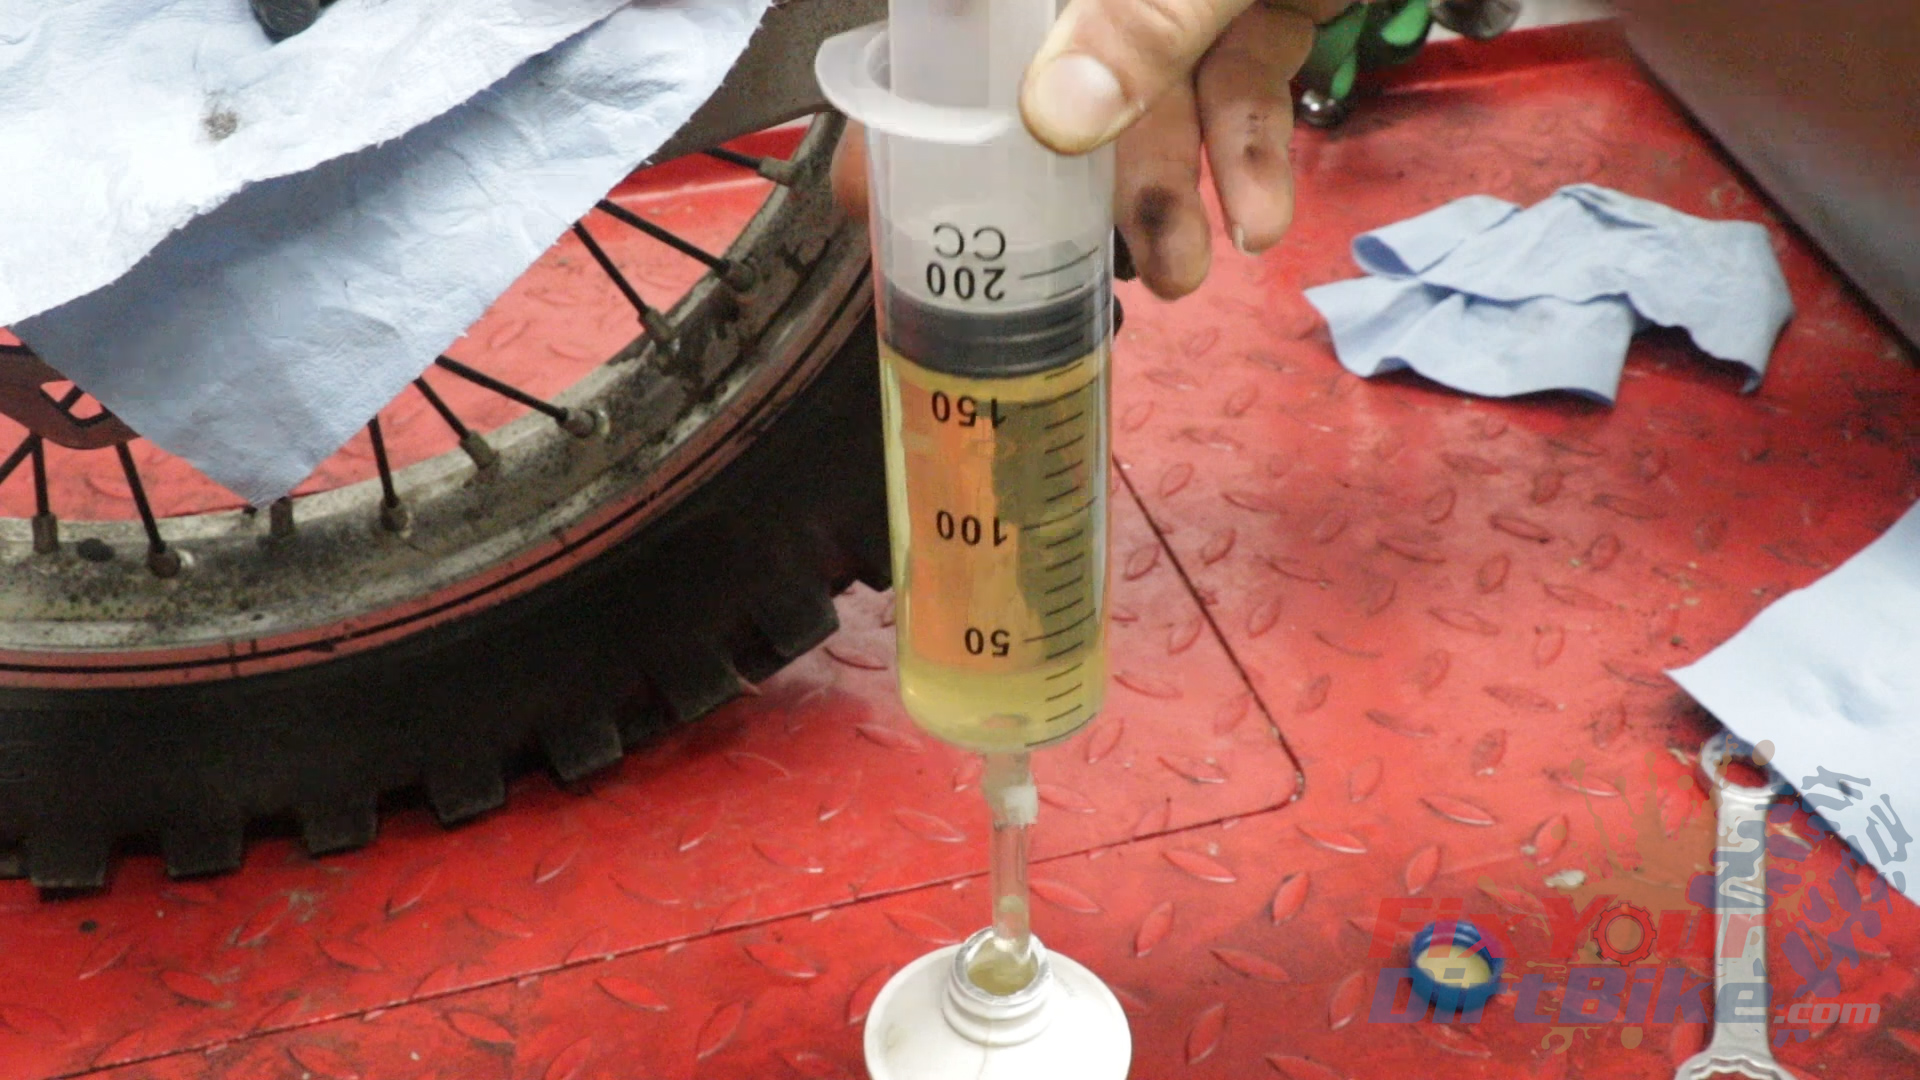
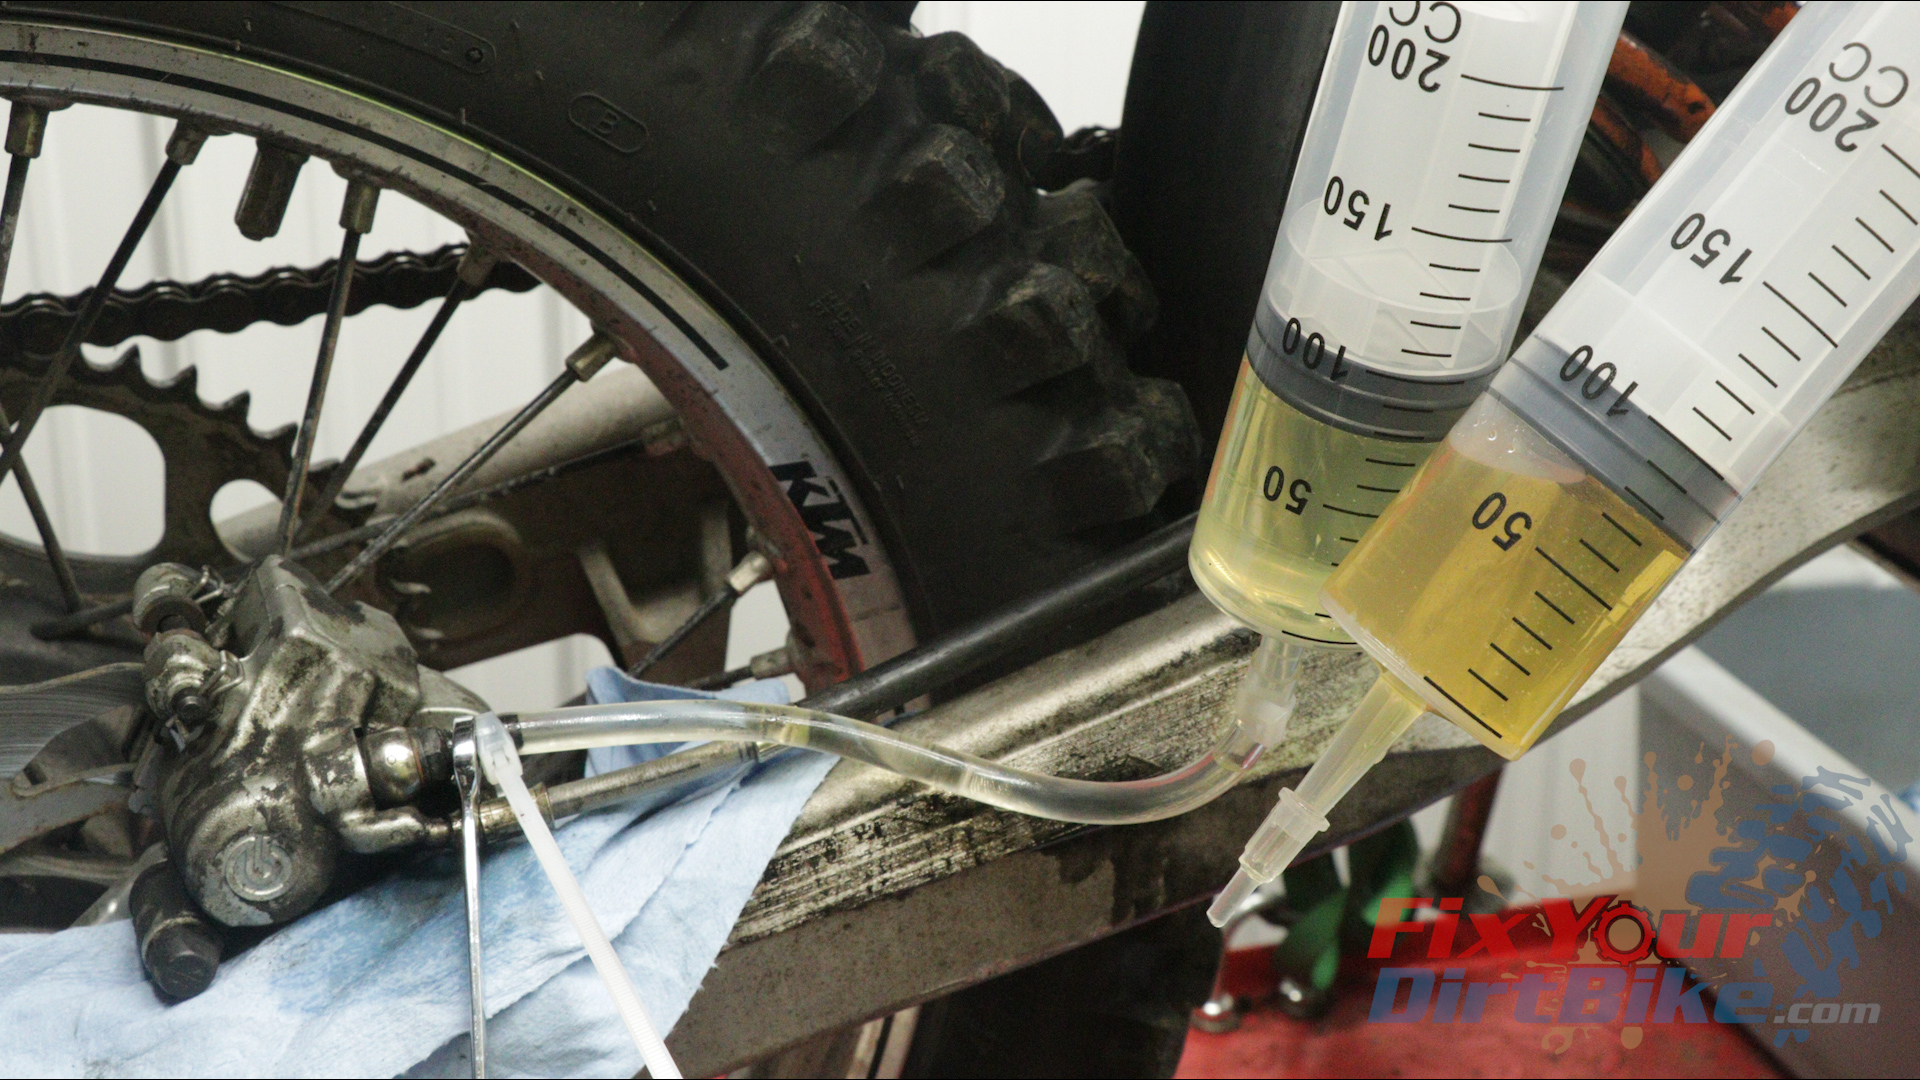
- Attach your hose to your filling syringe and secure it with a zip tie. Then, draw in fresh fluid.
- All brake systems have different capacities, so fill your syringe with at least 150cc.
- Turn your syringe so the hose is facing up, let the fluid settle, and push it to the end of the tube.
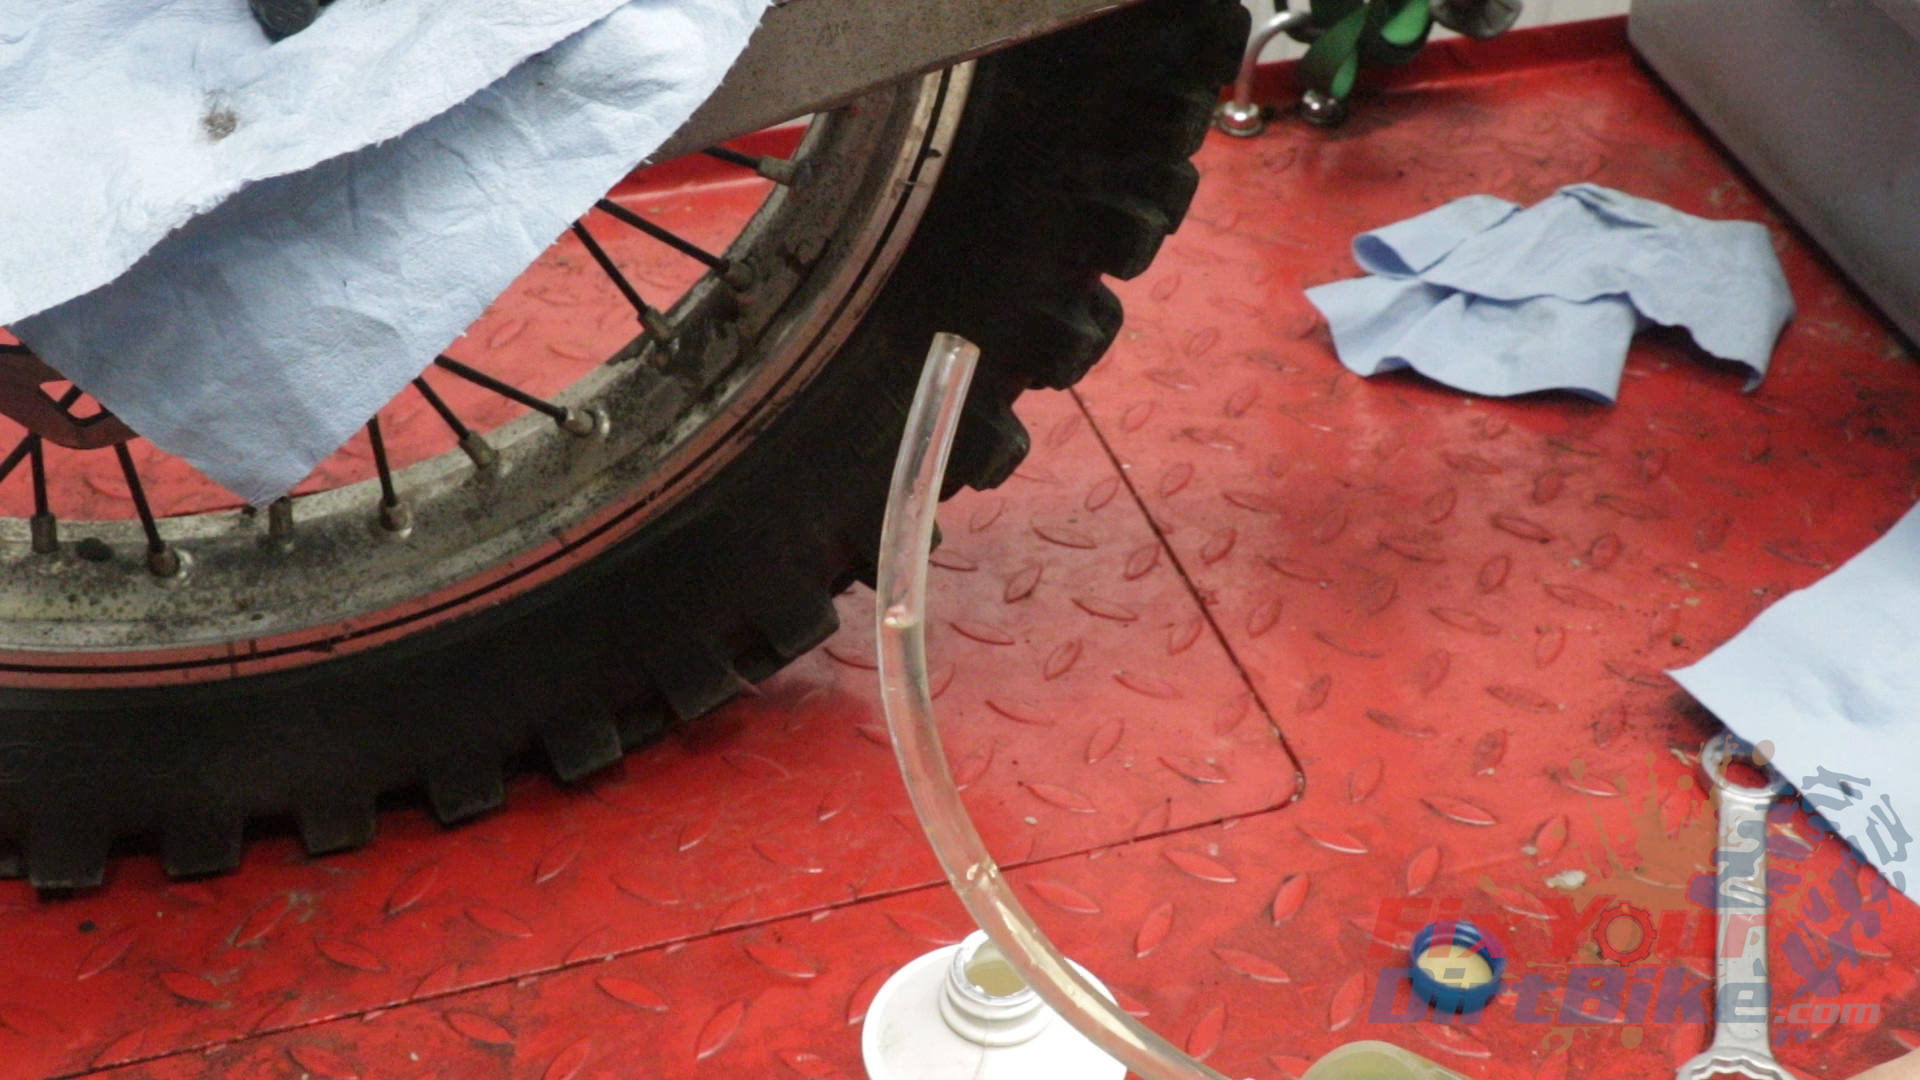
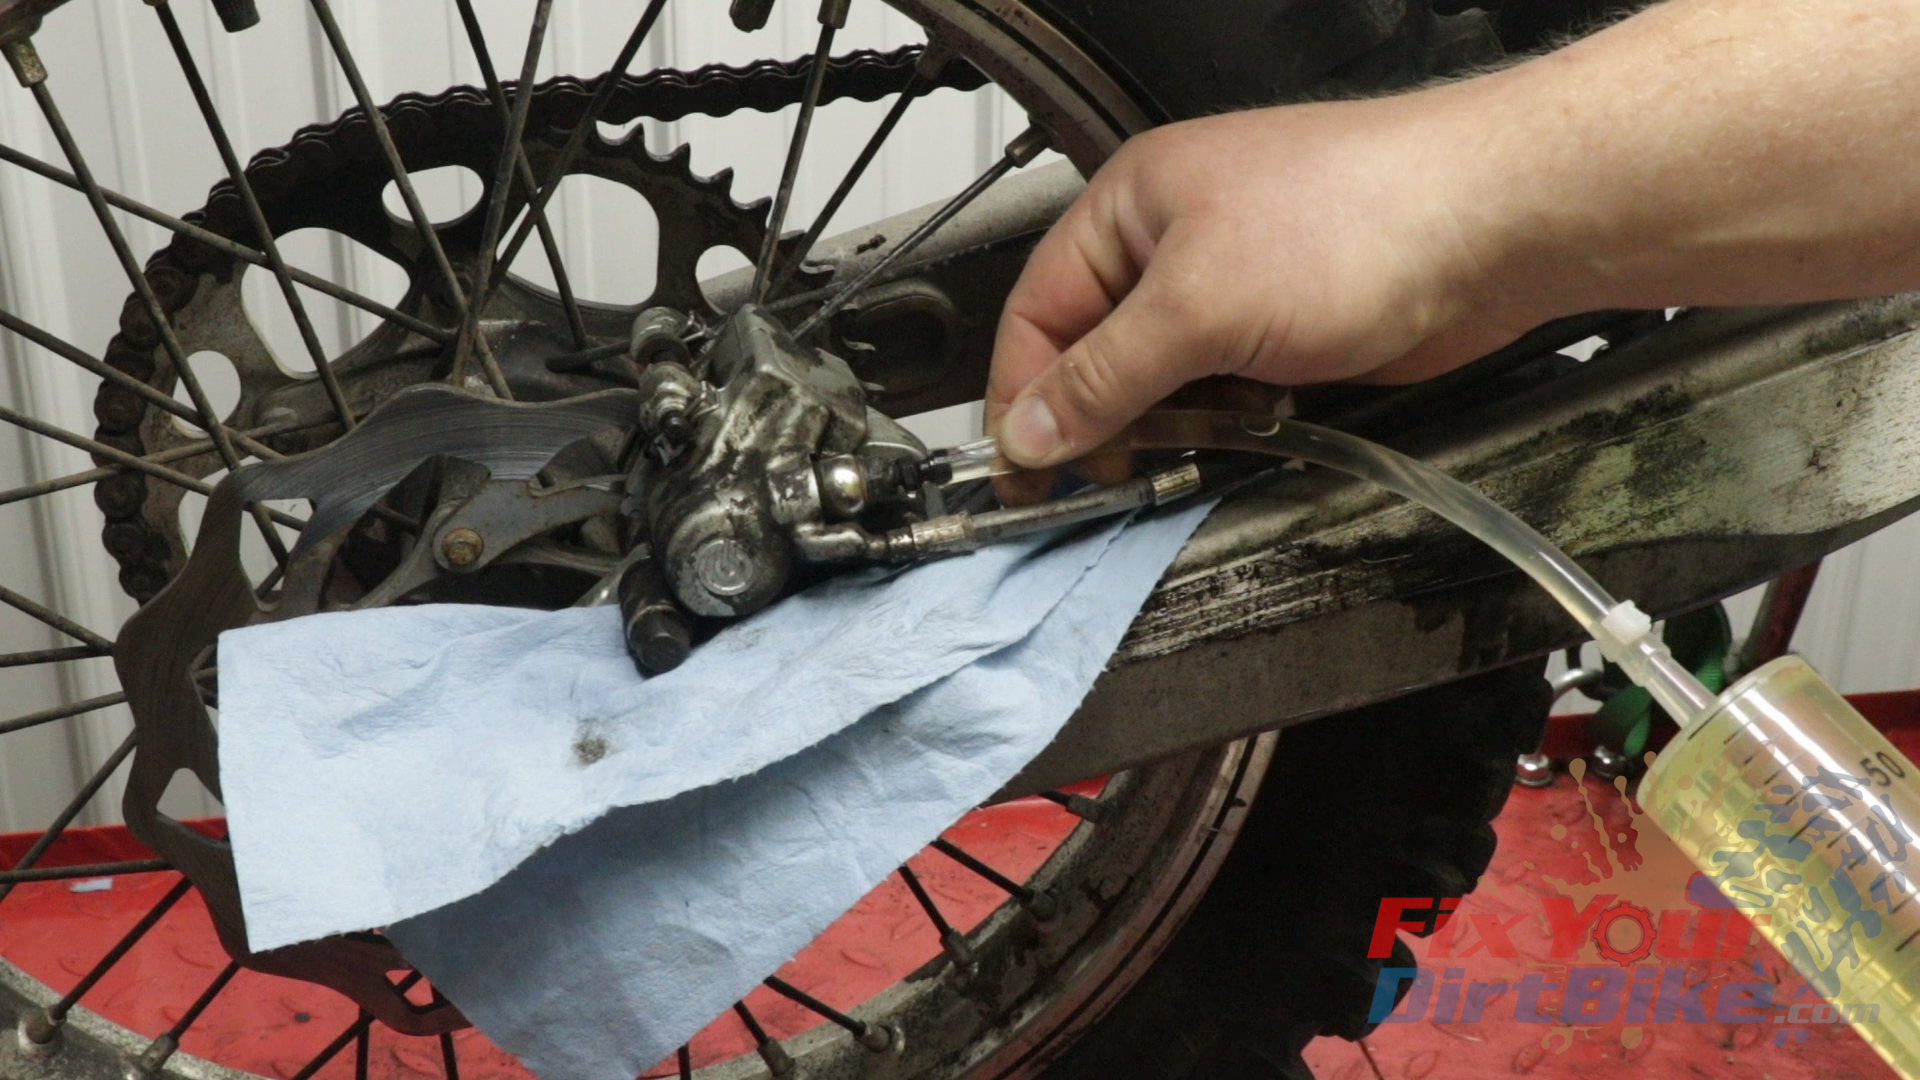
Reverse Bleed Your Brake Line
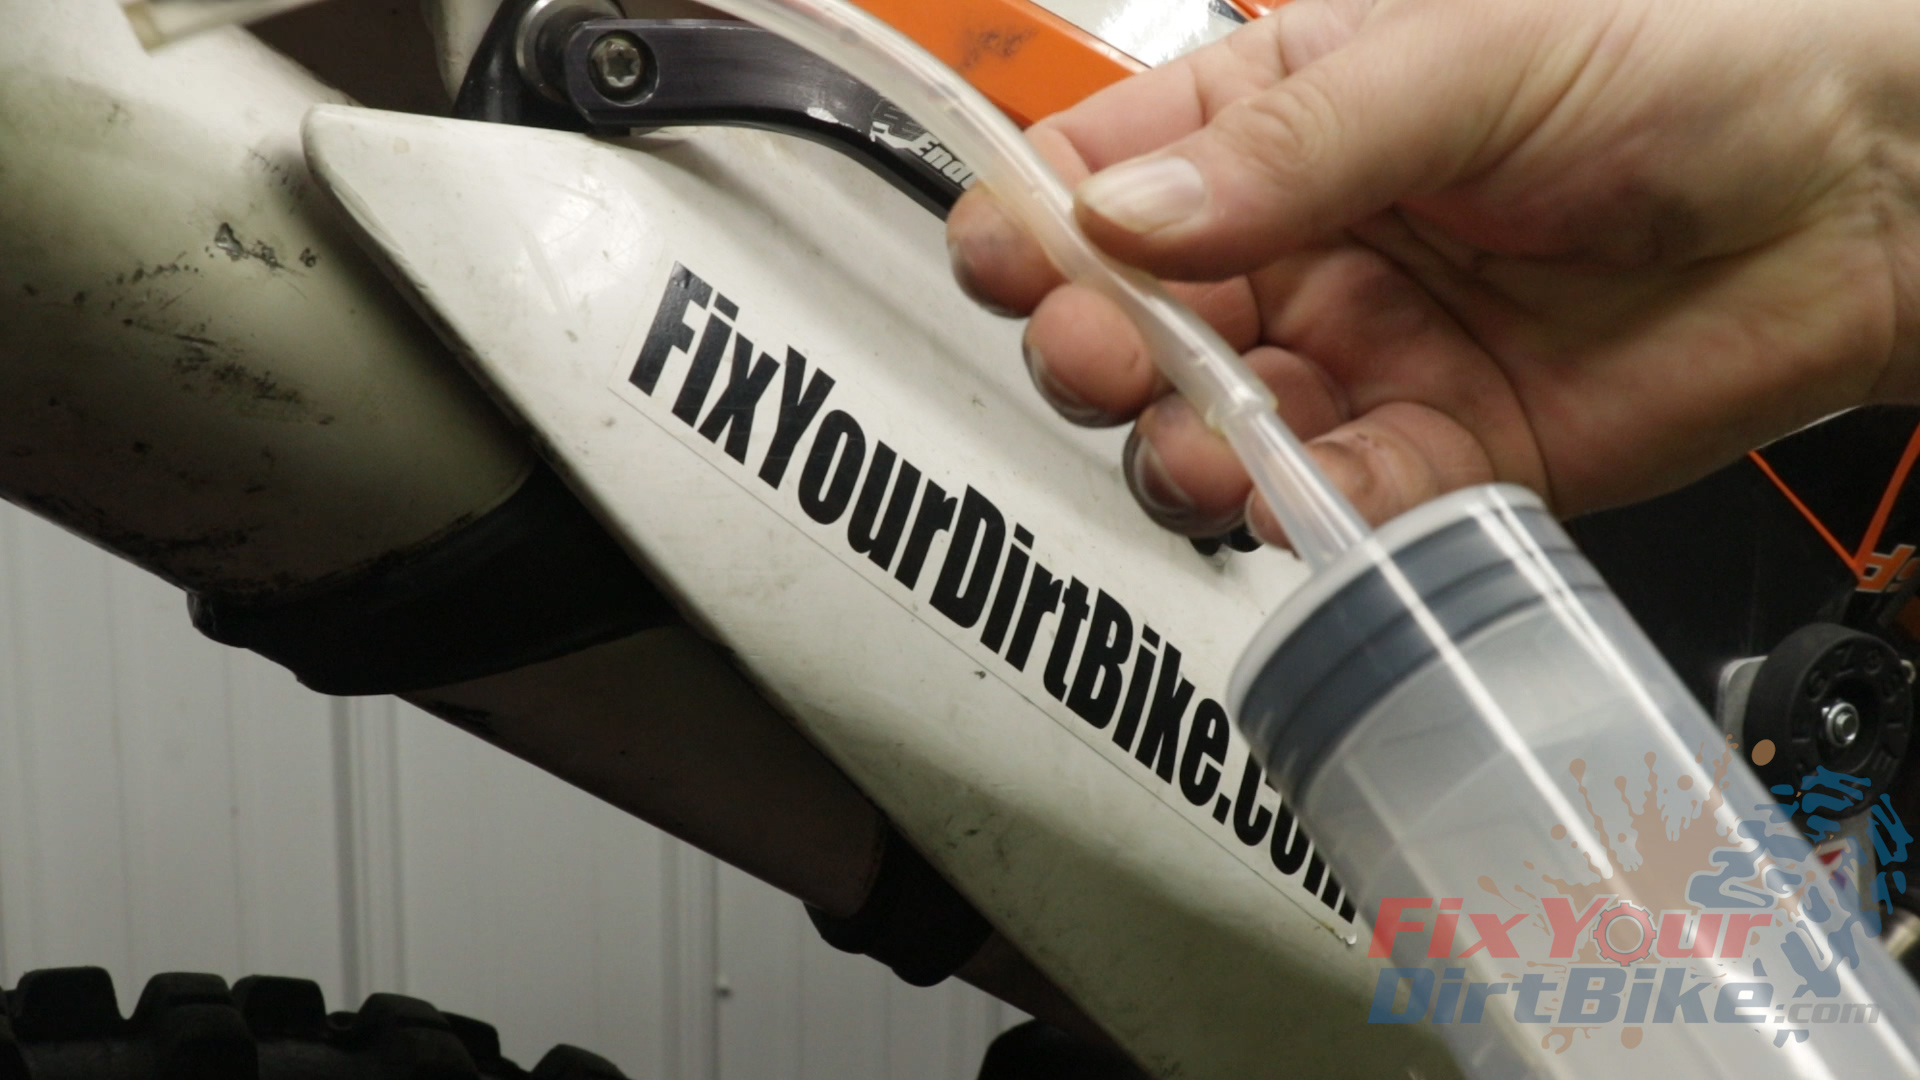
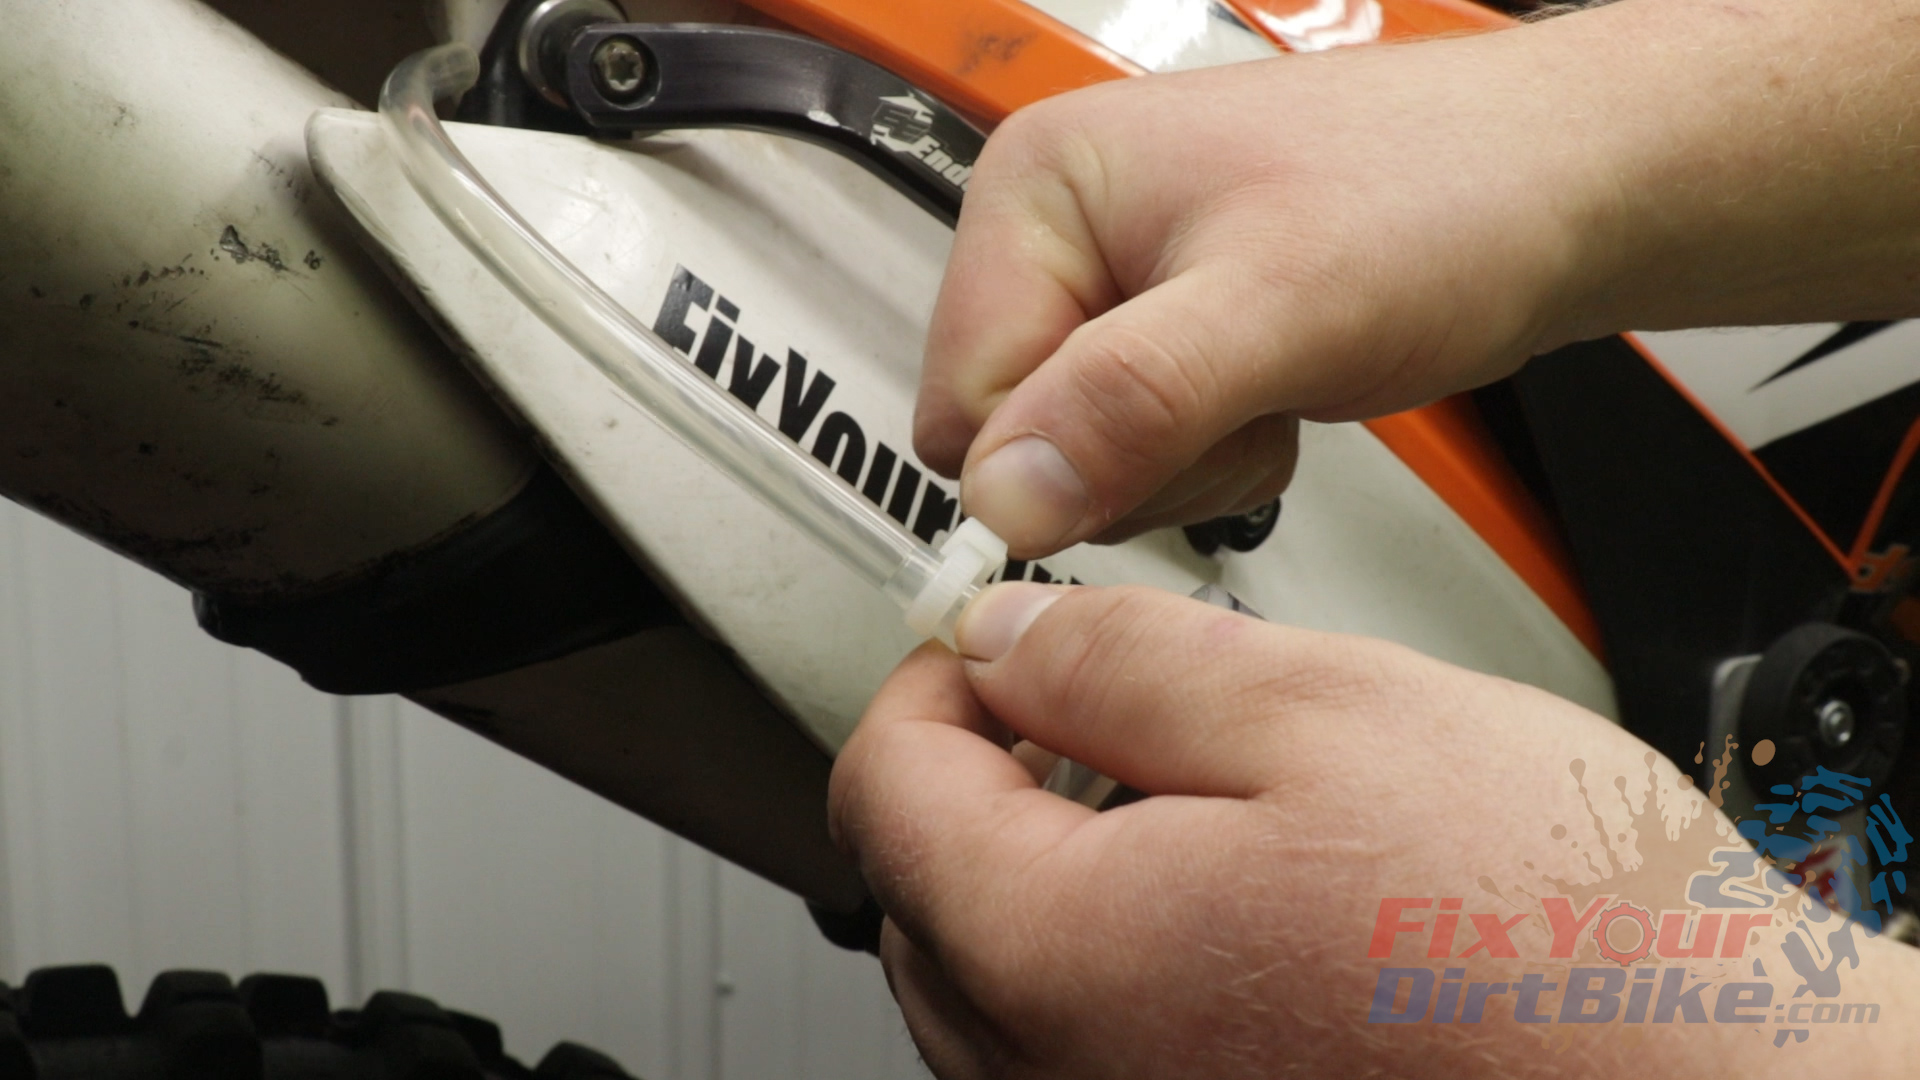
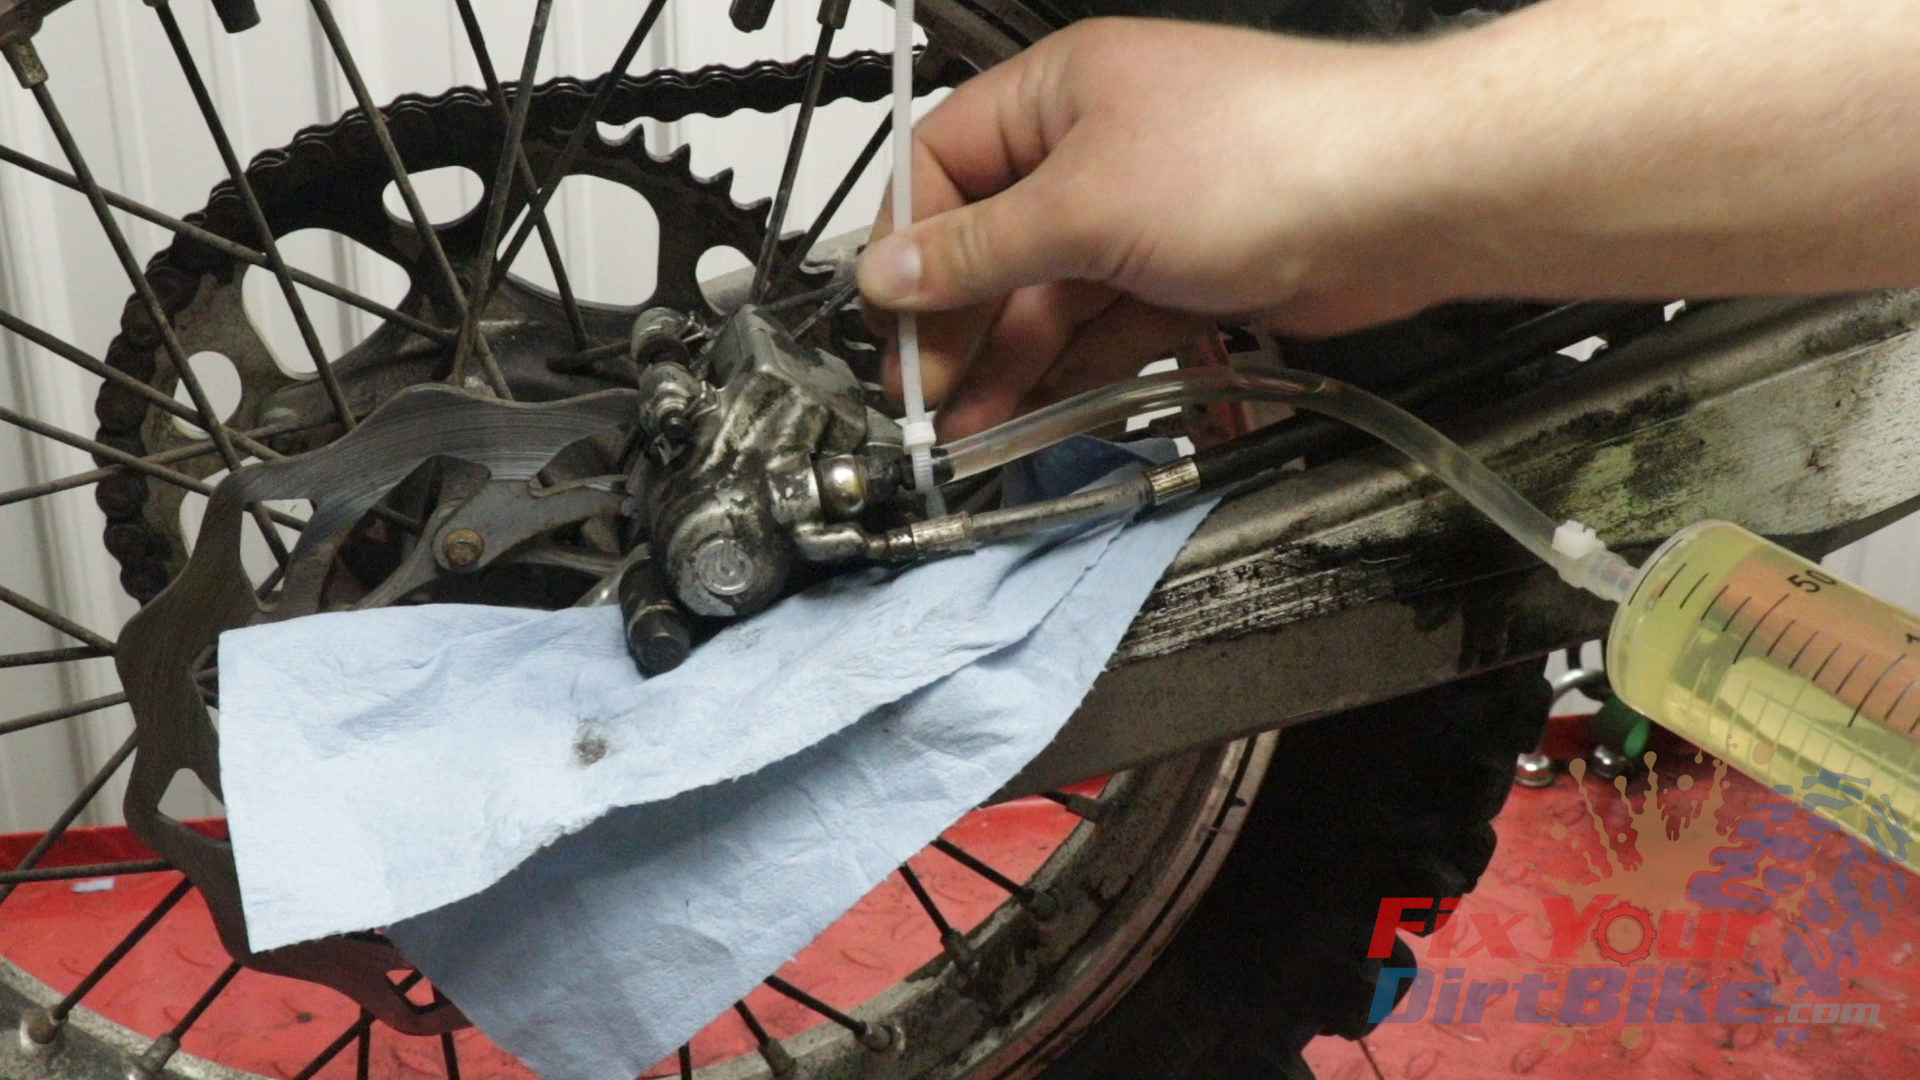
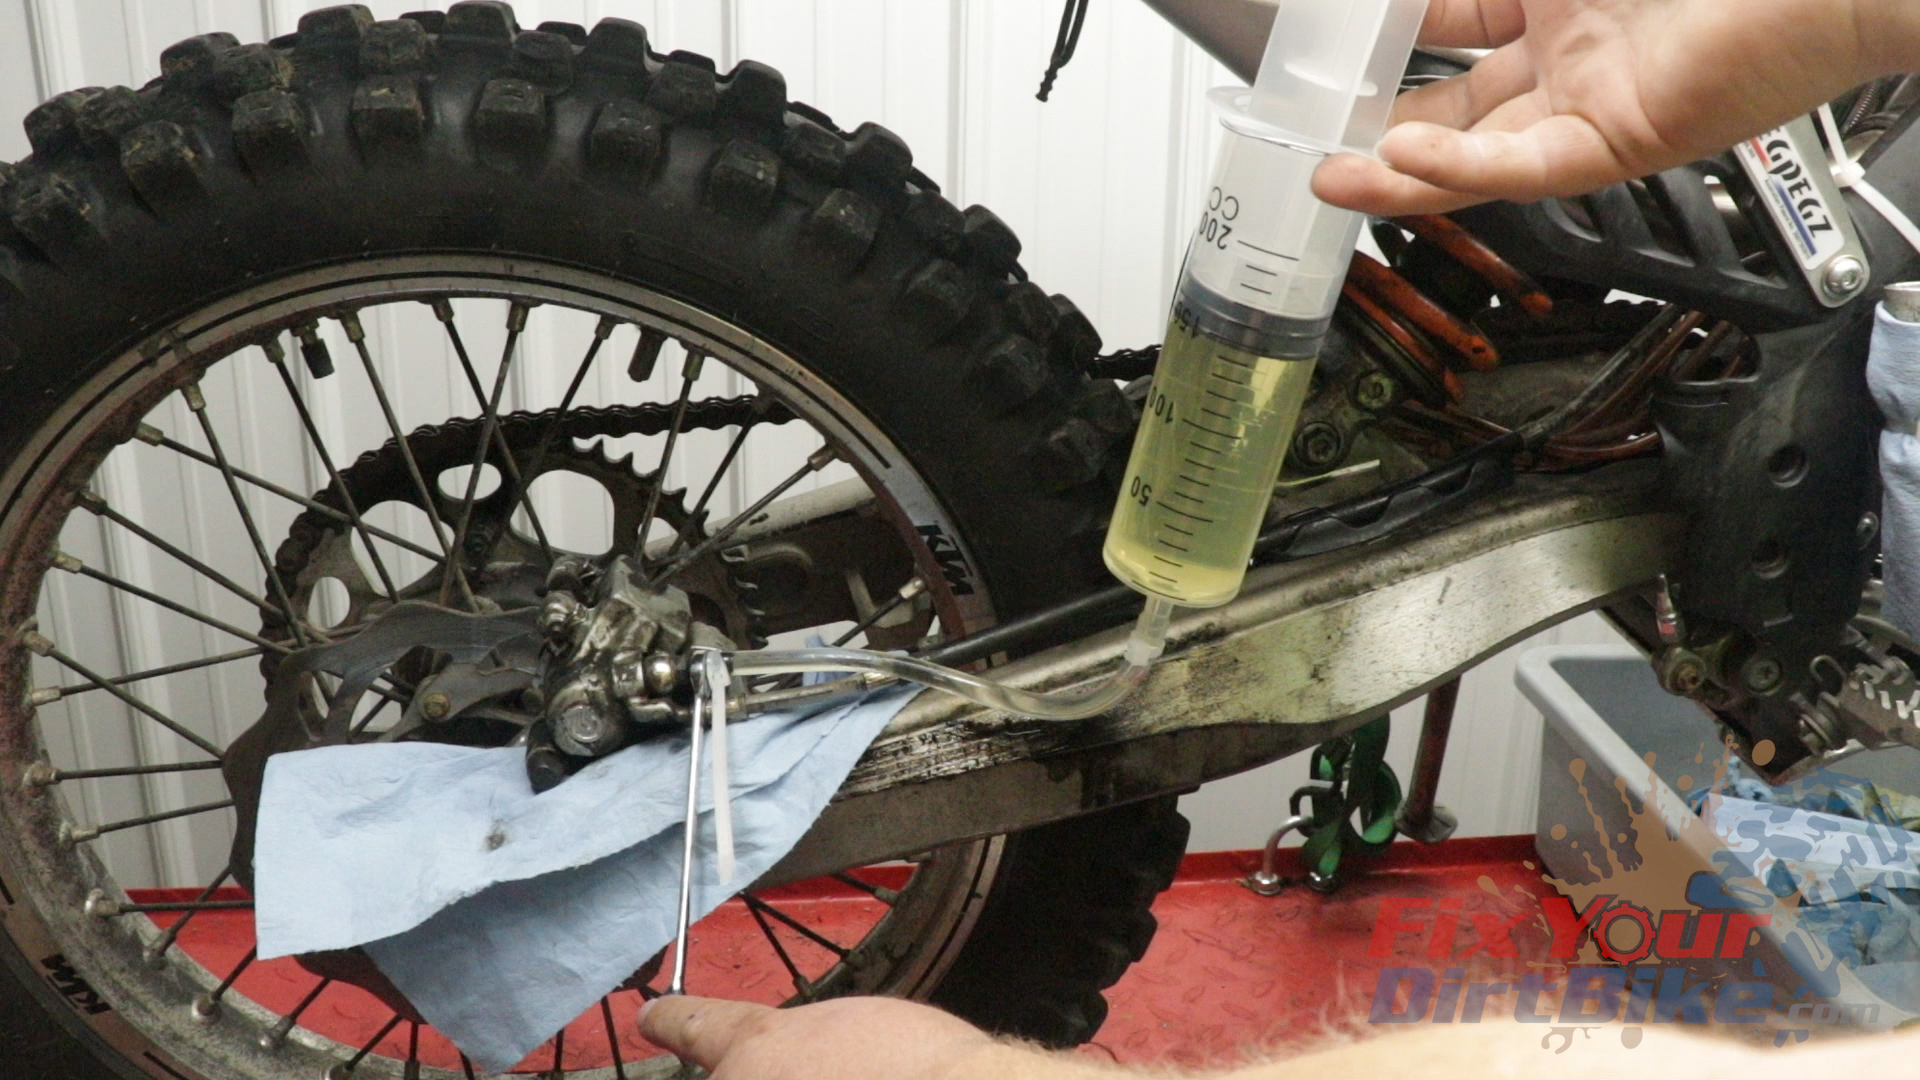
- Attach the end of the hose to the bleeding nipple and secure it with a zip tie.
- You will get some air in the line, but that’s ok; you can usually work it back into the syringe.
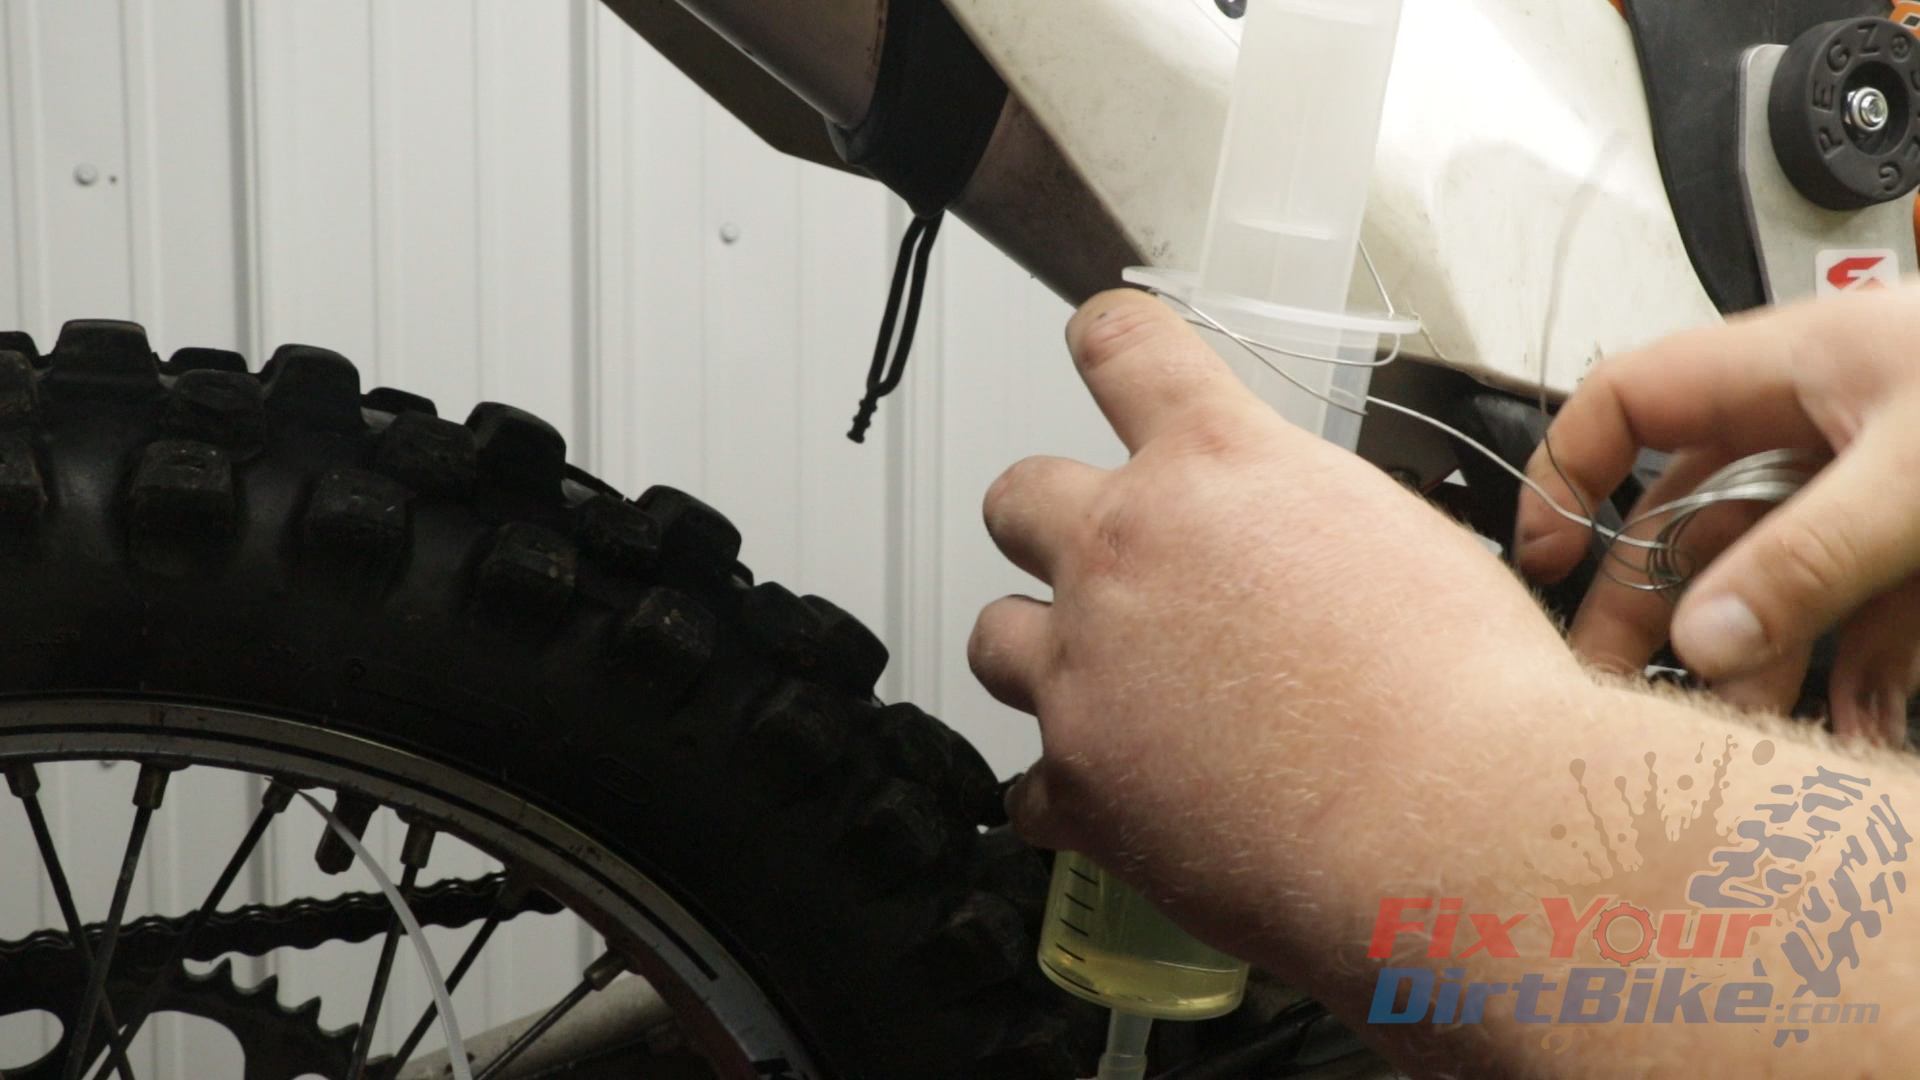
- Loop the base of your syringe with a handy wire, then hang it off your bike.
- This setup will allow you to fill and skim in one shot.
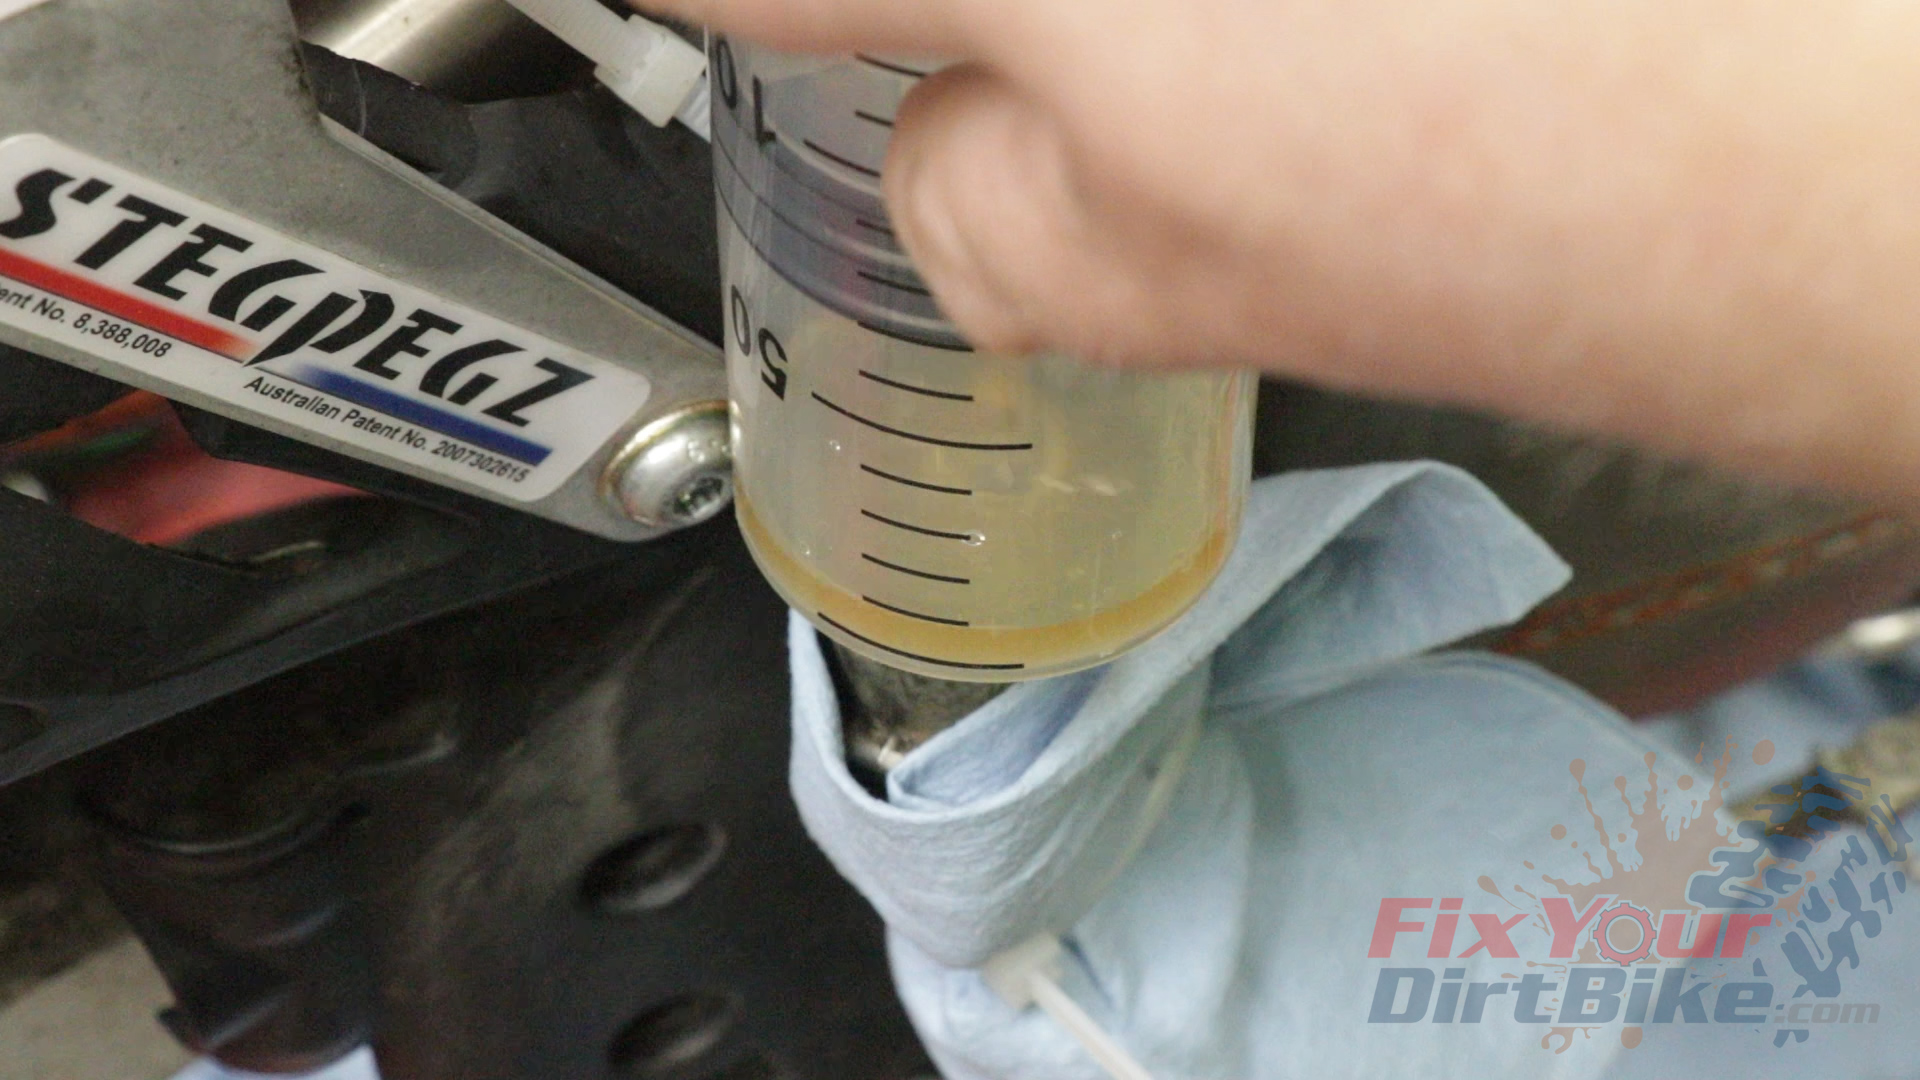
- Before you start to reverse bleed, remove the contents of the reservoir using your second skimming syringe.
- Apply some pressure to your syringe, then open the bleeder valve ¼ to ½ turn.
- You want to keep a slow, steady pressure on the syringe. Once the fluid starts flowing, keep an eye on your reservoir.
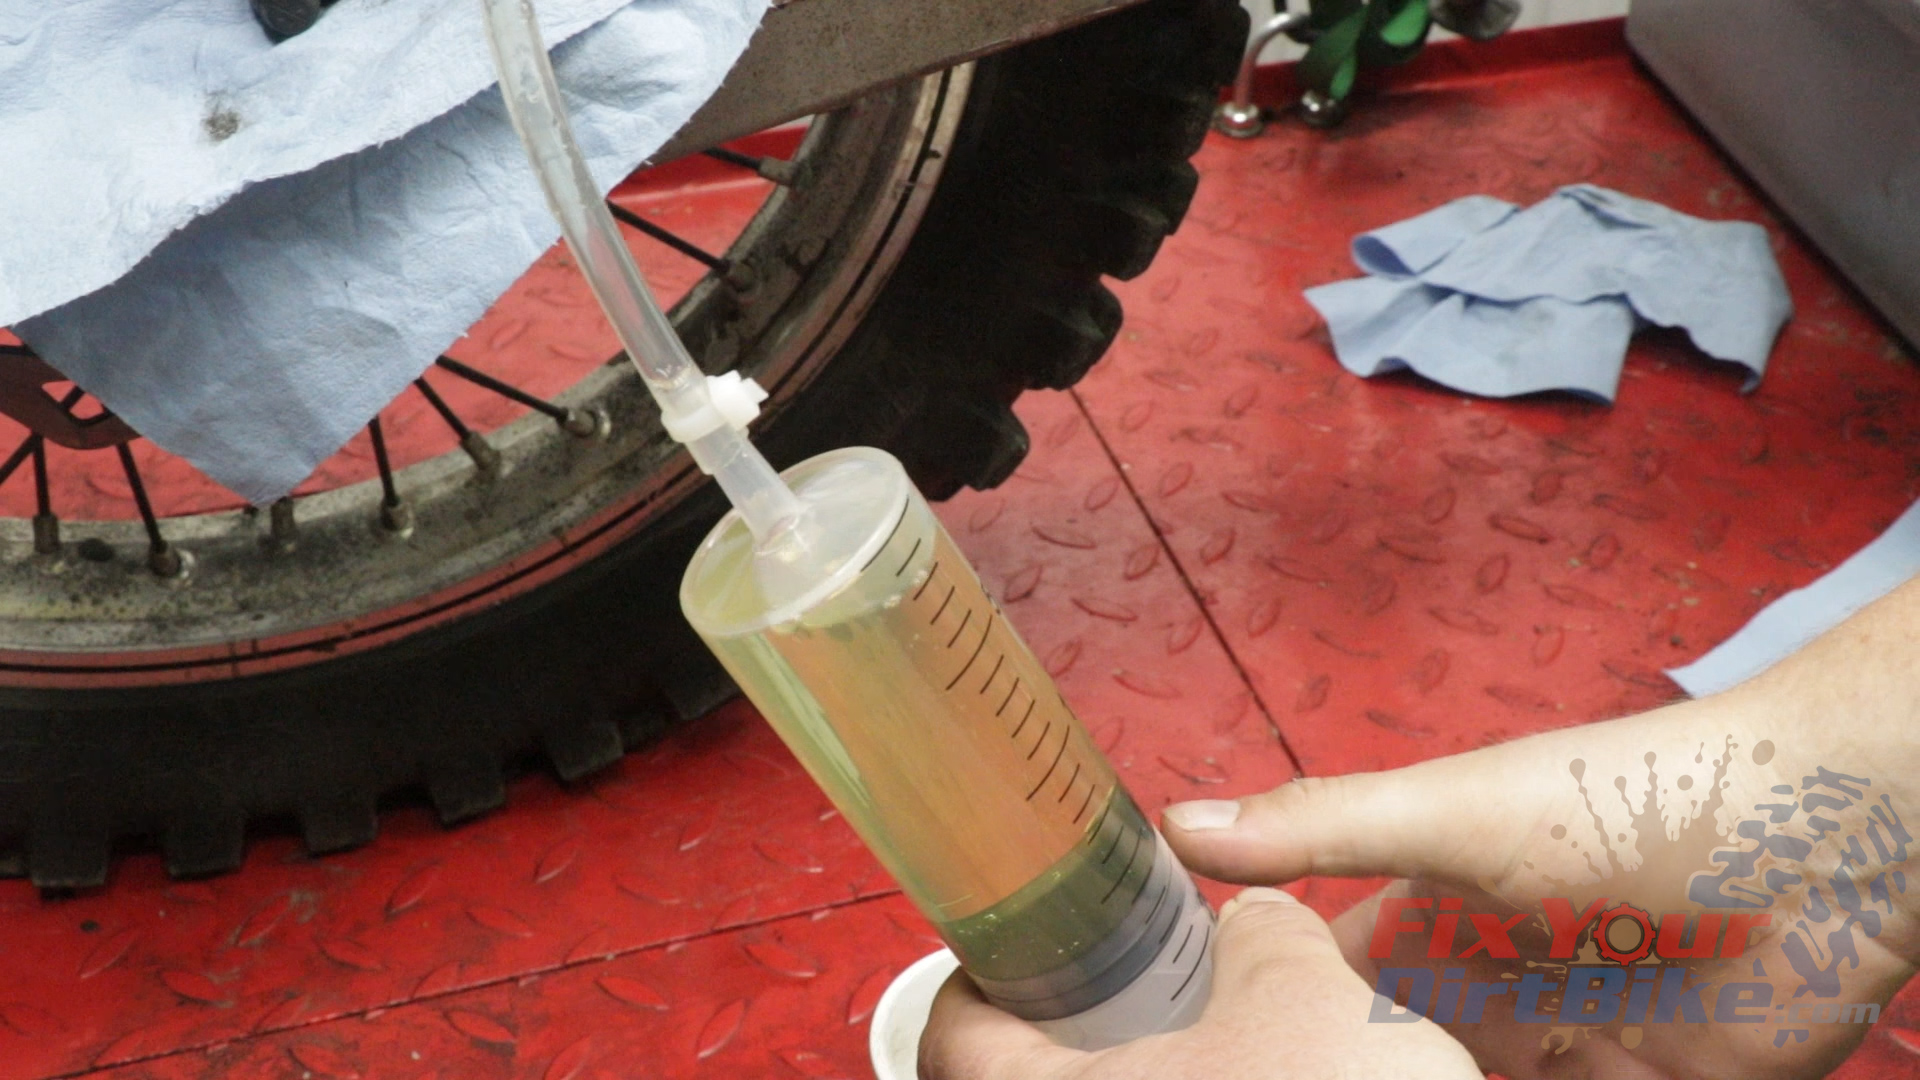
- If you are replacing the fluid, skim the old fluid when it reaches ¾ capacity, and continue until fresh fluid reaches the reservoir, then fill and remove a little more just to be safe.
- You can see the difference between the old and new brake fluid.
- When filling a dry system after a brake service, fill the system until the reservoir reaches ¾ capacity, then skim and fill a few more times to ensure all air is purged.
- Install the reservoir cap and bladder with overflow to remove as much air from the reservoir as possible.
- Test your brakes, and if everything feels right, pull the tube and wipe your caliper down with brake cleaner.

If you have any questions about brake bleeding, please let me know in the comments or on social.


