
After five years of nights and weekends, I’m finally done rebuilding my CR250—just in time for quarantine season!
All that’s left to do is give it a final detail and pre-season prep, and I’m ready to… sit and… look at it.
I like to strip the plastics, gas tank, and subframe for pre-season detail to access all the hard-to-reach areas.
I’ll show you my routine, and since I have plenty of time, I will try out some products I’ve never used.
Pre-Service Notes
- If you need parts and tools, make sure to buy them here!
- Pictures with captions are after the steps below.
- If you need any help, don’t hesitate to ask!
My Detailing And Prep Go-To Products
- PJ1 Air Filter Cleaner And Oil → https://amzn.to/3PuqAjW
- Maxima Chain Wax → https://amzn.to/3Pu3M3P
- PJ1 Cable Lubrication → https://amzn.to/3BRlETj
- Motion Pro Cable Luber → https://amzn.to/4gLzmGd
- Motul E6 → https://amzn.to/4h8EIer
- Maxima SC1 → https://amzn.to/3CaLUrC
New Products I’ve Added To My Shelf
- PJ1 Fast Black → https://amzn.to/4fTTsgq
- S100 Total Cycle Cleaner → https://amzn.to/4fRFn33
Products I Tried But Probably Won’t Work For Me
- PB Blaster Silicone Lubricant → https://amzn.to/3WcFVcM
Plastics Prep
These plastics are halfway to fucked, but they’re still in one piece, so I’m going to try and give at least one more season before I spend $180 on a new set.
This is, after all, my beater bike.
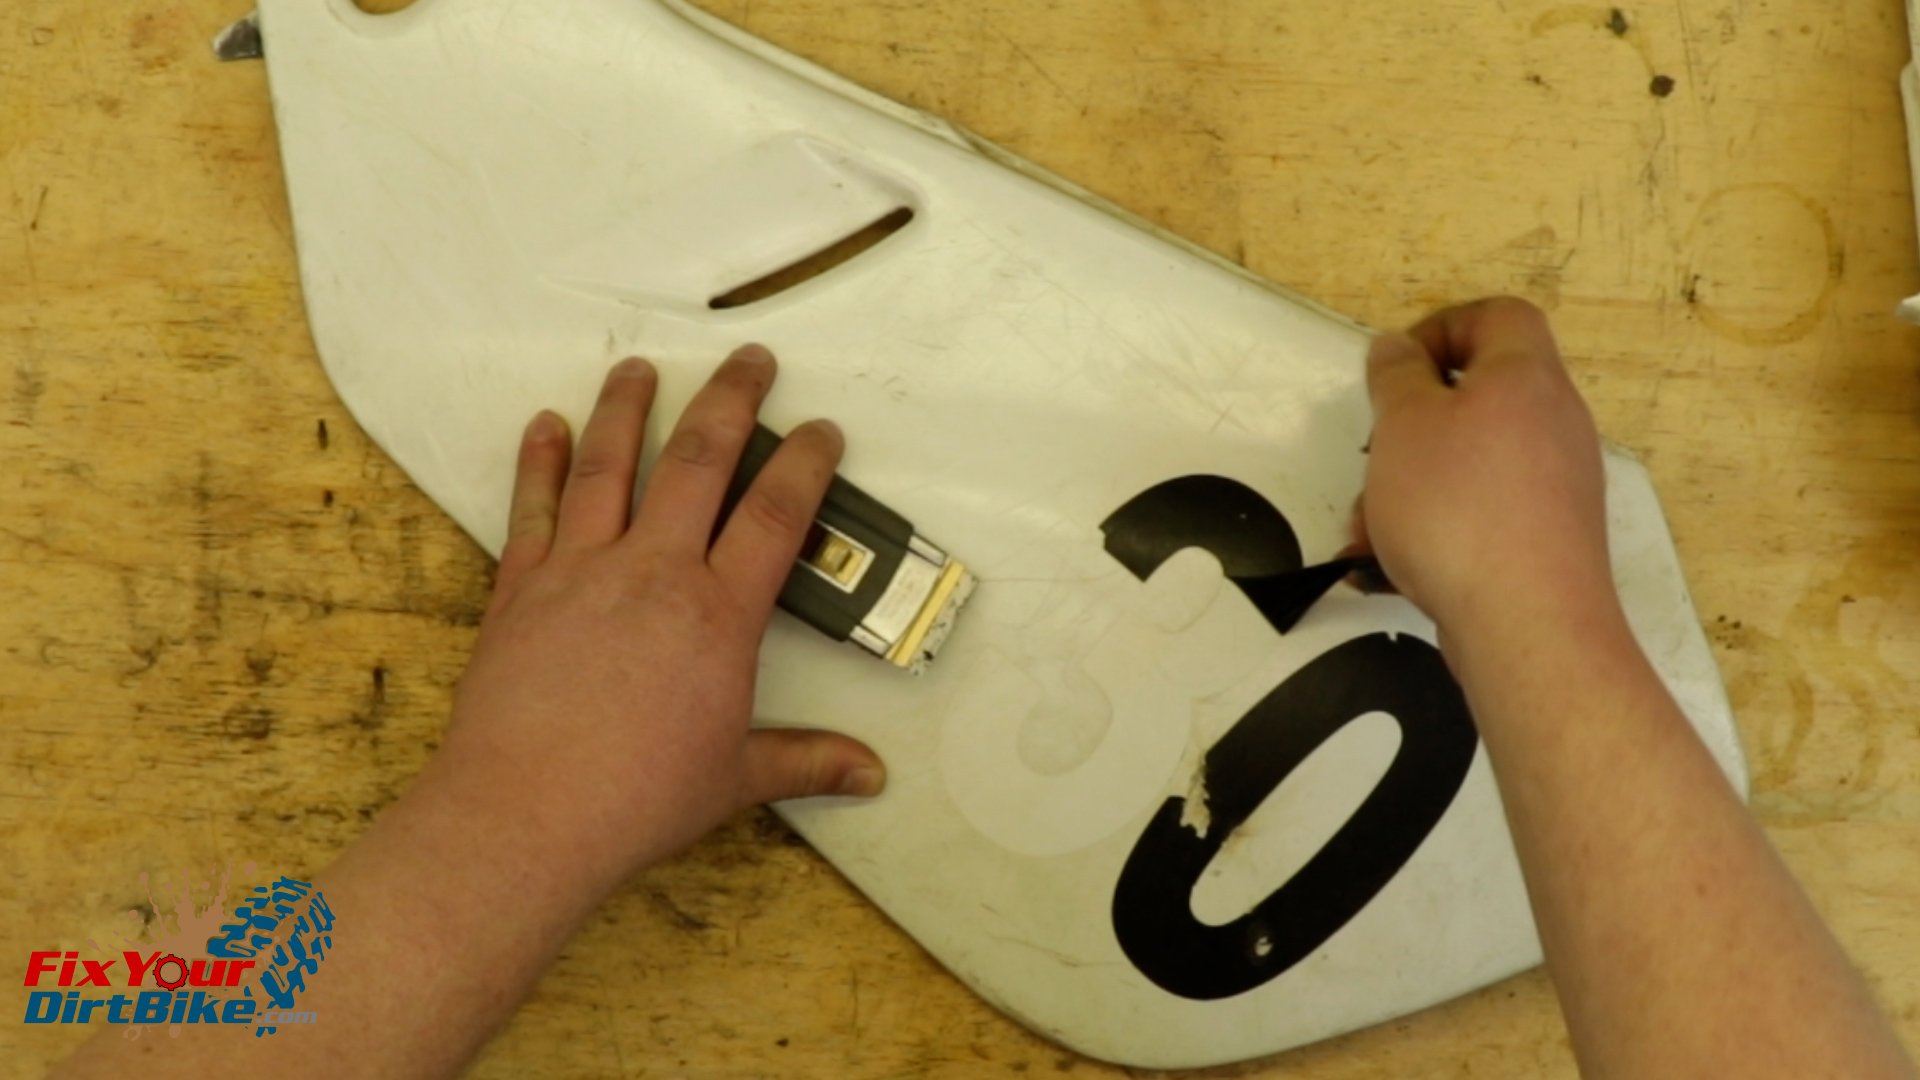
The easy way to remove the old numbers is with heat. You can use a torch or heat gun or just lay your plastics in the sun for a while. Whatever method you choose, you need to be careful not to get the plastics too hot because they will warp and become brittle.
You want to apply just enough heat to get under the numbers with a razor; after that, you must pull. Follow up with some toluene or Xylene to remove any adhesive residue.
I like to pre-soak my plastics with soapy water before I hit them with the pressure washer. I used to do that, but I was recently introduced to S100, and pre-soaking is now a waste of time.
Frame Prep
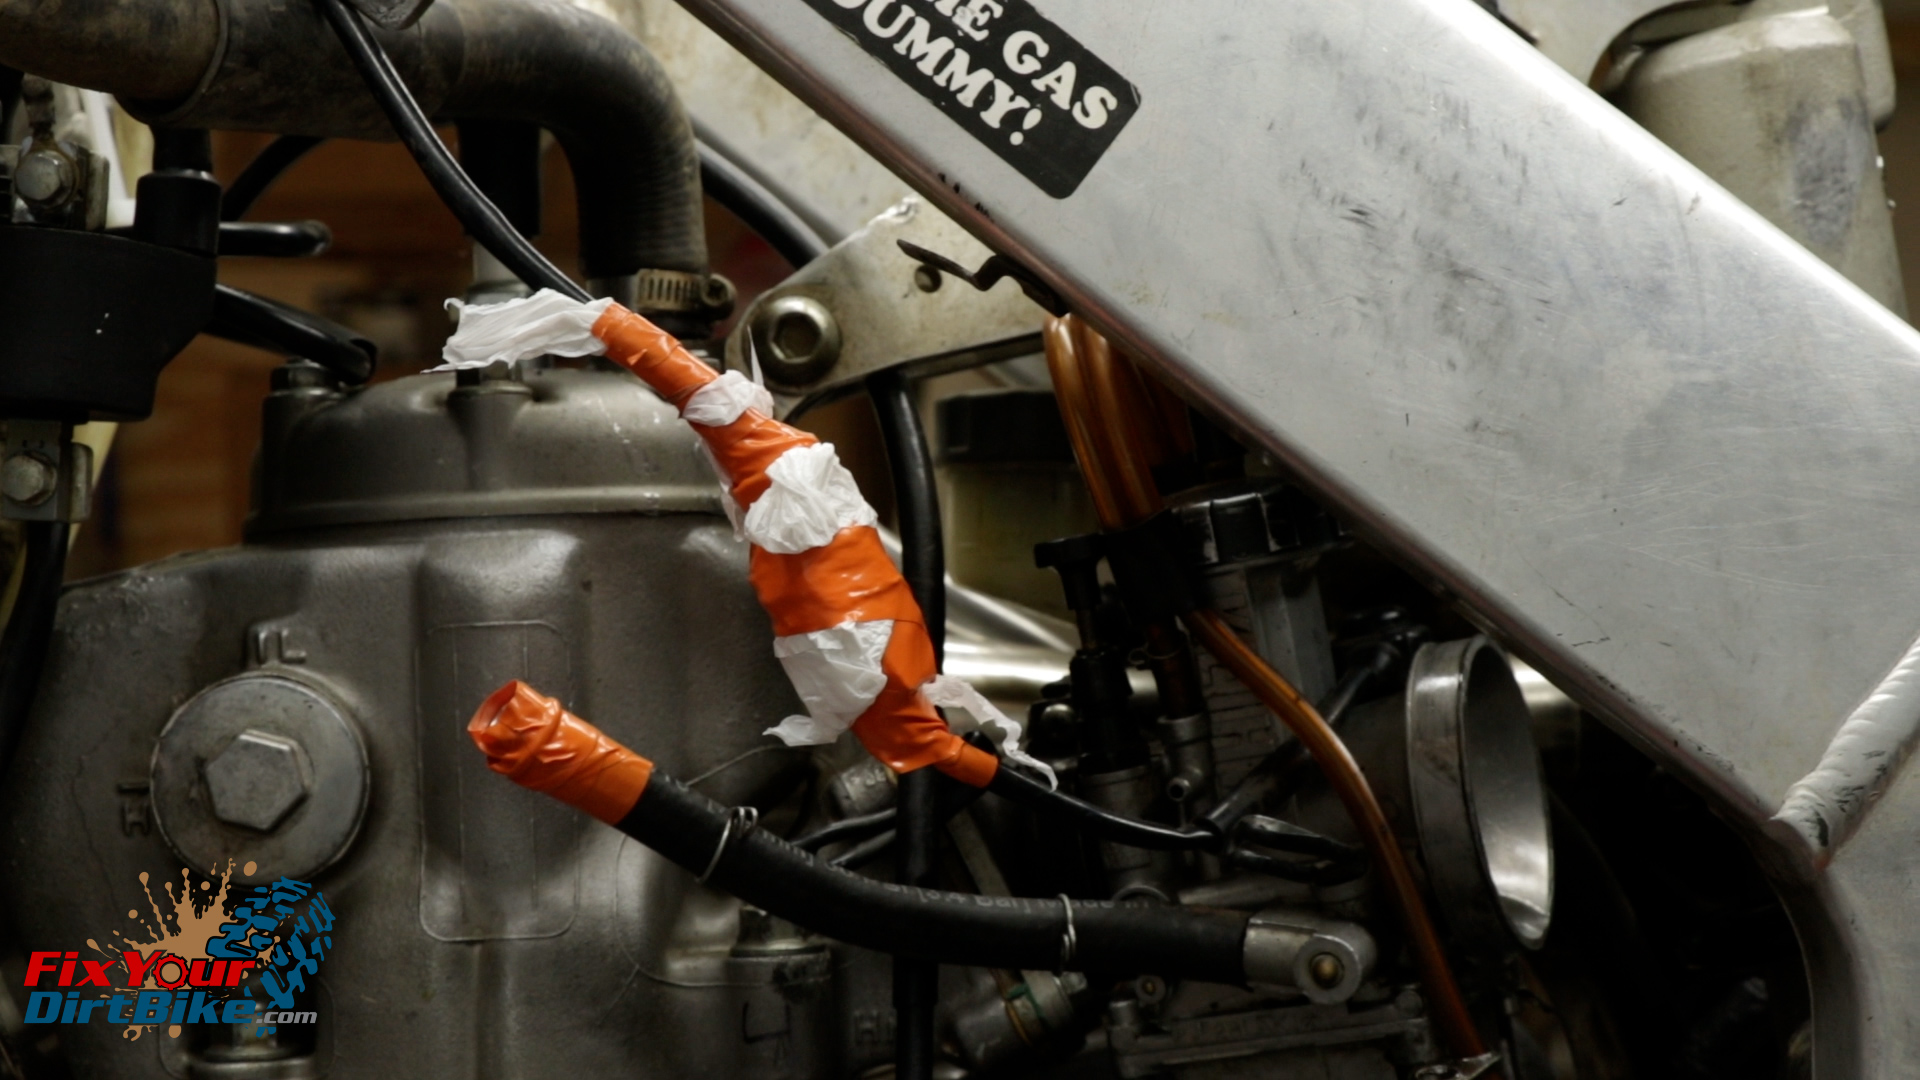
Whether you use a pressure washer to clean your frame, you must protect the exposed air, fuel, and electrical components.
- Plug your main fuel line with a CLEAN bolt and seal it with electrical tape.
- If you have a power jet solenoid, wrap the harness with a plastic sack and electrical tape.
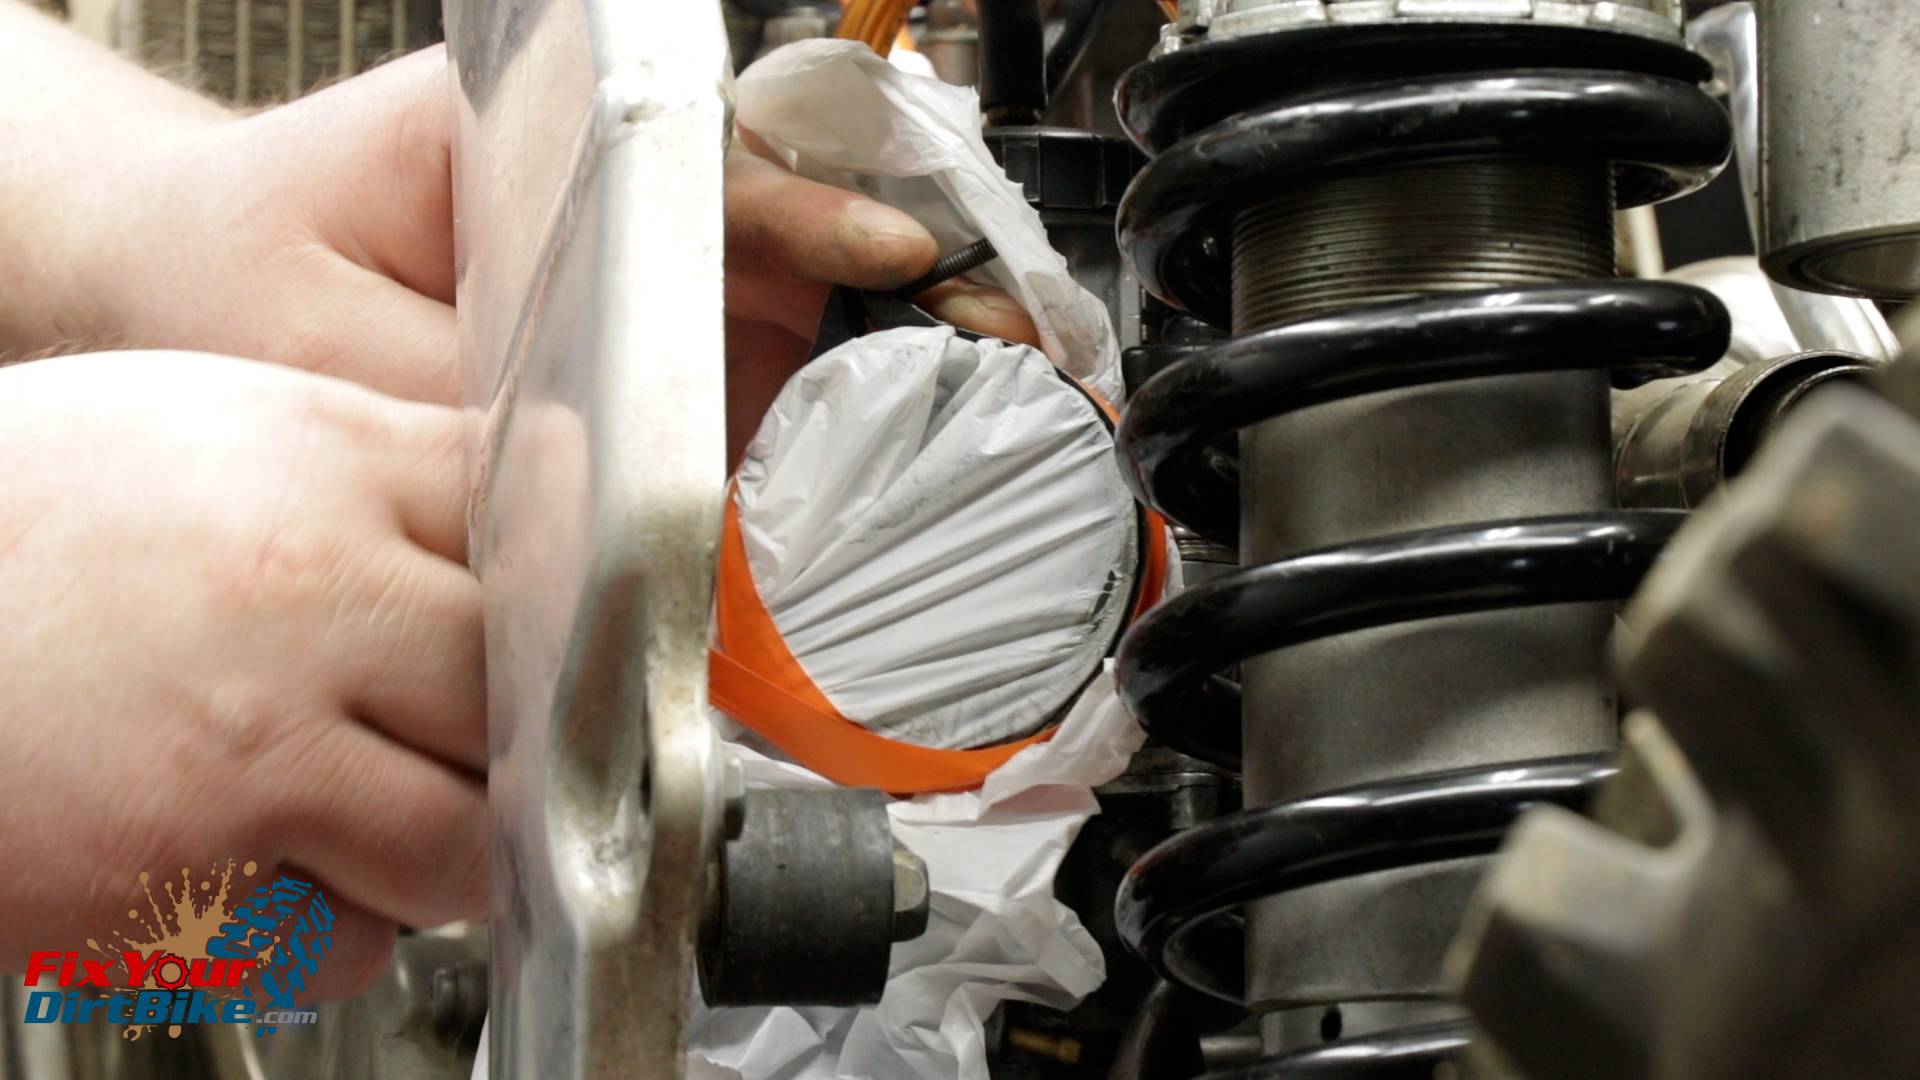
- Take the clamp from your airbox, place a plastic sack over the carburetor intake, and secure it with electrical tape.
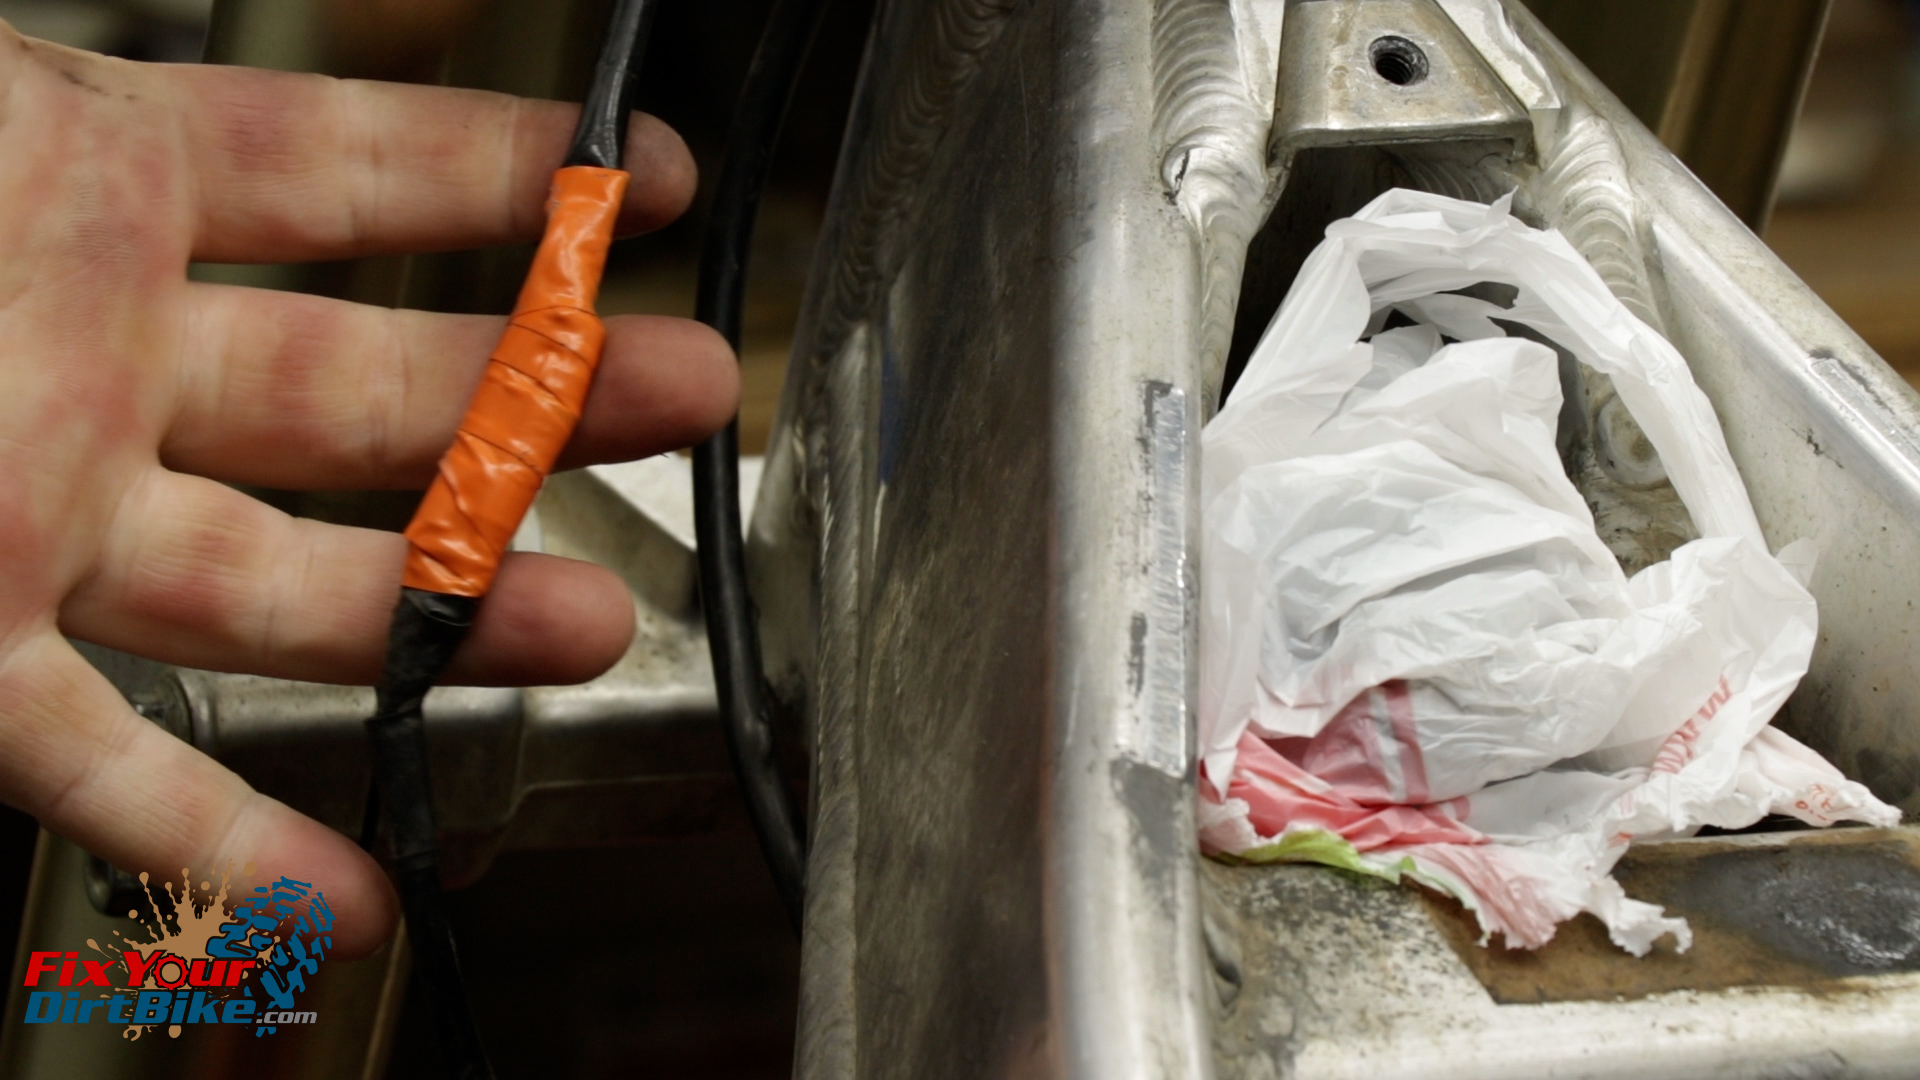
- Cover your CDI with a plastic sack and shove it between the frame rails.
- Find your engine stop switch connections and wrap them in electrical tape.
These electrical components are designed to be waterproof, but taking 5 minutes to be sure could save you a considerable headache.
Gas Tank Cleaning
- Drain your gas tank and remove the petcock.
- Clean the petcock body, fuel filter, and O-ring with a soft bristle brush and carb cleaner.
- This tank is plastic, so I can clean it with water.
Silencer Ressurection
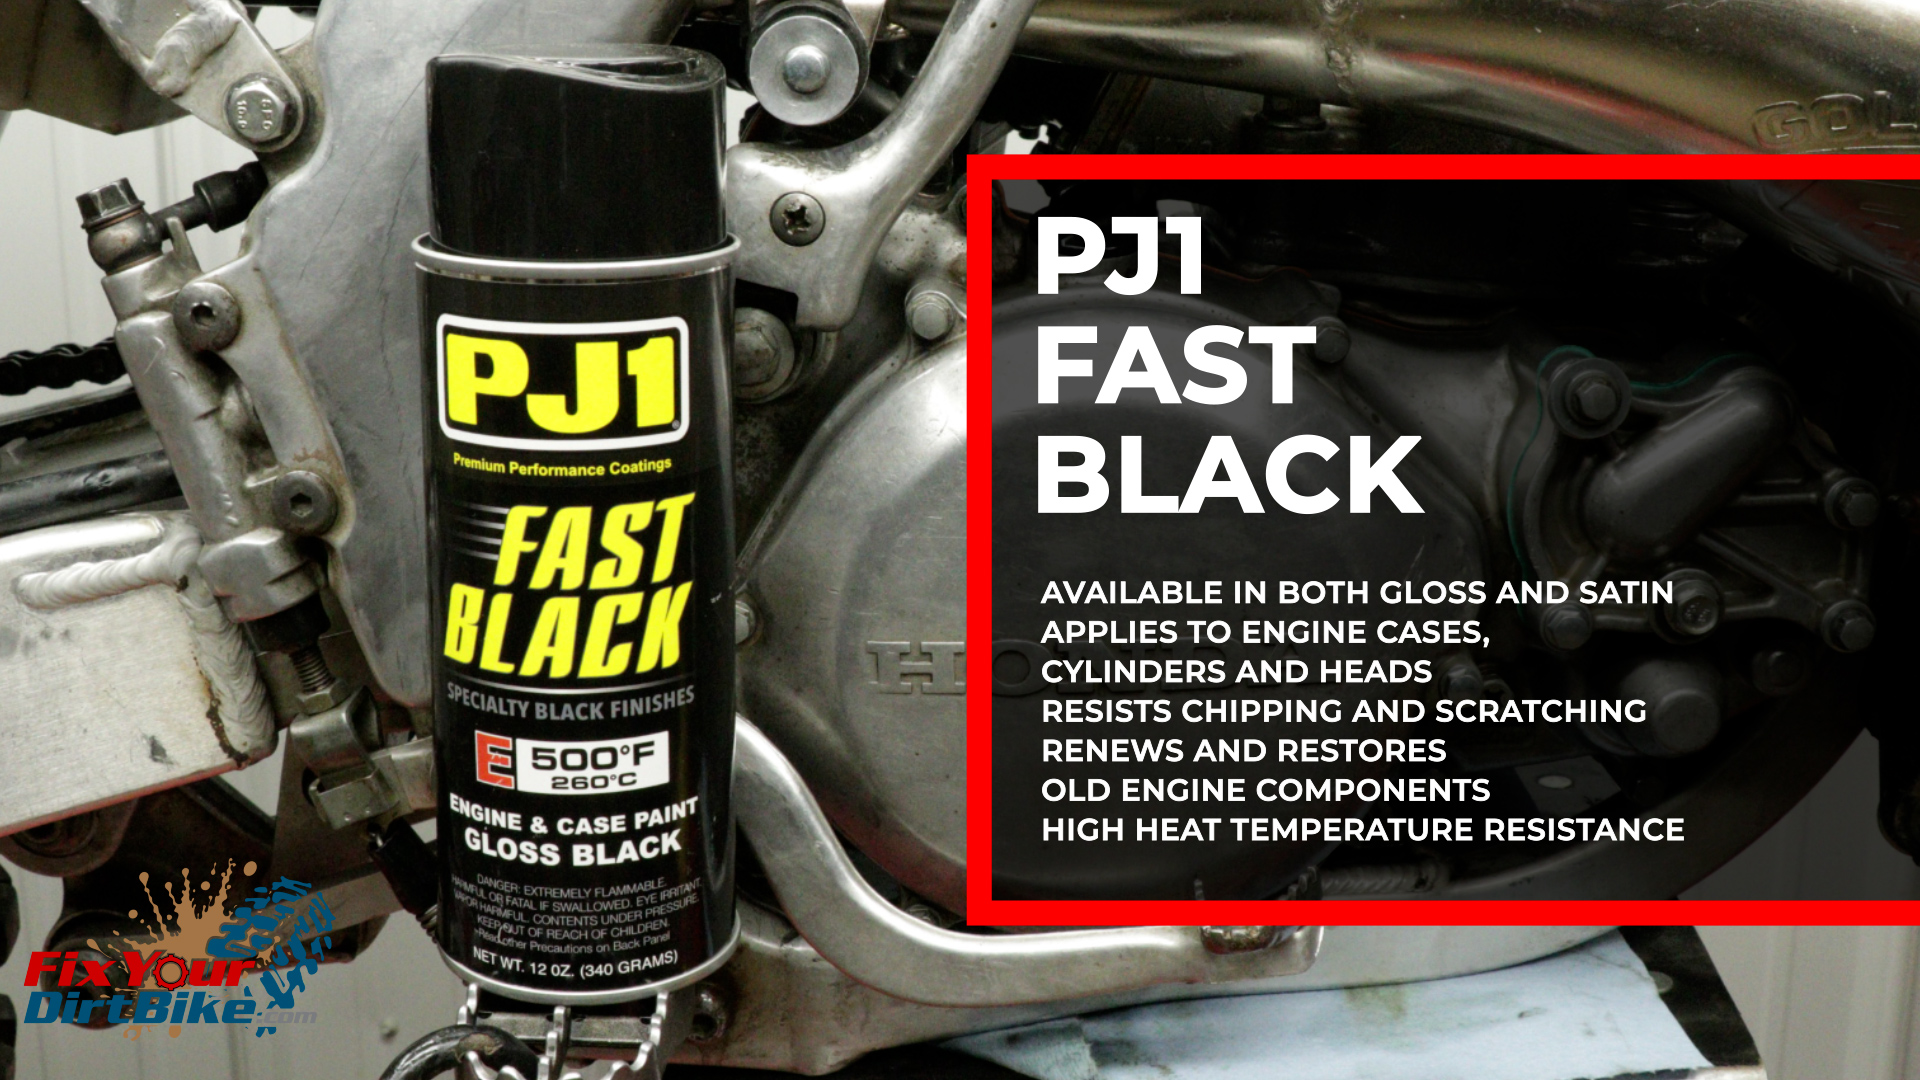
New Product – PJ1 Fast Black → https://amzn.to/4fTTsgq
My silencer packing was still in good shape, so I will keep using it.
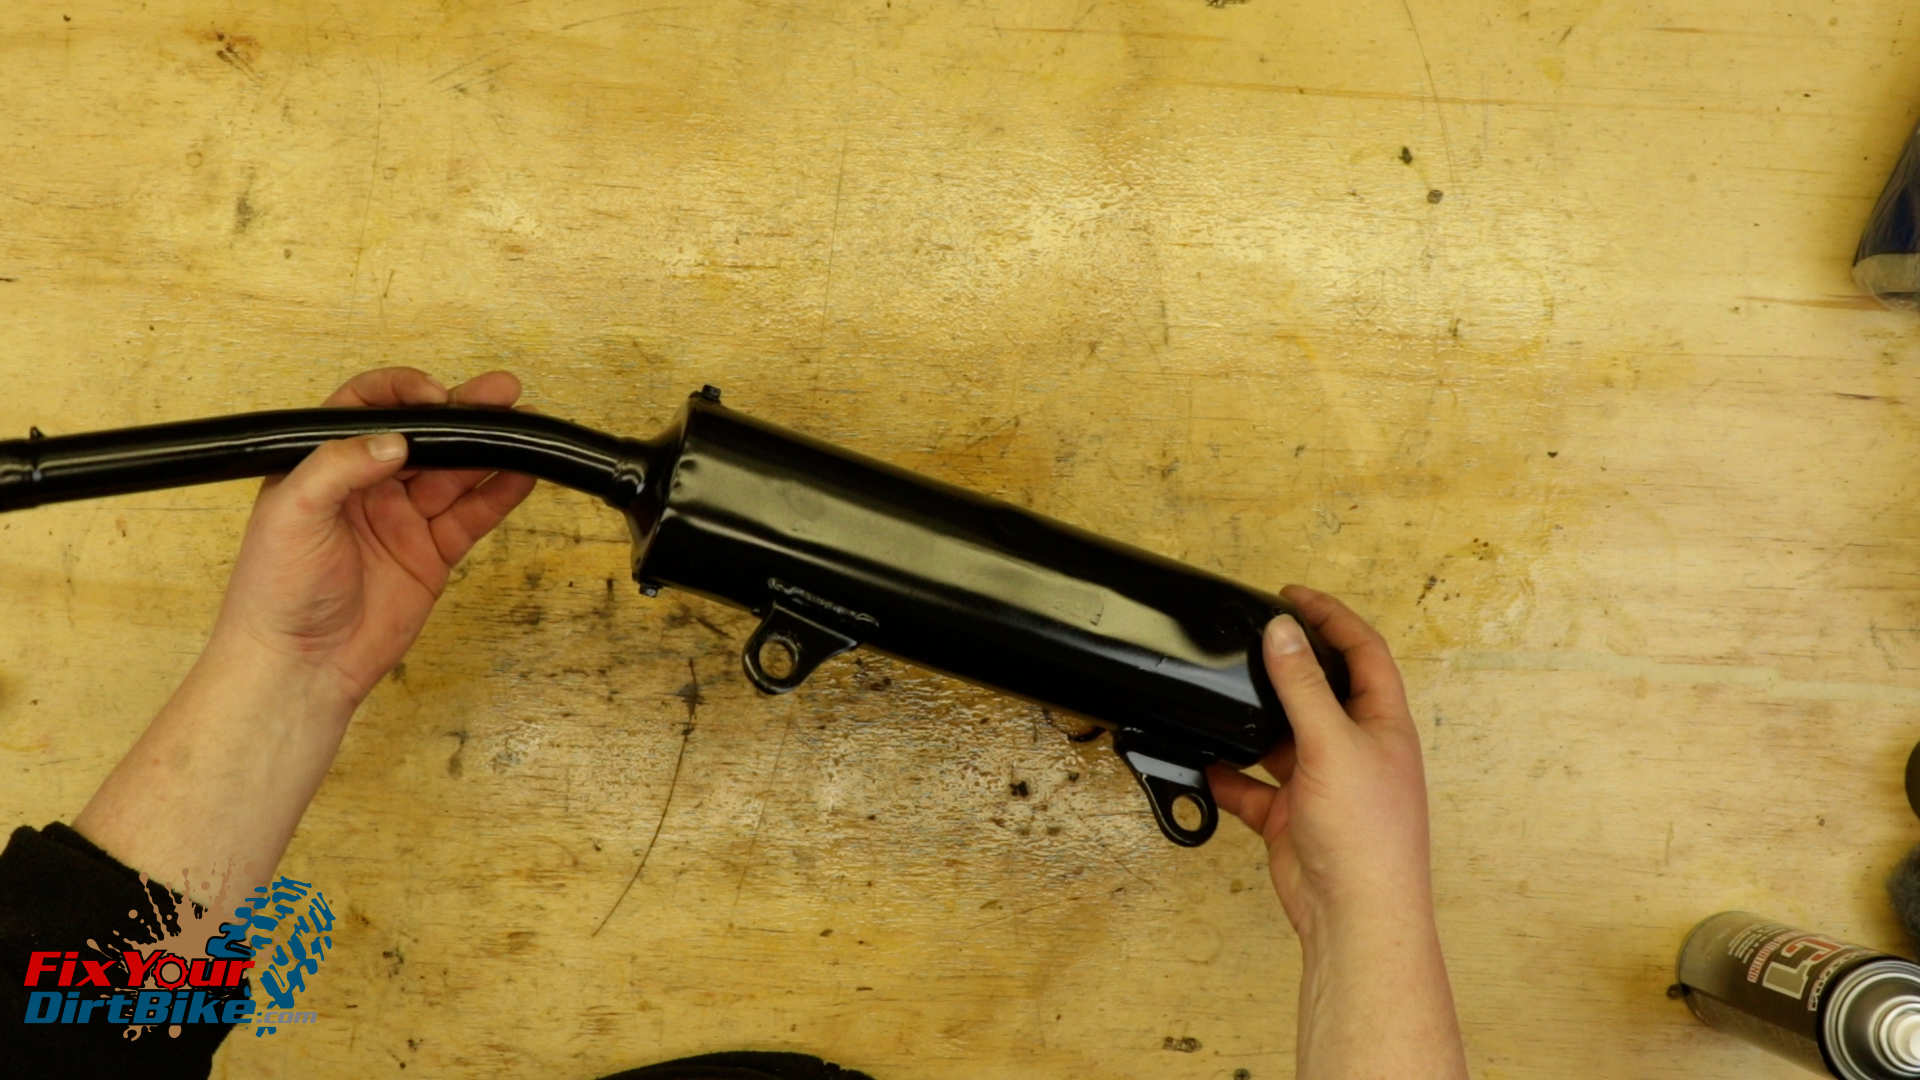
However, the silencer body has seen better days, so I will try high-heat paint to bring it back to life.
The paint I’m going to try out is PJ1 Fast Black. Fast Black is a high gloss black coating that can withstand up to 500 degrees.
I started by thoroughly cleaning the parts with parts cleaner, followed by a once-over with 120-grit sandpaper and then a wipe-down with Xylene.
I applied three coats of paint, with 30 minutes between the first and second coats and about 4 hours between the second and third coats, to ensure the first two coats… no, I got distracted.
I like how it looks on my silencer, so I might paint the engine next winter. Or next week, when I get bored, the backyard gets small, really fast.
Air Filter
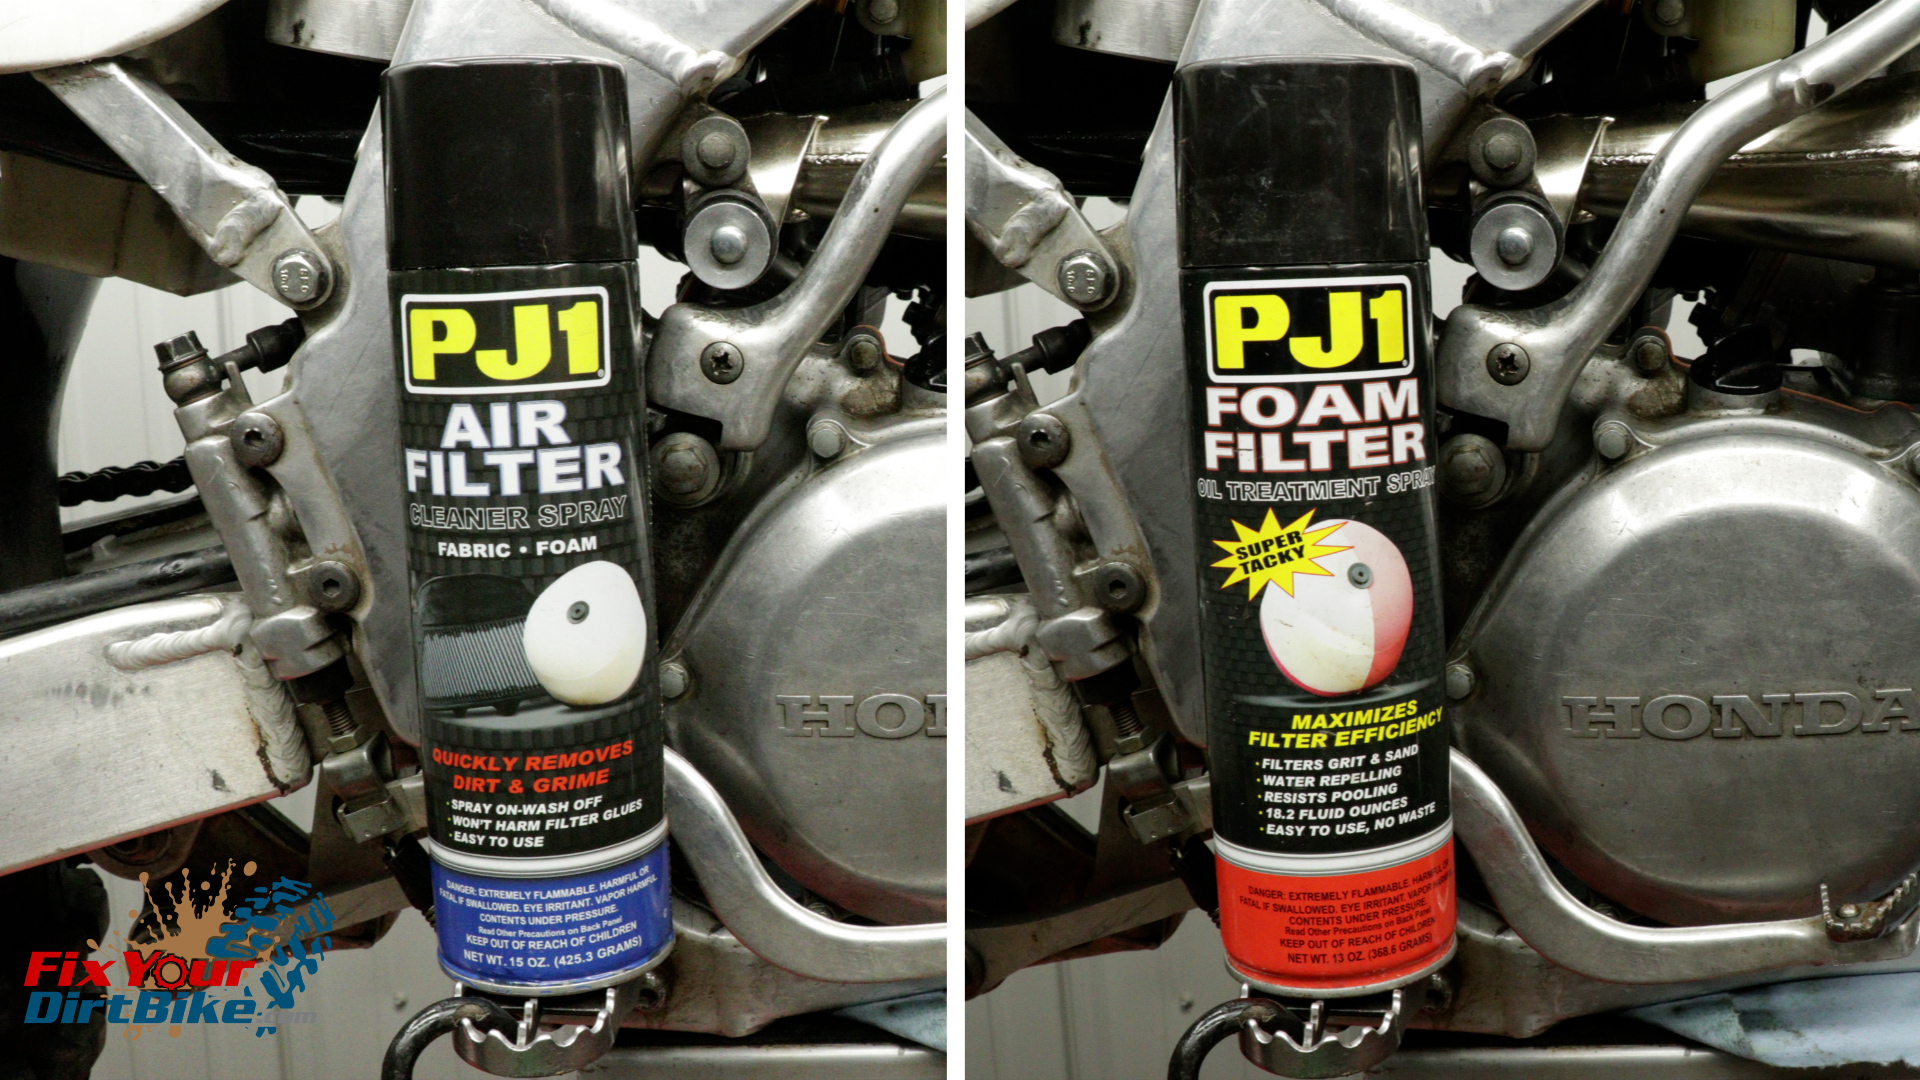
Go-To Product – PJ1 Air Filter Cleaner And Oil → https://amzn.to/3PuqAjW
You should clean your air filter after every ride, so this should not be anything new to you. However, I want to show you my go-to filter cleaner and oil combination, PJ1.
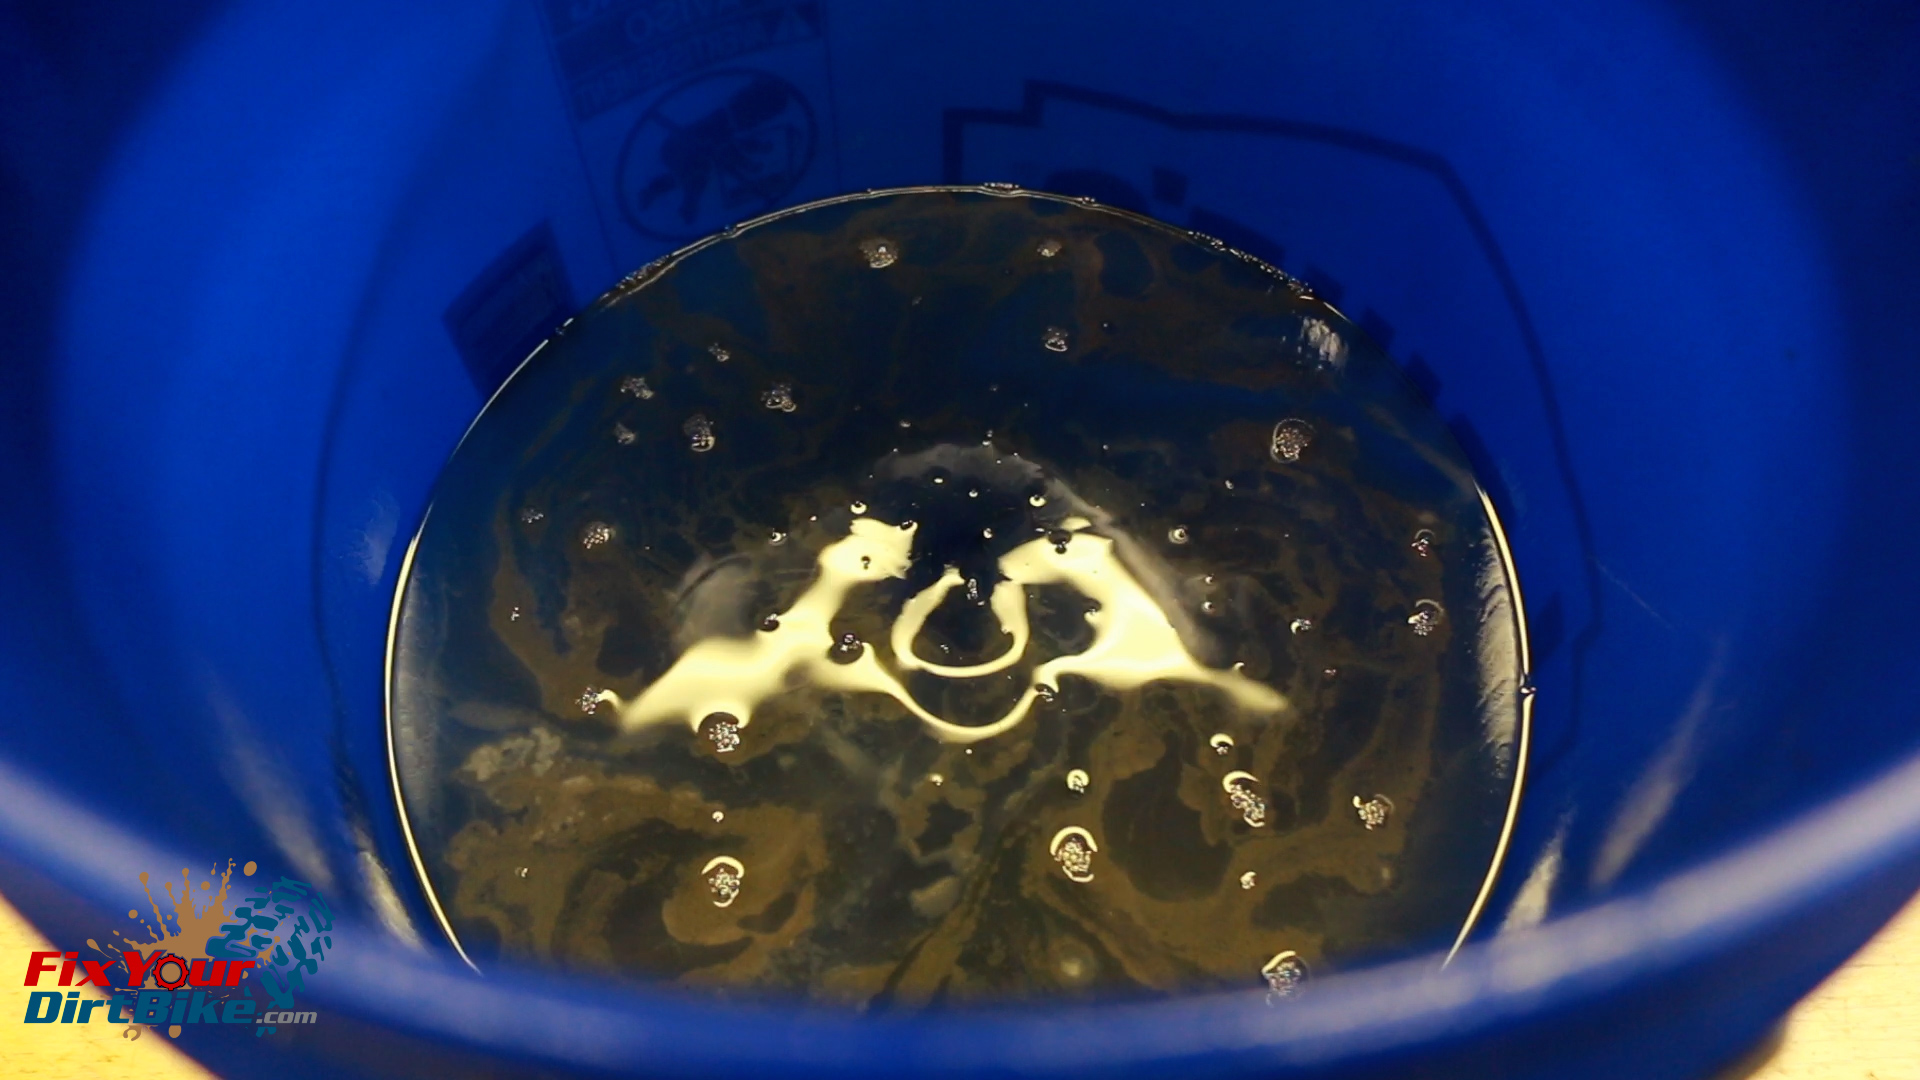
I like to soak my filter with the PJ1 cleaner, then let it hang over a bucket for about 10 minutes before I rinse it and hang it out to dry.
This filter has been in my backyard for about 3 hours, and it was LOADED with dust, meaning the PJ1 filter oil did its job.
Besides the performance, PJ1 is my go-to cleaner and oil combination for two reasons:
- First, they are specifically made to work together. The cleaner breaks down the oil inside the filter, taking the garbage.
- And two, it doesn’t take much, so each can typically last me a whole season.
Pre-Wash Notes
You do not need a power washer to wash your bike, but it does make things easier. That being said, if you do use a power washer, you need to be careful where you point it because it can cause severe damage.
The areas you need to avoid are:
- The radiator
- Anything electrical
- Your carburetor intake
- External seals like the output shaft and kickstarter
- And don’t spend too much time in direct contact with gaskets.
Even a basic electric pressure washer like mine can shred a seal and blow through a gasket, so be careful! Don’t start your season with a vacuum leak!
Power Washing
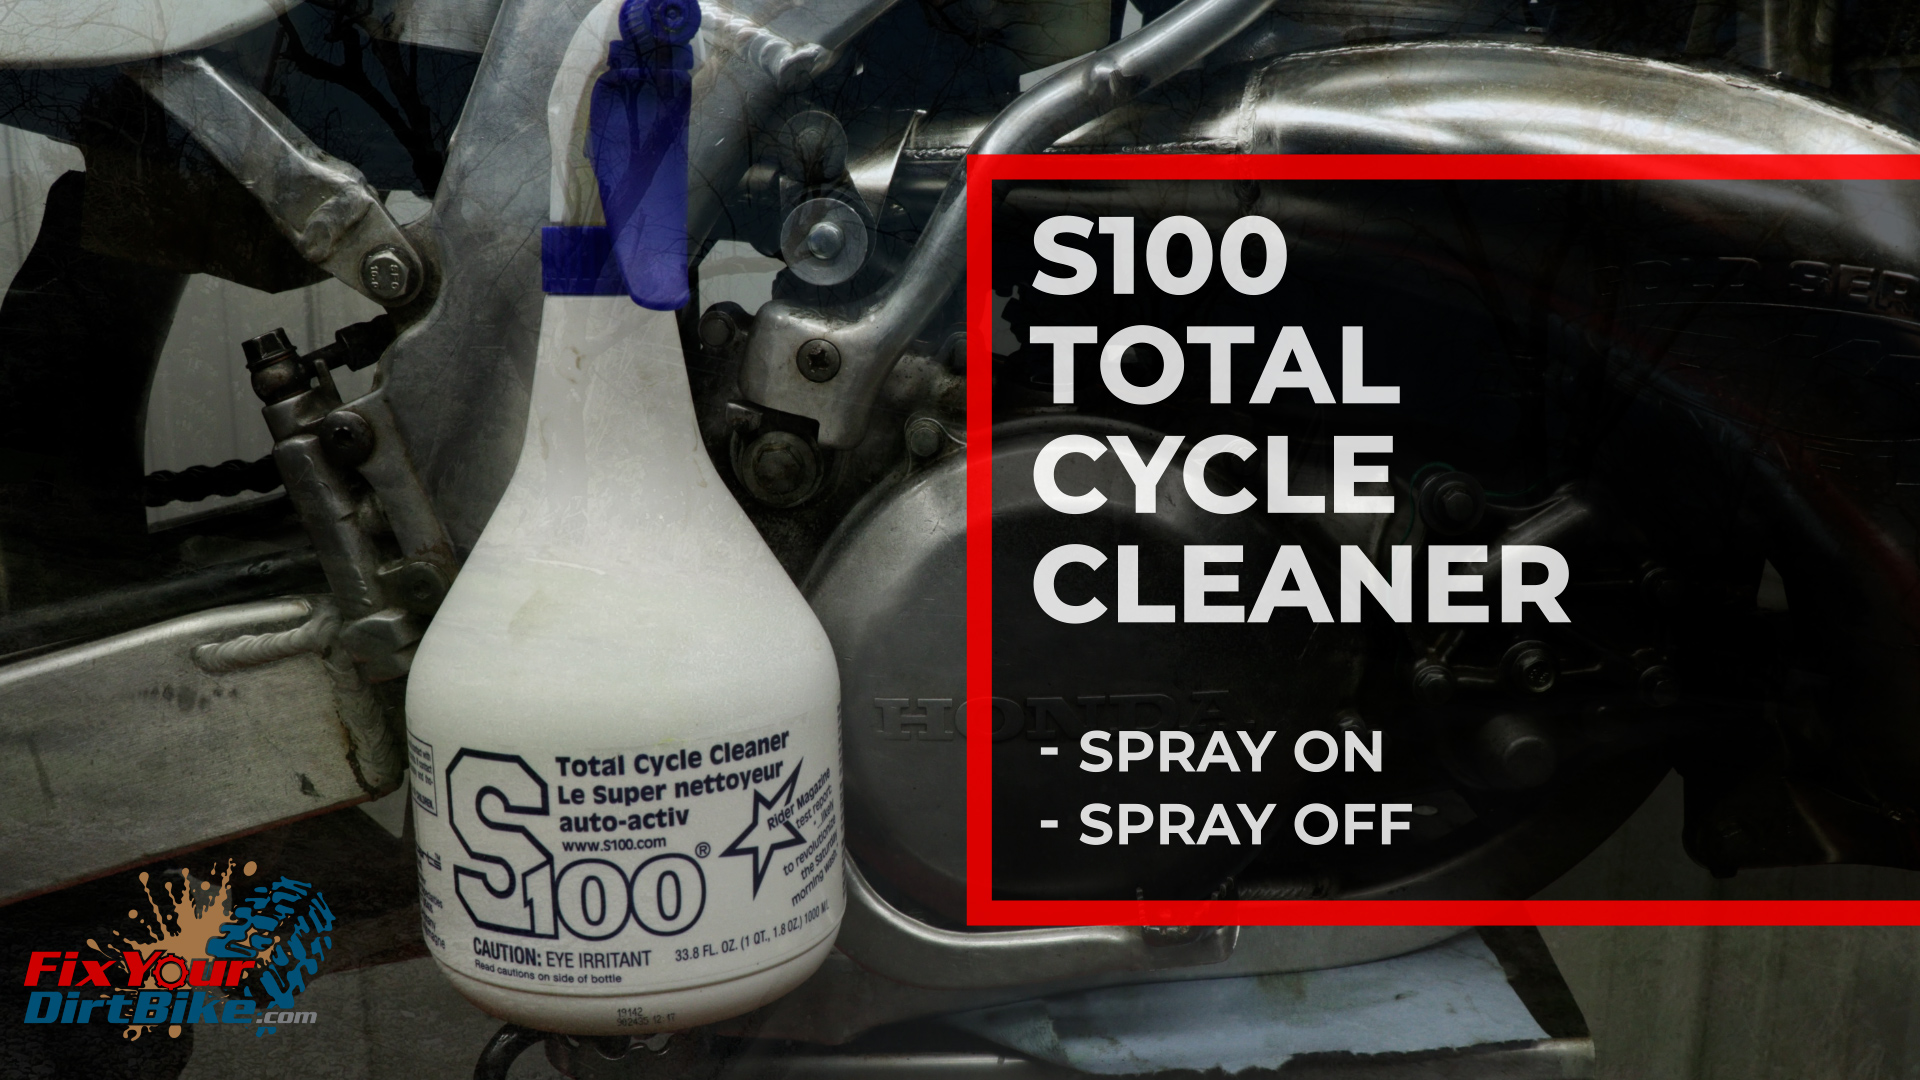
New Product – S100 Total Cycle Cleaner → https://amzn.to/4fRFn33
No matter how dirty my bike is, I always start with basic power washer detergent from a foamer, then wash that off with a wide nozzle.
Earlier, I mentioned that pre-soaking my plastics is pointless now, thanks to the S100 total cycle cleaner. I’ve never used S100, as my routine of pre-soaking and pressure has always done the job.
I was initially skeptical because I’ve spent so much time using chemicals from a spray can that anything in a spray bottle wouldn’t be strong enough.
Well, I was very wrong.
One application of S100 removed dirt and grease from the frame and plastics, which I had given up trying to clean without a sandblaster. So, that’s two new products added to my shelf.
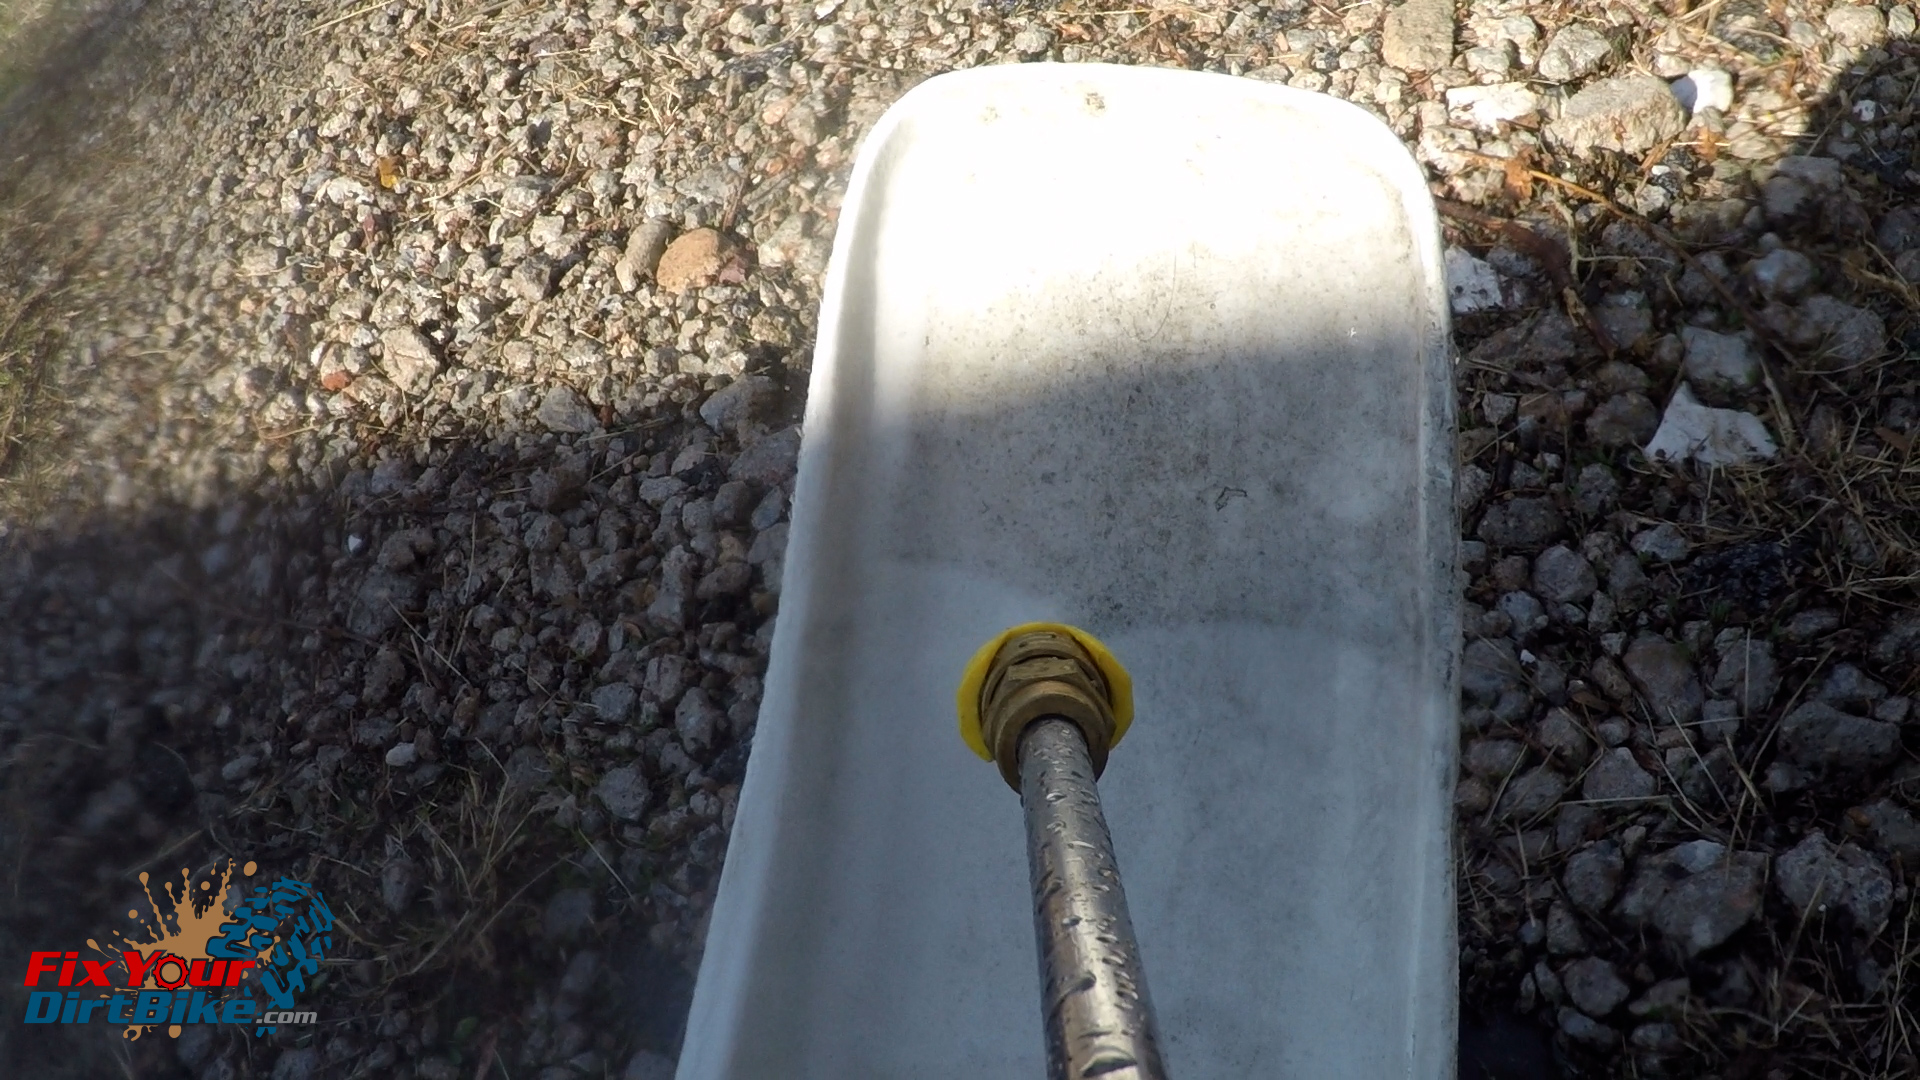
Wheels
Go-To Product – Stiff Brush & Elbow Grease
A power washer makes washing your bike easy, but there’s no substitute for a stiff brush and elbow grease.
I like to go around my rim several times with a stiff brush and soapy water to clean off any dirt or corrosion that washing missed. This gives me a chance to examine my rims closely. If I find any excessive corrosion or damage, I can fix it now instead of at peak riding time.
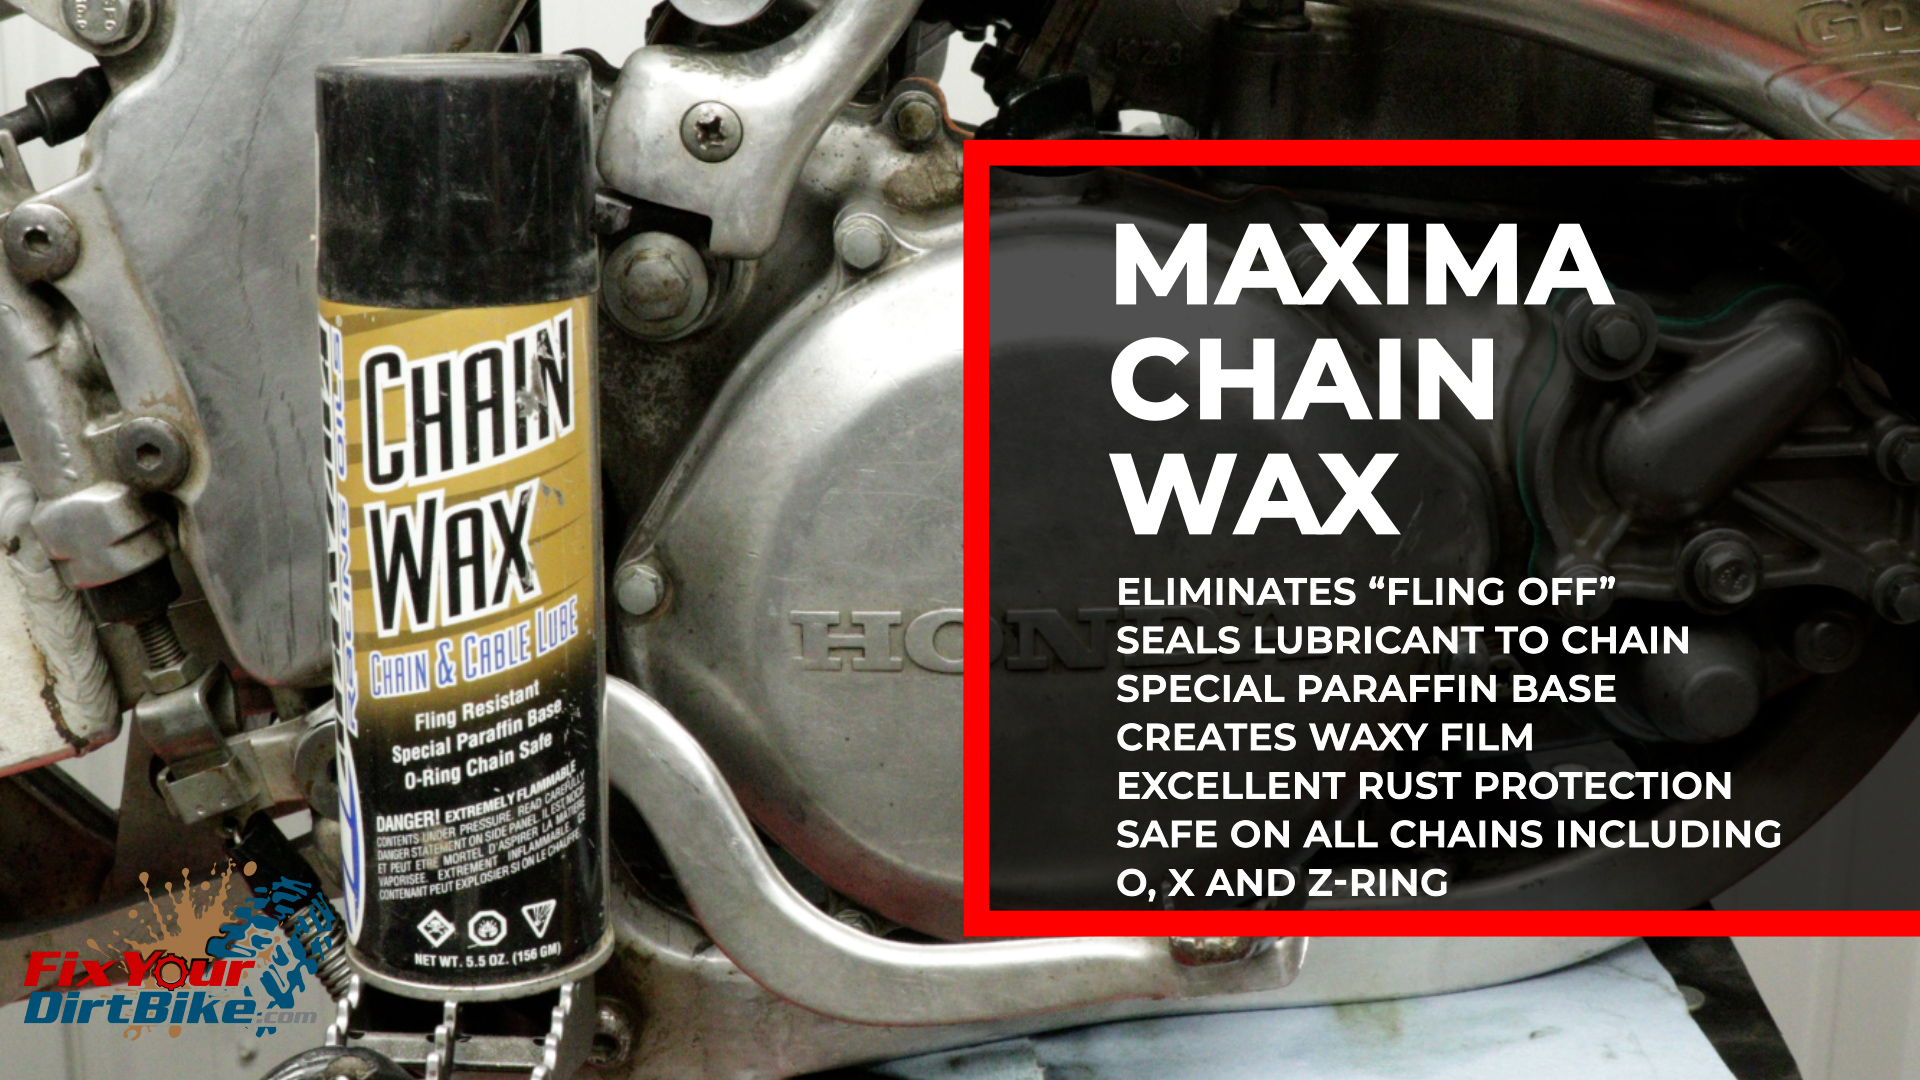
Chain Maintenance
Go-To Product – Maxima Chain Wax → https://amzn.to/3Pu3M3P
What to use on your chain is always a topic of debate. I won’t tell you one coating is better than another because it depends on your riding conditions and personal experience.
However, there is one definite truth about chain maintenance: Clean the damn thing after every ride!
A neglected chain can turn into a long walk. By the way, what do you carry in your trail pack? Hopefully, more than Gatorade and Clif bars!
For the riding conditions I’m expecting, which are none, I’m going to use Maxima Chain Wax. I like to use wax when I’m storing bikes because it’s great at repelling moisture. The catch with wax, though, is that the chain needs to be warm for optimal adhesion.
If you can’t ride for whatever reason, a torch or heat gun will do the trick. The chain does not need to be hot; it should just be warm to the touch, so keep the heat even and the chain moving. Apply your coating and wipe off any overspray.
Cable Lubrication
Go-To Products
- PJ1 Cable Lubrication → https://amzn.to/3BRlETj
- Motion Pro Cable Luber → https://amzn.to/4gLzmGd
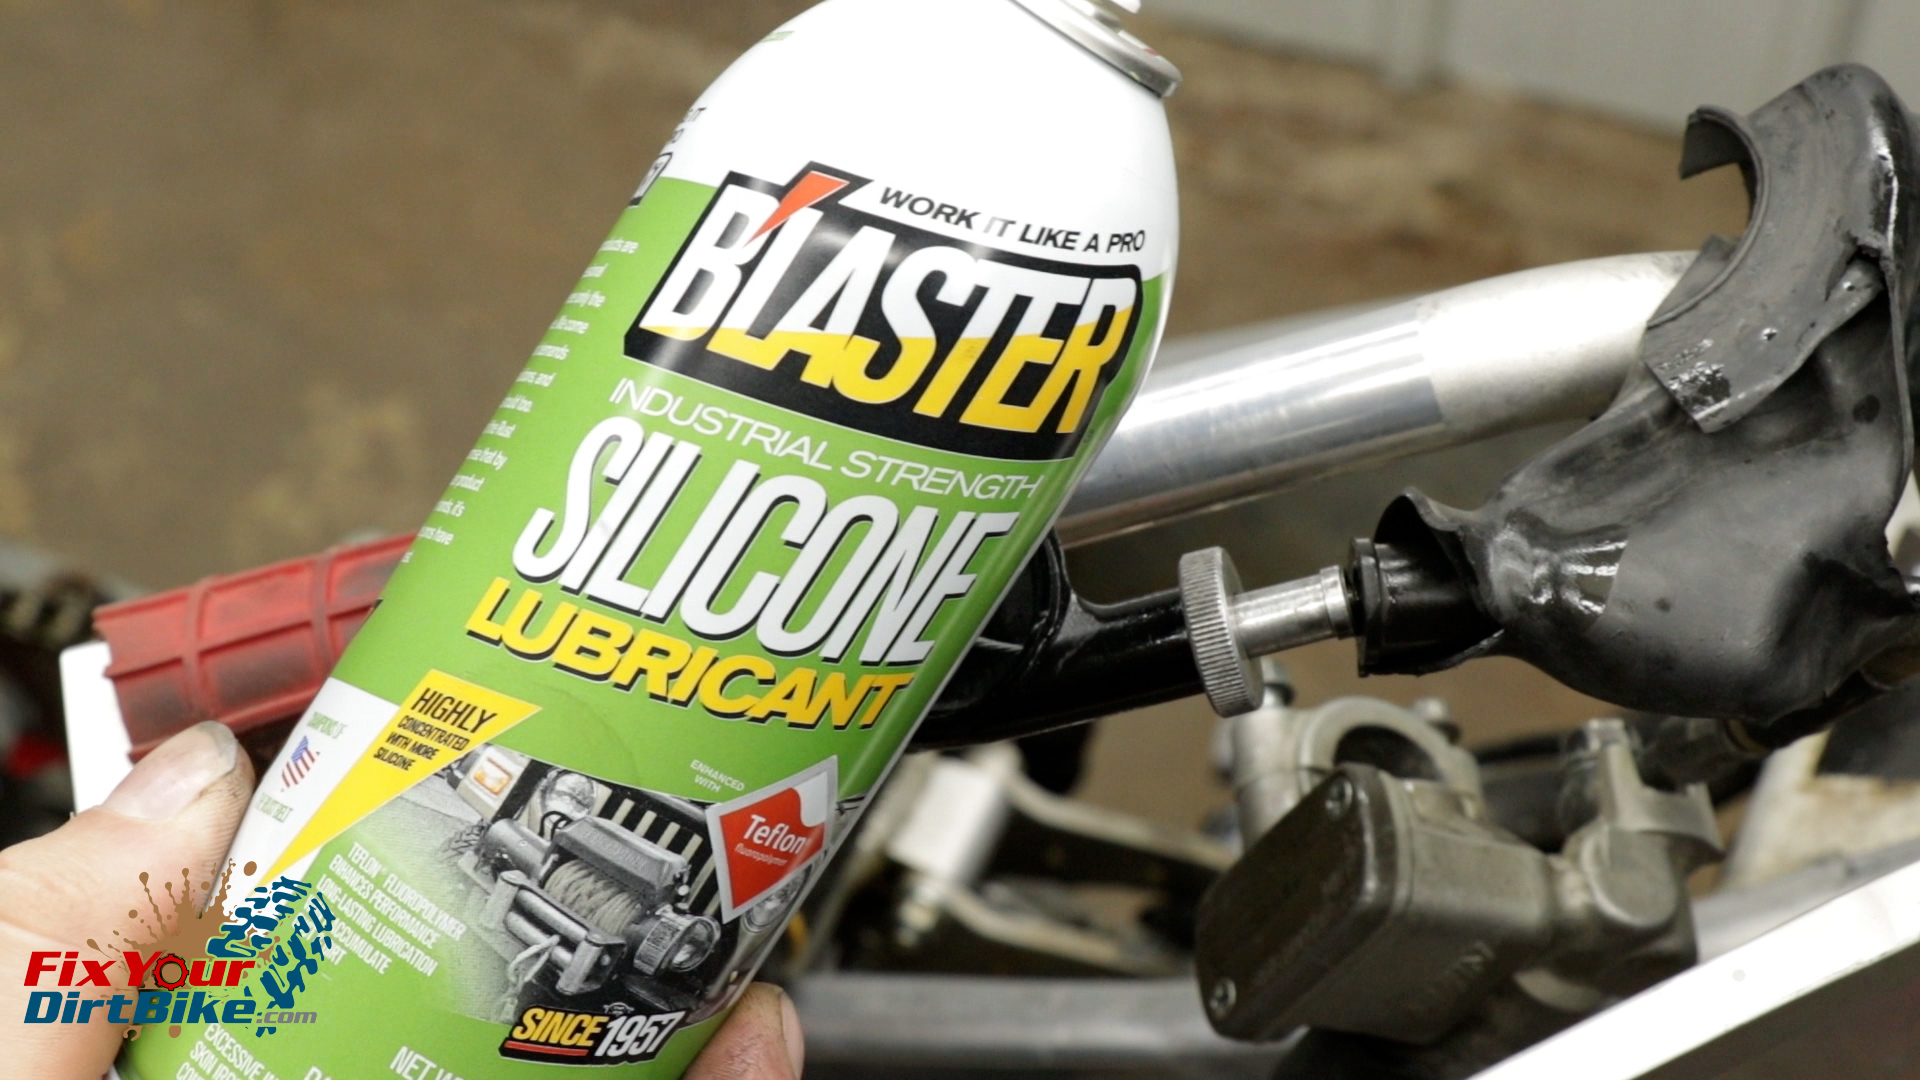
New Product – PB Blaster Silicone Lubricant → https://amzn.to/3WcFVcM
Lubricating your cables can get messy, so keep your towels handy. I am using PJ1 cable lube, but any liquid lubricant will work.
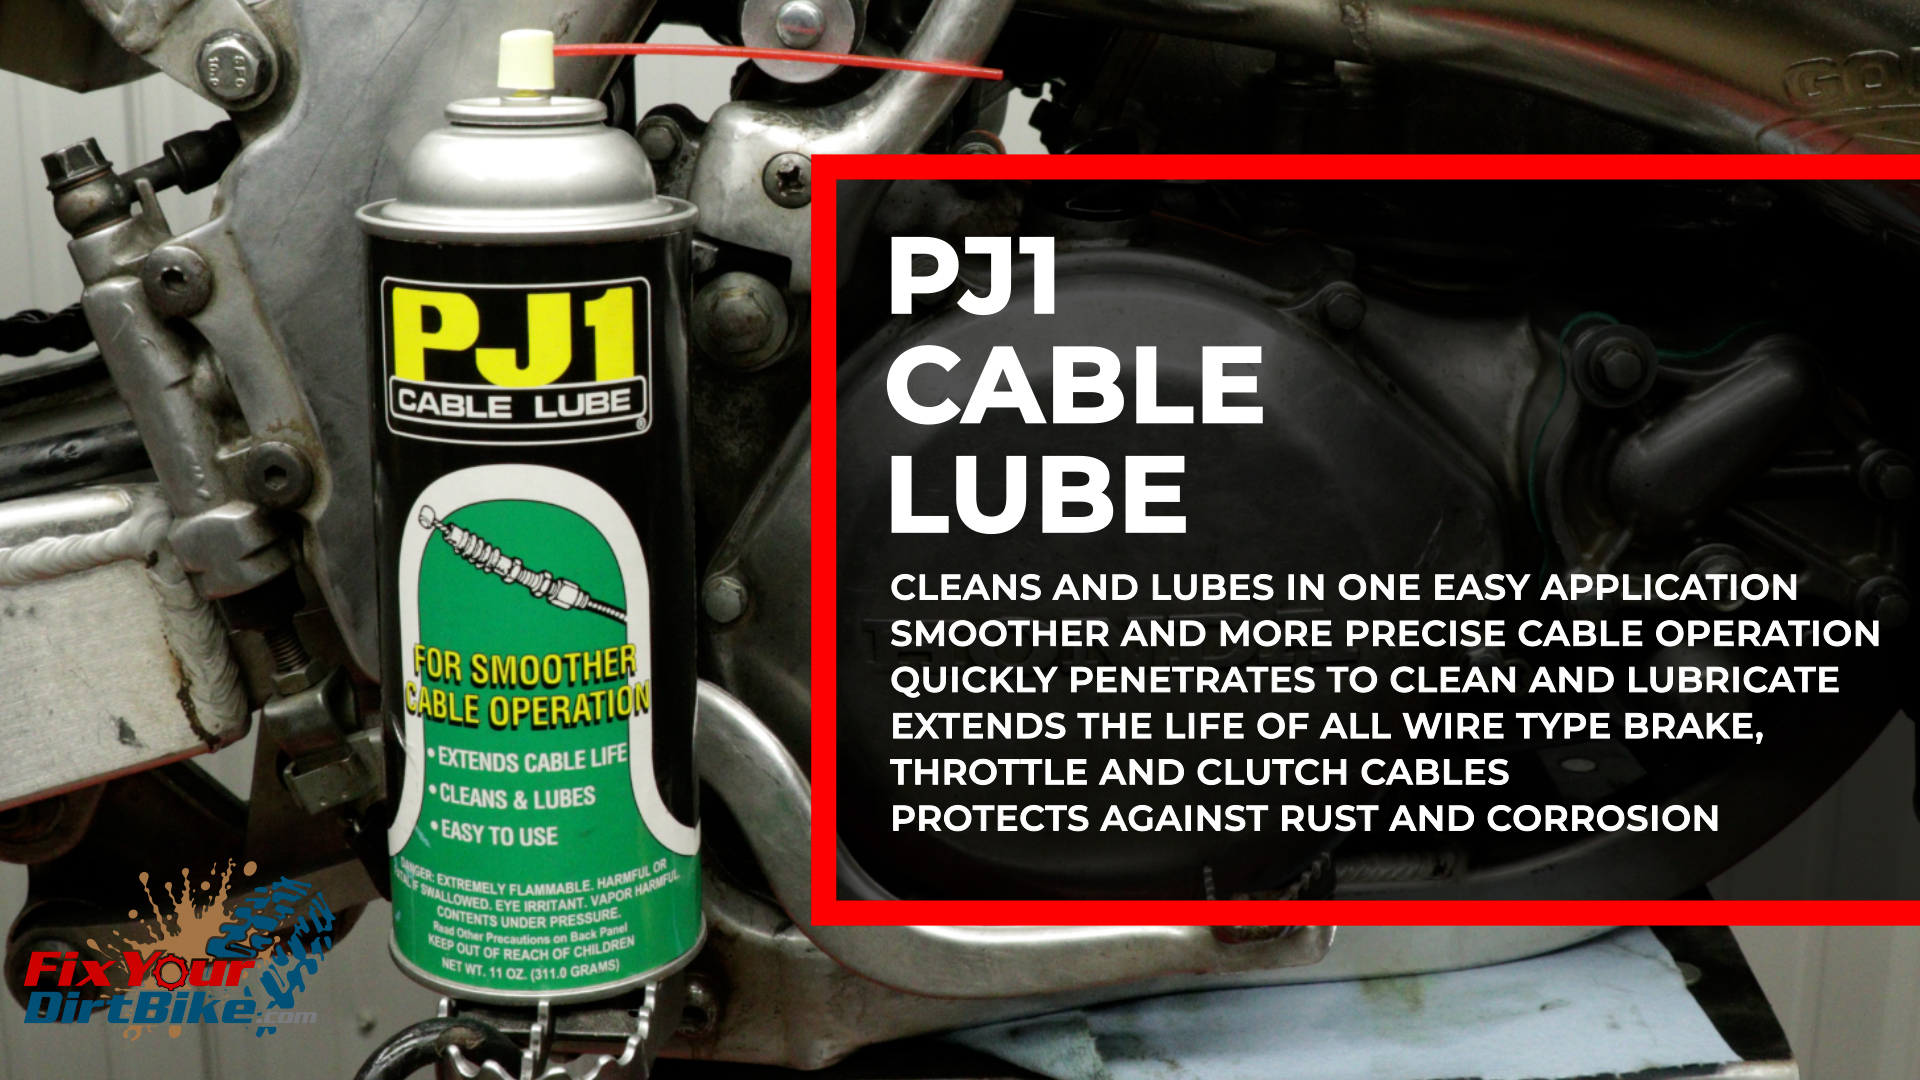
White lithium grease would be excellent, but most aerosol lithium is designed to foam up, and it won’t easily make it to the other end of the tube.
PB Blaster just released a silicone lube that looks like it would work, but it lacks the cleaning agents that PJ1 has.
You must disconnect your throttle and clutch cable on both ends, but you do not need to remove them completely.
- Remove the throttle cable housing cover, followed by the cam wheel.
- Unhook the cable and unscrew it from the housing.
- You can spray from here if you don’t have a lubrication clamp.
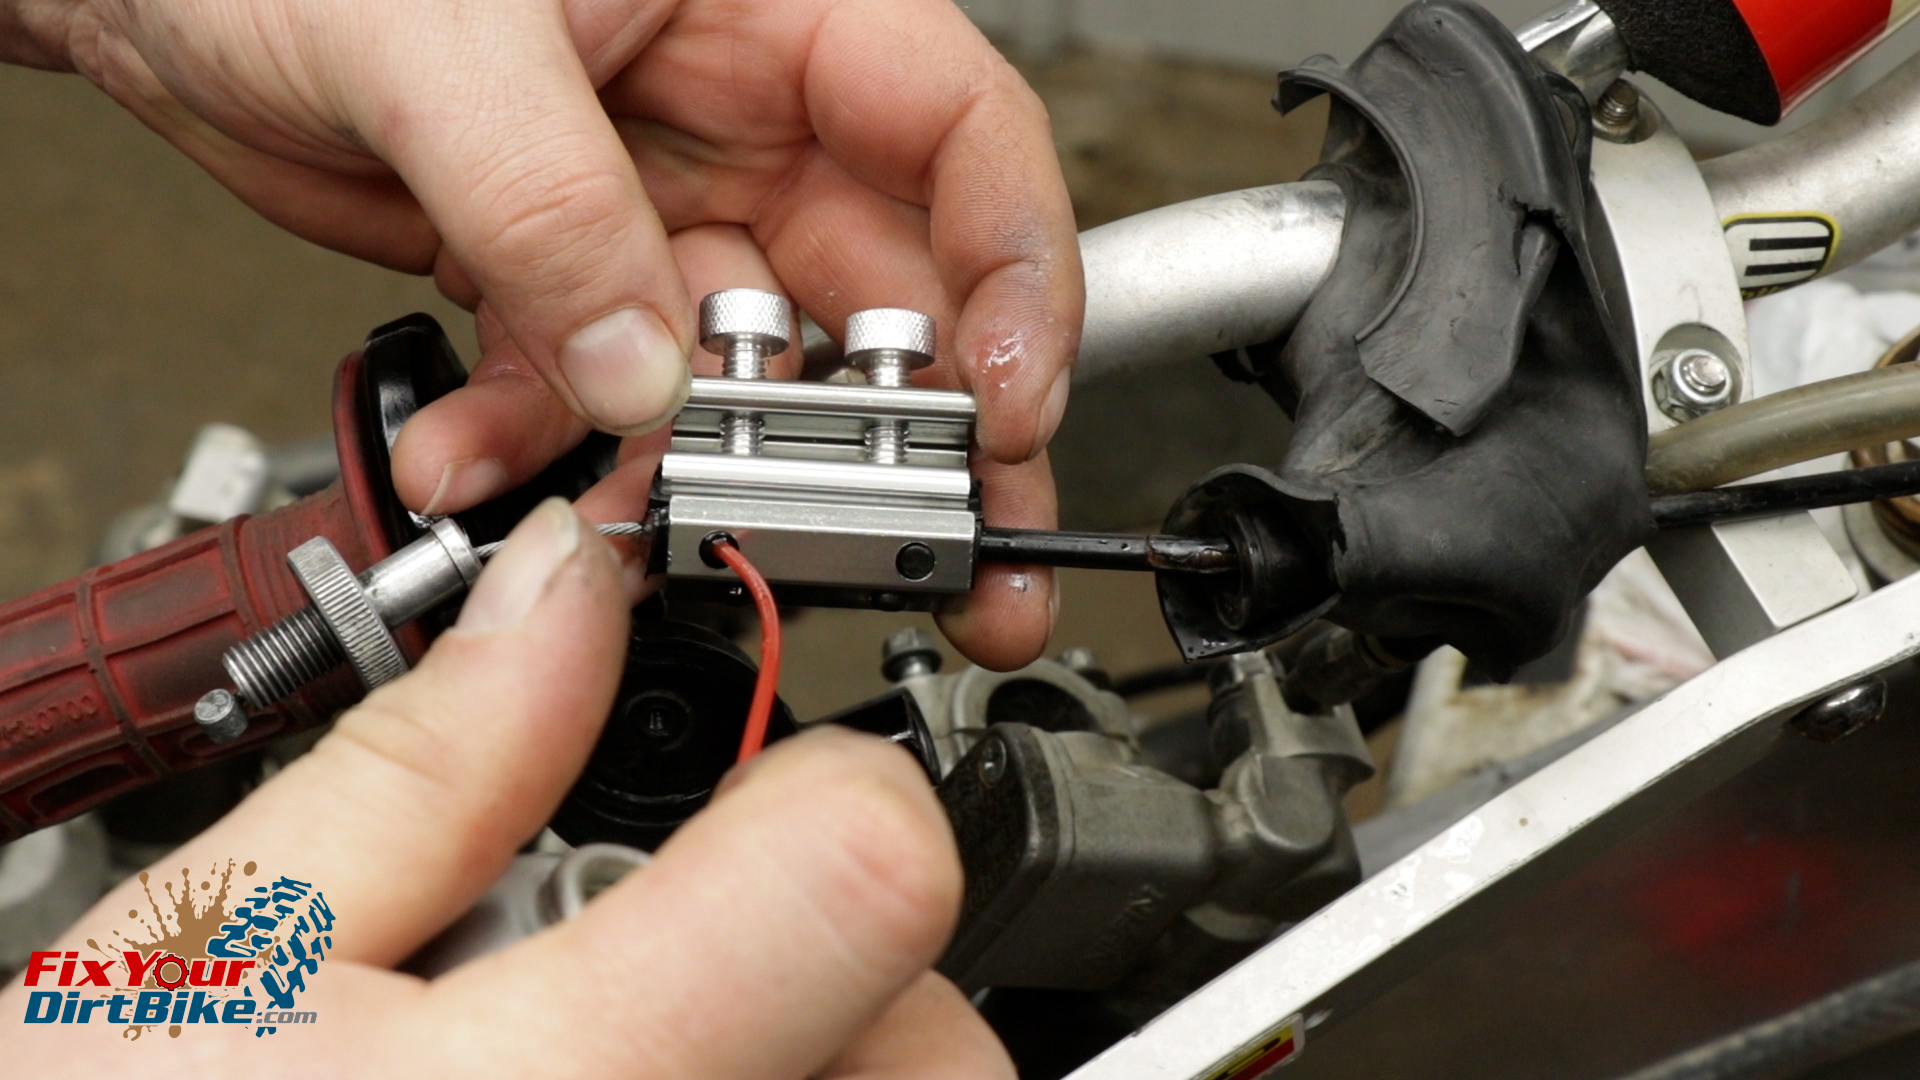
- Pull the cable mount away from the cable jacket if you have a clamp.
- This cable lubrication clamp only costs $10 and saves time and mess.
- Just seat the cable end in the rubber and clamp it down.
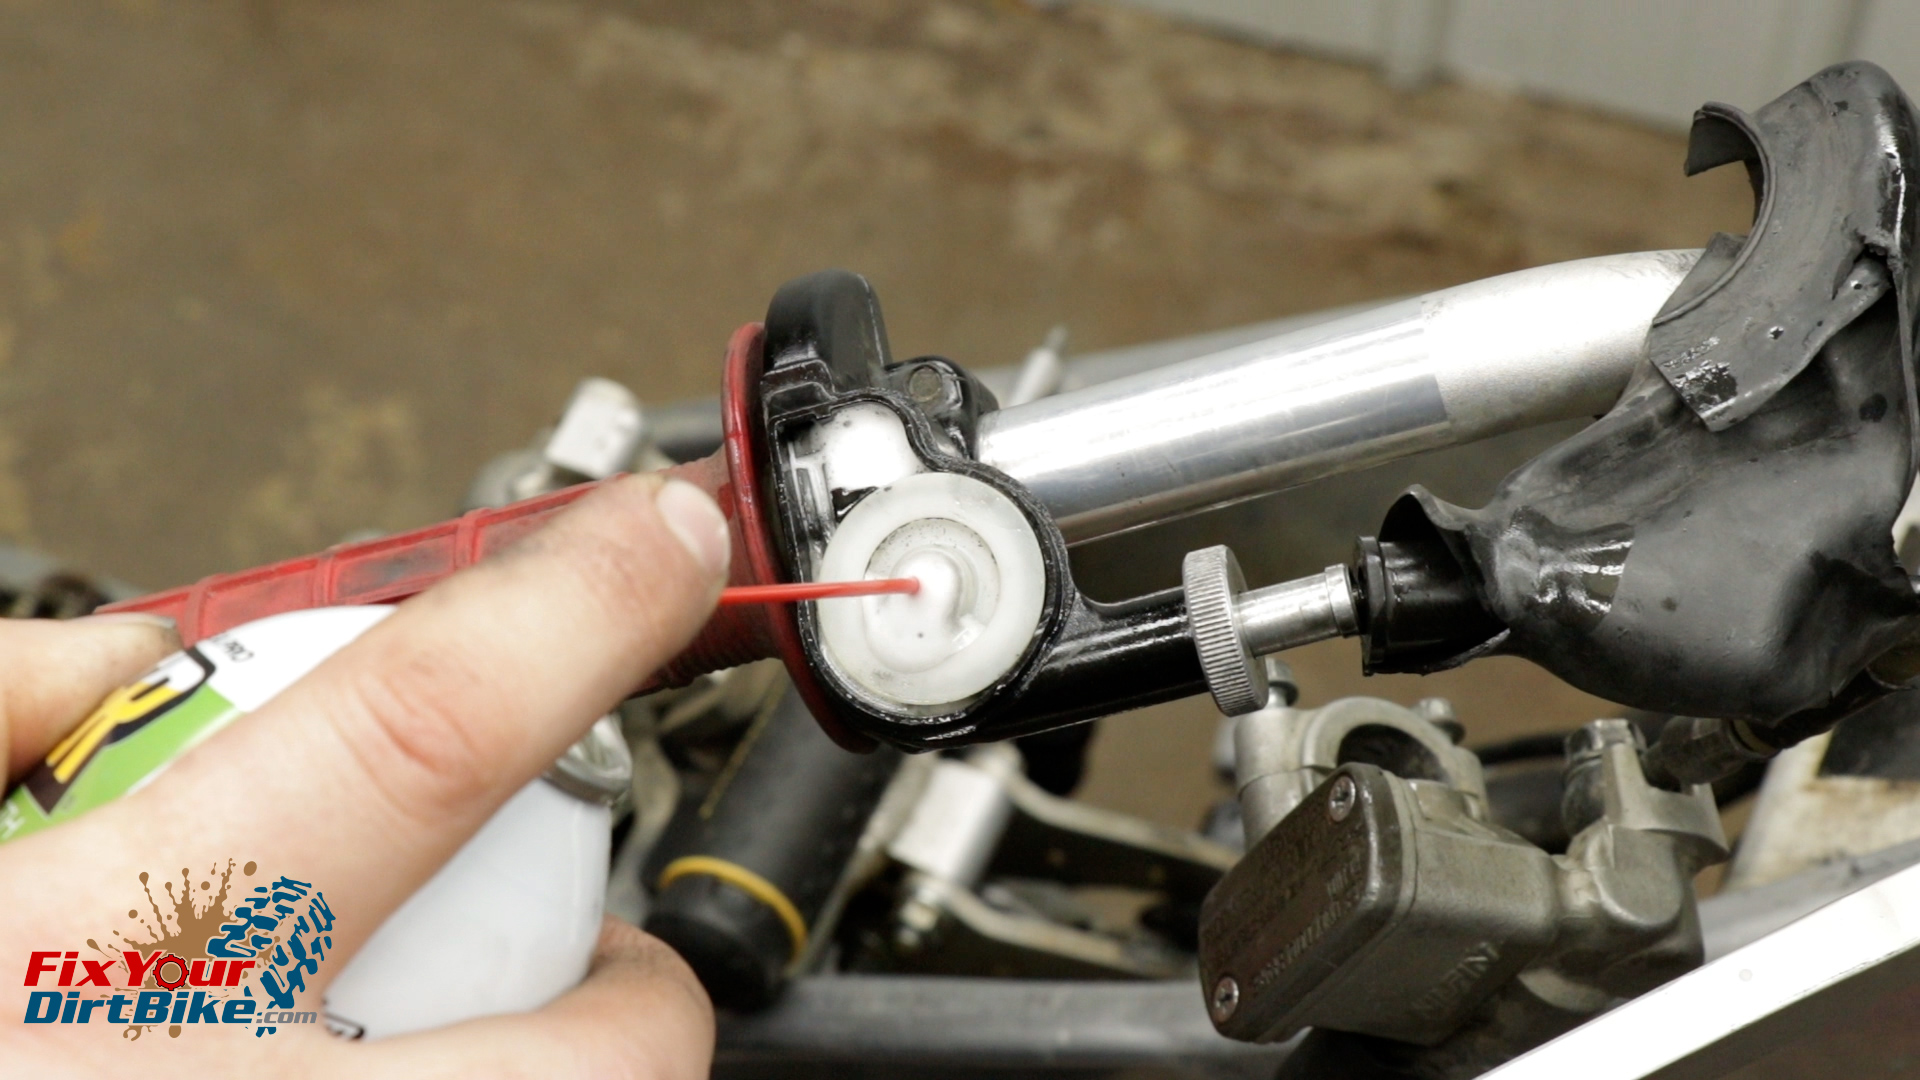
- Stick the spray straw in the grommet hole and start spraying in bursts.
- Some lube will spray out, so wrap your cable end in a shop towel.
- If you watch the other end of the cable, you will see the old dirt getting pushed out. When you start to see clear lube, you’re good to go.
- Reassemble your throttle cable housing with fresh lubrication.
I avoid using regular grease in the throttle cable housing simply because I don’t want to deal with it the next time I take it apart.
I’ve been using white lithium grease for a long time, but this time, I want to try that PB Blaster Silicone spray I mentioned earlier. This silicon spray is probably too thin for this application, but I’ll try it since I have nothing better to do.
Frame Polish
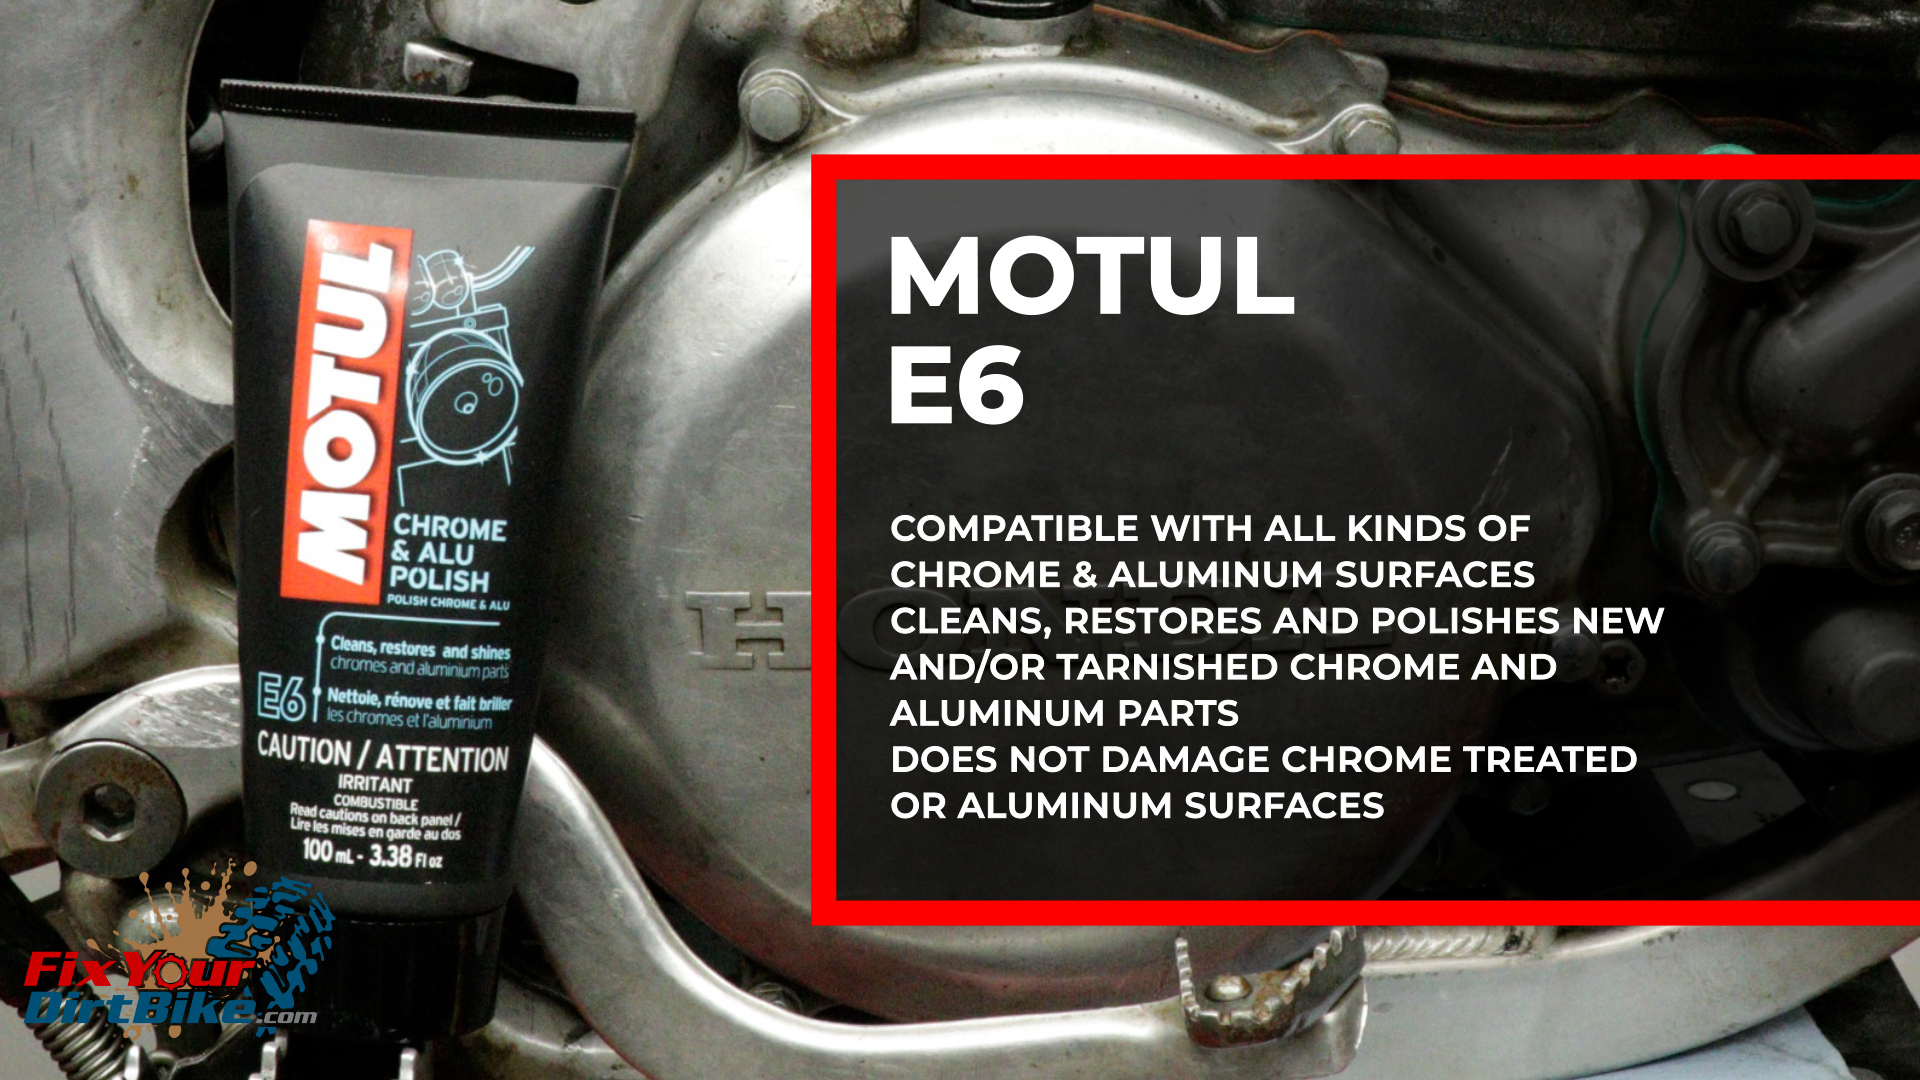
Go-To Product – Motul E6 → https://amzn.to/4h8EIer
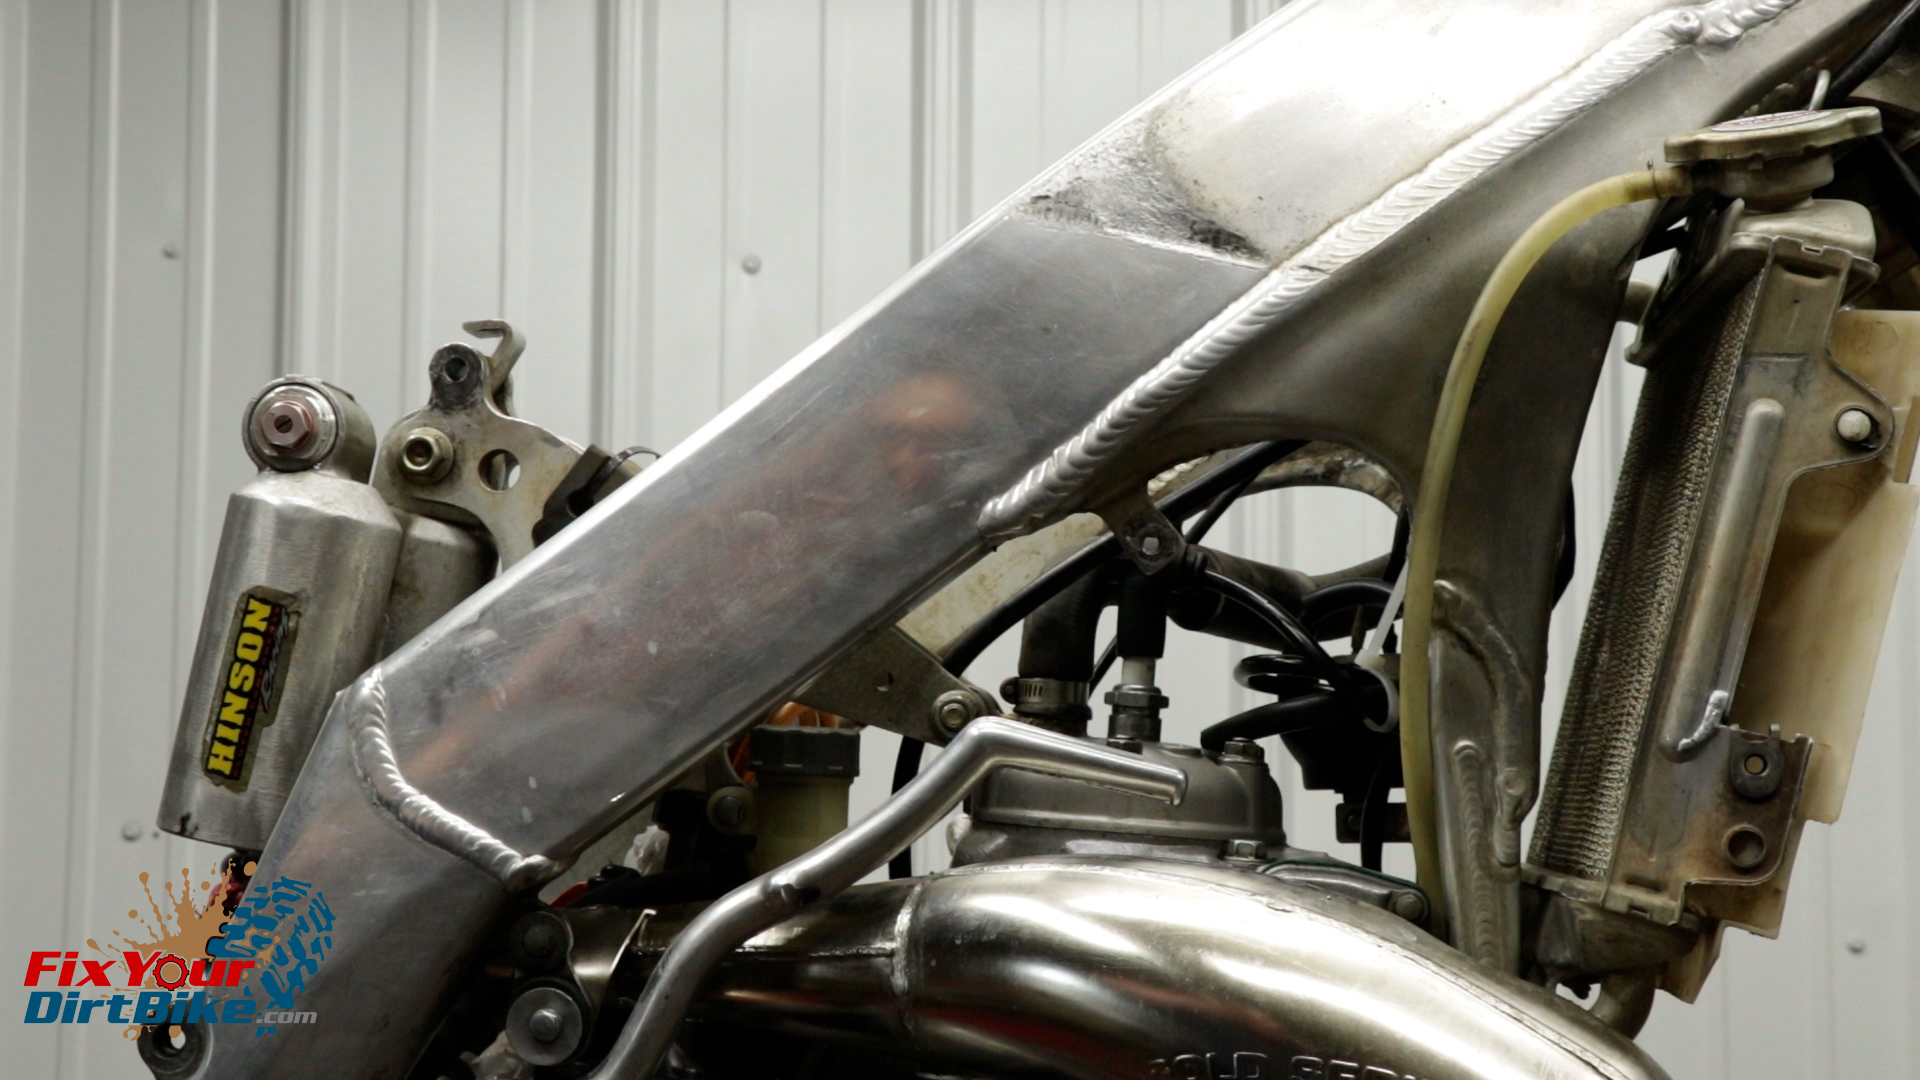
I don’t usually use polish on dirt bikes, but you can’t miss this fat aluminum frame rail, so I’ll give it a quick buff.
My go-to for polishing metal is Motul E6 because a little bit goes a long way.
What you start with determines what you end up with, and considering the state of this frame rail, I’m pretty happy with the result.
Finish Coating
Go-To Product – Maxima SC1 → https://amzn.to/3CaLUrC
Before I back everything together, I coat the plastics and parts of the frame in Maxima SC1. Maxima SC1 is a coating you can buff to get a nice sheen or leave wet to minimize dirt and mud build-up.
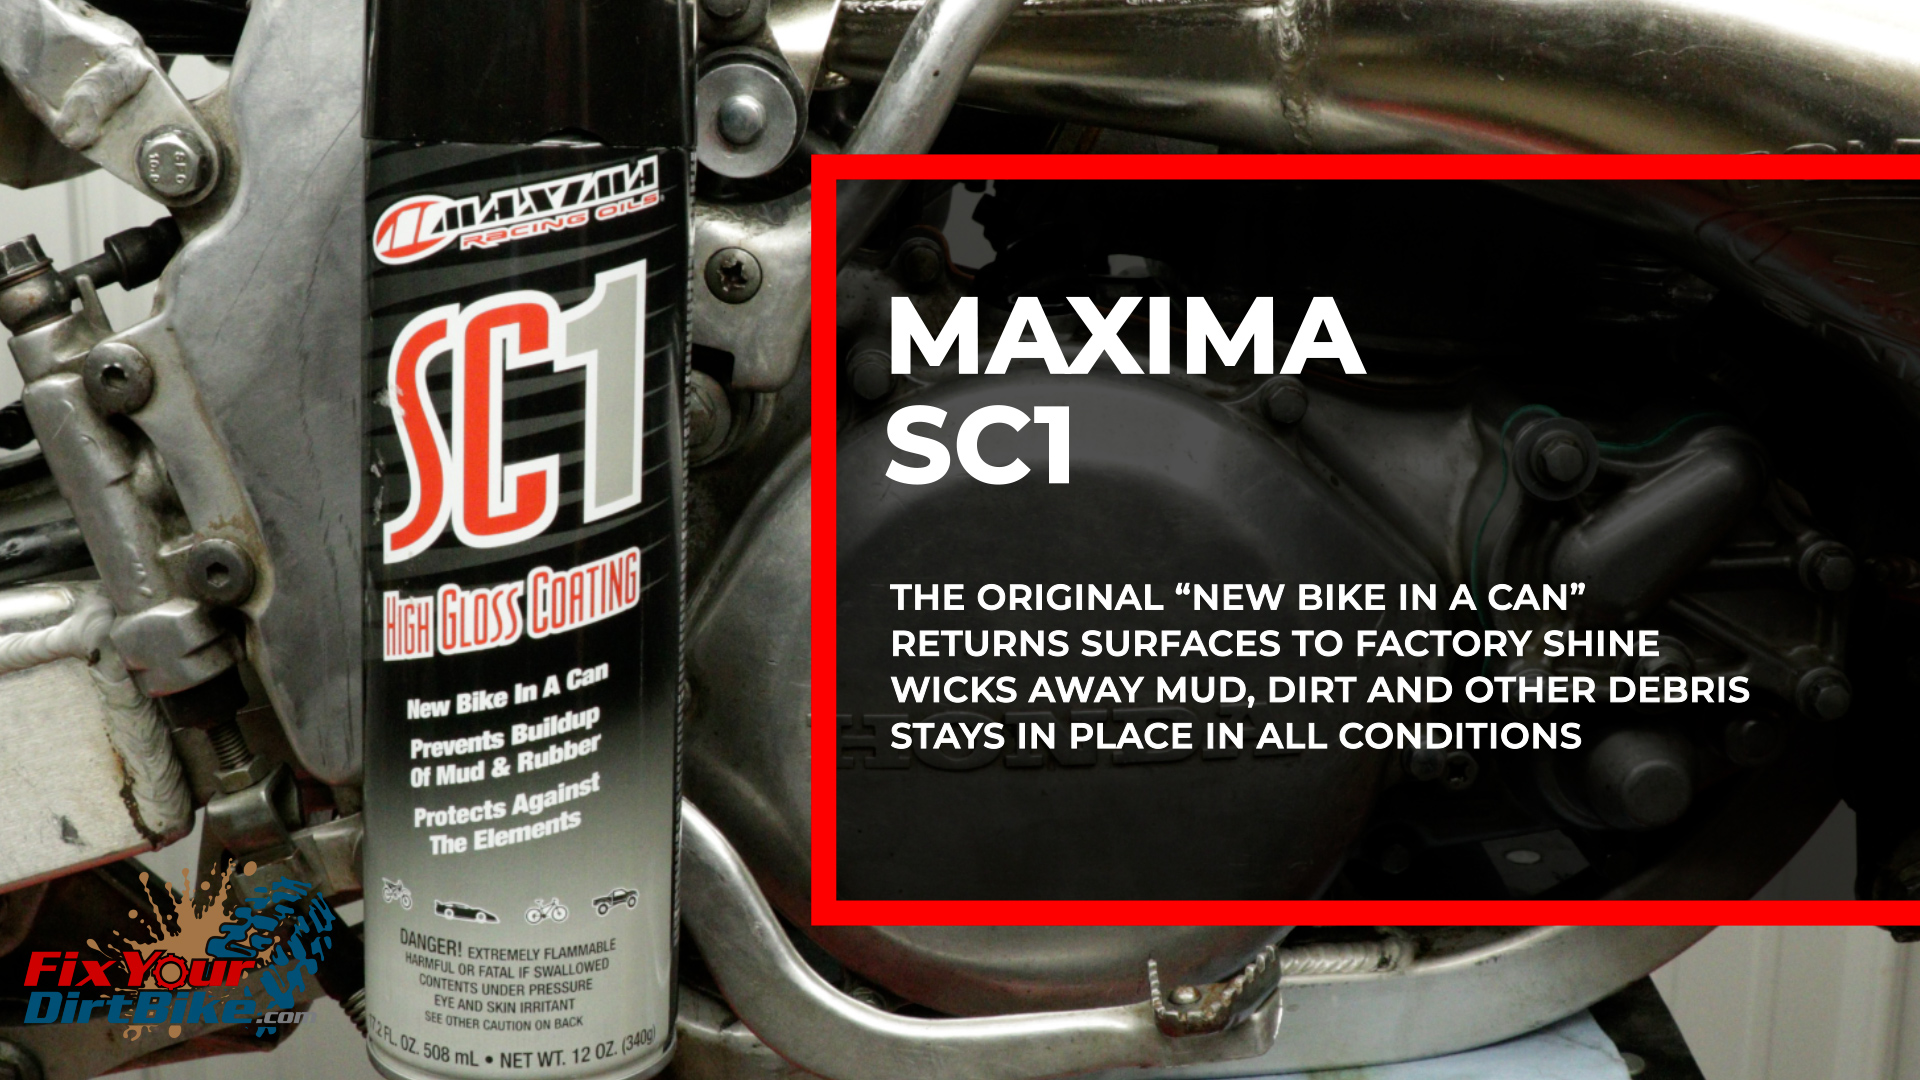
By applying SC1 to parts before assembly, you can reach the hard-to-reach places, making future cleaning much easier. Key spots on the frame would be the hubs, inside the air box, the radiator, the drive gear, and any little spot mud likes to build up.
I apply SC1 to both sides of the plastics, then let them dry. After I assemble everything, I’ll go over the outsides of the plastics with a microfiber cloth to get as much shine out of the old plastics as possible. Handling the wet plastics can get messy, so keep your towels handy.
Thank You!
This is most likely the last article for my CR250, and I want to thank you all for reading and commenting with questions. I’m always available on Facebook messenger if you ever need help with your CR250.
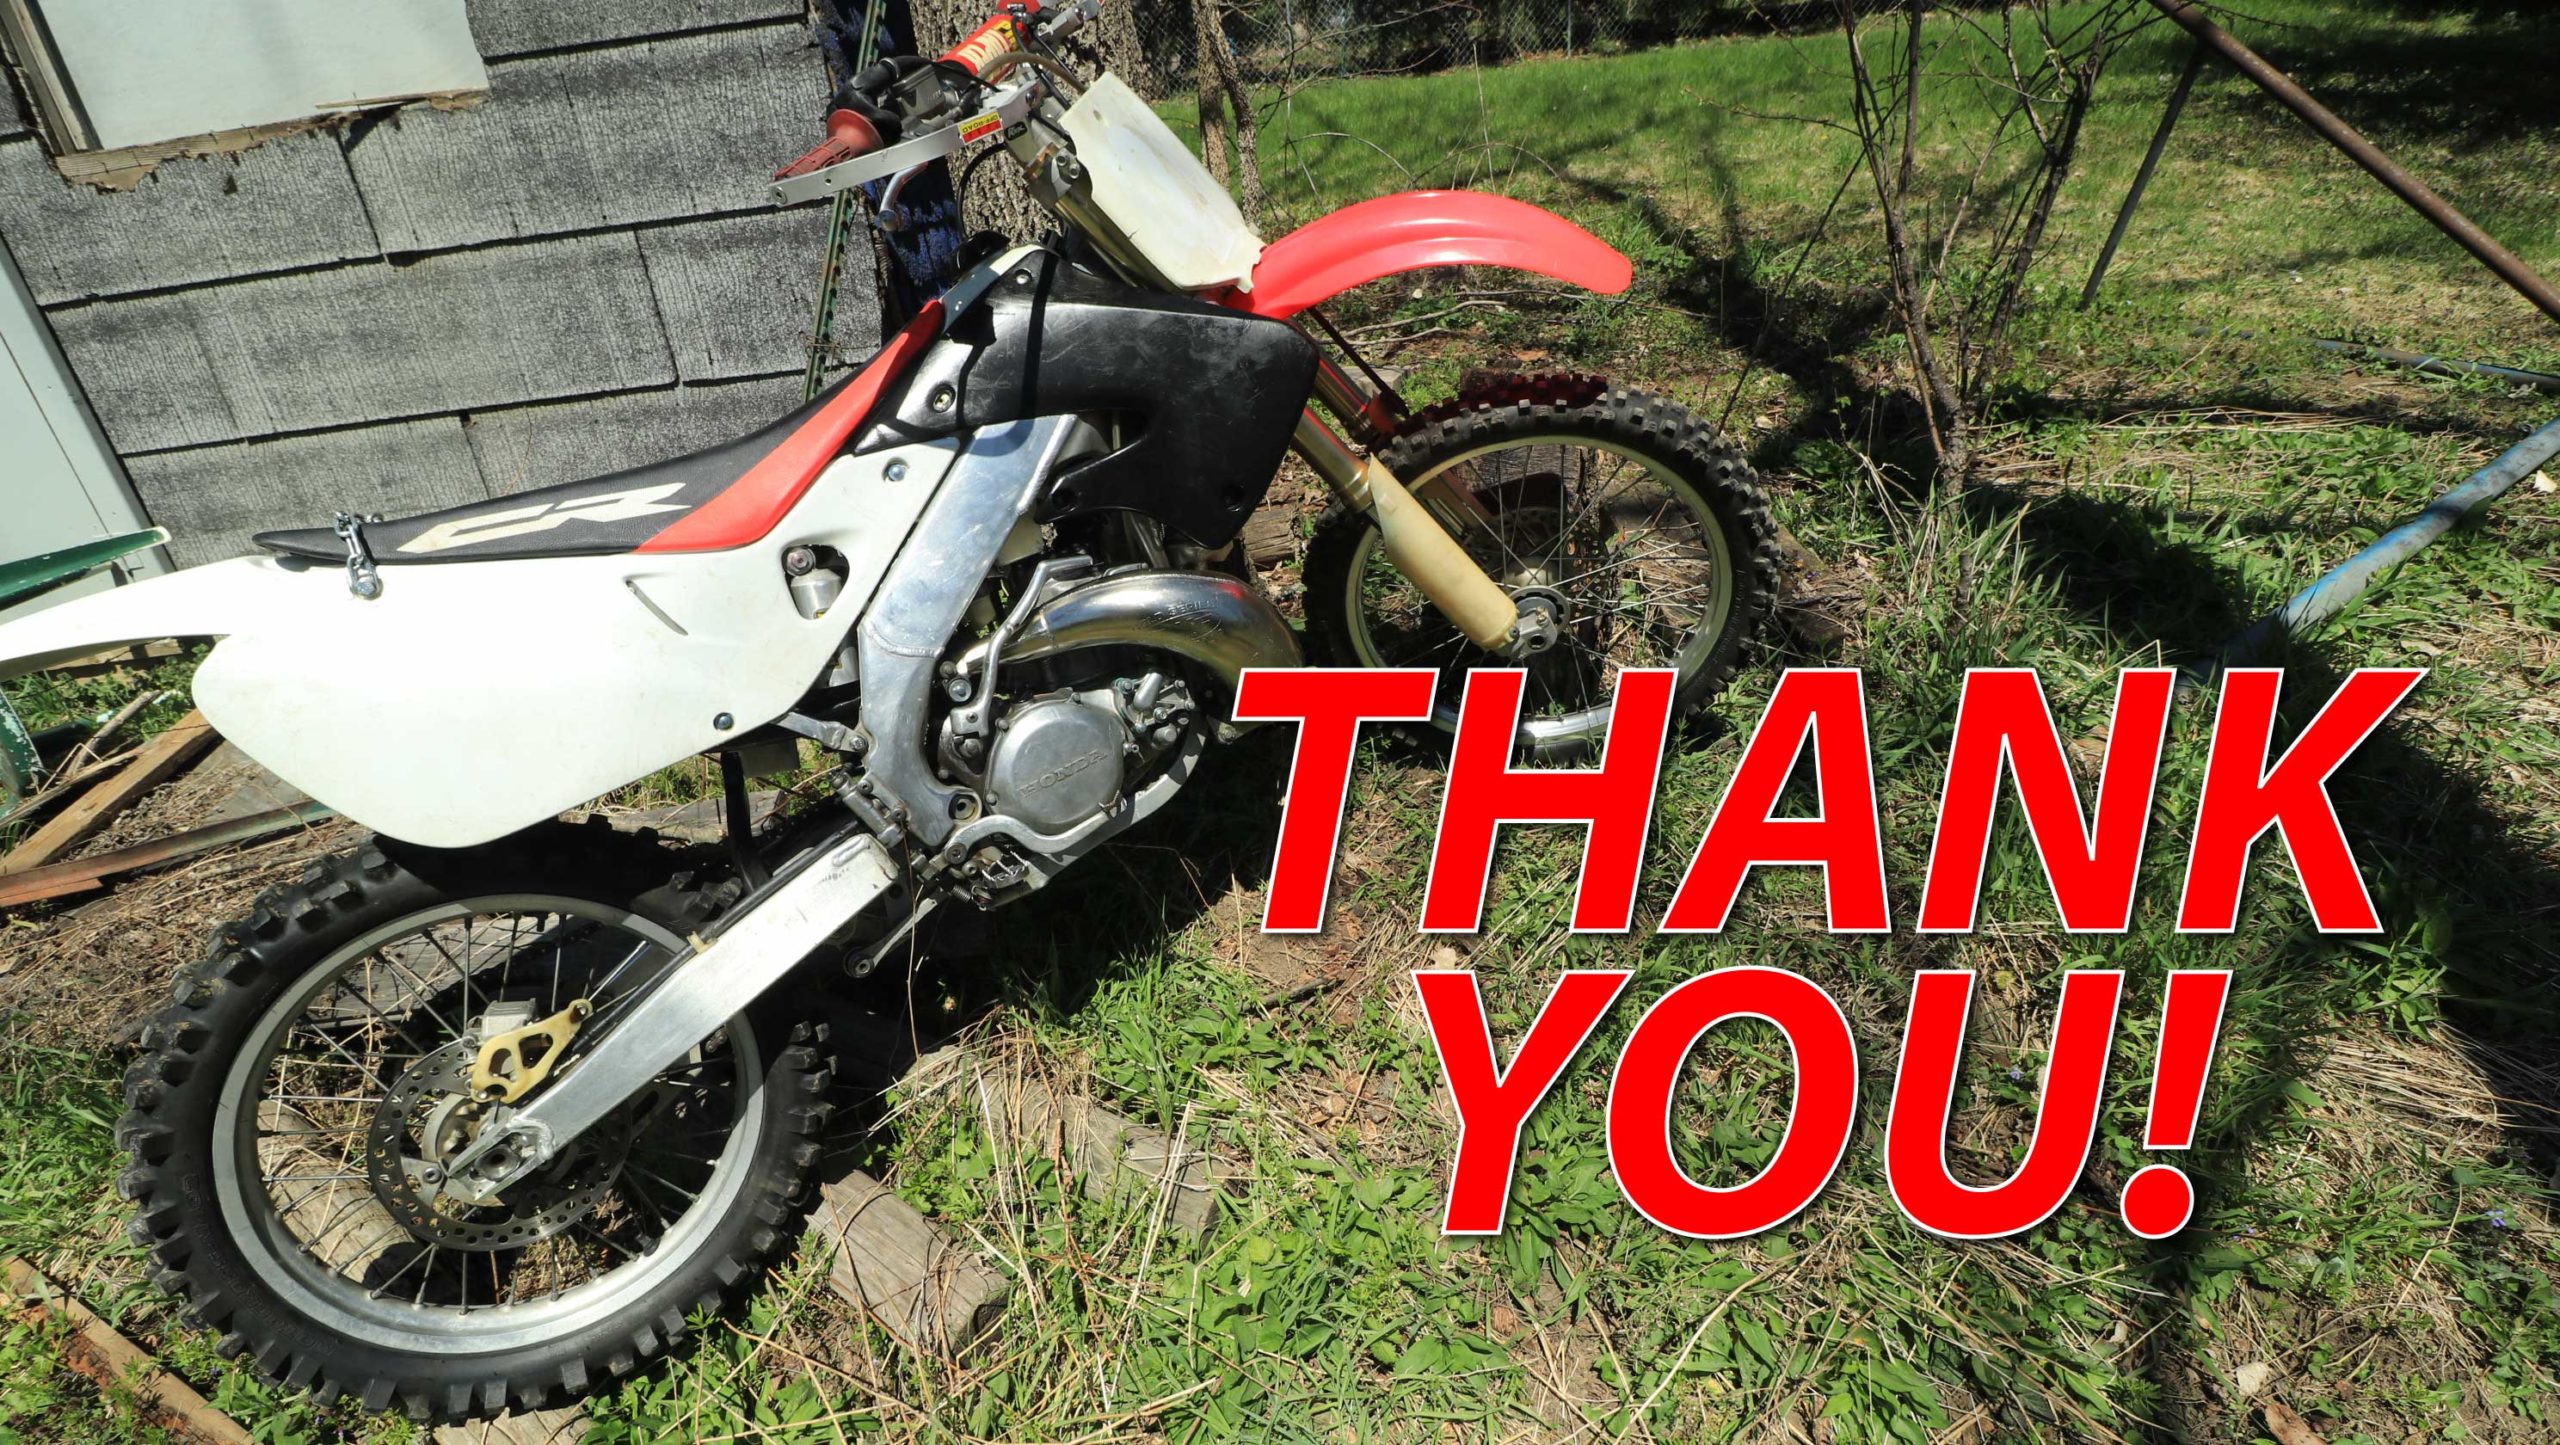 I’m very excited to move on to my next project, the bike. It needs a lot of work, it’s blue, and it rhymes with Shmamaha.
Keep Your ’97-’01 CR250 Running Right!
- Service Specification
- Clutch Replacement
- Carburetor Service
- Engine Top End
- Engine Bottom End
- Brakes
- Exhaust
- Front Suspension
- Rear Suspension
- Wheels & Tires
- Kickstarter Inspection
- External Shift Linkage


