
How To Remove And Install The Flywheel On You 1997 – 2001 Honda CR250
 The Tools You Will Need
- Philips Head Screwdriver
- Torque Wrench
- Socket Wrench
- Breaker Bar
- 17mm Wrench
- 17mm Socket
- Large Channel Lock Pliers
Specialty Tools
- Flywheel Holder
- Flywheel Puller – Size M27x1.0L
You can get all the tools you need through our partner links HERE!
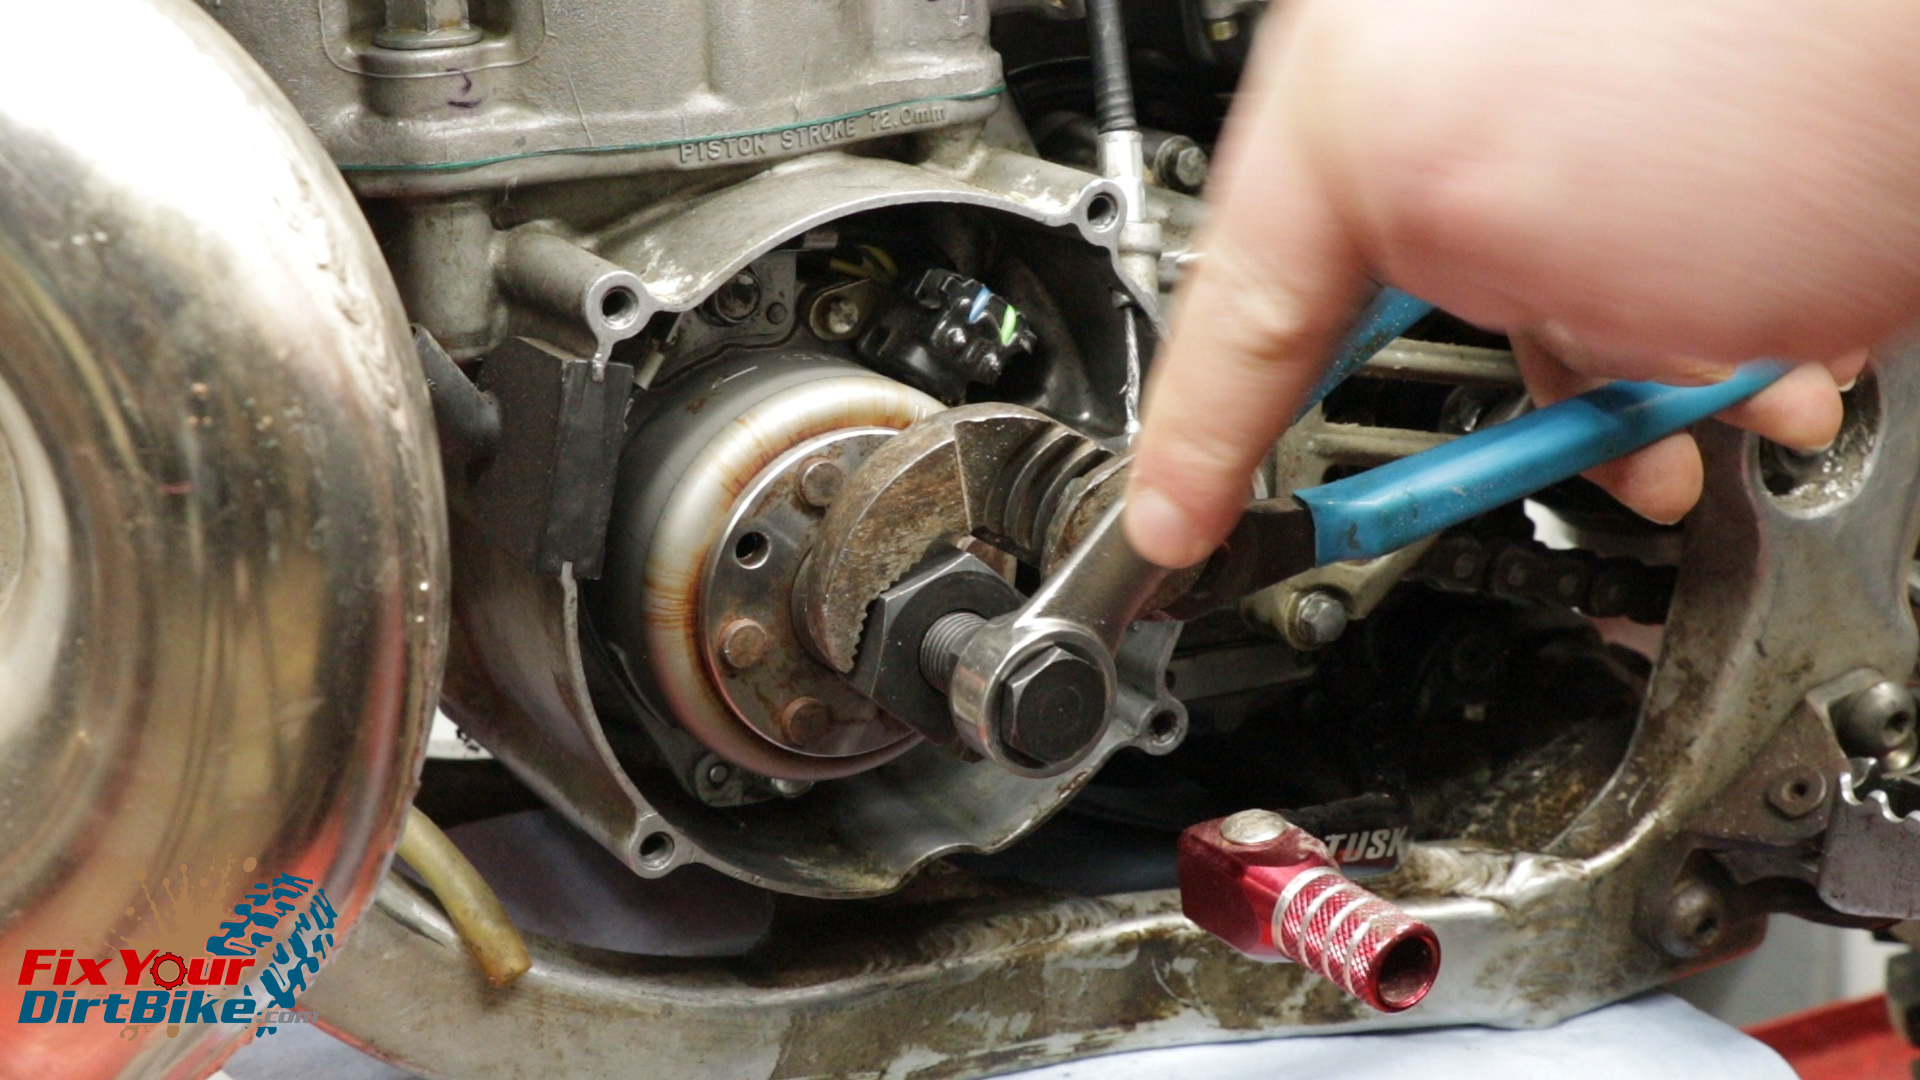
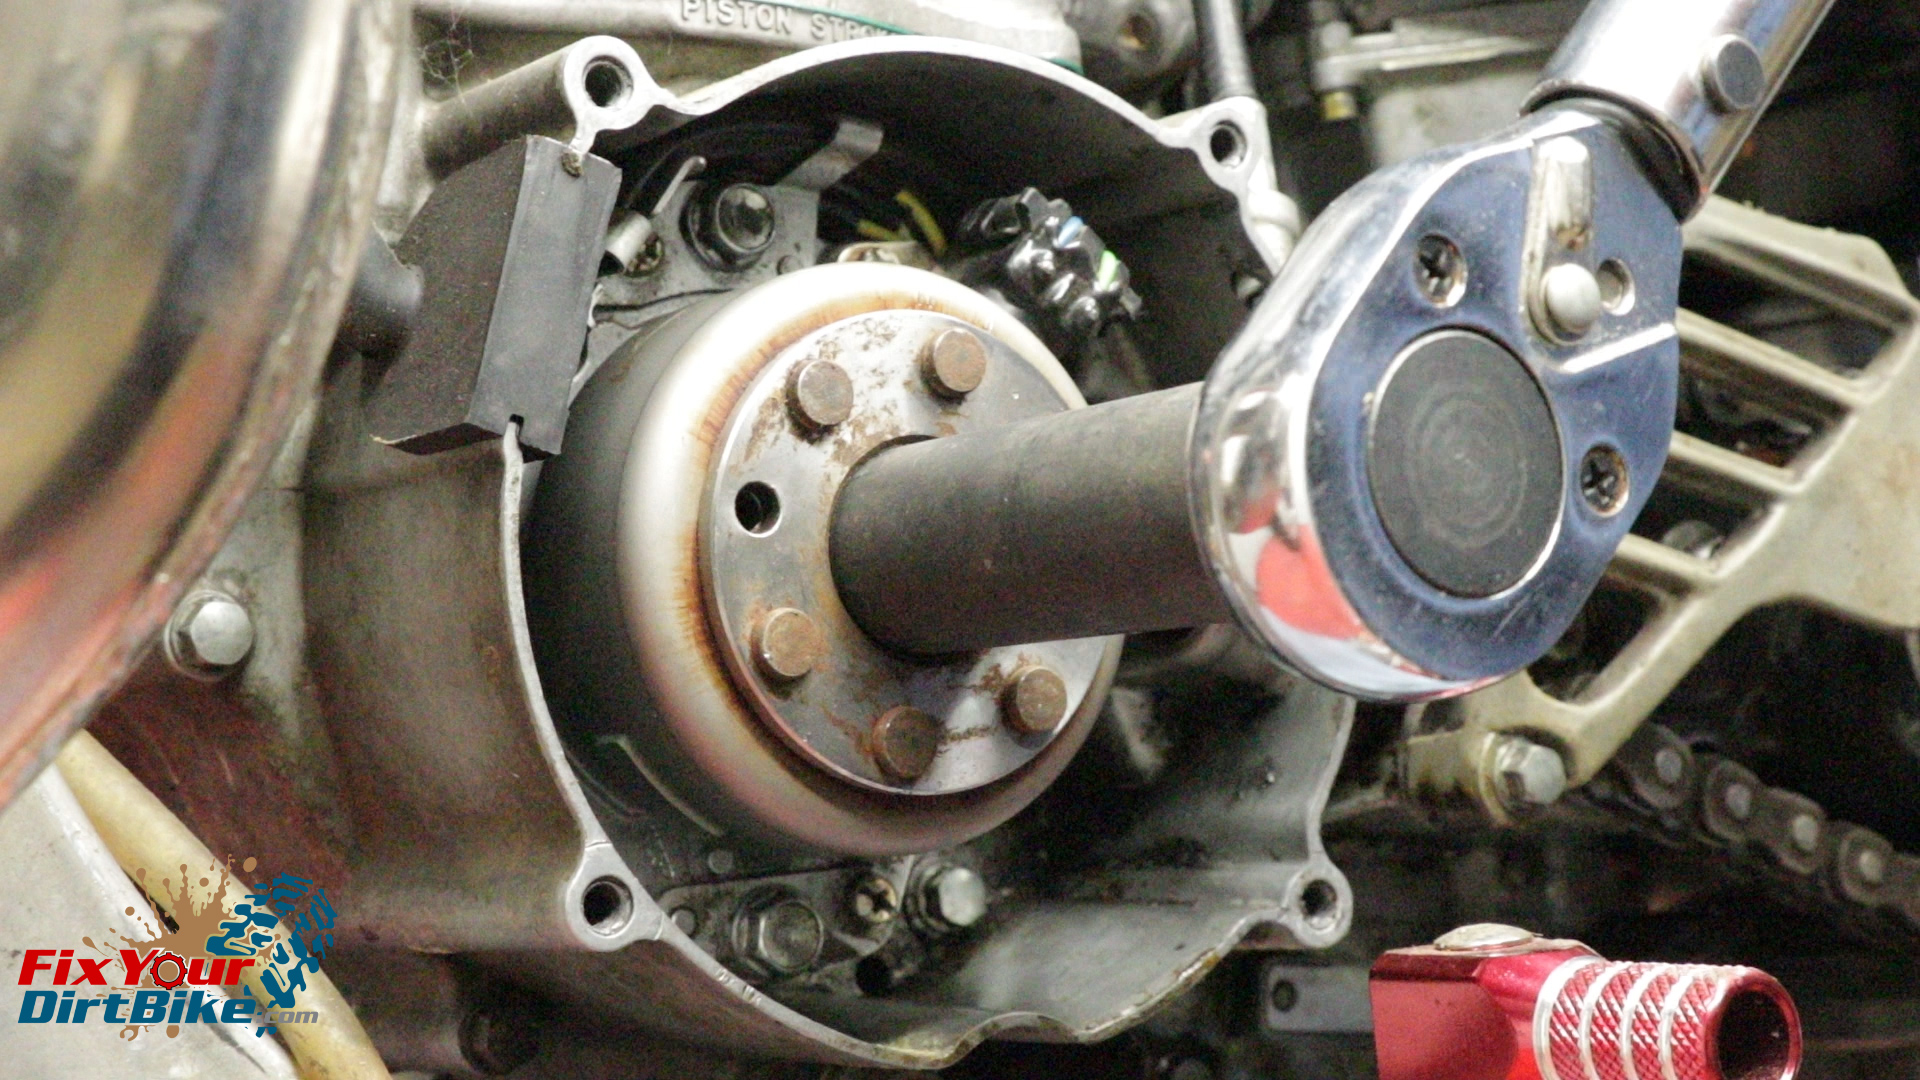
Your flywheel is secured to your crankshaft with a single nut torqued to 40 foot-pounds. To remove the flywheel, you need to stop the crankshaft from rotating, and this is done with a flywheel holding tool. Unfortunately, the pins on my holder are too big for my flywheel, so here is how to loosen the flywheel nut without the proper tool.
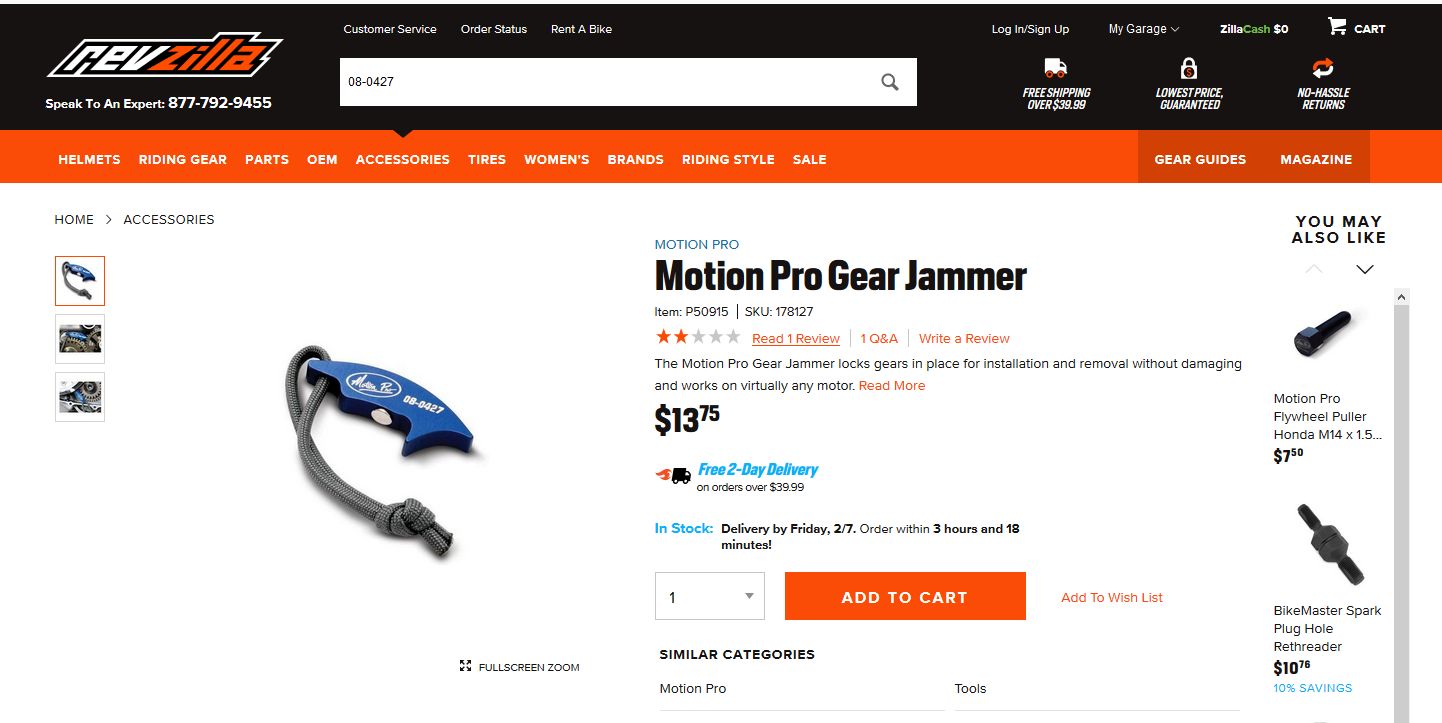
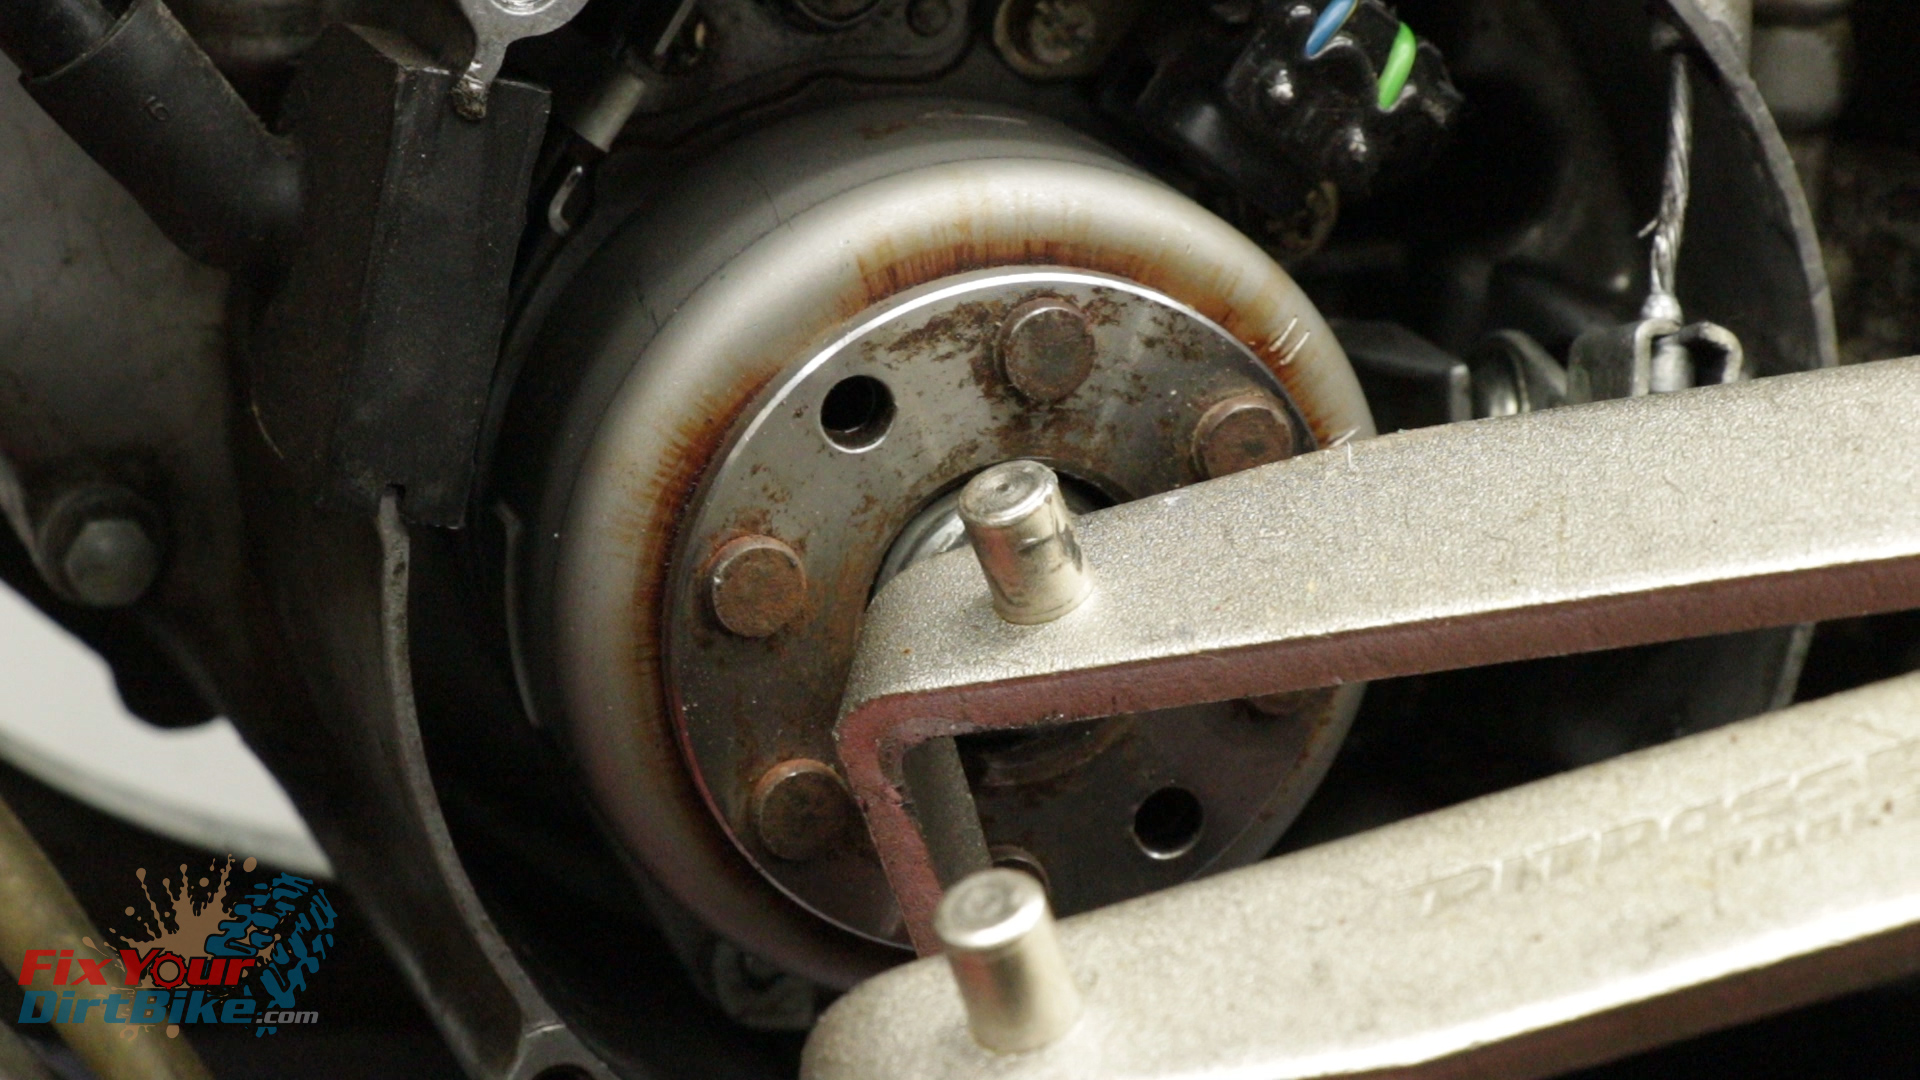 Your next best option is to use a gear jammer to lock the crankshaft and clutch together, but that requires access to the right crankcase. If your right crankcase cover is already off, you’re good to go. But if all you want to do is change your clutch cable, this won’t work. And, if you are adjusting your timing, this definitely won’t work, because you need the engine running.
So now we need to move farther down the driveline to find a good binding point, and that would be the rear wheel. Start by shifting into 5th gear. The 5th gear ratio is 0.896, giving you a slight leverage advantage at the rear wheel.
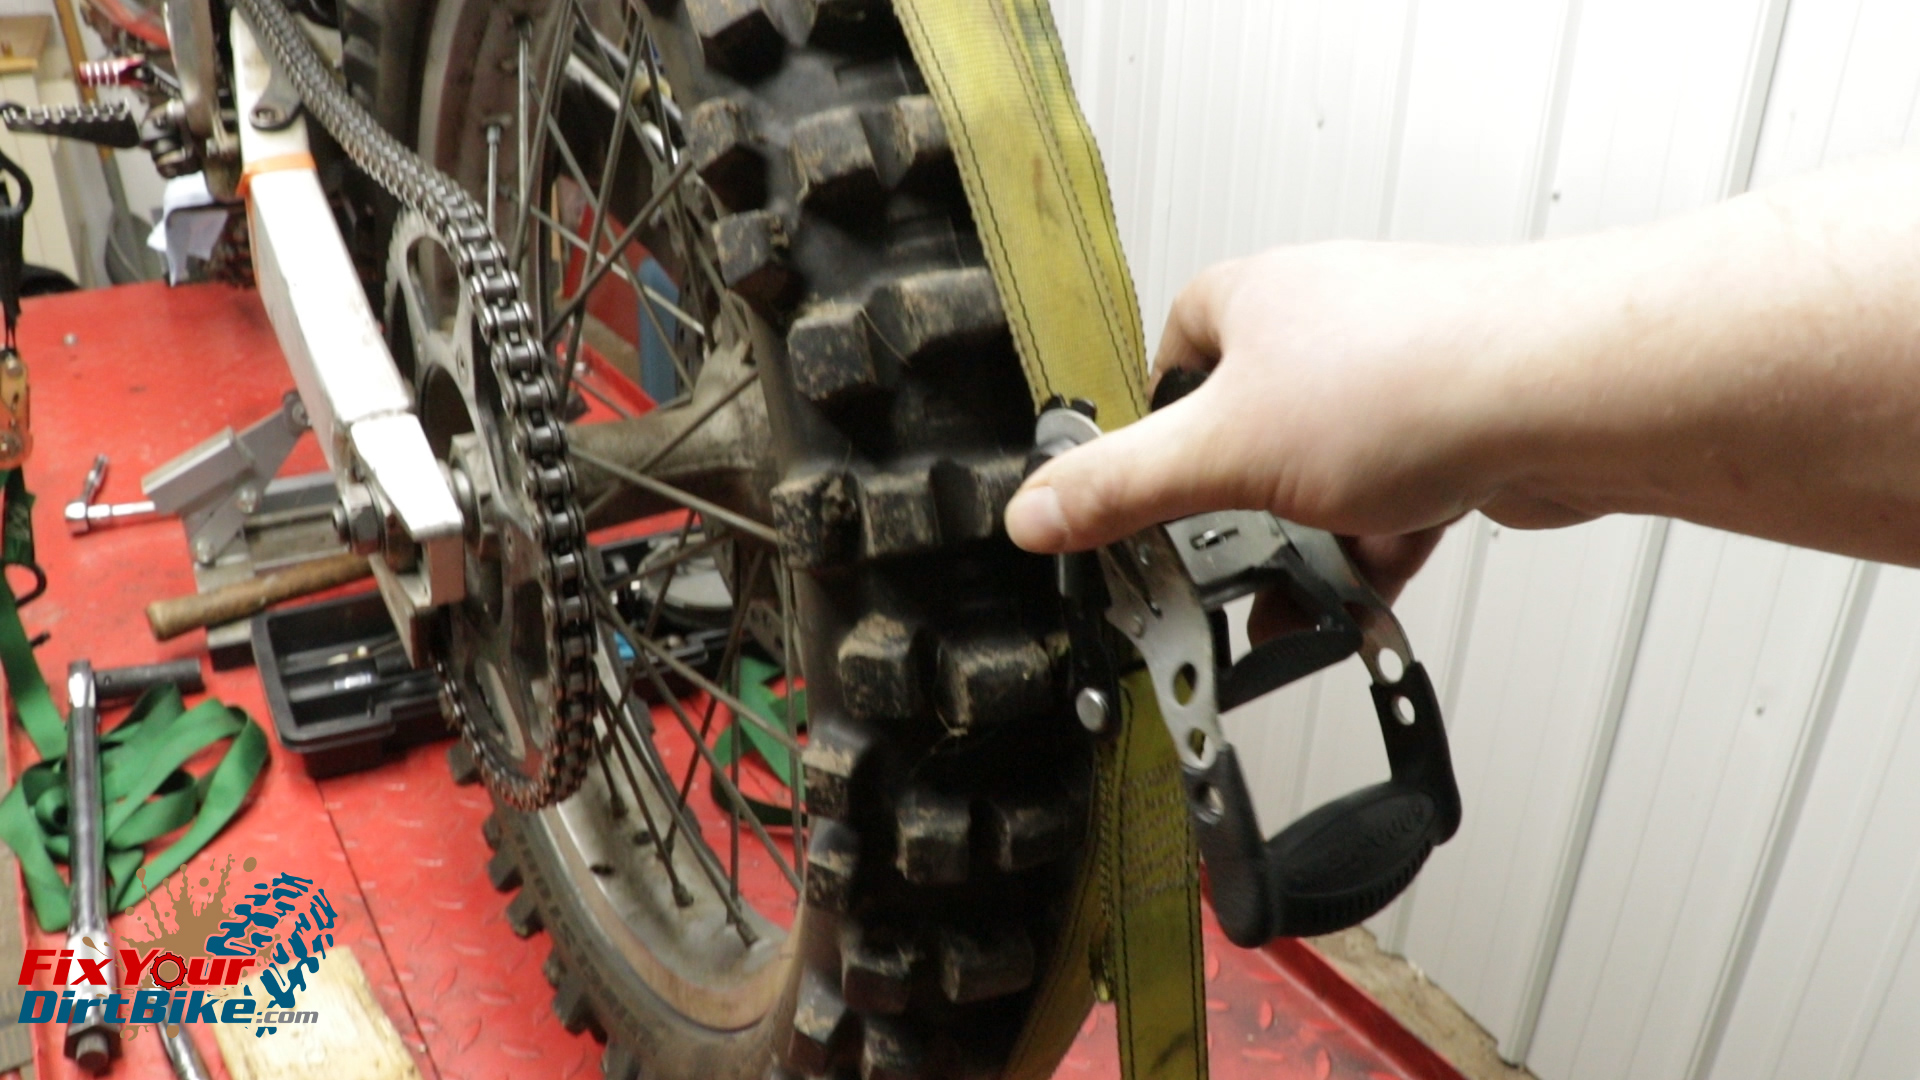
If your brakes are in good condition and your workspace isn’t too cold, you can bind the rear brake with a strap. My shop was around 40 degrees that day, so this didn’t work for me.
The next option is a long ratchet strap wrapped around the rear tire and strapped to something solid. My bike is on a stand, and my lift was not stable enough for this method. If I had another set of hands to help, this would have worked great, but it didn’t, so I moved on to the last resort, direct interference.
Direct Interference
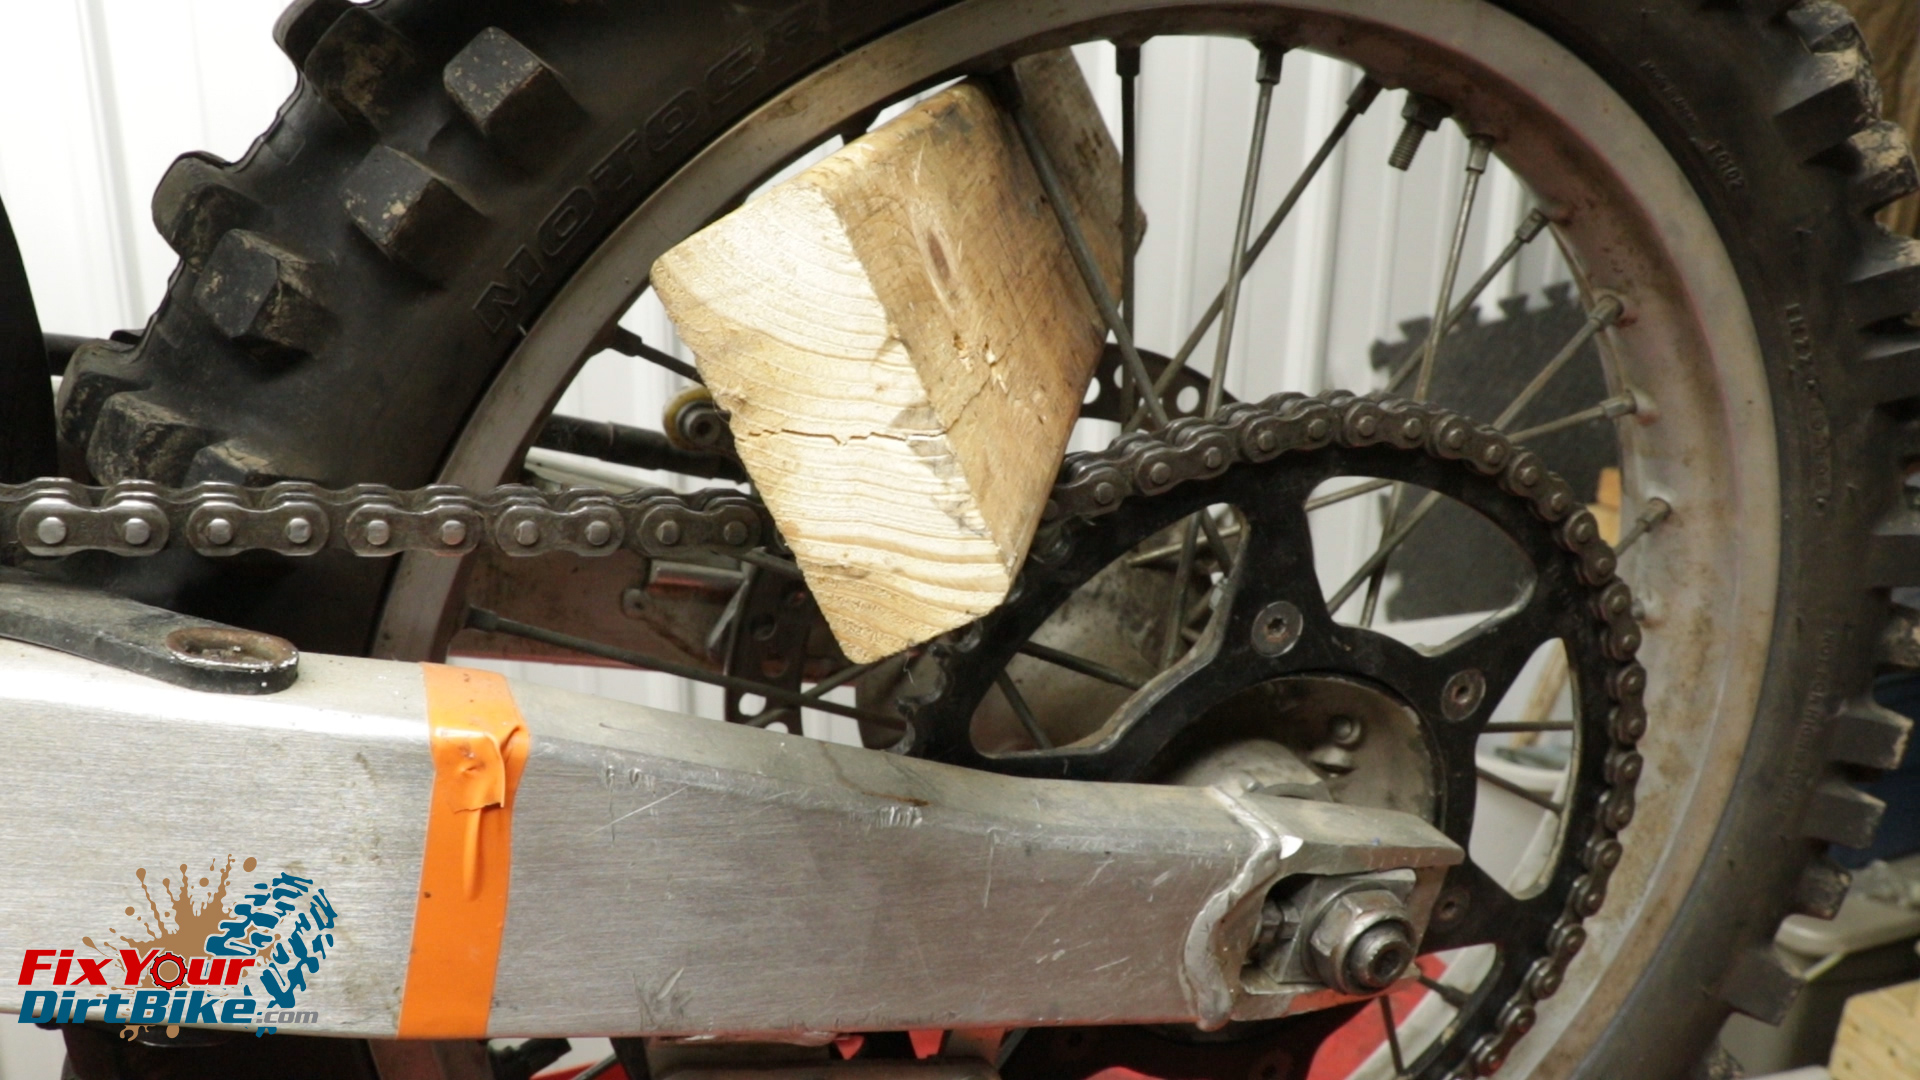
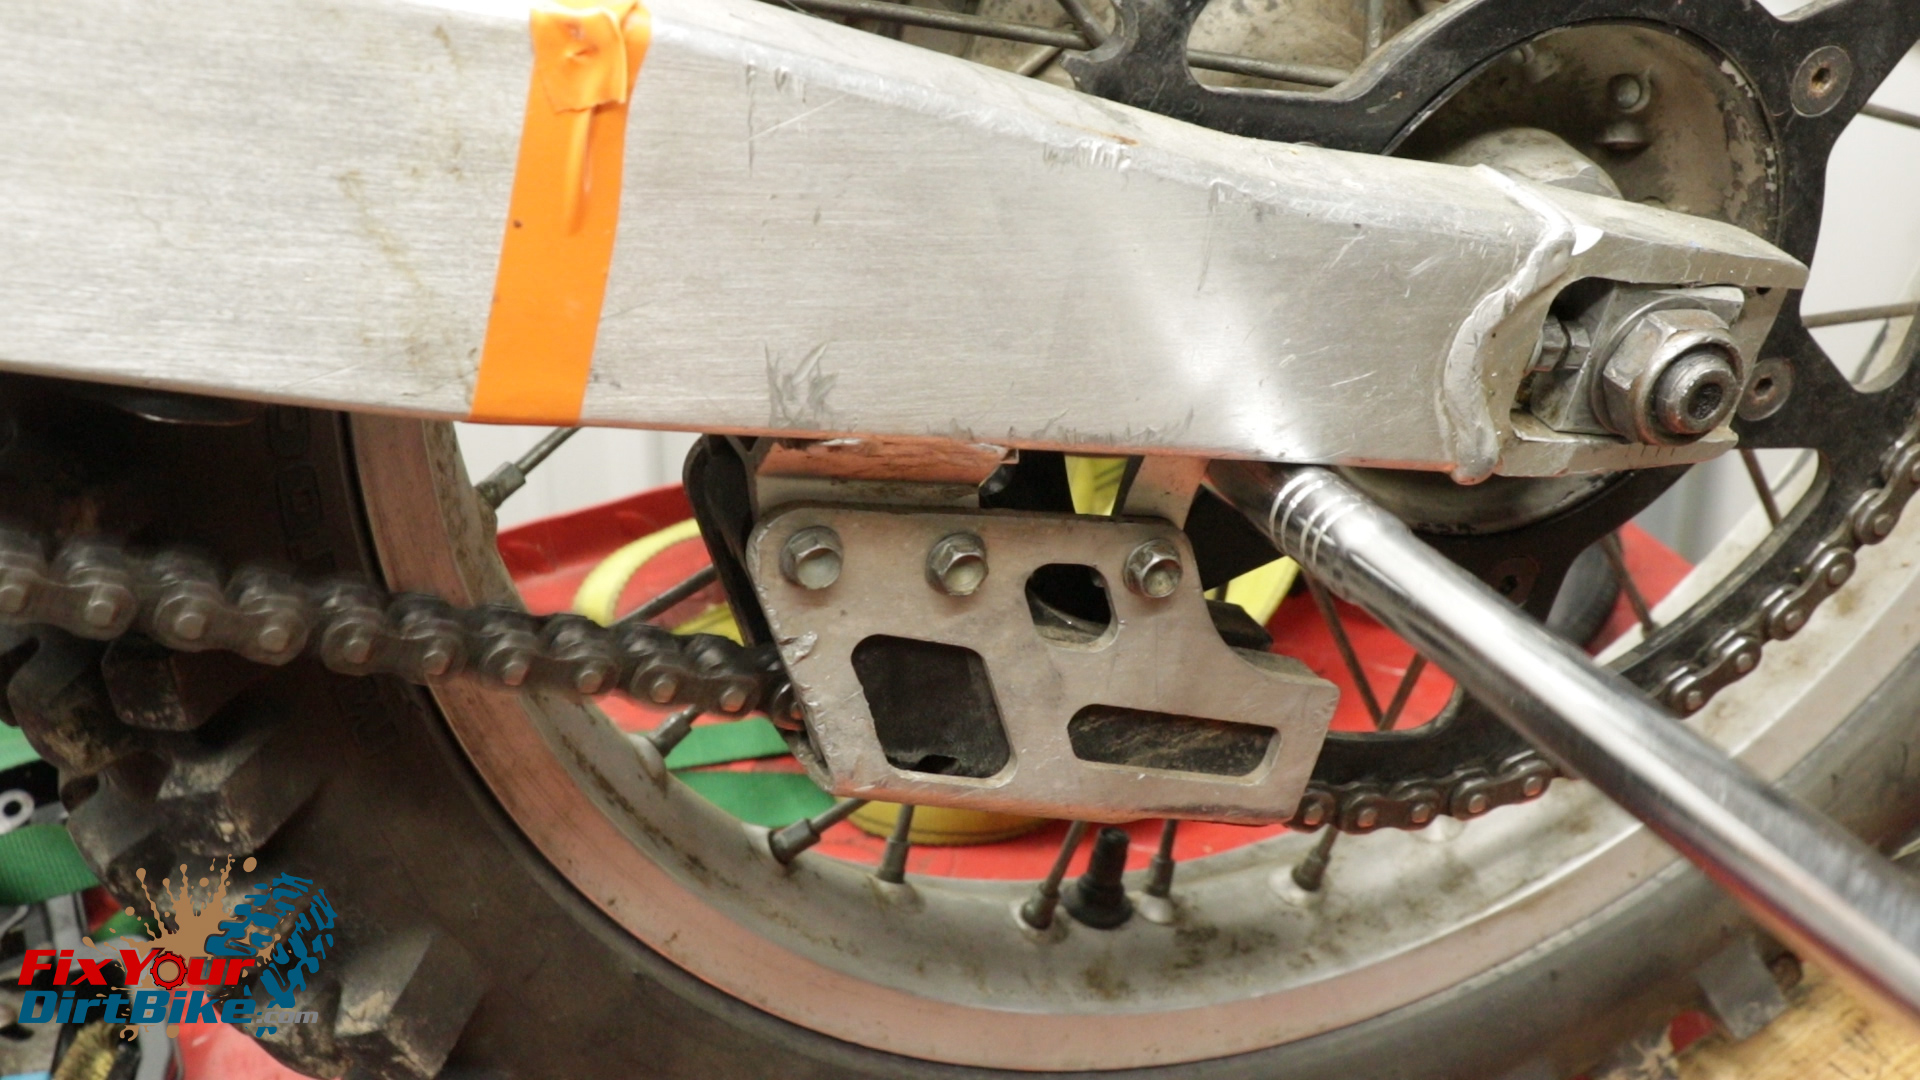
Forty foot-pounds take a lot of force, and you can easily damage your spokes and sprocket, so be very careful if you need to use this method. Despite the obvious potential for damage, if you use a 2×4 correctly, you won’t have any issues.
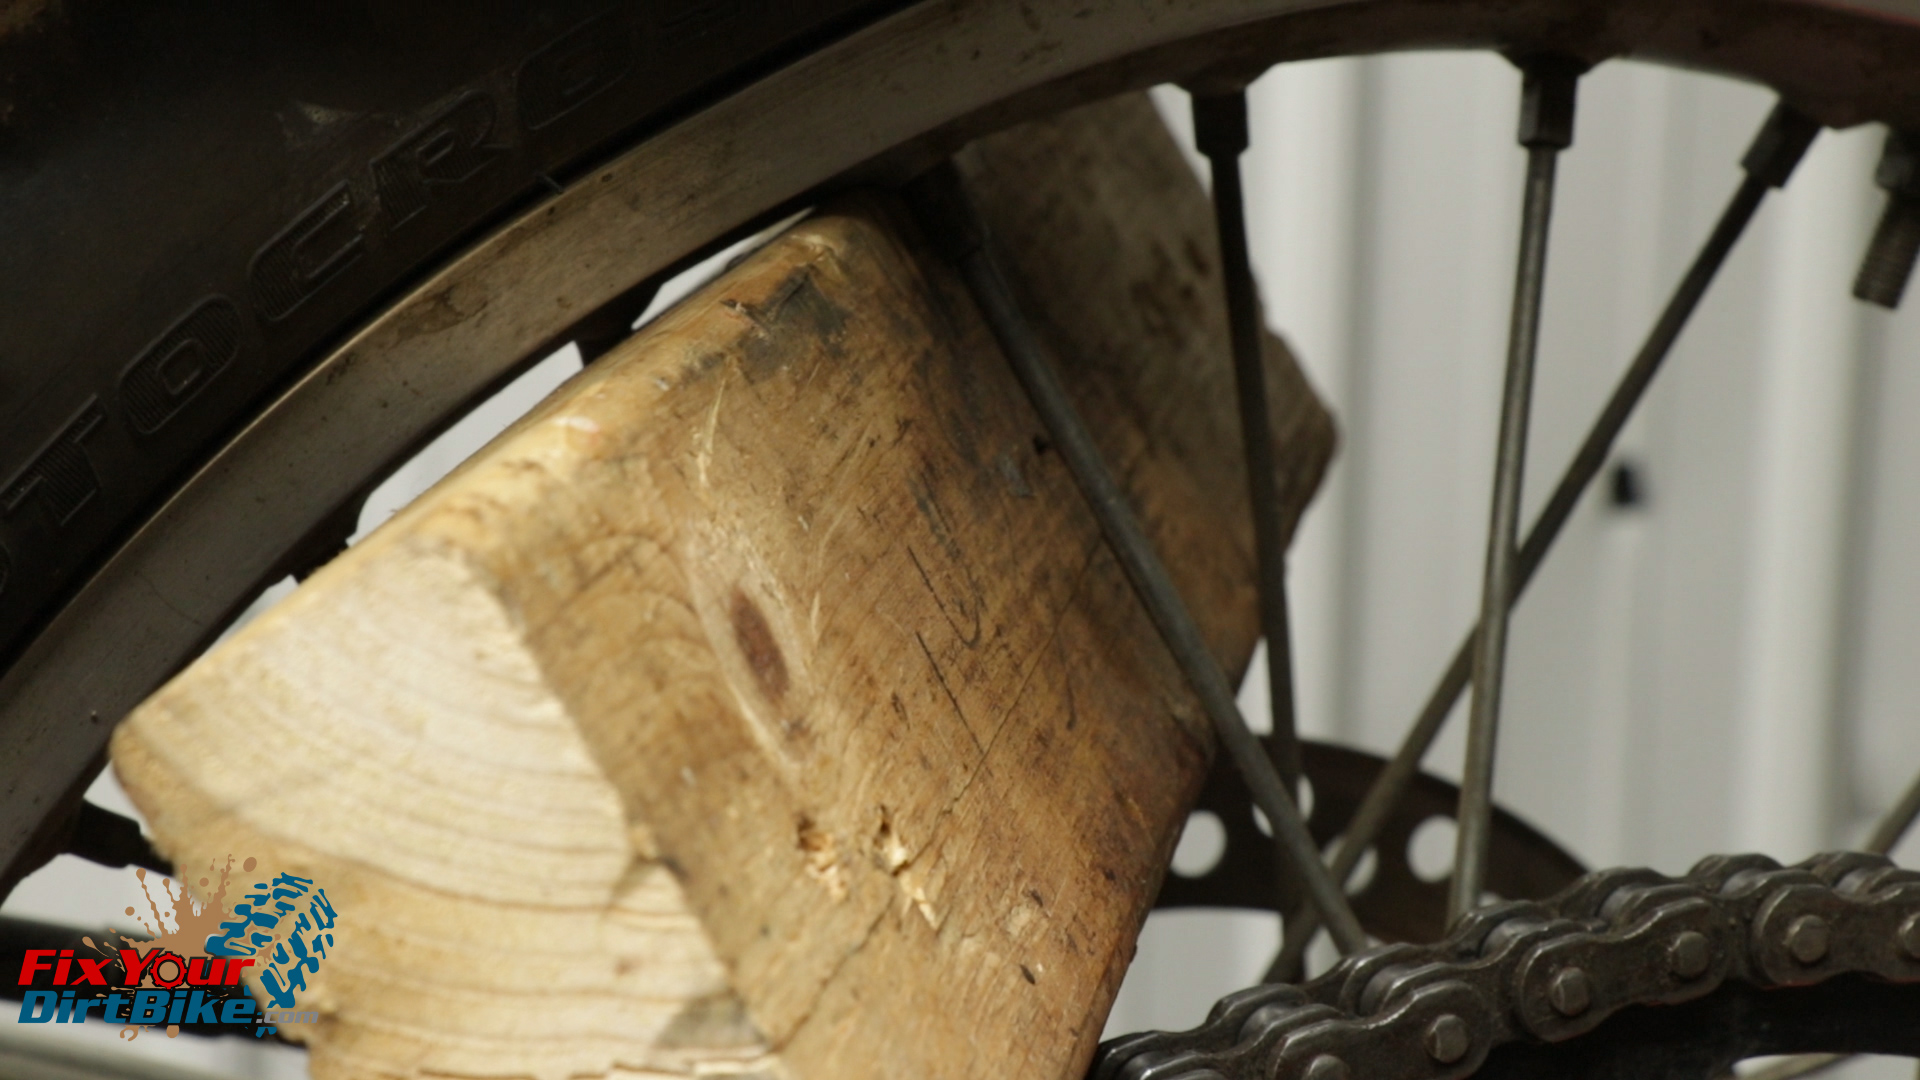
- Position the 2×4 tight up against the rim, so it pushes against the spoke nipple and not the spoke itself.
- Then turn your wheel forward until the 2×4 touches the brake caliper, then the drive chain. Your 2×4 will be at an angle, but that’s ok.
- Put some pressure on the flywheel nut and double-check where the 2×4 is sitting. If the spokes are clear, loosen the nut.
- Again, this is NOT ideal and is the last resort for a reason, if done right, though, it works every time.
Flywheel Removal
- Remove the flywheel nut and washer.
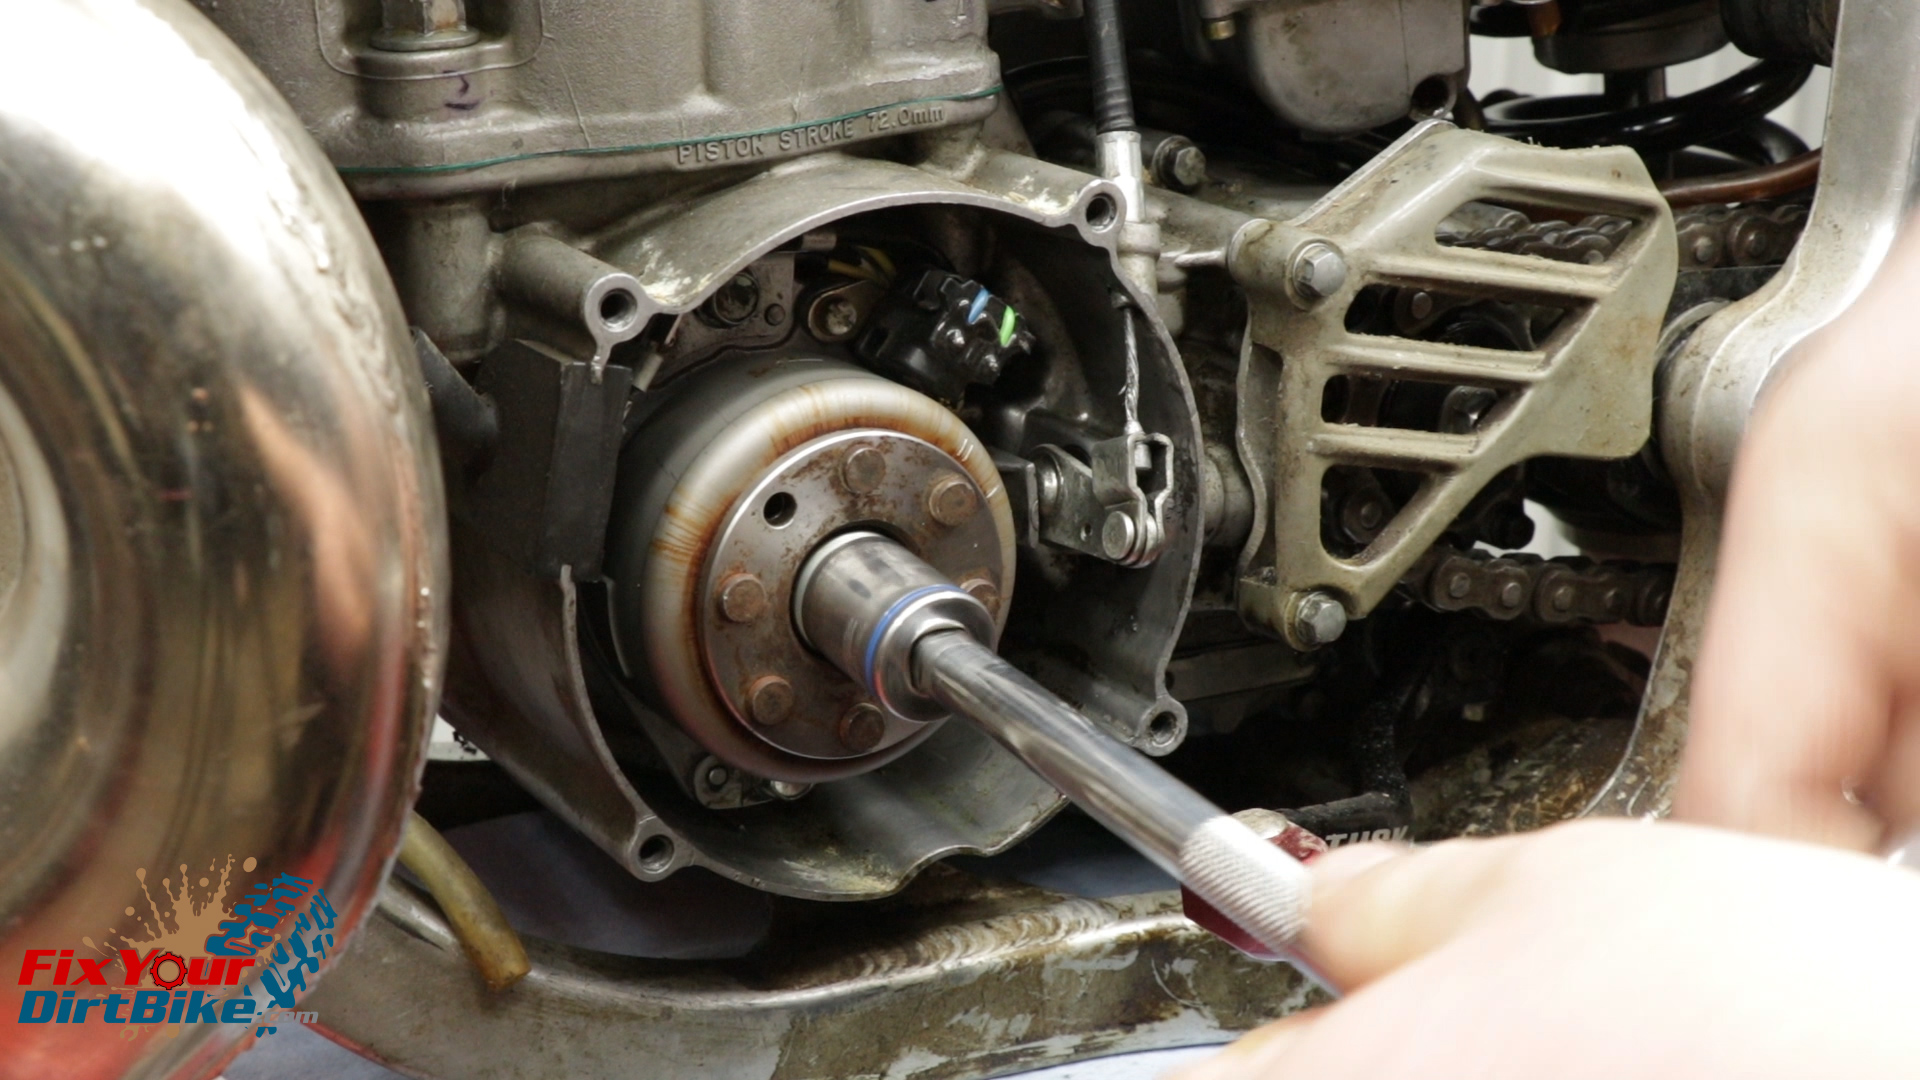
- You will need a center push, external thread flywheel puller, size M27x1.0L.
- Remove the center bolt from the puller to ensure full engagement of the flywheel threads.
- The flywheel is a reverse thread, so “lefty tighty, righty loosey.”
- Thread the puller into the flywheel until it bottoms out.
- Install the inner bolt and tighten it against the crankshaft snout.
- Hold the outer, then turn the inner bolt, and press the flywheel off the crankshaft.
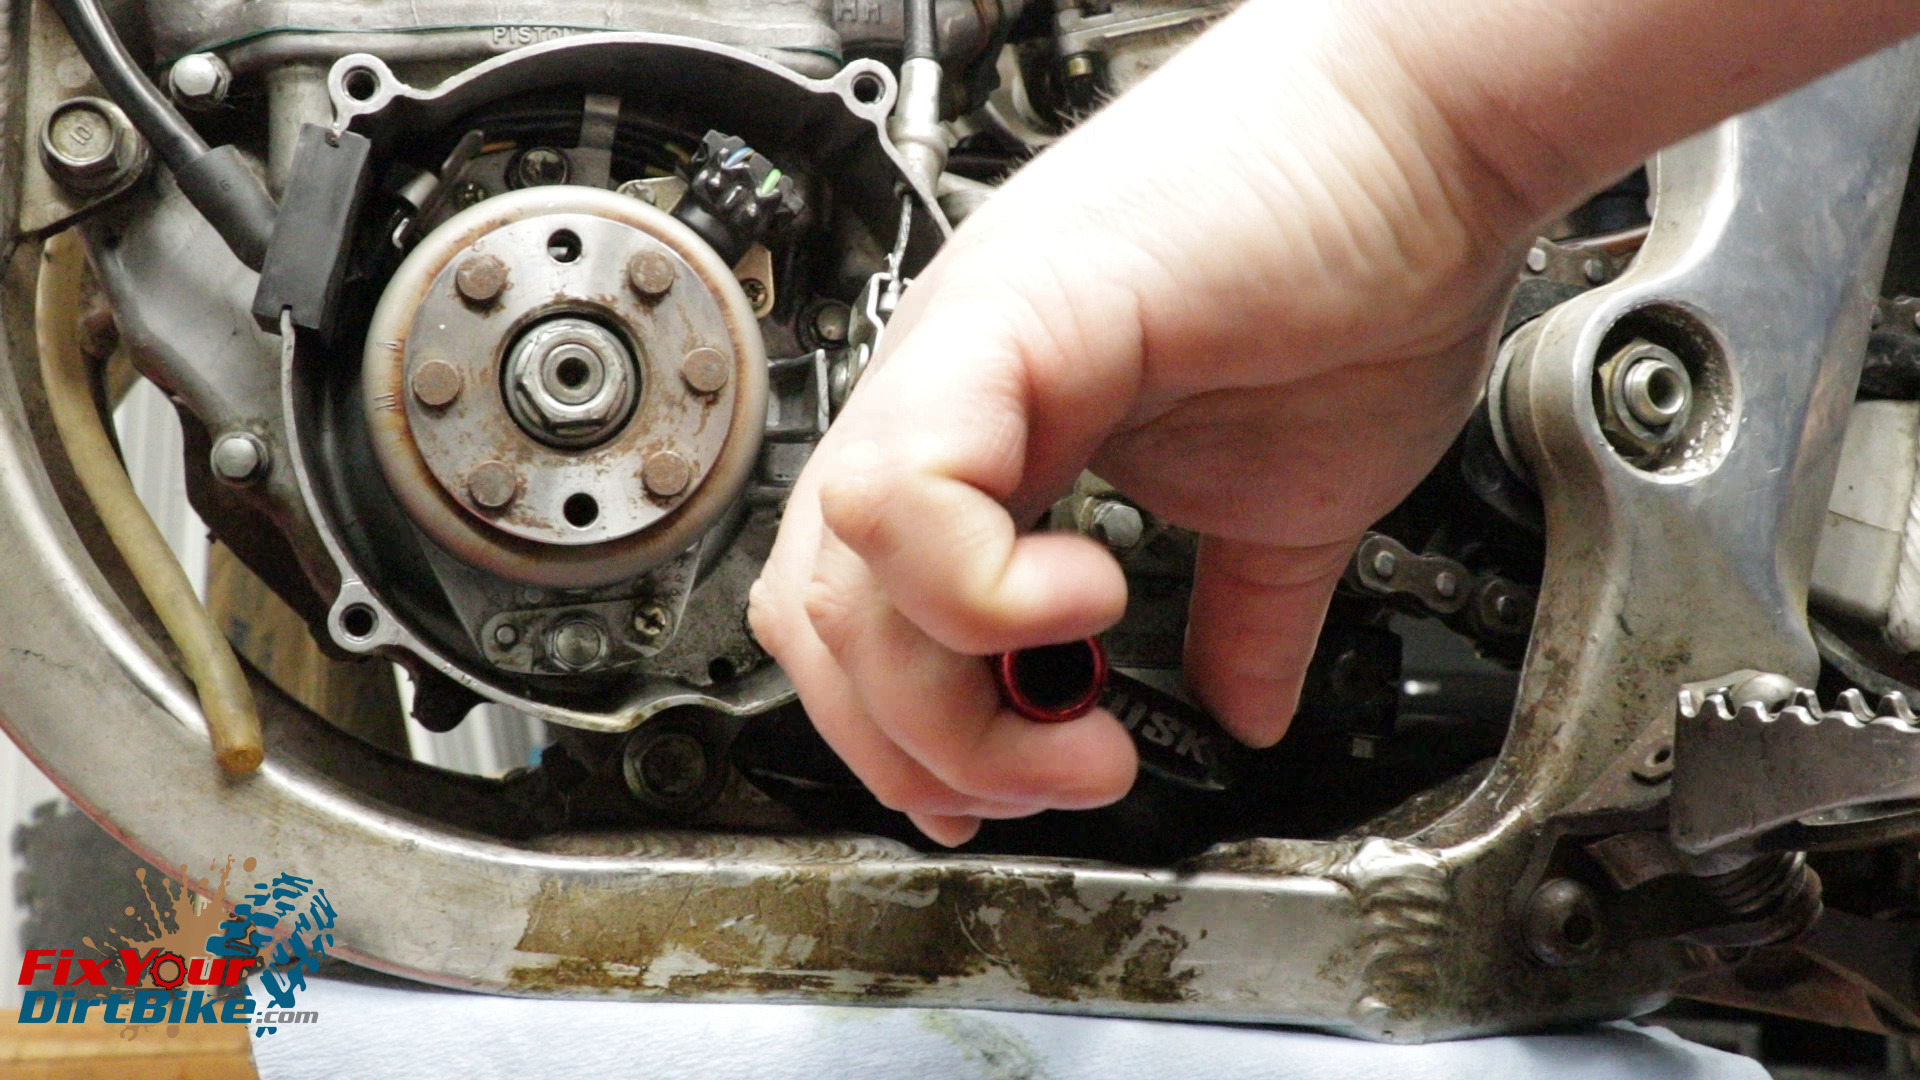
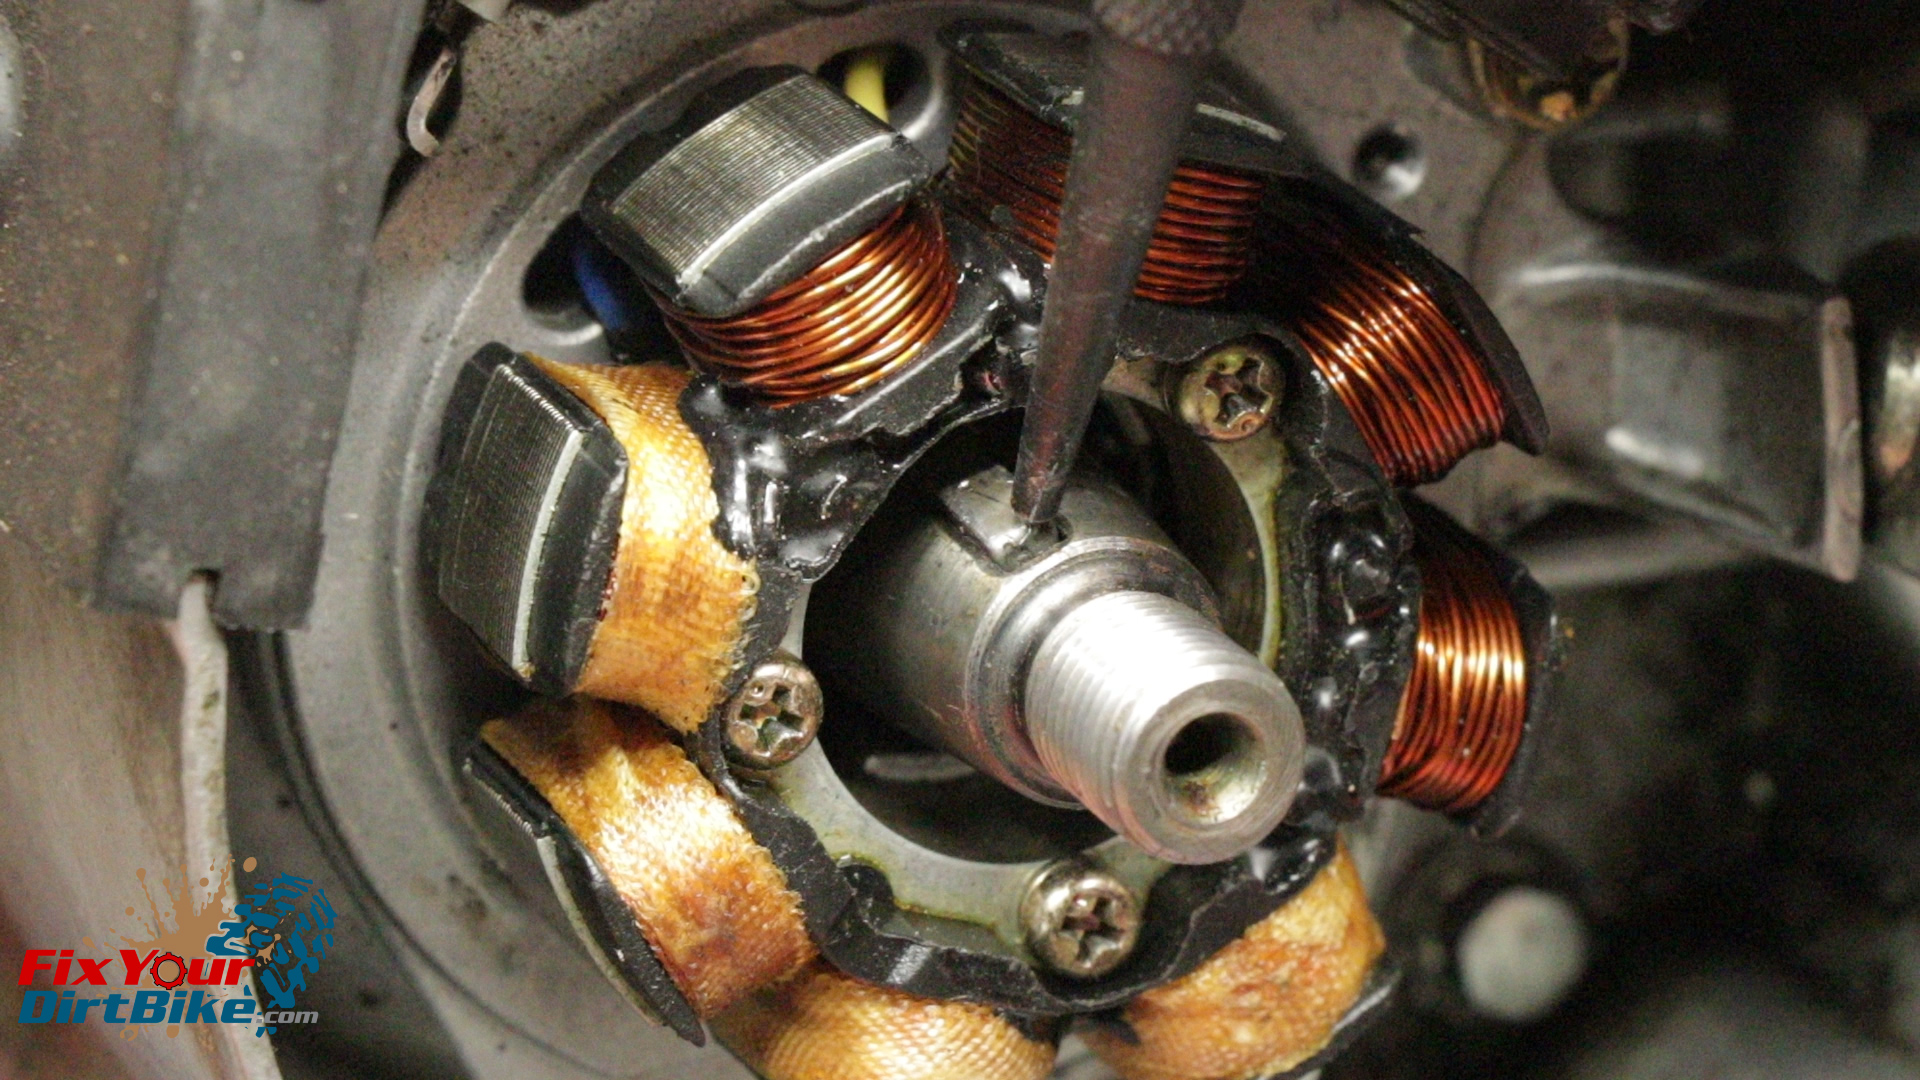
- With the flywheel removed, remove the woodruff key from the crankshaft.
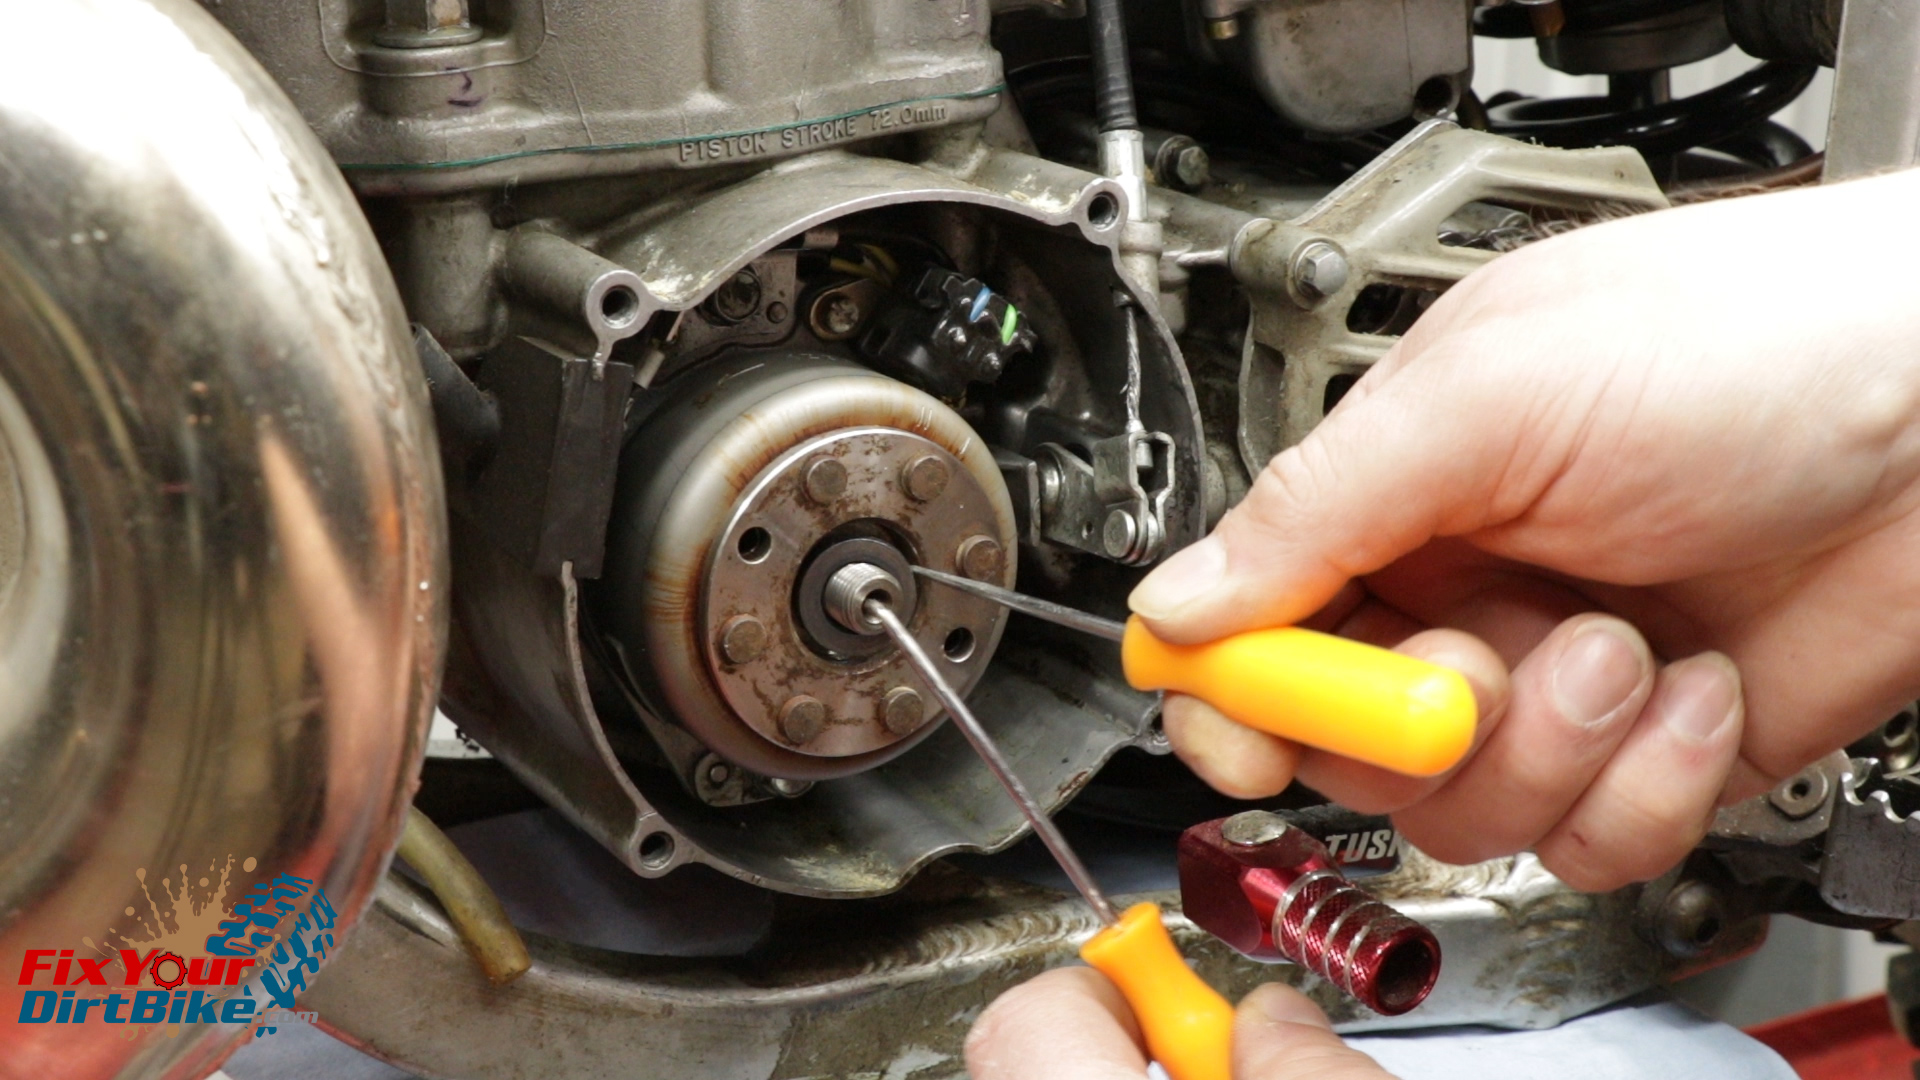

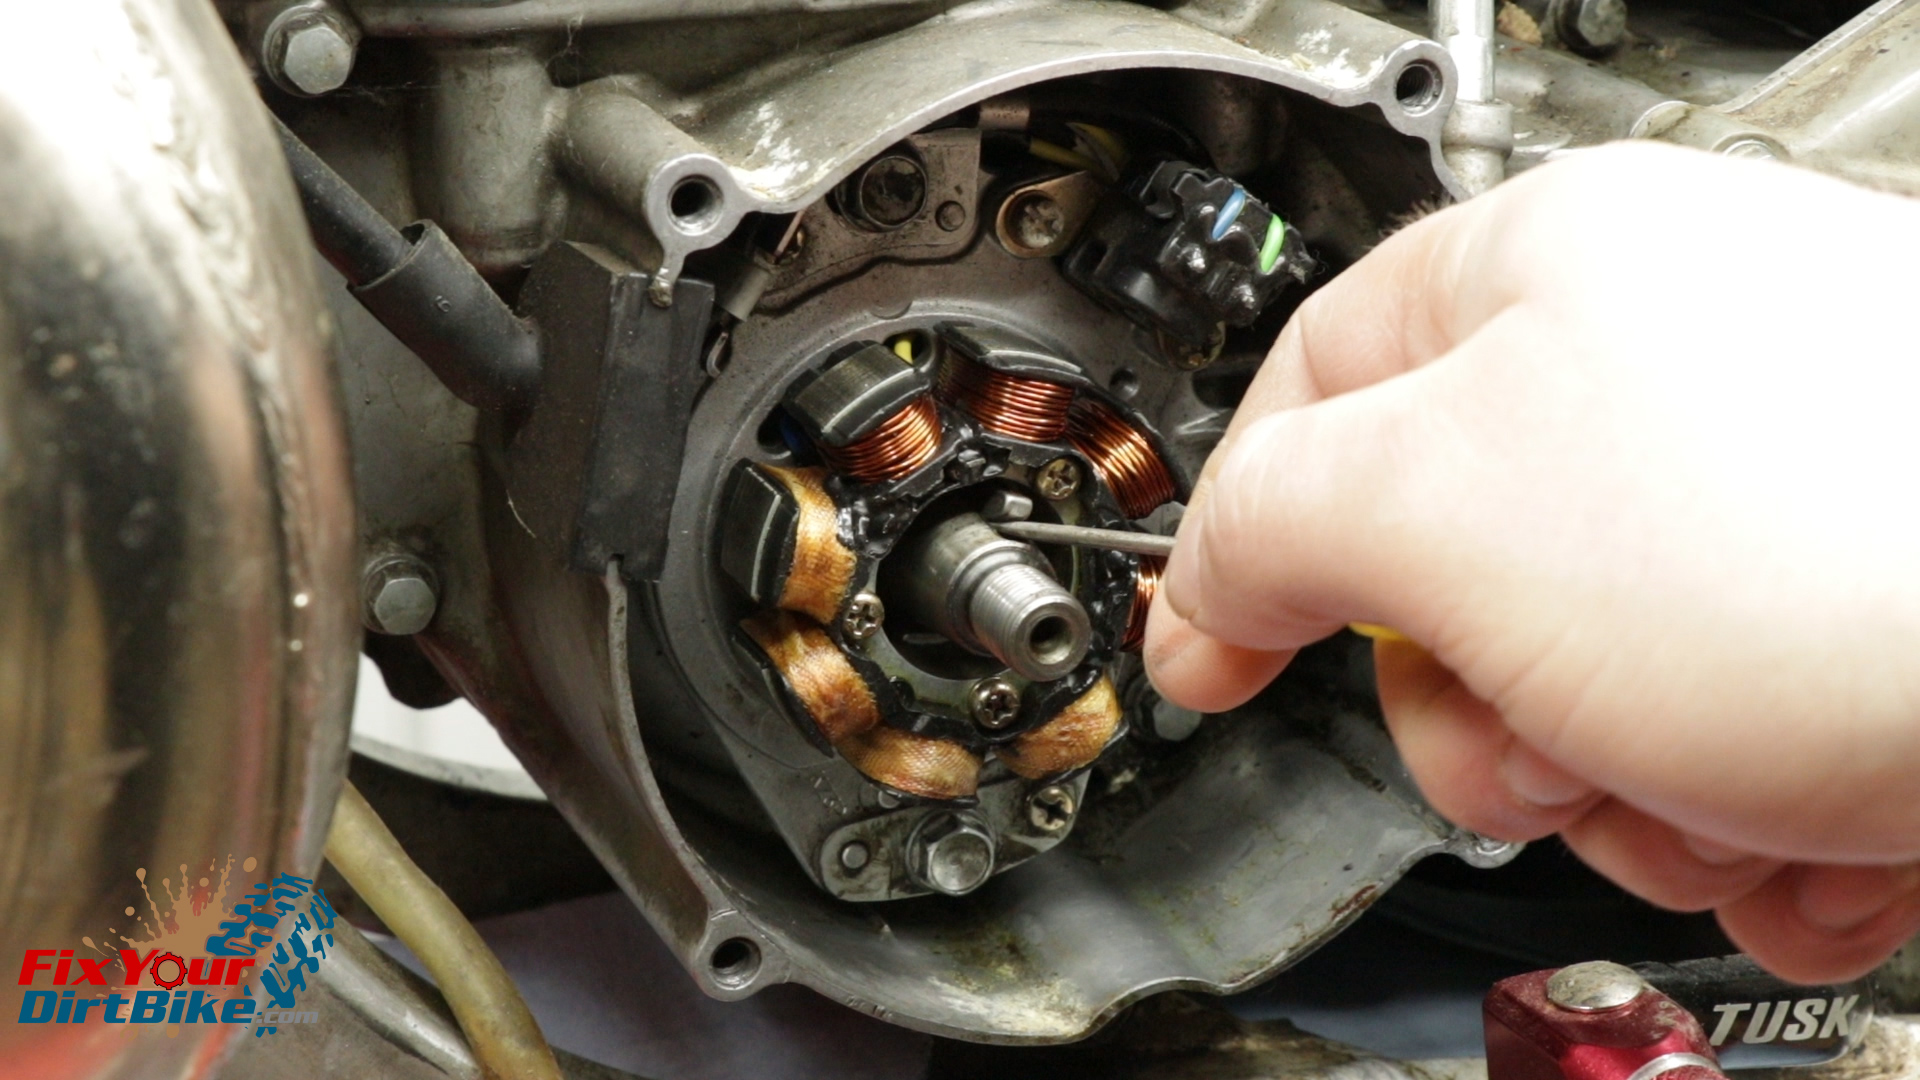
Flywheel Installation
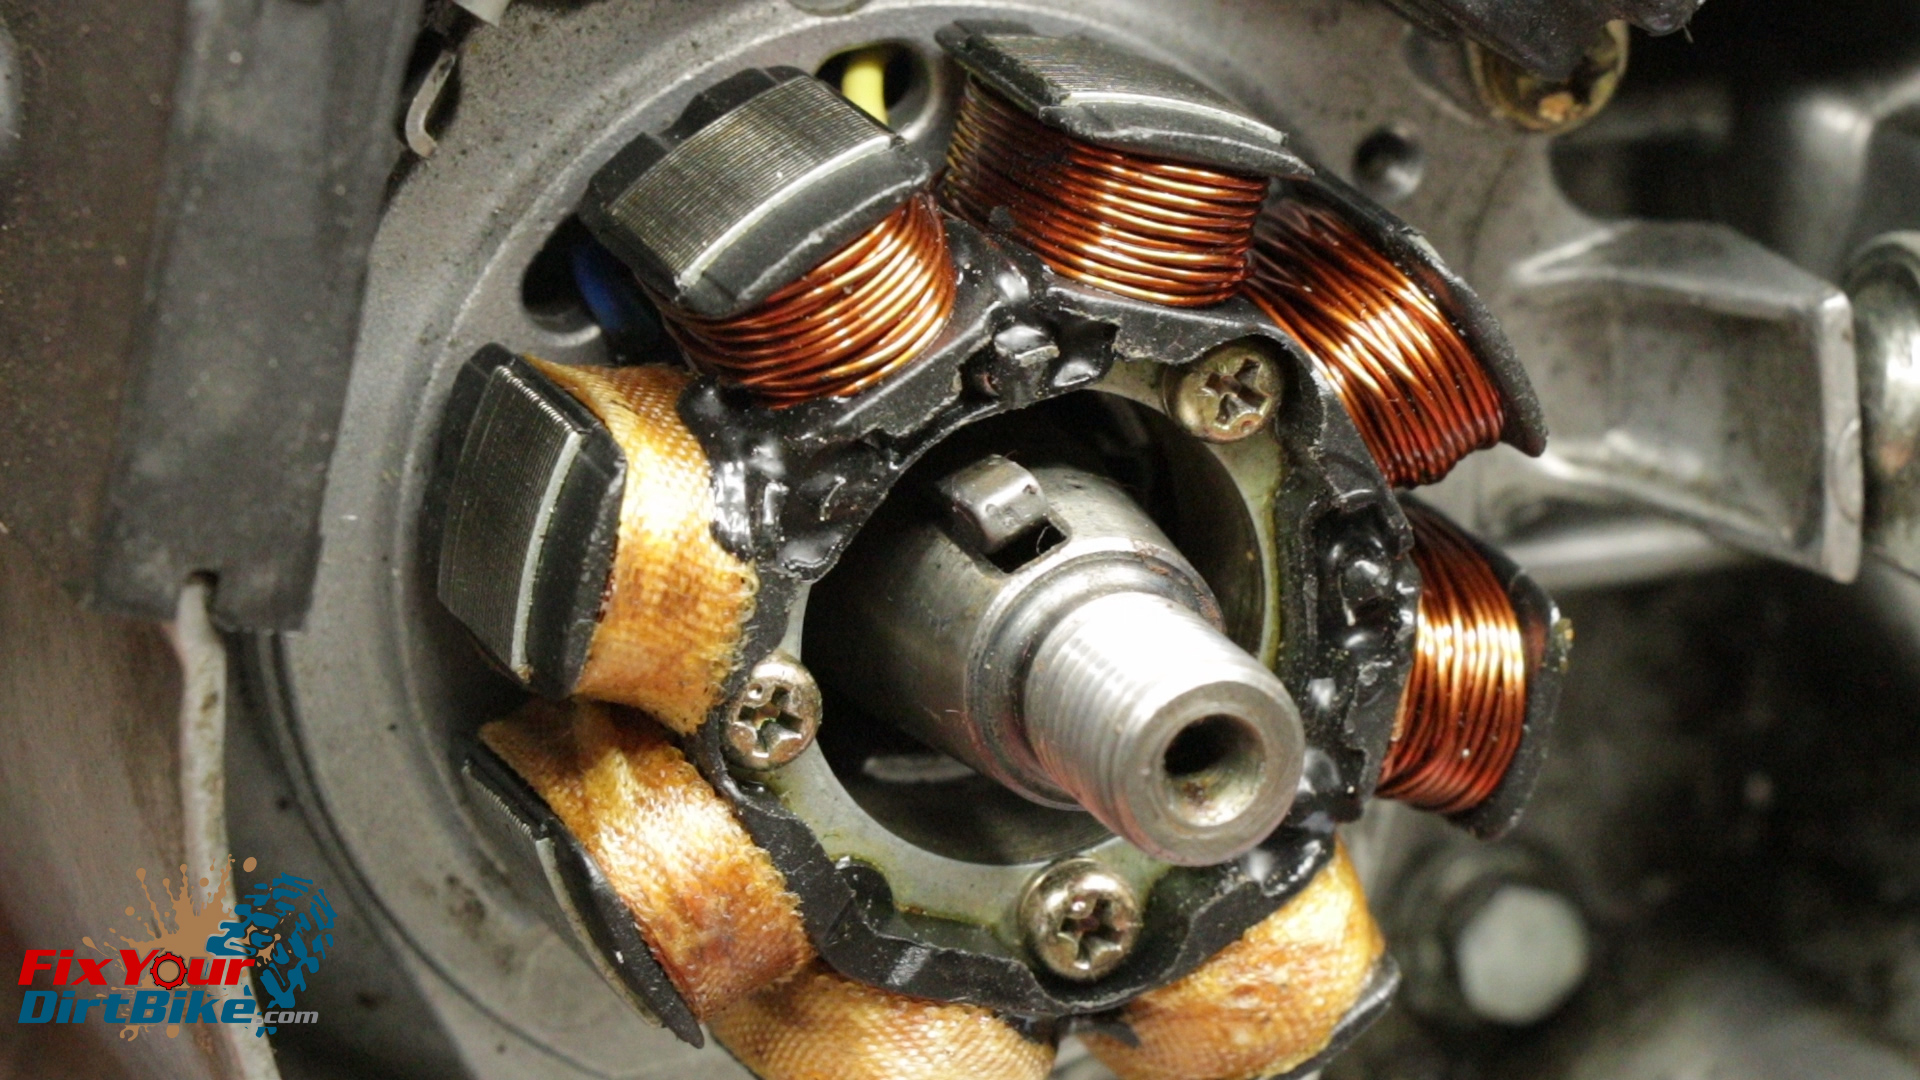
- *Before you install the flywheel, inspect the woodruff key and groove. If the key is overly rounded or damaged, it needs to be replaced.*
- Install the woodruff key into the groove. You may need to tap it in with a punch.
- Install the flywheel, washer, and nut.
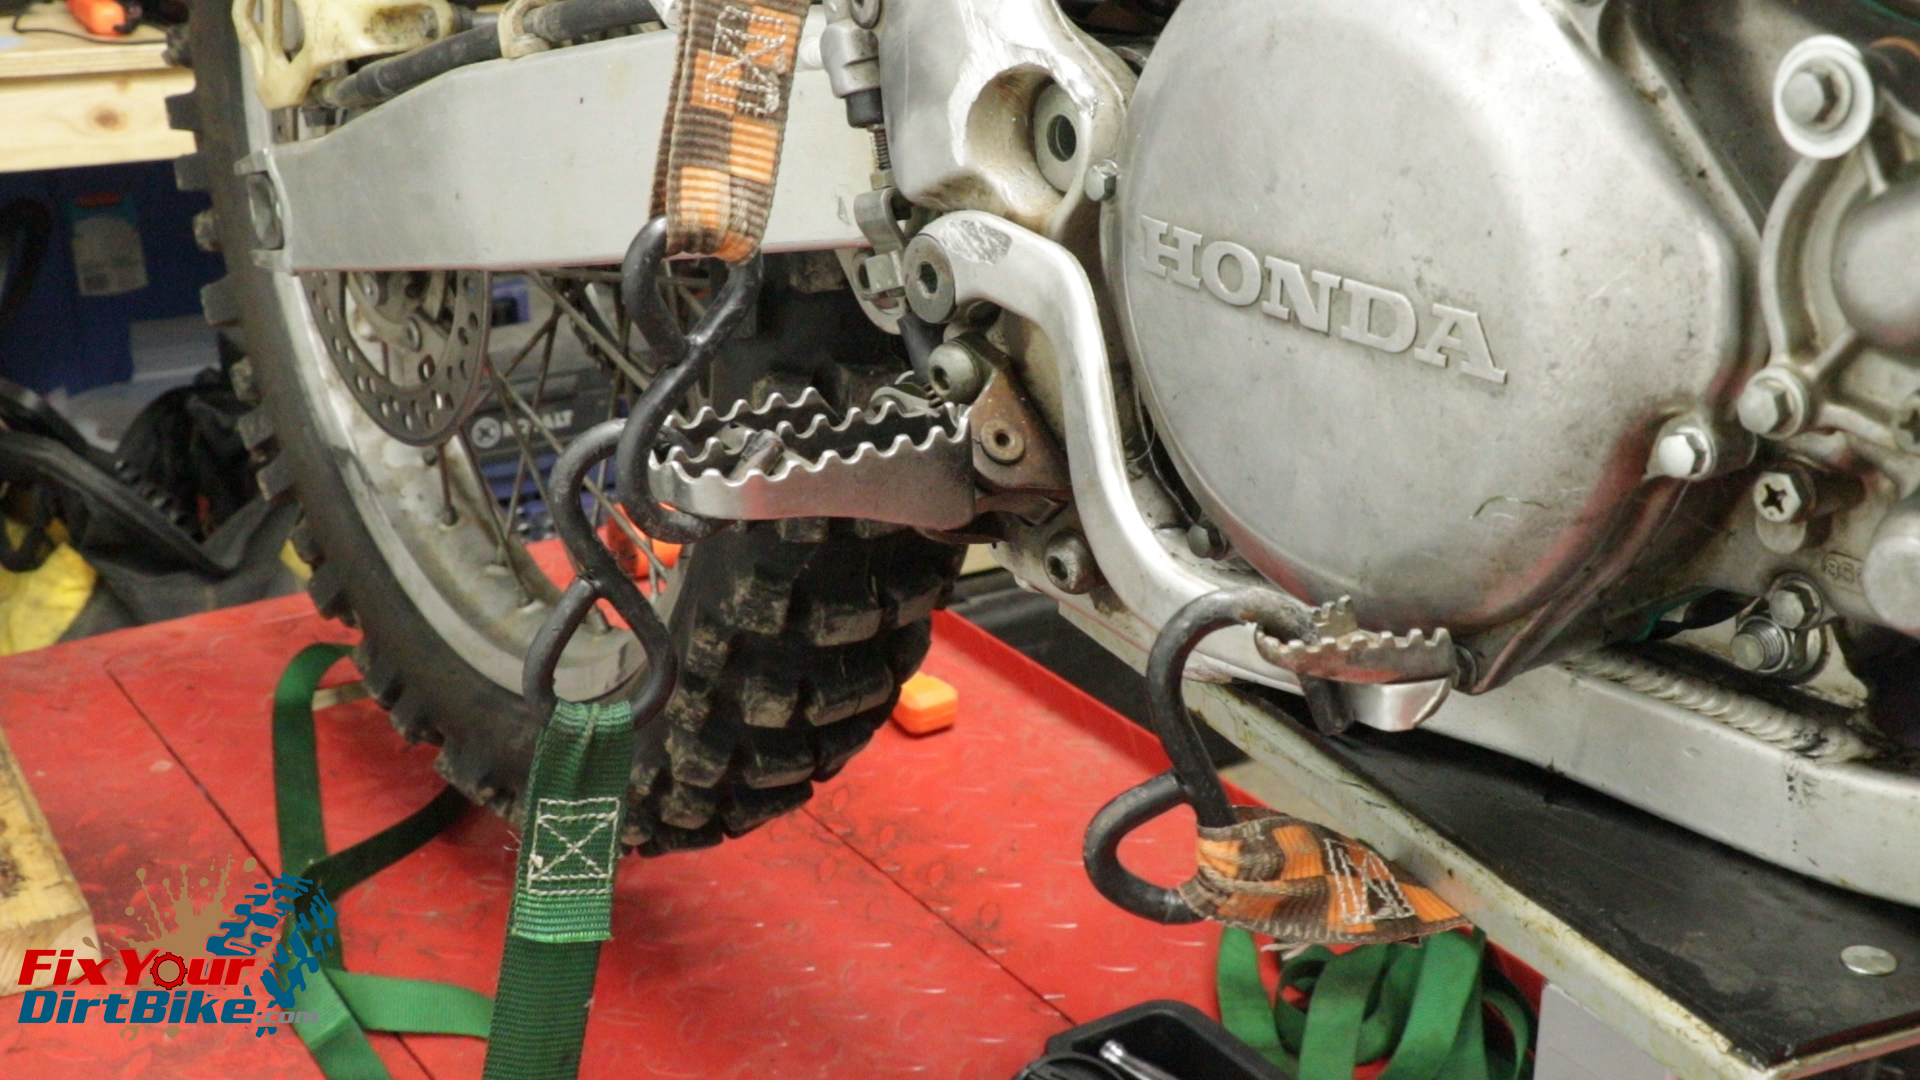
- If you ended up having to bind your rear tire with a 2×4, it will not work in the other direction, because of the extreme angle caused by the chain guide.
- Instead, you can bind the rear sprocket and the swingarm with something round.
- Your stopper must be round and placed as close to the hub as possible to avoid any deflection that could warp your sprocket.
- Hold the stopper in place and torque your center bolt to 40 ft-lbs.
- Again, this is not the ideal method but will work when done correctly.
 If you have any methods that I didn’t cover, please let me know in the comments, and I’ll give them a try!
Back To 1997-2001 Honda CR250 Master Repair Index
