
How To Remove The Cylinder On Your 97-01 Honda CR250

The Tools You Will Need
- Motion Pro Torque Wrench Adapter
- 3/8″ Socket Wrench
- 17mm Socket
- 14mm Socket
- 8mm Socket
- Mallet or Dead Blow
- Sharpie Marker
- Shop Towel
- Safety Glasses → https://bulltru.com
Pre-Service Notes
- Start your removal by turning the piston to the bottom dead center.
- I recommend opening the Service & Torque Specs in a new tab for easy reference.
- If you need parts and tools, make sure to buy them here! → https://amzn.to/4h4lDKq
- Pictures with captions are after the steps below.
- If you need any help, don’t hesitate to ask!
Cylinder Removal
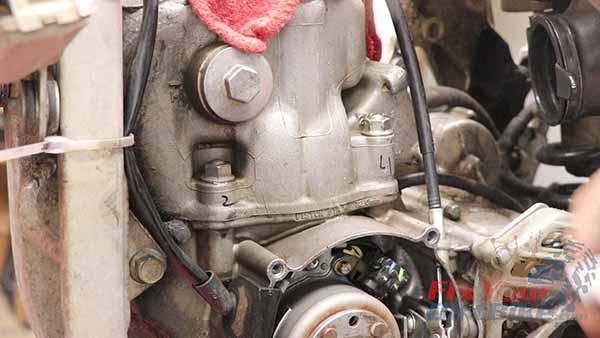
- Remove the right cylinder cover, and loosen the left valve cover while the cylinder is still mounted.
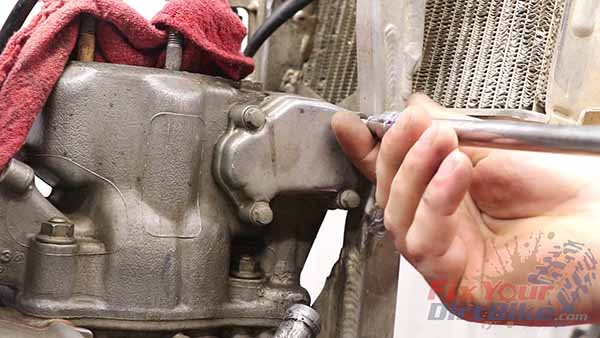
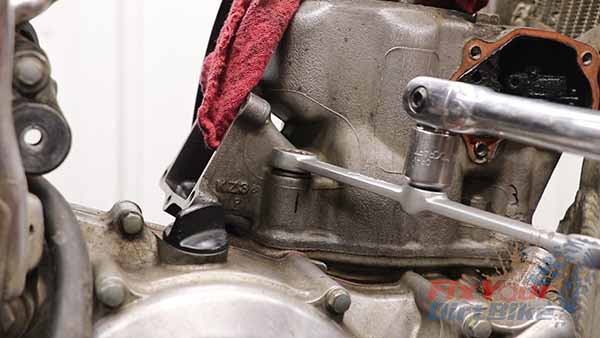
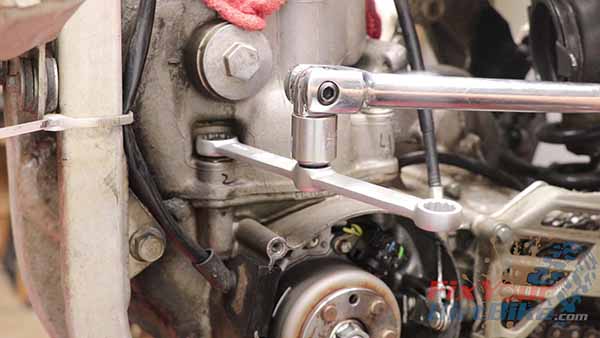
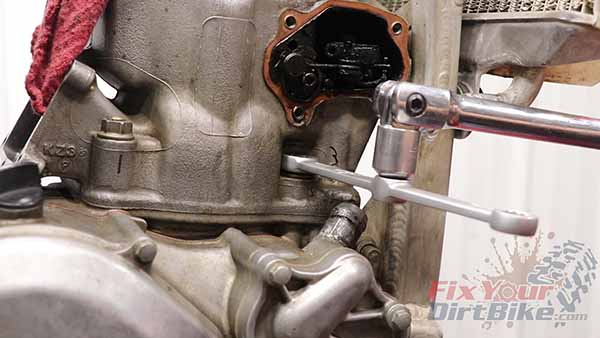
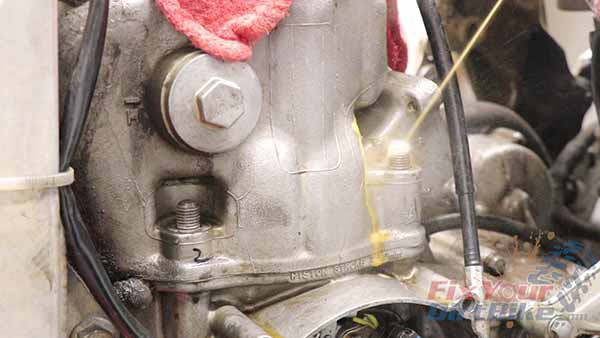
- Mark the four-cylinder base nuts 1 through 4 to follow a consistent pattern.
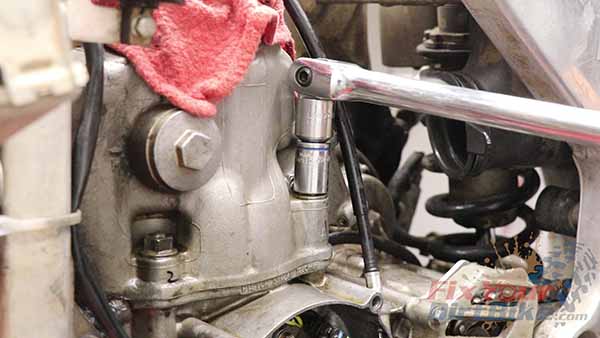
- Loosen the cylinder base nuts ¼ turns at a time to avoid binding. Take as many passes as needed.
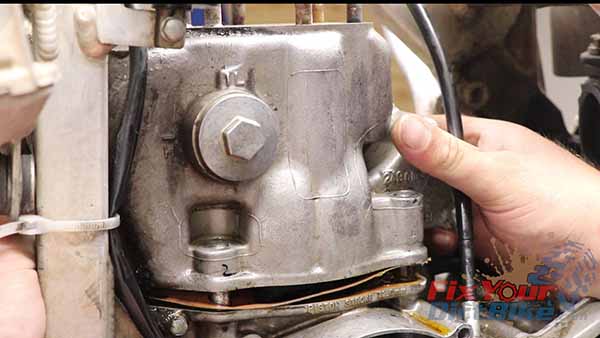
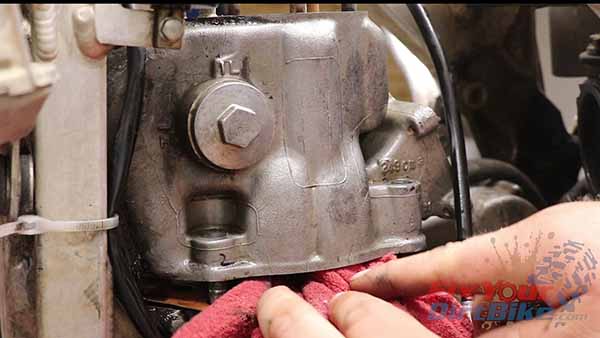
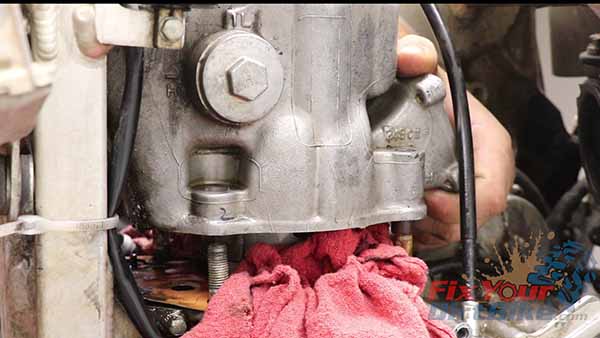
- Tap the cylinder with a mallet in multiple locations.
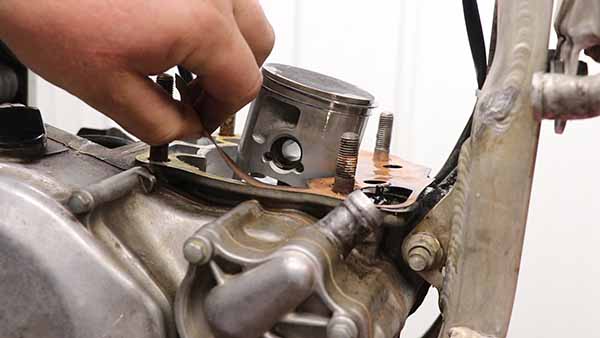
- While standing on the left side of your bike, slowly raise the cylinder to expose the alignment dowels and stuff a clean shop cloth into the crankcase opening.
- DO NOT TWIST THE CYLINDER!
If your dowels are seated on the studs, remove the cylinder. If the dowels are in the cylinder, ensure they don’t fall into the crankcase!
- You may experience binding on the left side of the cylinder due to seized alignment dowels.
- If your cylinder is seized to the stud, use PB blaster and patience.
- Remove the alignment dowels and any loose gasket material immediately following cylinder removal.

Keep Your ’97-’01 CR250 Running Right!
- Service Specification
- Clutch Replacement
- Carburetor Service
- Engine Top End
- Engine Bottom End
- Brakes
- Exhaust
- Front Suspension
- Rear Suspension
- Wheels & Tires
- Kickstarter Inspection
- External Shift Linkage


