
How To Remove And Install The Rear Tire On Your Dirt Bike
 Tools You Will Need For Your Rear Wheel
- Socket with a breaker bar
- Block of wood
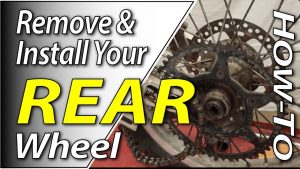
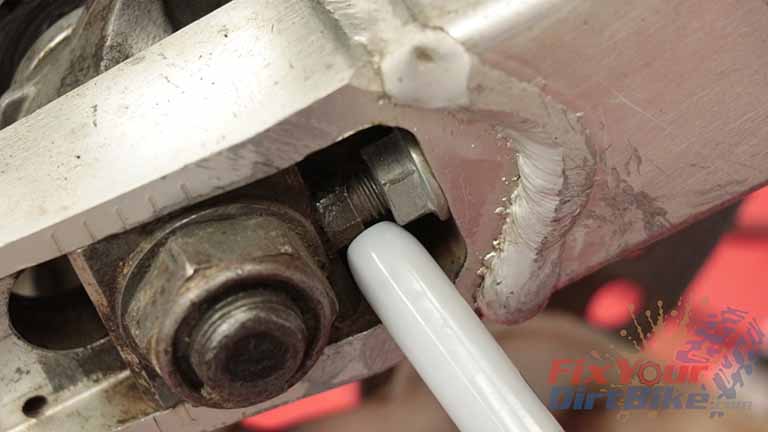
- Wrench for chain adjustment jam nut
- Wrench for chain adjustment bolt
- Torque Wrench → https://amzn.to/3WuepaQ
- Sharpie marker
- Safety Glasses → https://bulltru.com
Pre-Service Notes
- Put your bike on a sturdy stand.
- If you need parts and tools, make sure to buy them here! → https://amzn.to/40uWvWN
- Pictures with captions are after the steps below.
- If you need any help, don’t hesitate to ask!
Removing Your Rear Wheel
- Step 1: Count the threads on the chain adjuster bolt and mark the number on the swingarm. This is not a precise measurement, but it will give you a starting point when you install your wheel.
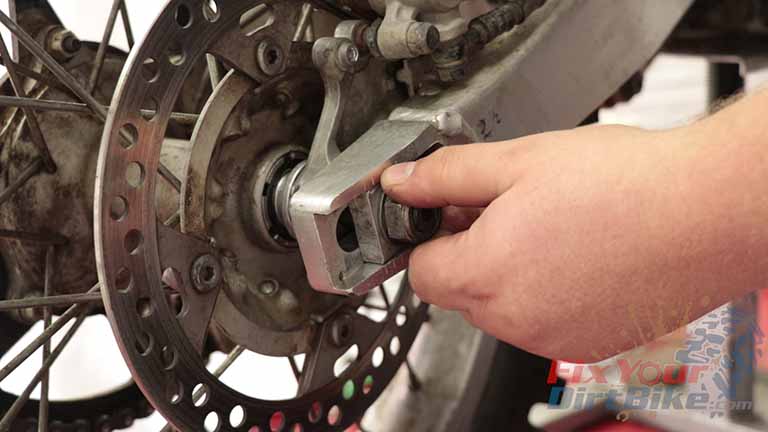
- Step 2: Turn the back chain adjustment jam nuts out a few turns, then turn the adjuster bolts in a few turns to relieve pressure on the axle blocks.
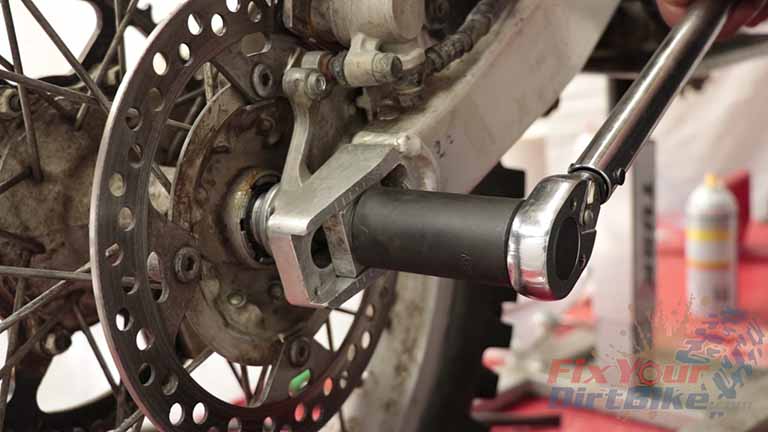
- Step 3: Loosen & remove the axle nut and washer.
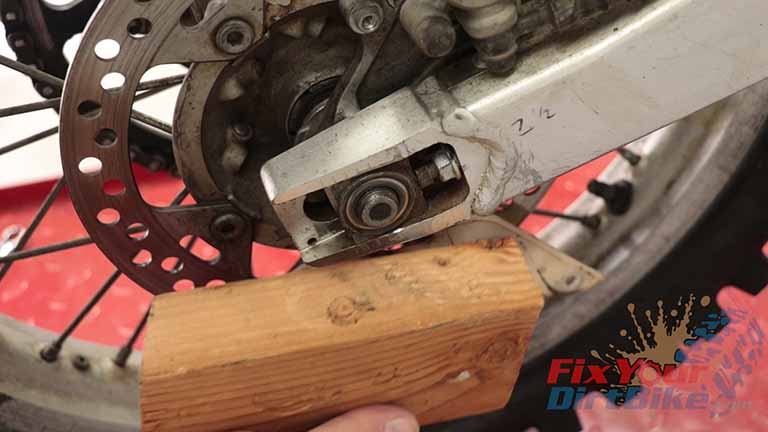
- Step 4: Lift your tire, then knock the axle into the swingarm with your piece of wood
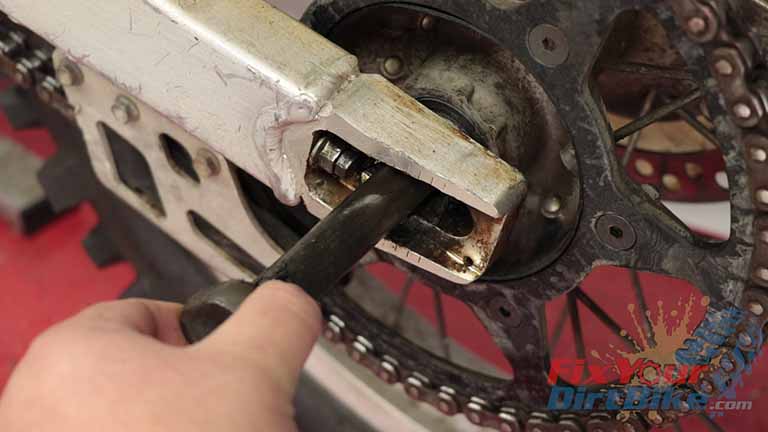
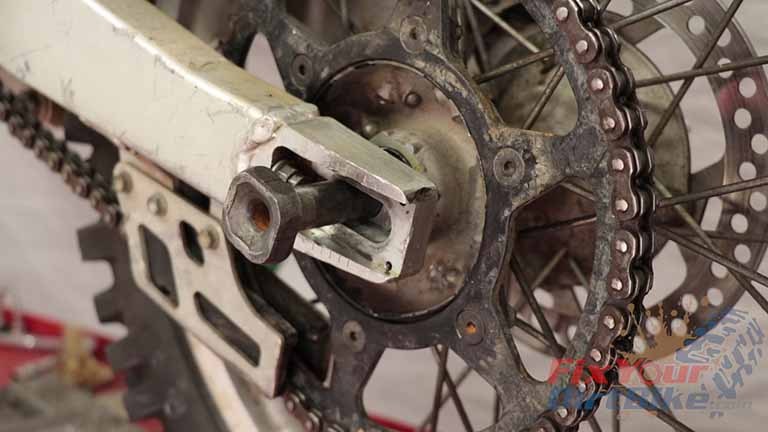
- Step 5: Remove the axle.
- Do not use a hammer; you will damage the threads!
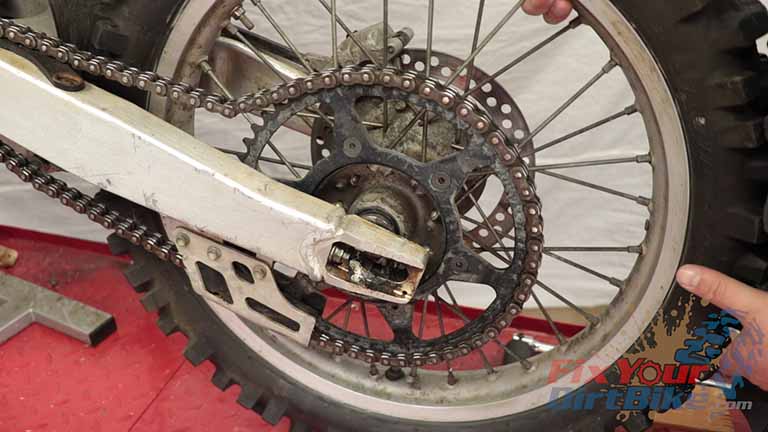
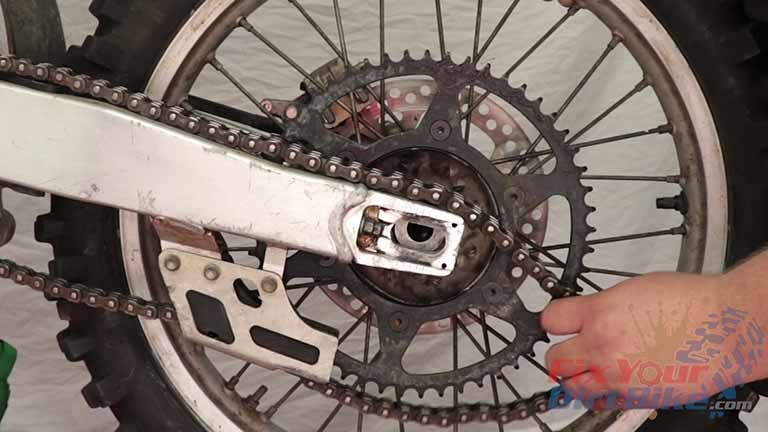
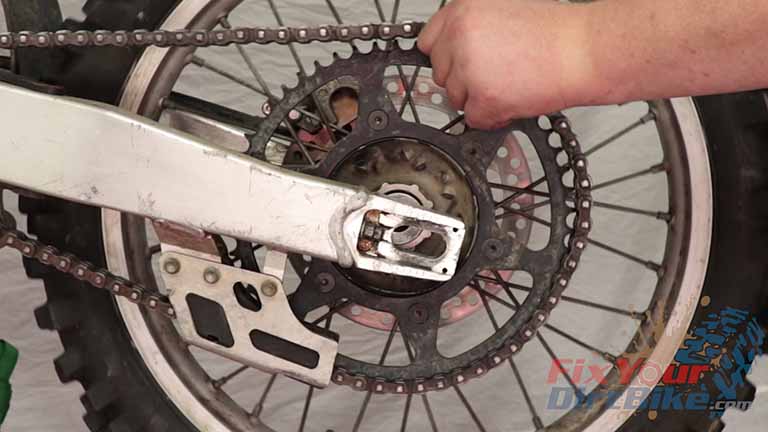
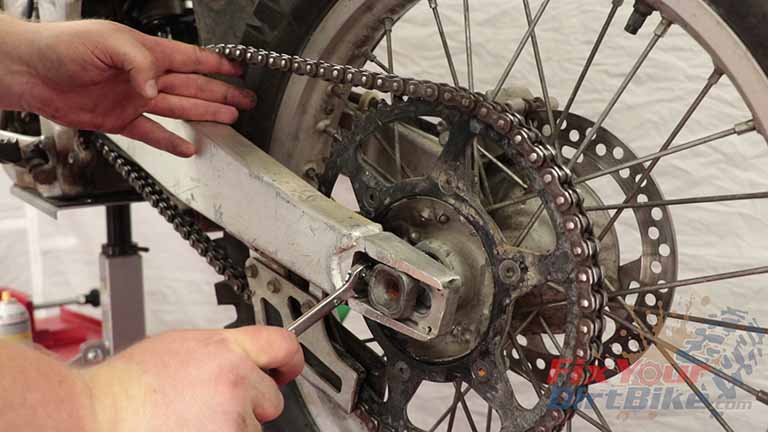
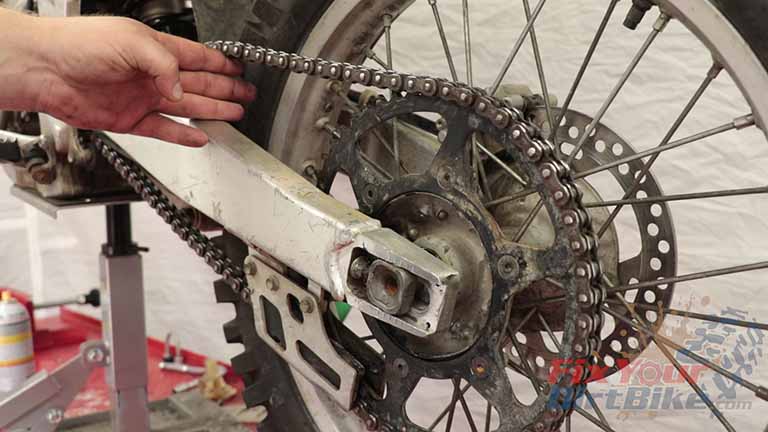
- Steps 6 and 7: Push your wheel forward to slack the chain, then, starting at the top, work your chain off the sprocket and remove your wheel.
- Keep track of your spacers, axle block, washer, and axle nut.
Installing Your Rear Wheel
- Step 8: Install the spacers. The larger of the two spacers go on the sprocket side of the wheel.
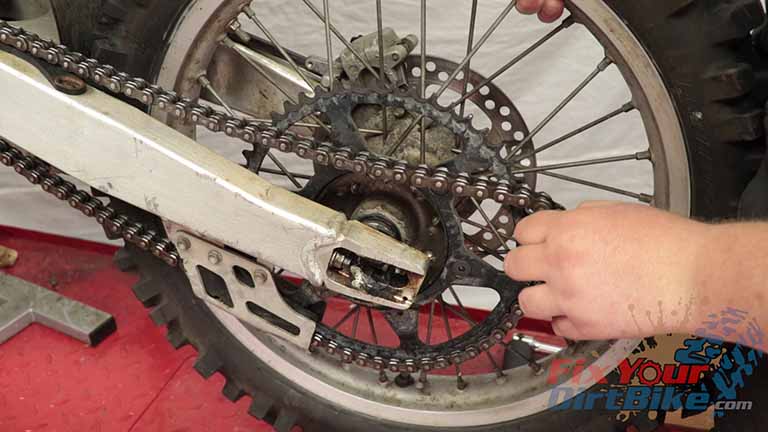
- Step 9: Align your wheel, and starting at the bottom, work the chain onto the sprocket.
- Step 10: Lift your wheel and install the axle.
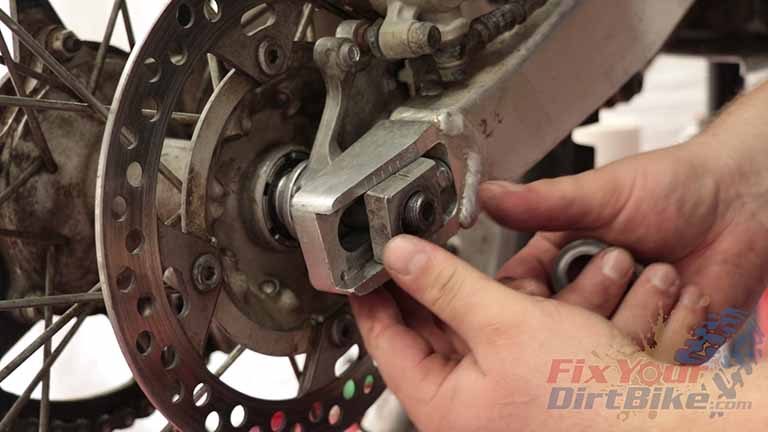
- Step 11: Install the axle block with the notch facing up.
- Step 12: Install the washer and axle nut, hand tight.
- Step 13: Return the chain tensioner to the position marked earlier. While you’re at it, check your chain tension.
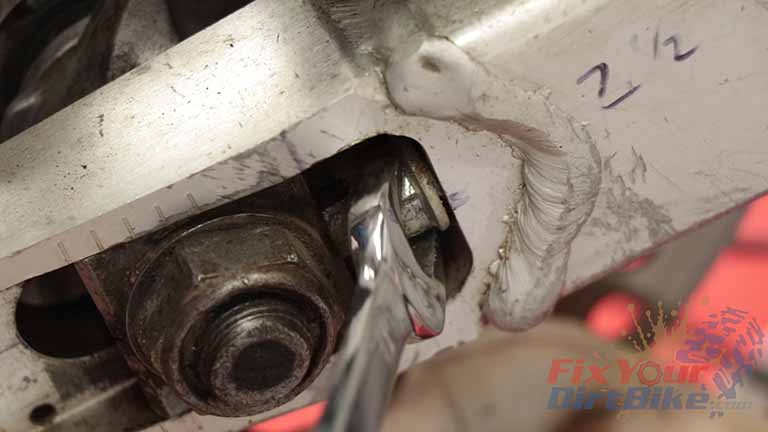
- Step 14: Match the chain adjuster on the other side.
- Match the tension bolts as close as you can. A misaligned rear wheel will cause premature wear on the chain, sprocket, swingarm, and hub and is the number one cause of bearing failure, all of which cost money to fix.
- Step 15: Once your chain tensioners are set, push the axle blocks up to the adjuster bolts and torque the axle nut to manufacturer specs.
Remember to take your time, and your bearing replacement will be easy.
If you want to help take fix your dirt bike to the next level, check out my Patreon page!
If you have any questions or anything to add, please leave them in the comments or on our Facebook page!
Keep Your Dirt Bike Running Right!


