
How To Rebuild The Front Master Cylinder On Your 97-01 Honda CR250
 The Tools You Will Need
- Snap Ring Pliers → https://amzn.to/3DKBrns
- Small Pick
- Torque Wrench (ft-lb)→ https://amzn.to/3DOqm4B
- Torque Wrench (in-lb) → https://amzn.to/4j9LDpC
- 8m Wrench & Socket
- 10mm Wrench & Socket
- 12mm Wrench & Socket
- Calipers → https://amzn.to/3BRoCXX
- Shop towels
- Safety Glasses → https://bulltru.com
The Parts You Will Need
- New ’97-’01 Honda CR250 Front Master Cylinder Rebuild Kit → https://amzn.to/3WdXnO3
- Rubber Grease → https://amzn.to/3WetmOa
- DOT 4 Brake Fluid → https://amzn.to/42bPEUr
This rebuild should cost no more than $25 and less than one hour.
Pre-Service Notes
- I recommend opening the Service & Torque Specs in a new tab for easy reference.
- If you need parts and tools, make sure to buy them here!
- Brake fluid damages everything, so keep your towels handy!
- Pictures with captions are after the steps below.
- If you need any help, don’t hesitate to ask!
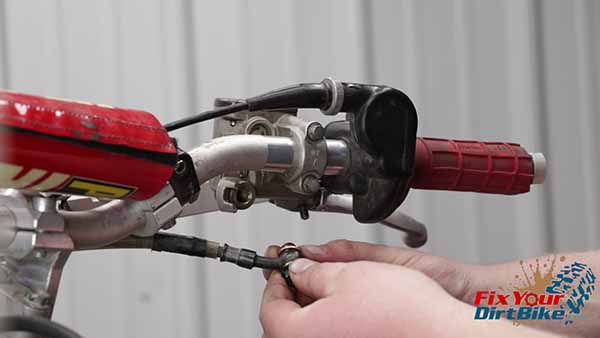
Front Master Cylinder Removal
- Brake fluid will damage almost everything, so keep your shop towels handy.
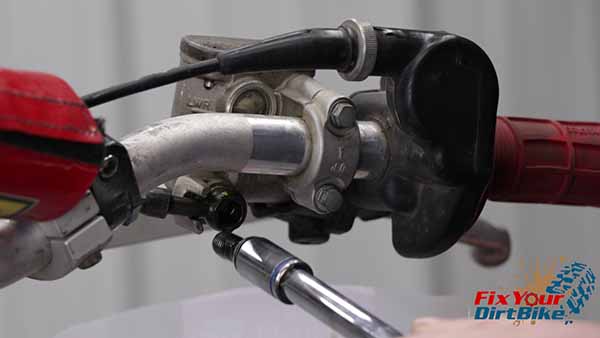
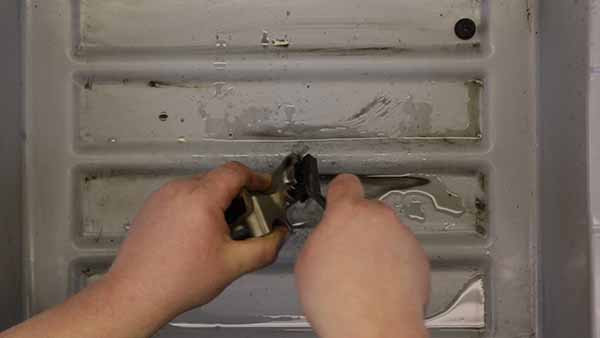
Start by removing the master cylinder from your bike. - Loosen and remove the banjo bolt, wrap the end of your brake line with a shop towel, and remove the mounting bolts.


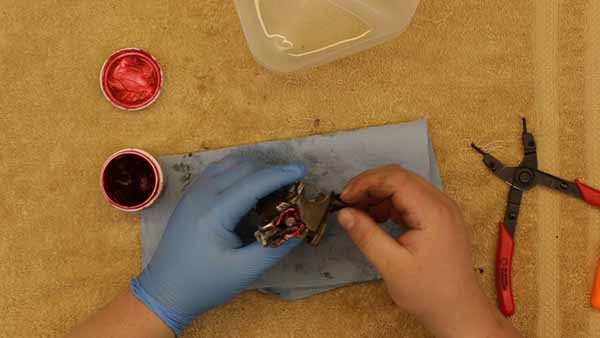
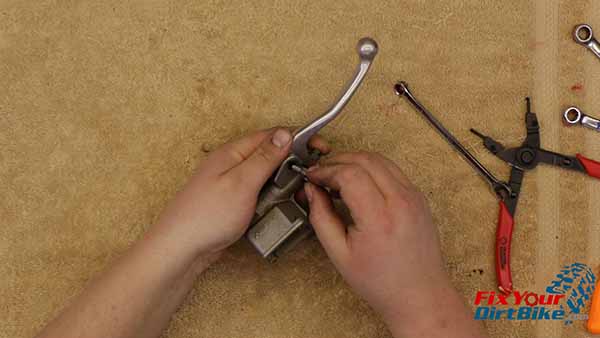
Disassembly
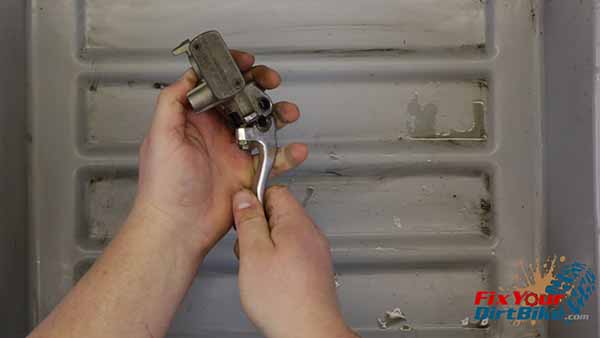
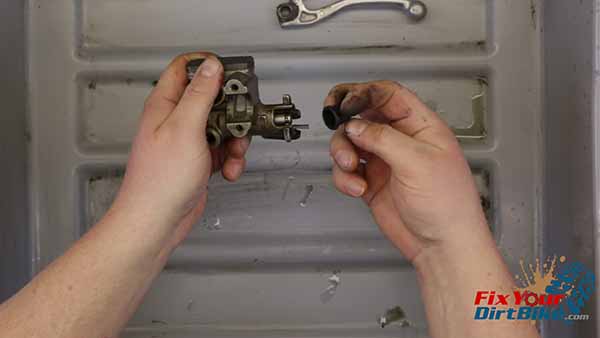
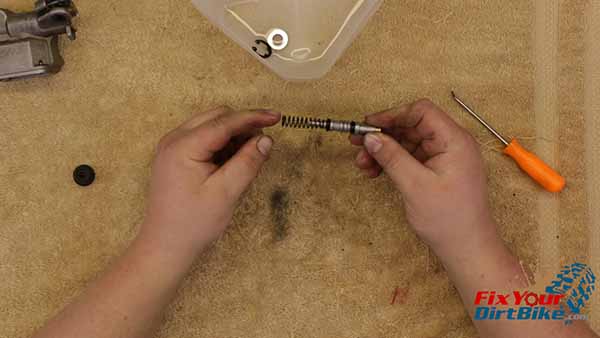
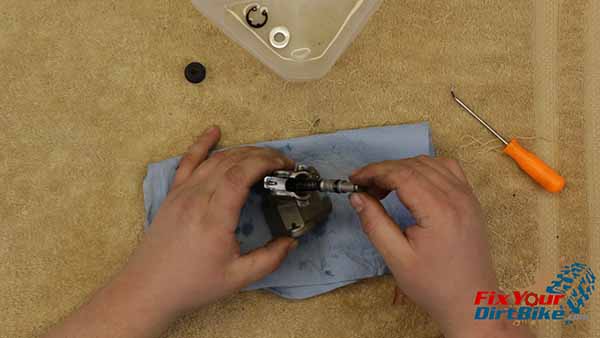
- Completely disassemble the master cylinder, starting with the brake lever pivot bolt and spring.
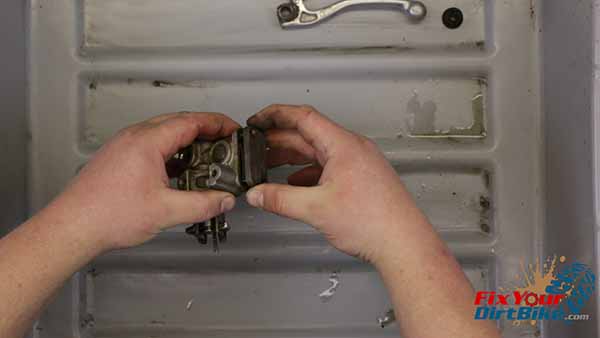
- Remove the piston boot and reservoir cap.
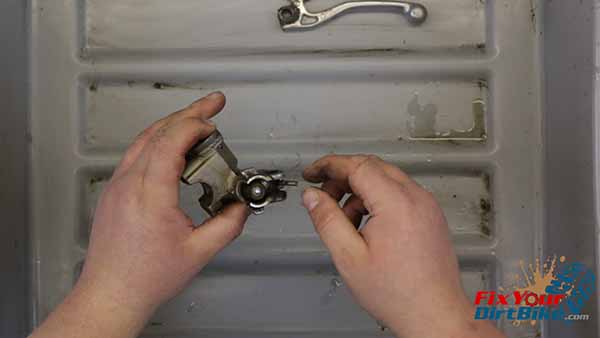
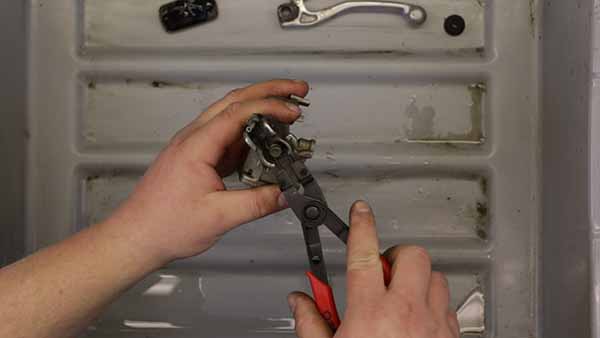
- The snap ring holding the piston can be challenging to reach, so use your pick and take your time.
 Related: How to bleed the brakes on your ’97-2001 Honda CR250.
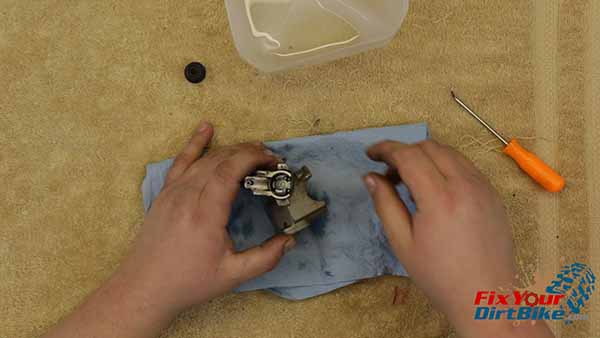
Clean & Inspect
- Clean every piece of the system and inspect them for excessive wear.
- When cleaning brake components, you only need to use clean brake fluid and a stiff brush.
- If your master cylinder is rusty, sanding and cleaning with carb cleaner are needed. Just rinse and dry every component, then clean again with fresh brake fluid.
Clean every piece of the system and inspect them for excessive wear.
Measure
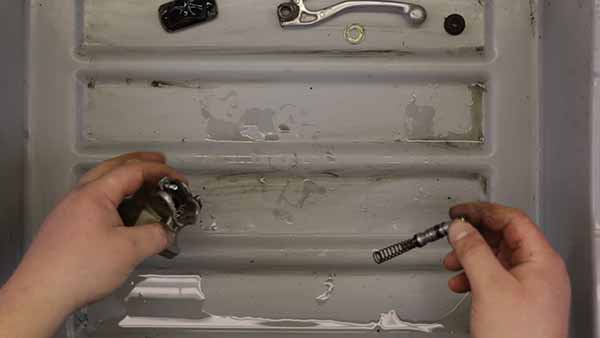
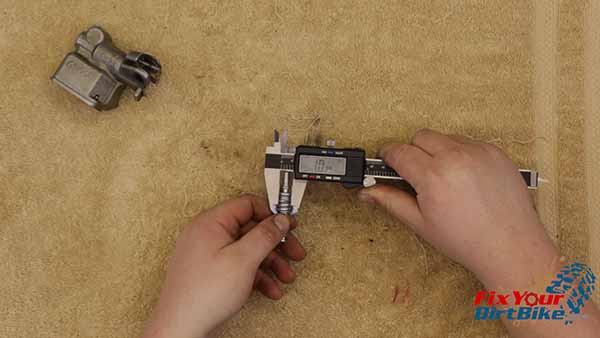
- Measure the cylinder bore’s inside diameter and the piston’s outside diameter.
- The cylinder bore should measure no greater than 11.05mm, and the piston should measure no less than 10.84mm.
- The piston is within spec, and the cylinder bore is just under the service limit, so this master cylinder is good to go.

New Brake Parts
- While everything is drying, take stock of your new parts. I am installing an All Balls front master cylinder rebuild kit, which you can get HERE!
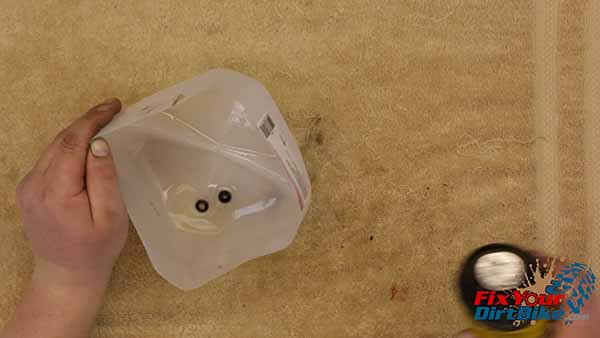
- This kit comes with a piston boot, piston seals, reservoir cap screws, piston washer, banjo bolt seal washers, spring clip, and piston return spring.
- Match the old parts with the new parts to make sure you’re not accidentally throwing away something you need.
- Once your new parts are ready, soak your new piston cups in fresh brake fluid for 15 minutes to soften and lubricate for assembly.

This kit comes with a piston boot, piston seals, reservoir cap screws, piston washer, banjo bolt seal washers, spring clip, and piston return spring.
Front Master Cylinder Assembly
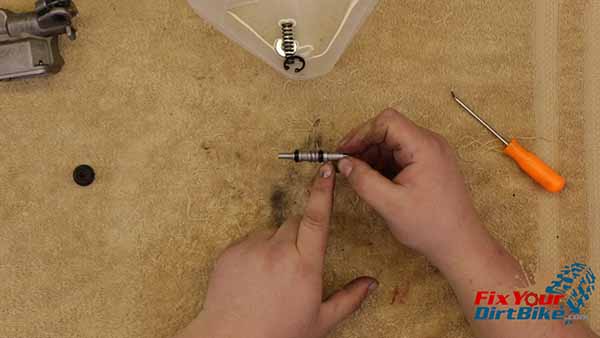
- Make sure to use brake fluid throughout the installation to lubricate your parts. Start your assembly with the piston. Install the large piston cup on the lever end and the small cup on the spring end.
- Install the cups so the wide side faces the spring end.
Attach the new spring. - Install the piston past the first cup and stop when the spring touches the end of the cylinder.
- The piston and cylinder are a very tight fit, so take care not to roll the piston cups on the way in.
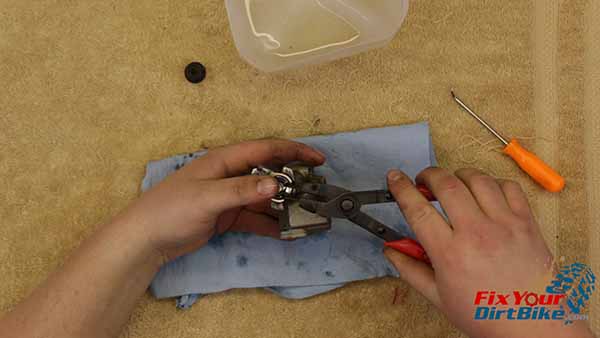
- Once you have your piston washer and spring clip in position, hold the master cylinder in your left hand and carefully press the piston into the bore with your thumb.
- While holding the piston down, seat the washer and install the spring clip.
- If your spring clip has a flat side and a rounded side, the flat side must face out.
Grease and install the boot. Use the round end of a small wrench to push the sides of the boot all the way into the bore. - Wipe off the excess grease, and install the brake lever spring and pivot bolt.
- Finally, install the reservoir cap.

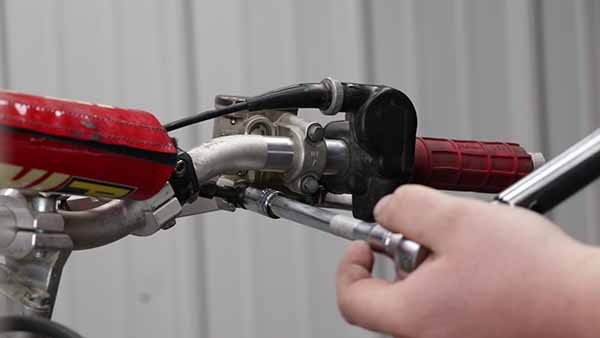
Front Master Cylinder Installation
Mount the master cylinder, and install the banjo bolt with the new seal washers.
Torque Specifications
- Banjo Bolts 25 ft-lb
- Pivot Bolts 52 in-lb
- Mounting Bolts 88 in-lb
- Reservoir Screws 95 in-lb
If you want to help take Fix Your Dirt Bike to the next level, check out my Patreon page!
If you have any questions or comments, please leave them in the comments or on our Facebook page!
Keep Your ’97-’01 CR250 Running Right!
- Service Specification
- Clutch Replacement
- Carburetor Service
- Engine Top End
- Engine Bottom End
- Brakes
- Exhaust
- Front Suspension
- Rear Suspension
- Wheels & Tires
- Kickstarter Inspection
- External Shift Linkage


