
How To Service The Radiator On Your 1997-2001 Honda CR250
 The radiator is the most fragile component of your dirt bike’s engine, but it’s mounted right behind the fender, so you should inspect it regularly.
The 1997 – 1999 models’ radiators are one-piece, while the 2000 – 2001 models’ radiators are two-piece designs with hoses connecting each side. This service applies to both types of radiators, as well as pretty much every radiator.
My radiator looks half-way f****d but still works so…
Before we begin, this is one of those situations where I won’t make much effort to fix the part because it’s just not worth it. I can get an aftermarket radiator with hoses for around $100, and it will be here in two days.
I’m going to fix the bent tab, test it, and then correct the fins. If I find a leak, obstruction, or internal corrosion, I’ll just get a new one, but I’ll still cover how to fix those issues.
Related: 97-01 Honda CR250 top End Service – Introduction
The Tools You Will Need Are
- Towels
- Test Tub
- Water
- Flat Head Screwdriver
- 6mm Socket
- Socket Wrench
- Handy wire
- High Heat Epoxy Resin → https://amzn.to/3Wi8KEM
Pre-Service Notes
- You can buy all the necessary parts and tools here → https://amzn.to/4h4lDKq
- Click here to open the specifications table in a new window.
- Service pictures with captions follow the steps below.
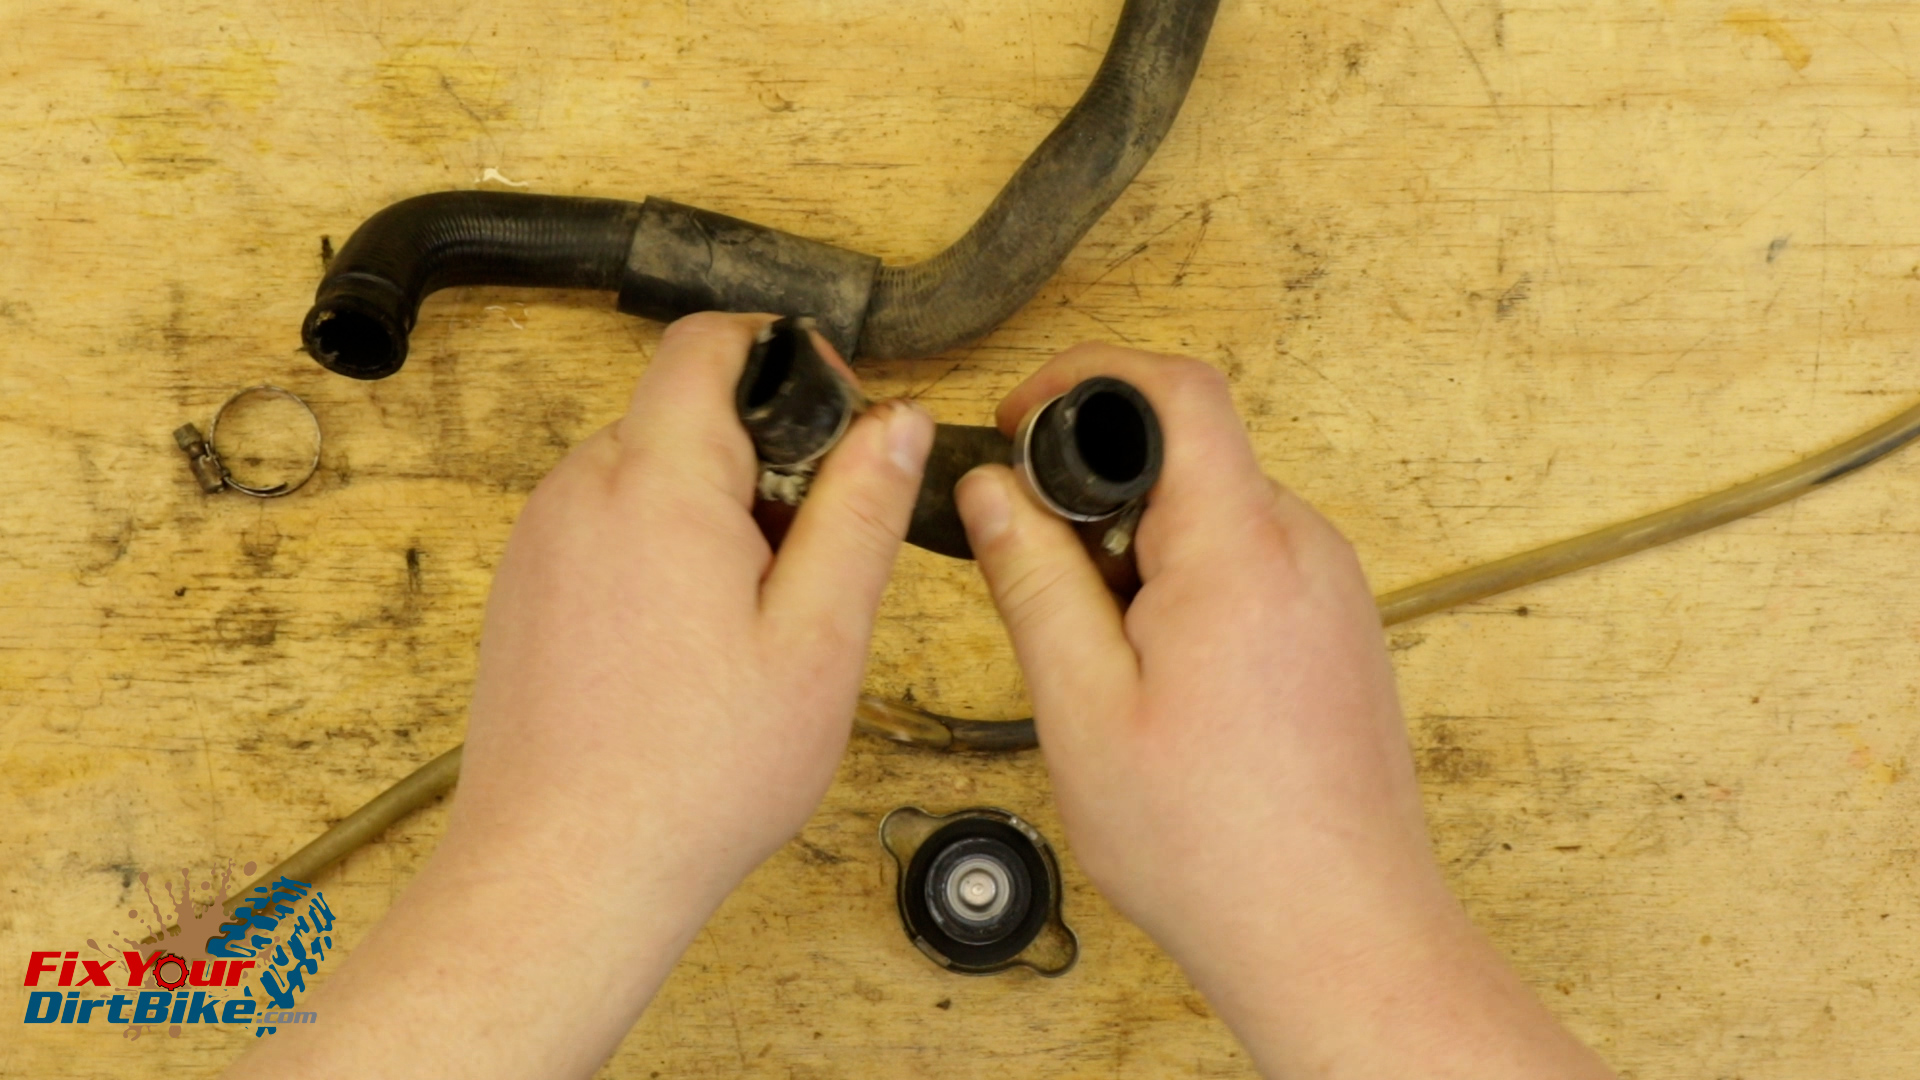
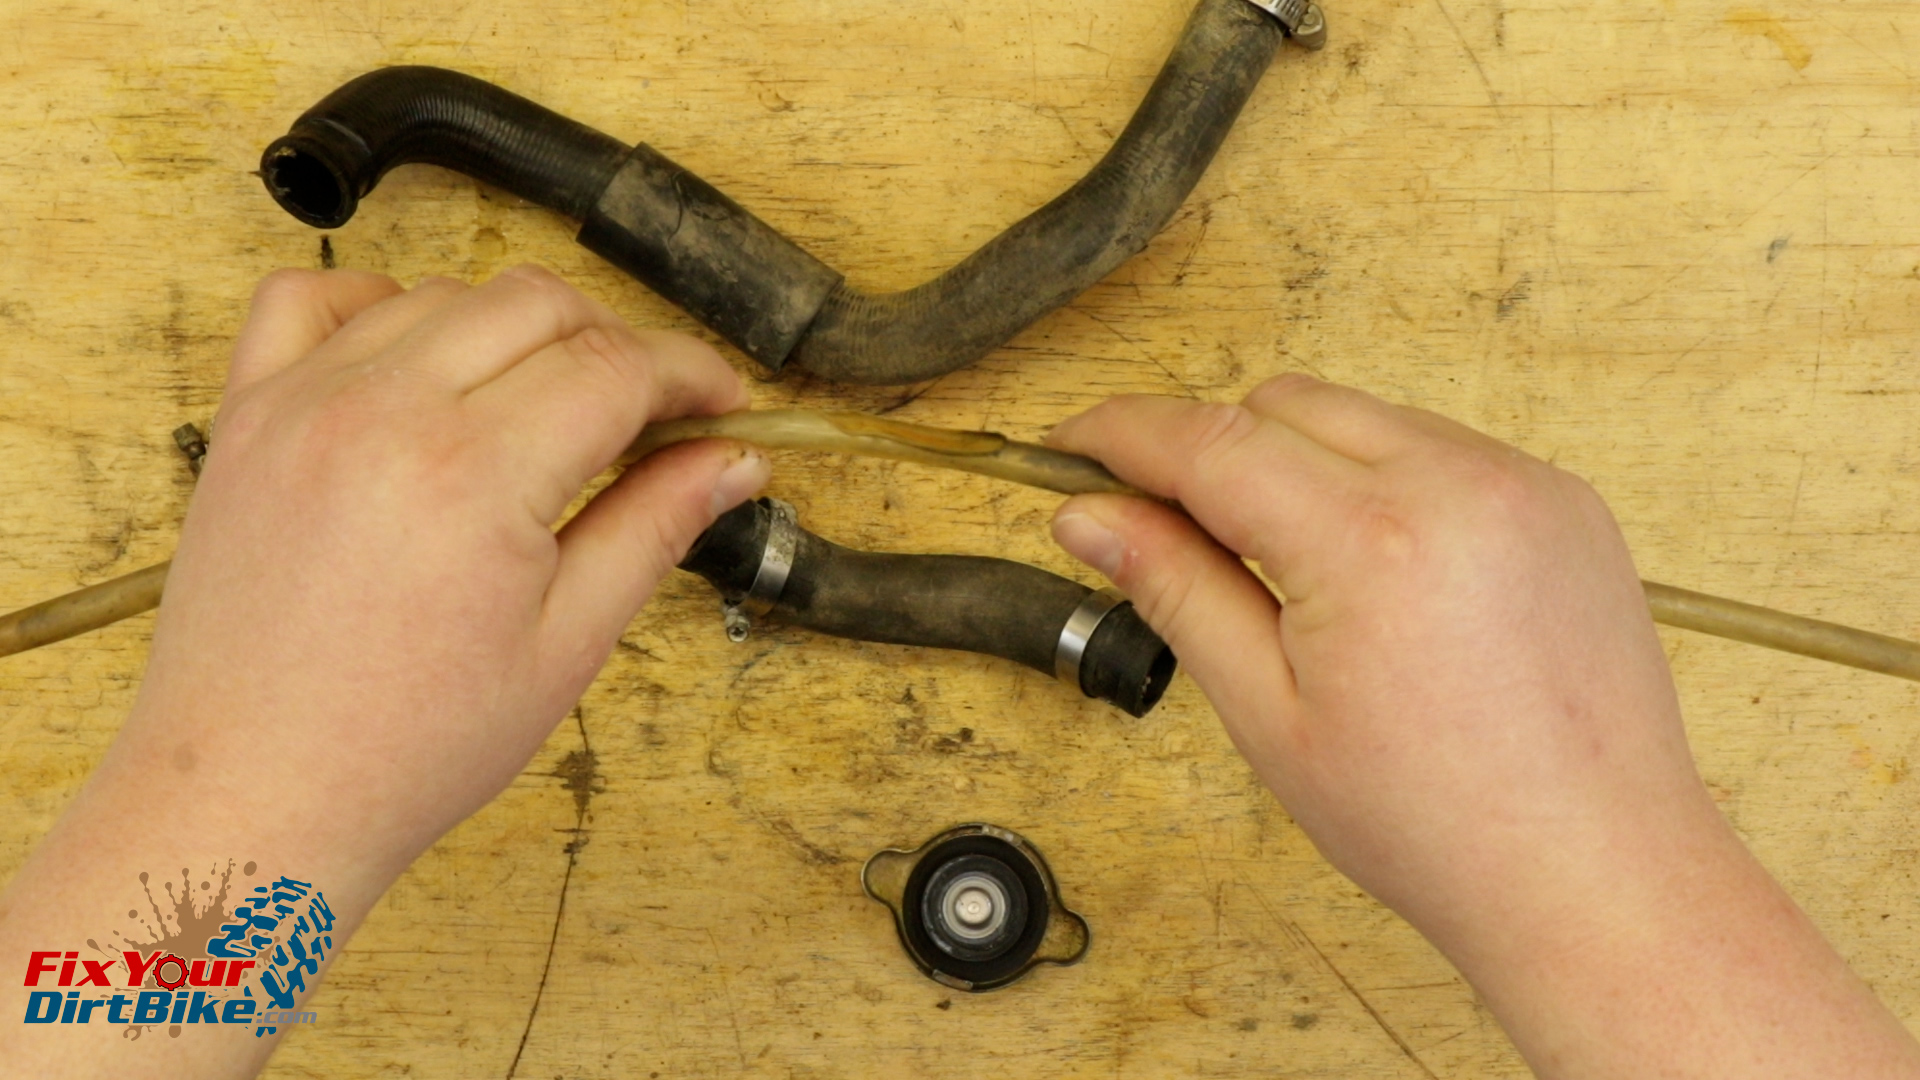
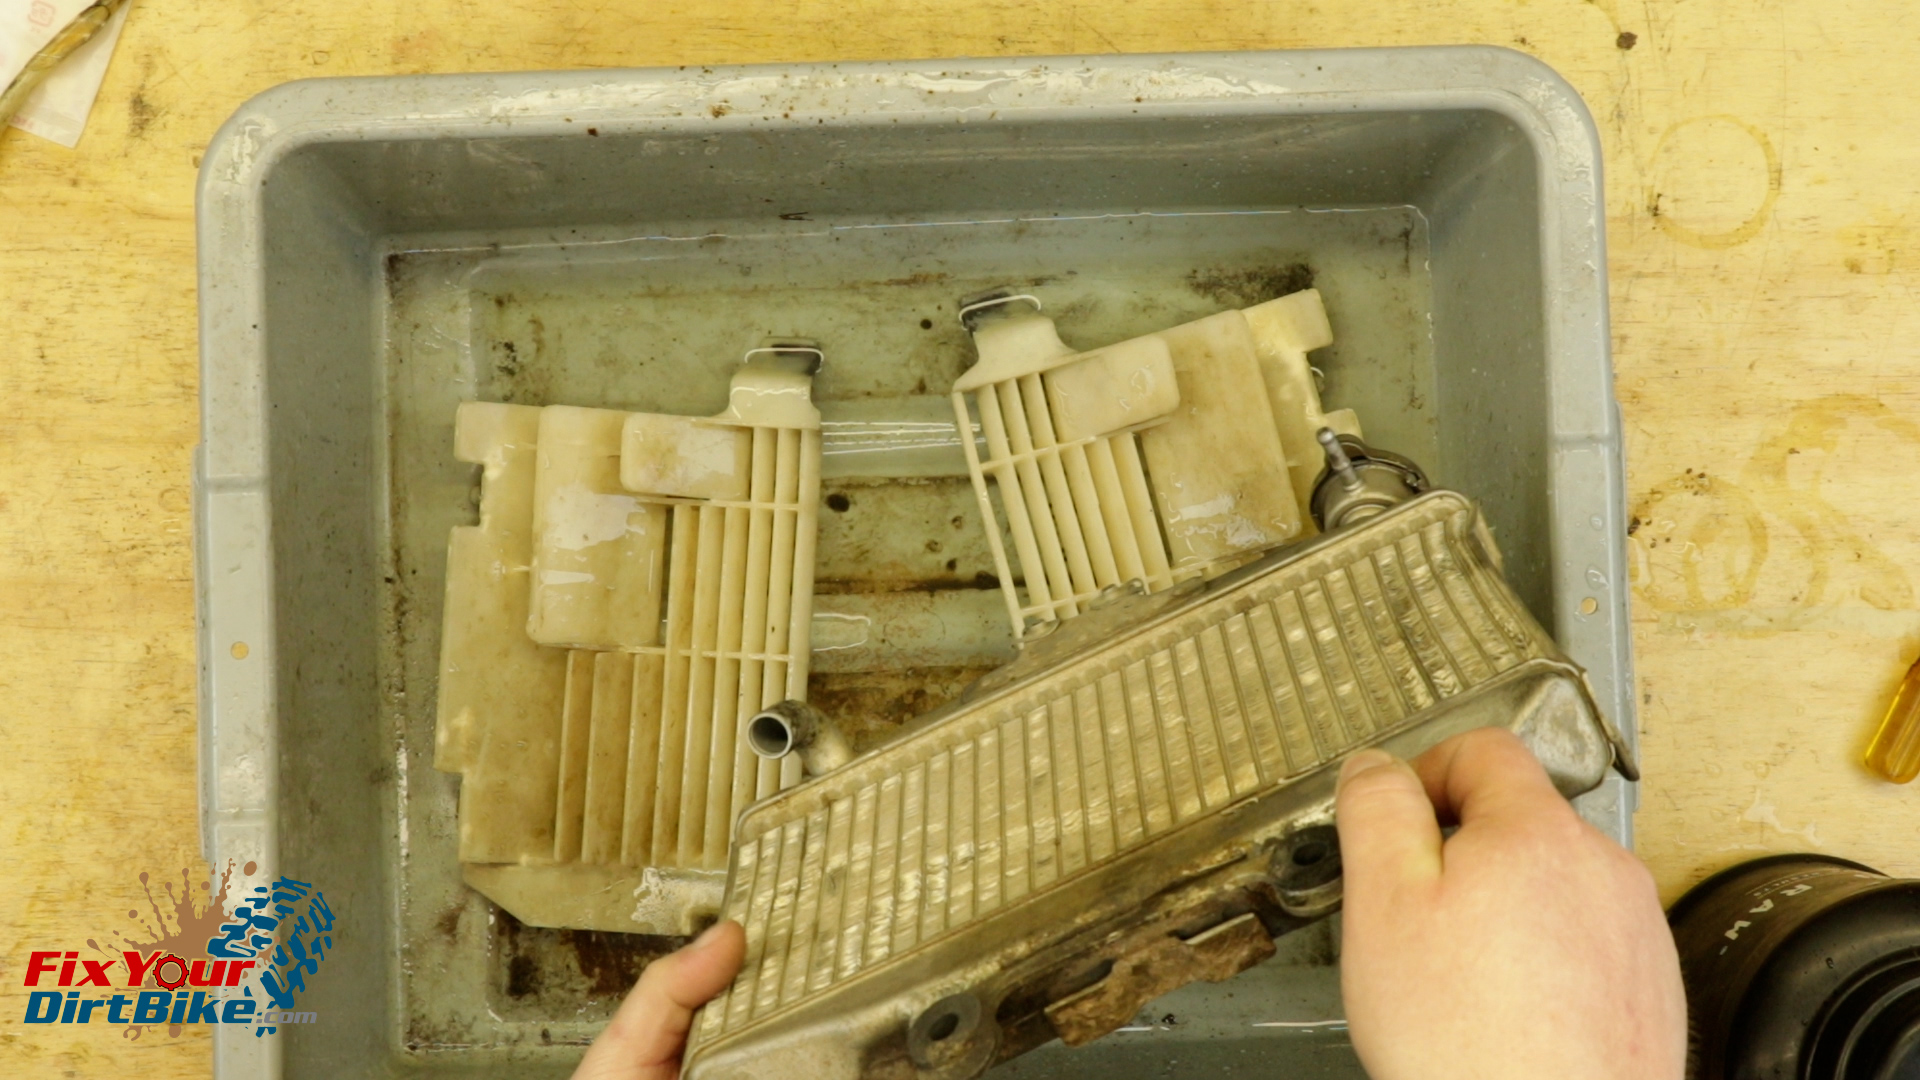
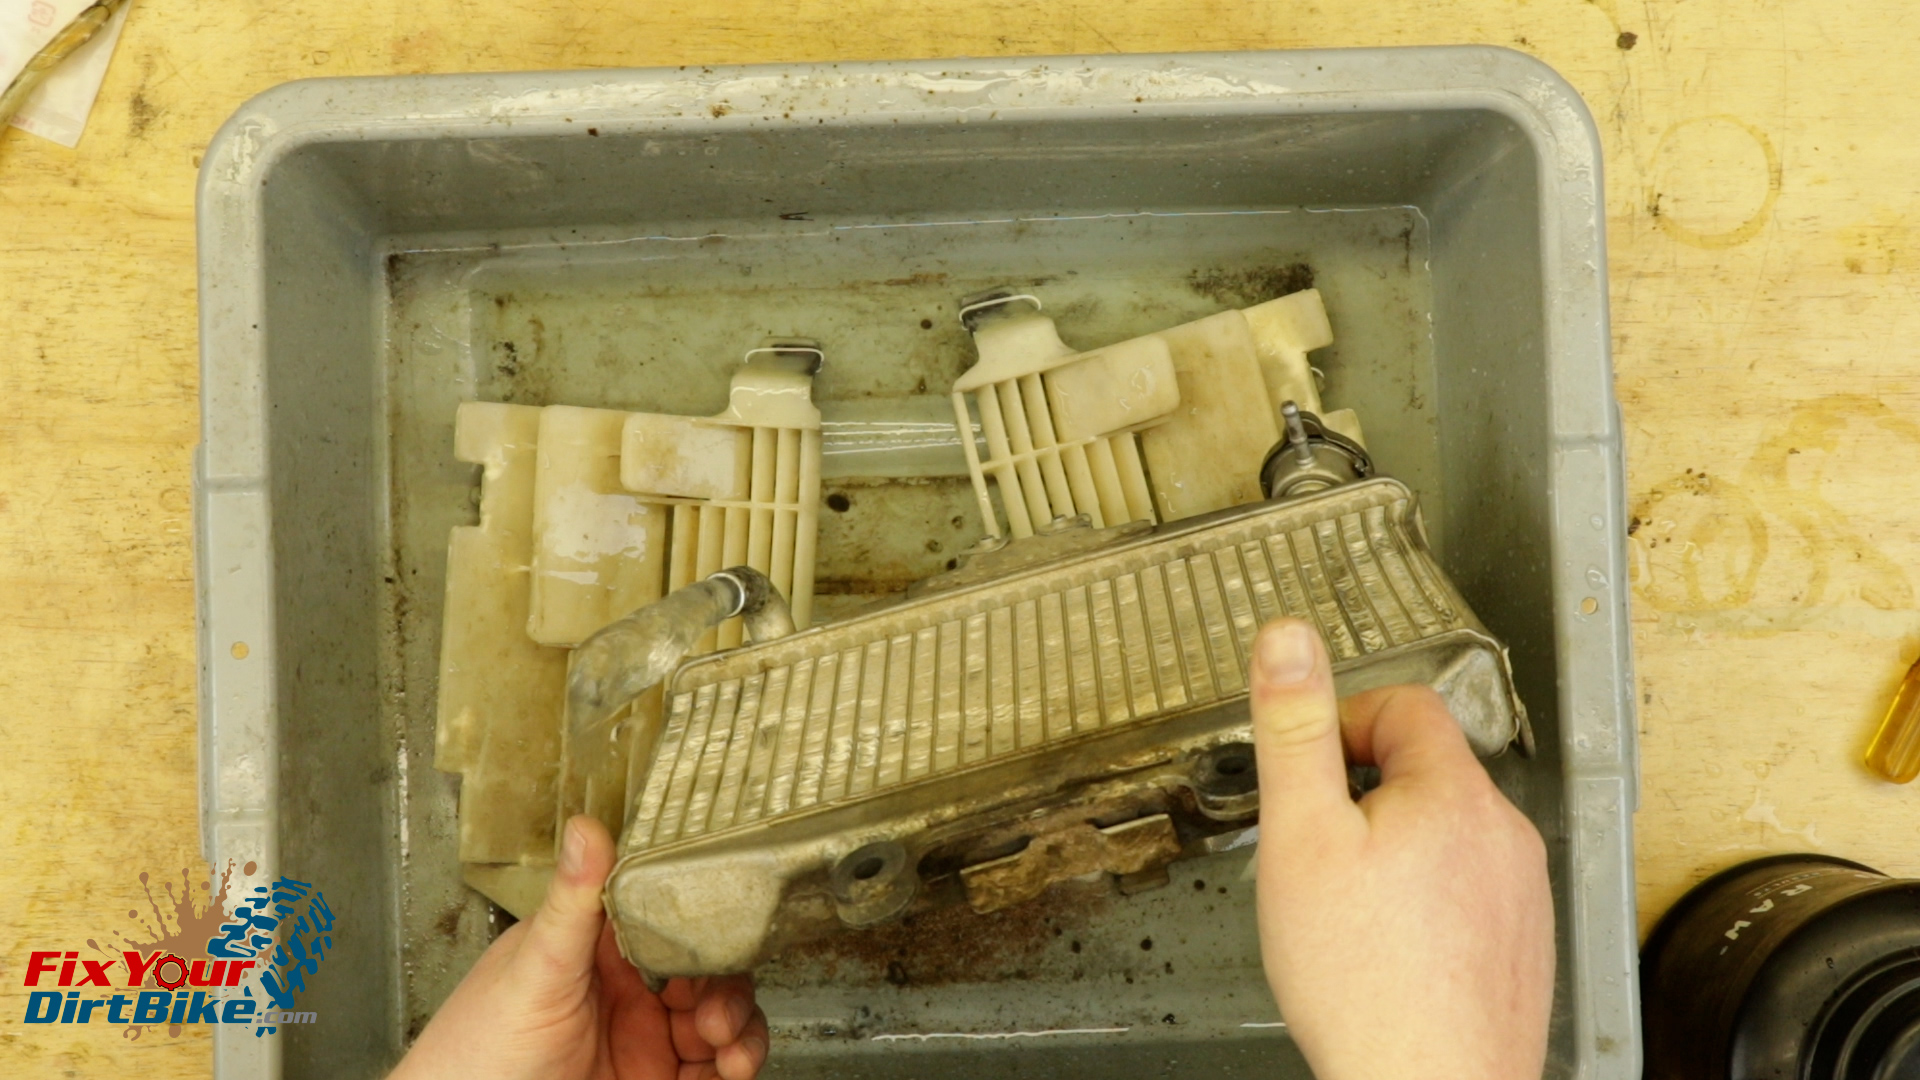
Radiator Components
- Check your cooling hoses for pliability and general deterioration; if they are stiff, they must be replaced soon.
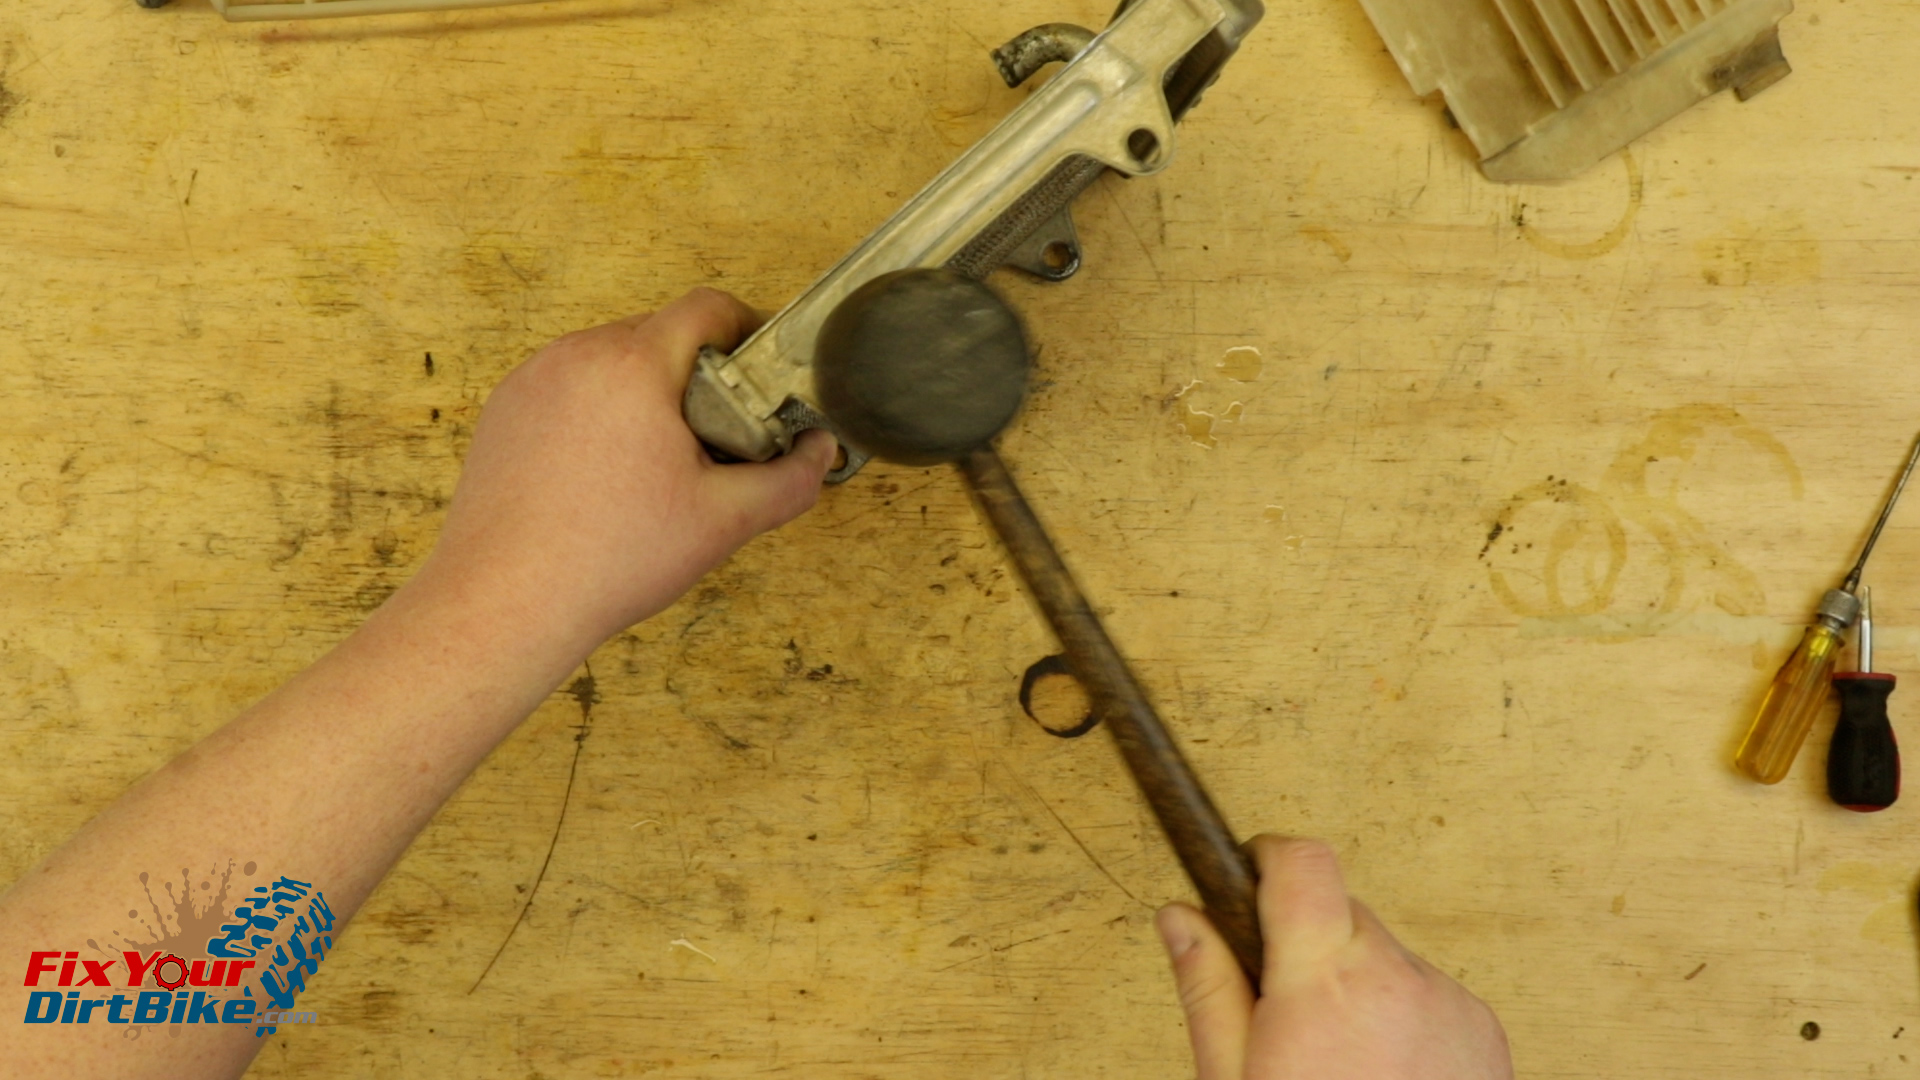
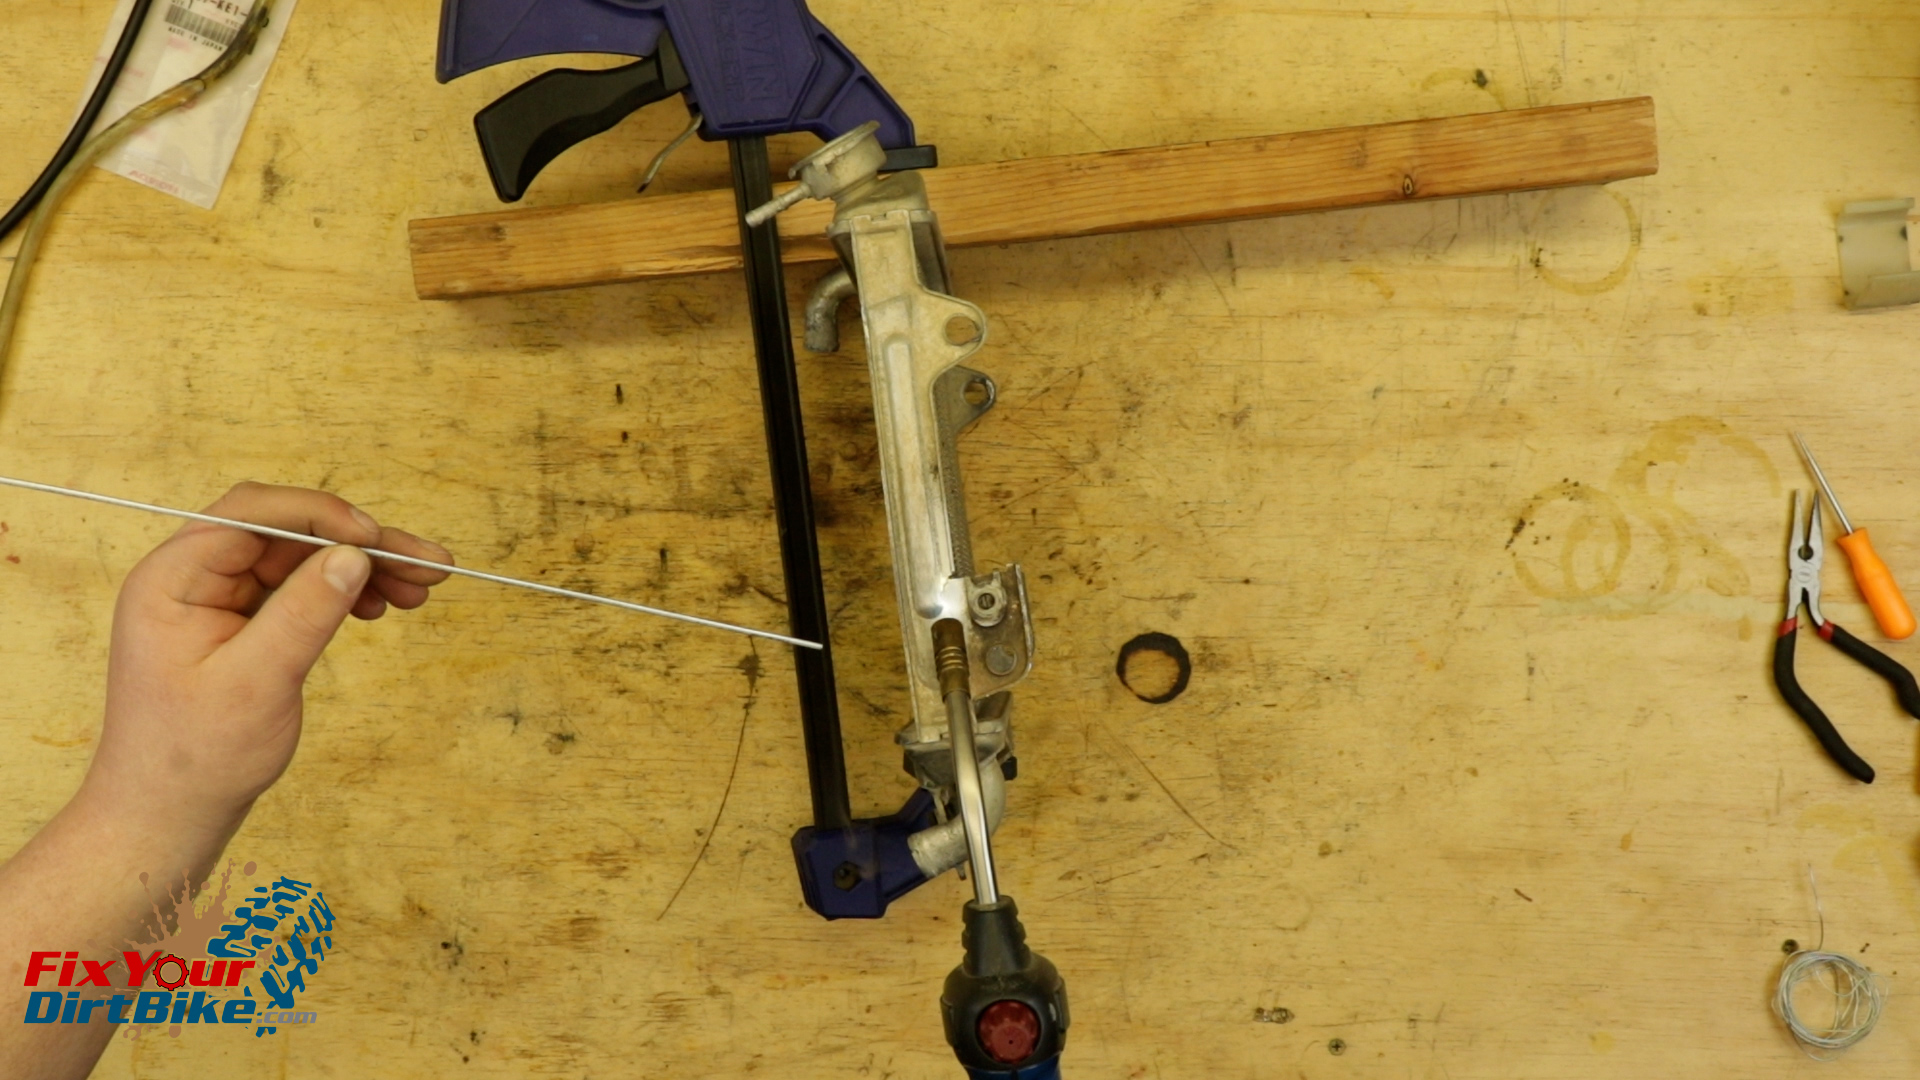
- Ensure the overflow tube is in good condition; as you can tell, mine got cozy with the exhaust.
- Check the condition of the cap rubber and spring. If the rubber is cracked or the metal has excessive corrosion, replace it.
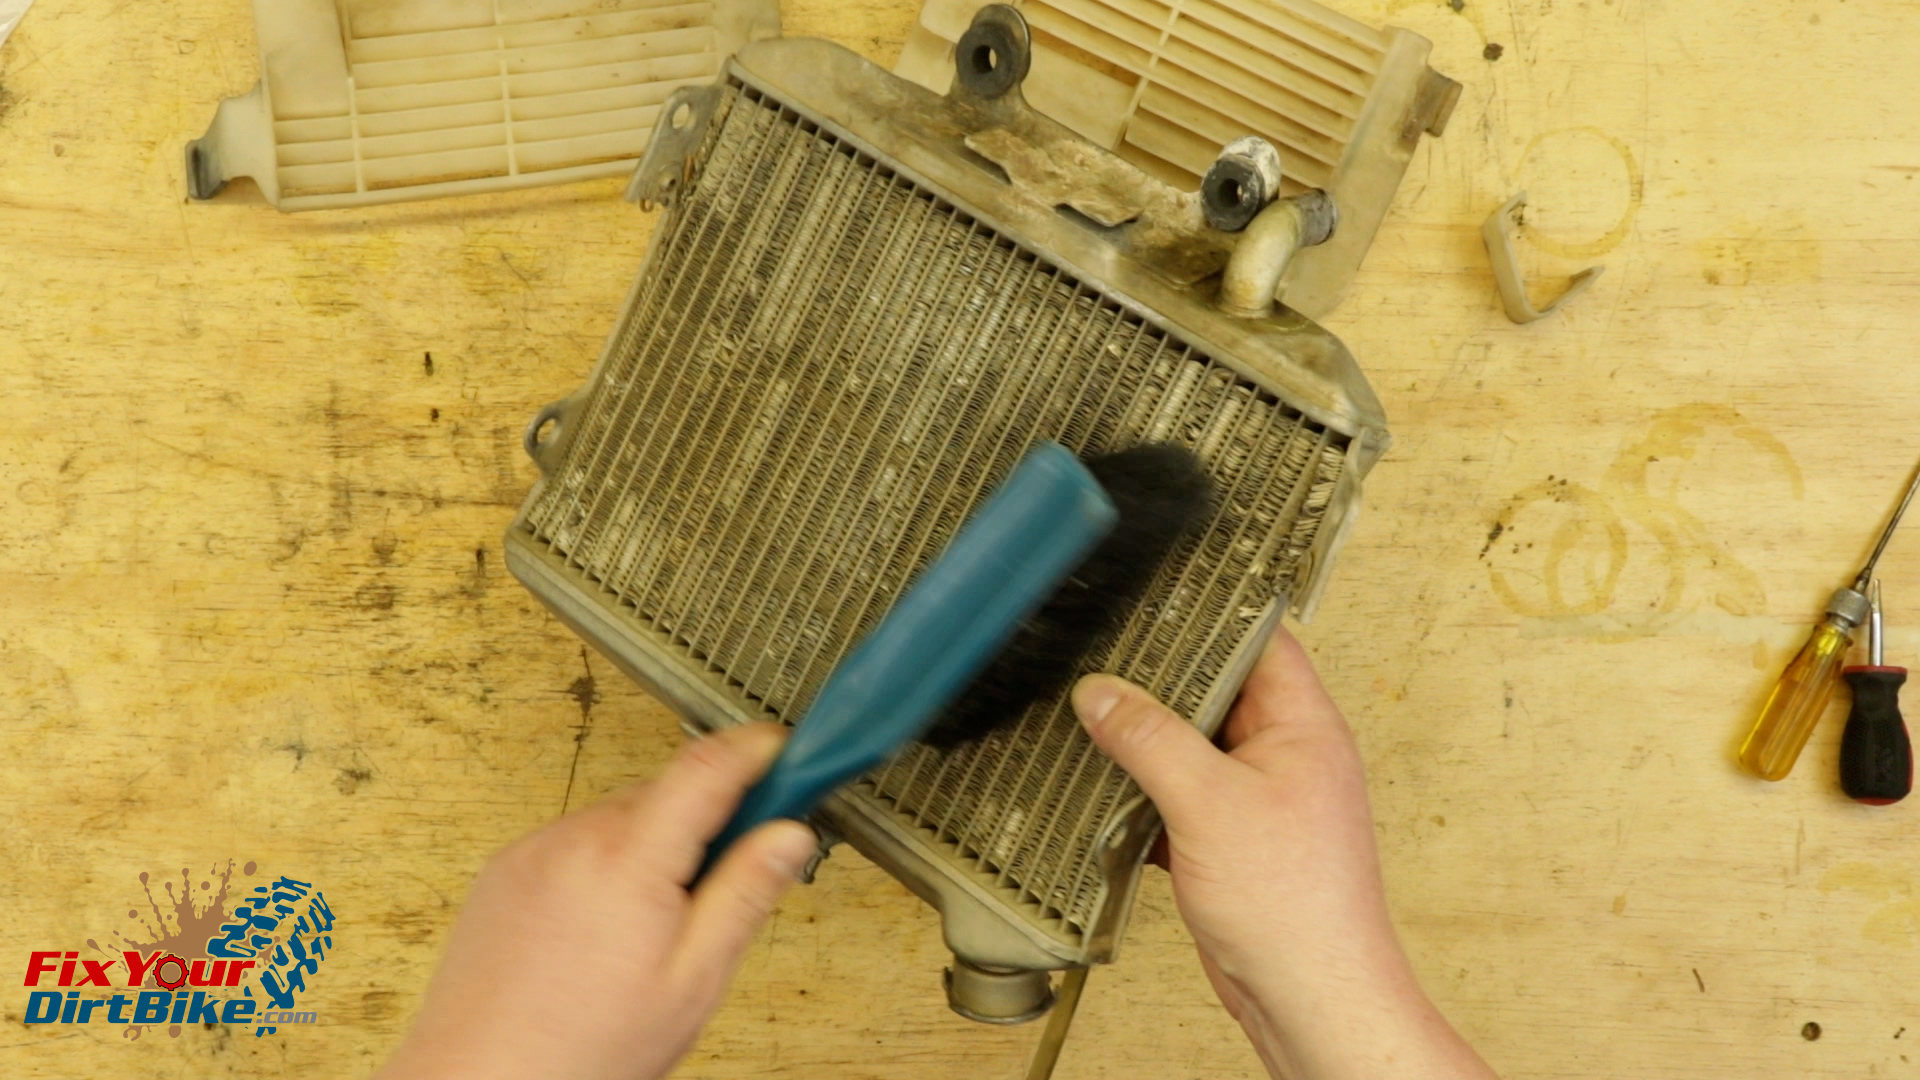
Body
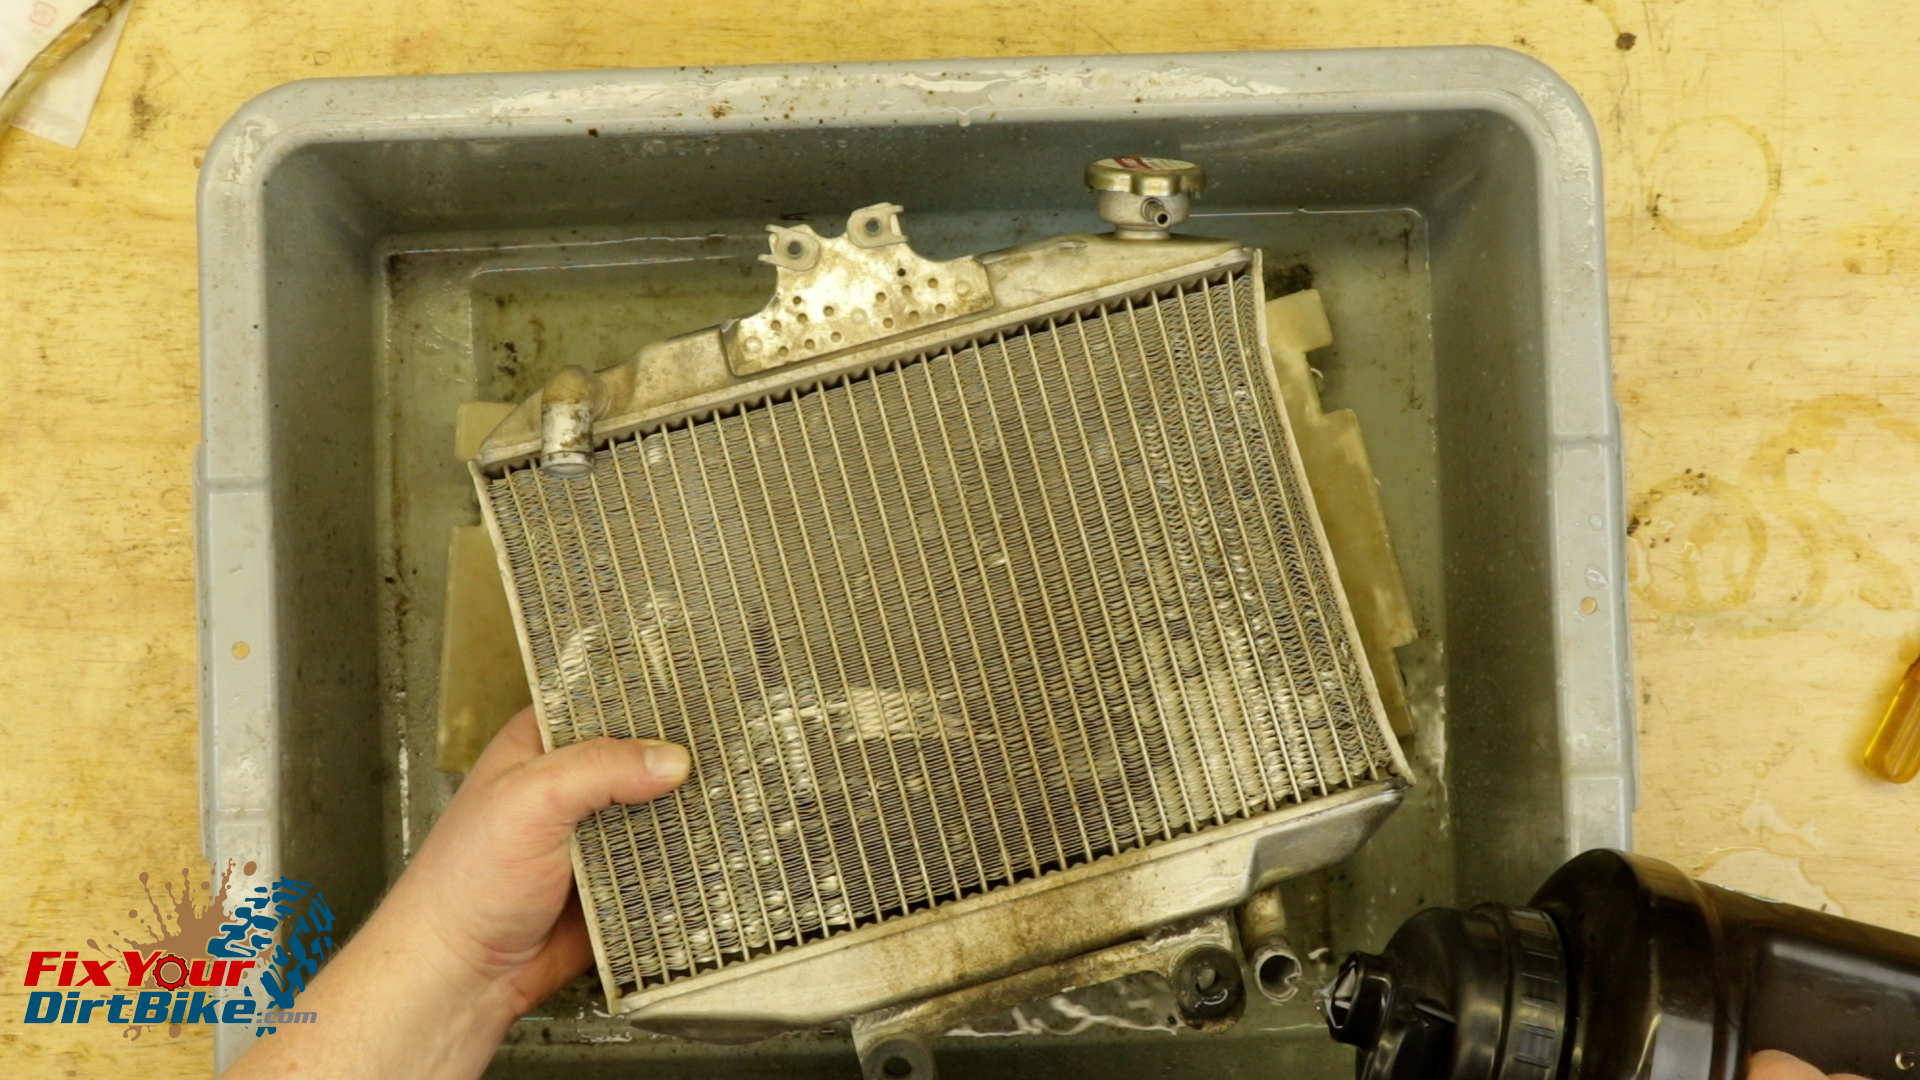
- Strip your radiator and give it a good dry brushing with a SOFT brush to avoid damaging the fins.
- Do NOT use compressed air to clean the radiator.
- Inspect the radiator body for any apparent damage like cracks, huge dents, or bent mounting tabs.
- If you see a greenish residue on the body, there’s probably a leak nearby.

Mine took a hit to the lower right, and the sides have been pushed in. There isn’t much I can do about the sides, but I can bend that mounting tab back into place. After some percussive maintenance, it’s time for testing.
Testing
This test will cover significant leaks, flow, and corrosion.
- Cap the radiator, hold it flat, and fill it with water.
- Hold the radiator flat for a few minutes and check for leaks. If you find any, mark them with a Sharpie.
- Plug one end of the radiator with your finger and turn it so the open end is lower. If the water holds, your radiator is sealed. If it has a leak, the water will drip or trickle.
- Release your finger and watch the flow; if the flow is weak, you may have an obstruction.
- If your flow is obstructed, you probably have corrosion in the radiator body.
- Repeat with the other end.
The last cooling system test is a pressure test, and the only way to do this accurately is with a specialized testing tool. The only way to perform a pressure test at home is to install your radiator, bring your bike up to operating temperature, and check for leaks.
Related: Stay on track with this steering stem bearing service for you4′ 97-’01 CR250.
Radiator Repair
- If you can locate the source of a leak, you can seal it with high-heat epoxy resin.
- If corrosion is evident in the radiator, you must reinstall it, run cleaner through the system, and flush it with fresh coolant.
- If the flow is still obstructed, get a new radiator.
The crack by the mounting tab on my radiator didn’t cause a leak, but I will patch it so it doesn’t get any bigger.
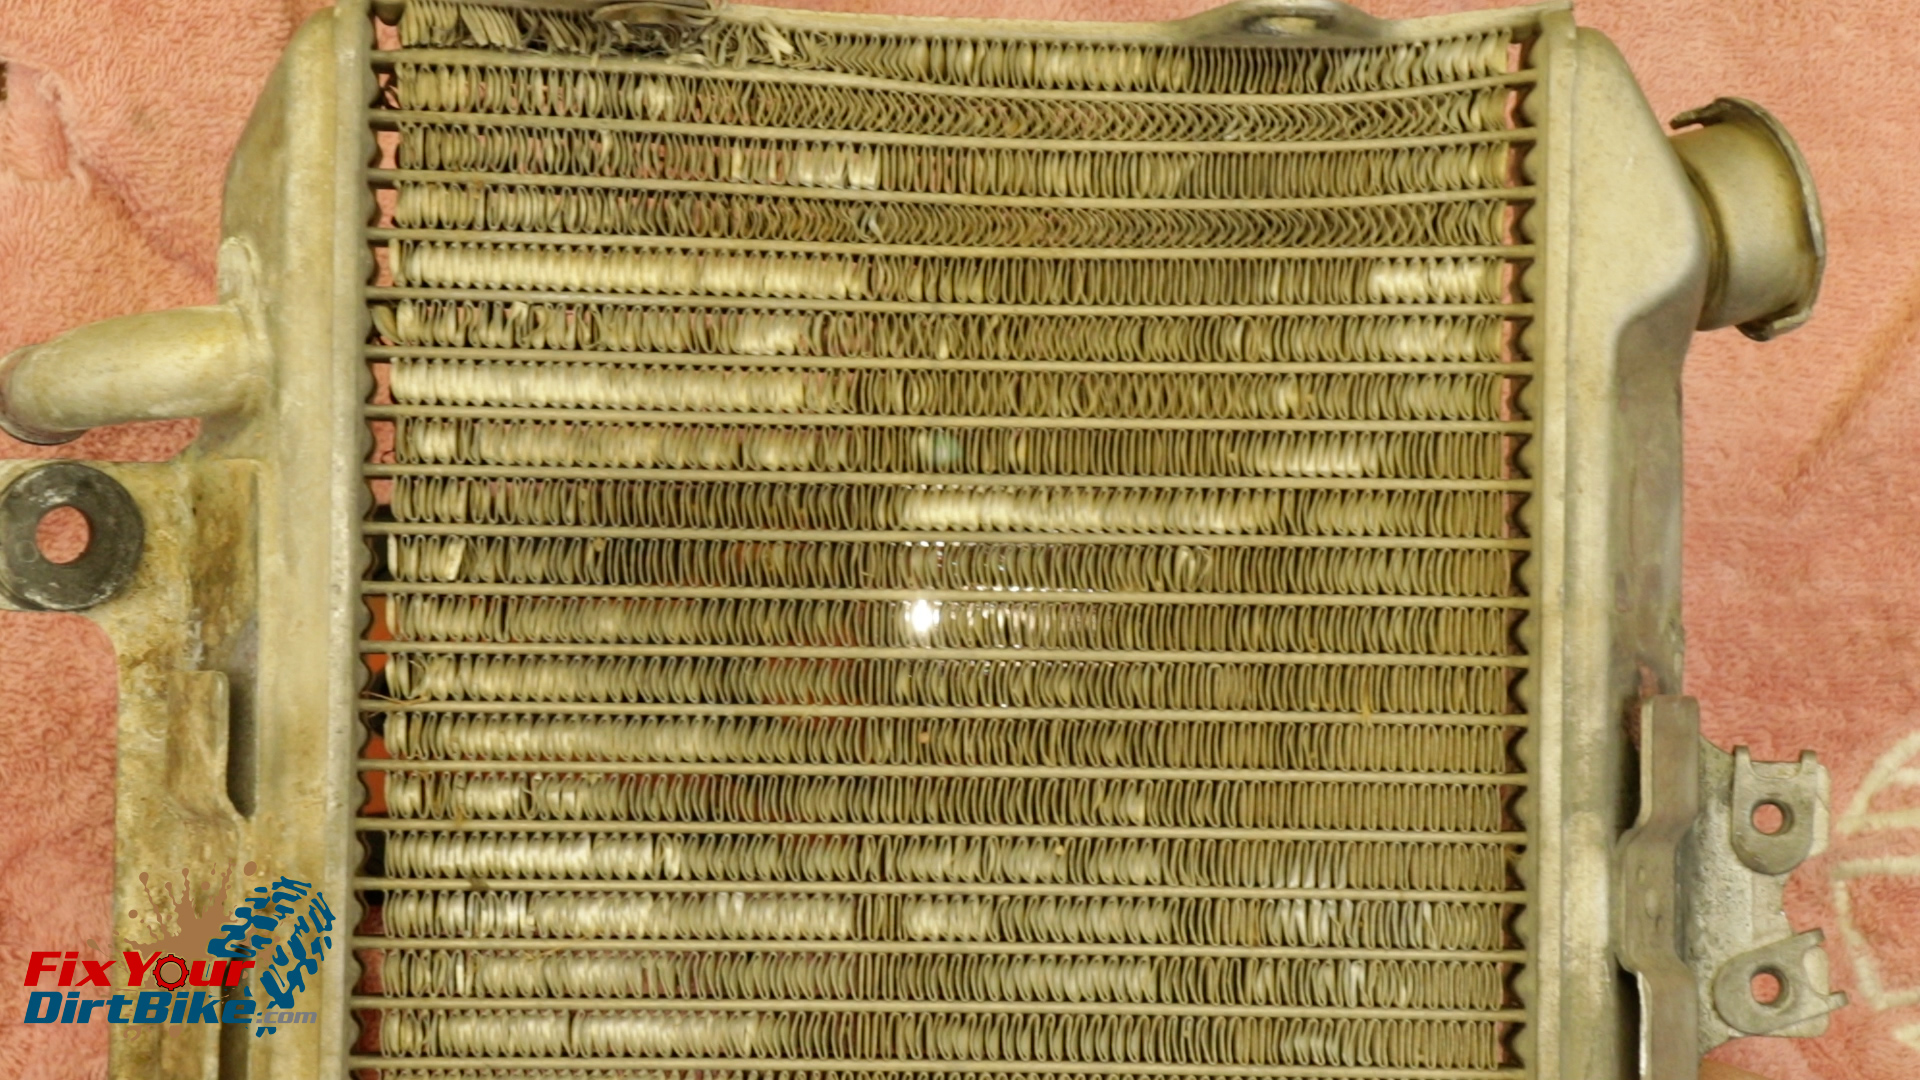
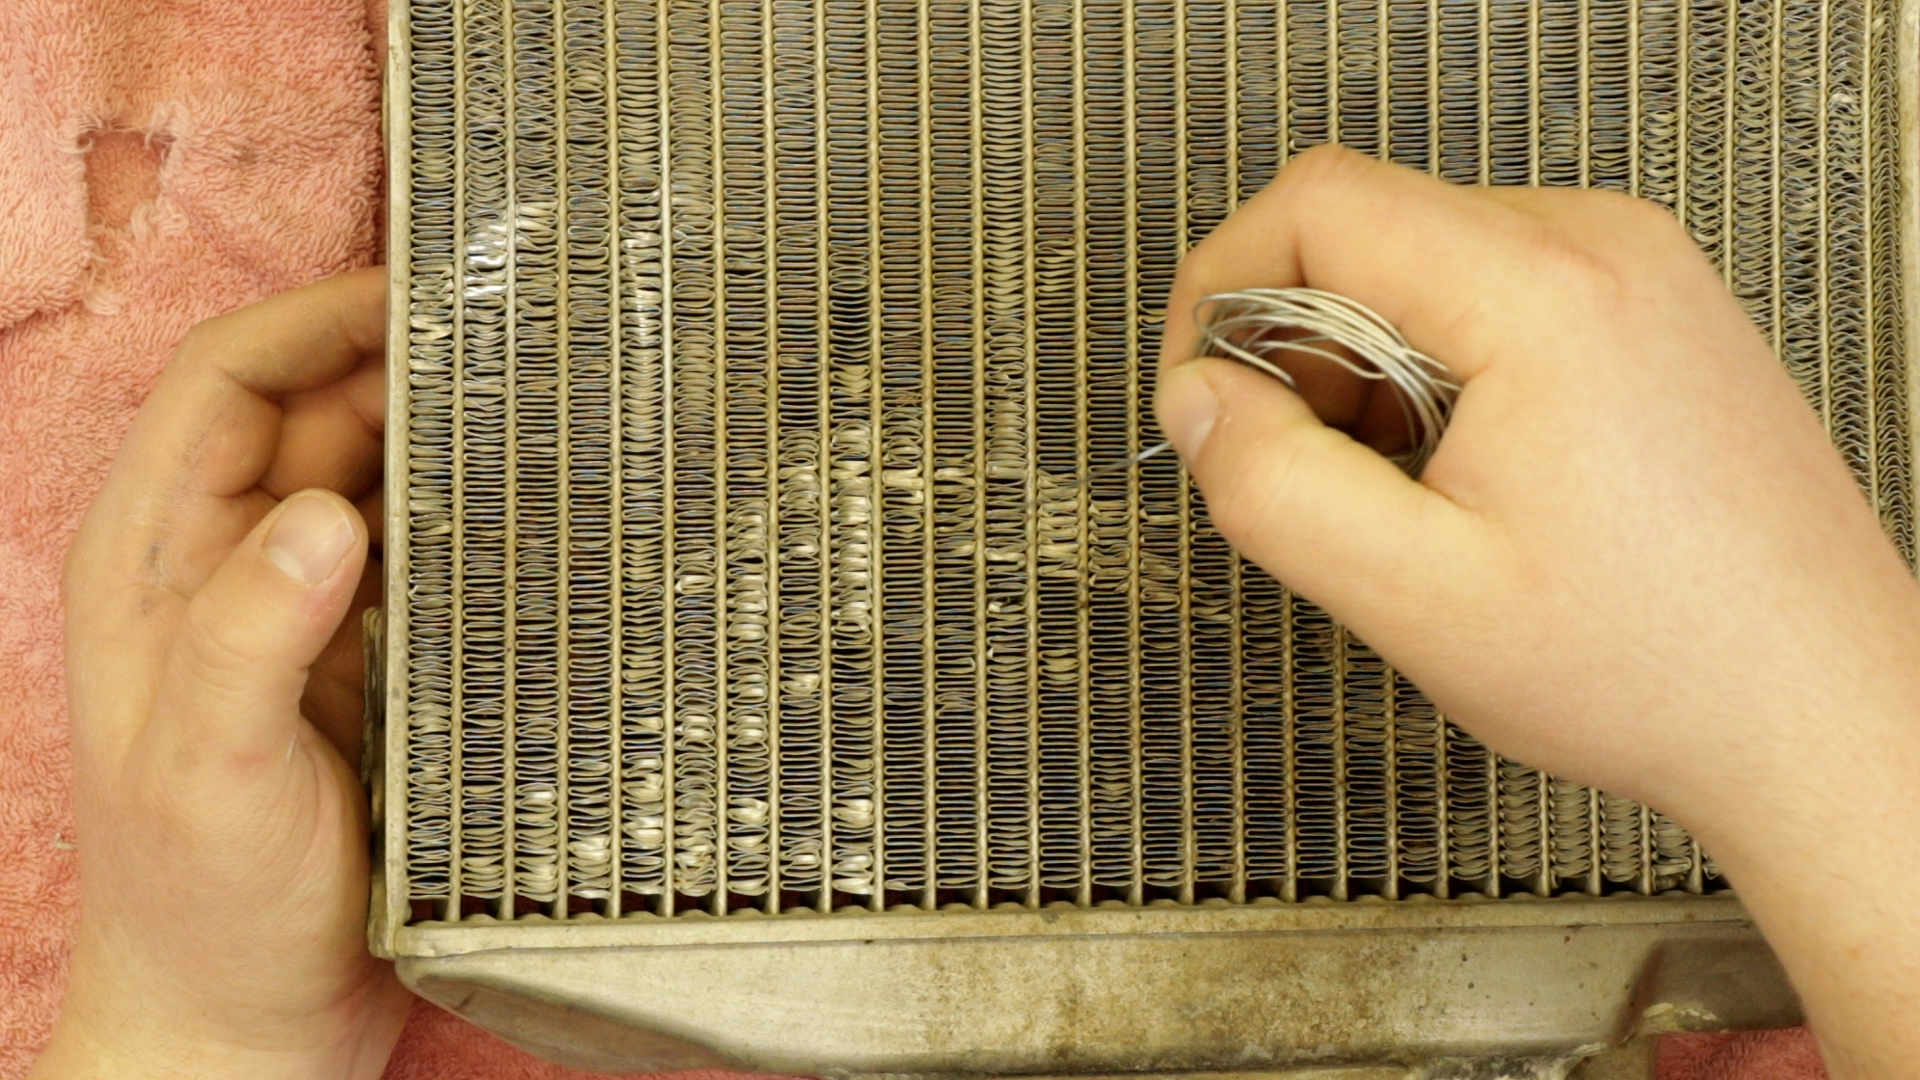
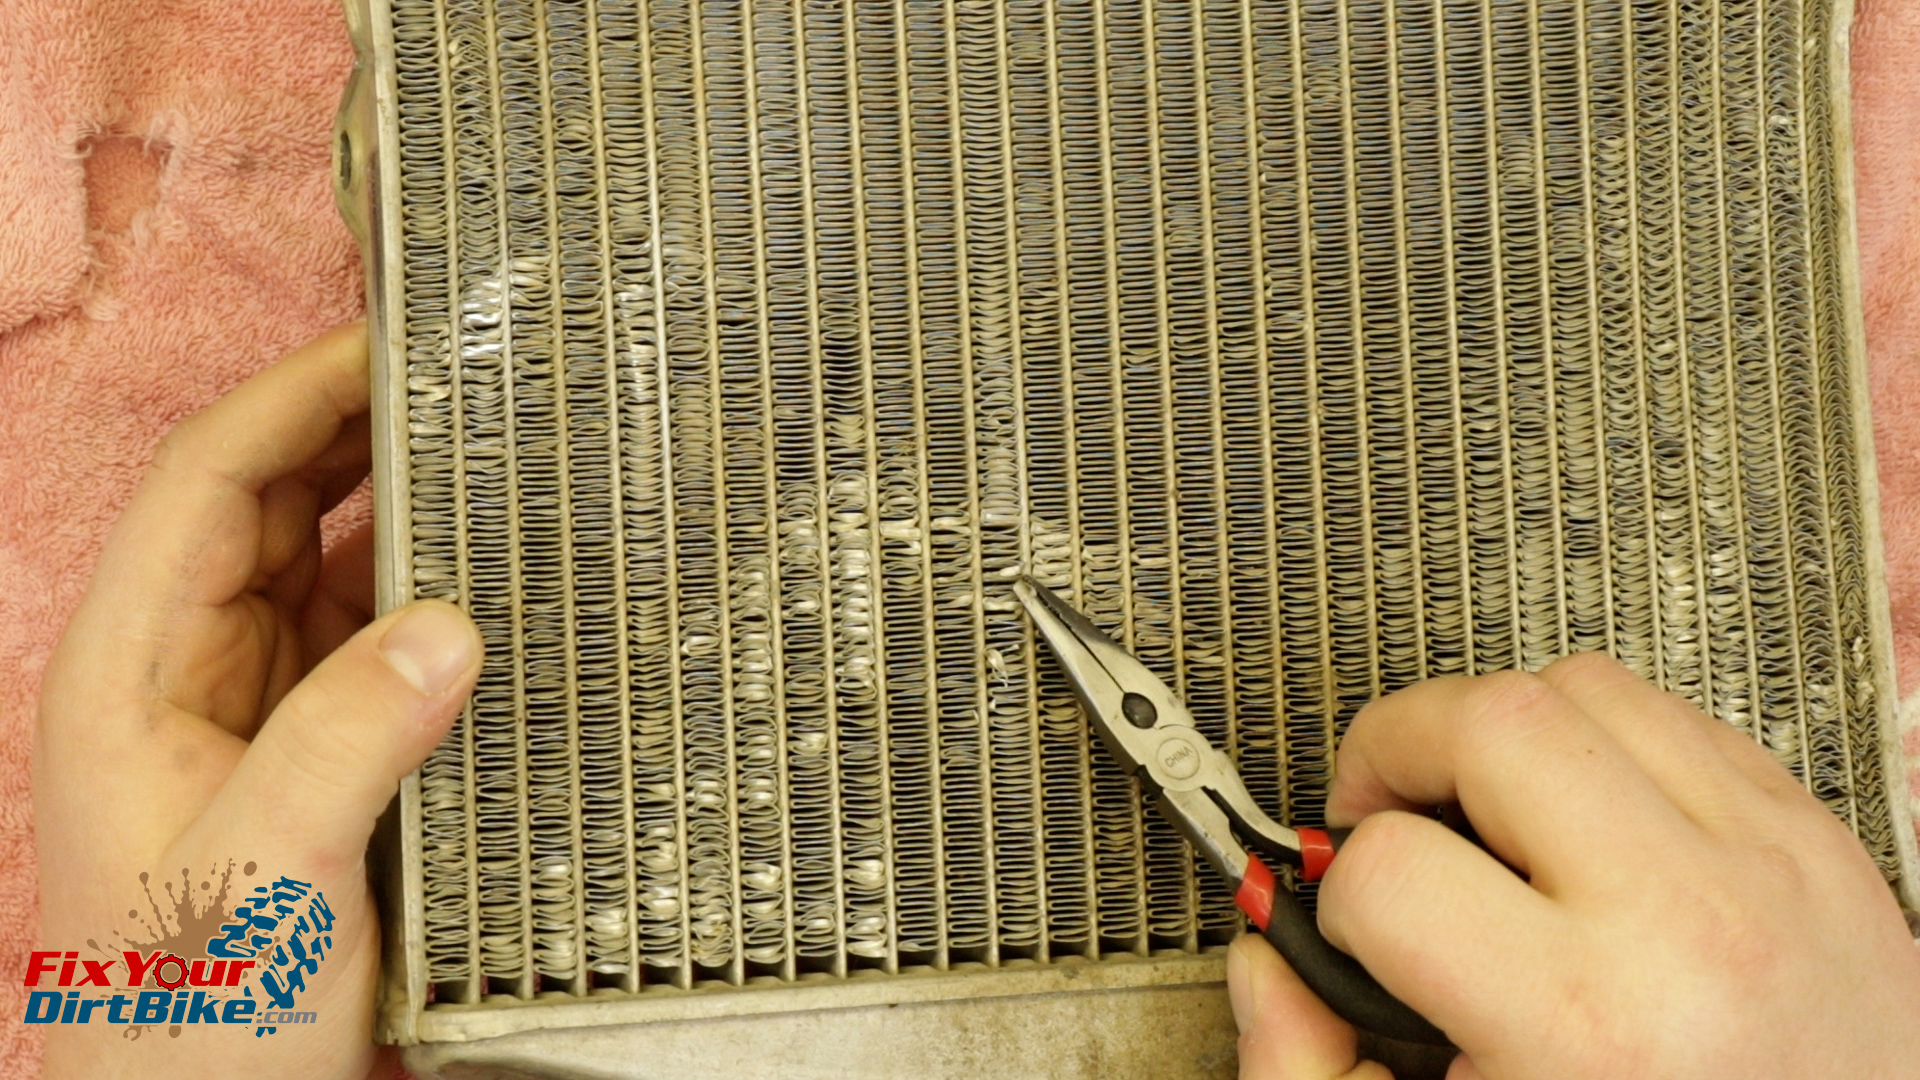
Radiator Fin Correction
- These fins look terrible but looks can be deceiving.
- Hold your radiator up to the light; if you can see through, air can move through.
- I will correct a few of the bad spots, but beyond that, it’s not worth it. Plus, the more you correct the fins, the more likely they are to cause more damage.
- When correcting the fins, push from the other side with a wire instead of trying to pry them out from the front.
- As you go, the folded fin will most likely break instead of straightening, but that’s ok because unrestricted airflow with a smaller surface area is better than nothing.
Keep Your ’97-’01 CR250 Running Right!
- Service Specification
- Clutch Replacement
- Carburetor Service
- Engine Top End
- Engine Bottom End
- Brakes
- Exhaust
- Front Suspension
- Rear Suspension
- Wheels & Tires
- Kickstarter Inspection
- External Shift Linkage


