
How To Change The Front Wheel Bearings on Your 1994-2001 Yamaha YZ125
 Before you start this service, throw your bearing kit in the freezer for a few hours. Removing the front wheel bearings does require fire, so arrange your workspace accordingly!
The Tools You Will Need
- Propane Torch
- Socket To Match The Outer Bearing Race
- Socket To Match The Inner Bearing Race
- Long Drift
- Hammer
- Tire Spoon
- Shop Towels
- Safety Glasses
- Snap Ring Pliers
The Parts You Will Need
The parts you will need to service the front wheel bearings on your 1994 – 2001 Yamaha YZ125 are a front wheel bearing and seal kit and general purpose grease.
If you don’t have parts yet, you can get all the parts you need HERE!
Make Sure To Change Your Rear Wheel Bearings Too!
Front Wheel Bearing Removal
- Start with the brake side of the wheel facing down.
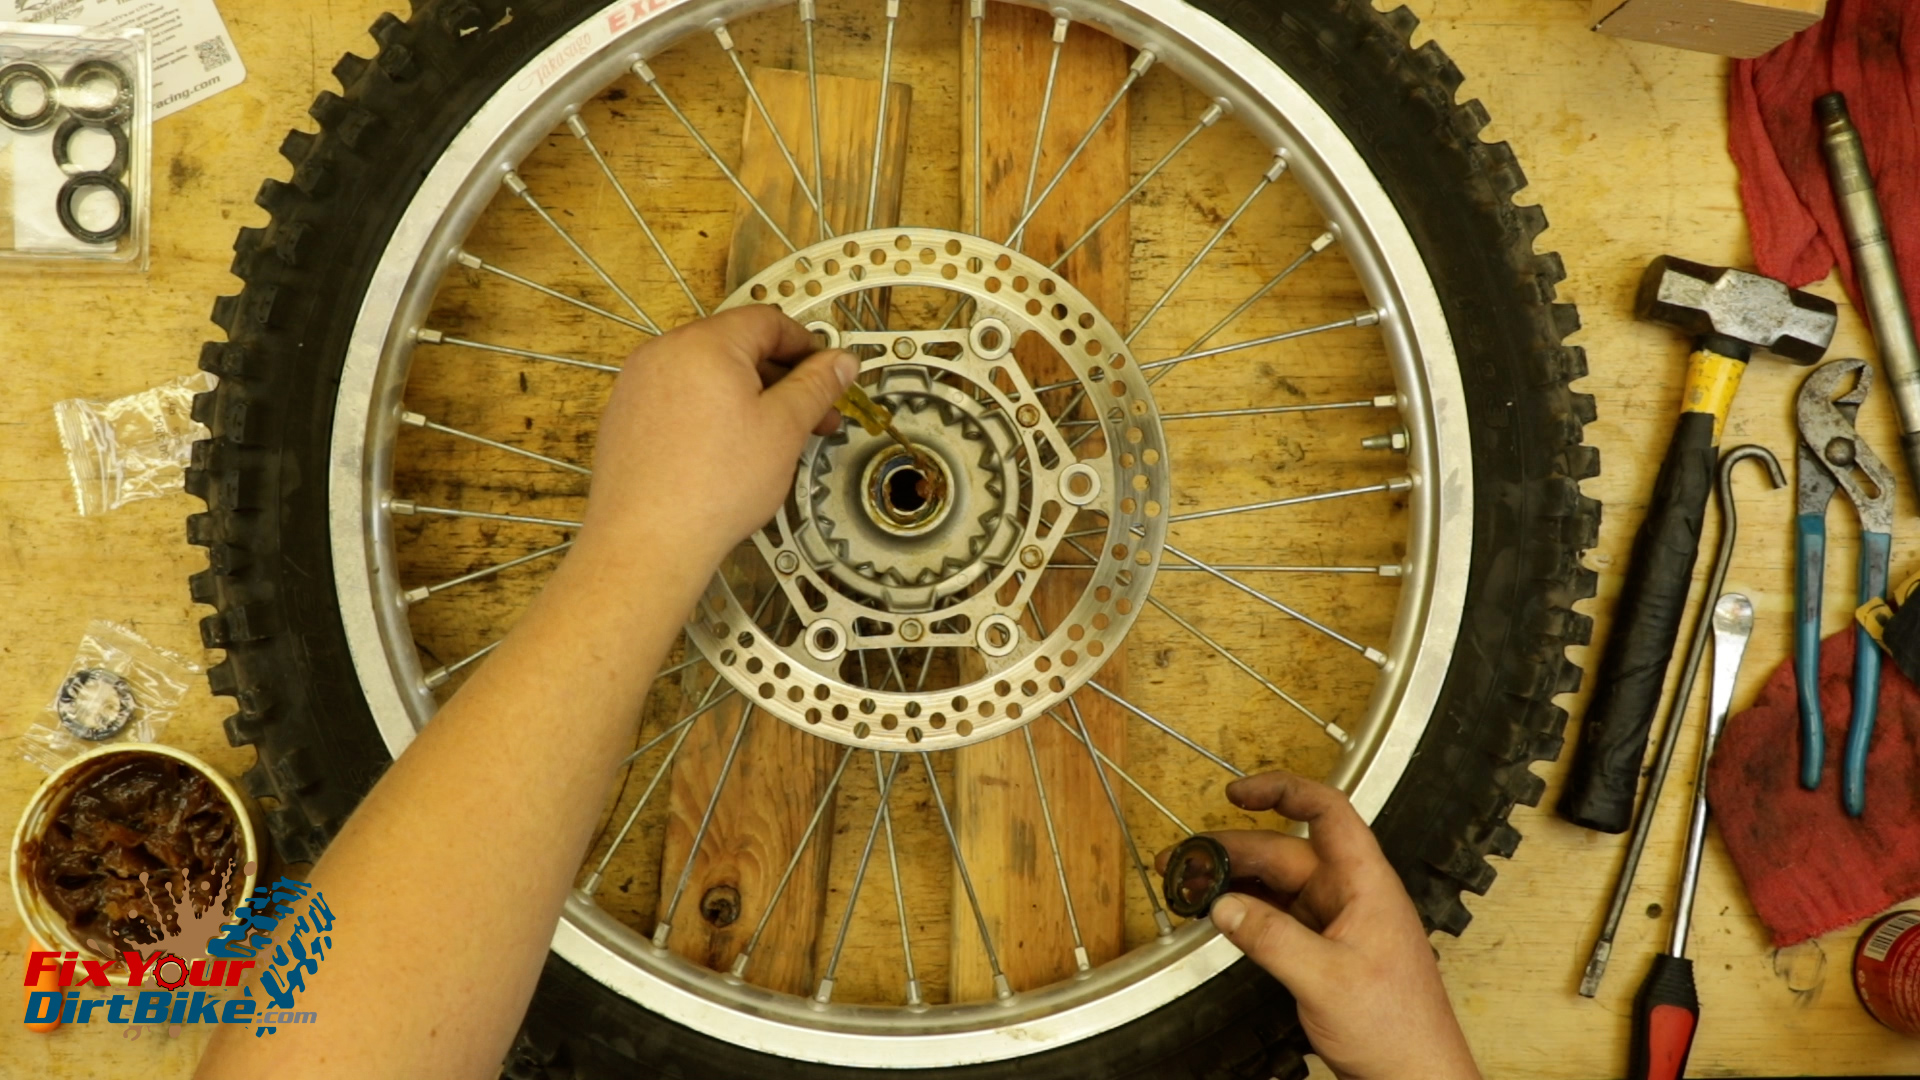
- Pry out the old seals with a tire spoon and shop towel.
- Clean the hub and old bearings as much as you can.
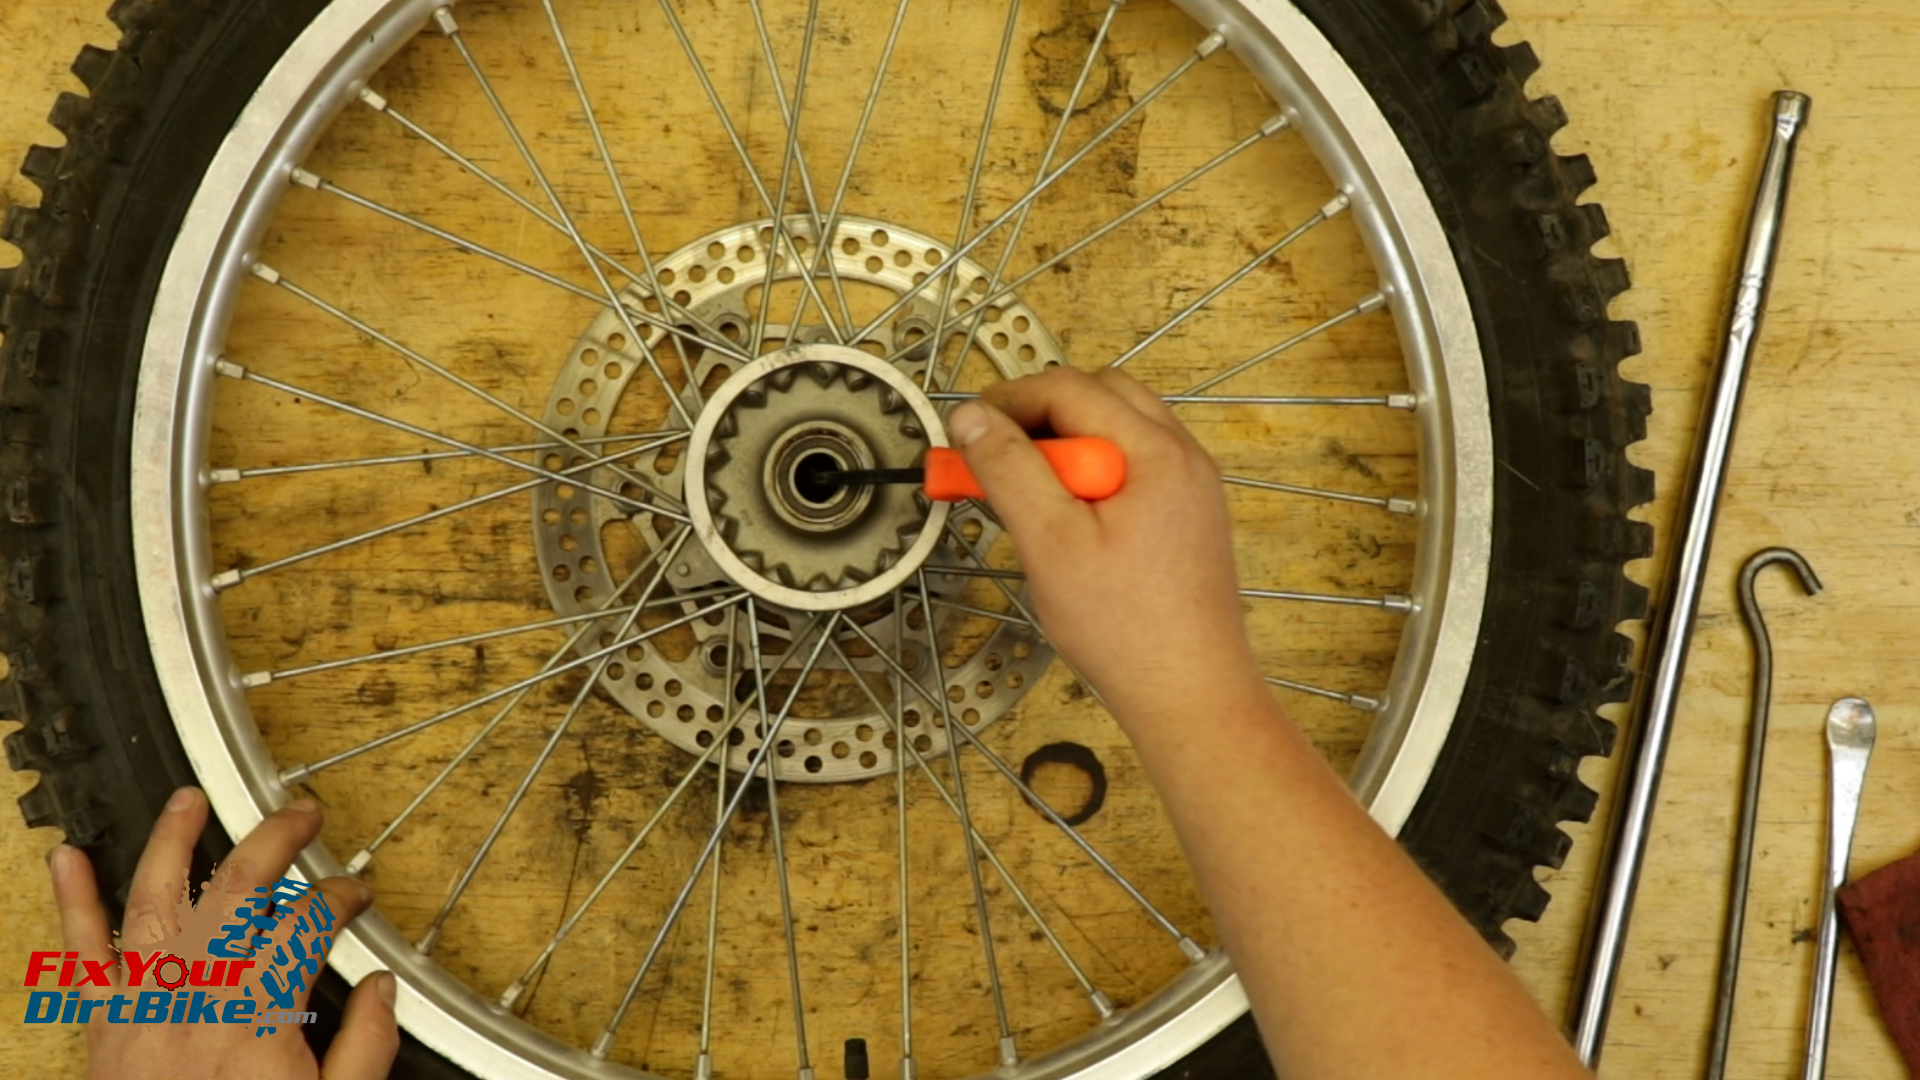
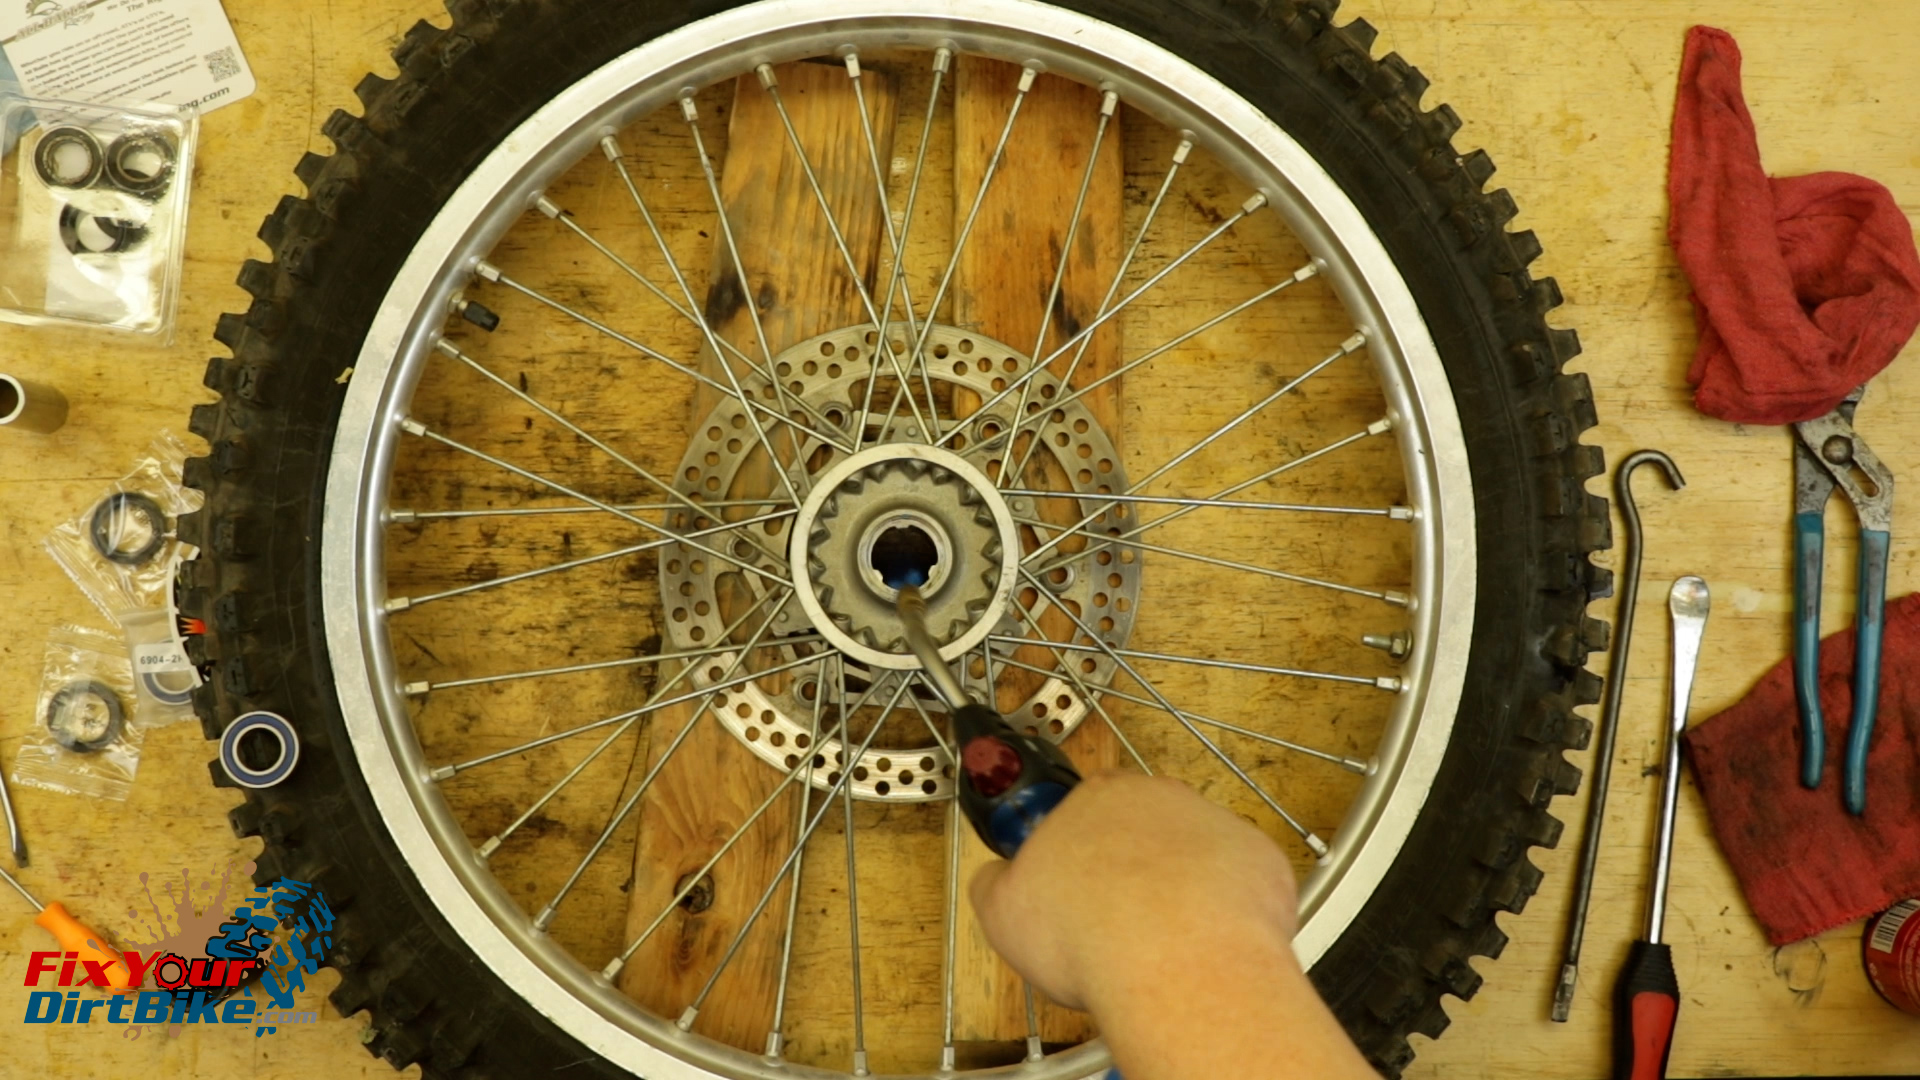
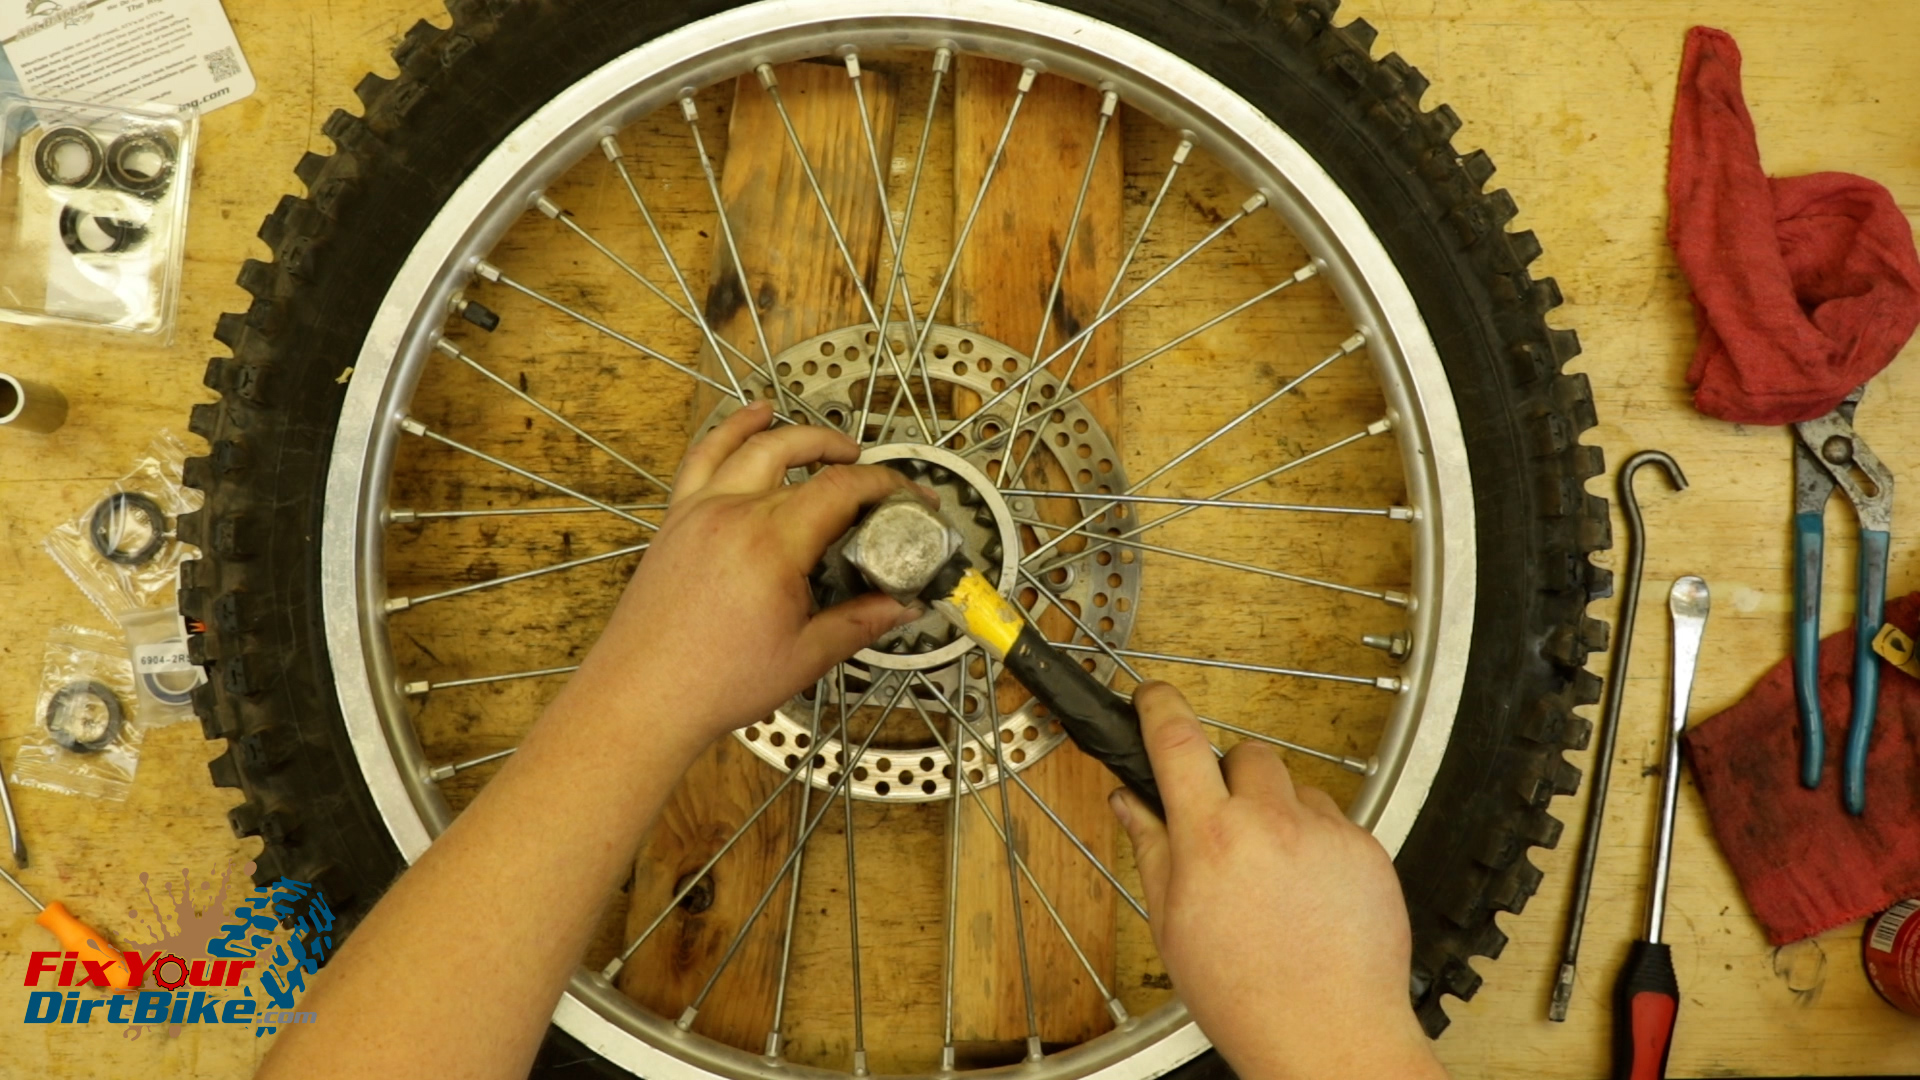
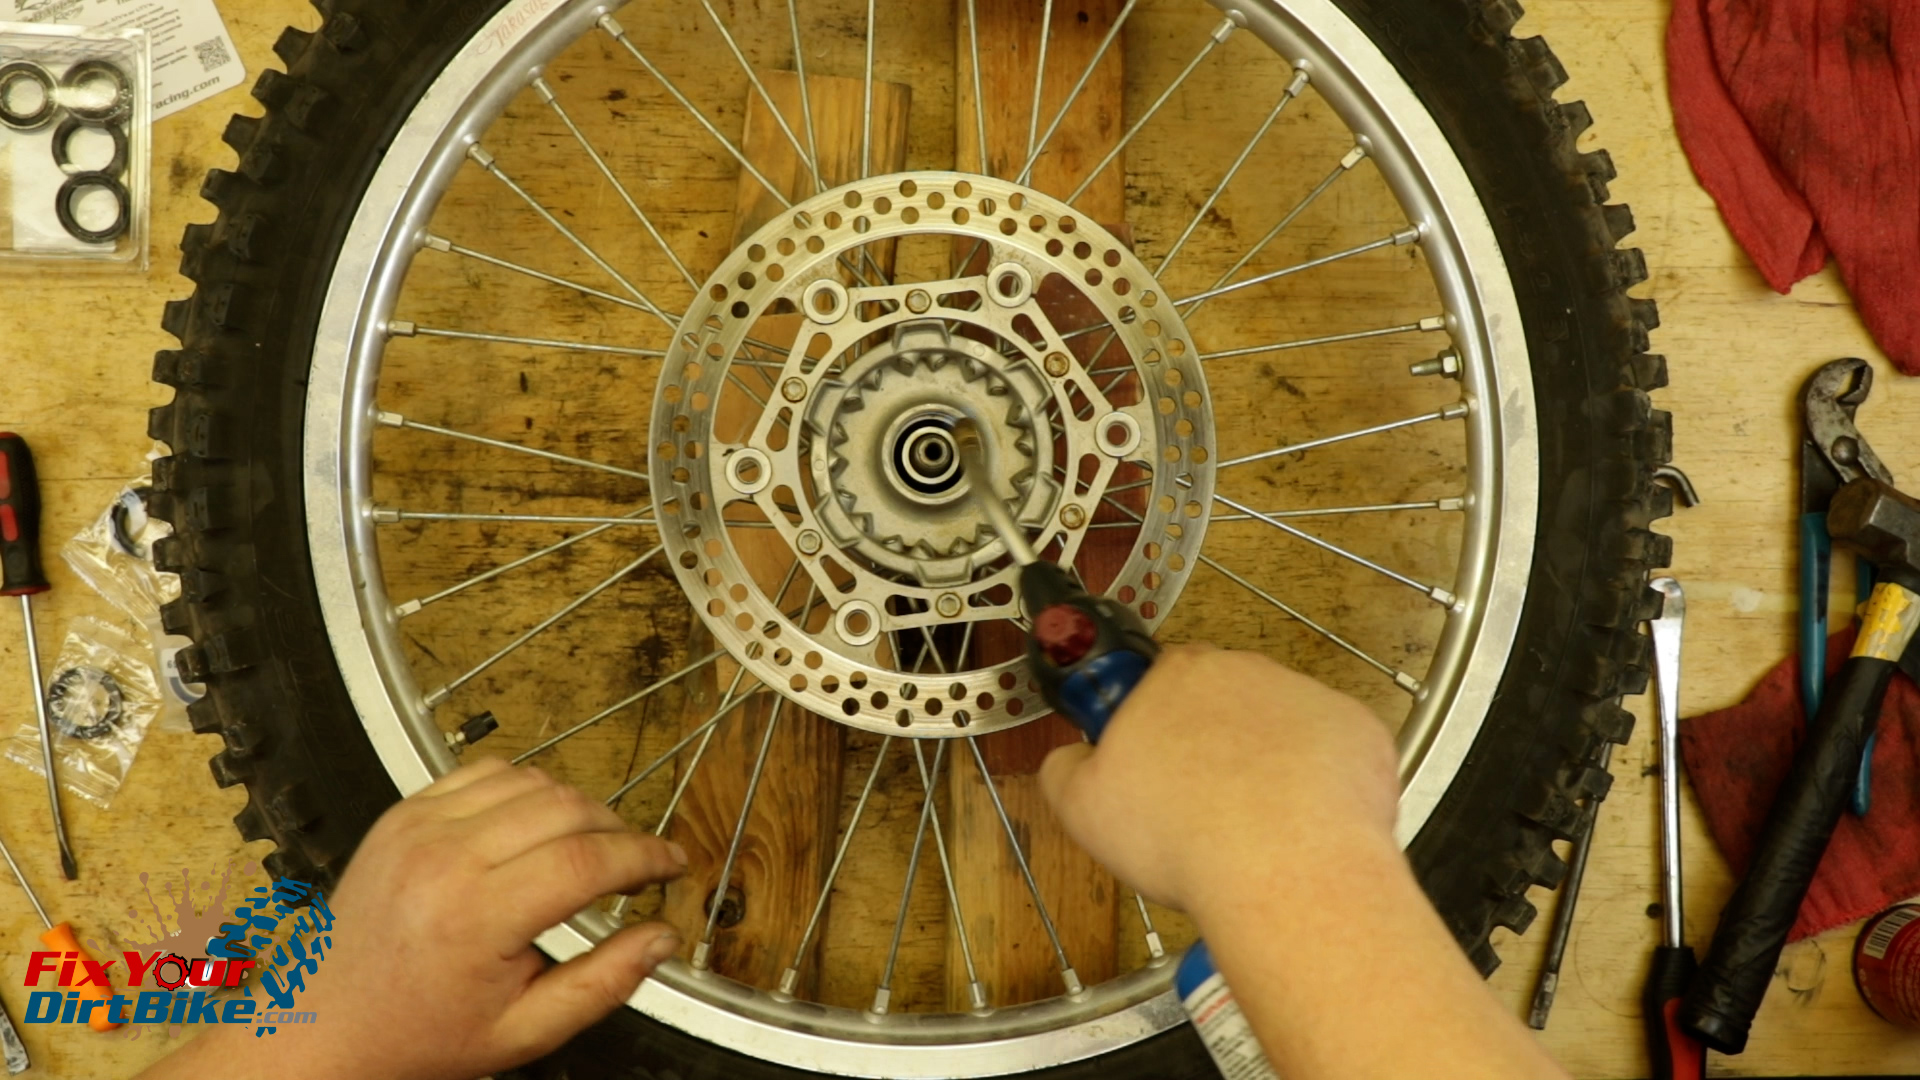
- Insert your drift from the non-brake side, up to, but not touching the brake side bearing.
- Work your drift around to dislodge the distance collar, giving you access to the inner bearing race.
- Place your wheel on your 2x4s, so it rests on either the hub or the rim, not the brake disc.
- Heat the hub, not the bearing, directly for 60 seconds.
- This makes the aluminum hub expand slightly, which relieves the pressure on the steel bearing.
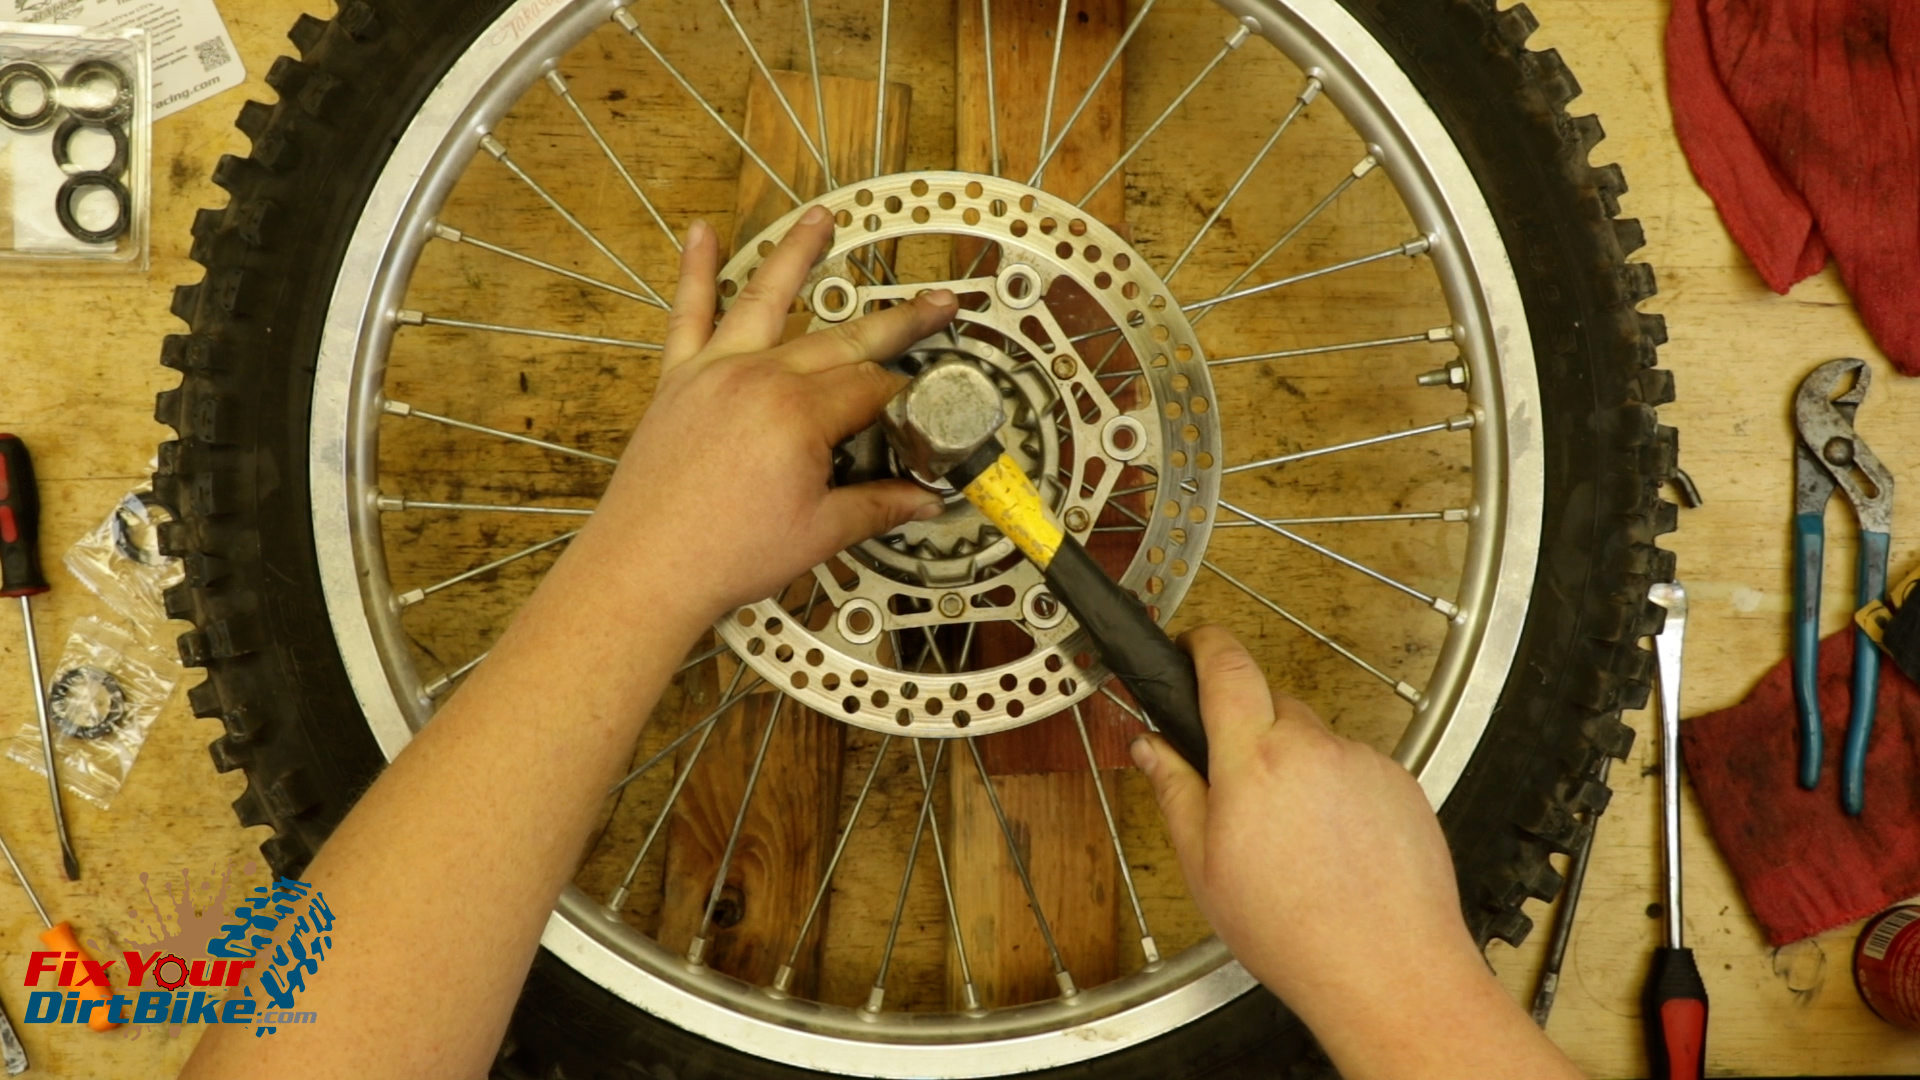
- Flip your wheel over, and tap the inner bearing race with a long screwdriver or pry bar.
- You may need to pry the collar around the hub to remove the bearing evenly.
- Do not strike the bearing race too hard, or it may break, then you have to cut the outer bearing race out of the hub.
- Not only is this annoying, but you could potentially damage the hub.
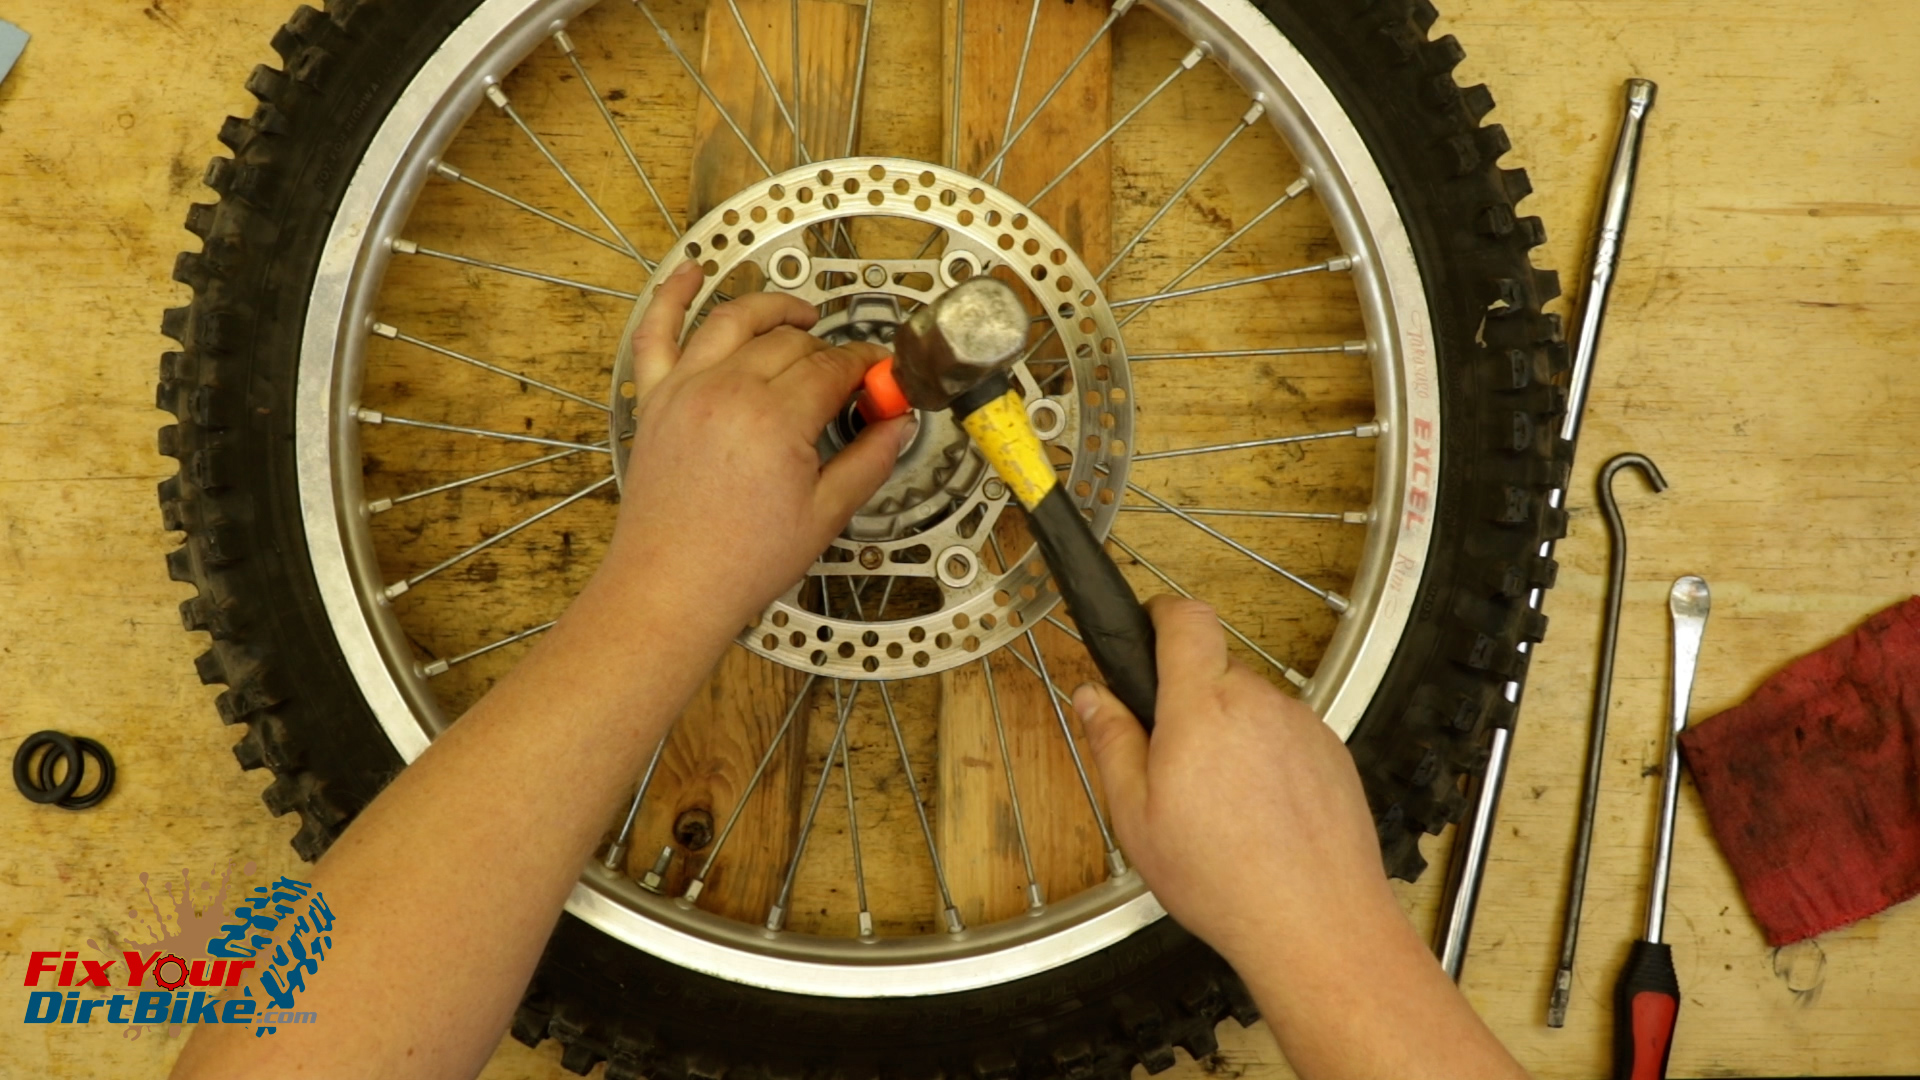
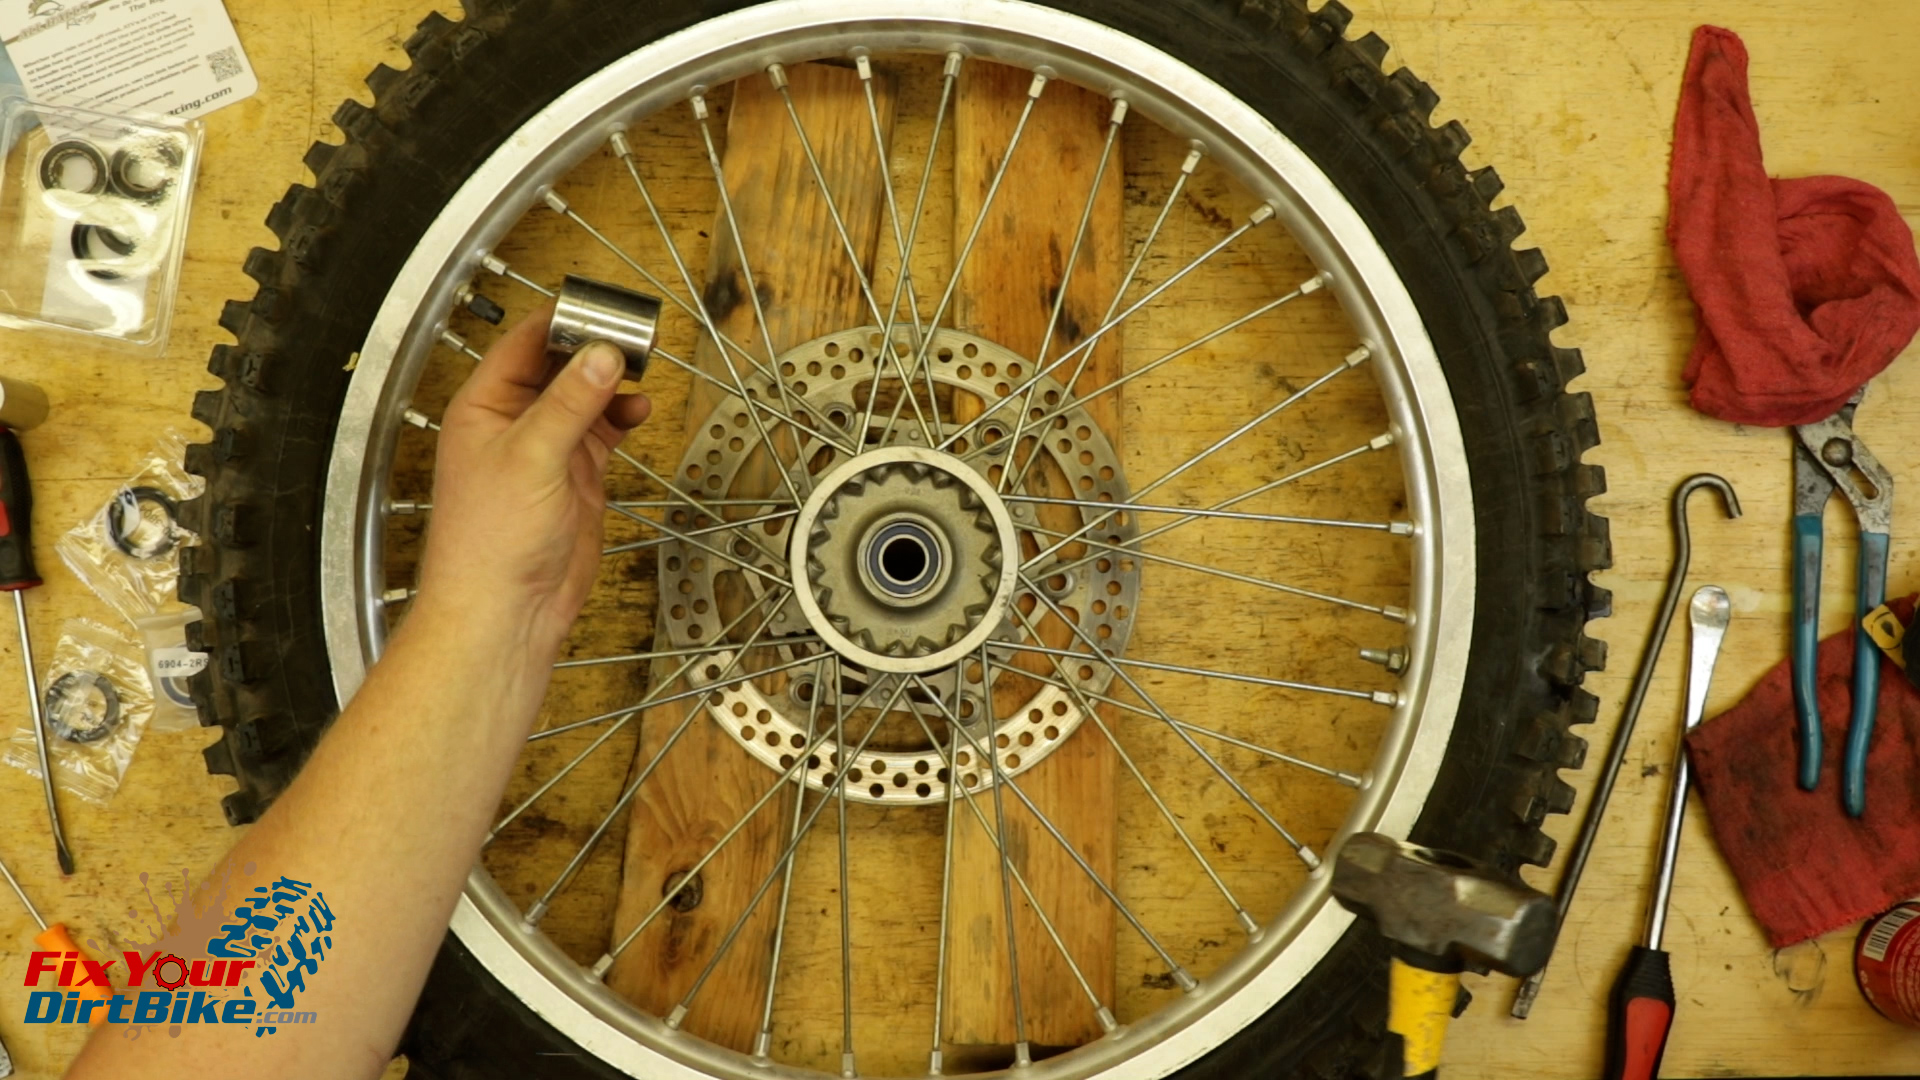
- Repeat the heat and beat process for the other side, except this time; you can use a socket.
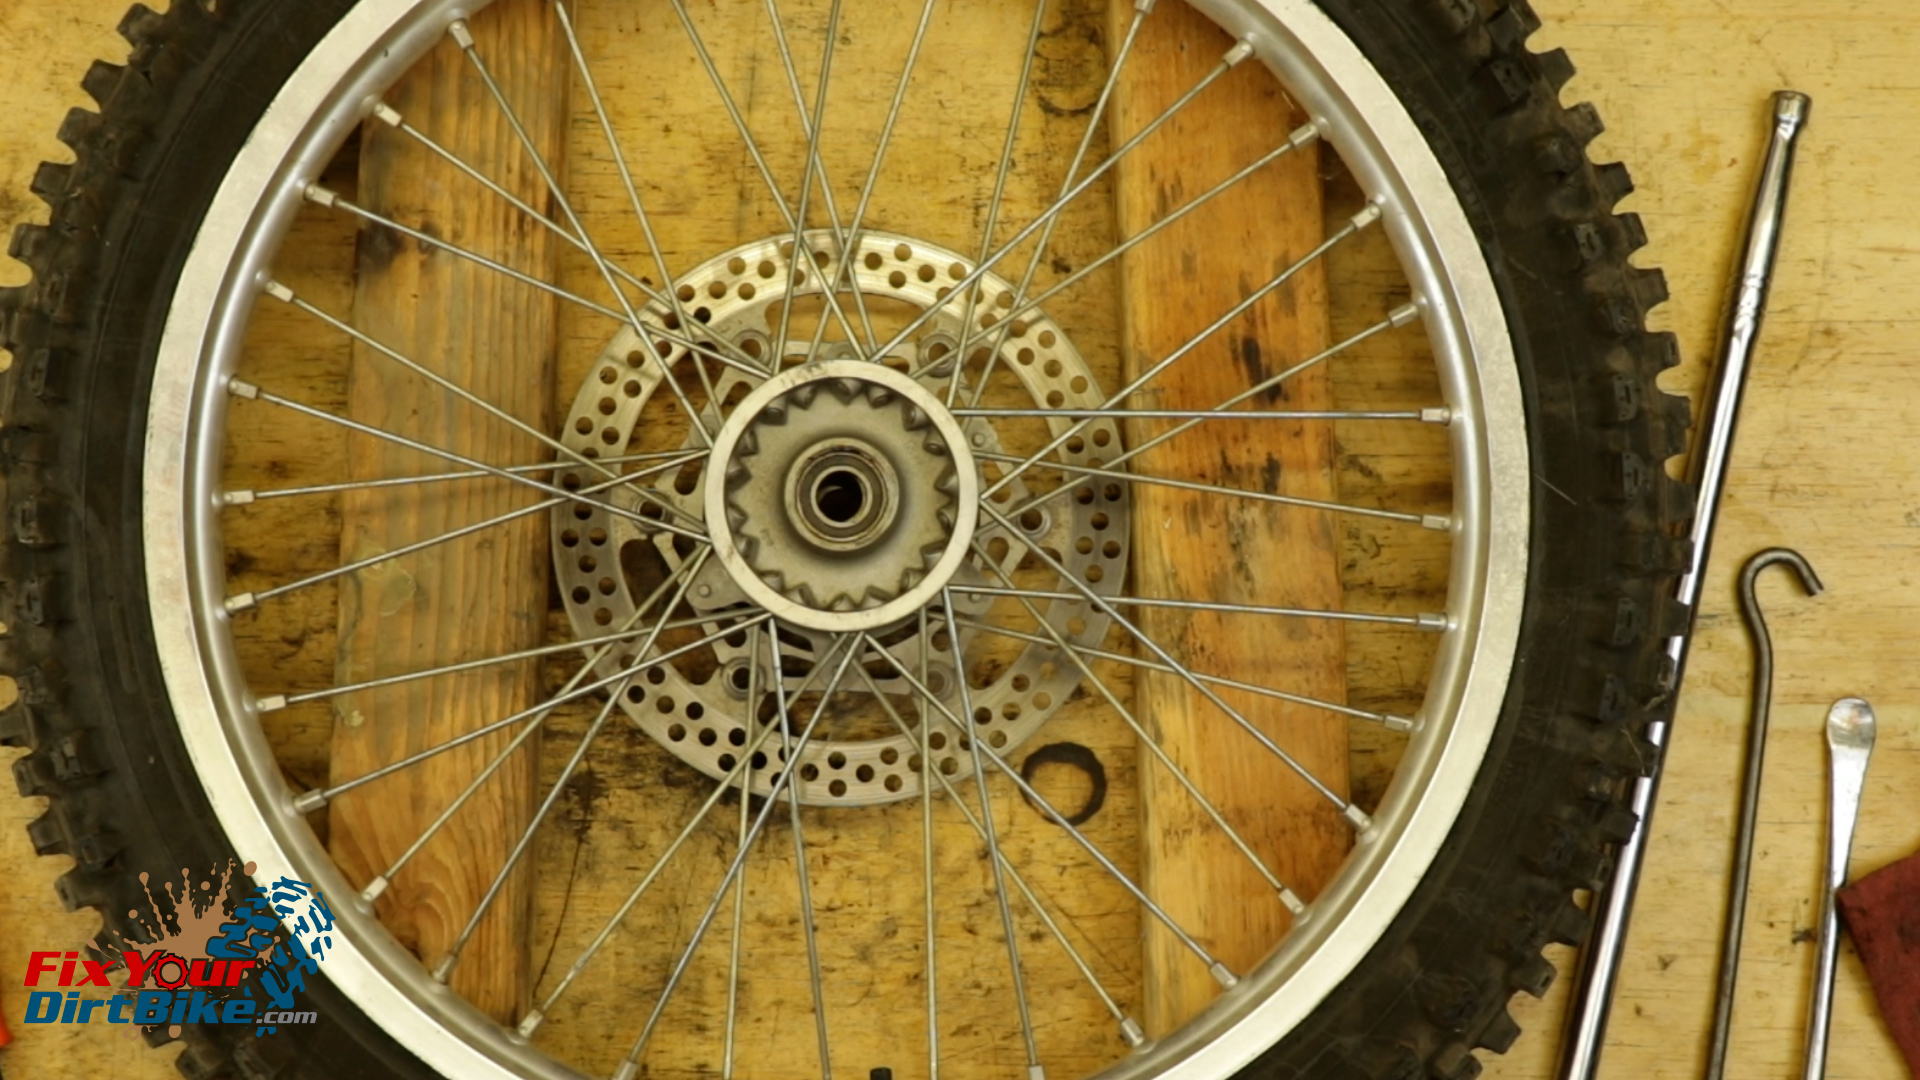
Clean & Inspect
- Clean and inspect the hub, distance collar, and axle for any signs of wear or damage.
- File off any burrs or chips, and carefully sand off any corrosion.
- Do not remove any material when smoothing the ends of the distance collar.
- The distance collar needs to be an exact length to work properly.
- If the ends are damaged, the collar will need to be replaced.
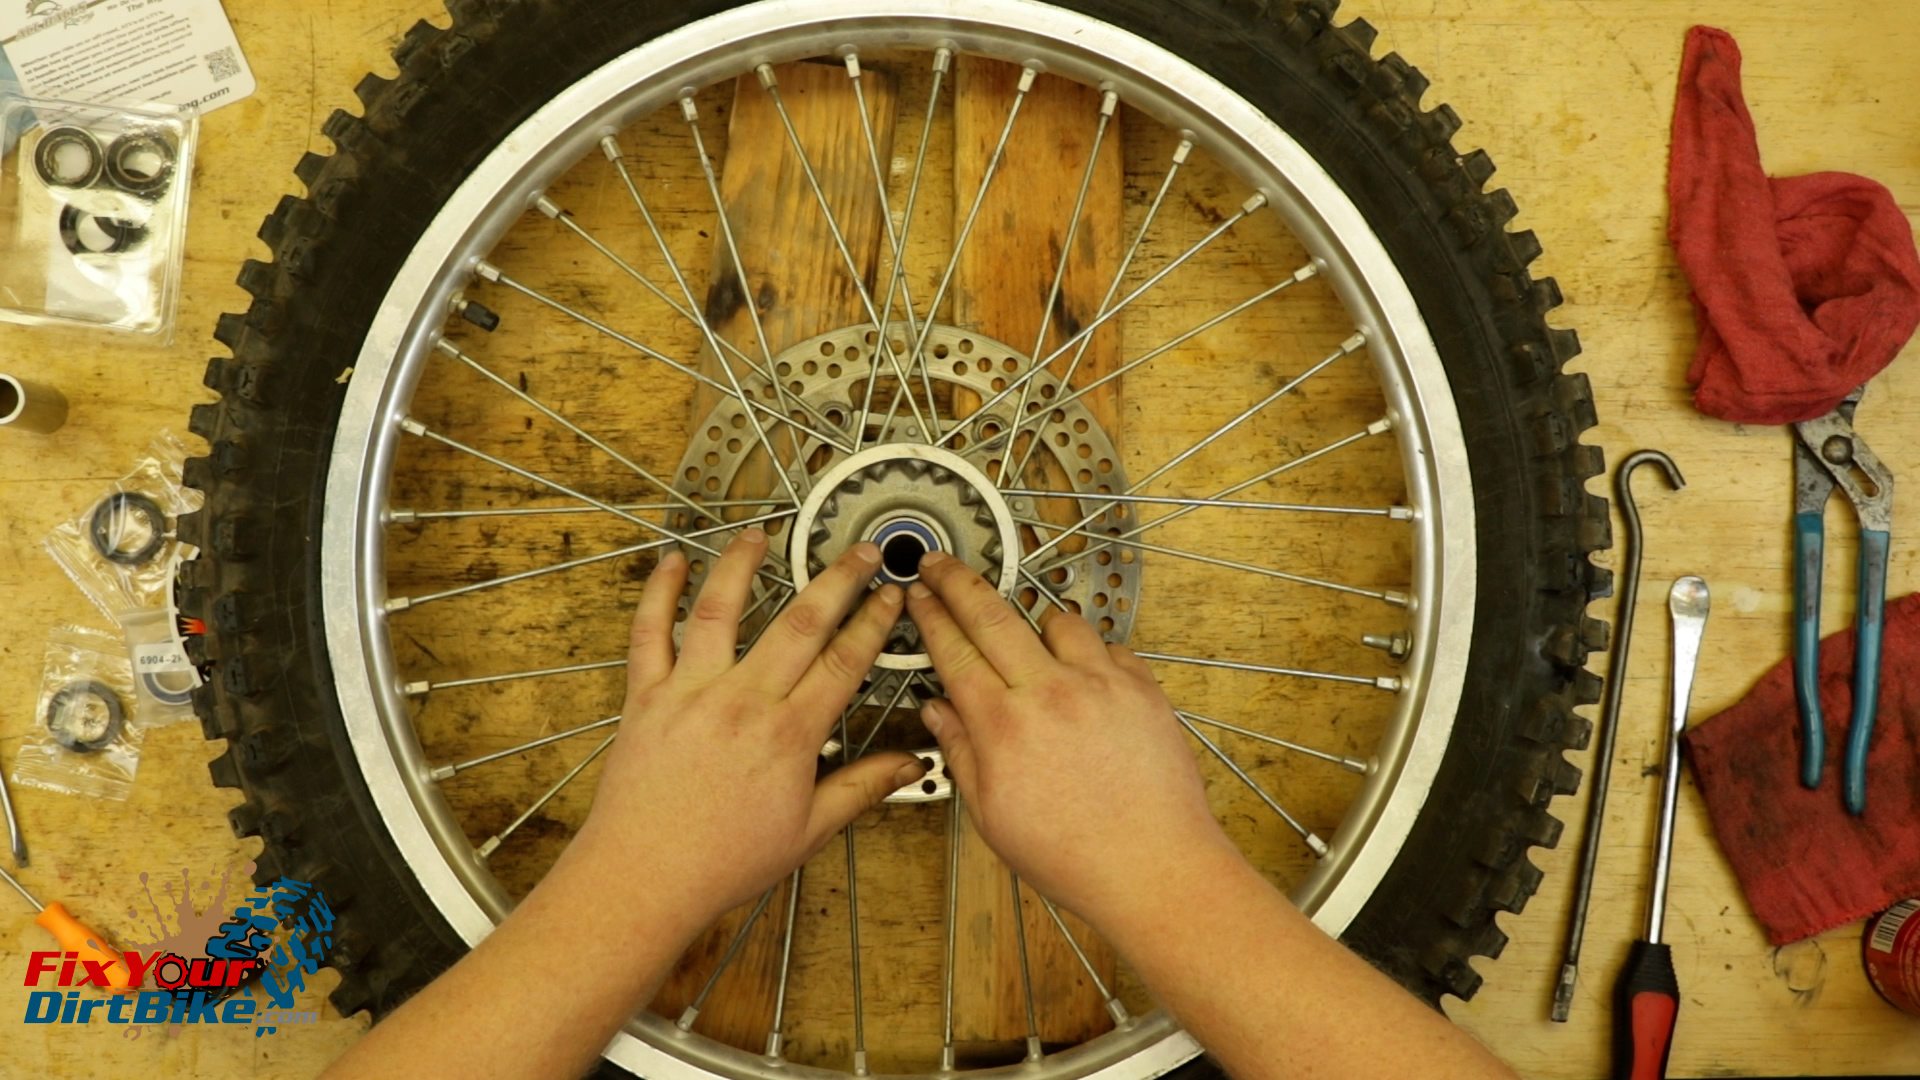
- Once everything is cleaned and smoothed, test fit your new bearings.
- They are a driven fit, so they should not slip into the bore.
- If your bearings do slip into the bore, you will need to replace your hub.
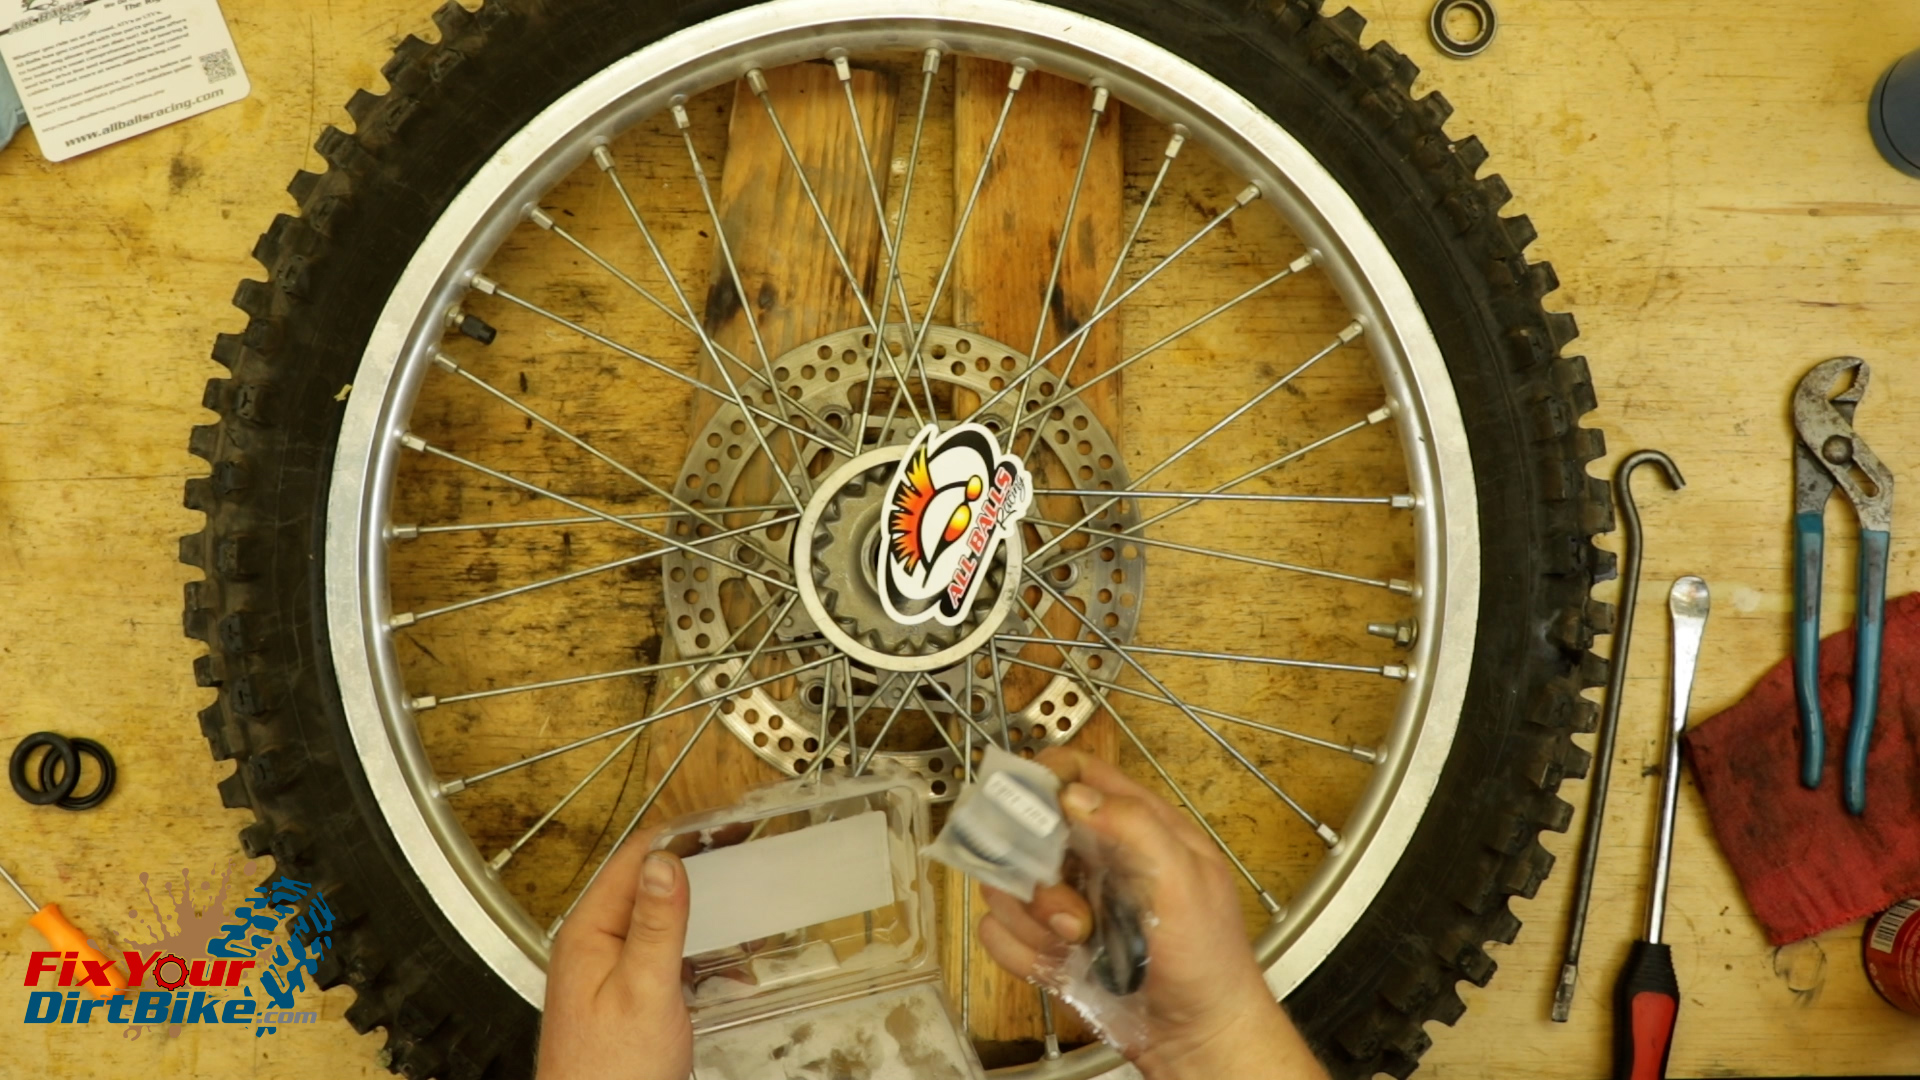
New Wheel Bearing Parts
- I am installing a Pivot Works Front Wheel Bearing Kit.
- I’ve been using pivot works wheel bearings for a while with good results, and you can get this same kit HERE!
Front Wheel Bearing Installation
- Start with the non-brake side bearing.
- Set your wheel on your 2x4s, so only the hub is supported.
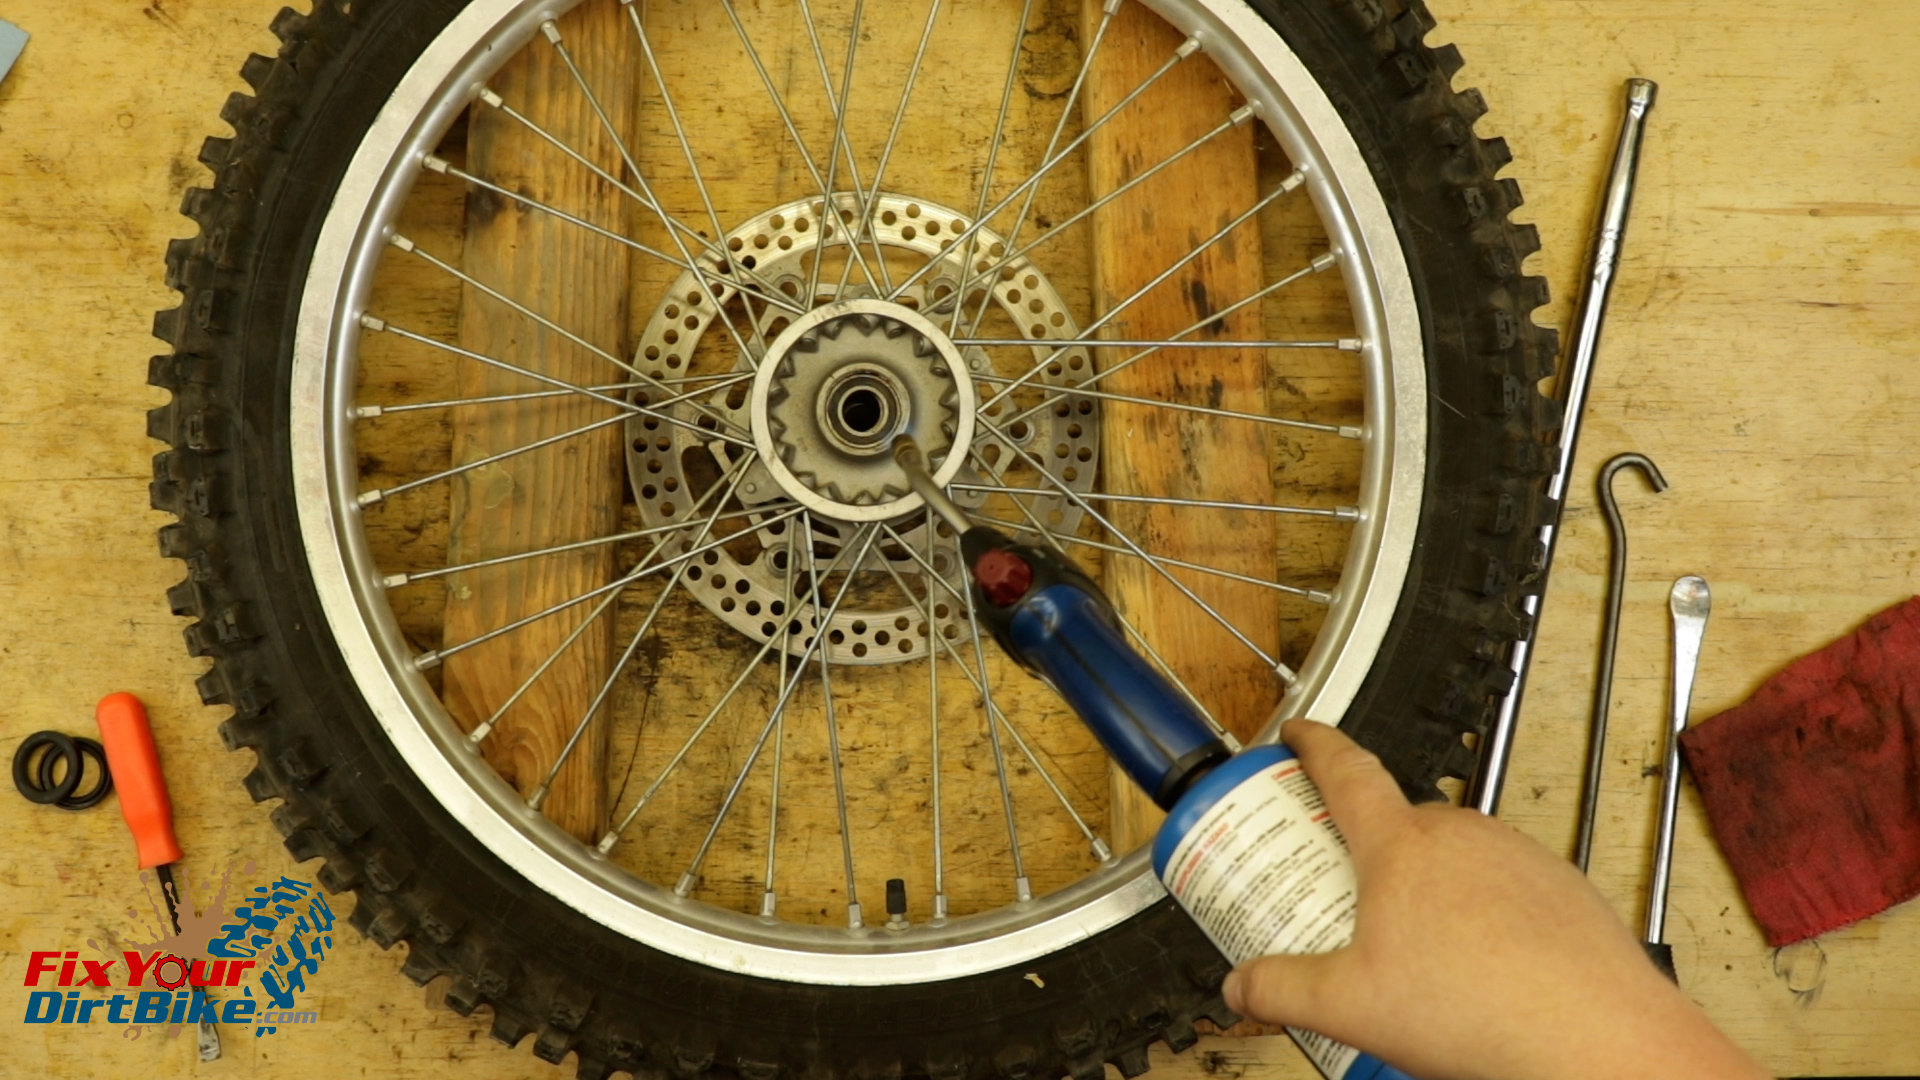
- Start by lightly heating the hub.
- A warm hub and frozen bearings make installation easy.
- Align your new bearing square with the bore.
- Align your socket to the OUTER bearing race, and start tapping the bearing into the bore.
- As you go, you can make slight corrections as needed.
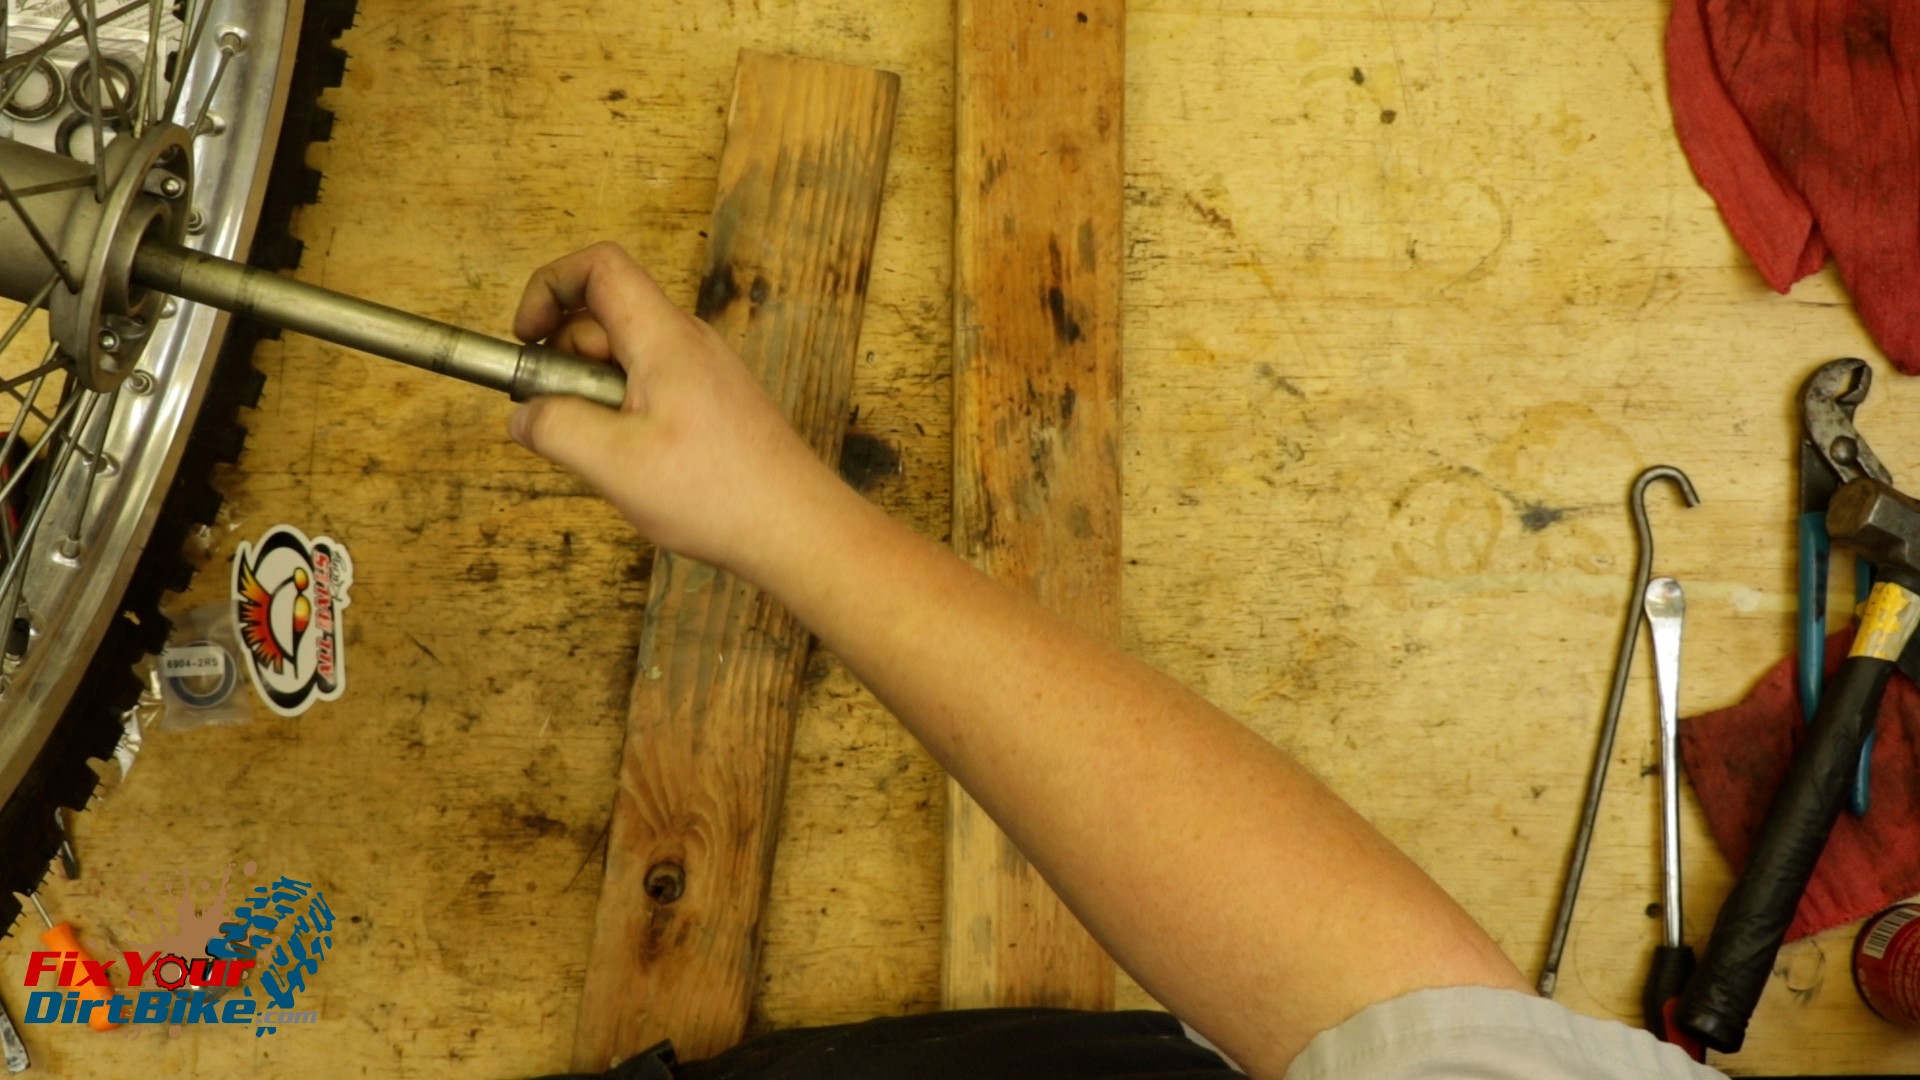
- For the brake side bearing, insert the axle into the hub from the opposite side, then add more 2x4s, so the axle sits slightly above the hub.
- The axle will now be the guide to align the distance collar with the brake side bearing.
- Install the distance collar, and repeat the bearing installation process.
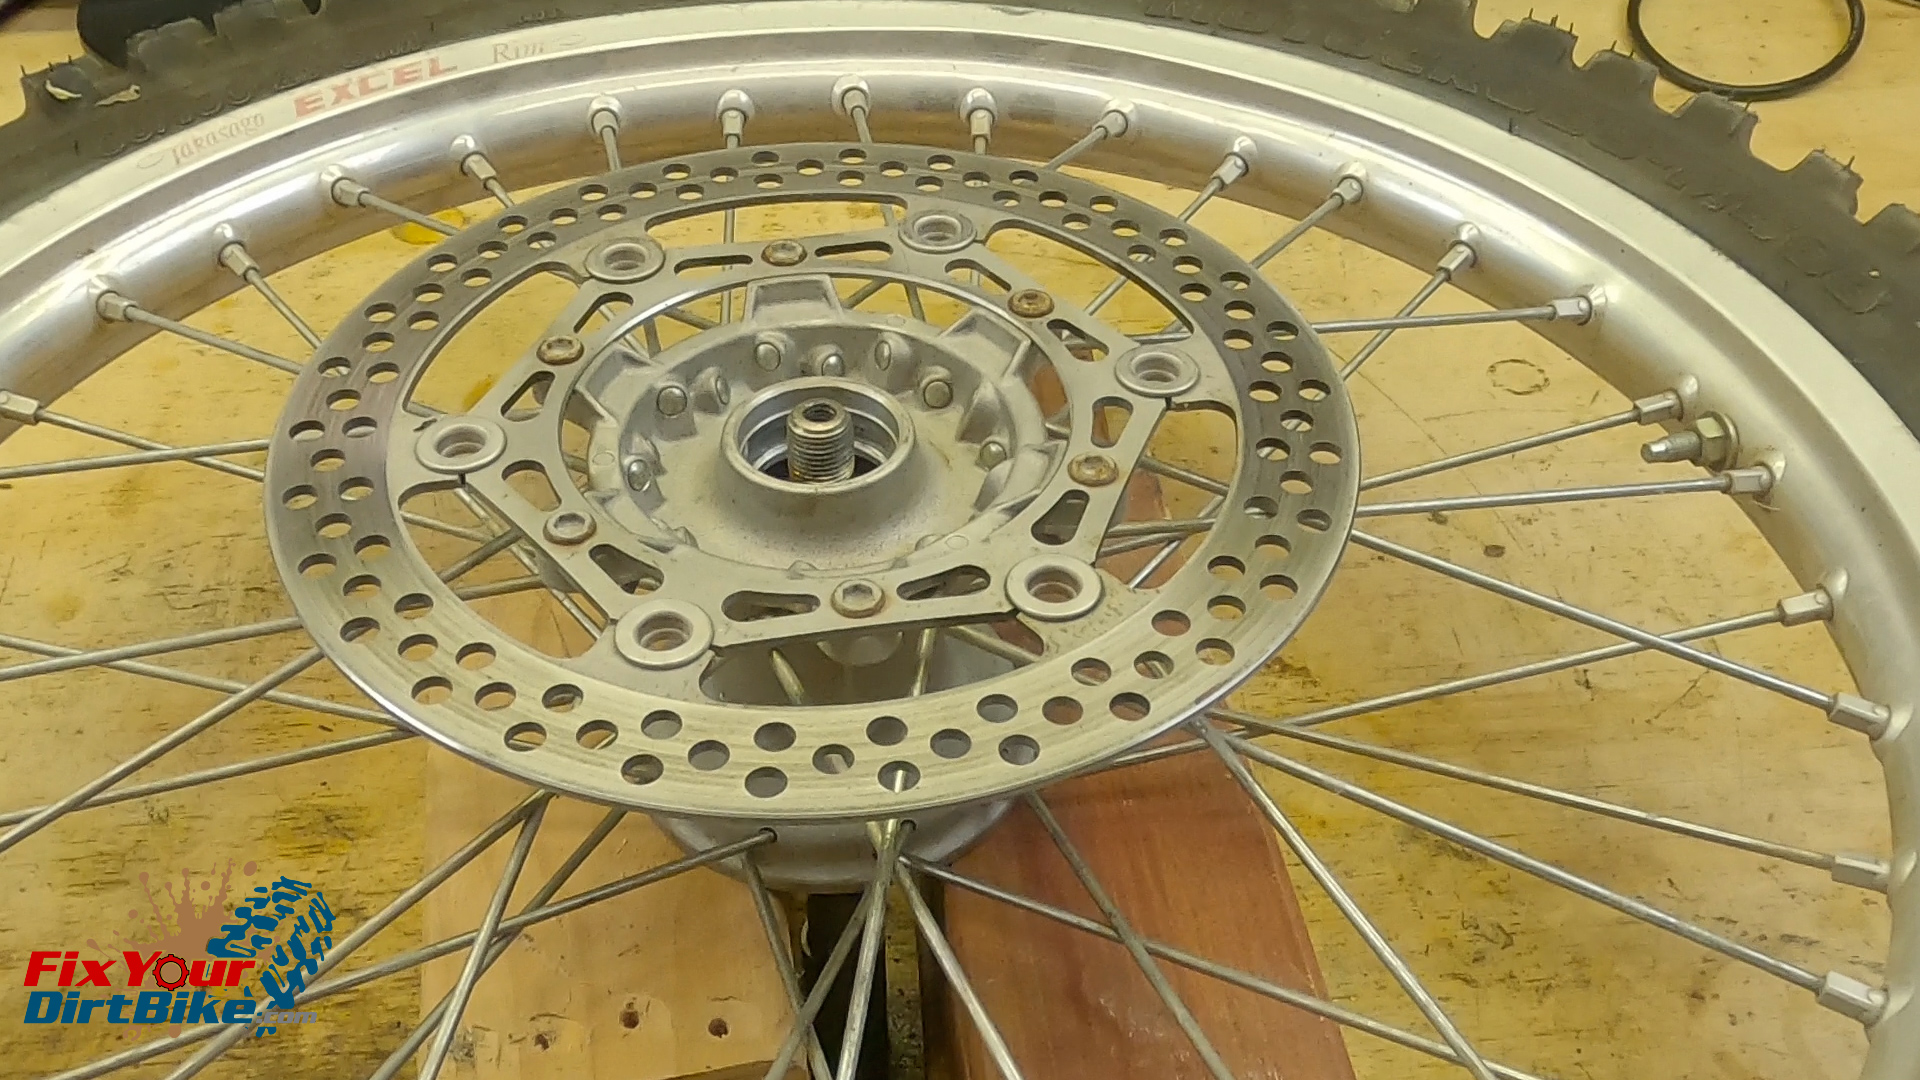
- Apply a disgusting amount of grease to the bearing seals, and drive them into the bore.
You can follow me at Fix Your Dirt Bike across all social media, and If you have any questions, please let me know in the comments or direct message.
