
How To Service The Clutch On Your 94-01 Yamaha YZ125
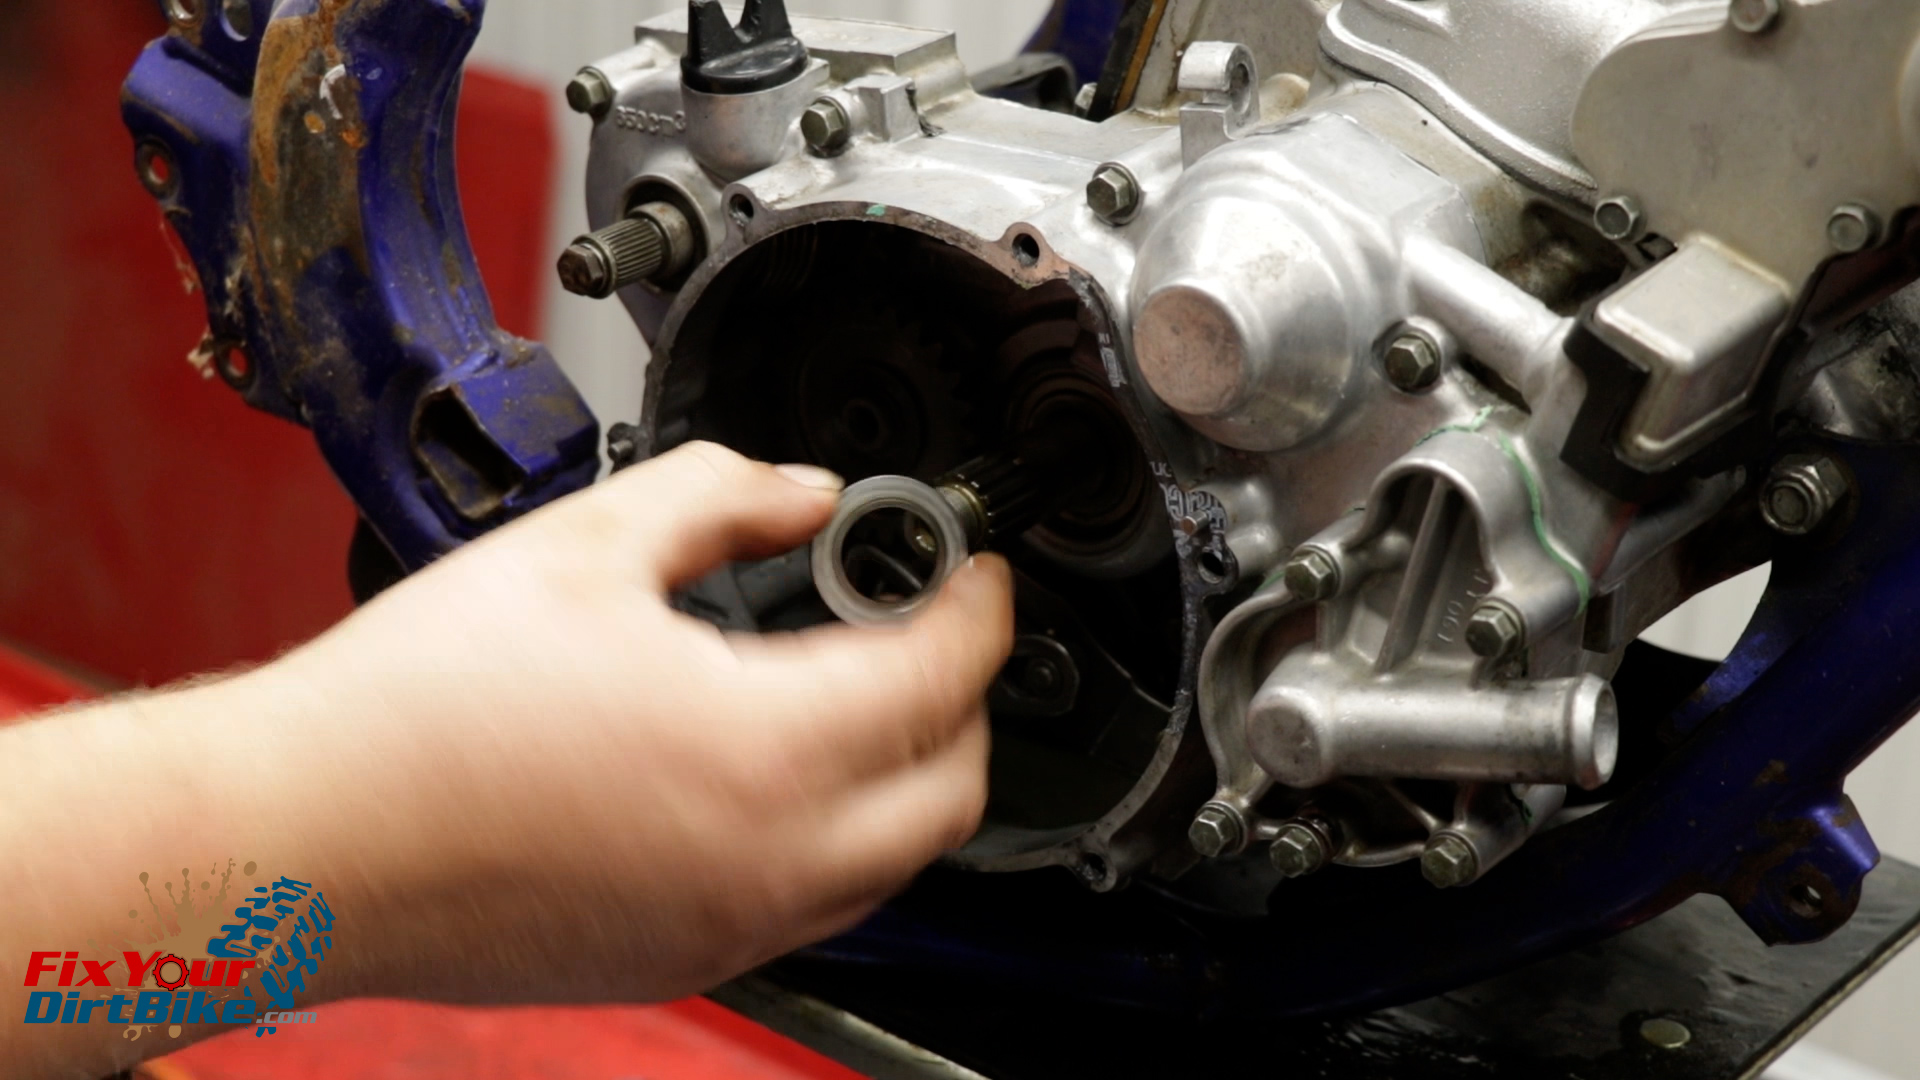
 You can remove and install your clutch through the clutch cover, but since I’m doing a full engine overhaul, my right crankcase cover was off during install.
Before you start:
- Outline the clutch cover bolt pattern on a piece of cardboard and transfer your bolts from your engine to the cardboard as you go.
- Everything will be covered in oil, so have baggies and towels ready.
- Drain your oil.
- Put your bike in first gear.
- Disconnect your clutch cable.
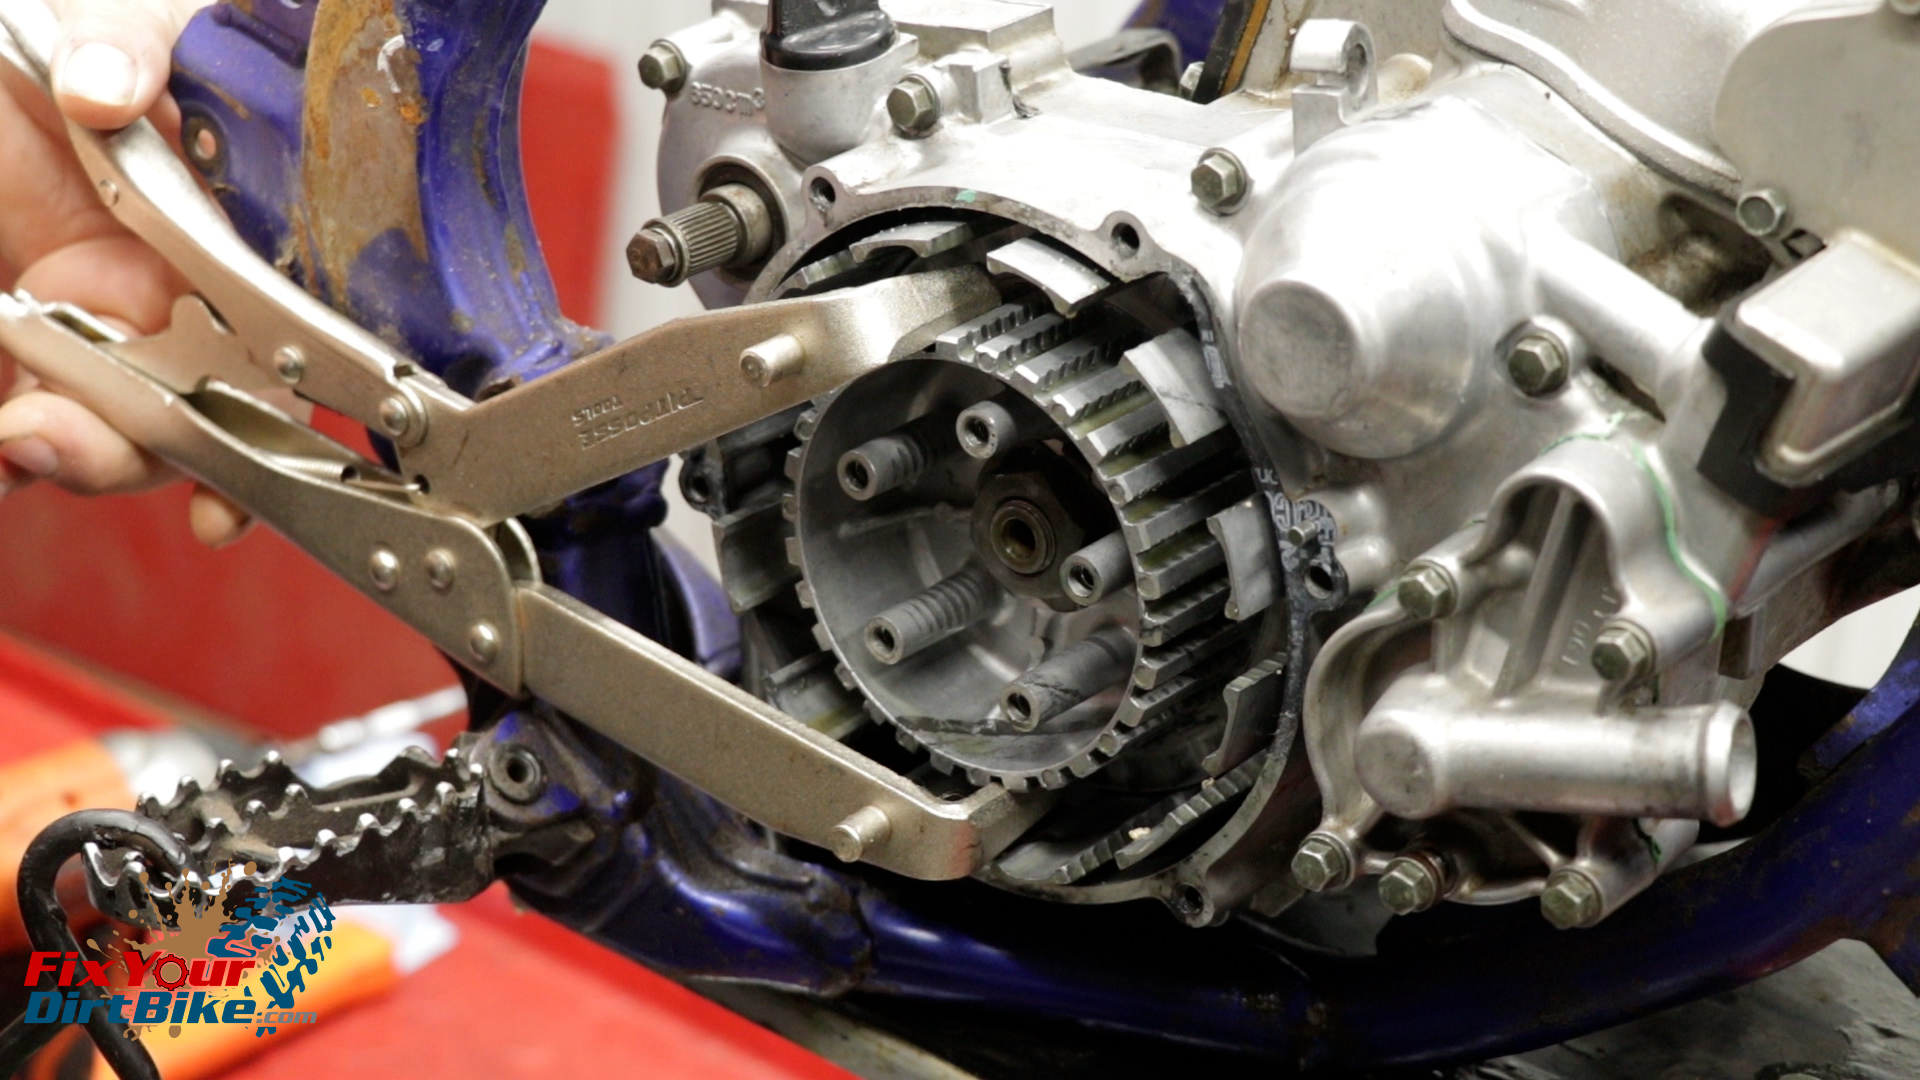
- You will need a clutch holding tool to loosen and torque the center nut safely.
If you need parts and tools you can get them here!
Clutch Removal
Clutch Pack
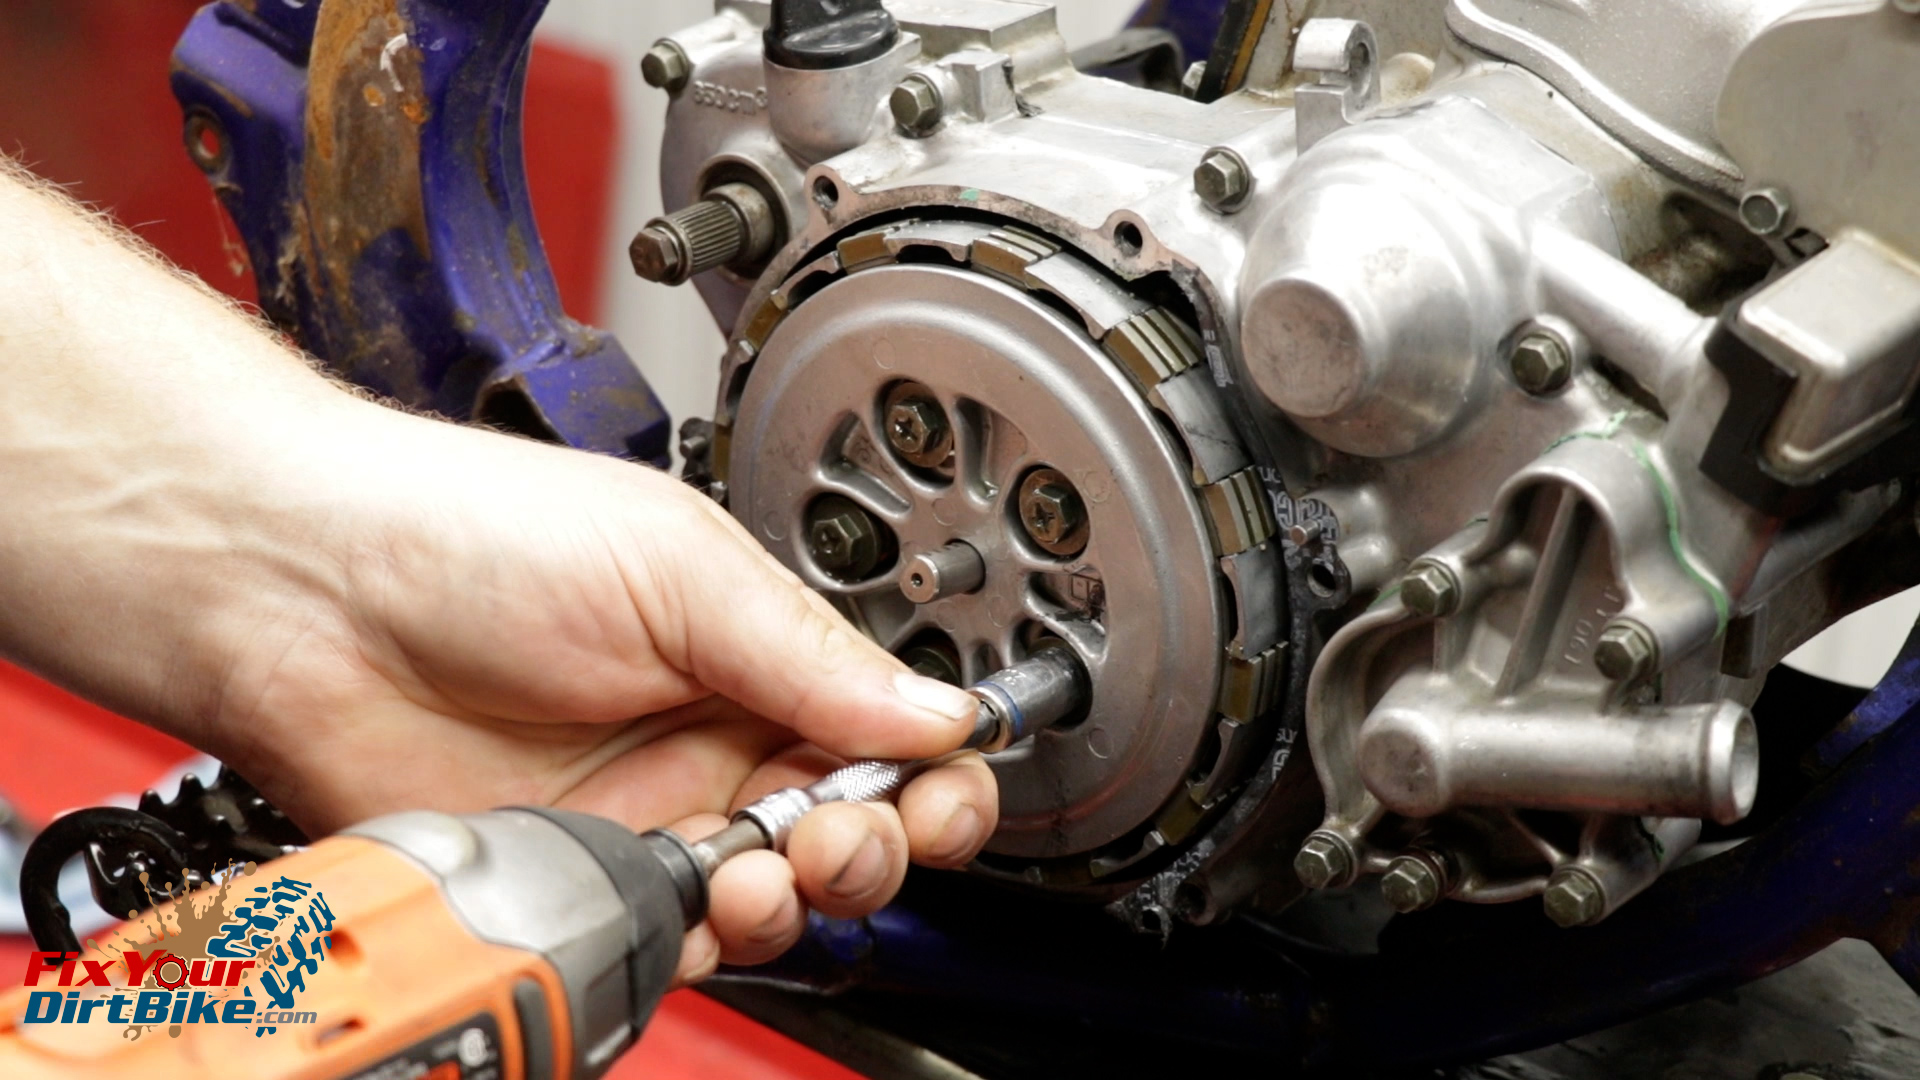
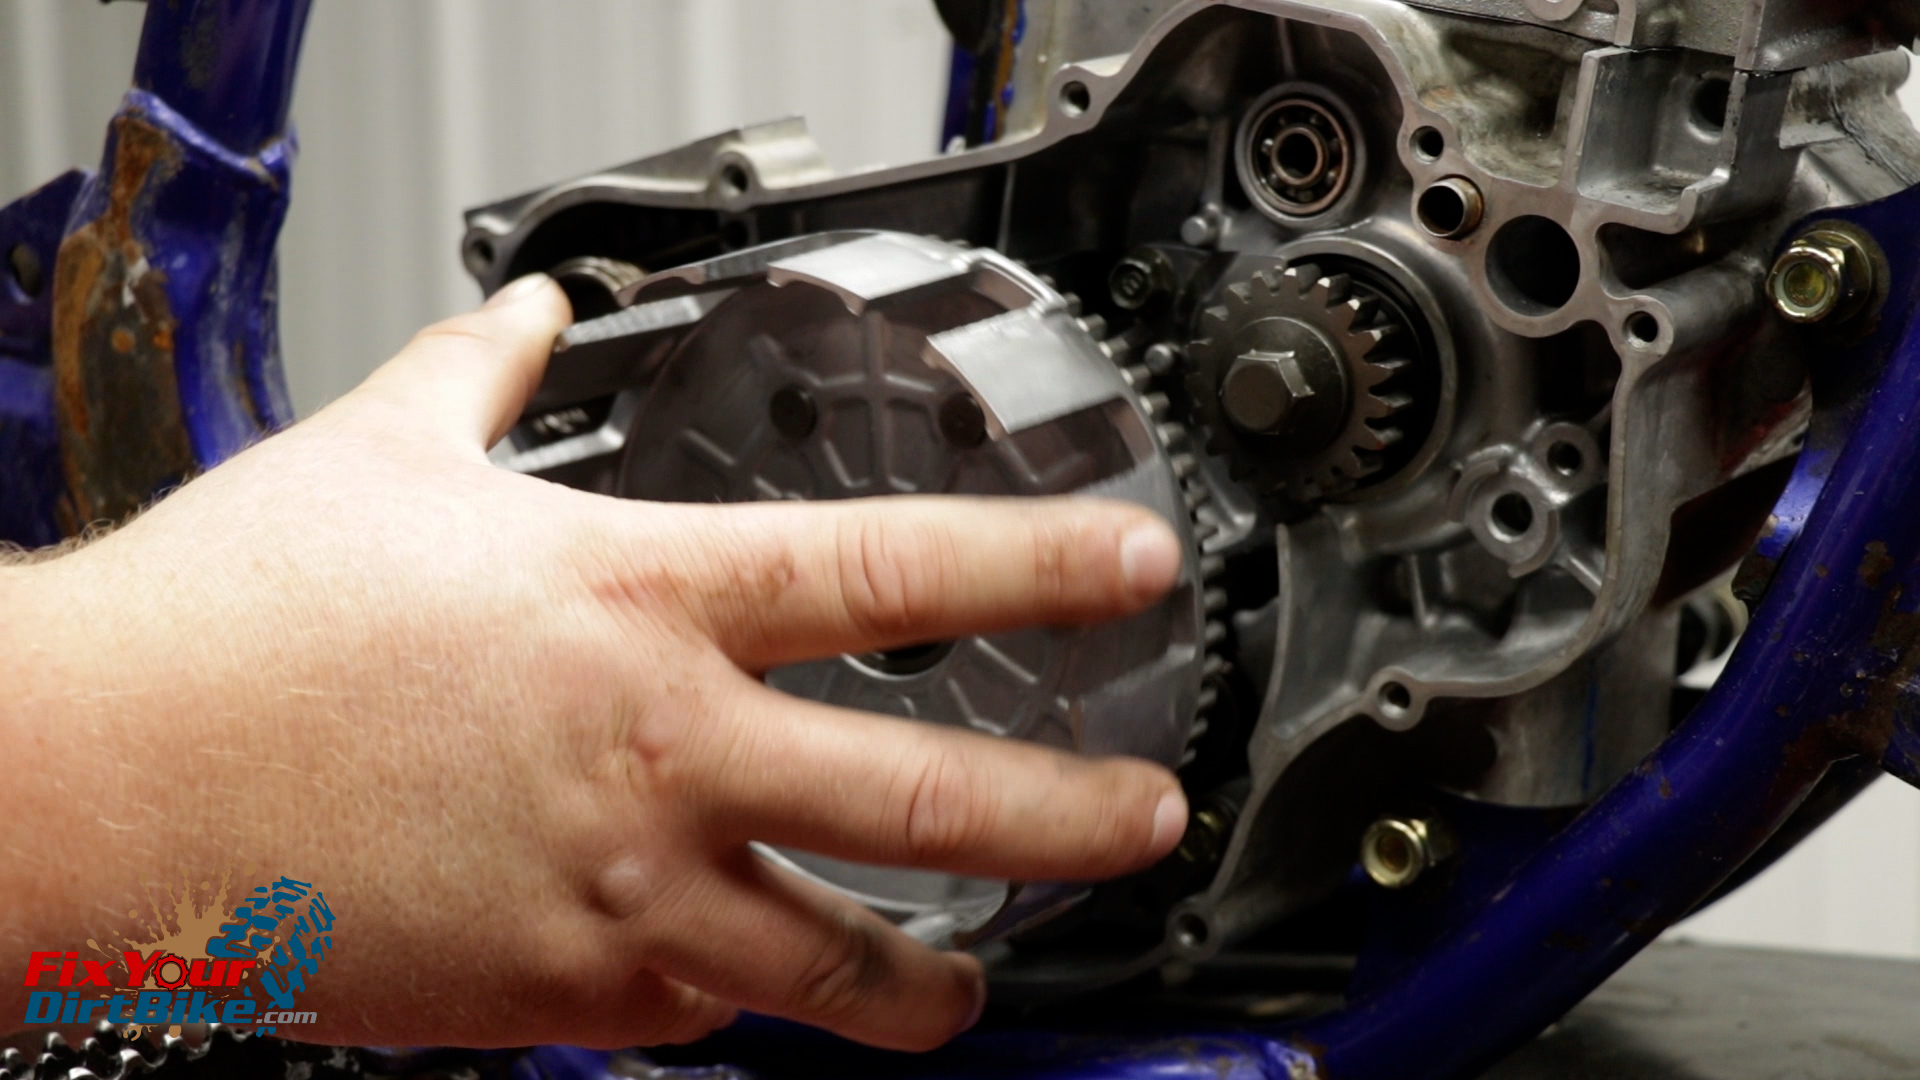
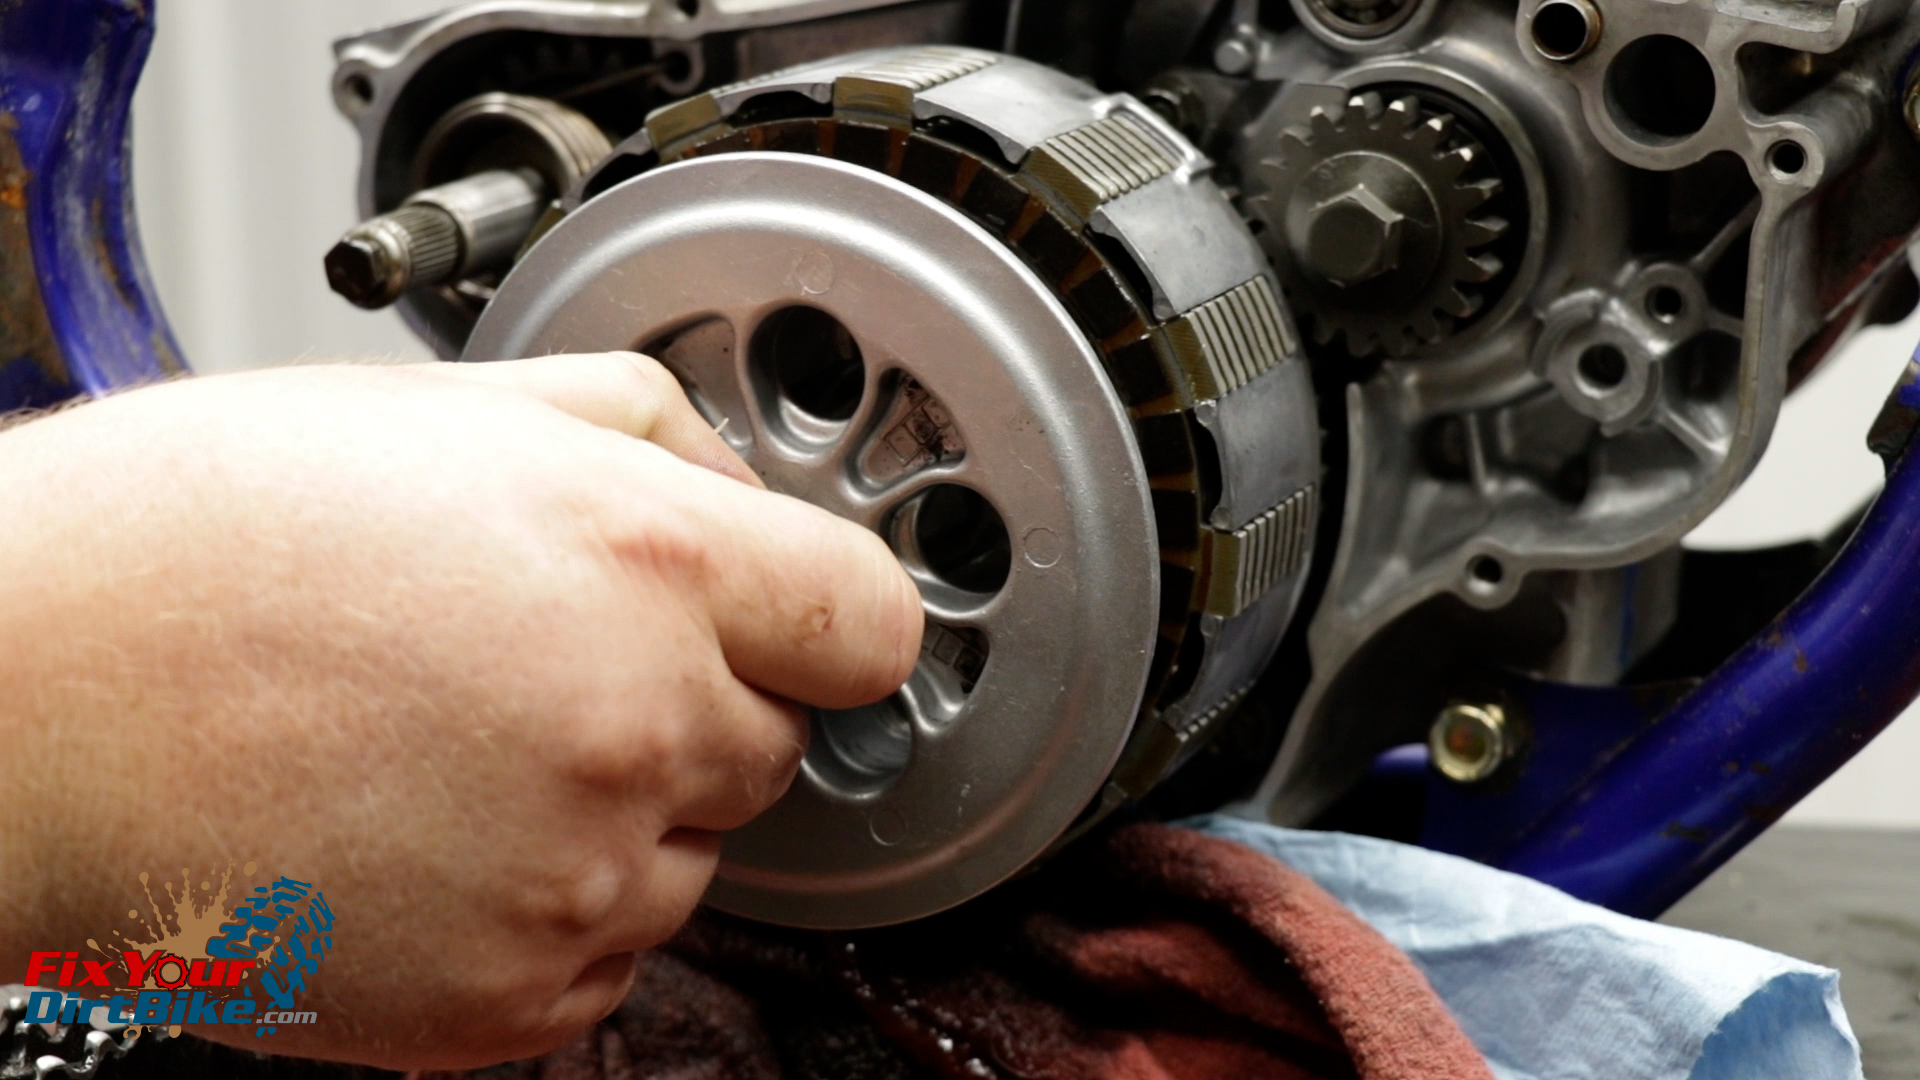
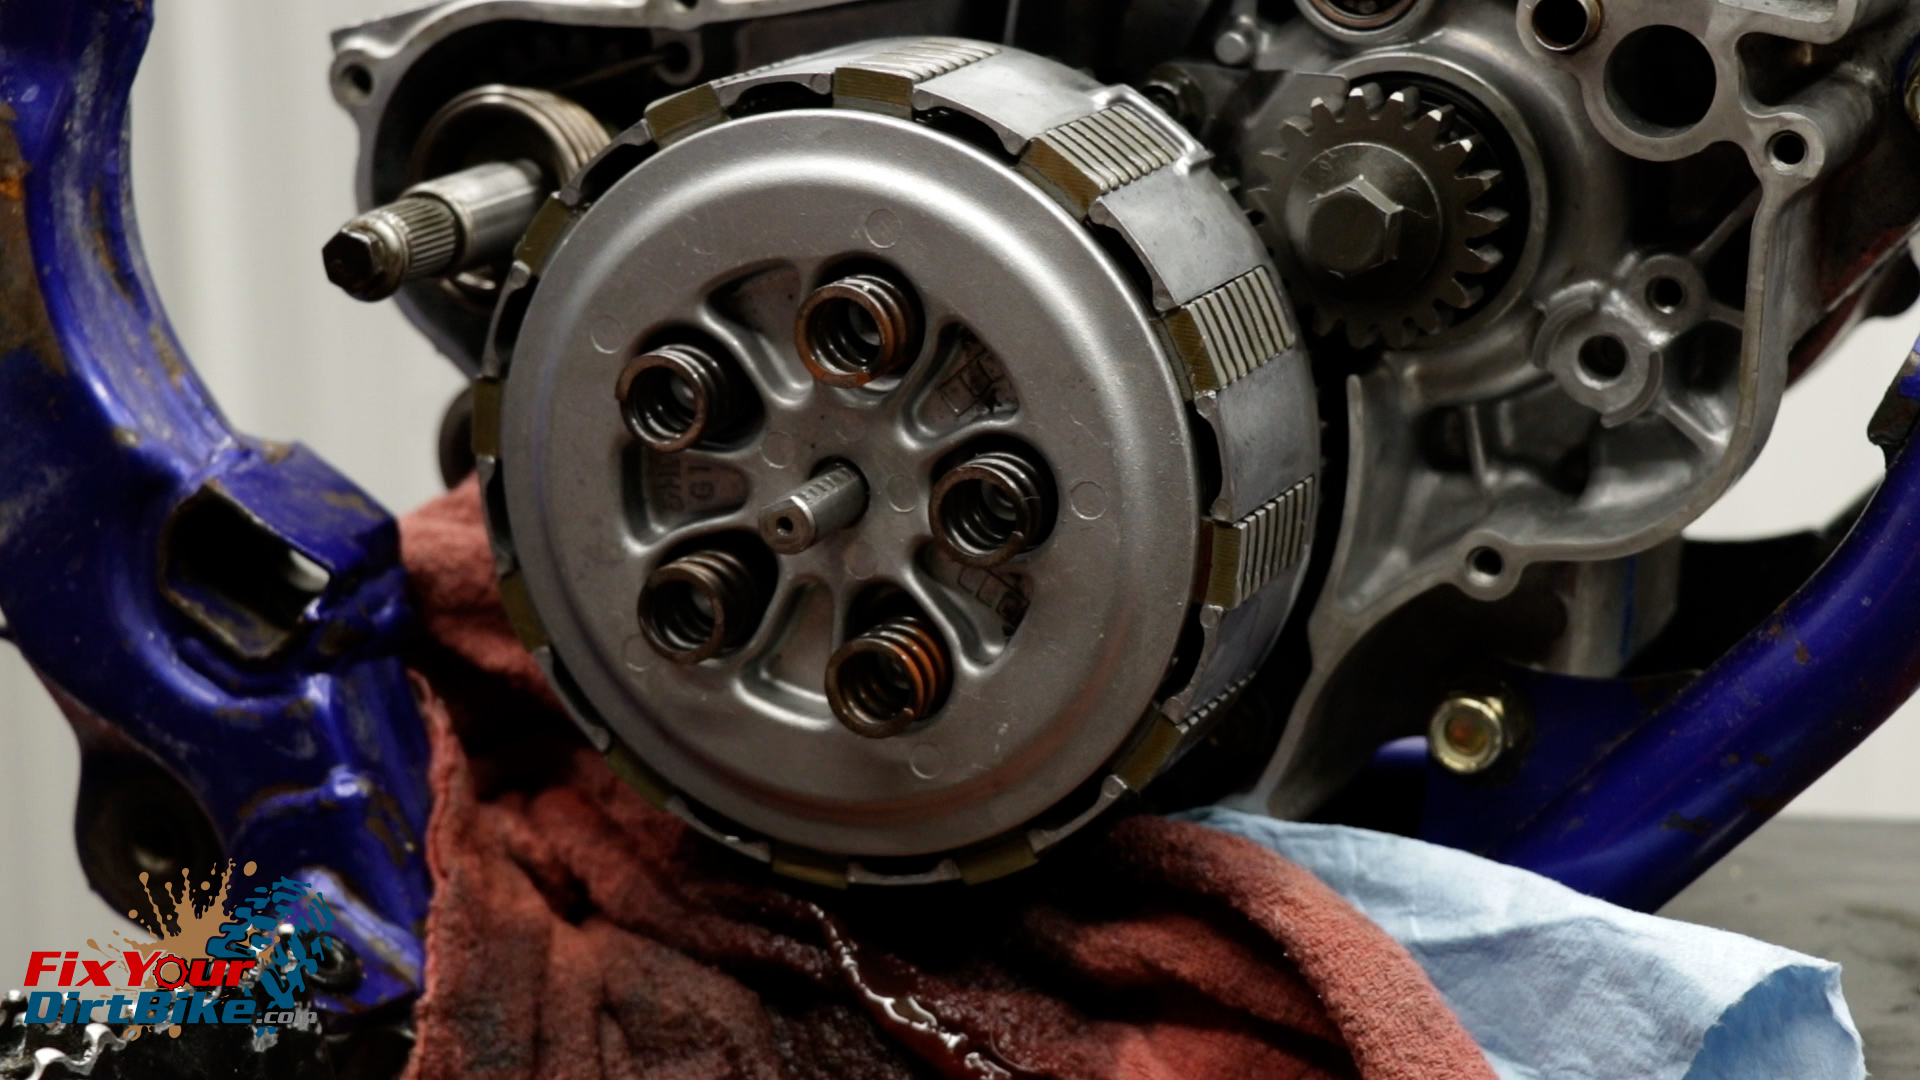
- Loosen the clutch spring bolts in a criss-cross pattern.
- Remove the pressure plate bolts and springs, and place them in a baggie.
- The push piece is not secured in the pressure plate, so remove the pressure plate by the push-piece to avoid dropping the push piece assembly.
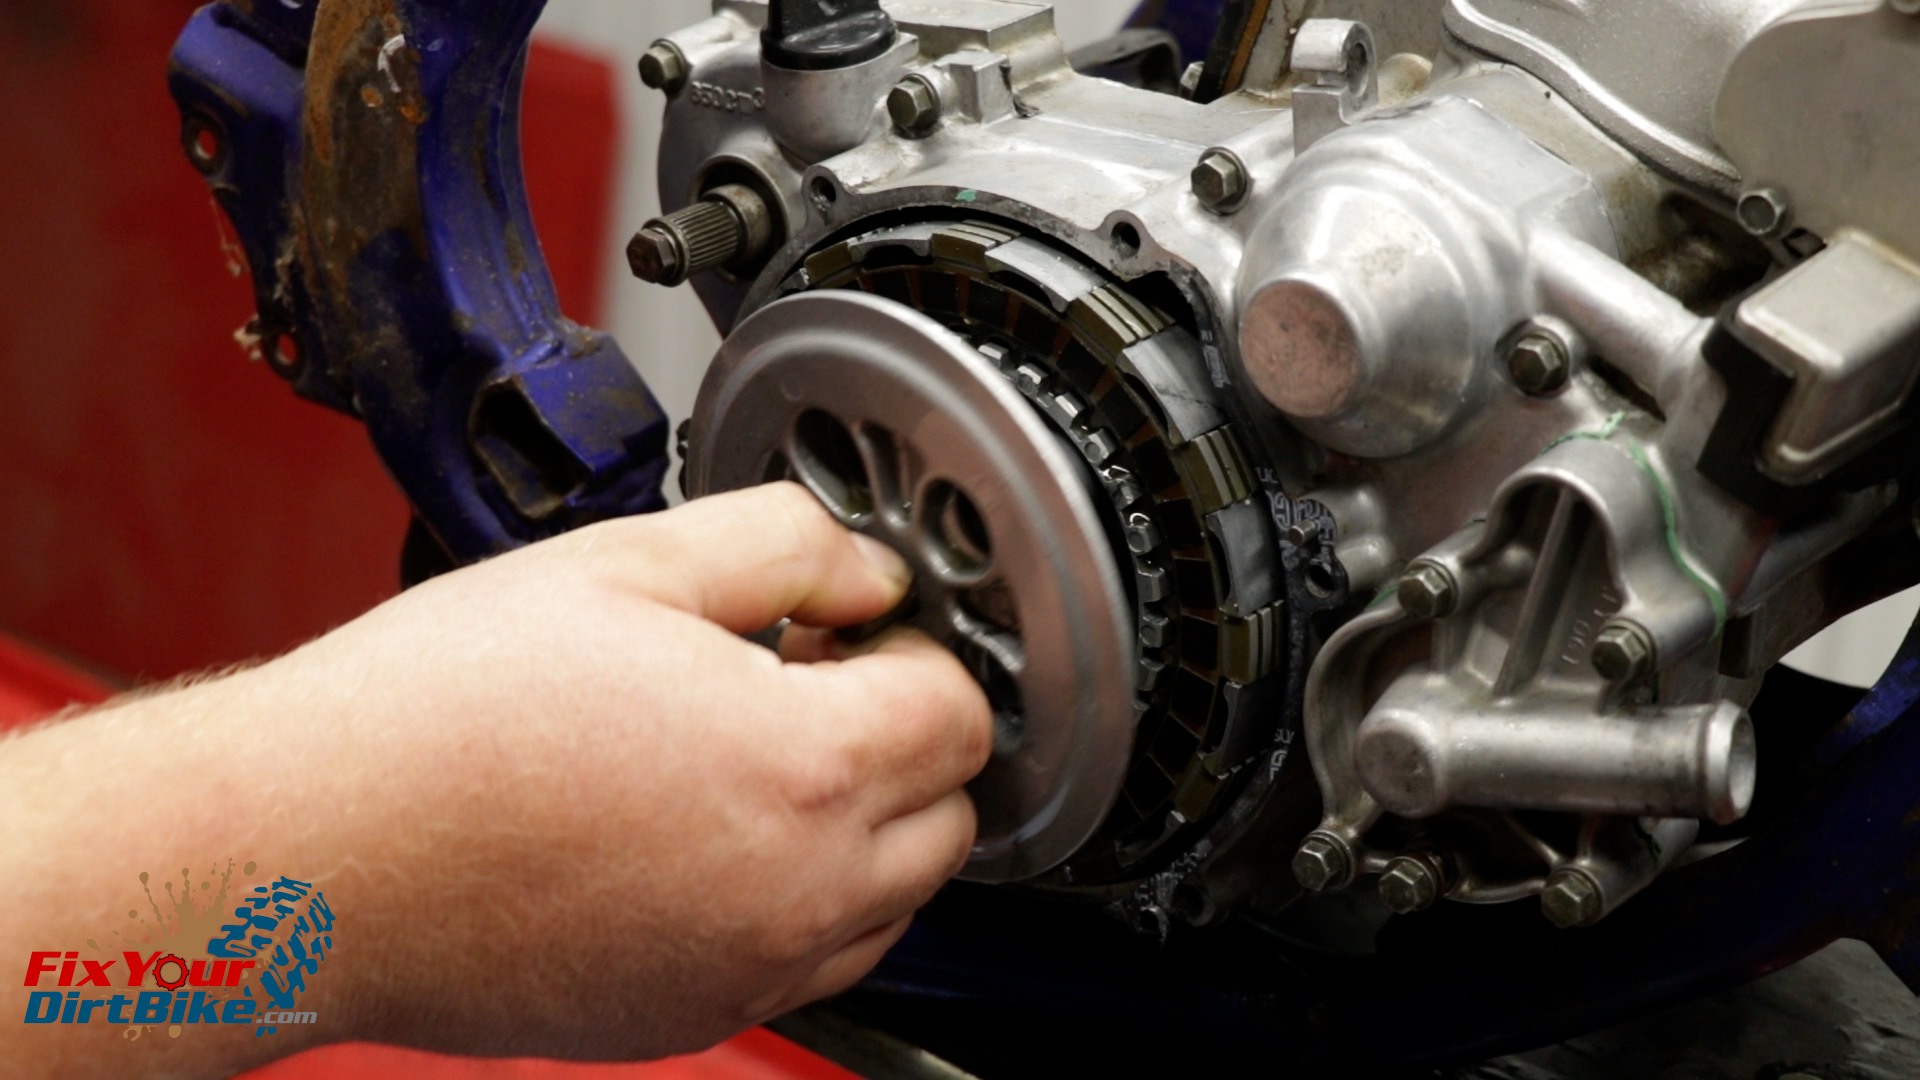
- Wrap the pressure plate assembly in a shop towel to keep everything together.
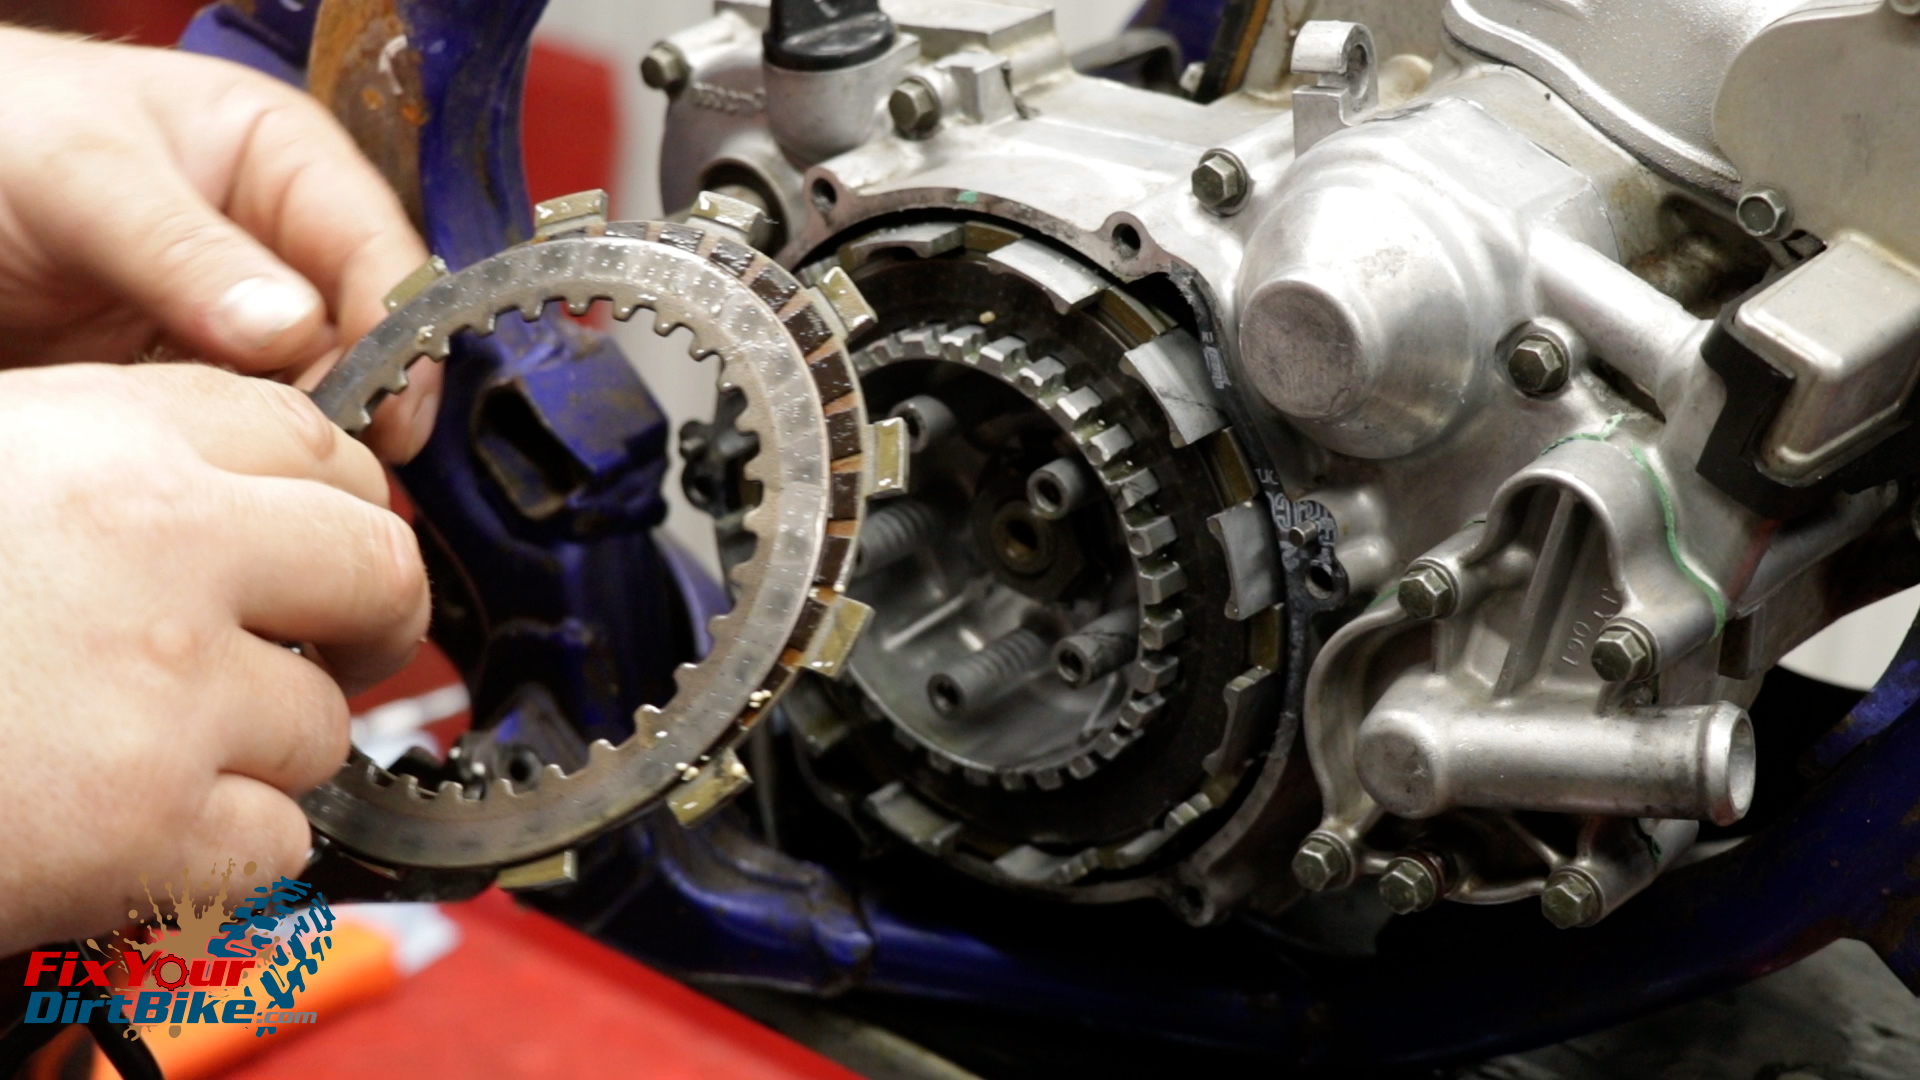
- Pull the plates and discs from the clutch, and wrap the clutch pack in a shop towel.
Clutch Inner & Outer
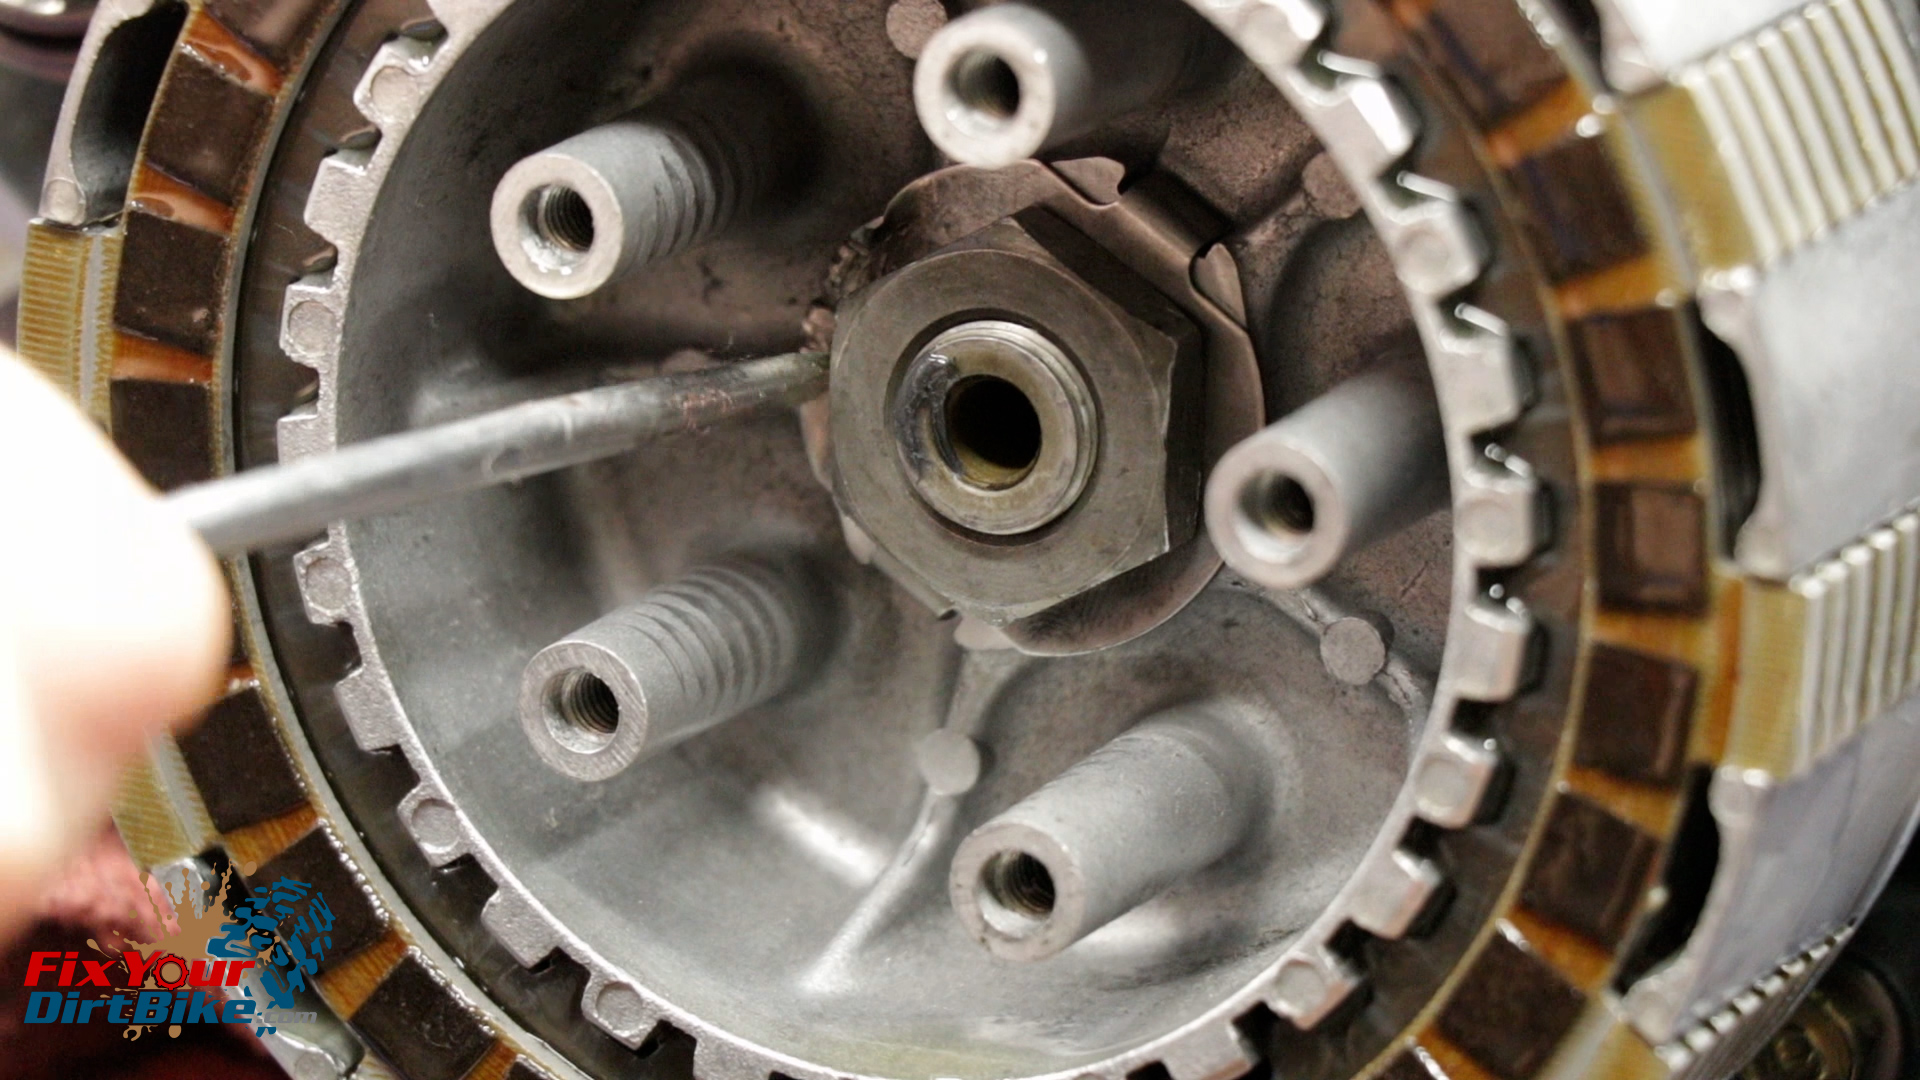
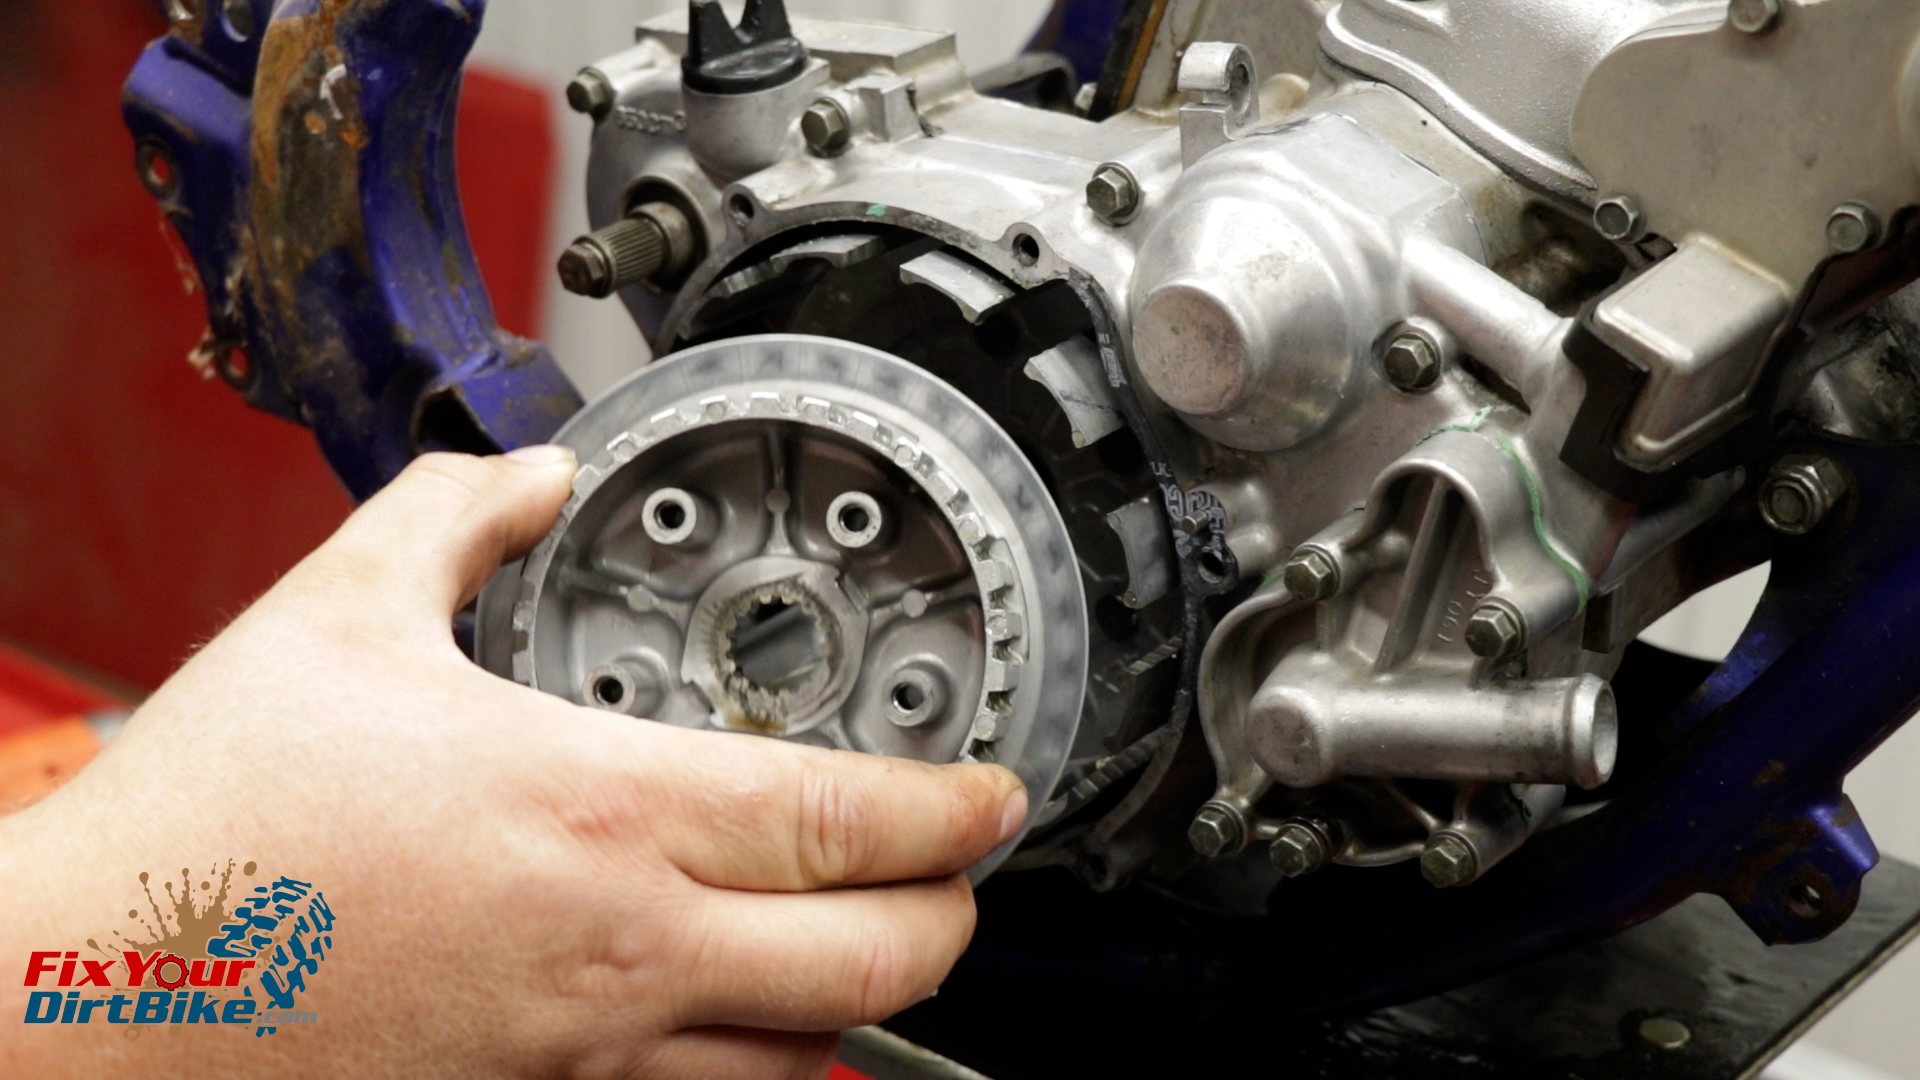
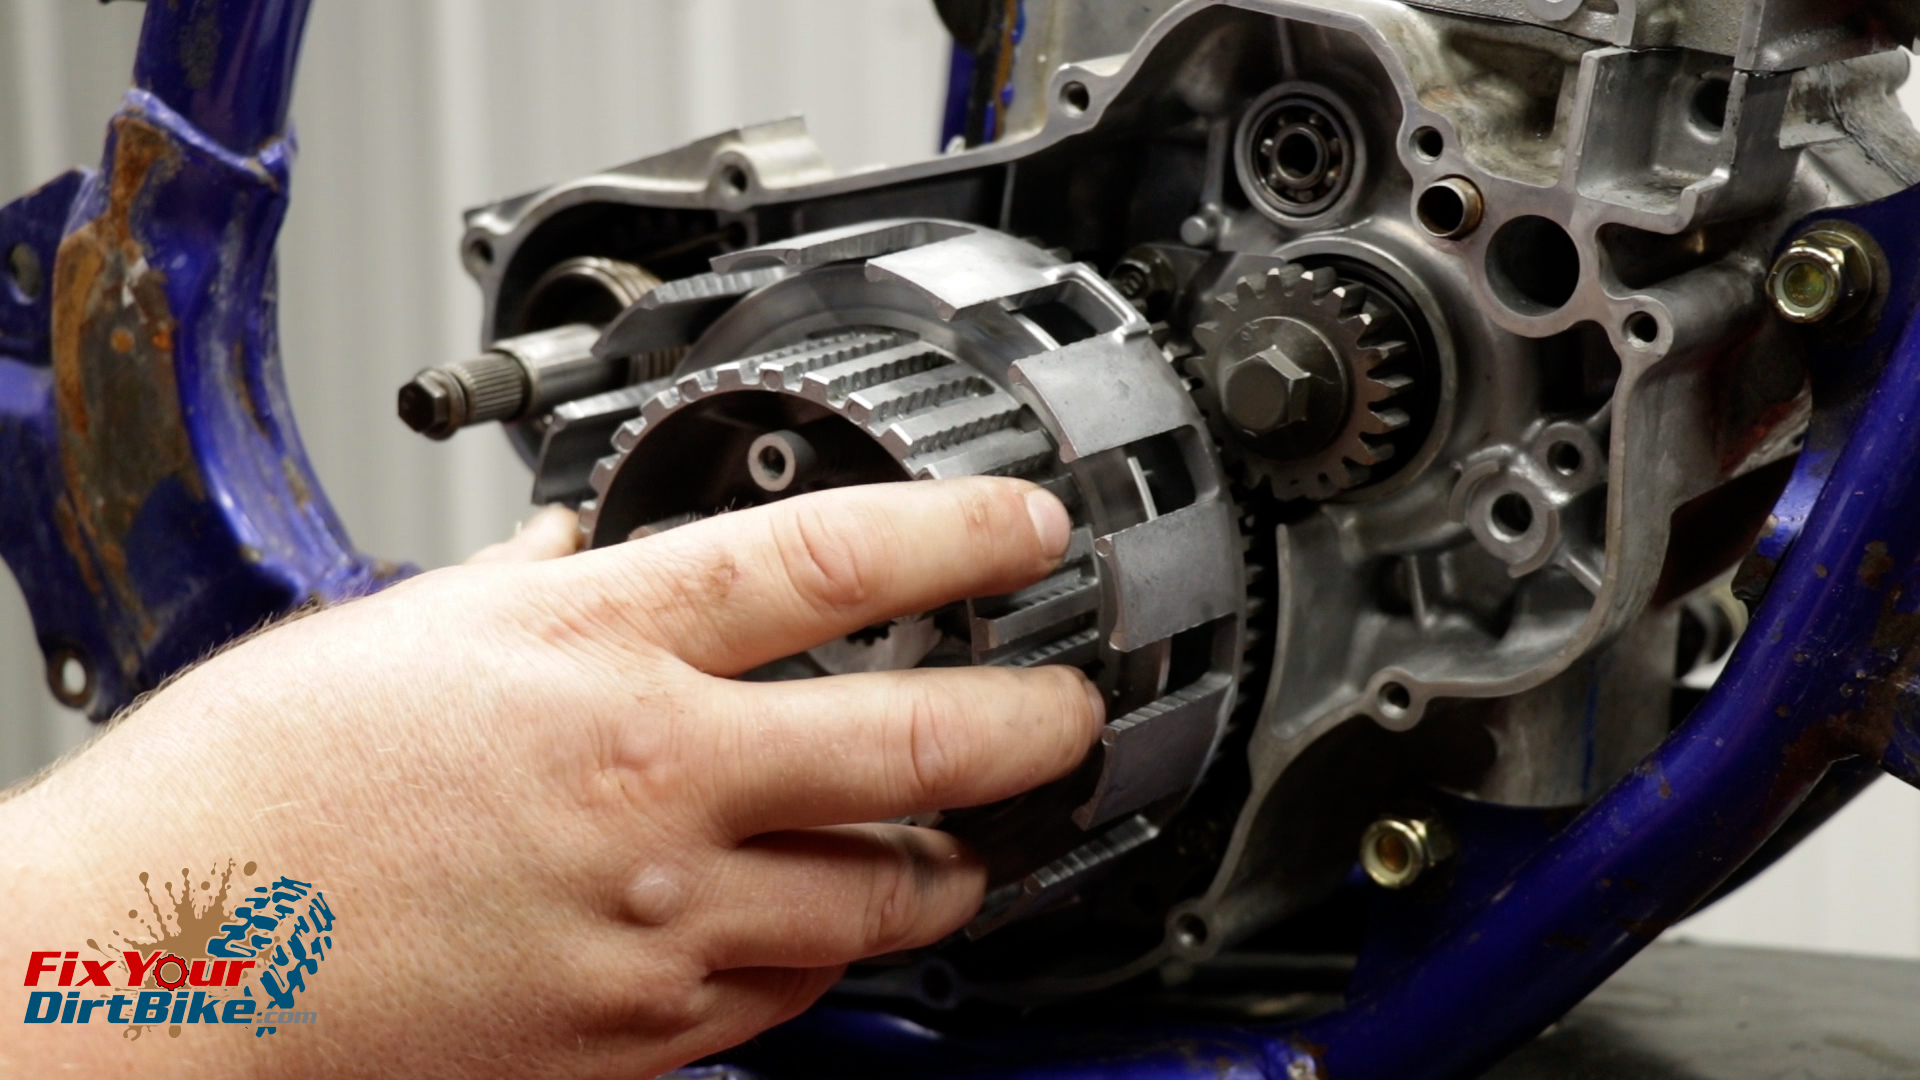
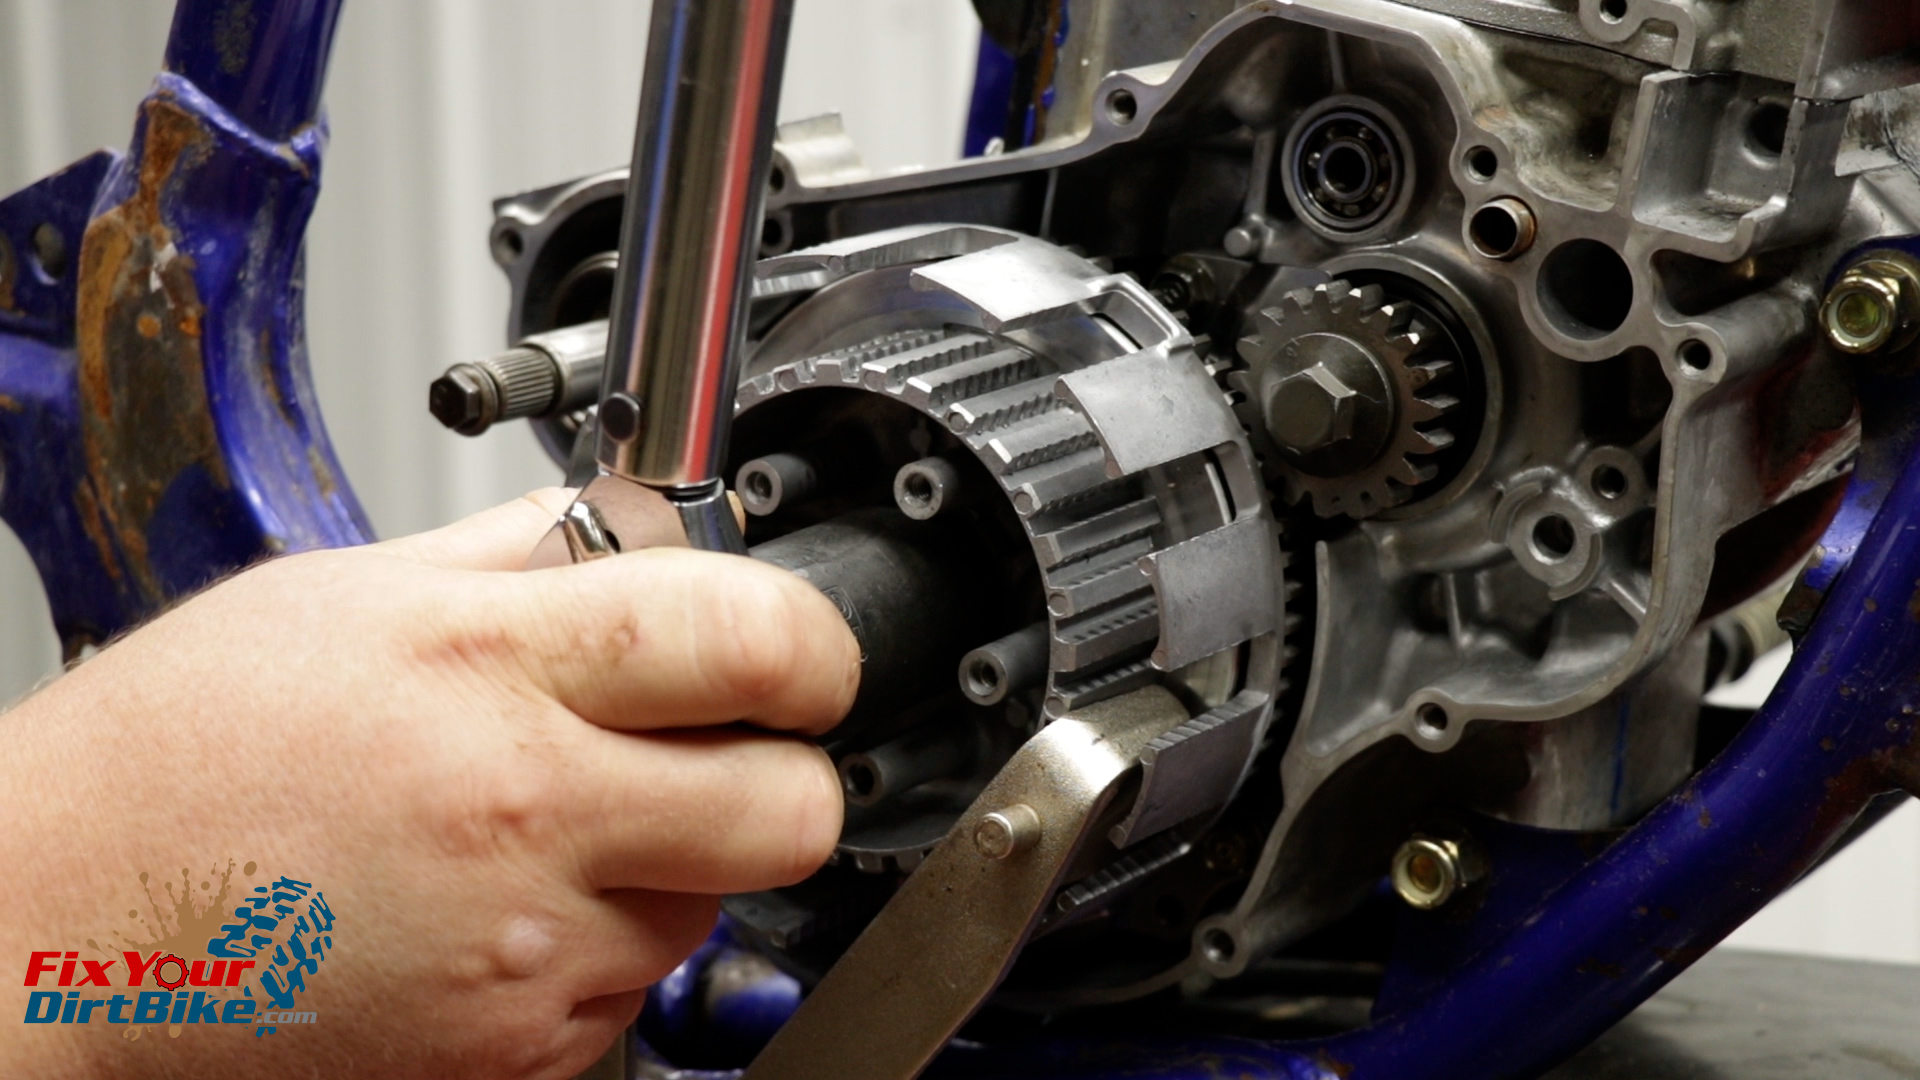
- Bend the tabs of the lock washer back with a screwdriver and a mallet.
- Hold the clutch inner, and loosen the center nut.
- Remove the center nut and lock washer.
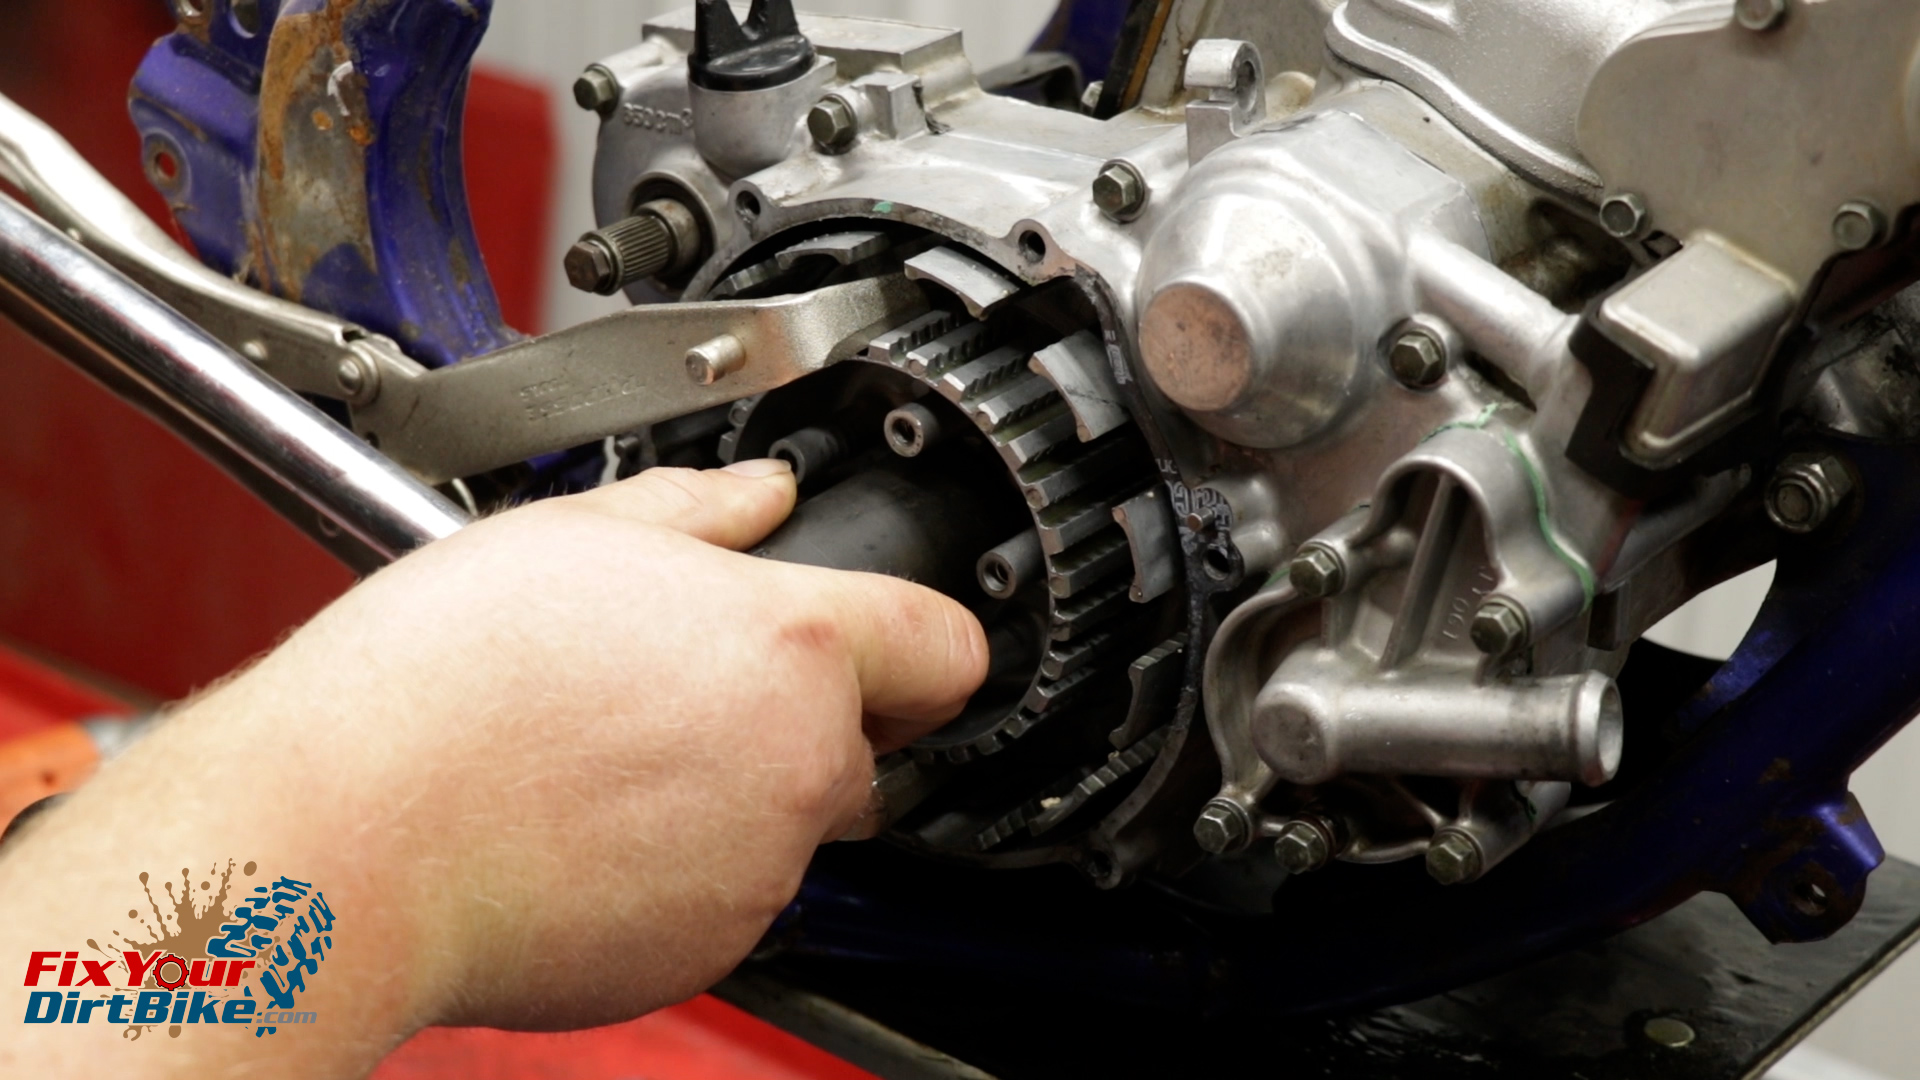
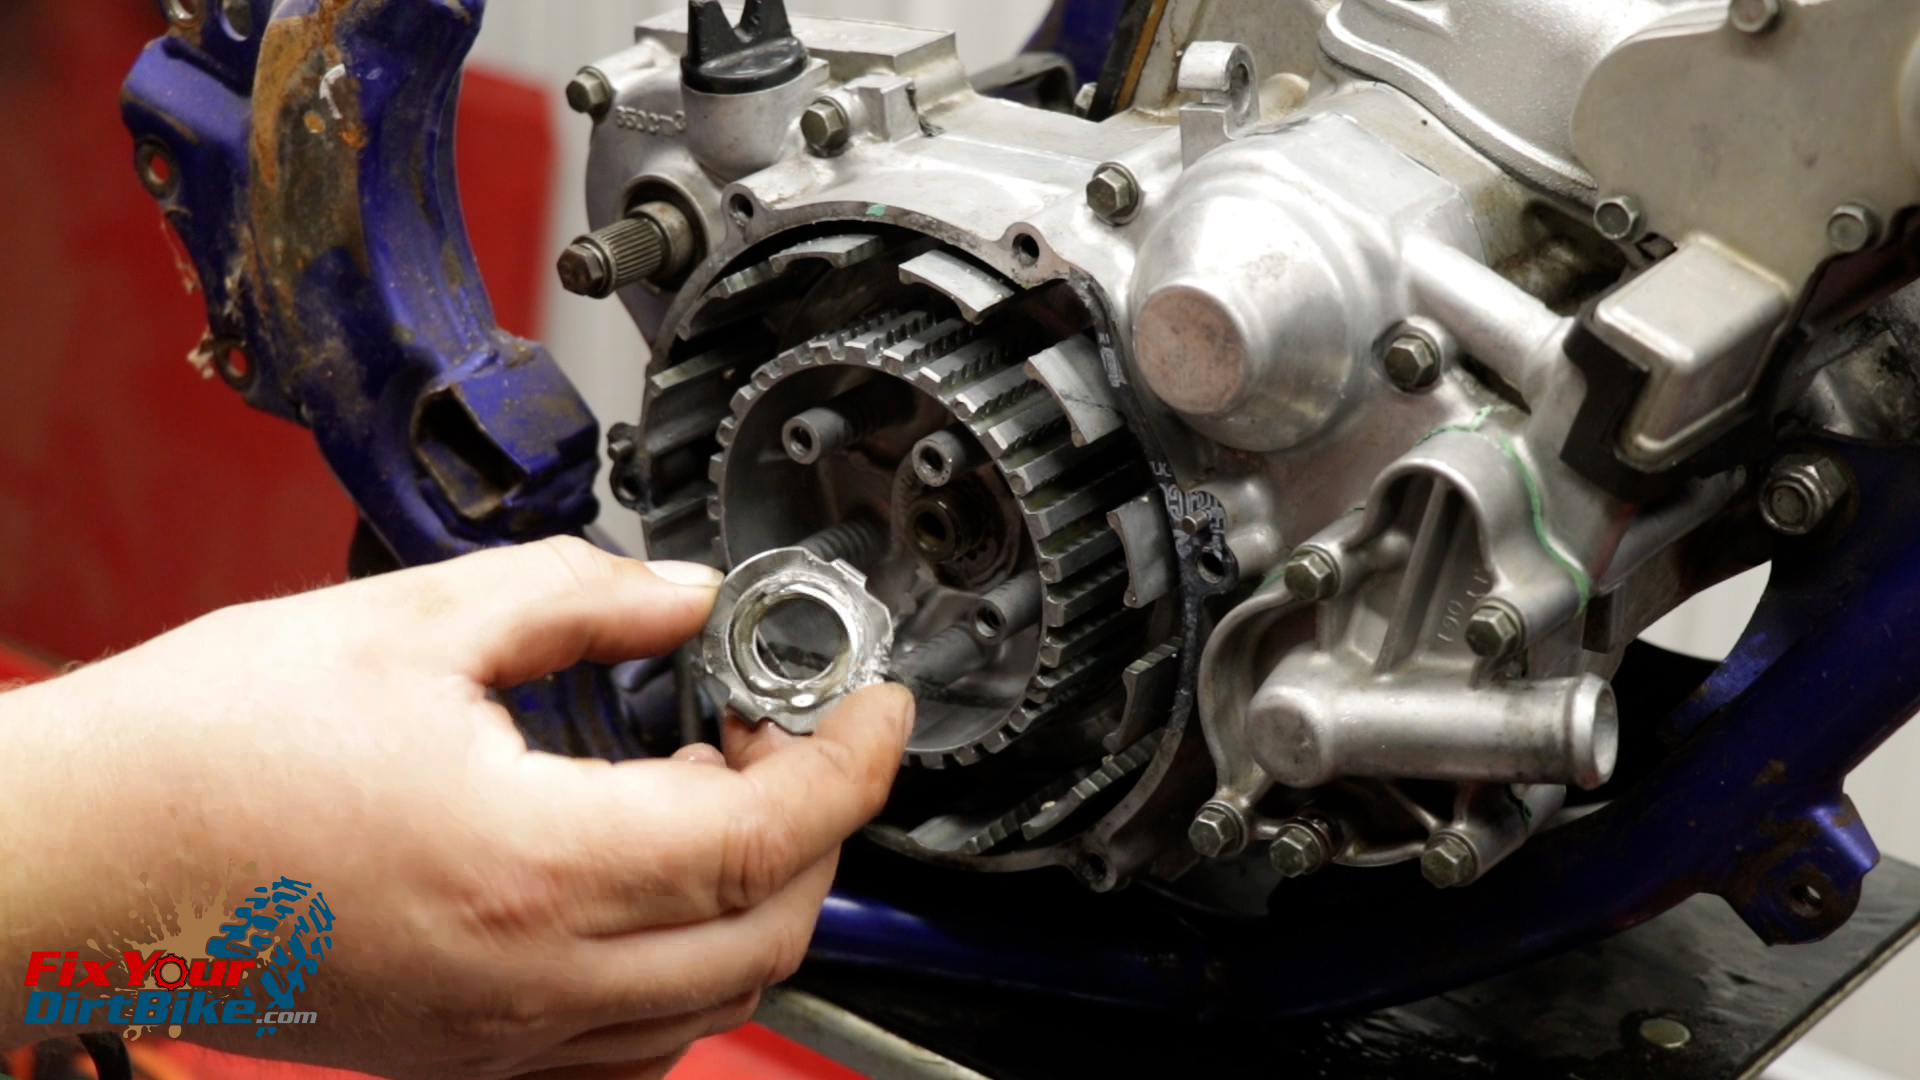
- Remove the clutch inner.
- Make sure you remove the washer that sits between the clutch inner and outer; it will usually stick to the back of the inner.
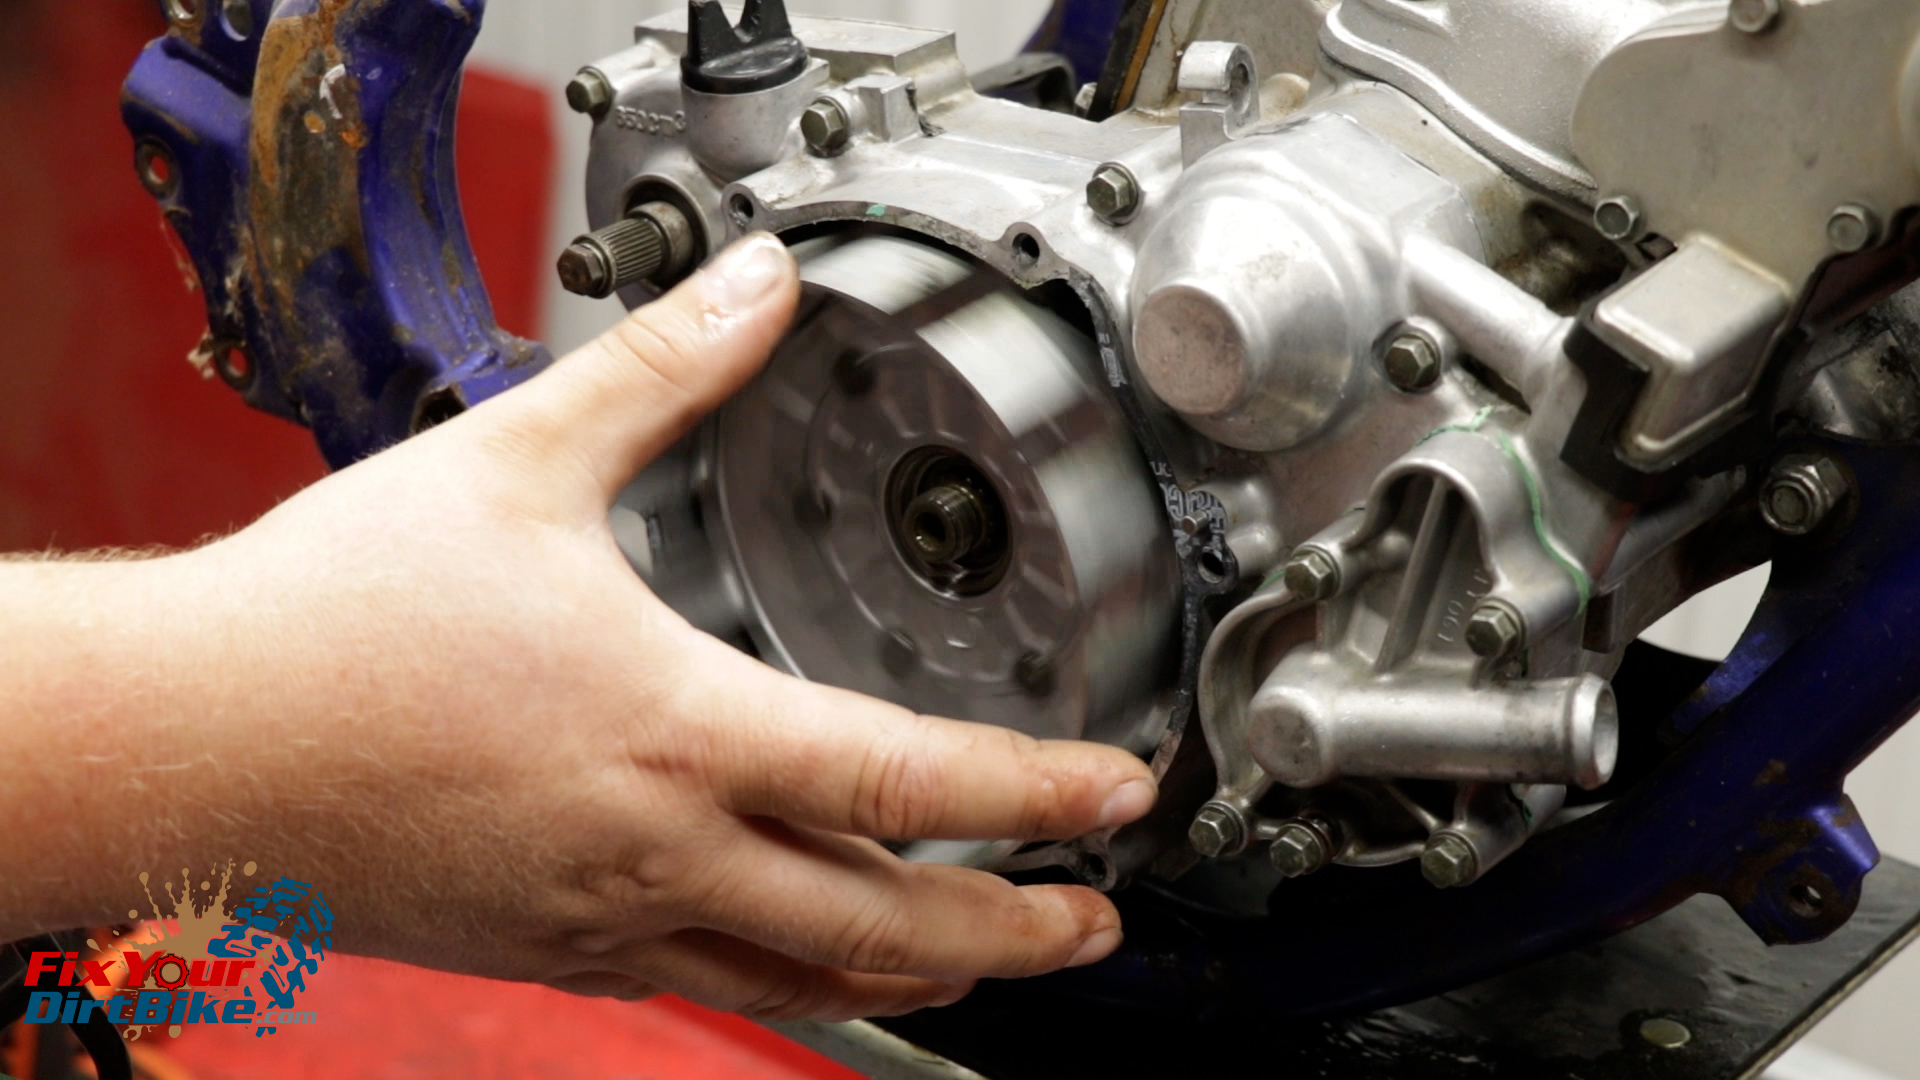
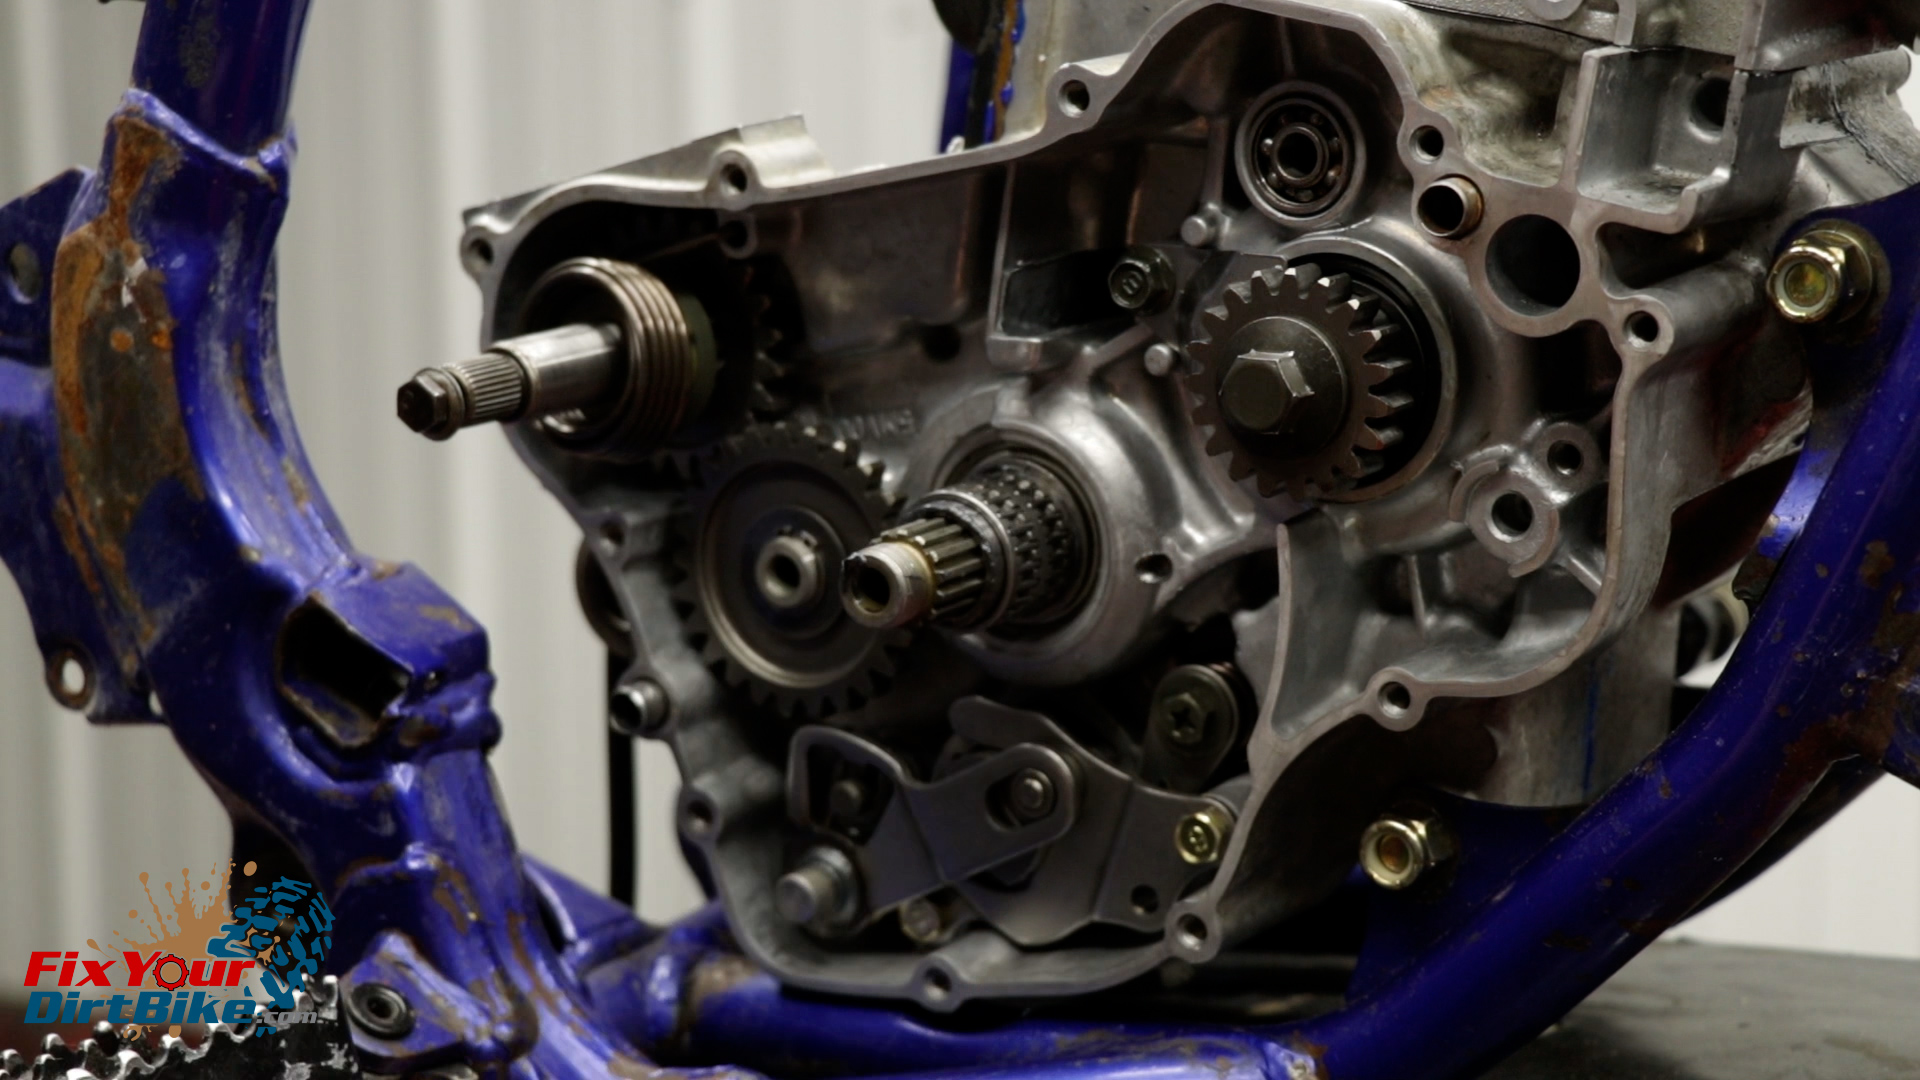
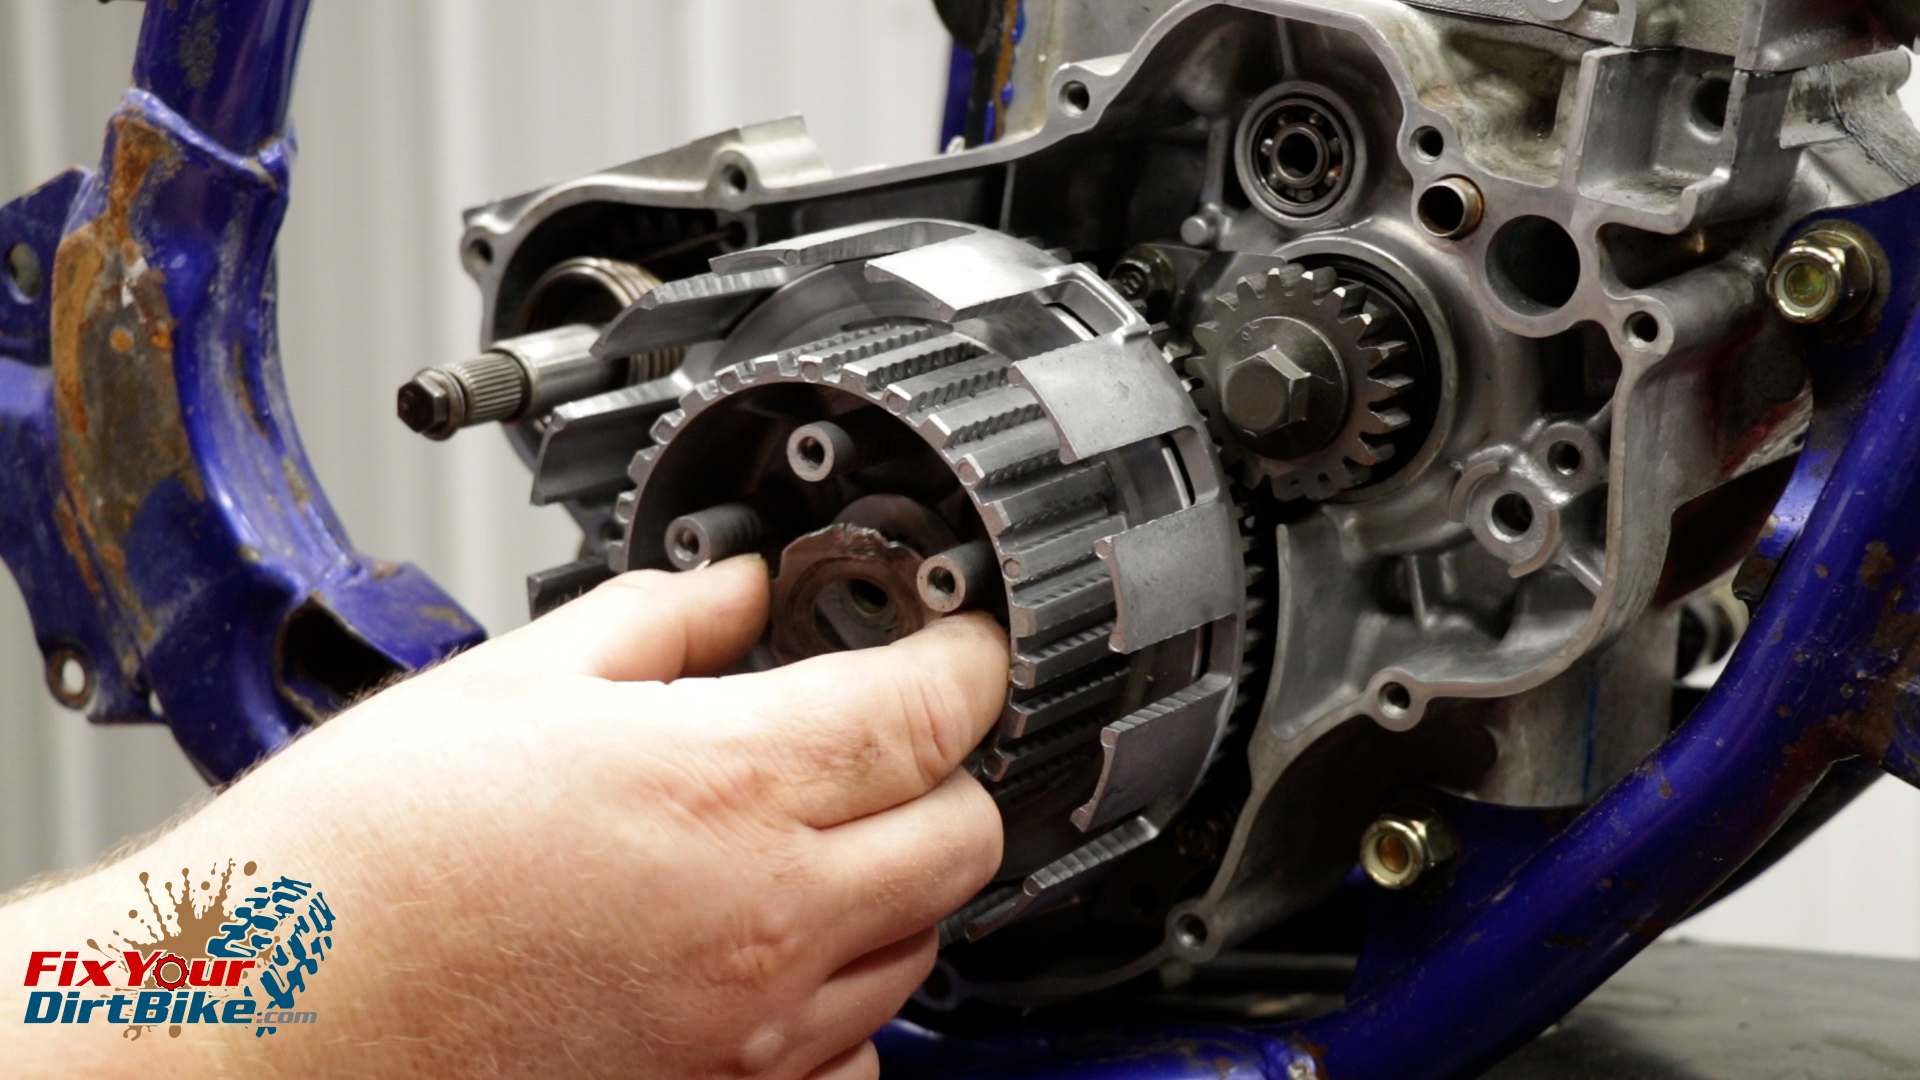
- Take this opportunity to check the clutch bearings by giving the clutch outer a good spin.
- If the spin has rough spots or catches, you will need new bearings.
- Remove the basket, bearings, collar, and washer.

Clean & Inspect
Your clutch takes a constant beating, and a thoroughly cleaned and inspected clutch can save you a lot of money, so don’t get lazy. You might find that the clutch pack is in good shape, or you could find a cracked clutch basket just waiting to break and destroy your engine.
If any component is damaged, worn out, or out of spec, you will need to replace it.
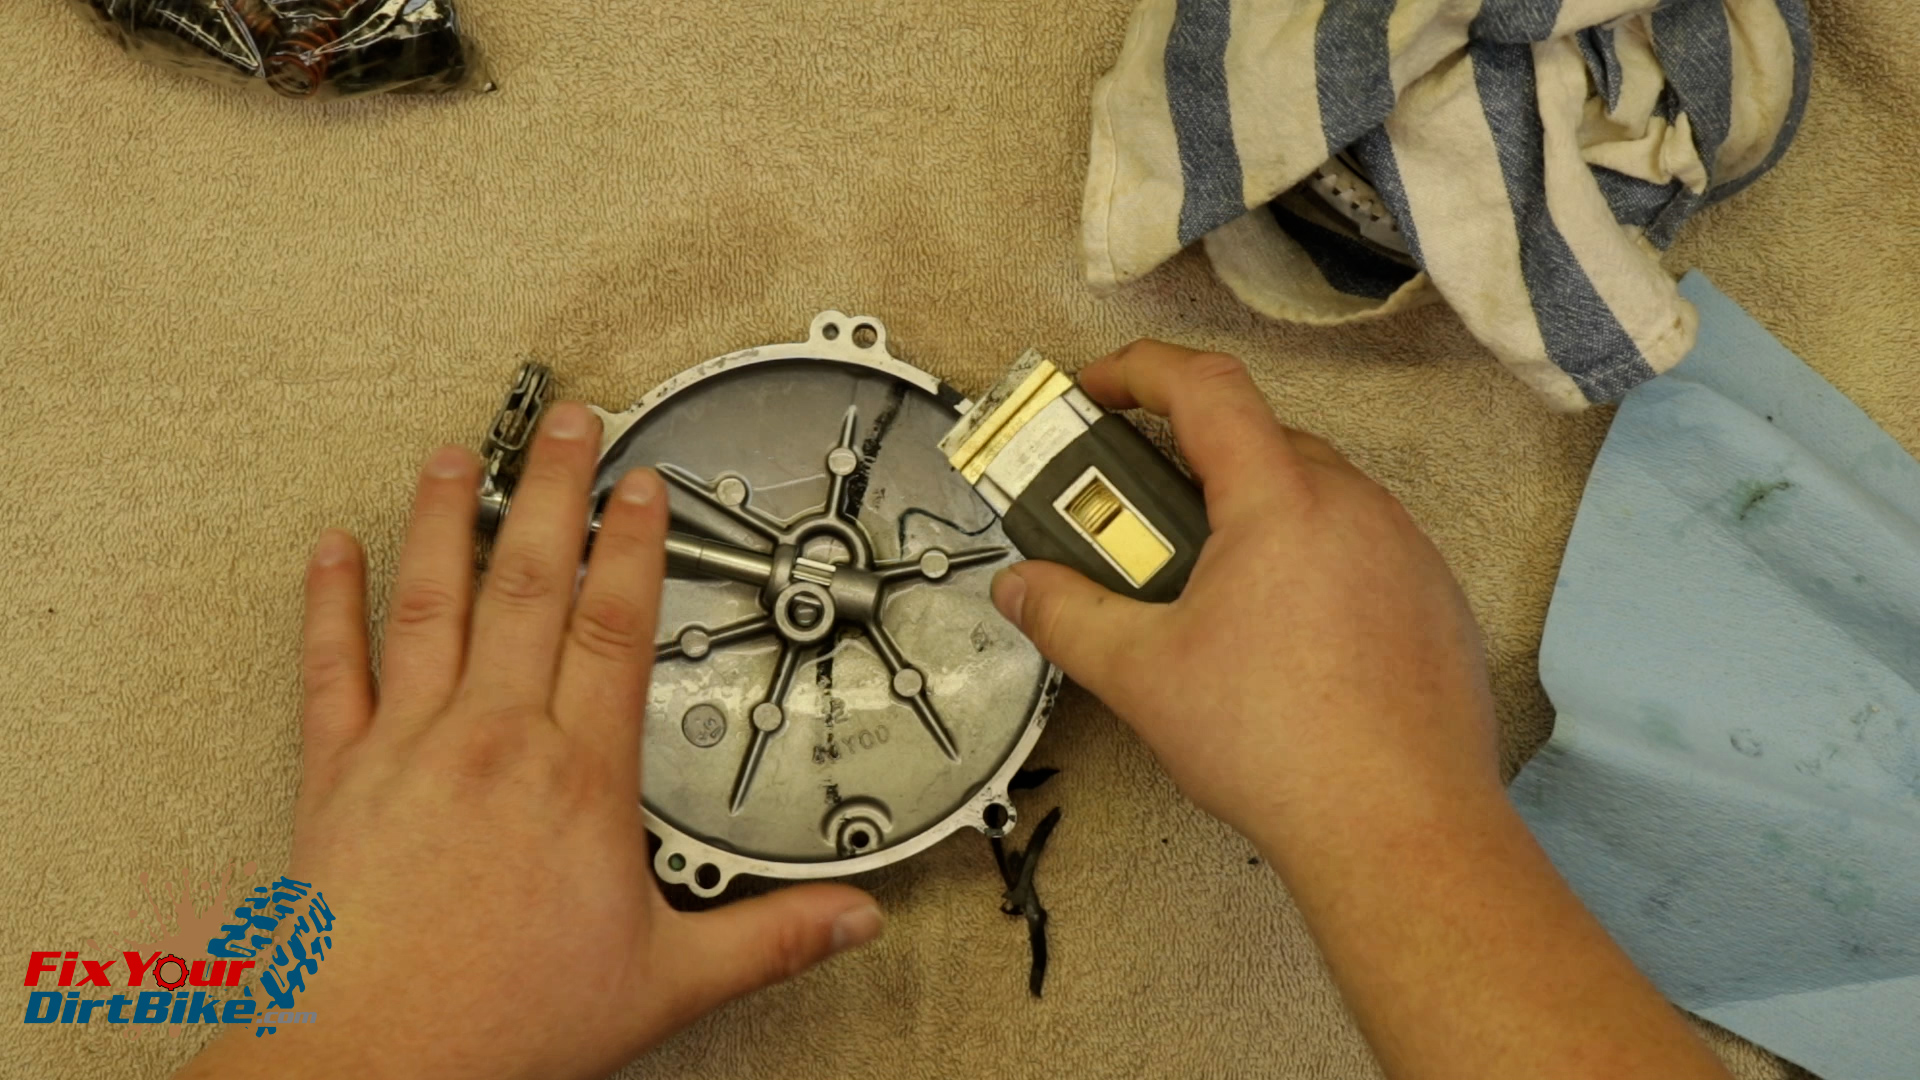
Clutch Release
- You do not need to disassemble the clutch release mechanism for inspection.
- Inspect the clutch release shaft gears for rounding, cracks, and chips.
- Mesh the shaft and push piece and make sure the action is smooth.
- The shaft seal should have no cracks or breaks.
- The pivot spring should have plenty of tension.
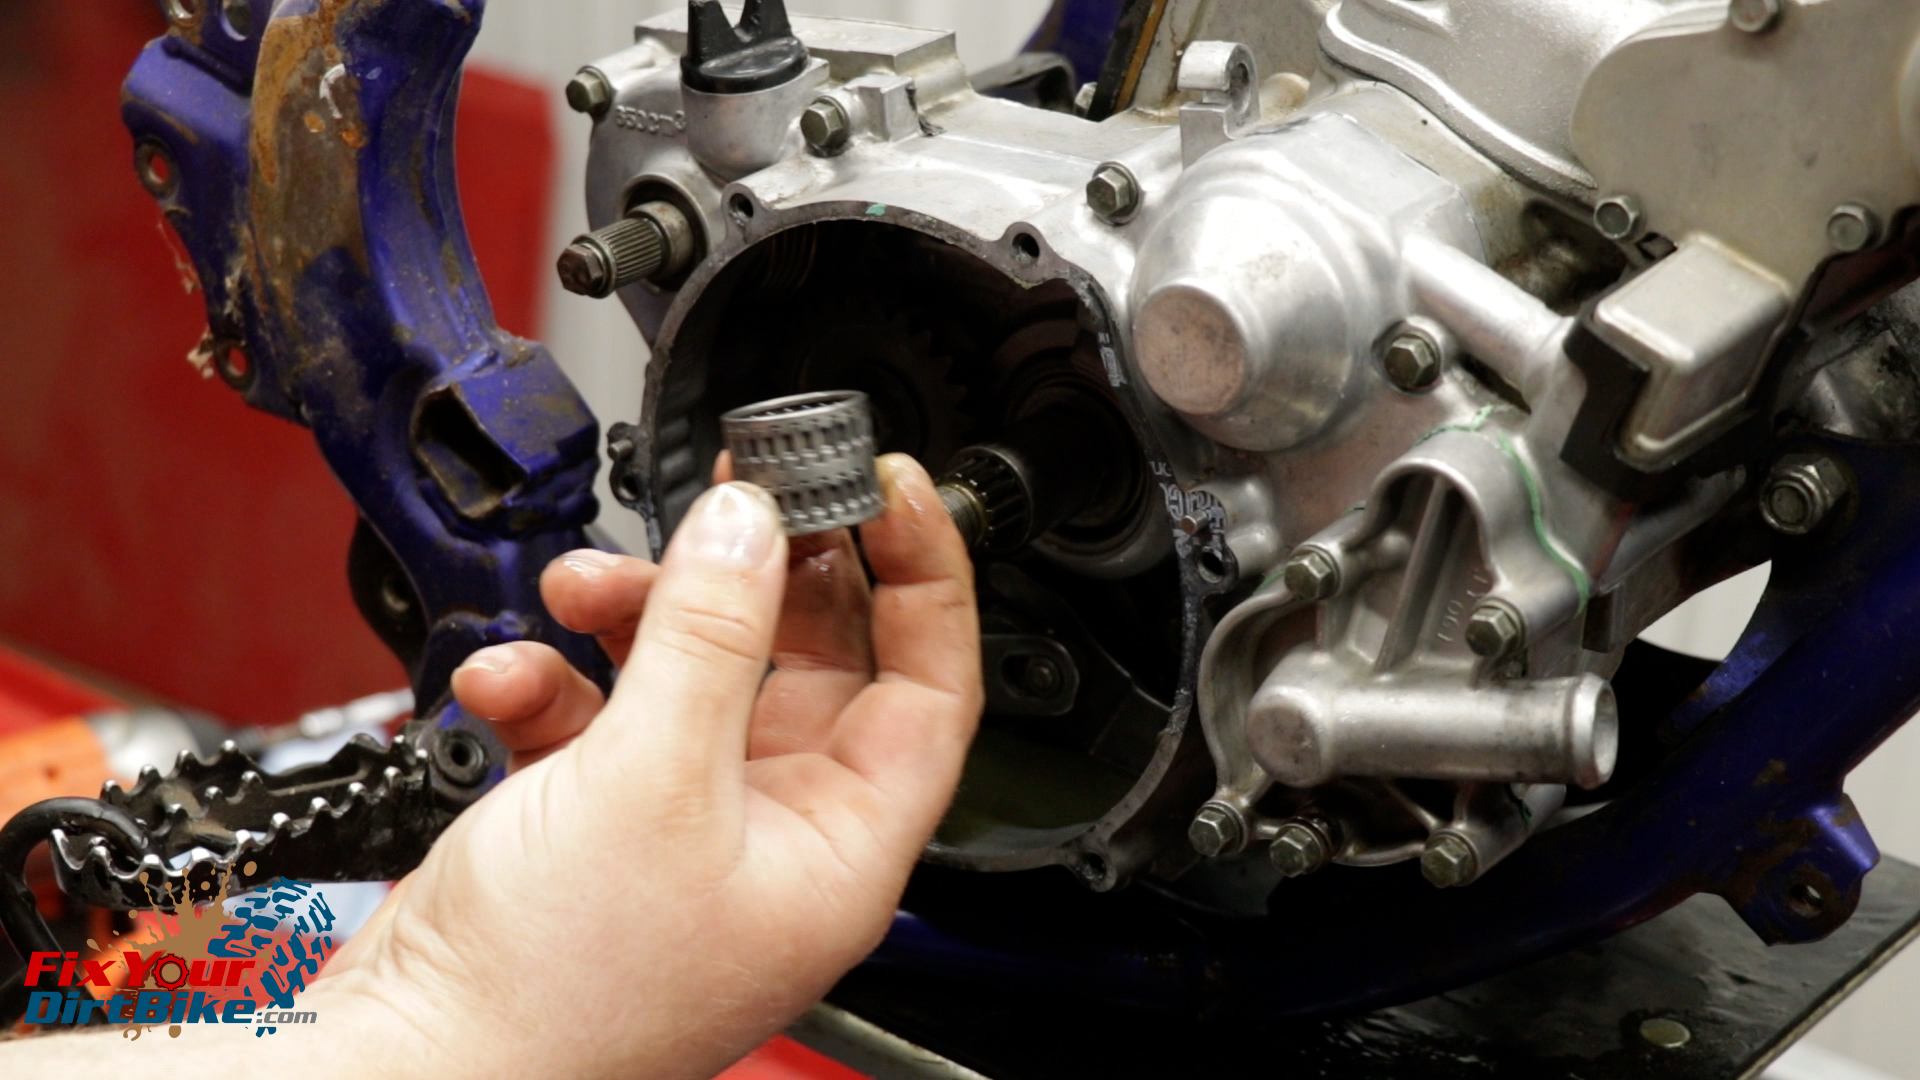
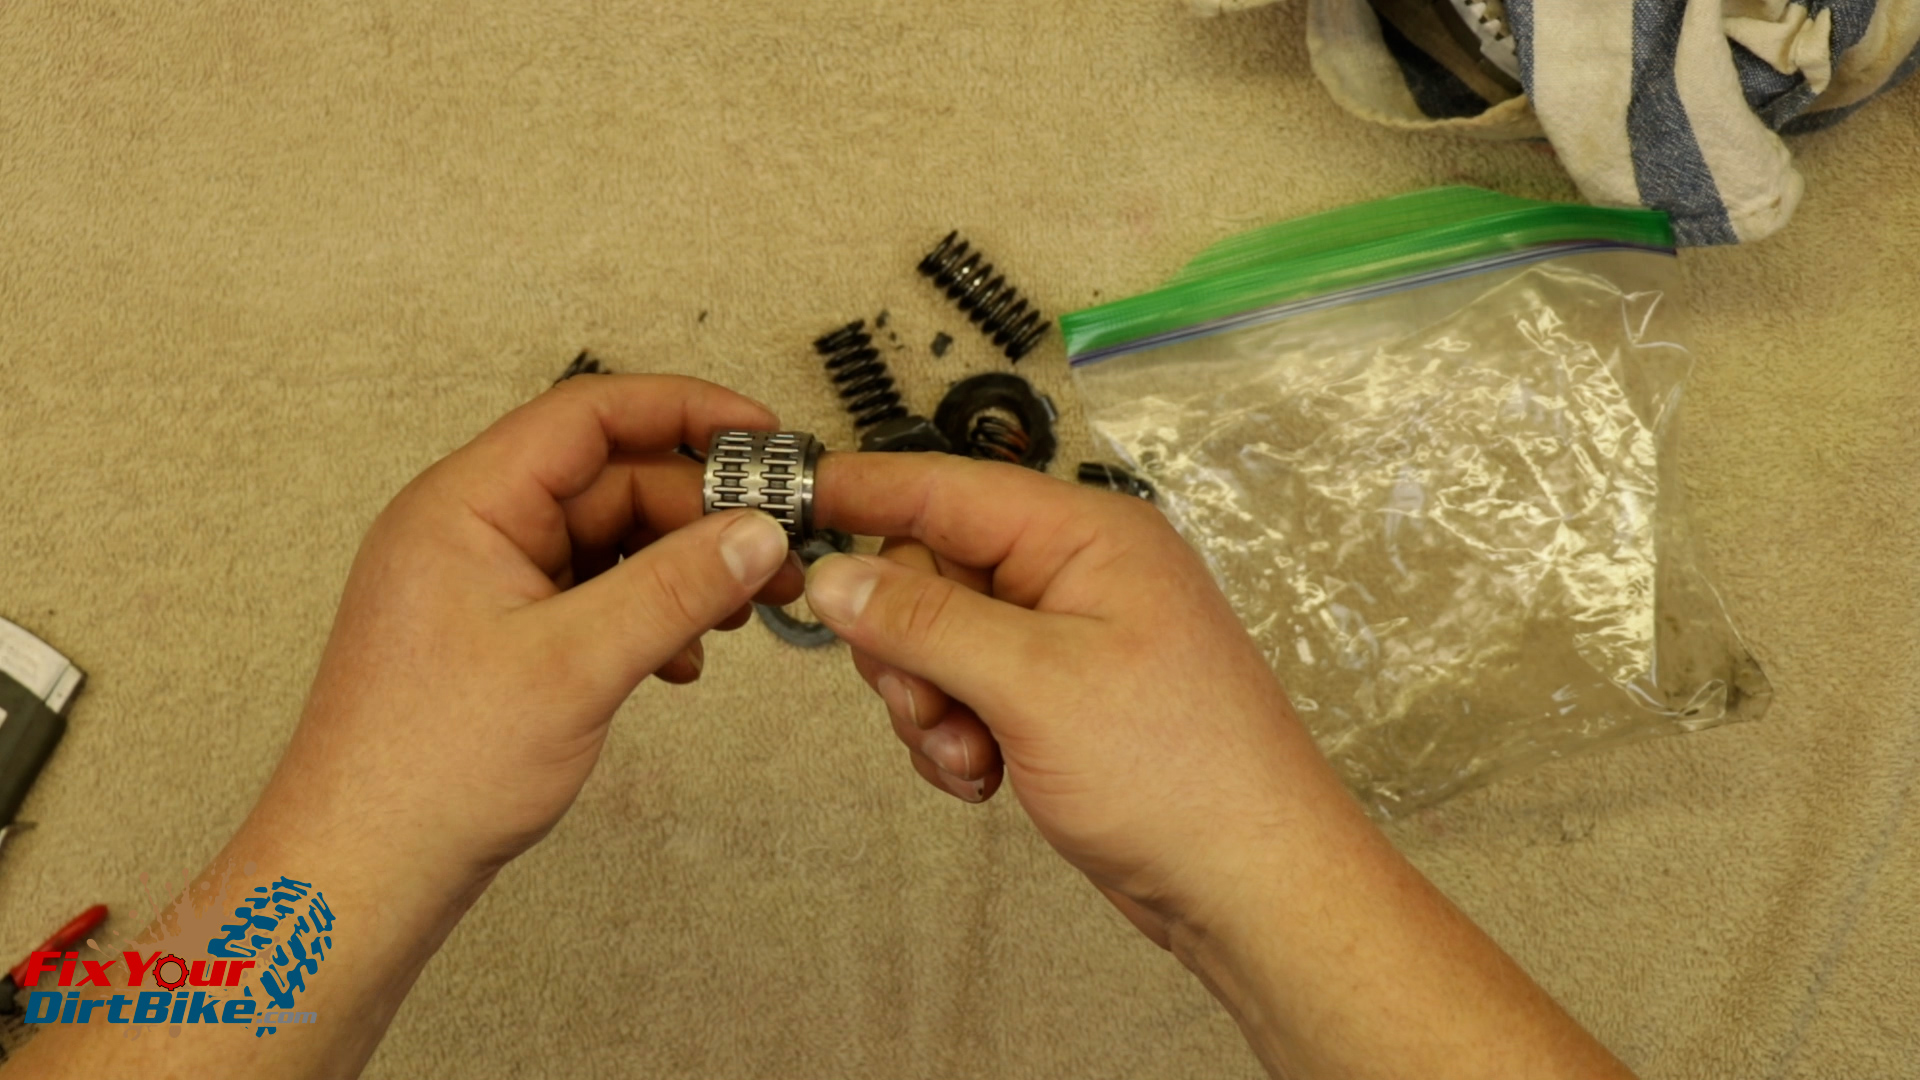
Bearings
If your clutch basket spun free on the shaft, your bearings and collar are ok, but give them a good cleaning and check for damage anyway.
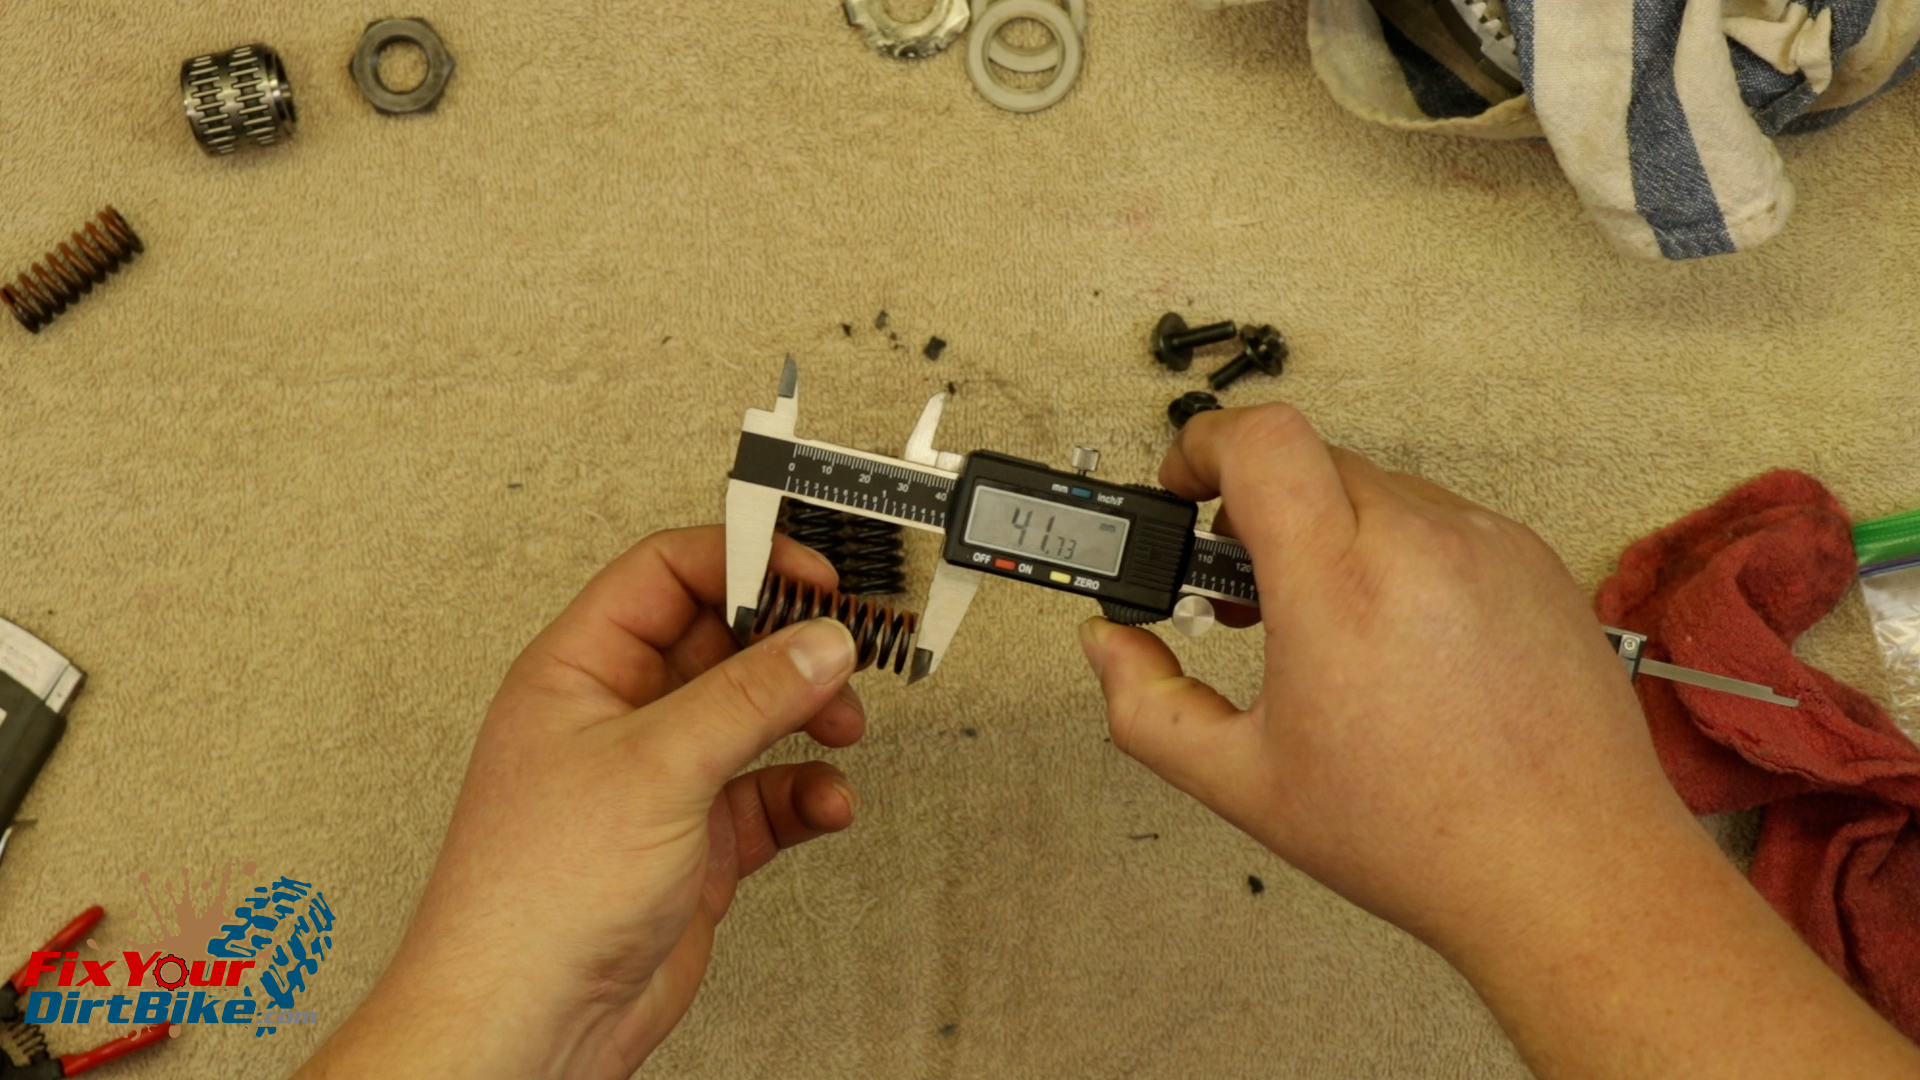
Springs
- Inspect the springs for bends or breaks.
- Measure the free length of each pressure plate spring.
- The springs should measure no LESS than 38.1mm.
- Inspect the spring bolts for stripped threads and rounded heads.
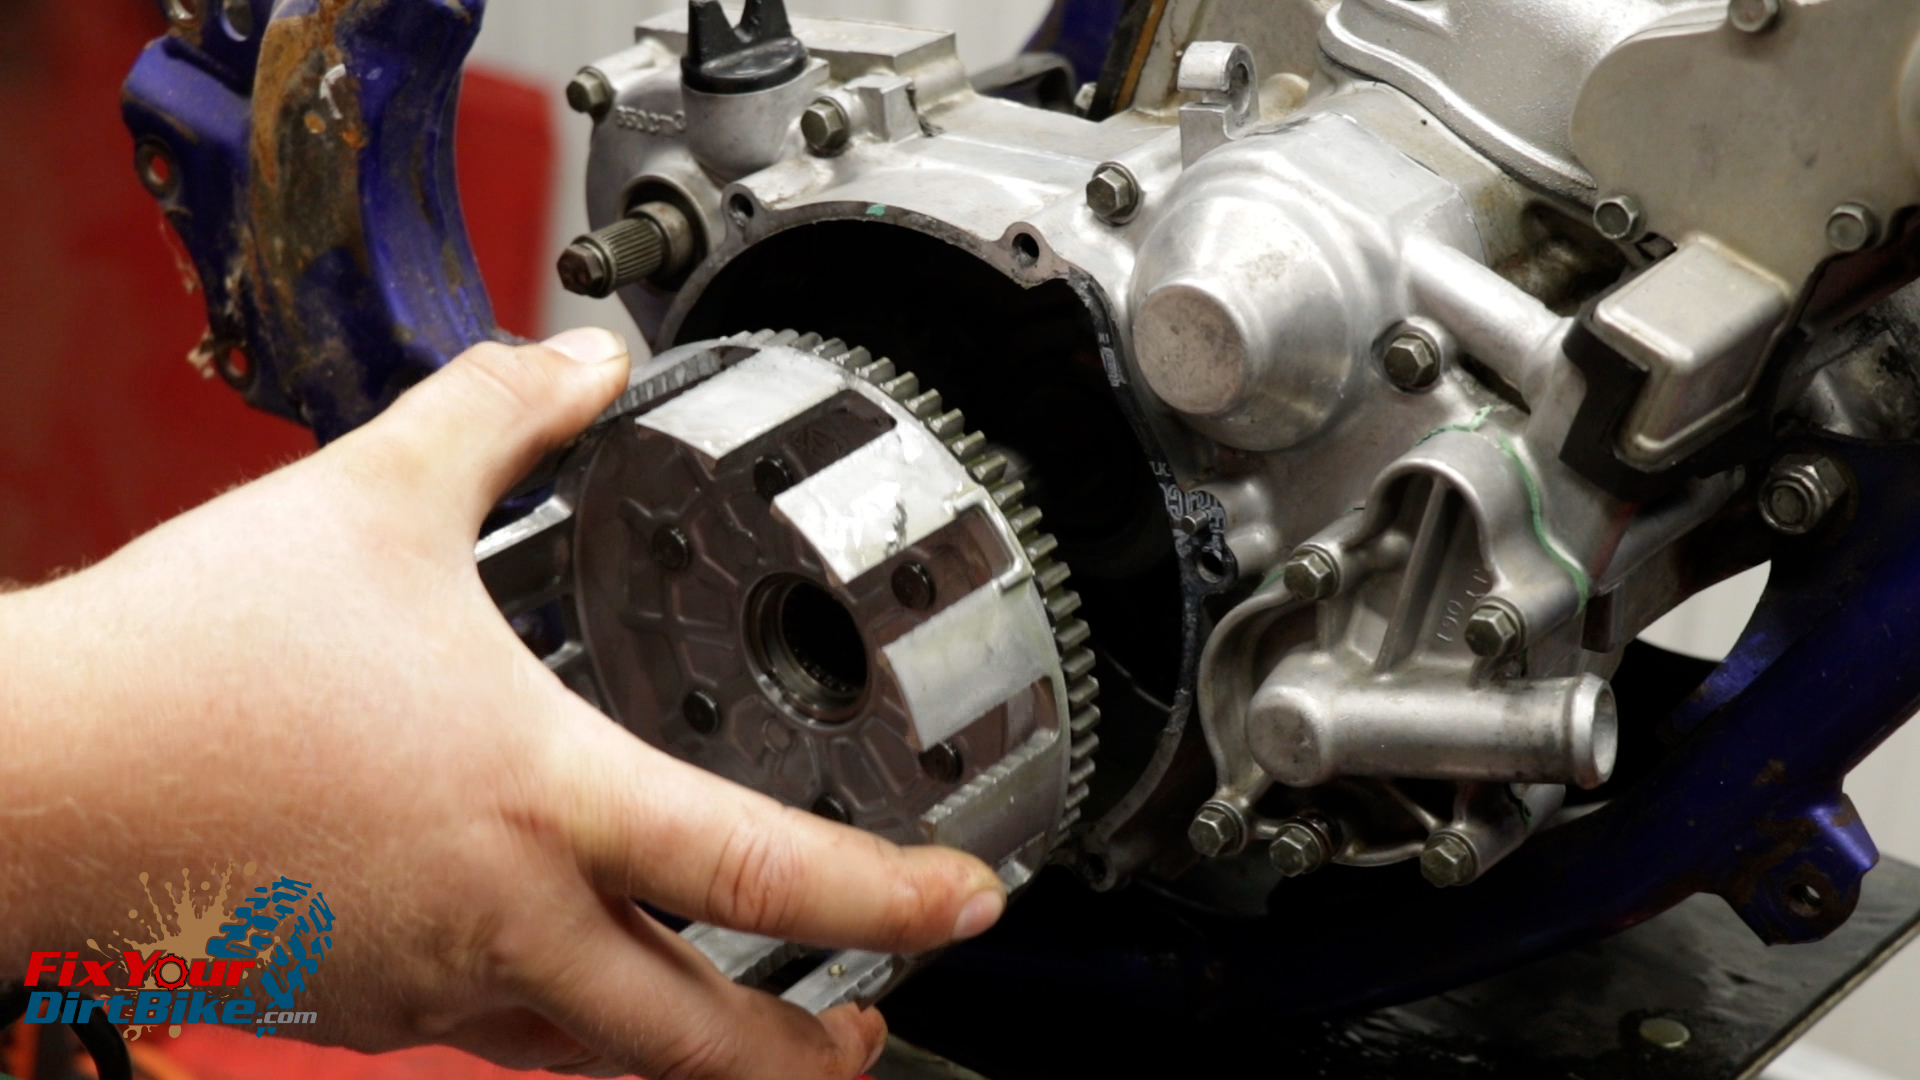
Clutch Outer
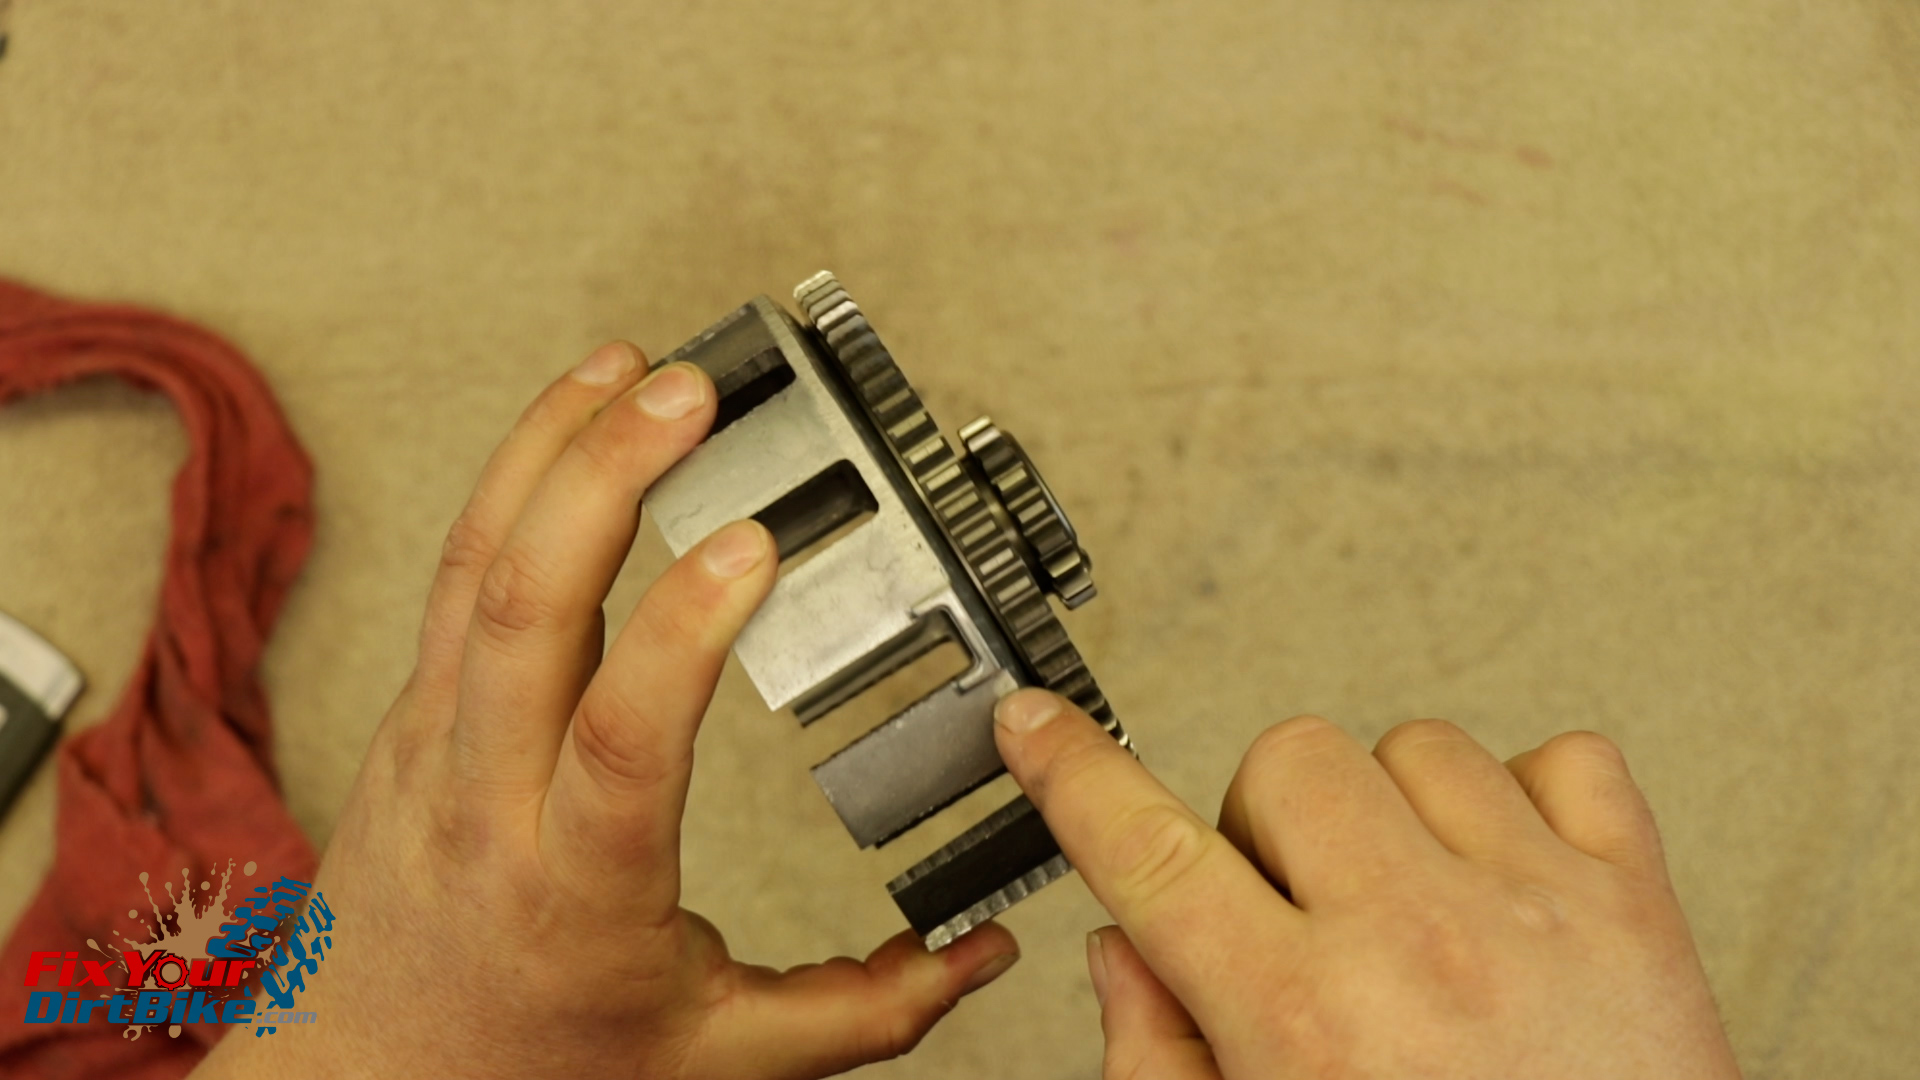
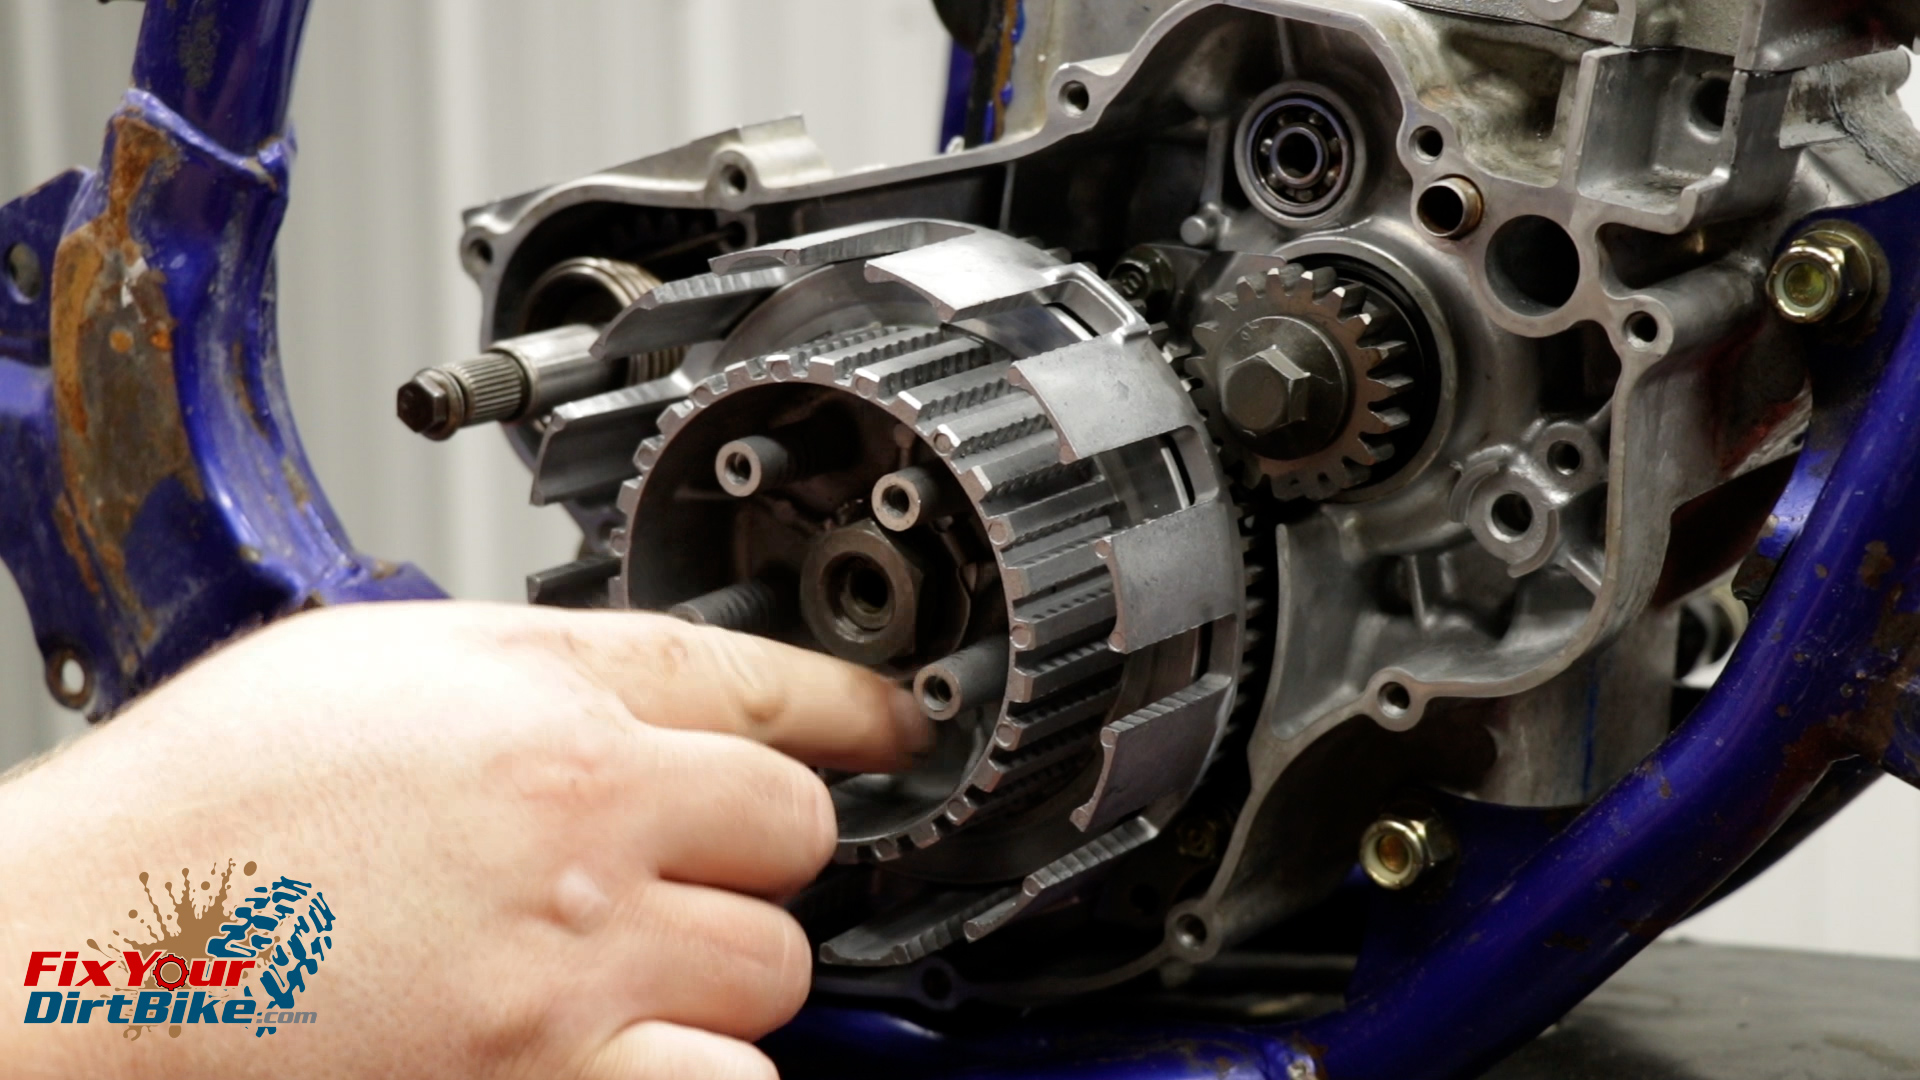
- Inspect the clutch basket for cracking and excessive grooving on the fingers.
- My basket is fairly grooved, but it should last until my next inspection.
- If your clutch basket is badly grooved, you can put off buying a new one buy grinding the fingers smooth, but that is a temporary fix.
- Casting marks and hairline cracks look almost identical, so lightly sand down any marks to be sure.
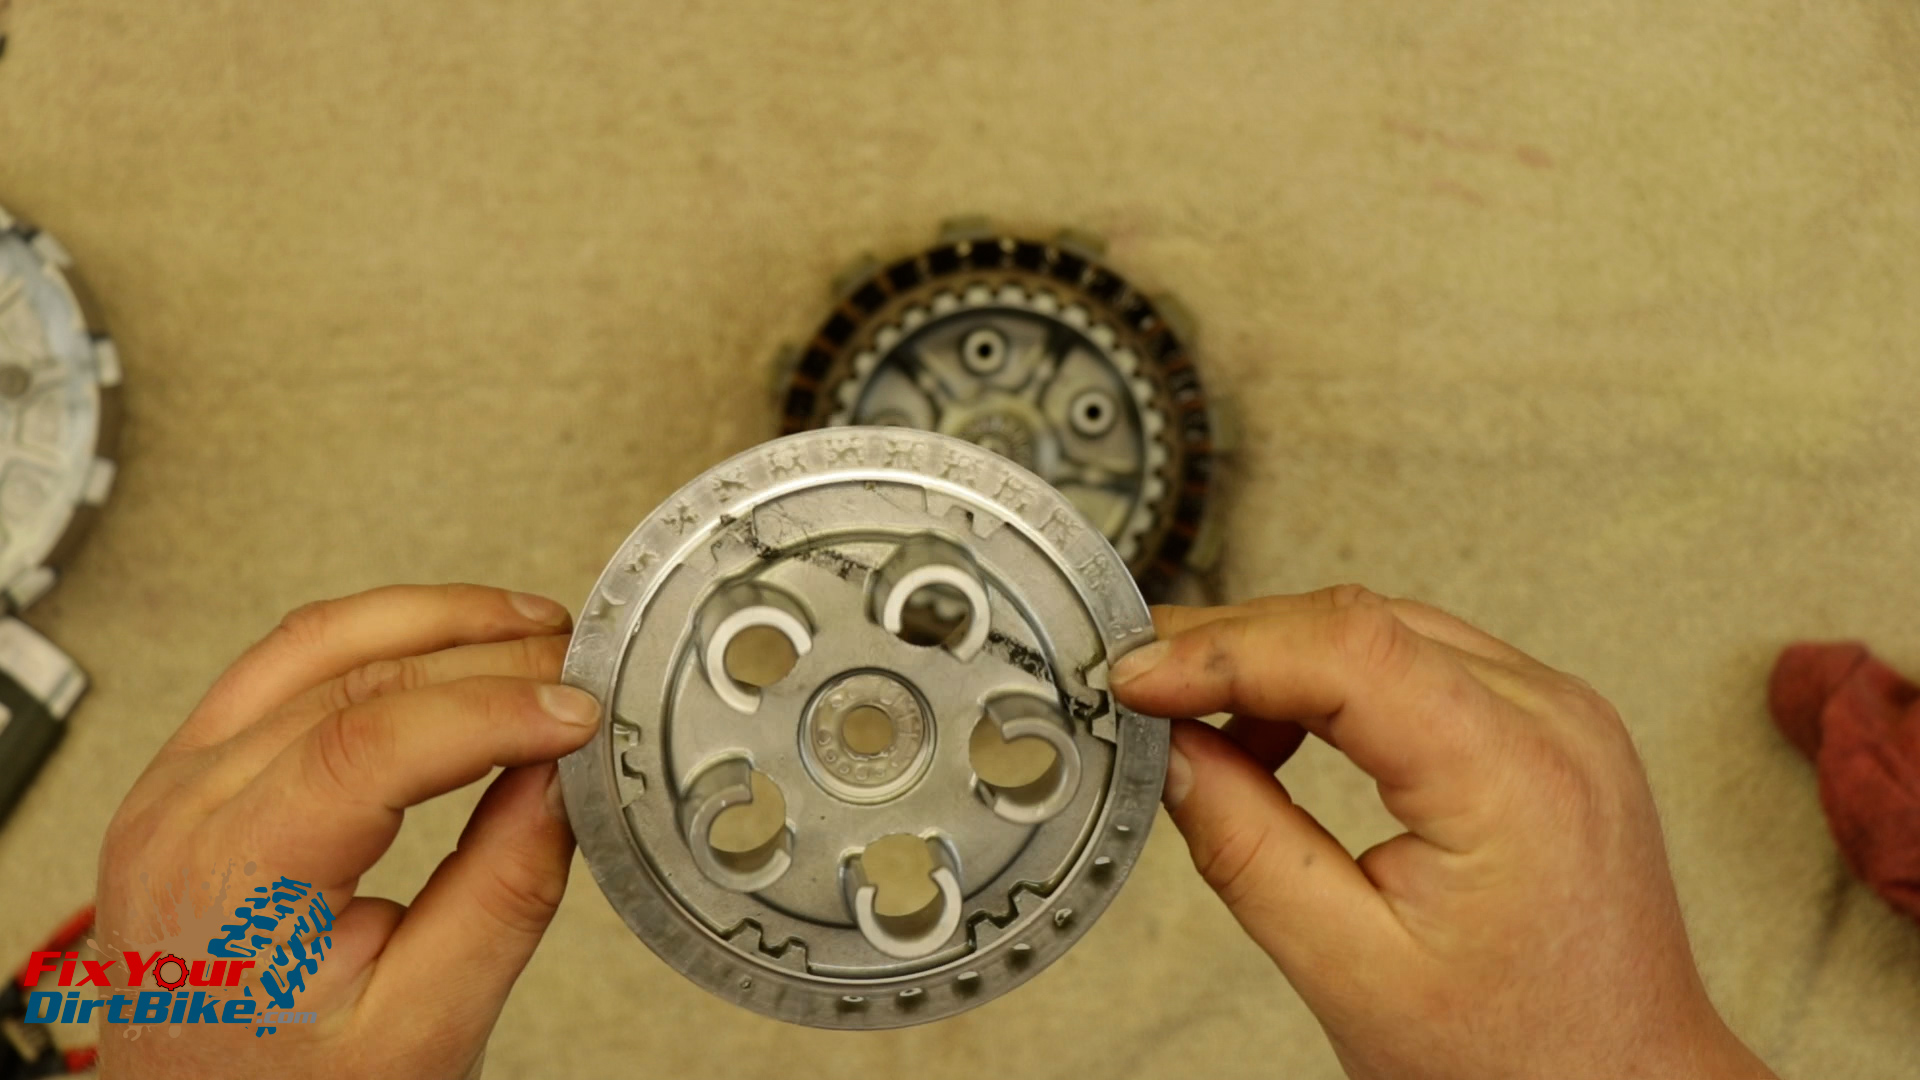
 Pressure Plate
Your pressure plate is under constant stress, even when your bike is off, so take extra time cleaning and inspecting.
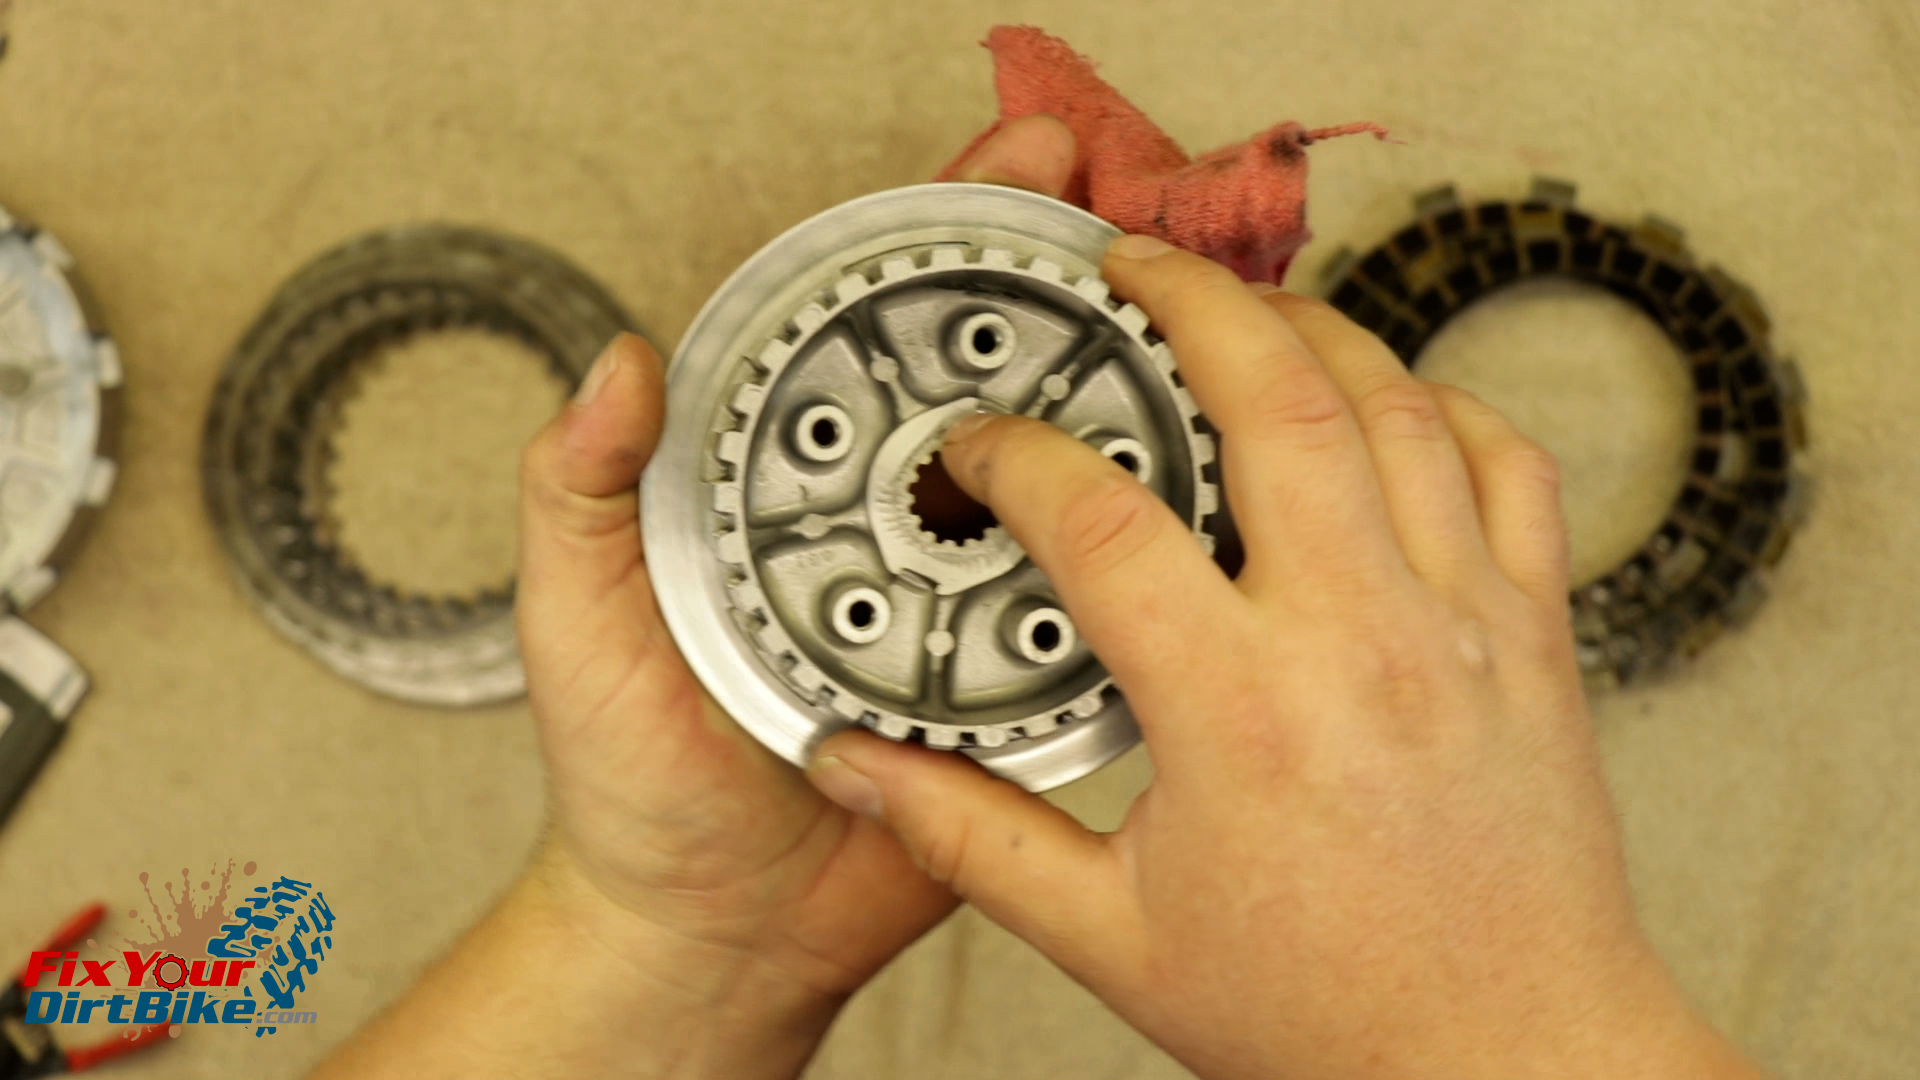
 Clutch Inner
- Inspect the spring standoffs for bending or cracking, and inspect the body for excessive grooving.
- As with the clutch outer, you can grind down the grooves, but again, that is a temporary fix.
- My clutch inner will need to be replaced on the next service.
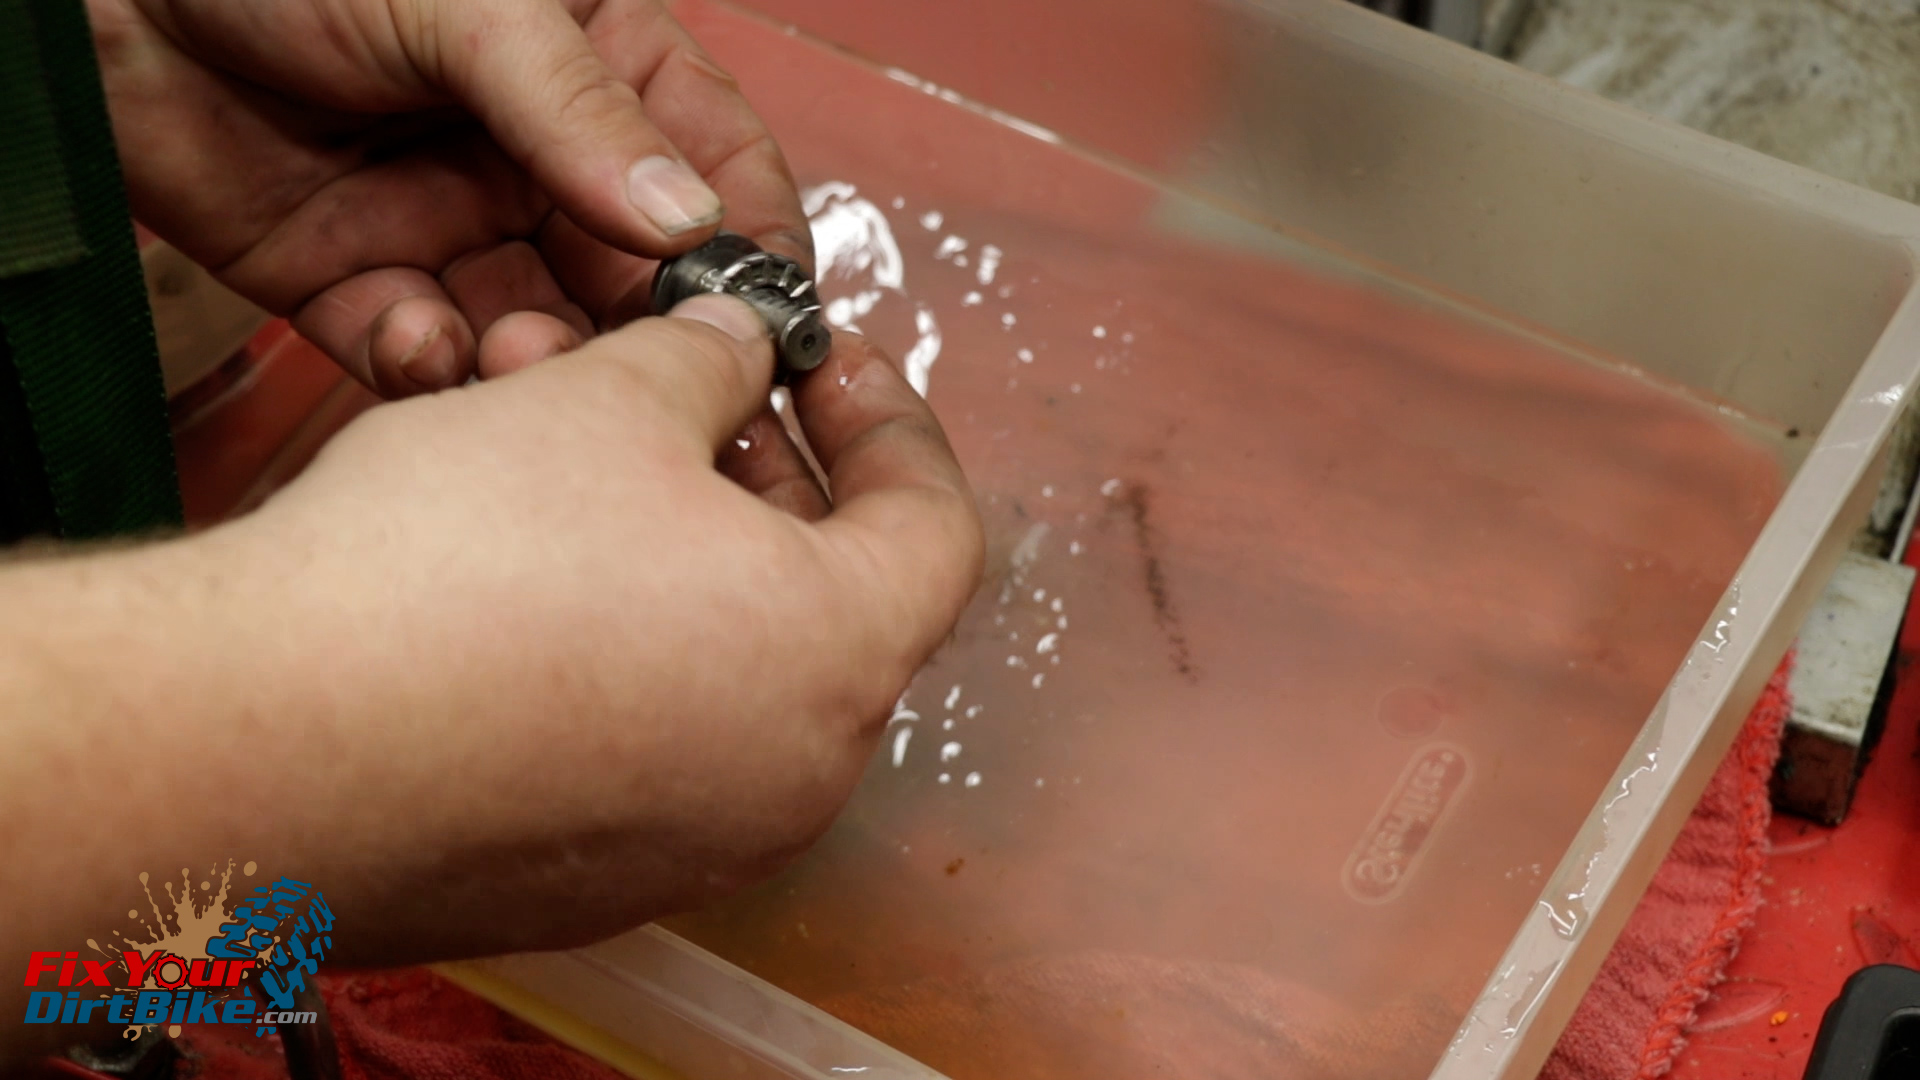
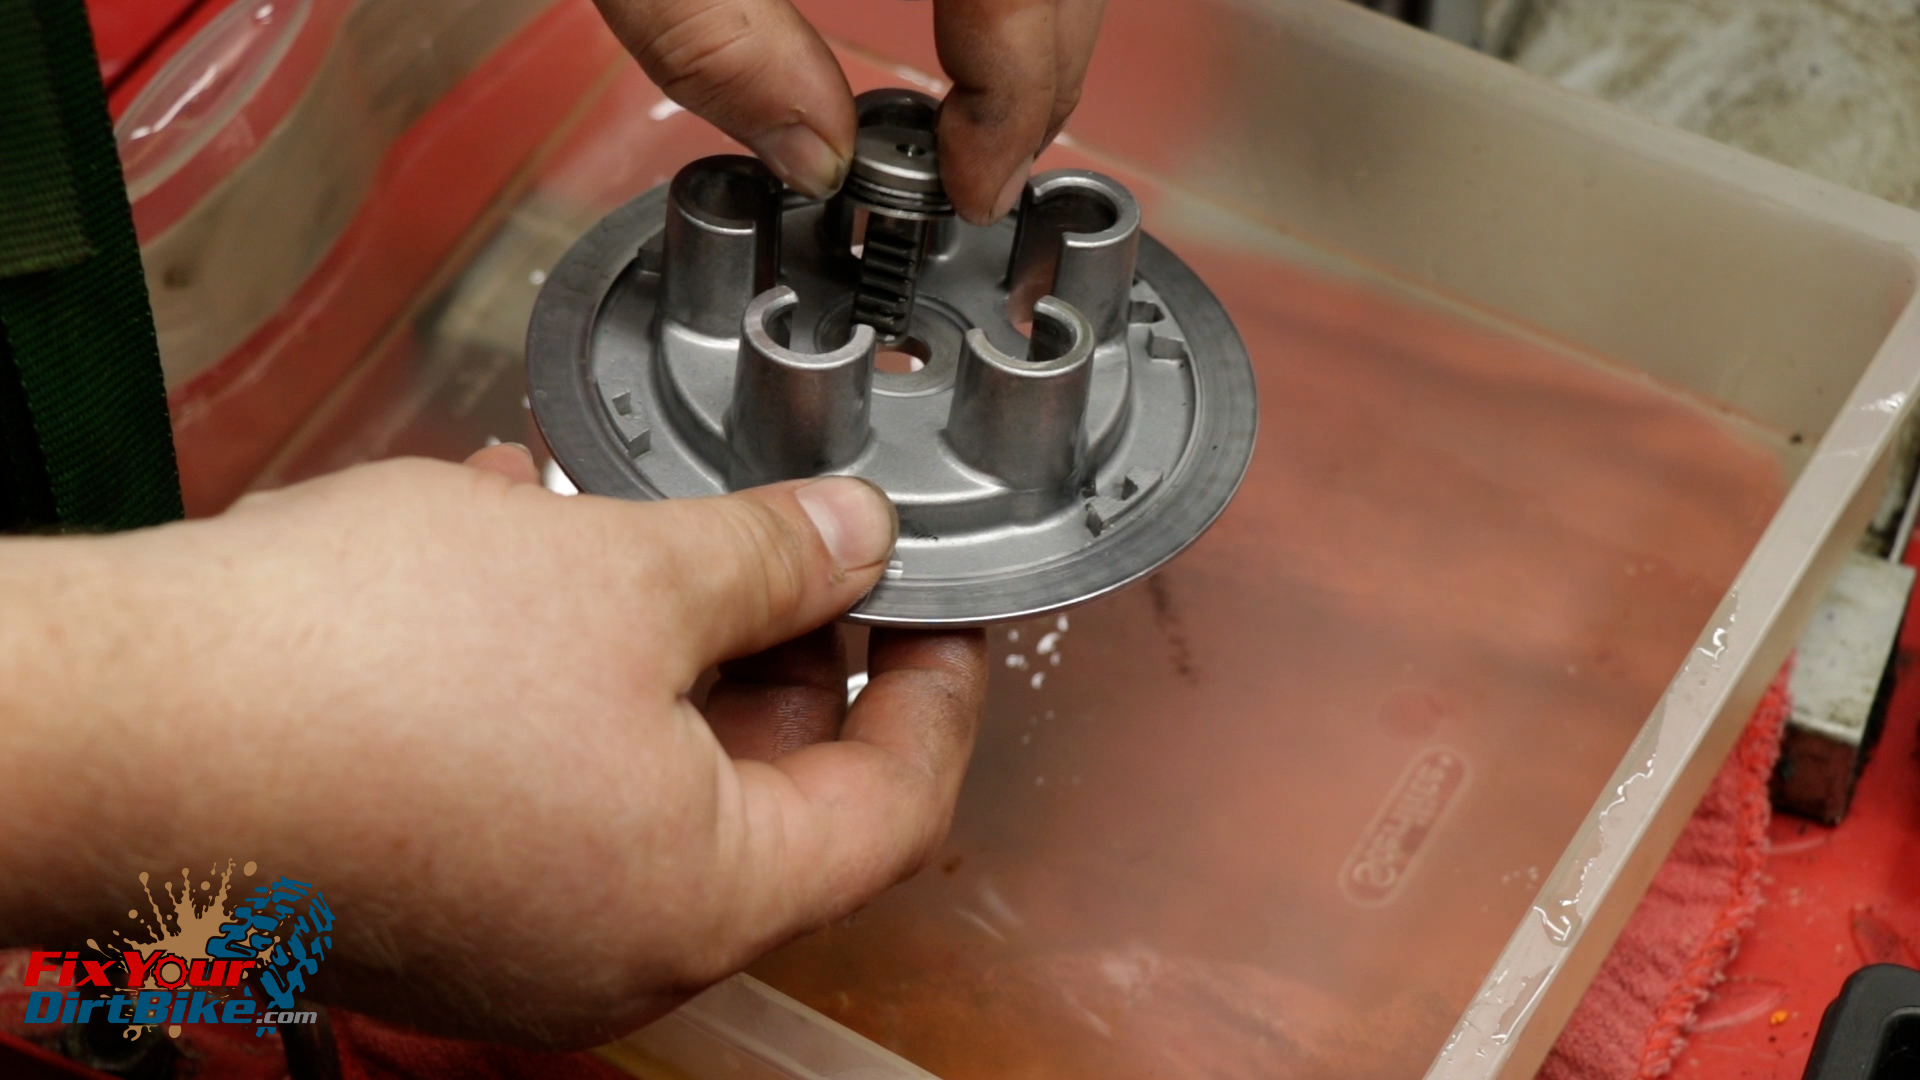
Push Piece
- Inspect the push piece teeth for rounding cracking and chipping.
- Inspect the thrust bearing for smooth operation, and check the two washers for warpage.
 Clutch Pack
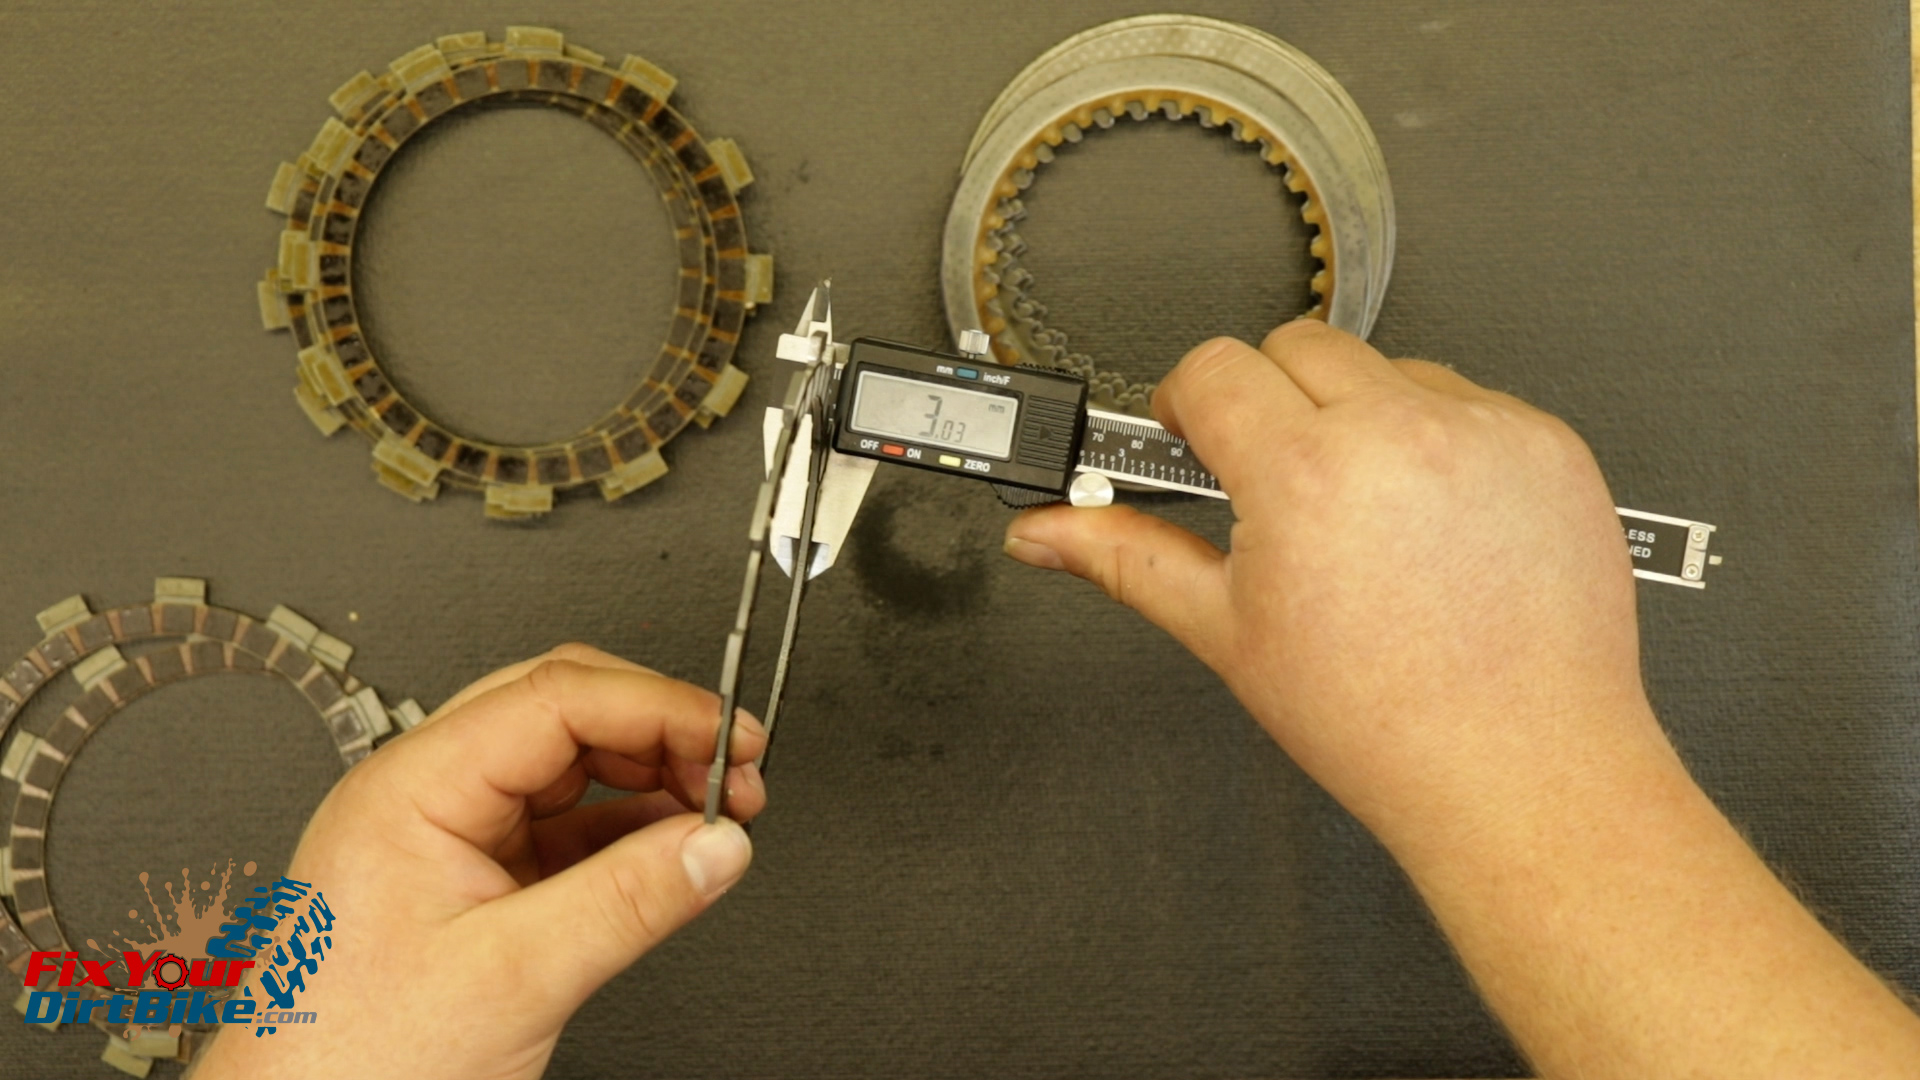
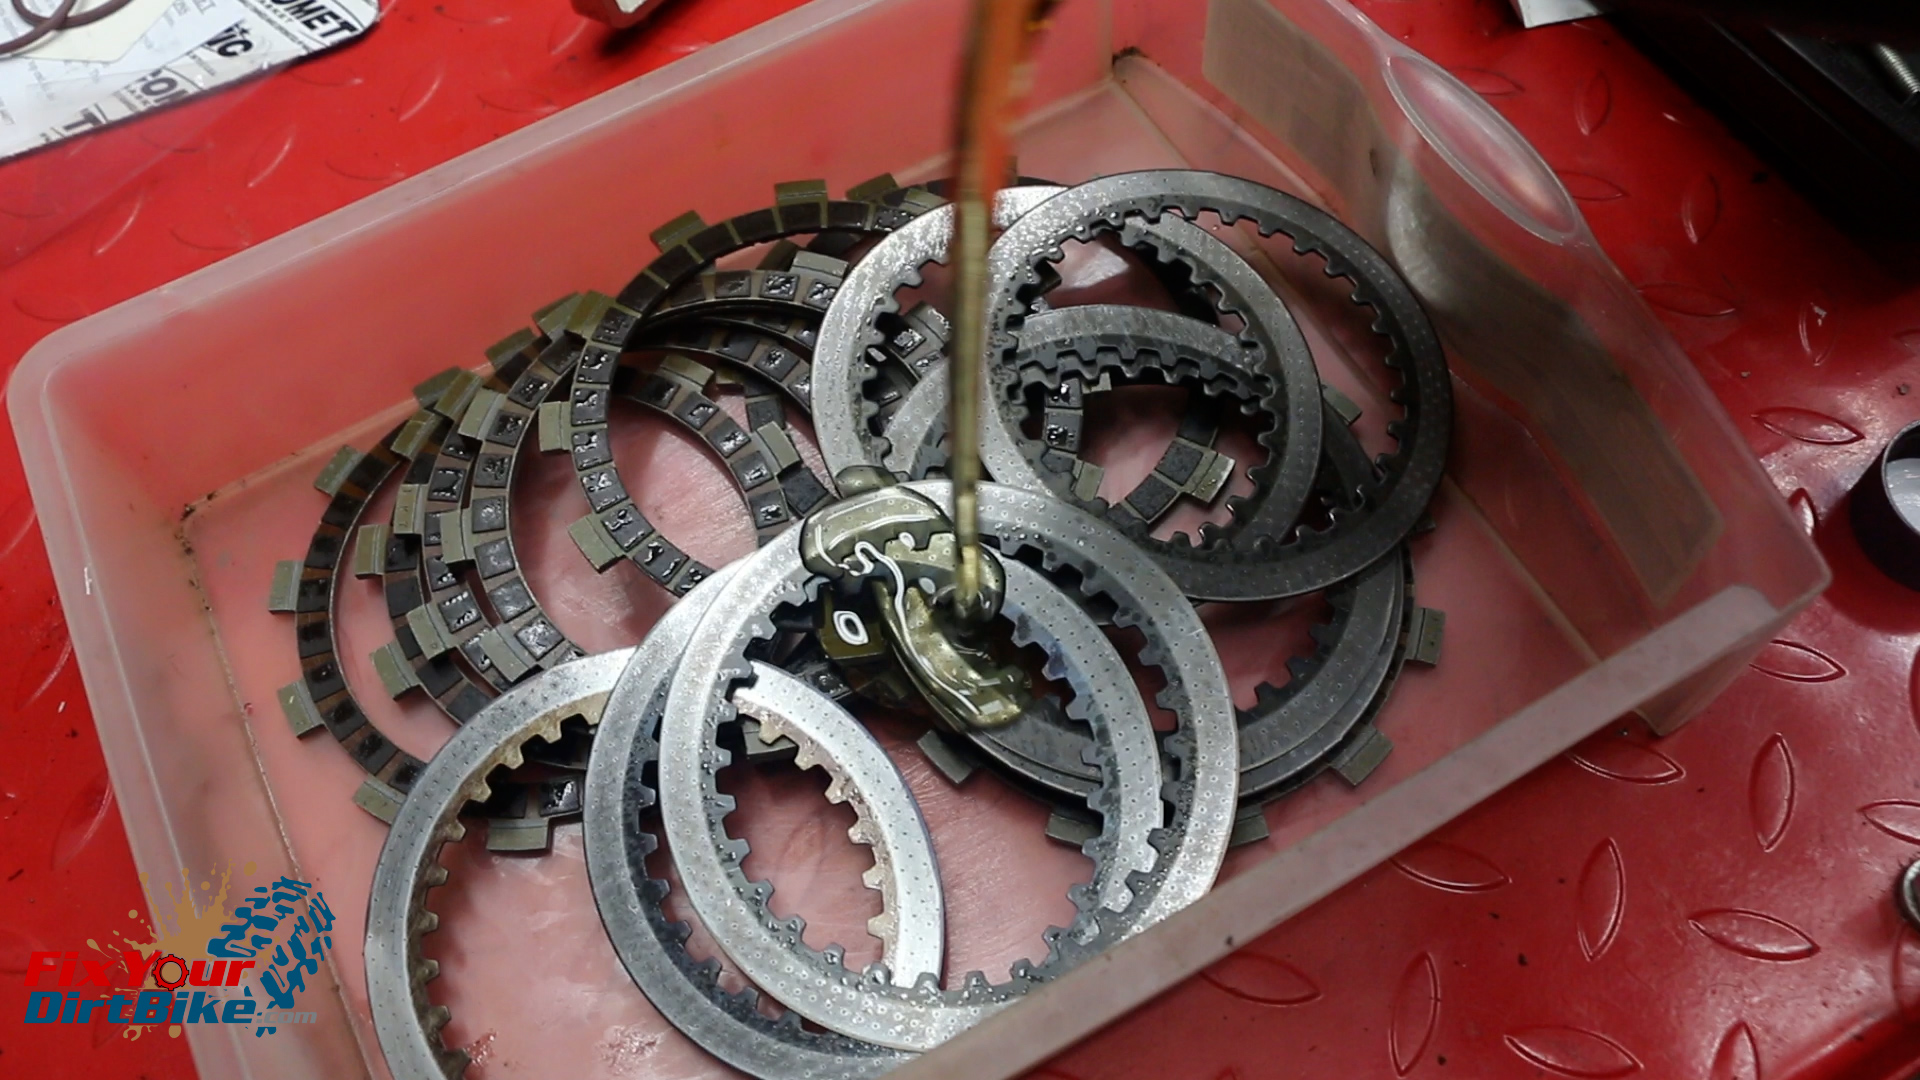
- My frictions discs and clutch plates look almost brand new, so I’m going to clean then see if they are in spec.
- If they are, I just saved $60.
- Measure the friction and clutch discs, then check the clutch discs for the warpage.
- The friction discs should measure no less than 2.7mm.
- The clutch discs should measure no less than 1.2mm.
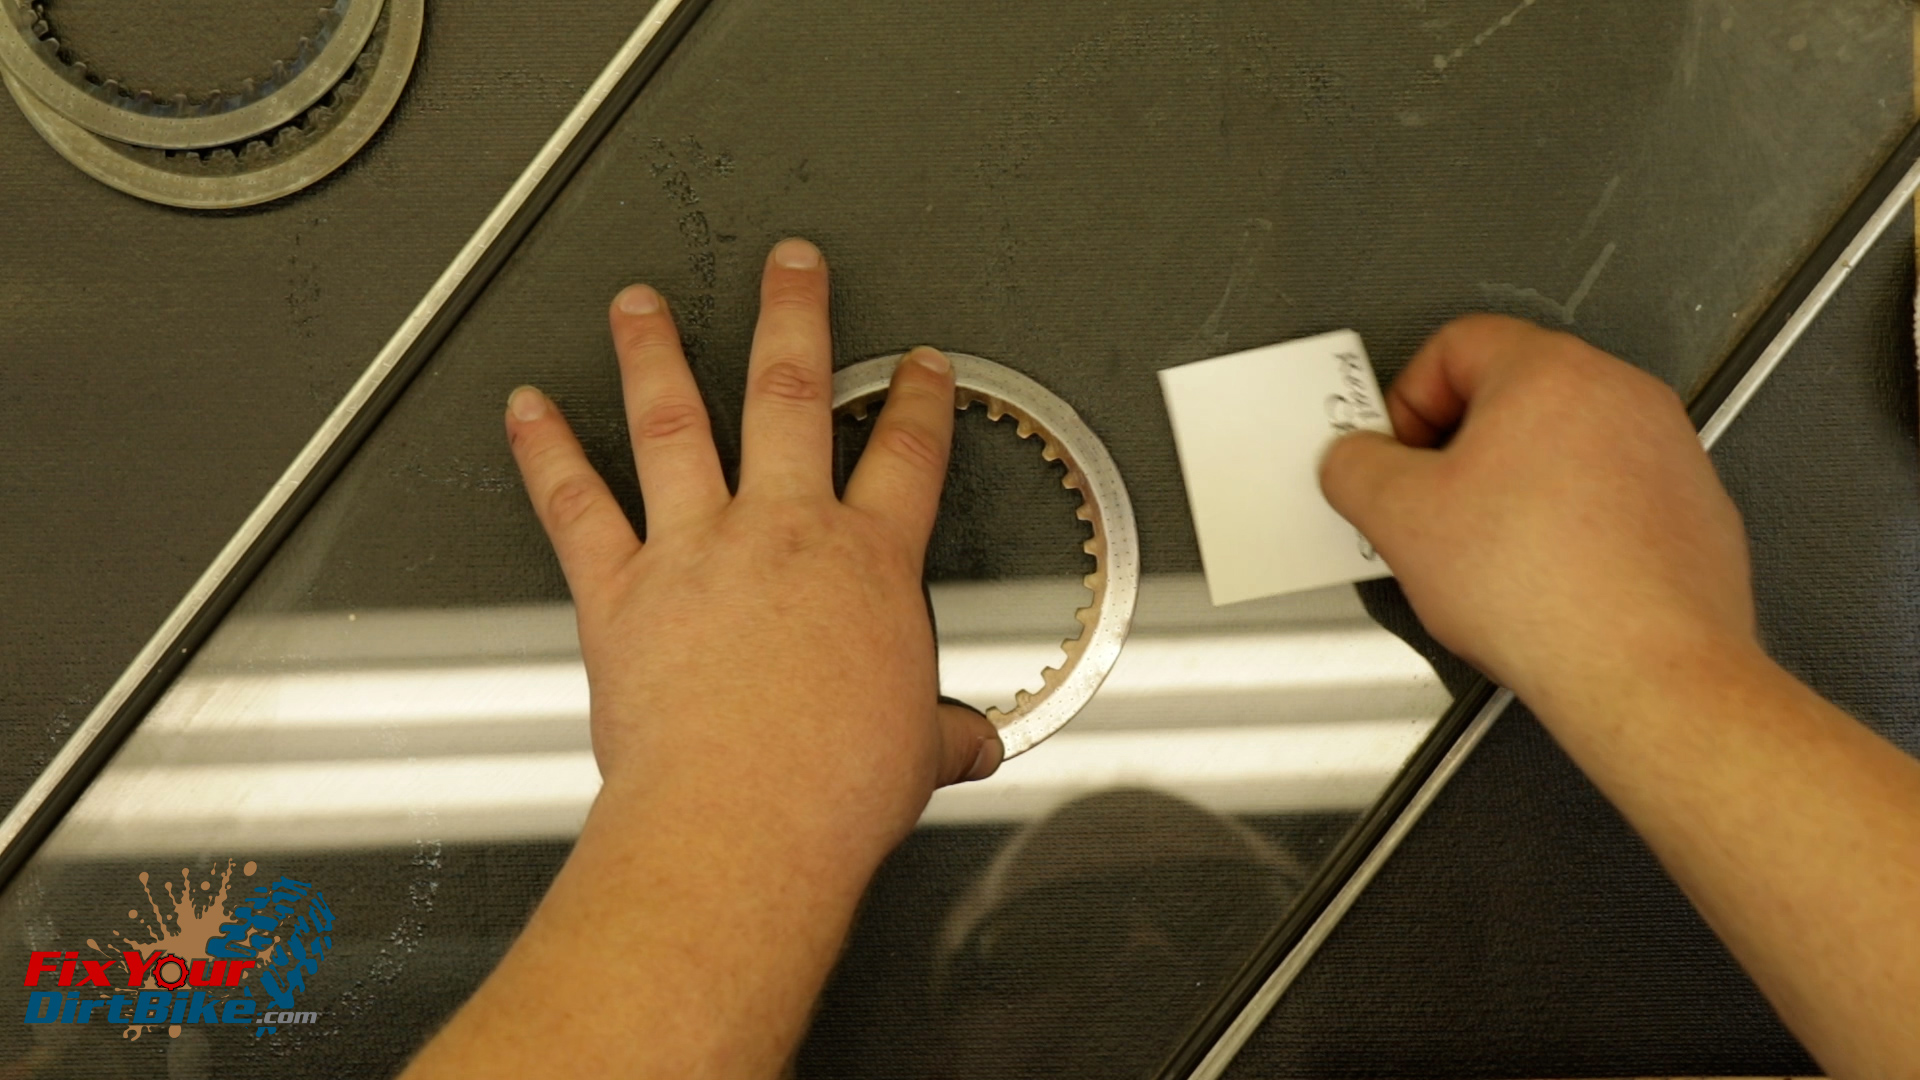
- To check the clutch discs for warpage, you will need a sheet of glass and a post-it note.
- Lay your clutch disc on the glass and try to slide the post-it note underneath.
- The clutch disc warpage service limit is .05mm, but if your post-it note can slide underneath, it is probably out of spec.
Clutch Install
You will need to lubricate every piece as it goes in. I use a break in lube and molybdenum grease for a few pieces, but the regular 10w-30 transmission oil and general-purpose grease will work fine.
Clutch Inner & Outer
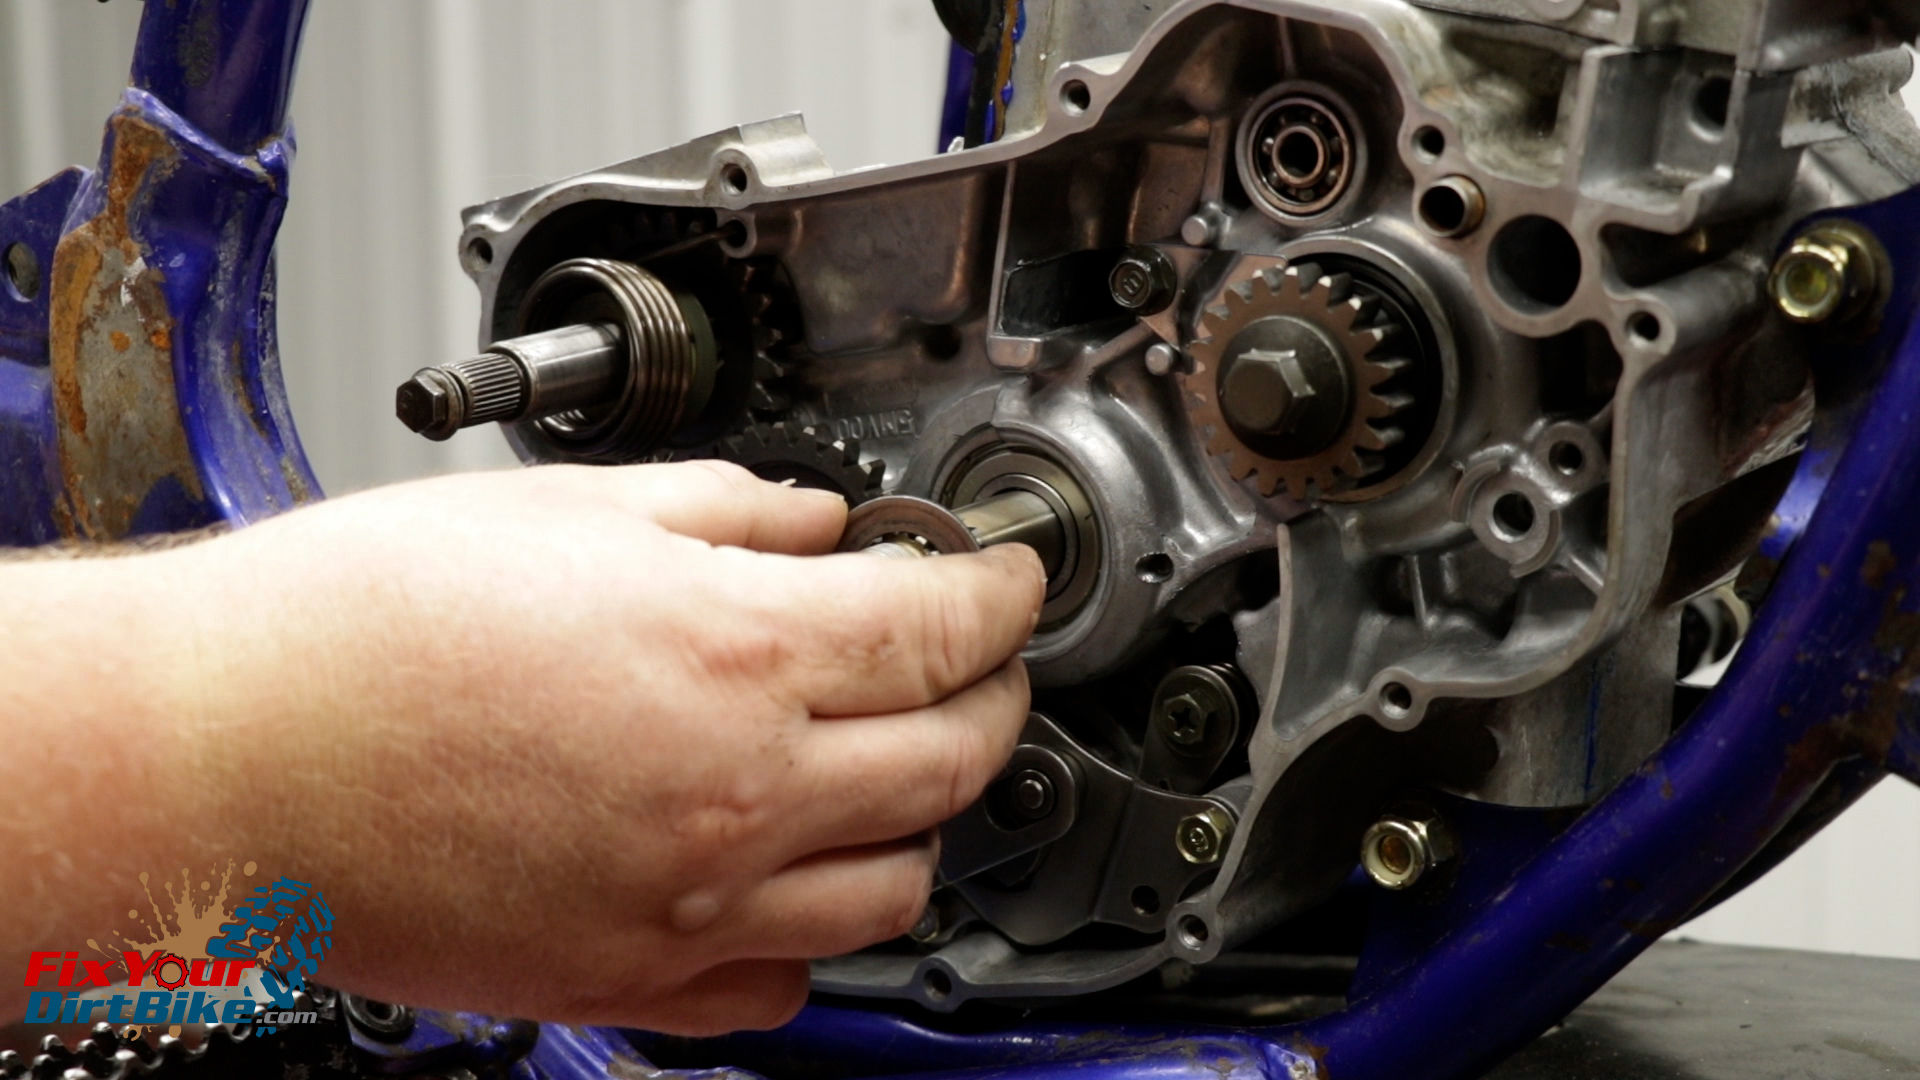
- Lube and install the basket washer.
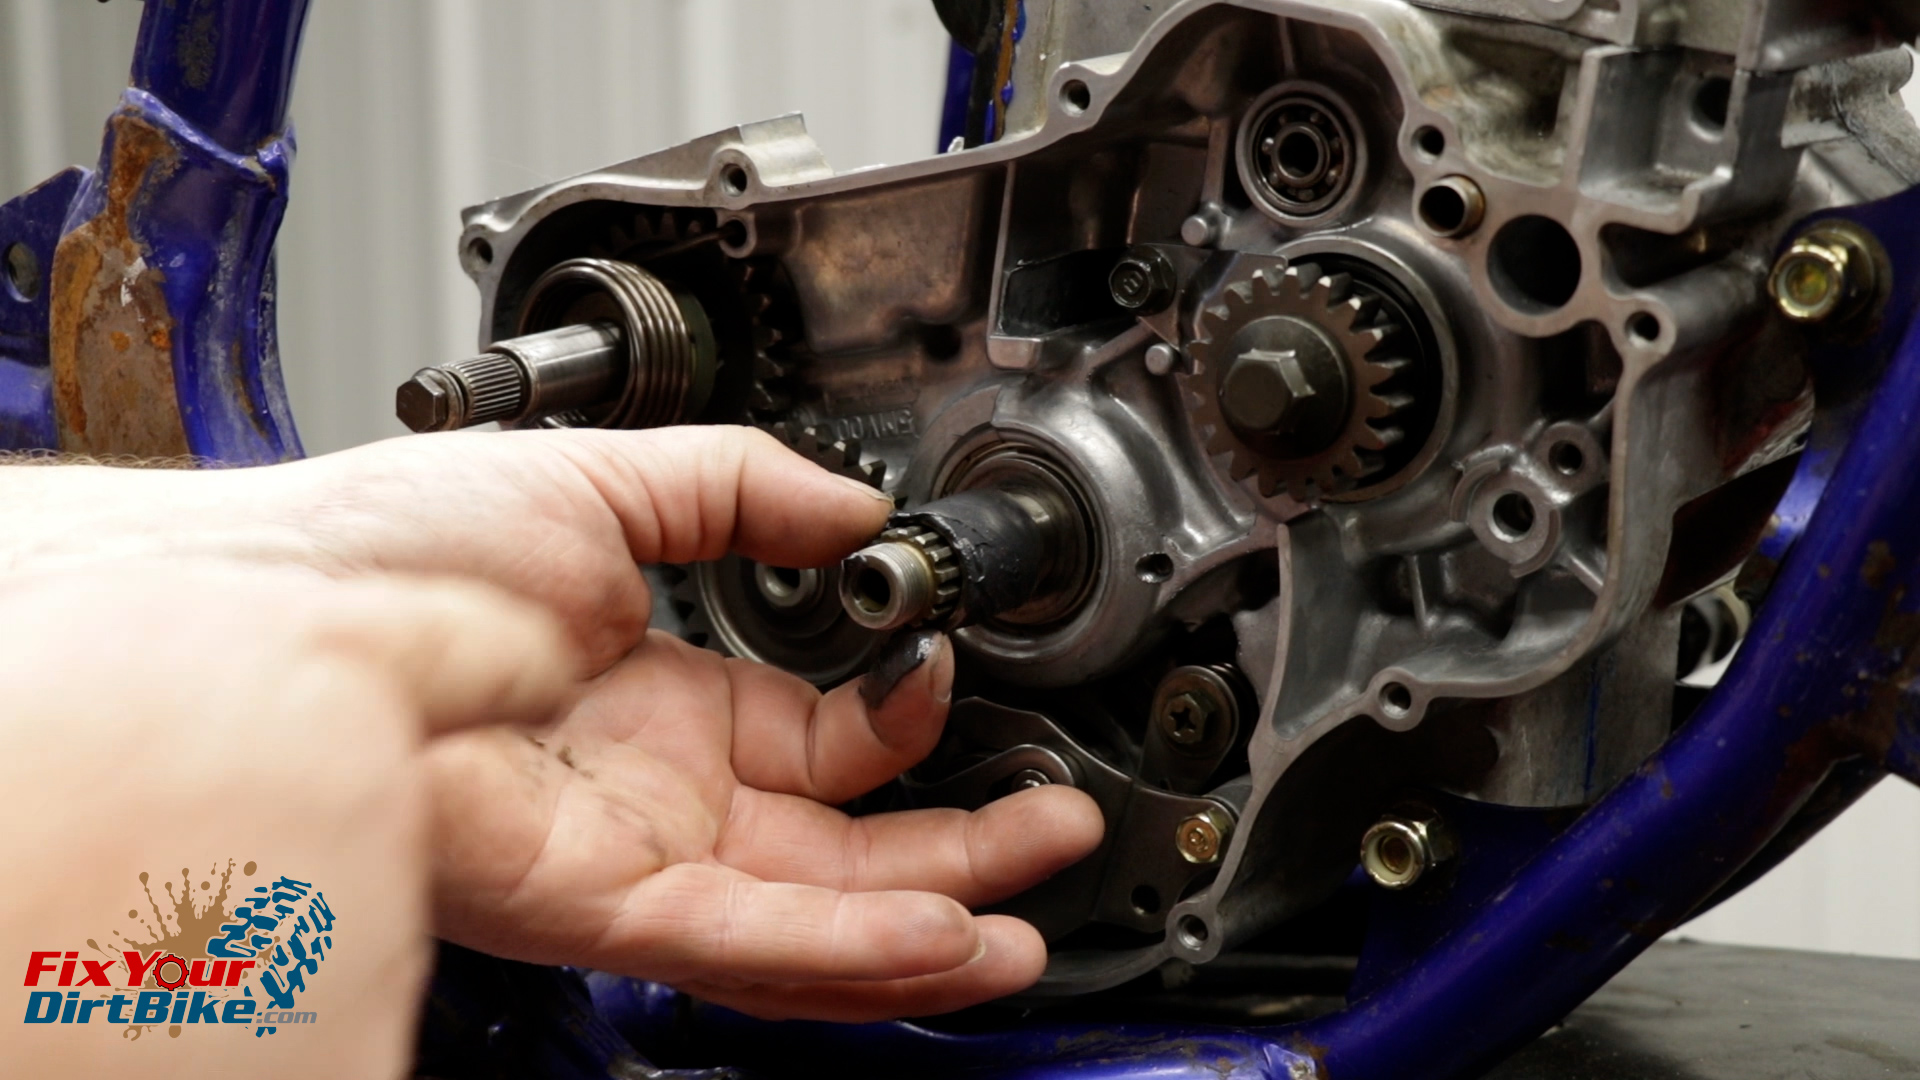
- Grease and install the collar, followed by the bearings.
- Install the clutch basket.
- Lube and install the inner washer, followed by the clutch inner.
- Make sure everything spins free and smooth.
- Install a new lock washer.
- I am reusing this one because I will be taking this clutch apart a few more times before it goes in for good.
- Install the center nut.
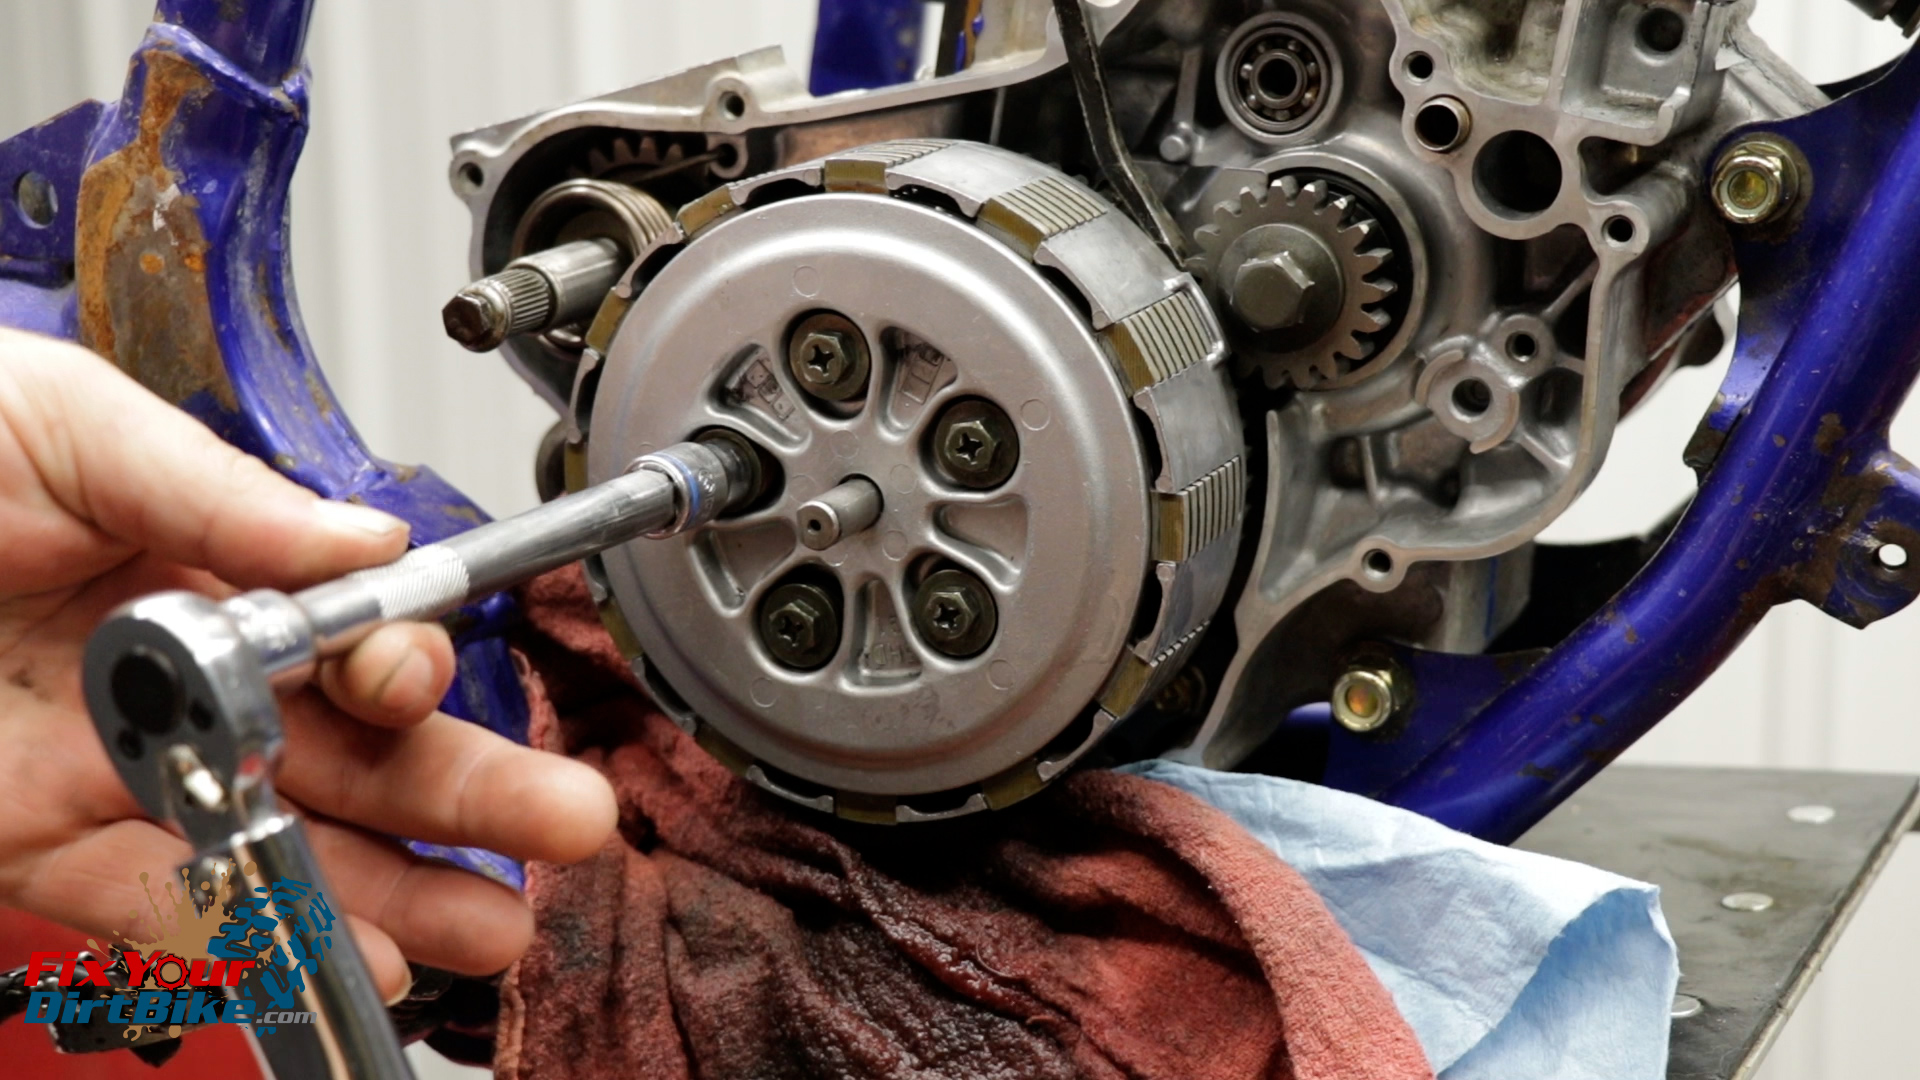
- Install your clutch holder, and torque the center nut to 59 ft-lbs.

Clutch Pack
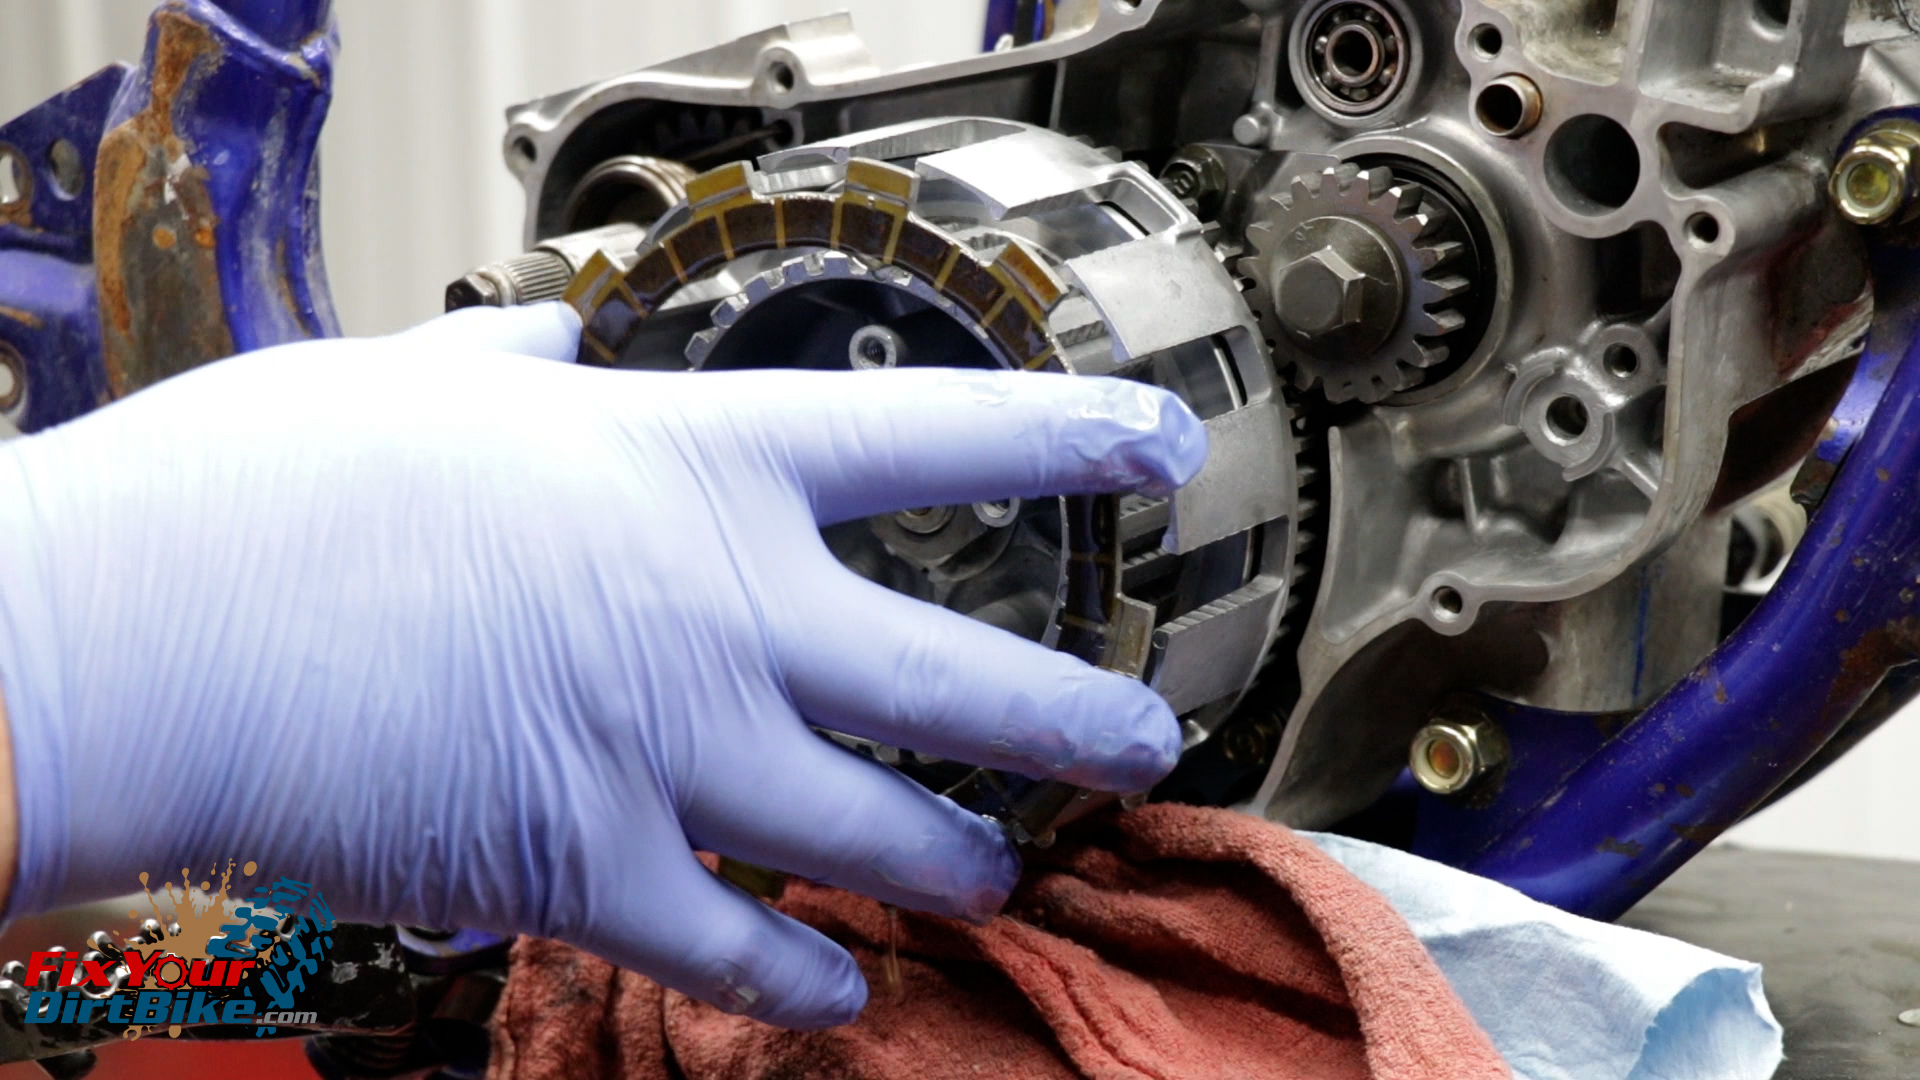
- You need to coat every friction and clutch disc in oil, so place a shop towel or three under the clutch basket to catch the drips.
- Get yourself a small tray or bucket to lubricate your clutch pack before install.
- Starting with a friction disc, install your clutch pack with alternating friction and clutch discs.
Pressure Plate
- Before installing the pressure plate, fold the tabs of the lock washer out against the sides of the center nut.
- Lube and assemble the push piece, with the thrust bearing between the two washers.
- Place the push piece in the pressure plate and place the pressure plate on the clutch inner.
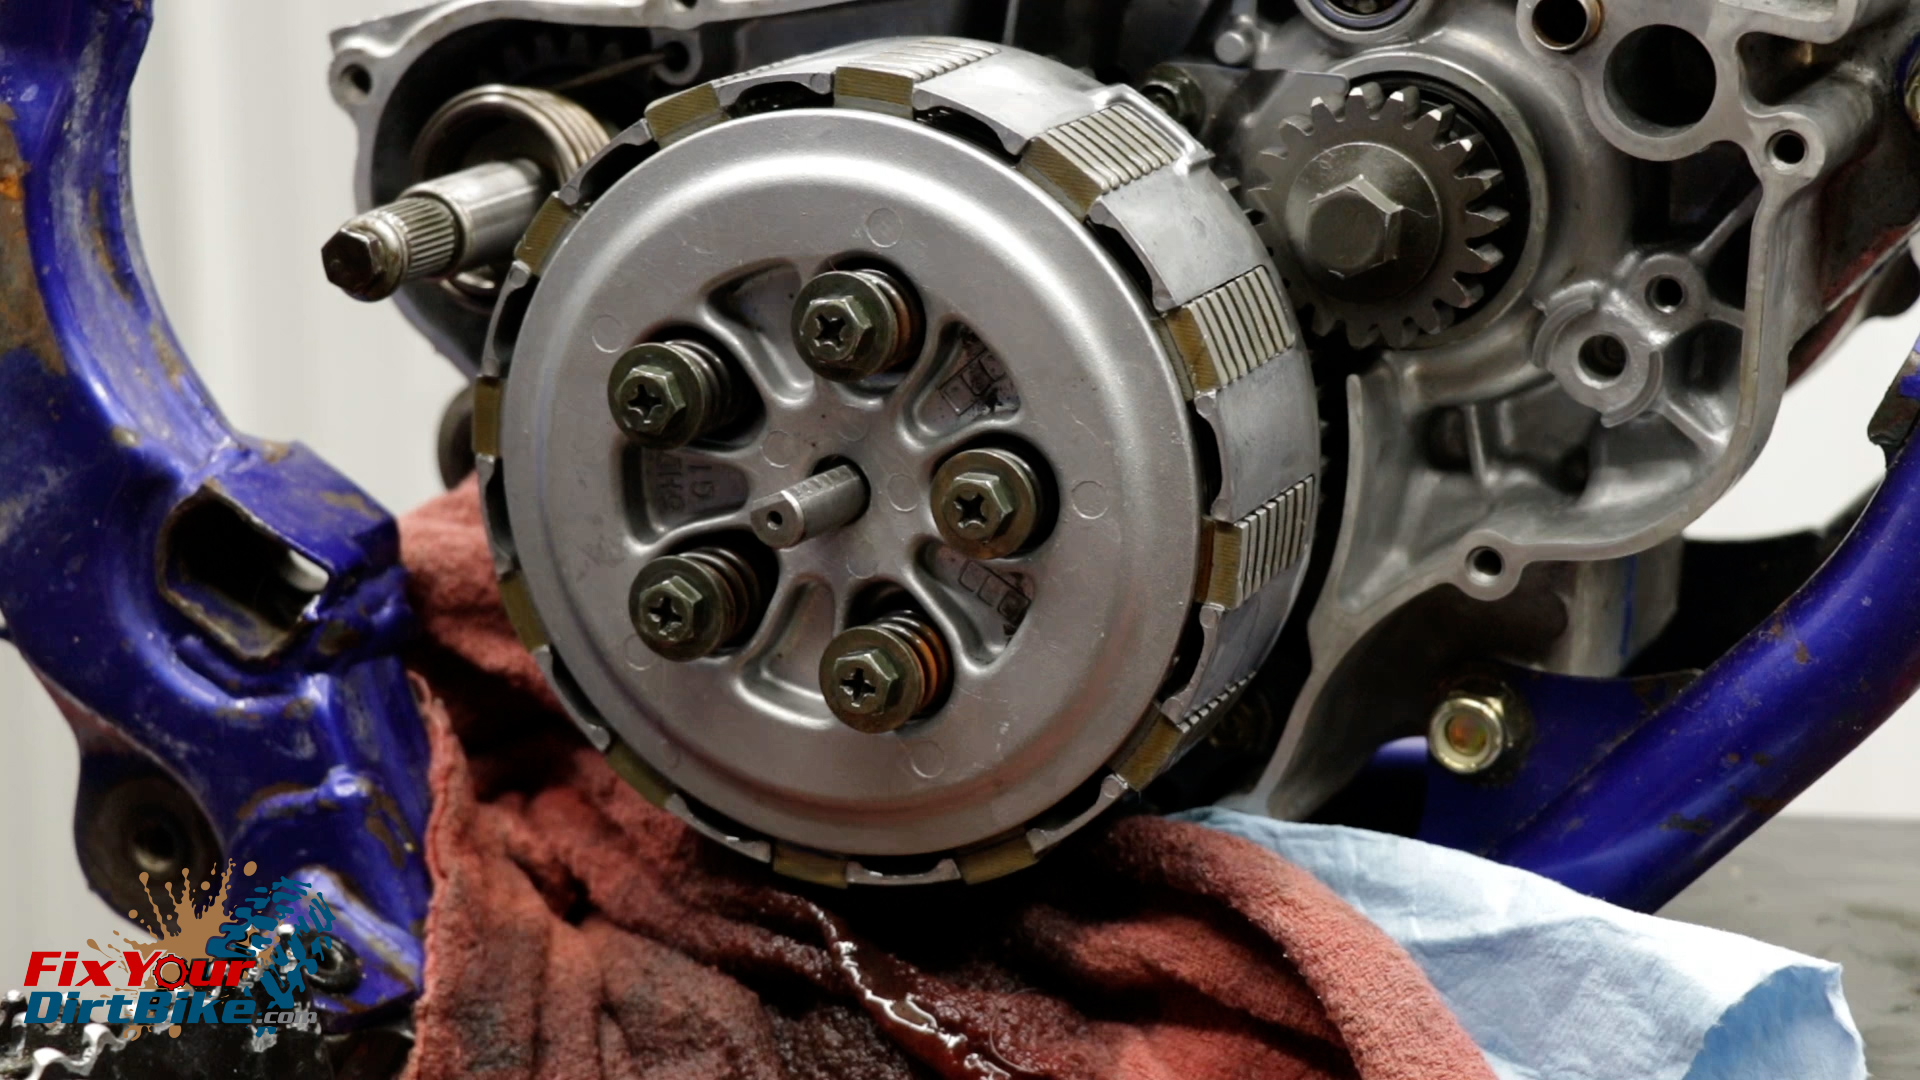
- Install the clutch springs and spring bolts finger tight.
- I do not recommend using an impact driver for this step.
- You will need to push the bolt head against the clutch springs while you thread the bolts.
- If you use a driver, you could easily strip out the standoffs.
- Tighten the bolts in a criss-cross pattern, then torque in the same criss-cross pattern to 88 in-lbs.
- You can jam the clutch outer and crankshaft gear with a screwdriver to keep the clutch from turning.
- 88 in.-lbs against these gears won’t hurt anything.


Clutch Cover/Lever
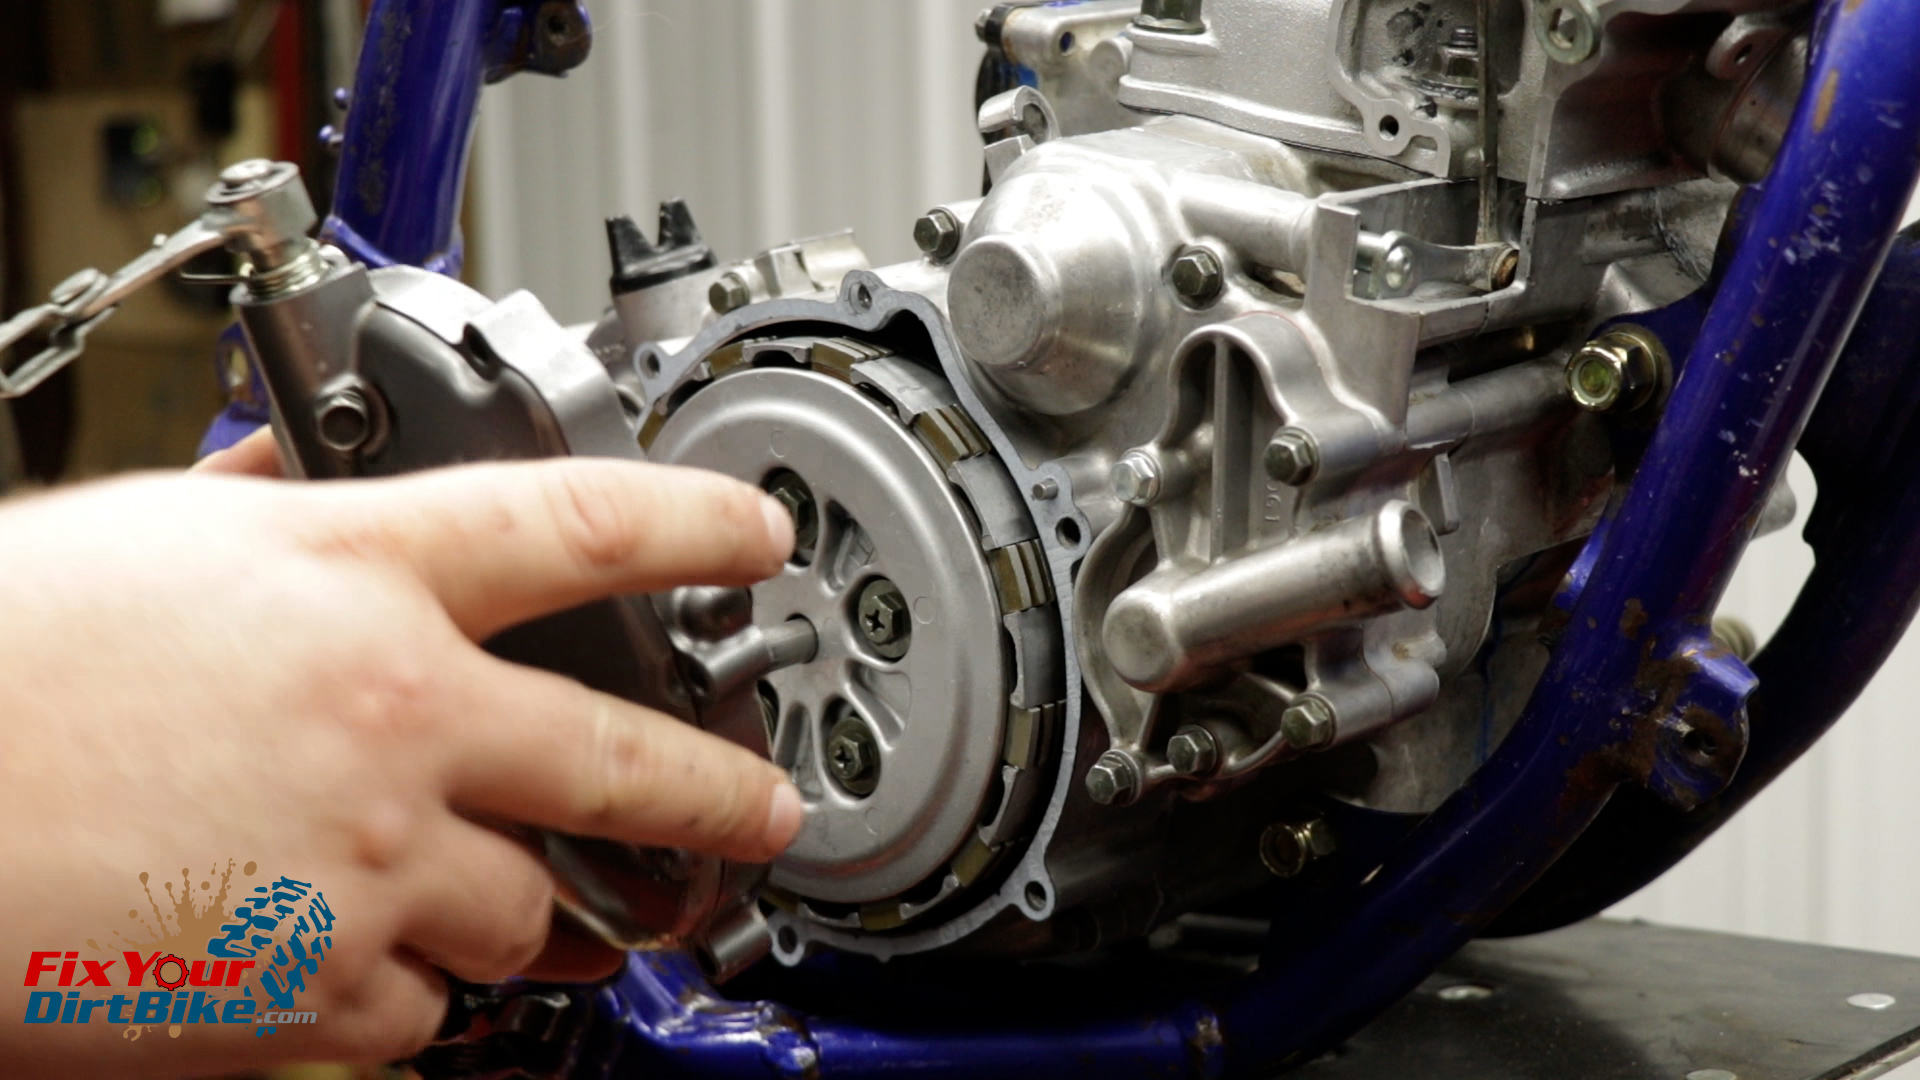
- Rotate the push piece teeth to align with the shaft teeth.
- Install the cover with a fresh gasket and with the lever facing the rear of the bike.
- You may need to install the cover a few times to get the clutch lever just right.
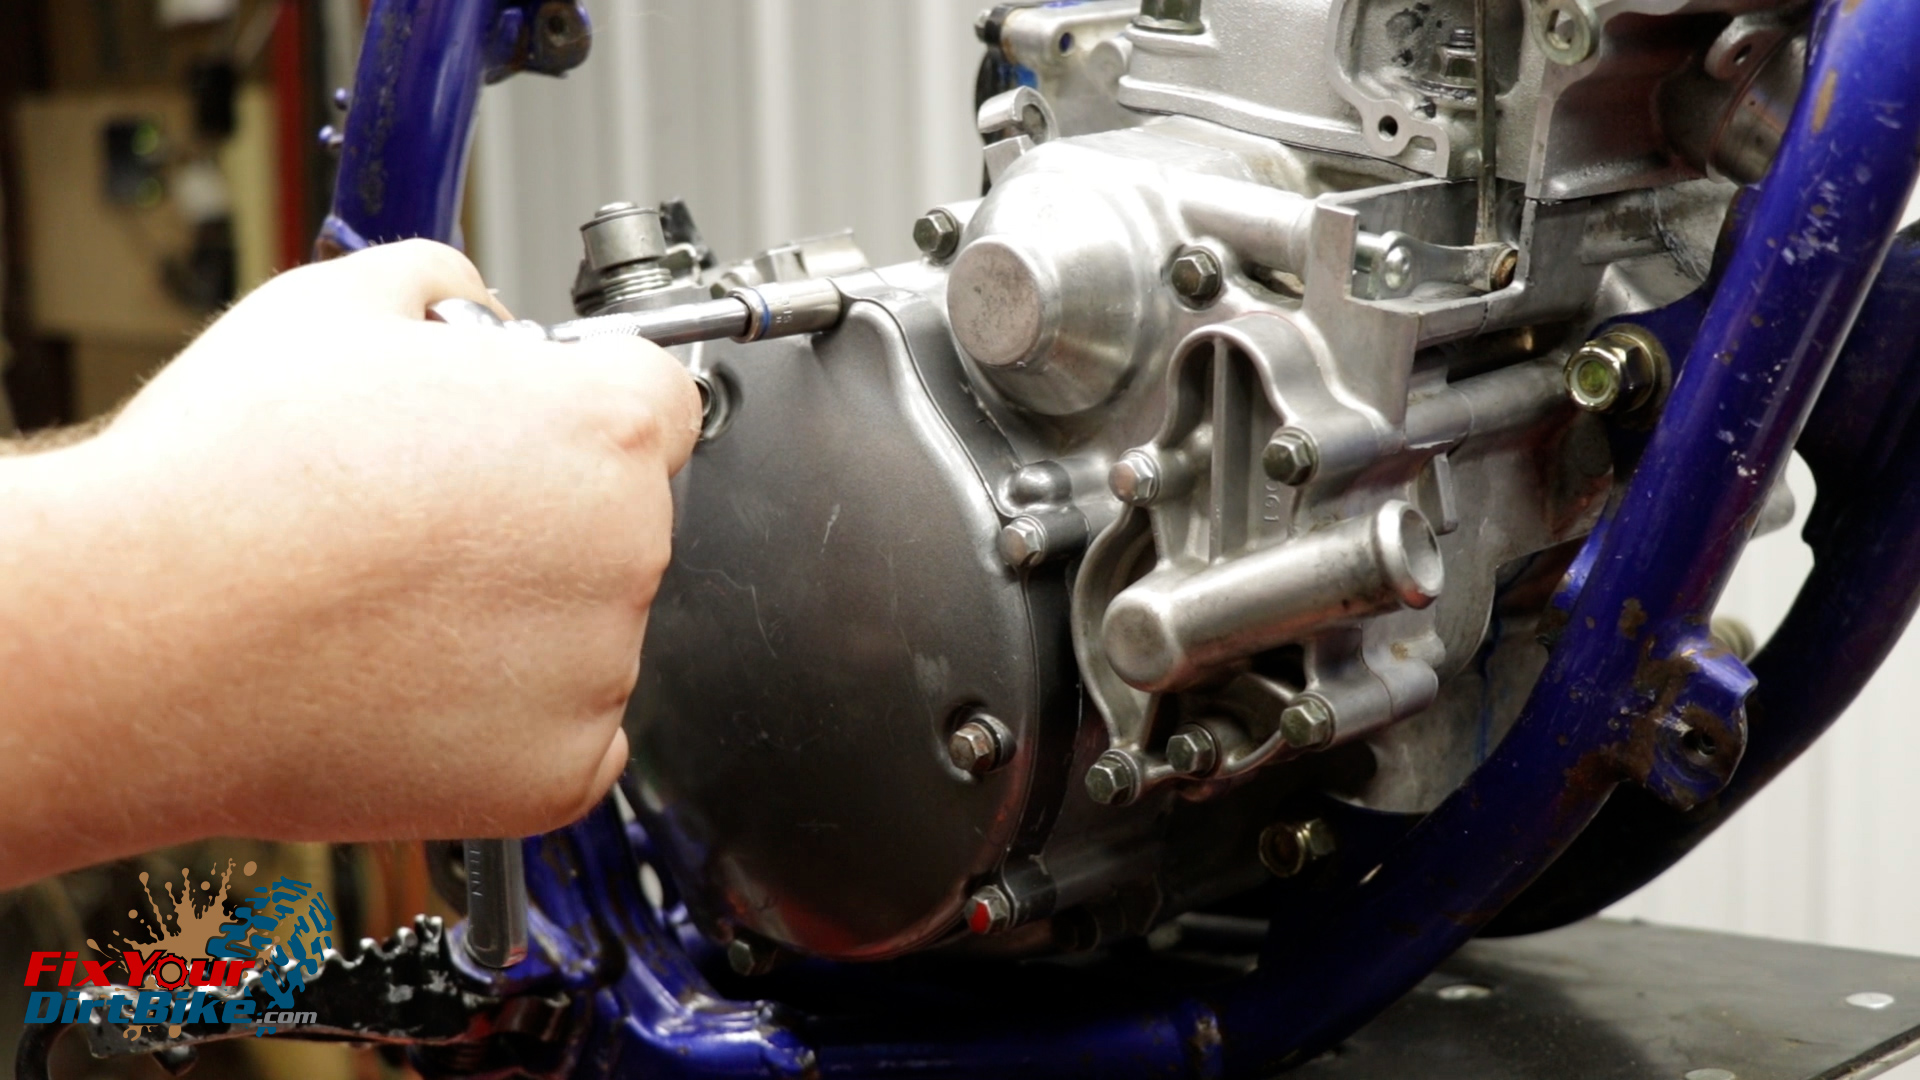
- Yamaha has the clutch cover bolts speced to 88 in-lbs, but I don’t recommend it.
- For whatever reason, these bolts will shear off if you try to torque them to spec.
- Instead, tighten them as much as a ¼ ratchet will let you.
You can follow me at Fix Your Dirt Bike across all social media, and If you have any questions, please let me know in the comments or direct message.
