
How To Service The Carburetor on Your 1994 – 2001 Yamaha YZ125
The Tools You Will Need
- Philips Head Screwdriver
- 6mm Socket (Main Jet & Needle)
- 14mm Wrench (Choke Knob)
- 17mm Wrench or Socket (Bowl Drain)
- Needle-Nose Pliers
- Shop Towels (Amazon)
The Parts You Will Need
- Jet Block Gasket
- Needle Seat O-ring
- Bowl Gasket (Maybe)
If you need parts and tools, you can get everything you need on Amazon.com!
This carburetor is a Mikuni TMX38 found on the 2001 Yamaha YZ125. The 1995 – 2000 YZ125 came with a TMX36. They are very similar, so this service will cover both models. The 1994 Yamaha YZ125 came with a Mikuni TMX35, which is significantly different from the TMX36, so this service will not apply to that model directly, but it will be close enough.
The TMX line of carburetors has two weak points; the jet block gasket and the float valve O-ring. If you are having rich condition issues tuning your 2-stroke carburetor, these are usually the problem.
So before you even take your carb off your bike, I recommend you order the JD Jetting JDMK05 – Mikuni TMX Jet Block Gasket Kit. It comes with the gasket, 2 O-rings, and the Torx bit needed to remove the jet block.
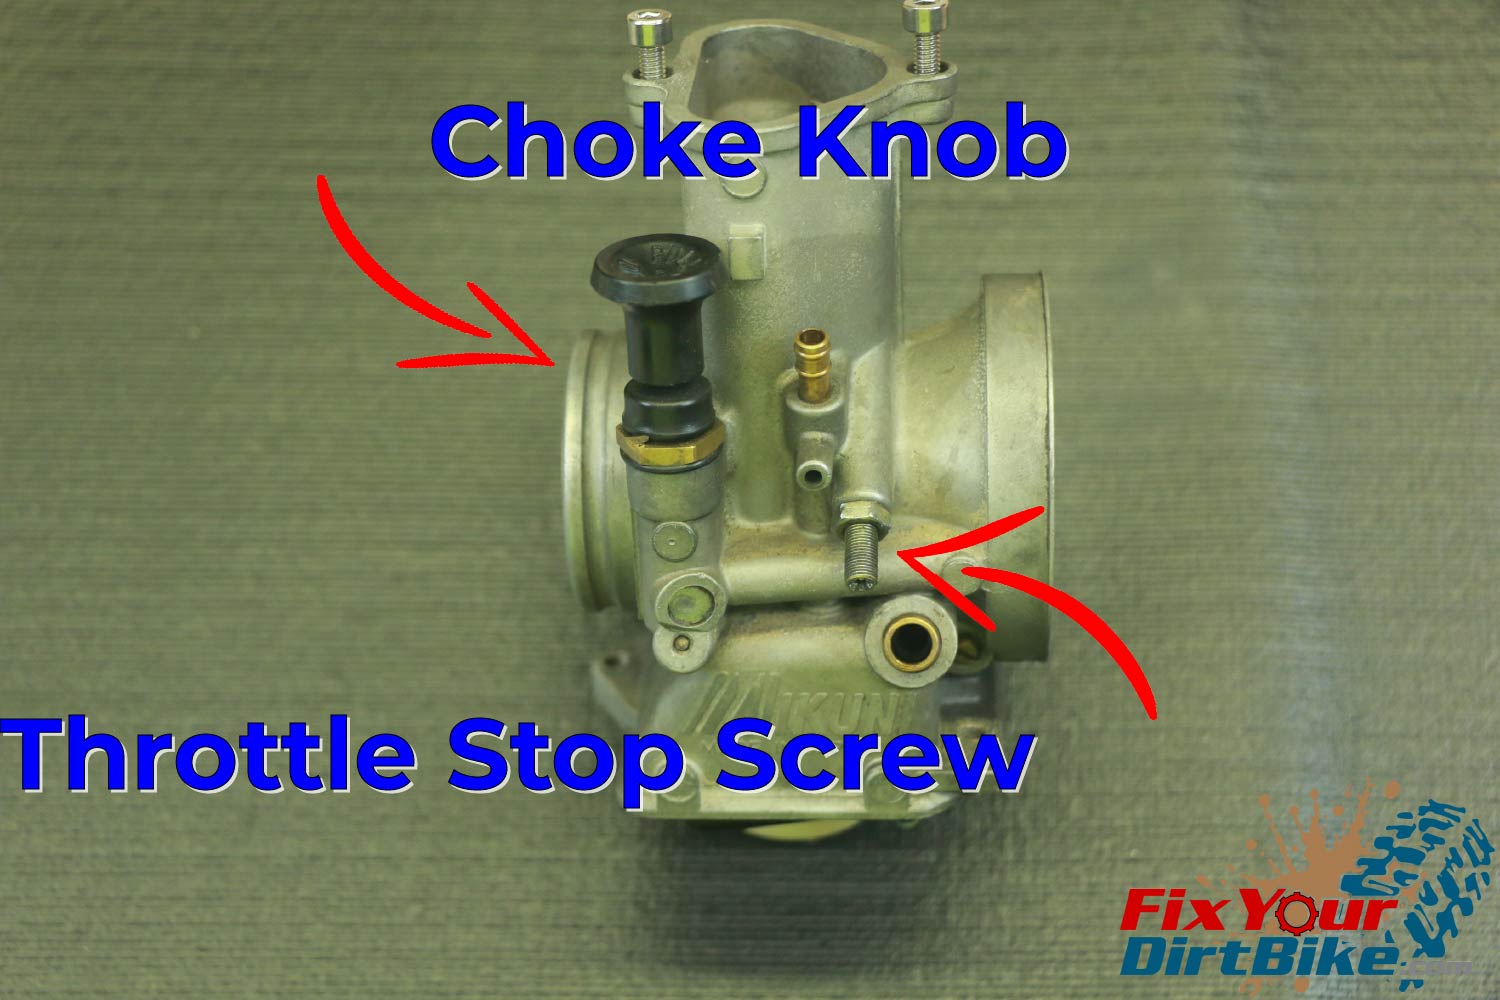
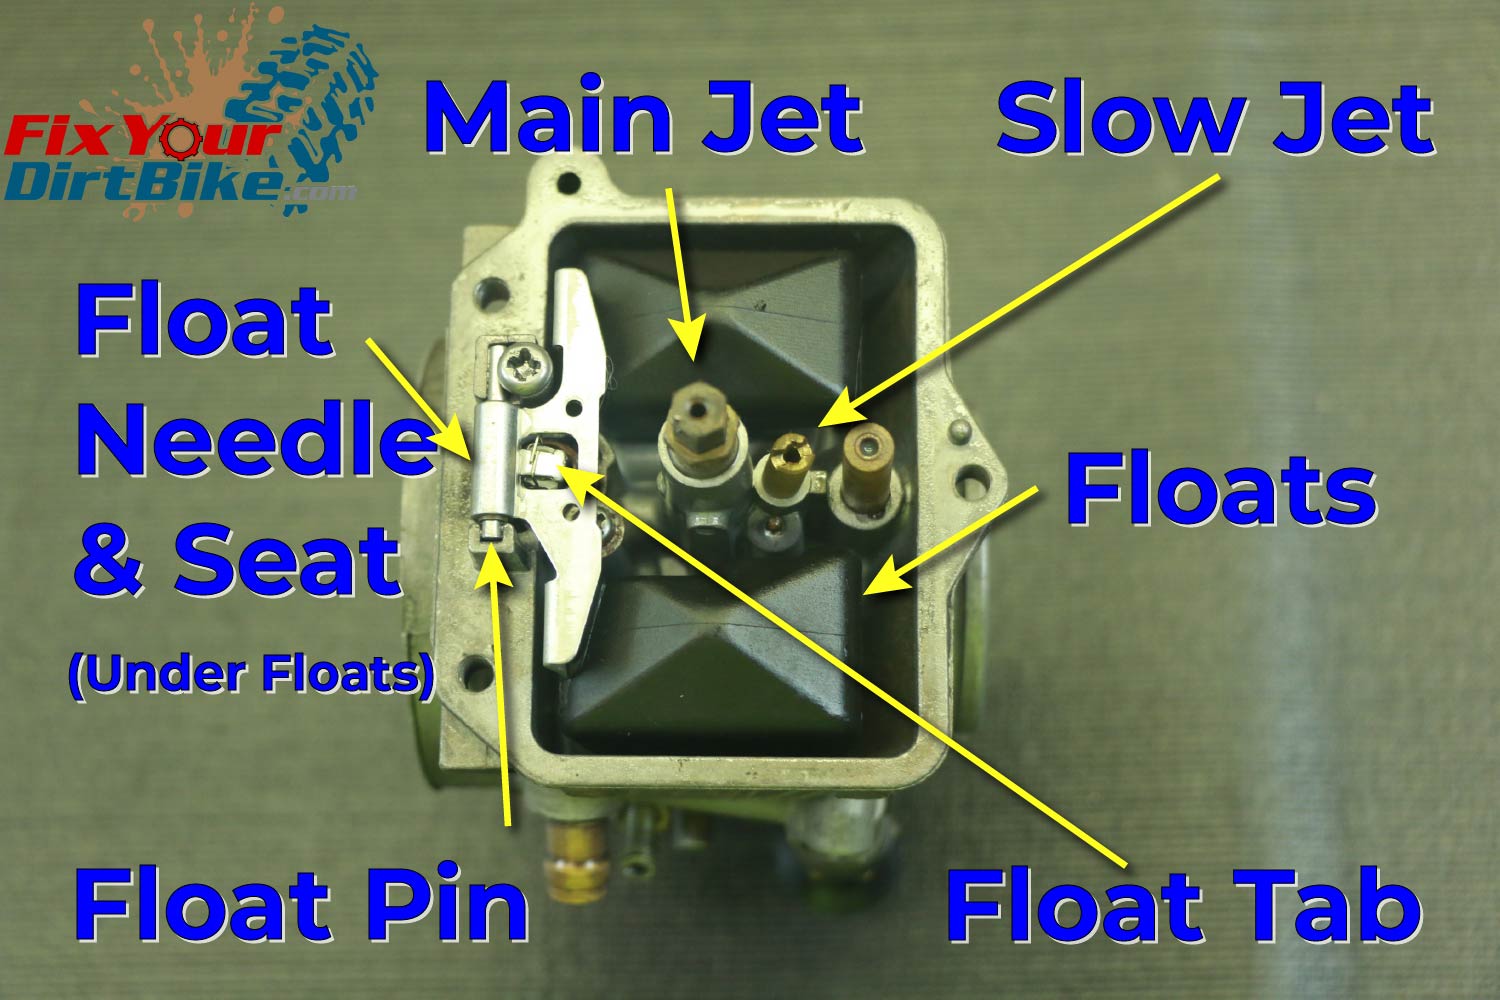
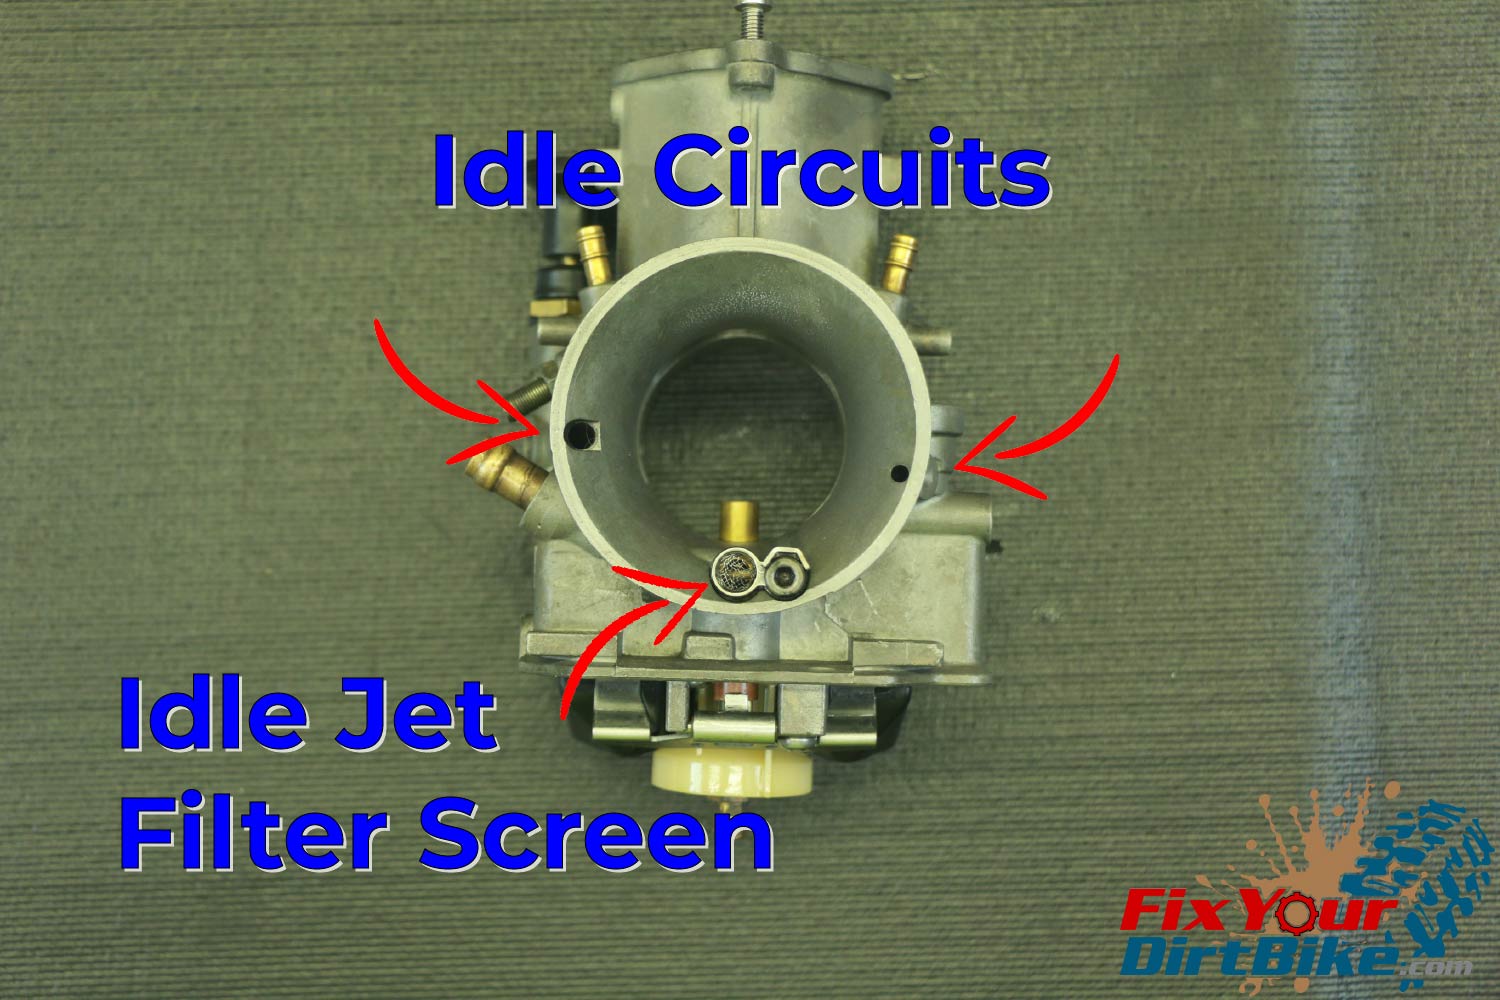
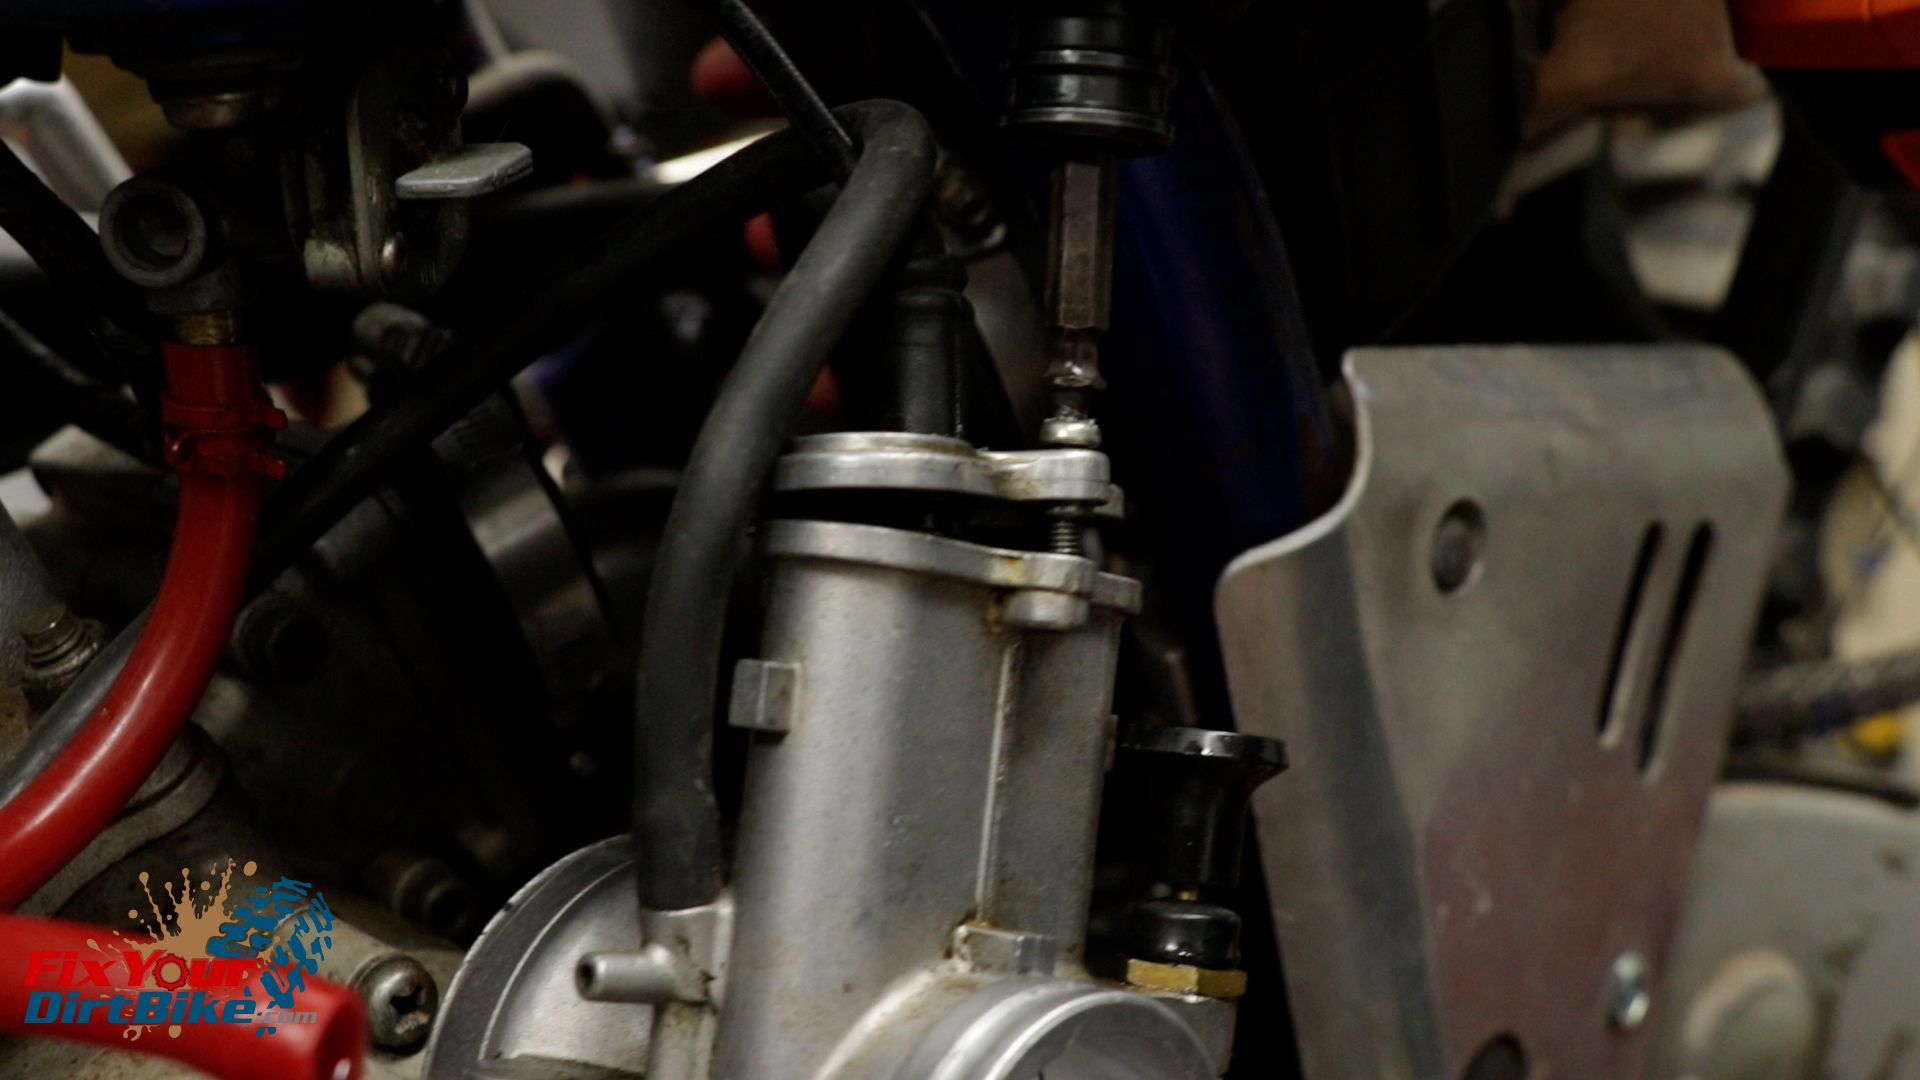
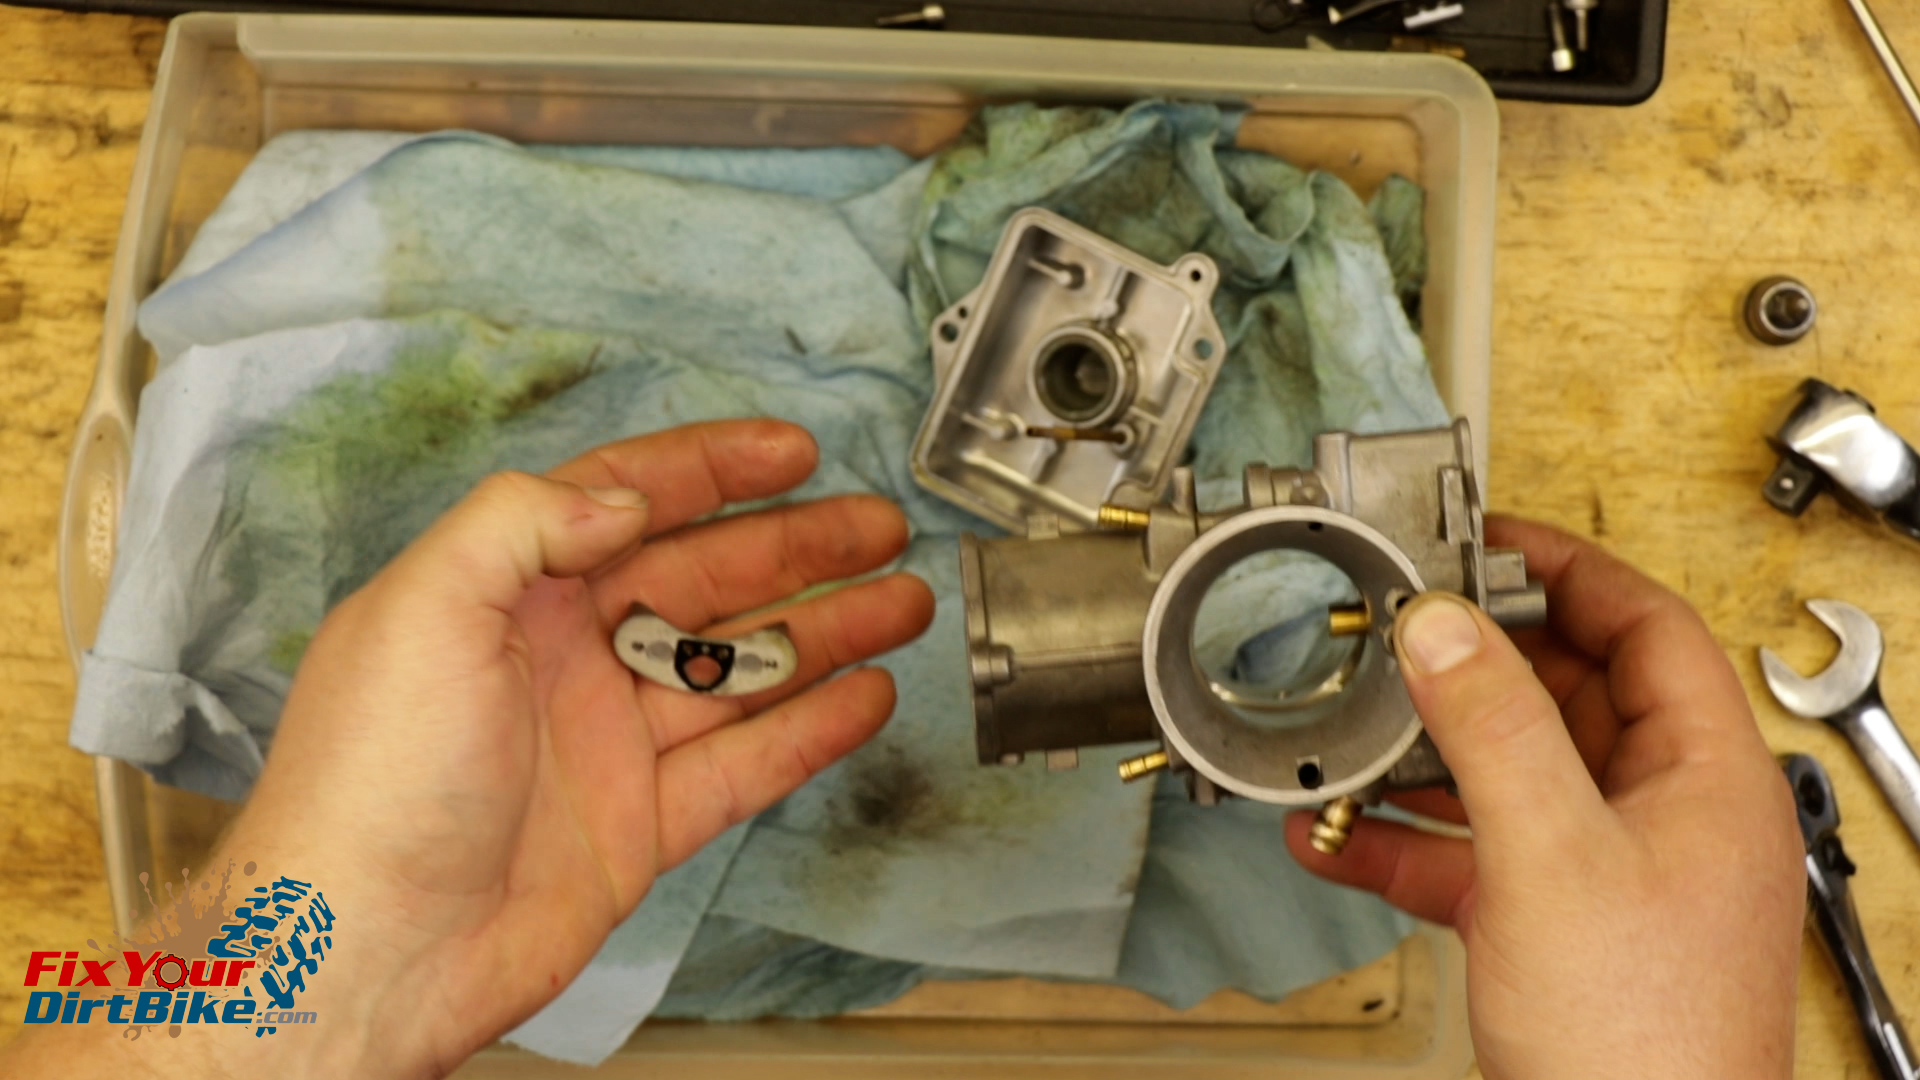
Before you start, here are the carburetor components and where to find them.
Carburetor Removal
- Remove the Fuel line, Loosen the boot and airbox clamps, and pull your carburetor out of your bike.
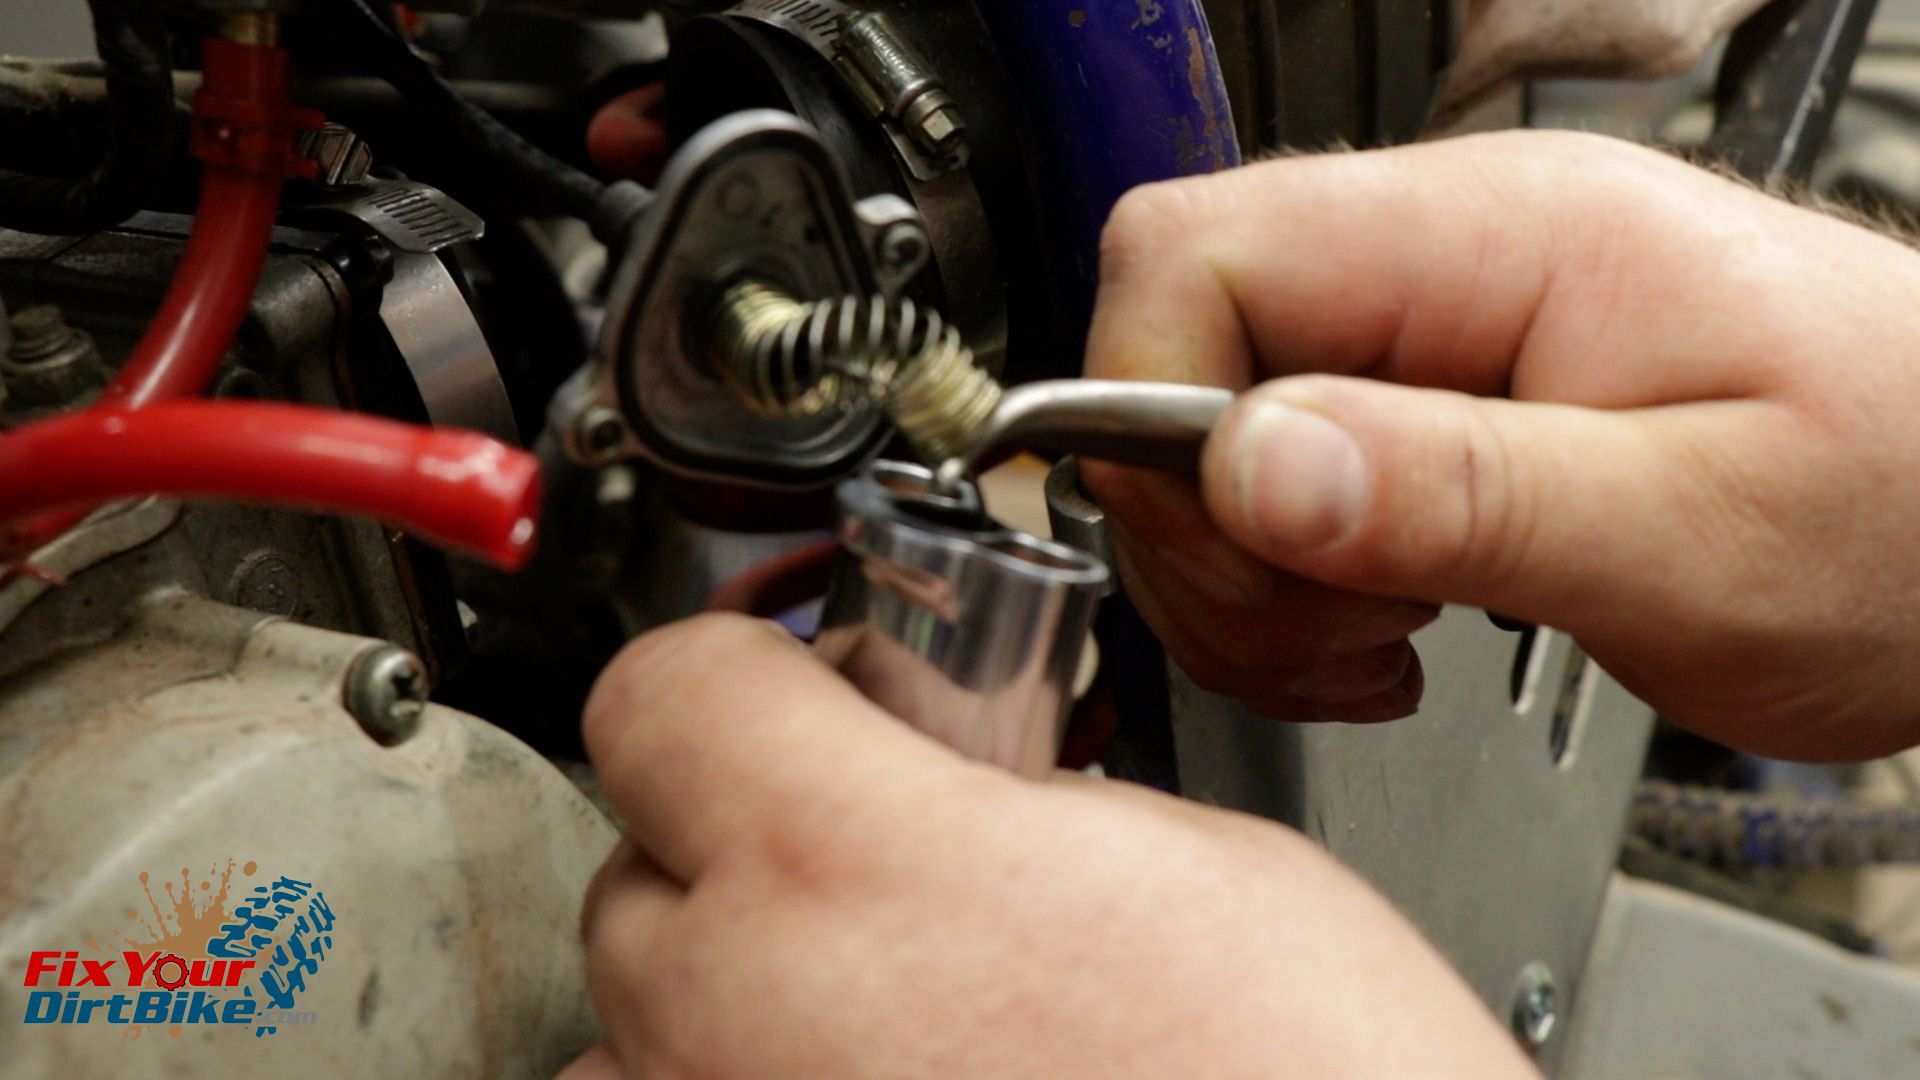
- Remove the throttle slide cap screws, and pull the slide from the carburetor body.
- Place your carb in a tray or on a towel to catch any remaining fuel.
- Work the slide spring up the cable with a pair of needle-nose pliers until you have a good grip on the throttle cable.
- Push the cable in and over to release it from the slide.
Carb Disassembly
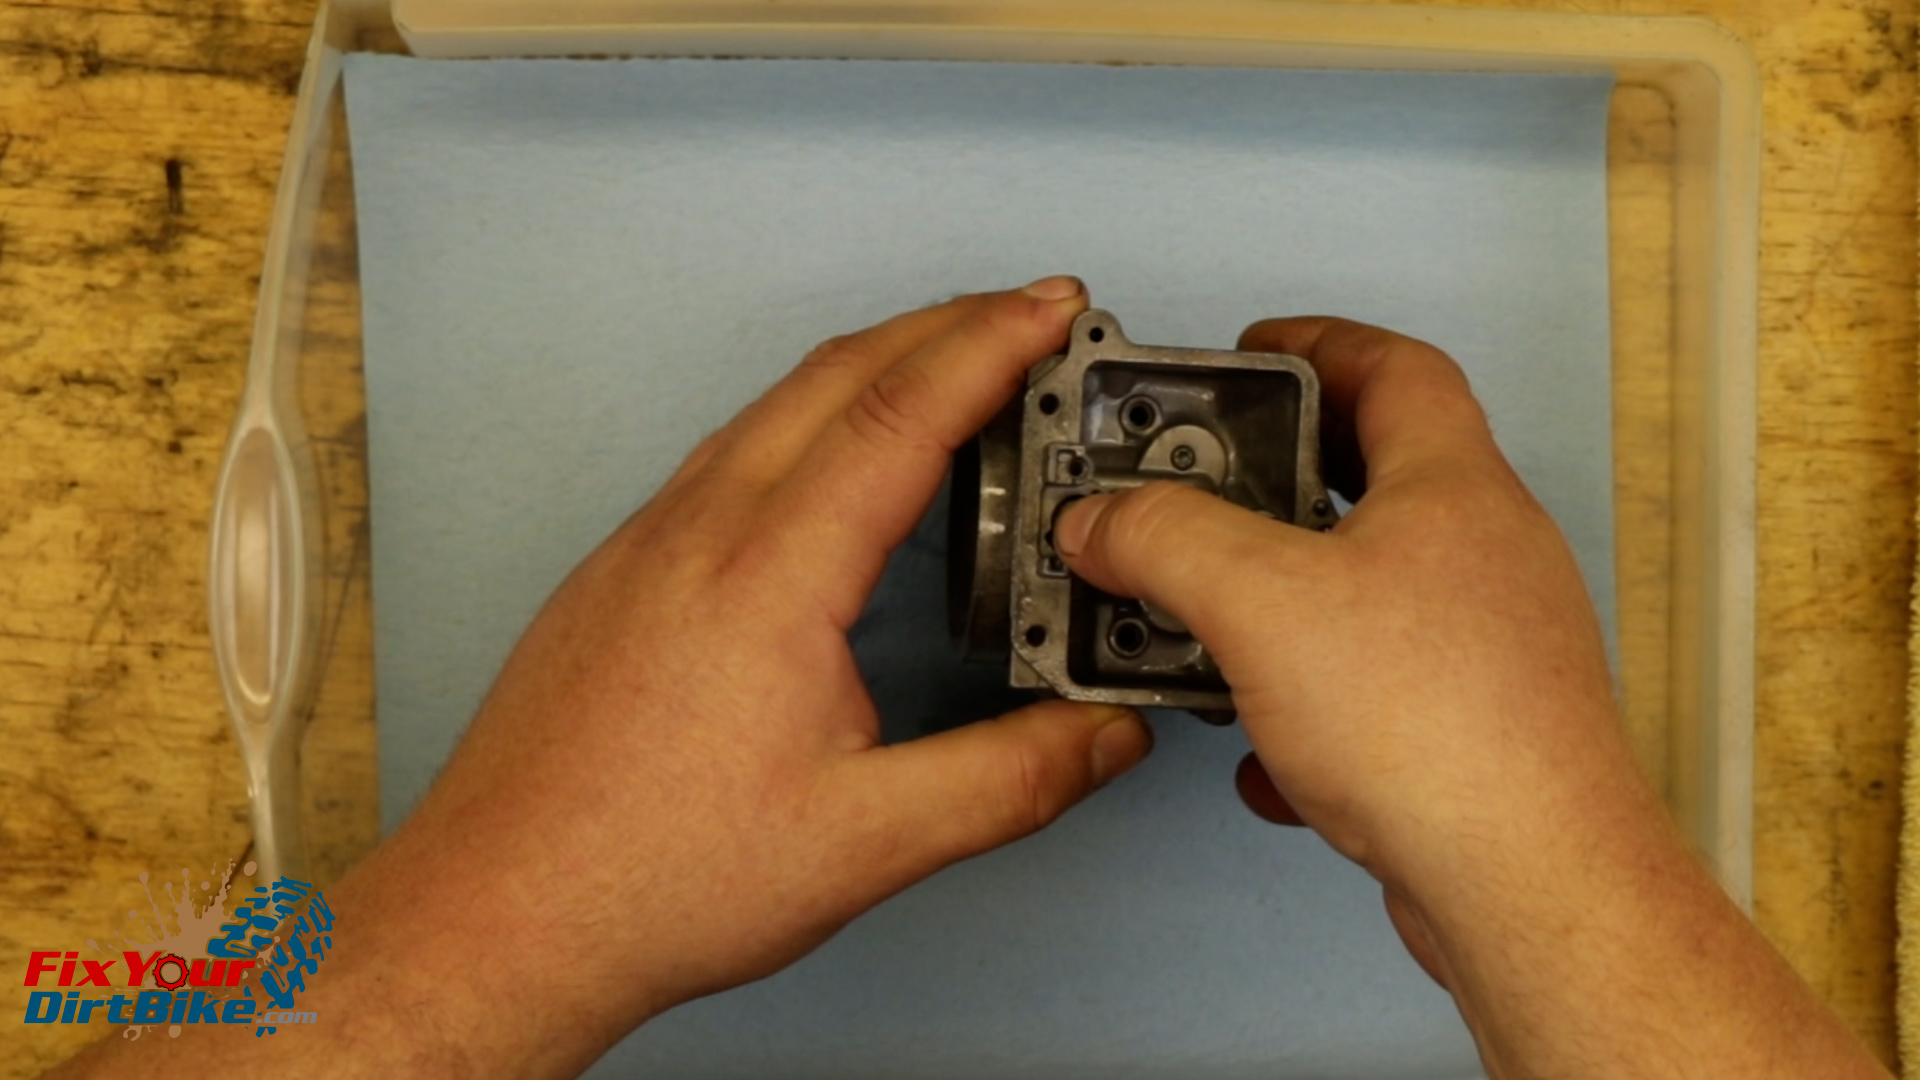
- Remove the bowl screws, and separate the bowl from the body. You want to be careful in case the bowl gasket is stuck.
- Remove the jet shroud.
- Remove the main jet, followed by the main jet mount.
- Remove the slow jet carefully.
- Do not attempt to force the slow jet out. The jet is brass and will break easily. If it is stuck, let it soak in penetrating oil, then try again.
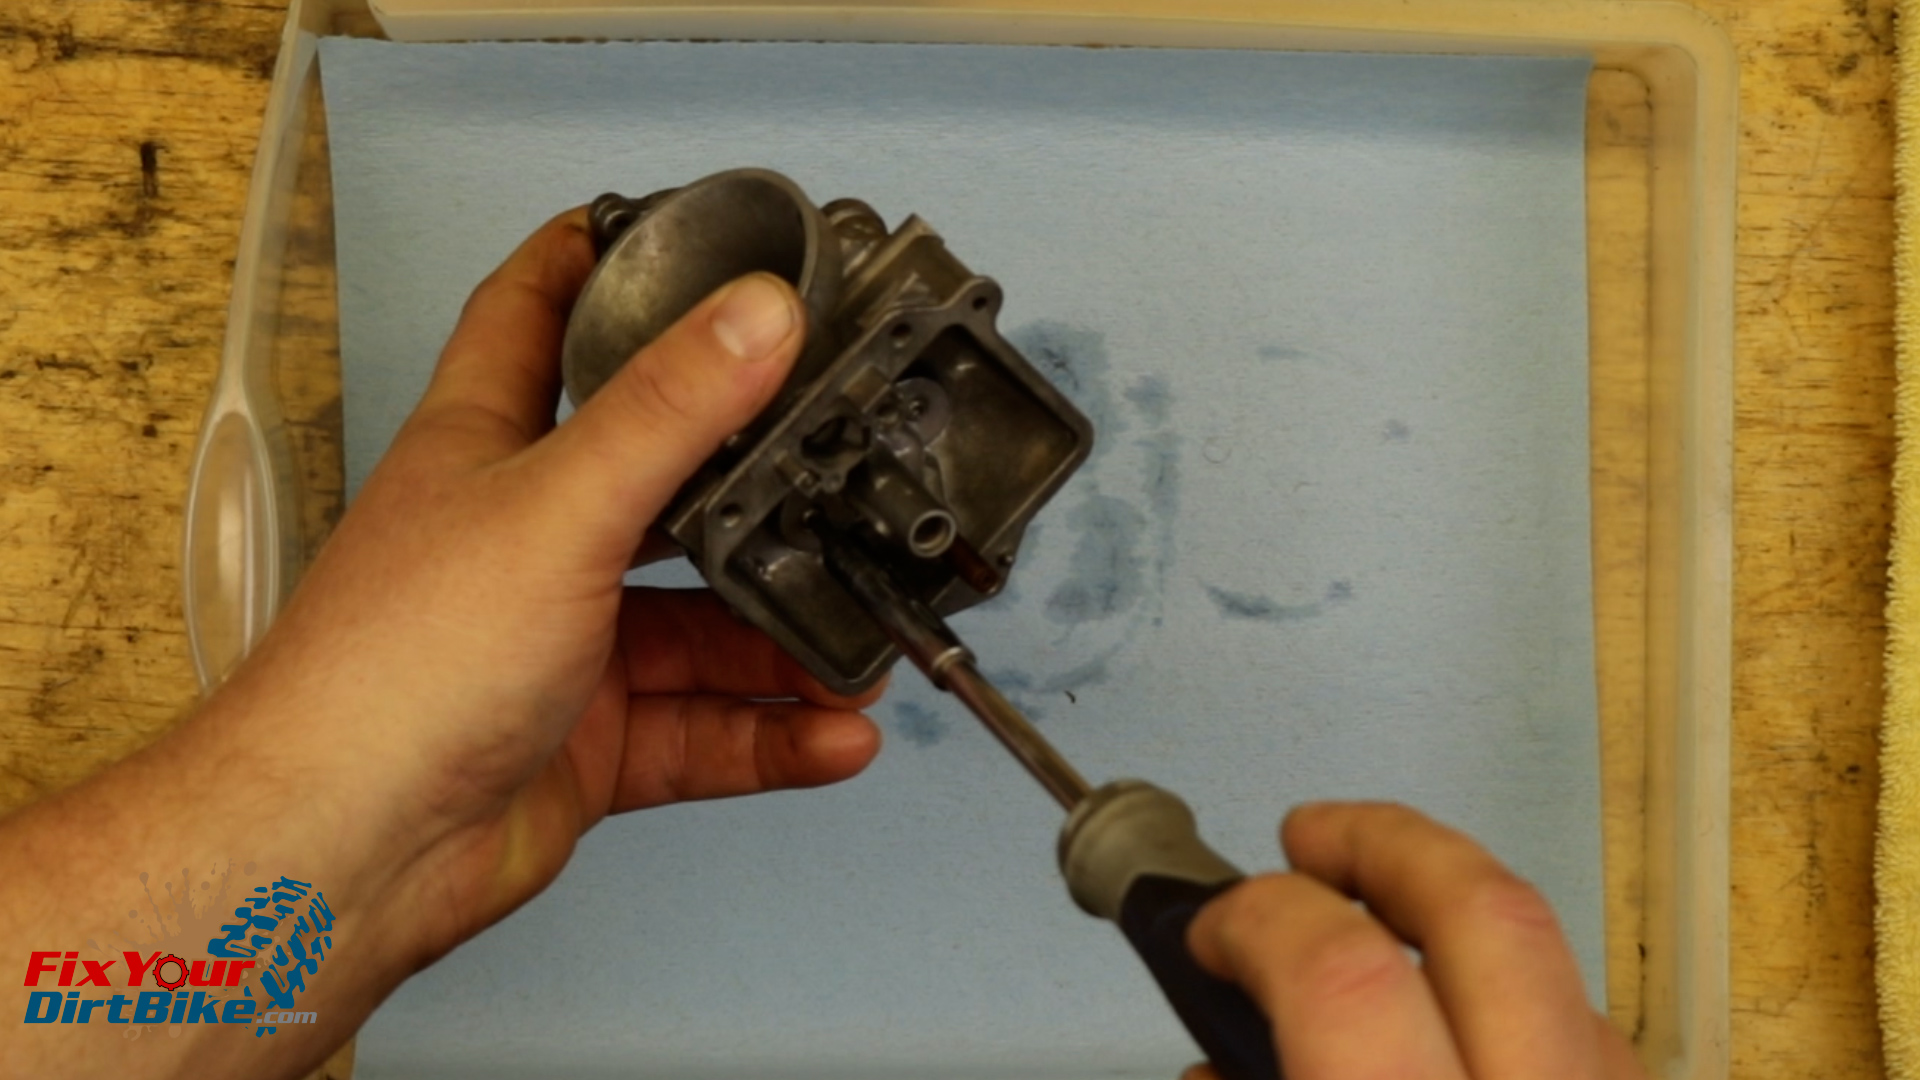
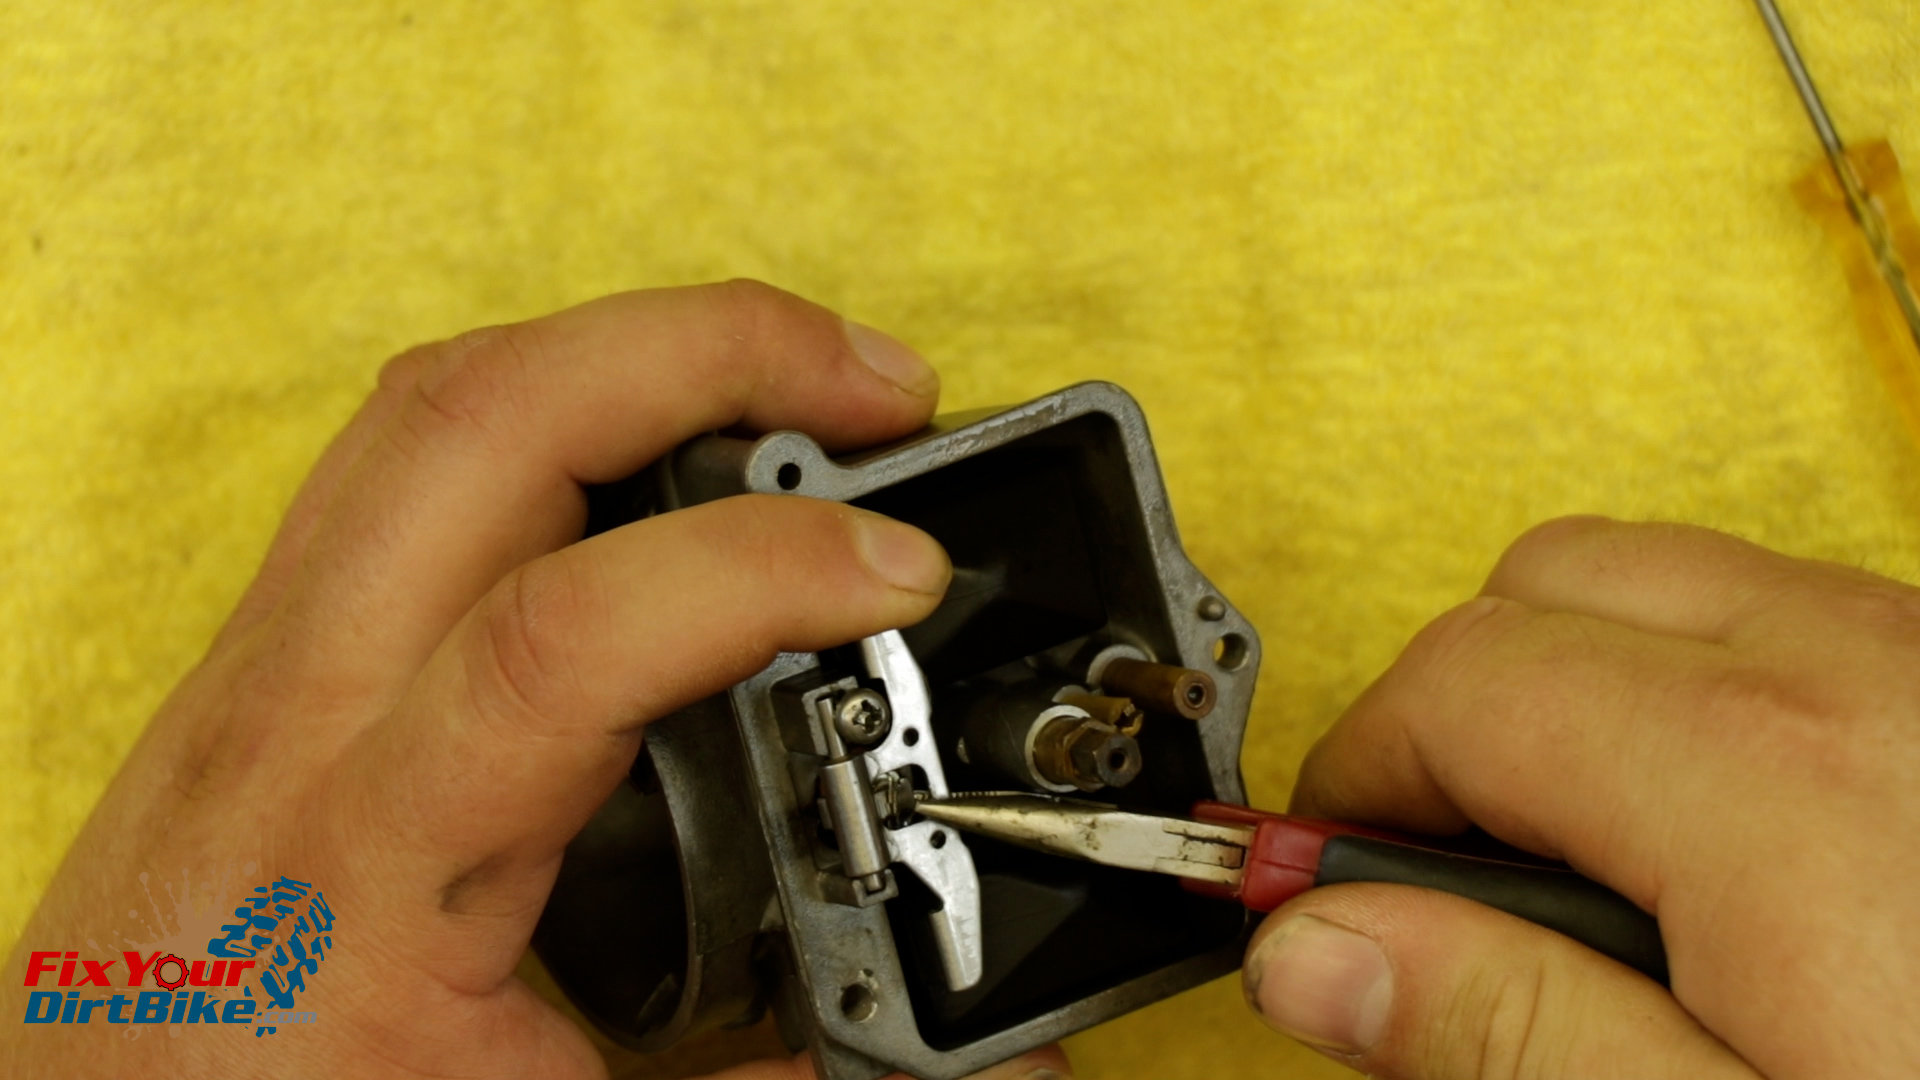
- Remove the float retaining screw.
- Remove the pivot pin, followed by the floats and float needle as an assembly.
- Remove the float needle seat retaining screw.
- There is no gentle way to remove the needle seat.
- Pry the seat out of the body with a small flathead screwdriver using the two slots on each side of the seat.
- You may need to use pliers.
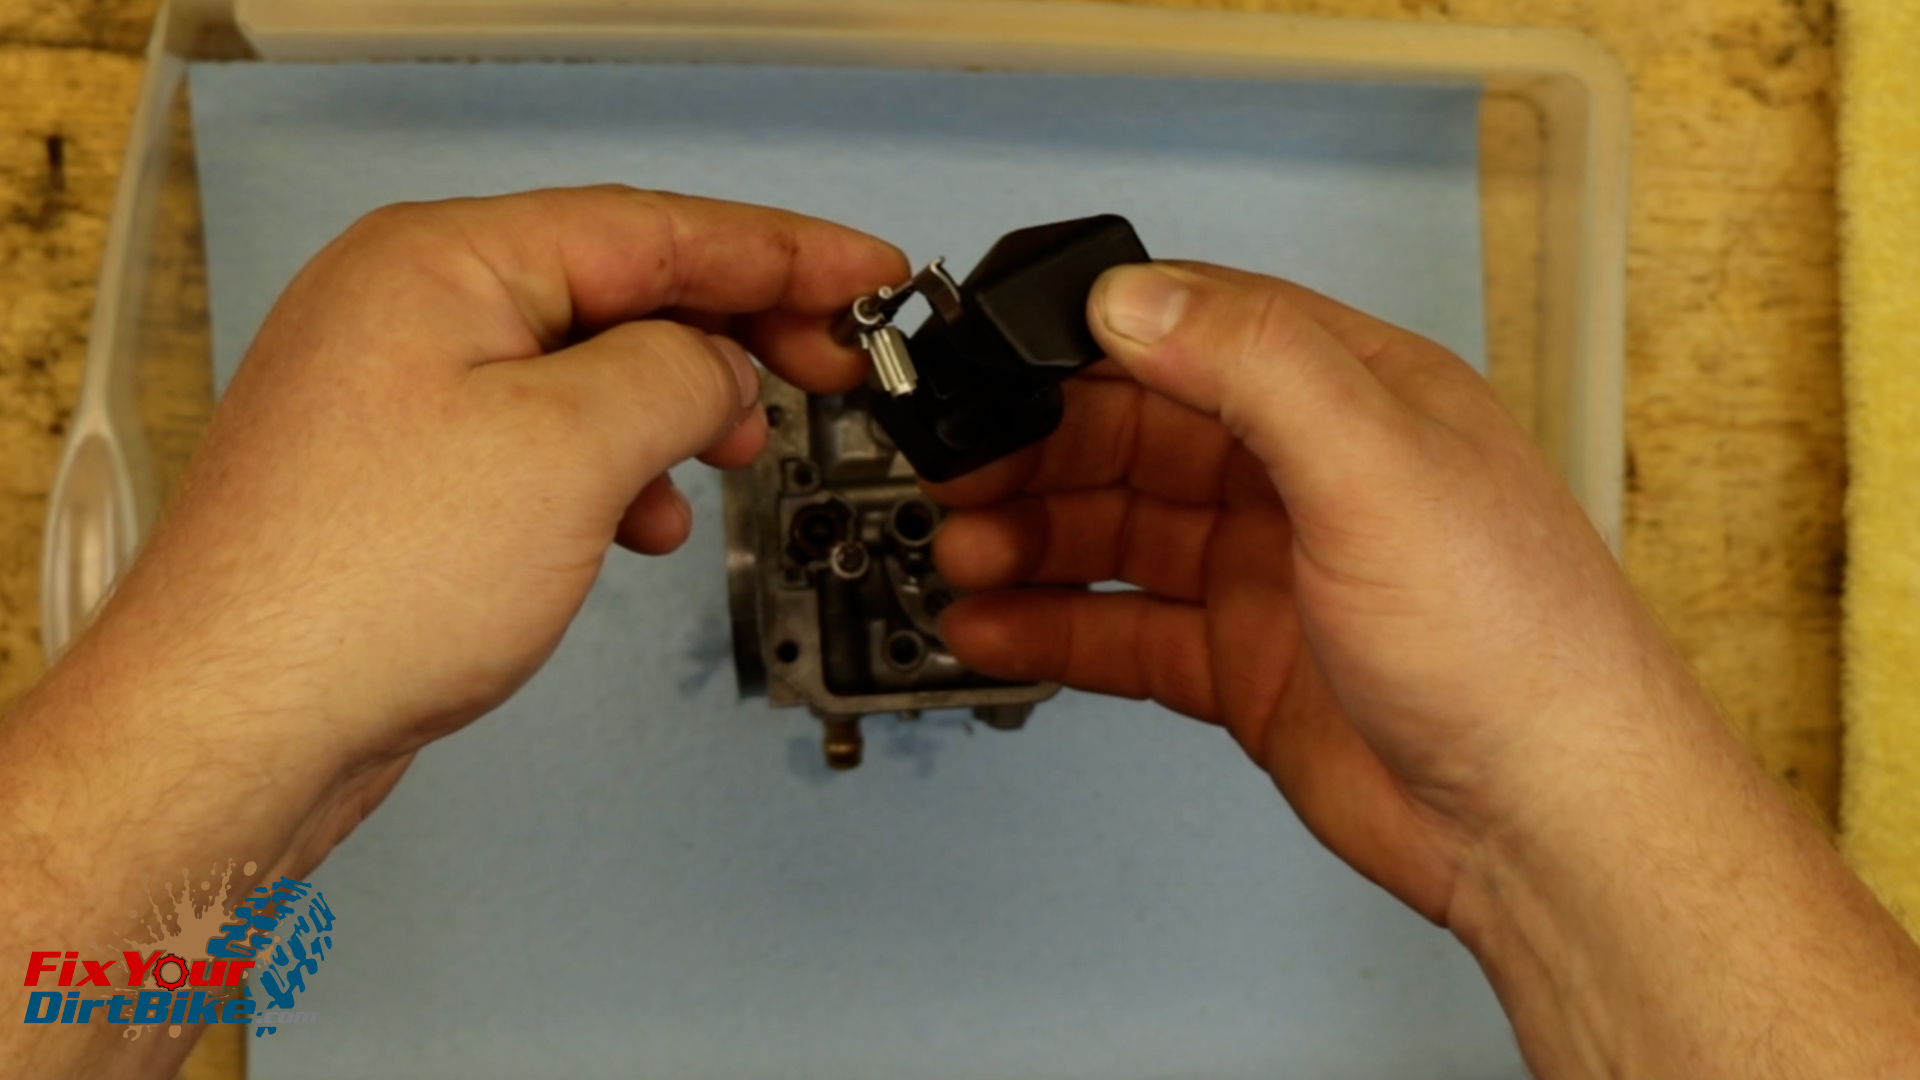
- Remove the choke knob, throttle stop screw, pilot filter screen, and pilot air screw and spring.
- Remove the jet block screws with the supplied Torx bit from JD’s.
- Remove the jet block through the slide opening.
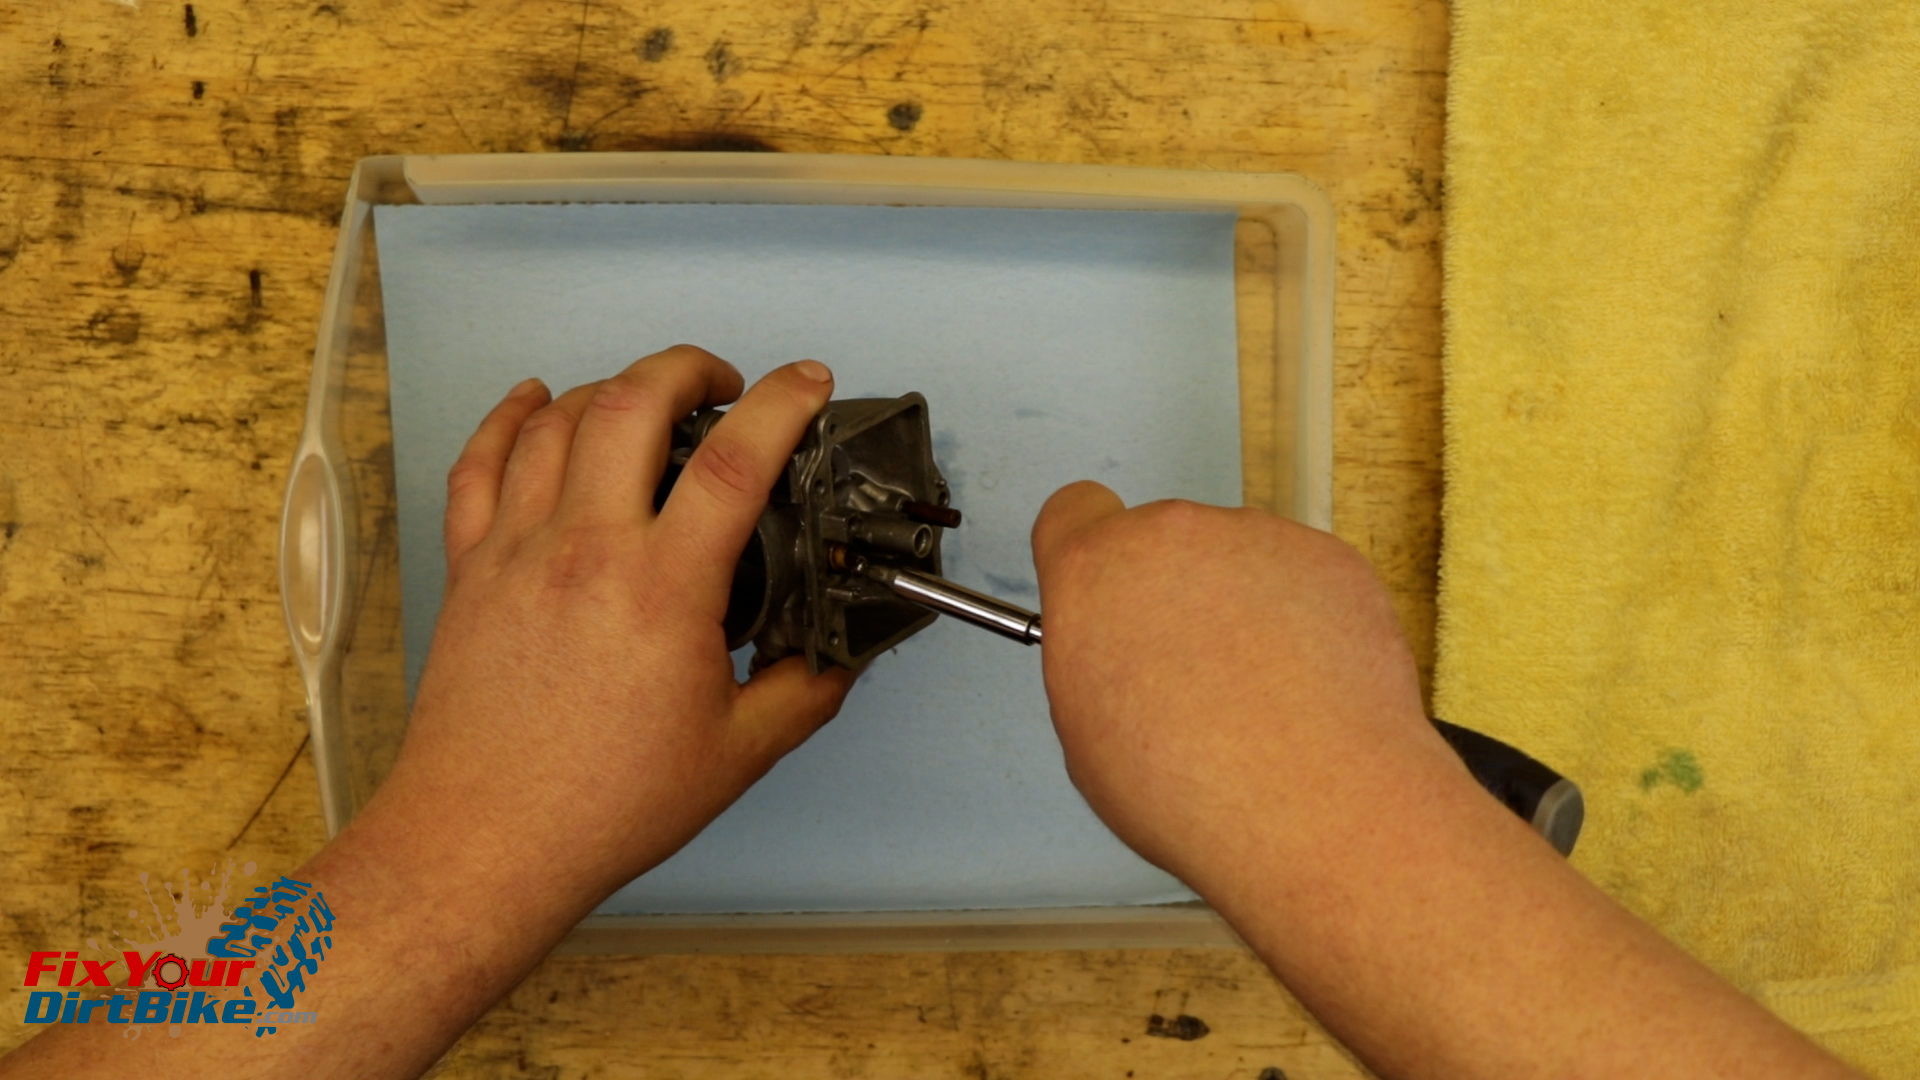
- And if you haven’t done it already, remove the bowl drain.
Clean & Inspect
- Clean the bowl and drain plug with carb cleaner.
- My gasket wasn’t moving easily, and it was in good shape, so I left it in.
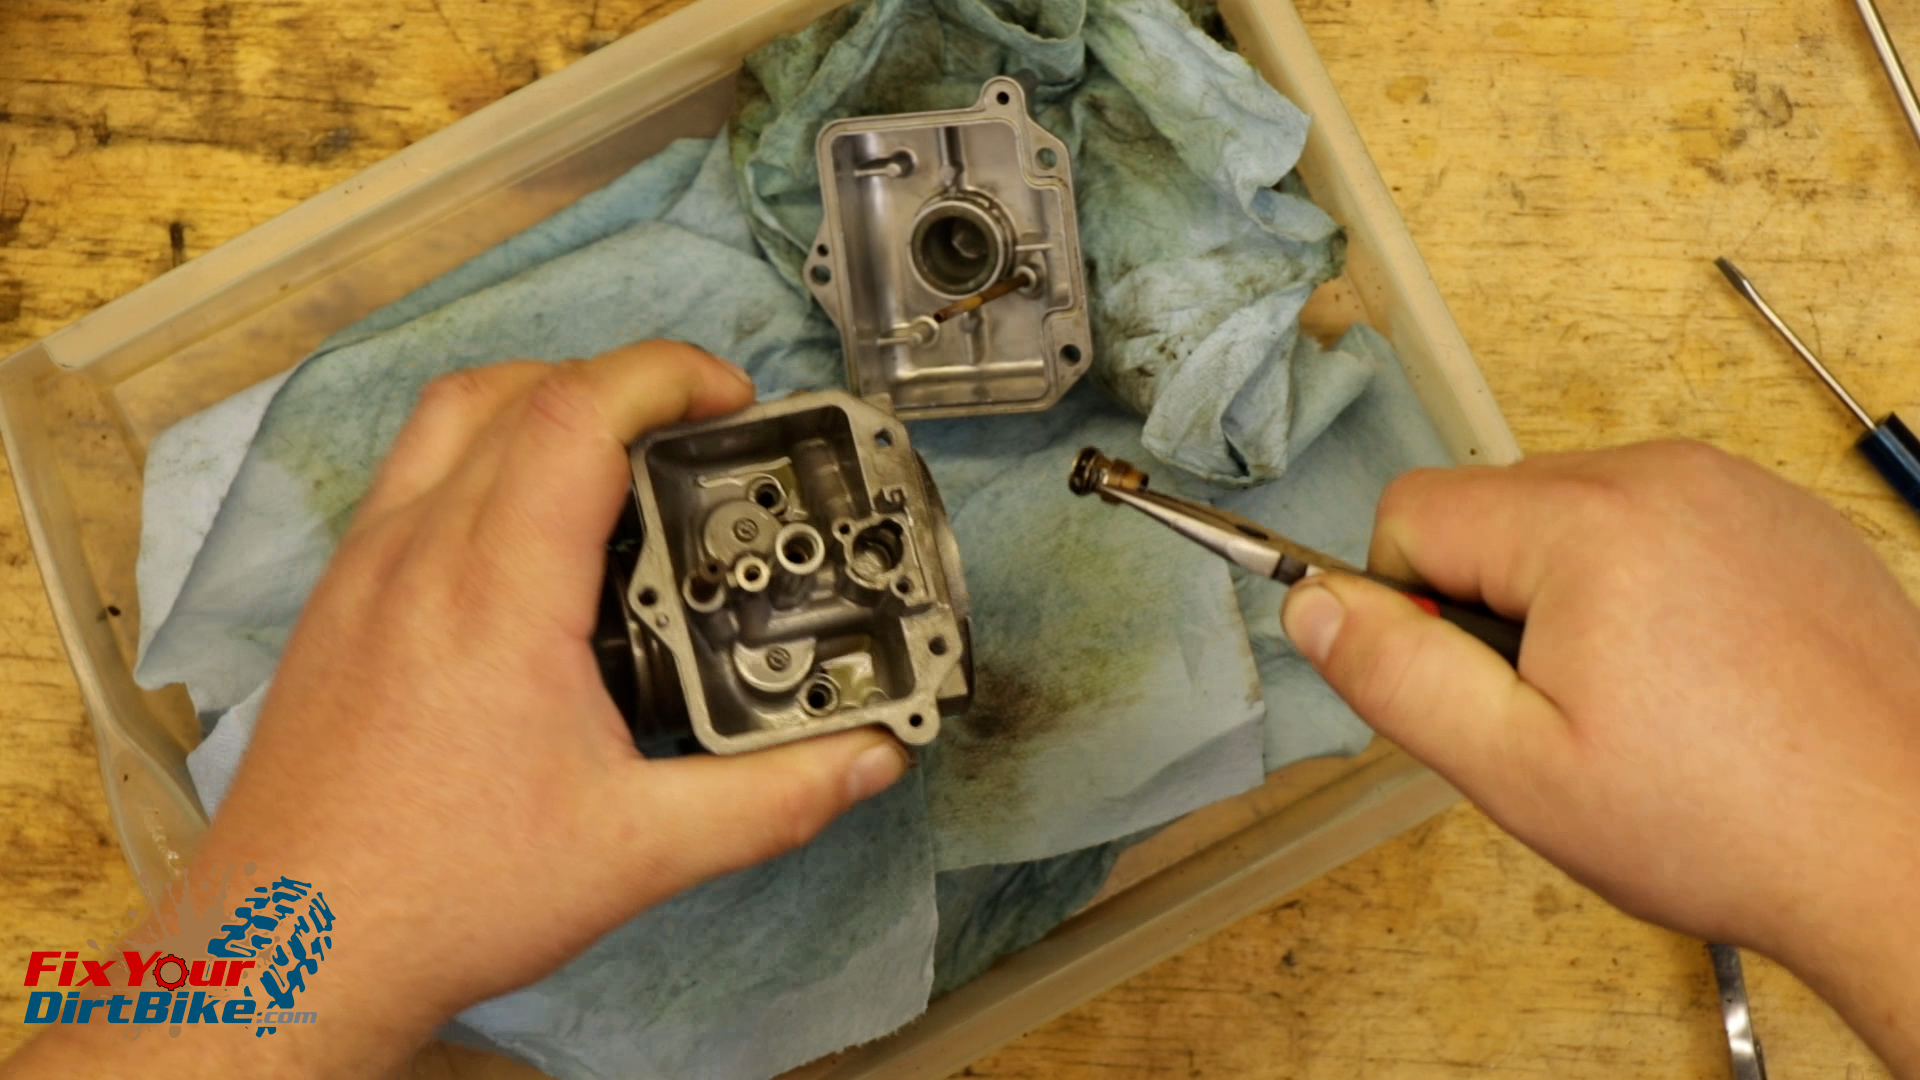
- Remove the needle from the slide with a 6mm socket.
- Inspect the needle for damage. If it is bent or anything other than smooth, it needs to be replaced.
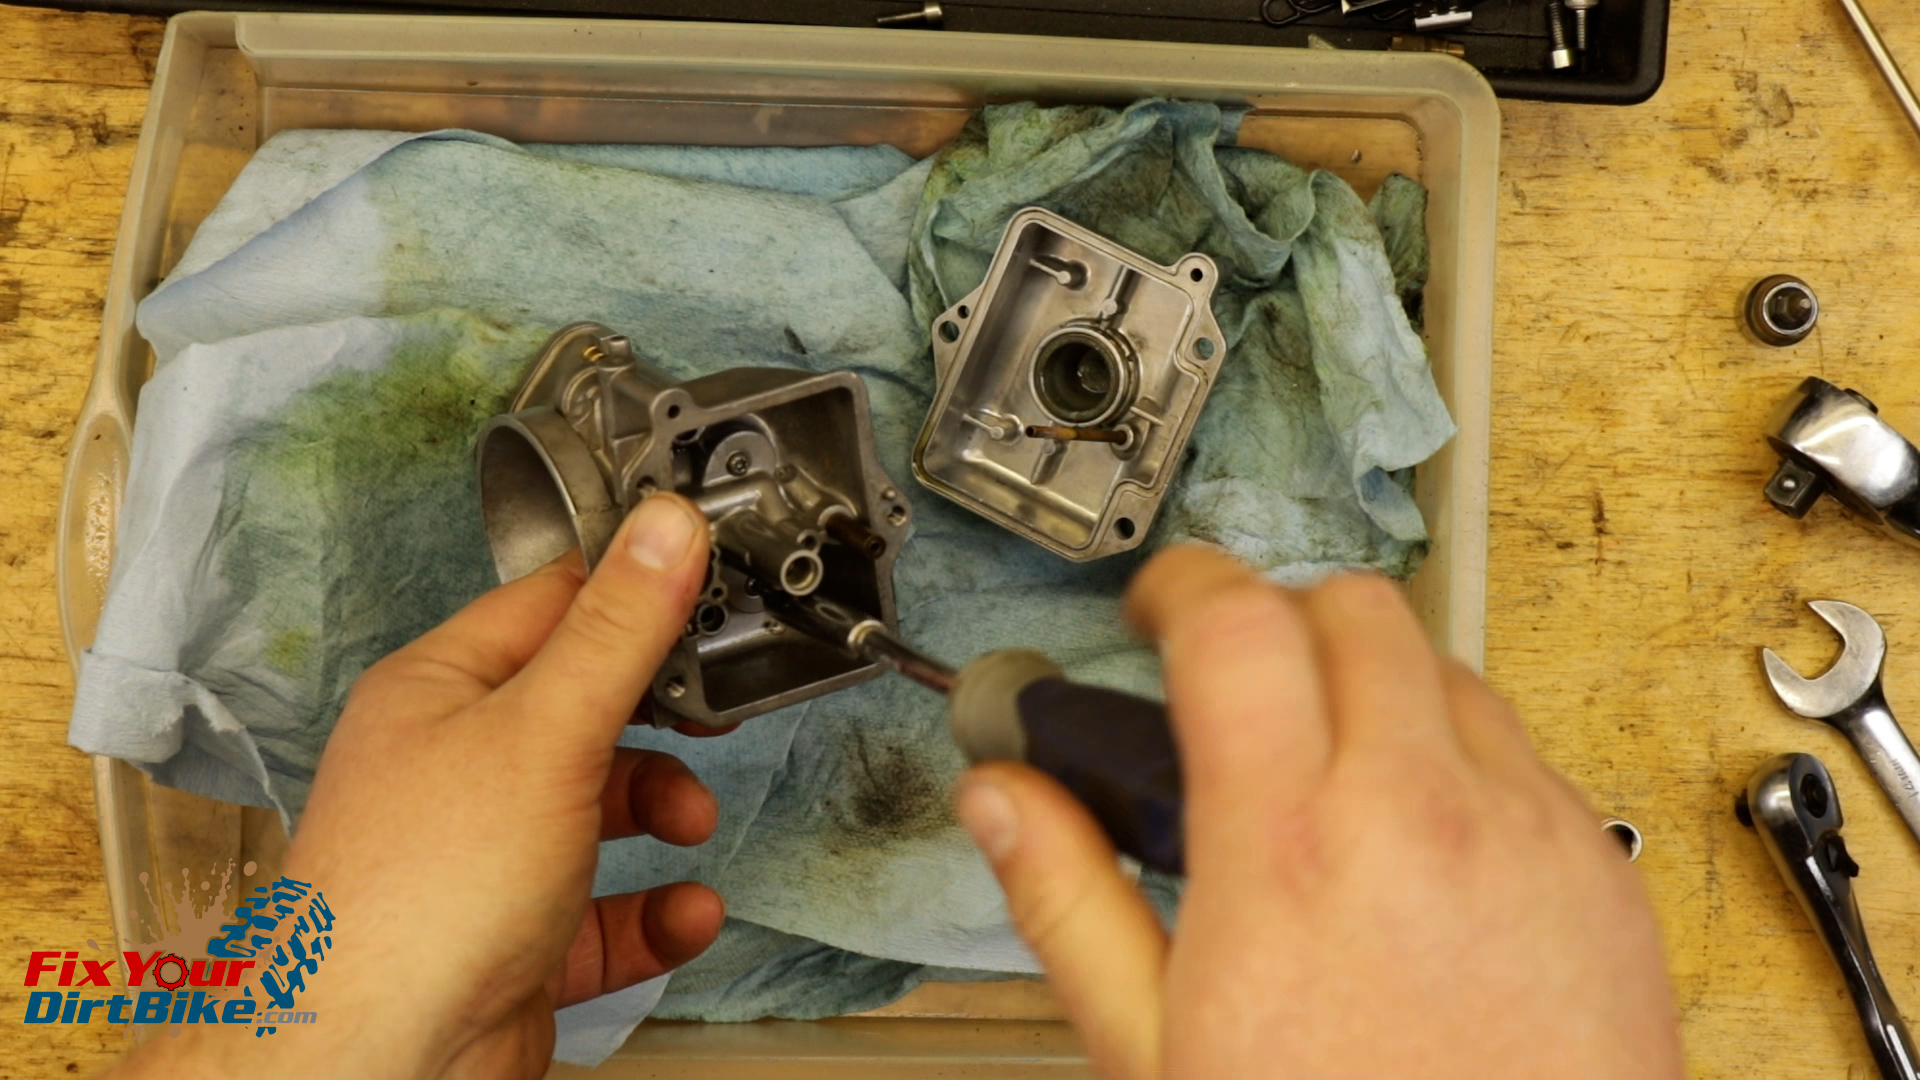
- Clean and inspect the slide. It should be smooth and shiny. My slide had some corrosion on the bottom corners.
- I should have just sanded the corners smooth with 300 grit sandpaper, but I didn’t, and you’ll see what NOT to do with a chromed part coming up.
- Inspect the return spring for kinks; if it’s anything but spring shaped, it needs to be replaced.
- Clean and inspect the choke knob. Check the o-ring, and check the action. The knob should click firmly into place in both directions.
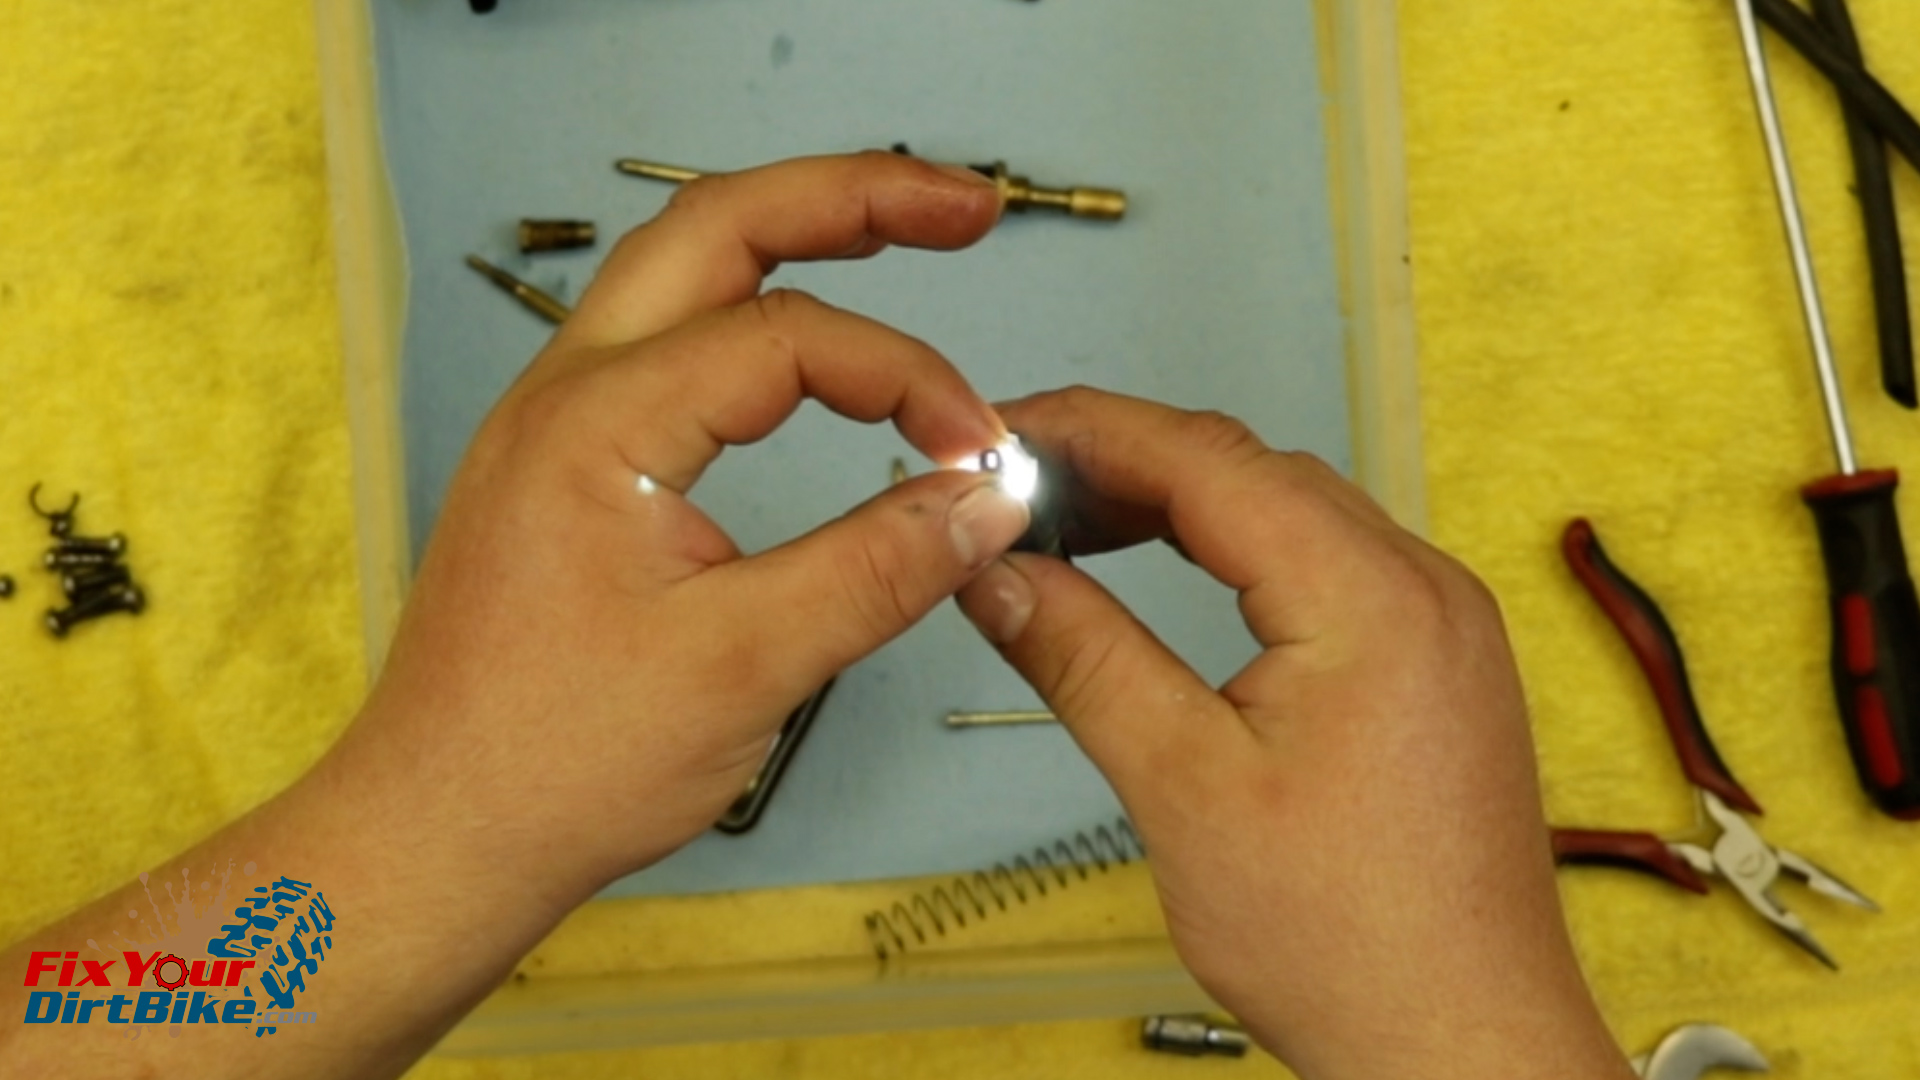
- Inspect the main and slow jets.
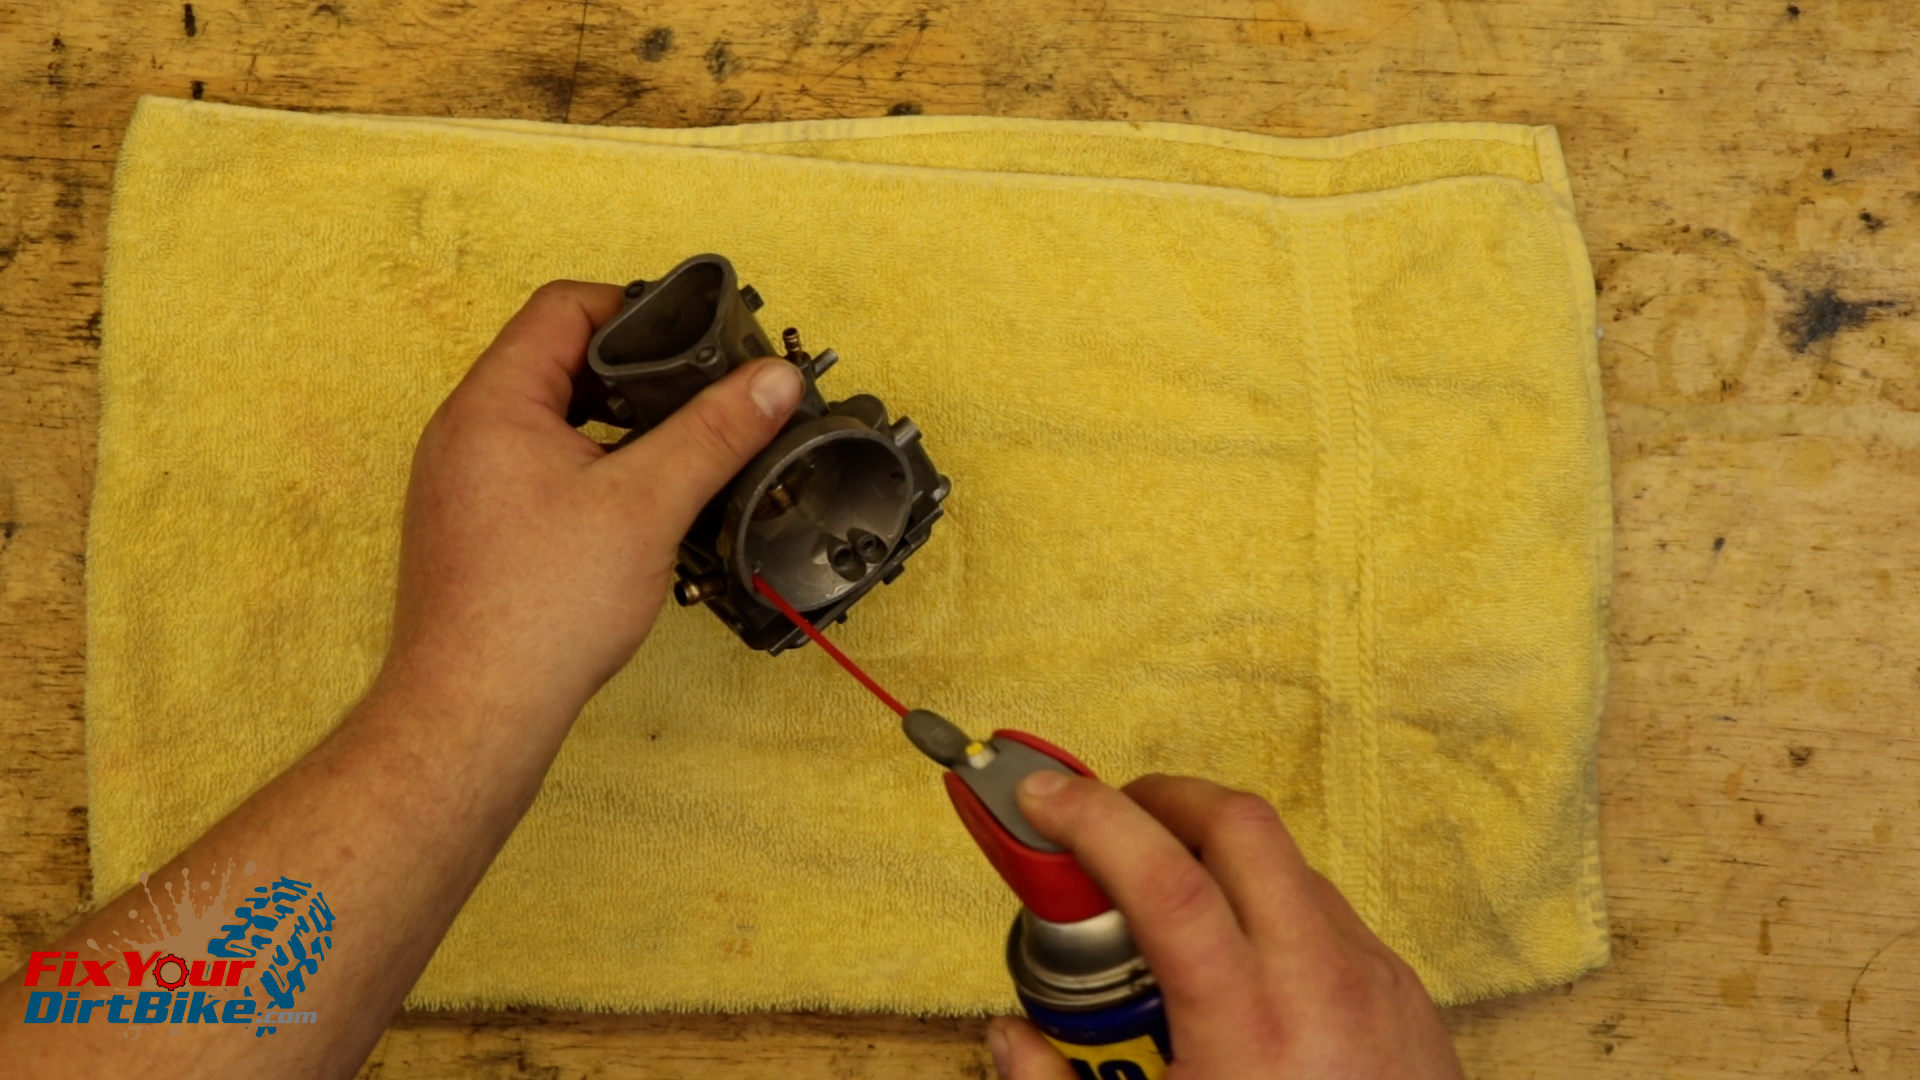
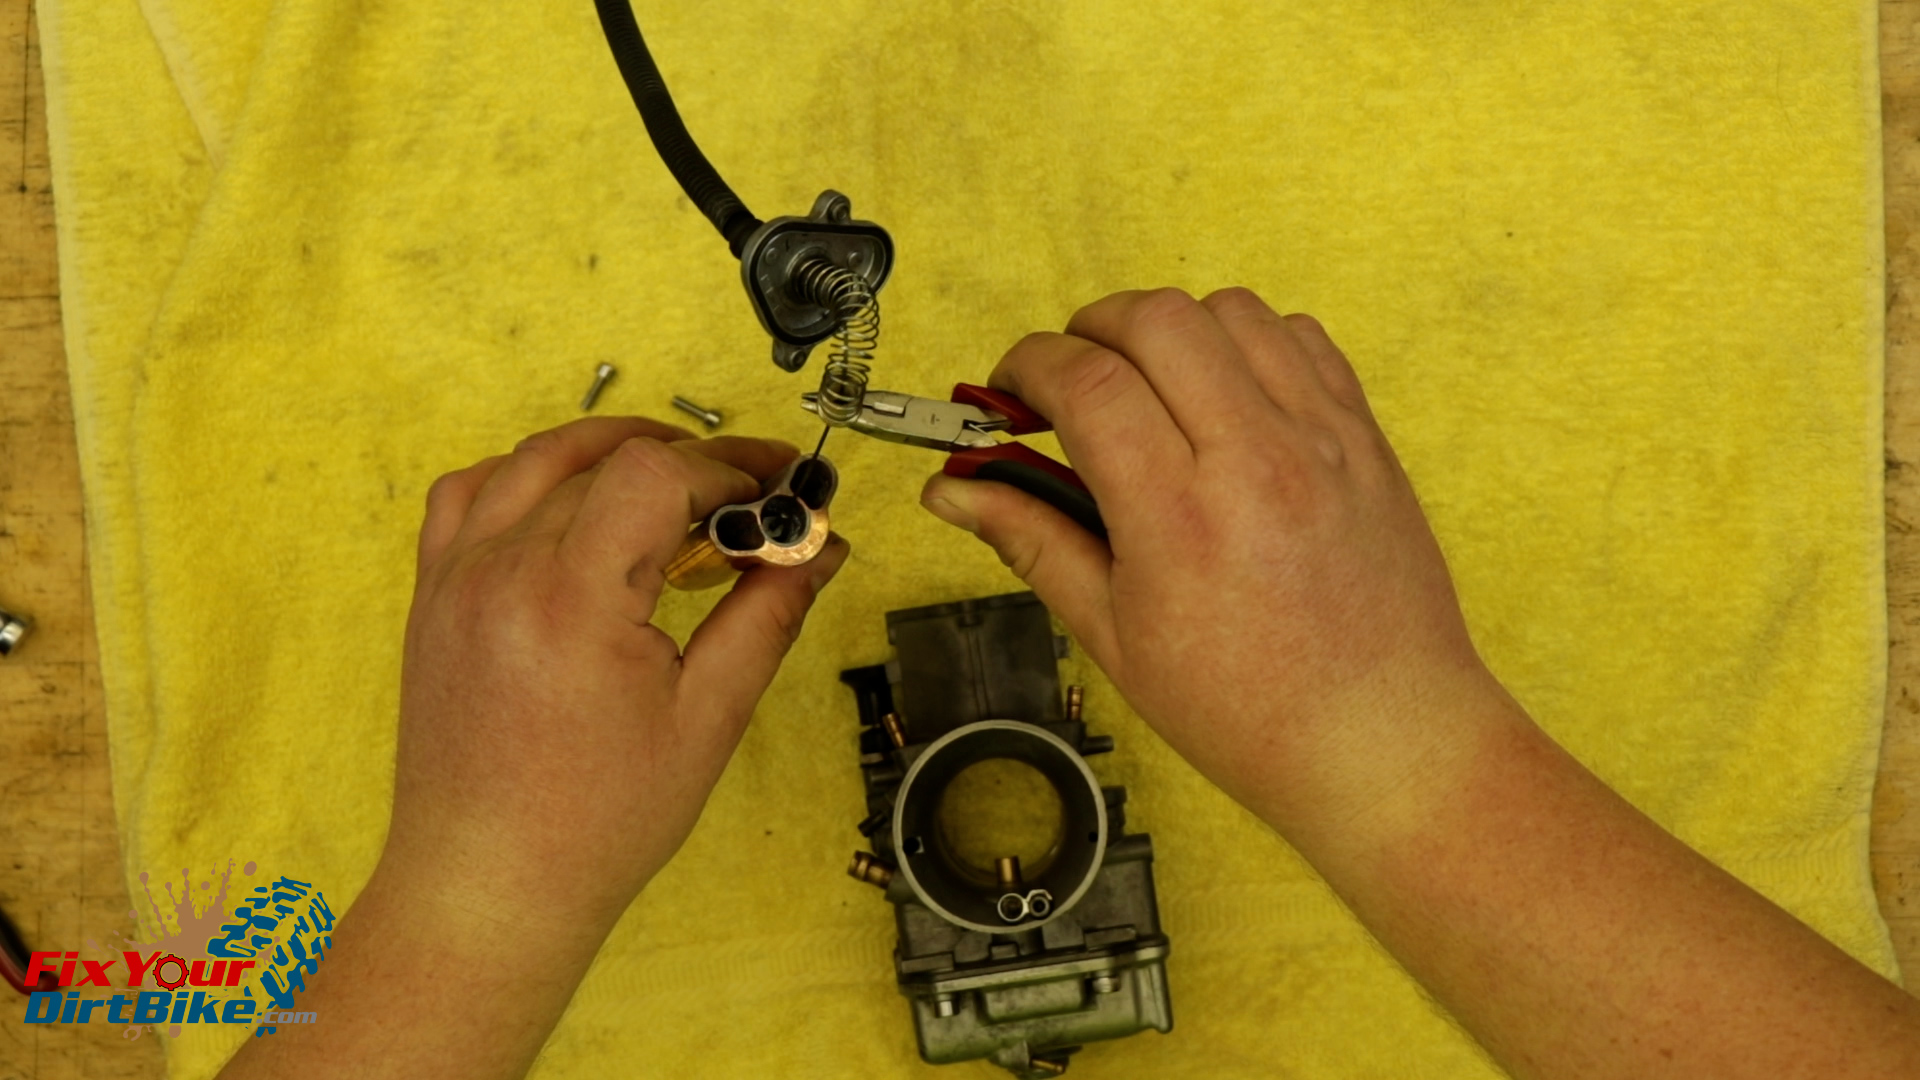
- The slow jet is not a straight-through design. Spray carb cleaner through the end, and you should see it coming out of multiple openings.
- You should be able to see straight through the main jet.
- Clean all other components with carb cleaner.
- Test your floats by submerging them in water.
- If you see bubbles, you need new floats.
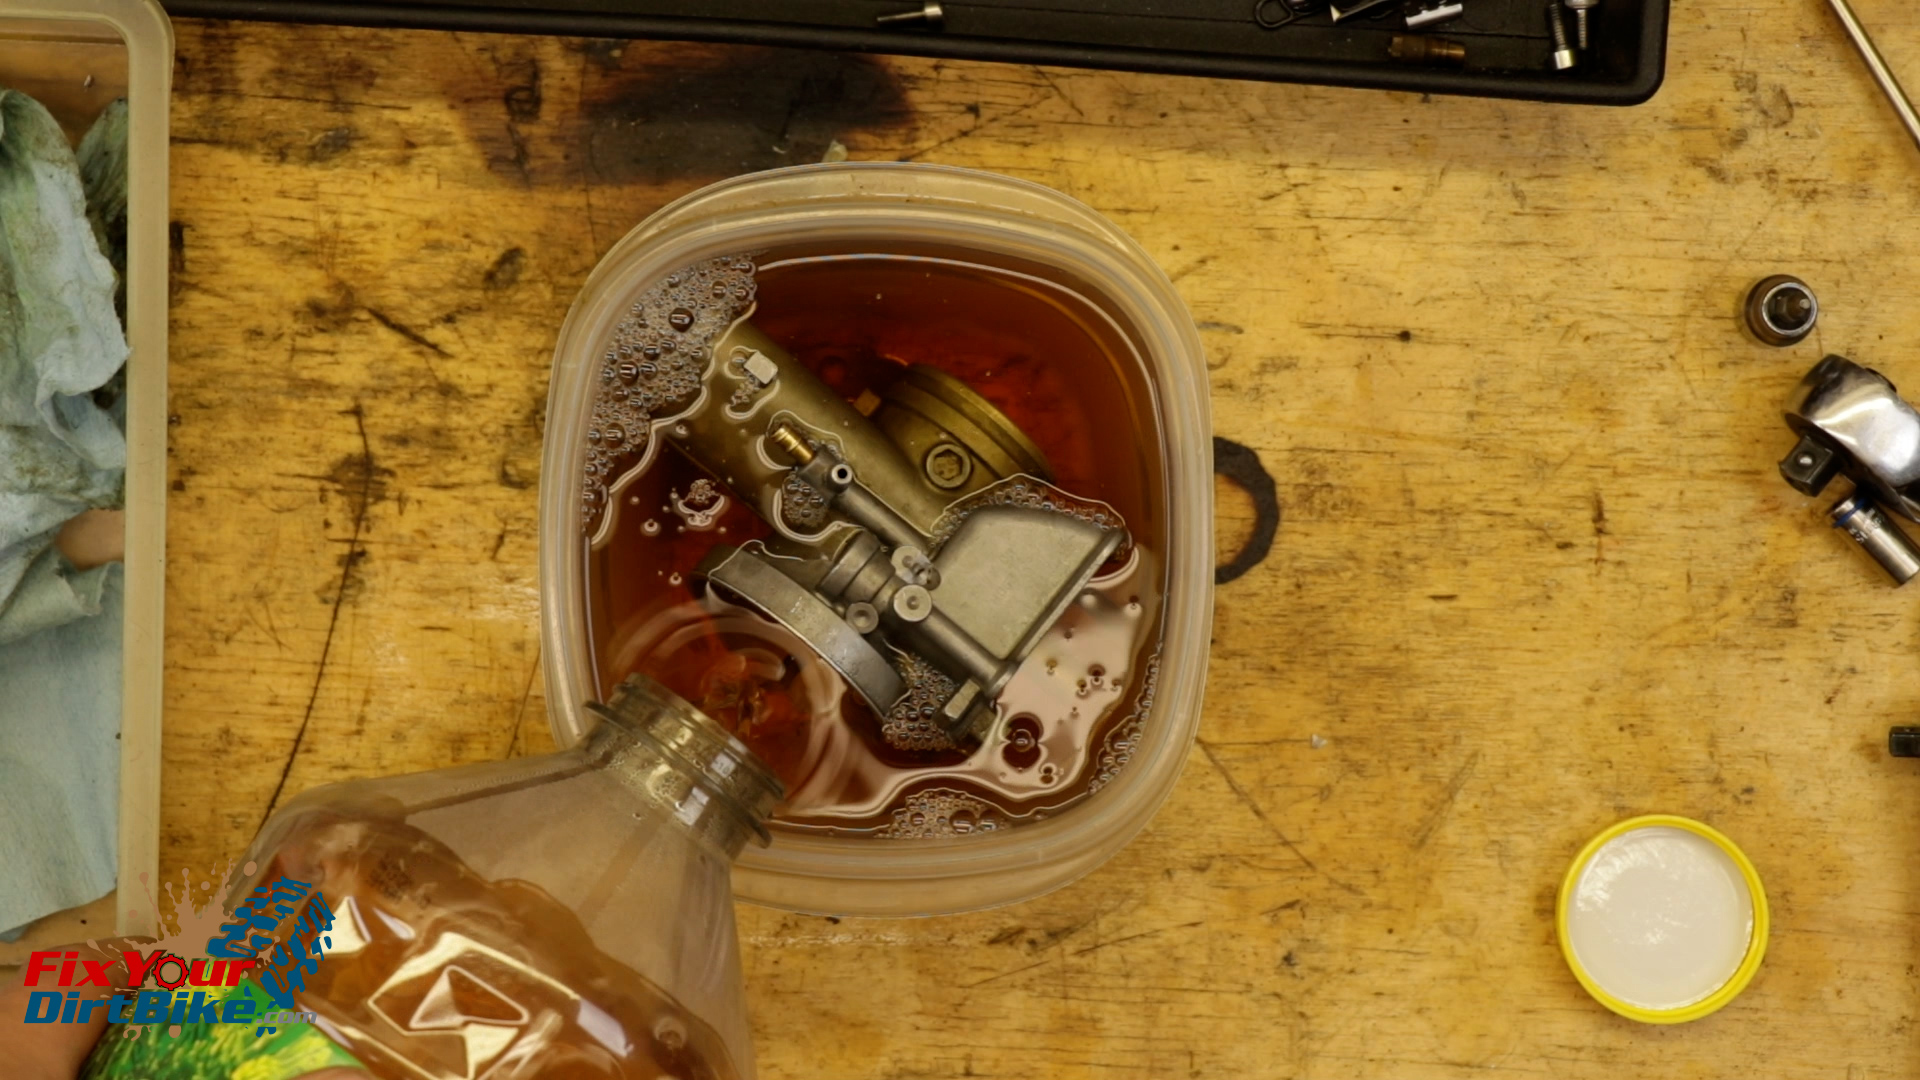
- If you have the time, the most effective cleaning method is to leave your carb to soak in pine sol for about 12 hours.
- If not, carb cleaner will work just fine; just make sure you reach the choke and idle circuits.
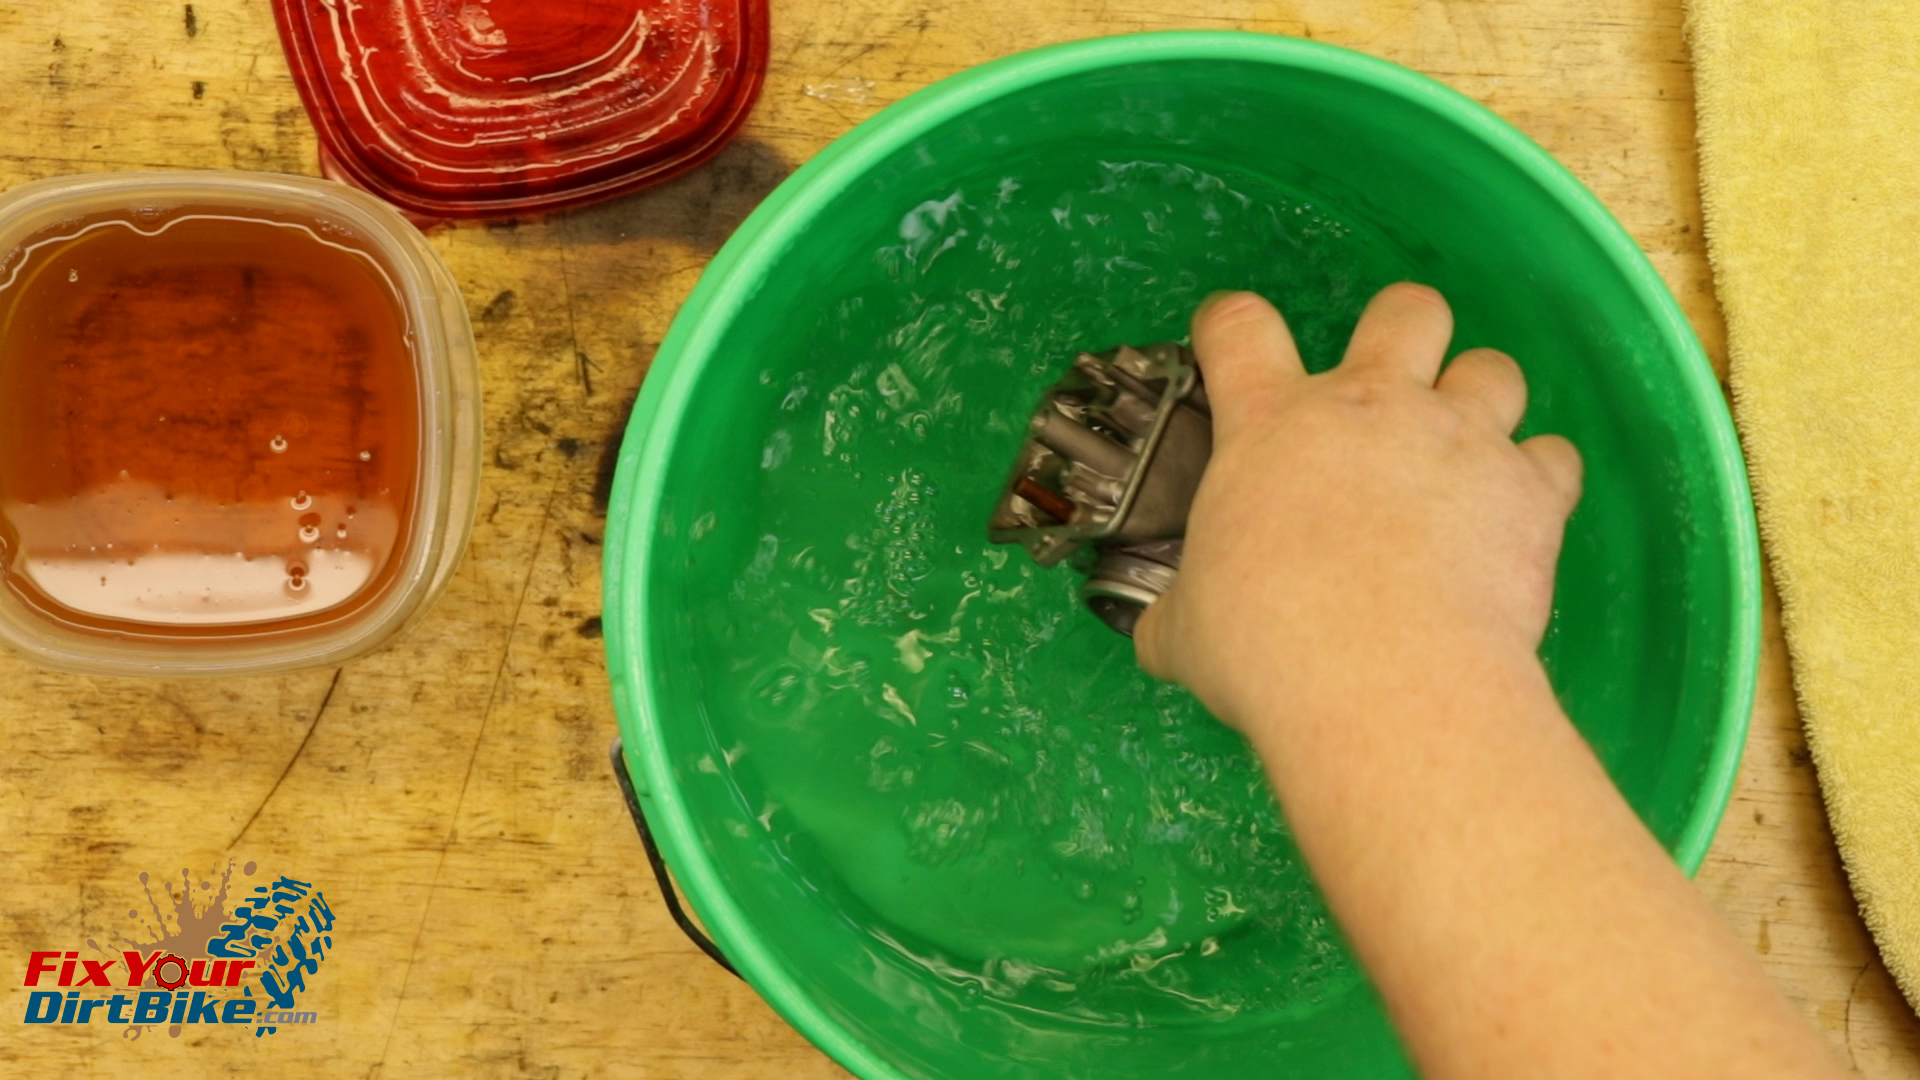
- Thoroughly rinse your carb in water, then use compressed air to blow out the idle and choke circuits.
- With the body dry, shoot WD40 into the circuits to void any residual moisture.

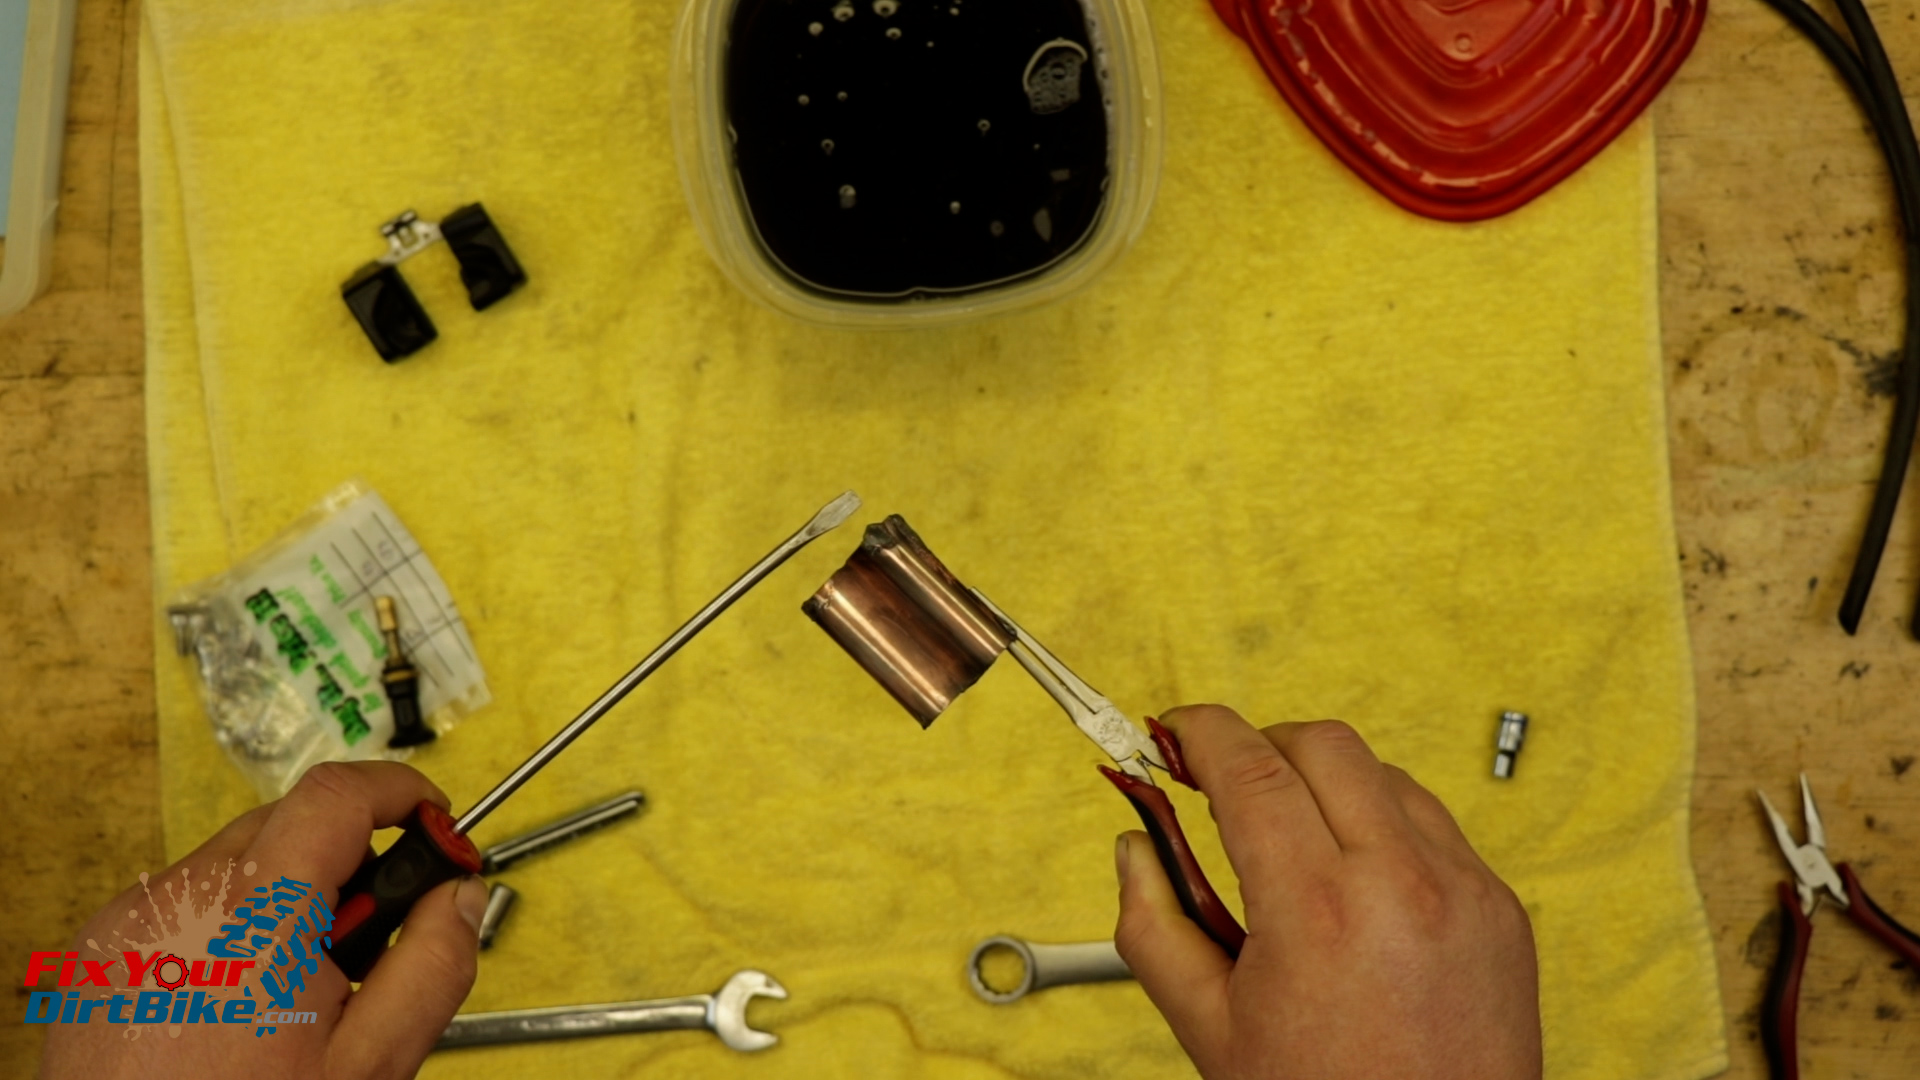
Don’t Soak Chrome In Pine-Sol!
- So apparently, pine-sol dissolves chrome! I’ve never soaked a slide, so I thought I would see what happens. This… this happens, so… Lesson learned, and learn from me.
Carburetor Assembly
- Start your carb assembly with the new jet block gasket.
- The gasket can be tricky to install, but some 2-stroke oil will help keep it in place.
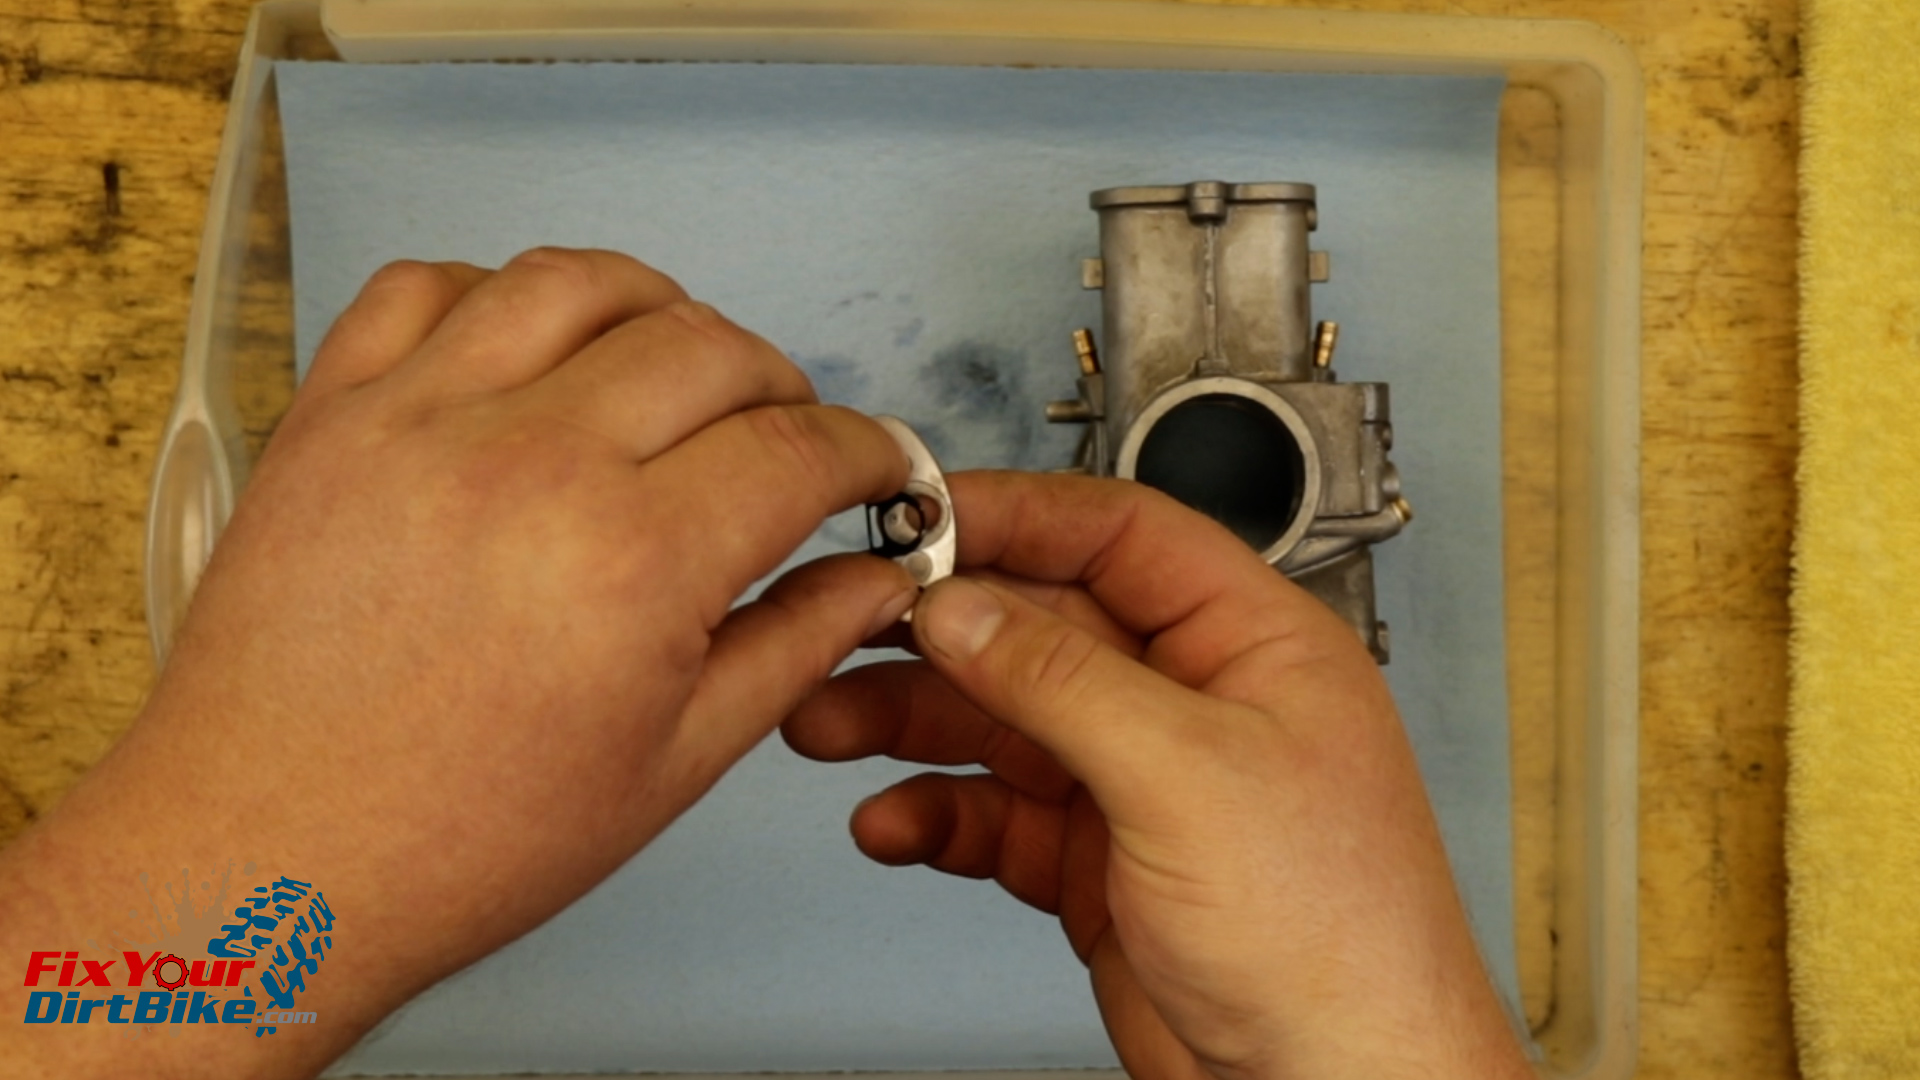
- Apply 2-stroke oil to the new float valve O-ring.
- Install the new O-ring onto the float valve, and press the valve into the body.
- Install and tighten the float valve retaining screw.
- Install the float pin into the float, and float valve onto the tab.
- Place the float assembly in the bowl, and secure it with the retaining screw.
- Install the main jet housing finger tight, then use your socket wrench to get it snug, not tight.
- Install the main jet the same way.
- Install the slow jet.
- Again, these jets are brass and can break easily.
- Install the jet shroud.
- Install the gasket and fuel bowl.
- Install the choke knob with a new O-ring.
- I am using the spare O-ring from the JD jetting kit on the choke knob.
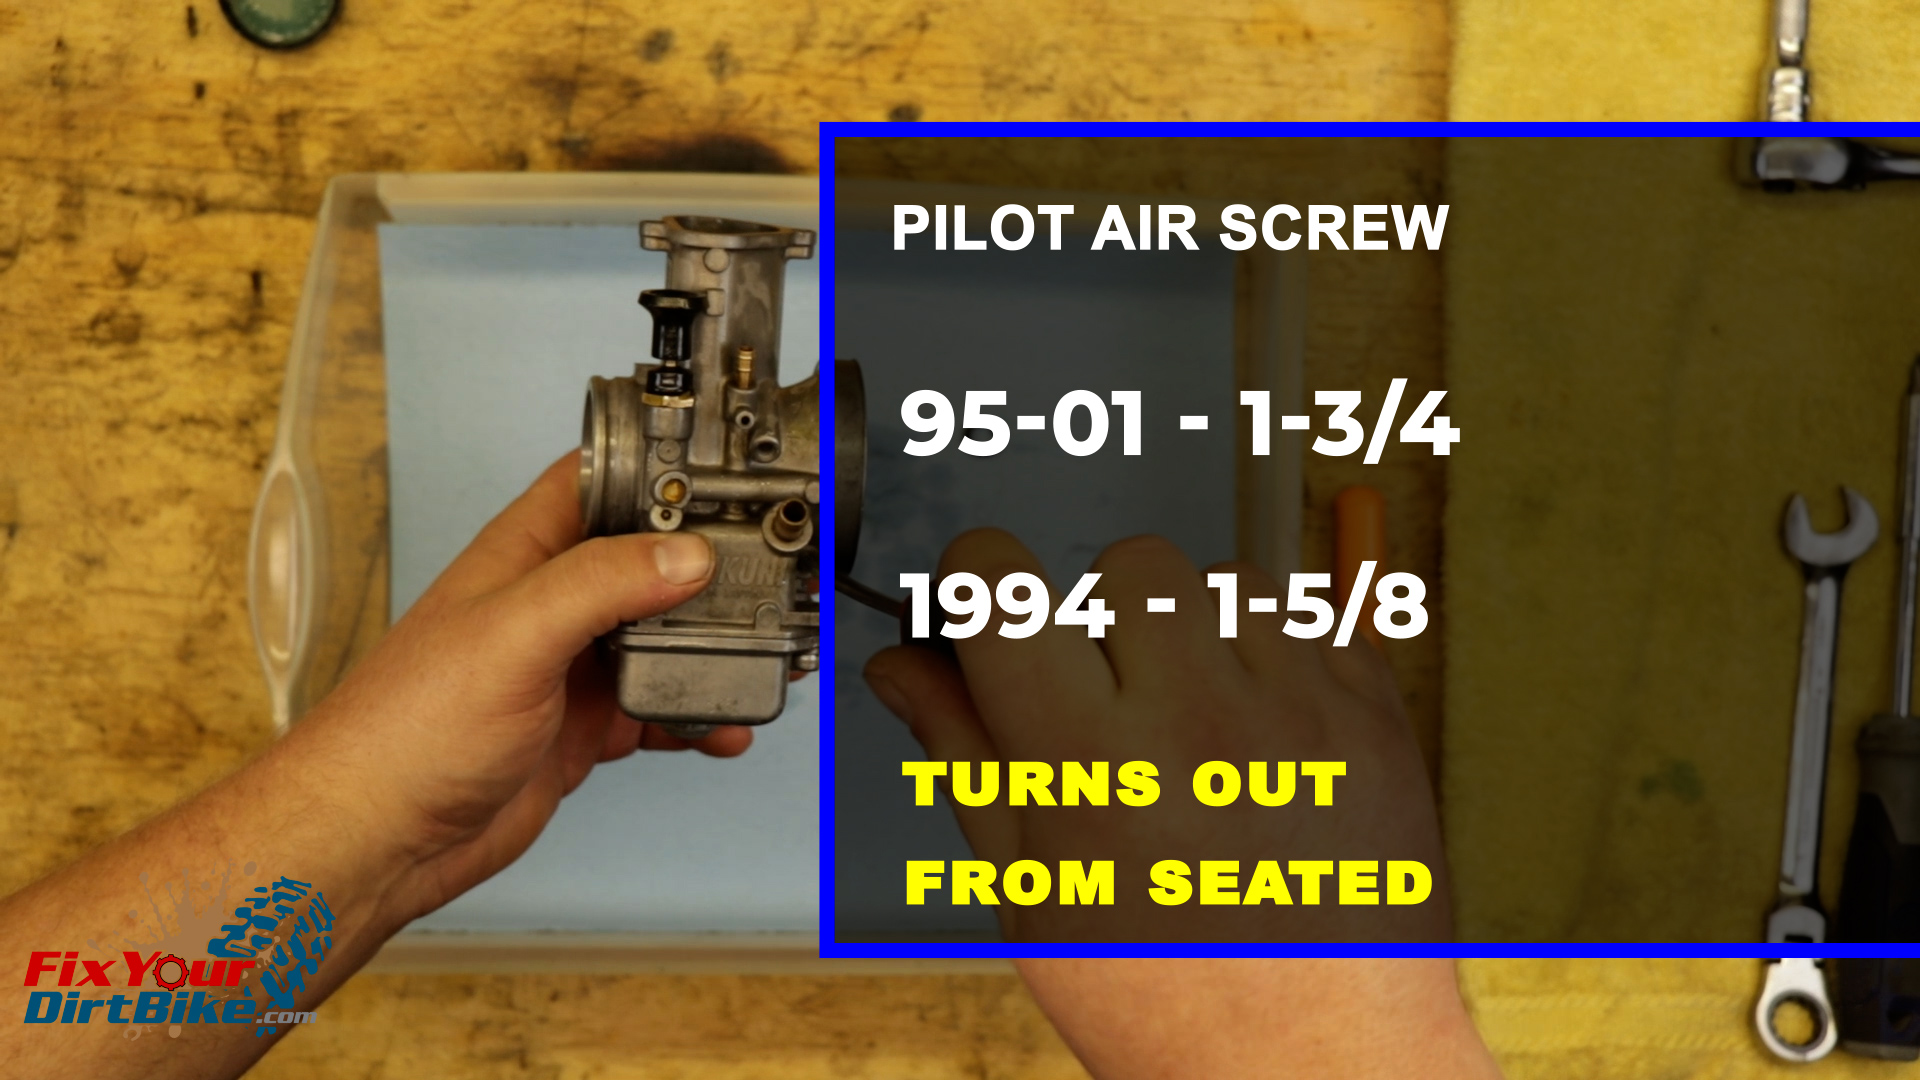
- Install the pilot air screw and spring.
- The pilot air screw has a factory setting of 1 and ¾ turns out from seated for 1995 – 2001, and 1 and 5/8 for 1994.
- Install the pilot filter screen
- Install the throttle stop screw.
- Turn in the throttle stop screw until you can see the tip in the body. Set it here, so the throttle closes completely and doesn’t interfere with tuning later.
Float Level
Float levels are all over the place between model years, if they even have them.
- To check your float level, angle your carburetor, so the float touches the valve but not engaging the spring.
- Measure from the top of the main jet to the top of the float arm.
Almost every year had a different float level, so make sure to check your model year carb specs here.
This carb has no float level specified, but it does have a fuel level specification. Of course, I need a special tool to measure the fuel level, and I’m not going to buy it.
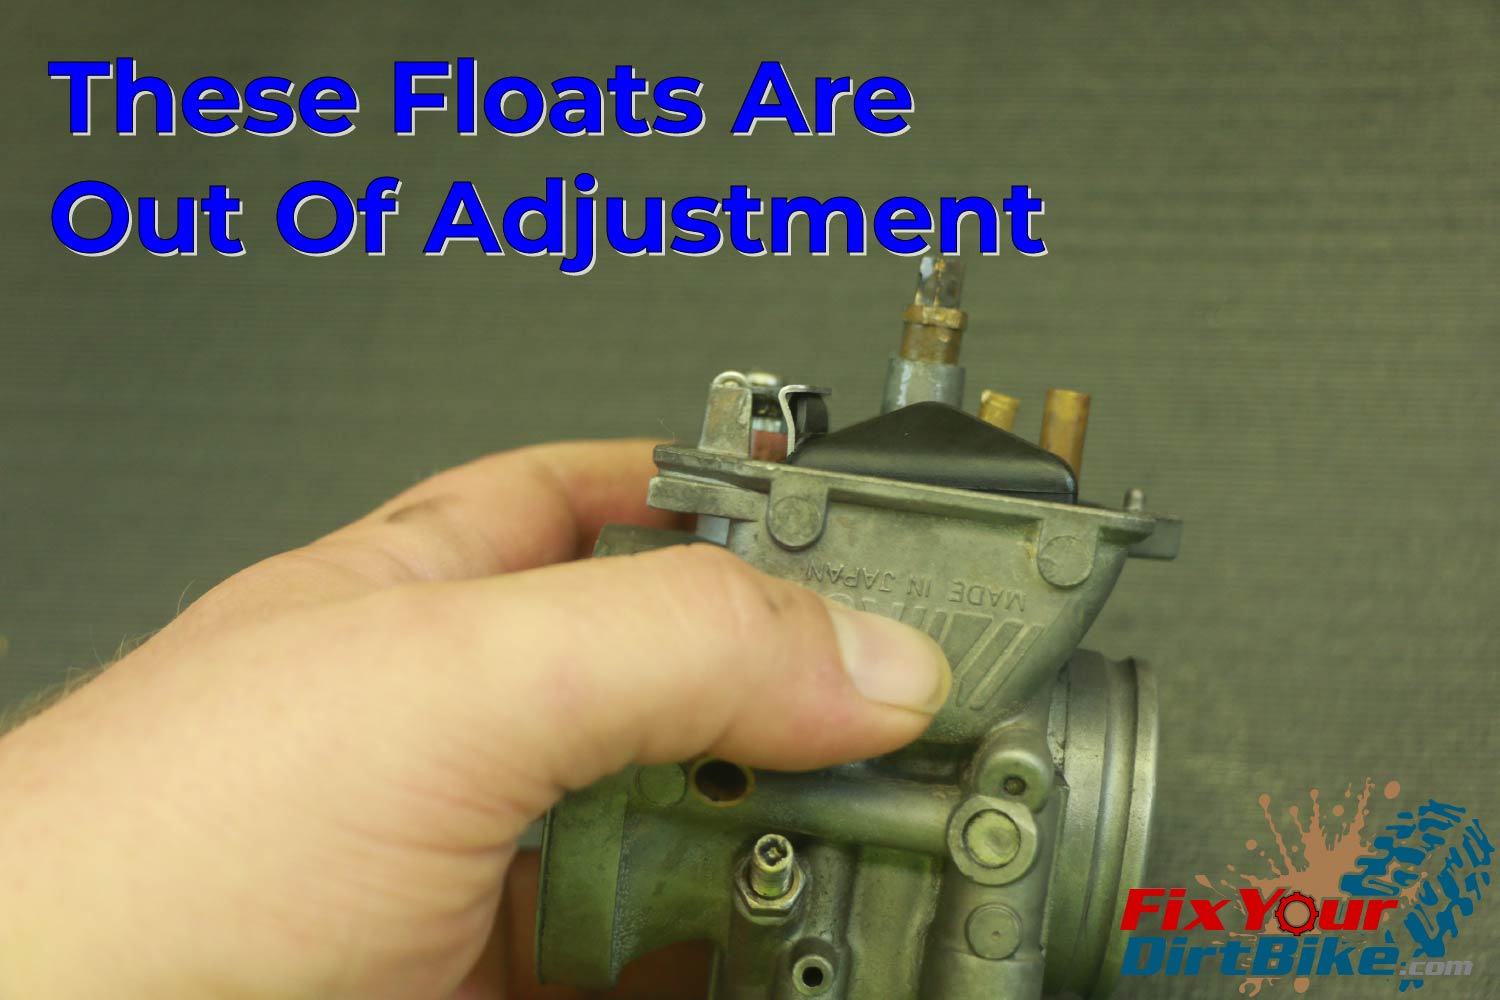
A good rule of thumb is to set the floats parallel to the carburetor body.
Even if I have no measurements to go off of, I can tell these floats are WAY out of adjustment because the tab is bent way up, and the valve closes long before the floats reach parallel.
So I’m going to set my floats at parallel and keep this in mind while tuning the carb. If I find myself with an extremely lean or rich condition, I can start here.
- If your float is out of adjustment, you can bring it back into adjustment using the float tab.
- Bend the tab up to lower the floats and down to raise the floats in relation to the body.
Carburetor Installation
My bike is completely stripped, so Imagine the throttle cable is still attached to the bike.
Even though my slide is de-chromed, it’s still in one piece. I can use it, but I will be replacing it sooner than later.
- Drop the needle into the slide, and secure it with the needle holder.
- The factory needle position is different from year to year, so check your Yamaha YZ125 carburetor specs here.
- Place the throttle return spring on the throttle cable, then grip the cable with needle-nose pliers.
- Work the spring up the throttle cable, then install the cable into the slide.
- Install the slide, then secure the slide cap with new hardware.
If you have any questions, please let me know in the comments or on social.
