
How To Rebuild The Rear Master Cylinder On Your 1994 – 2001 Yamaha YZ125
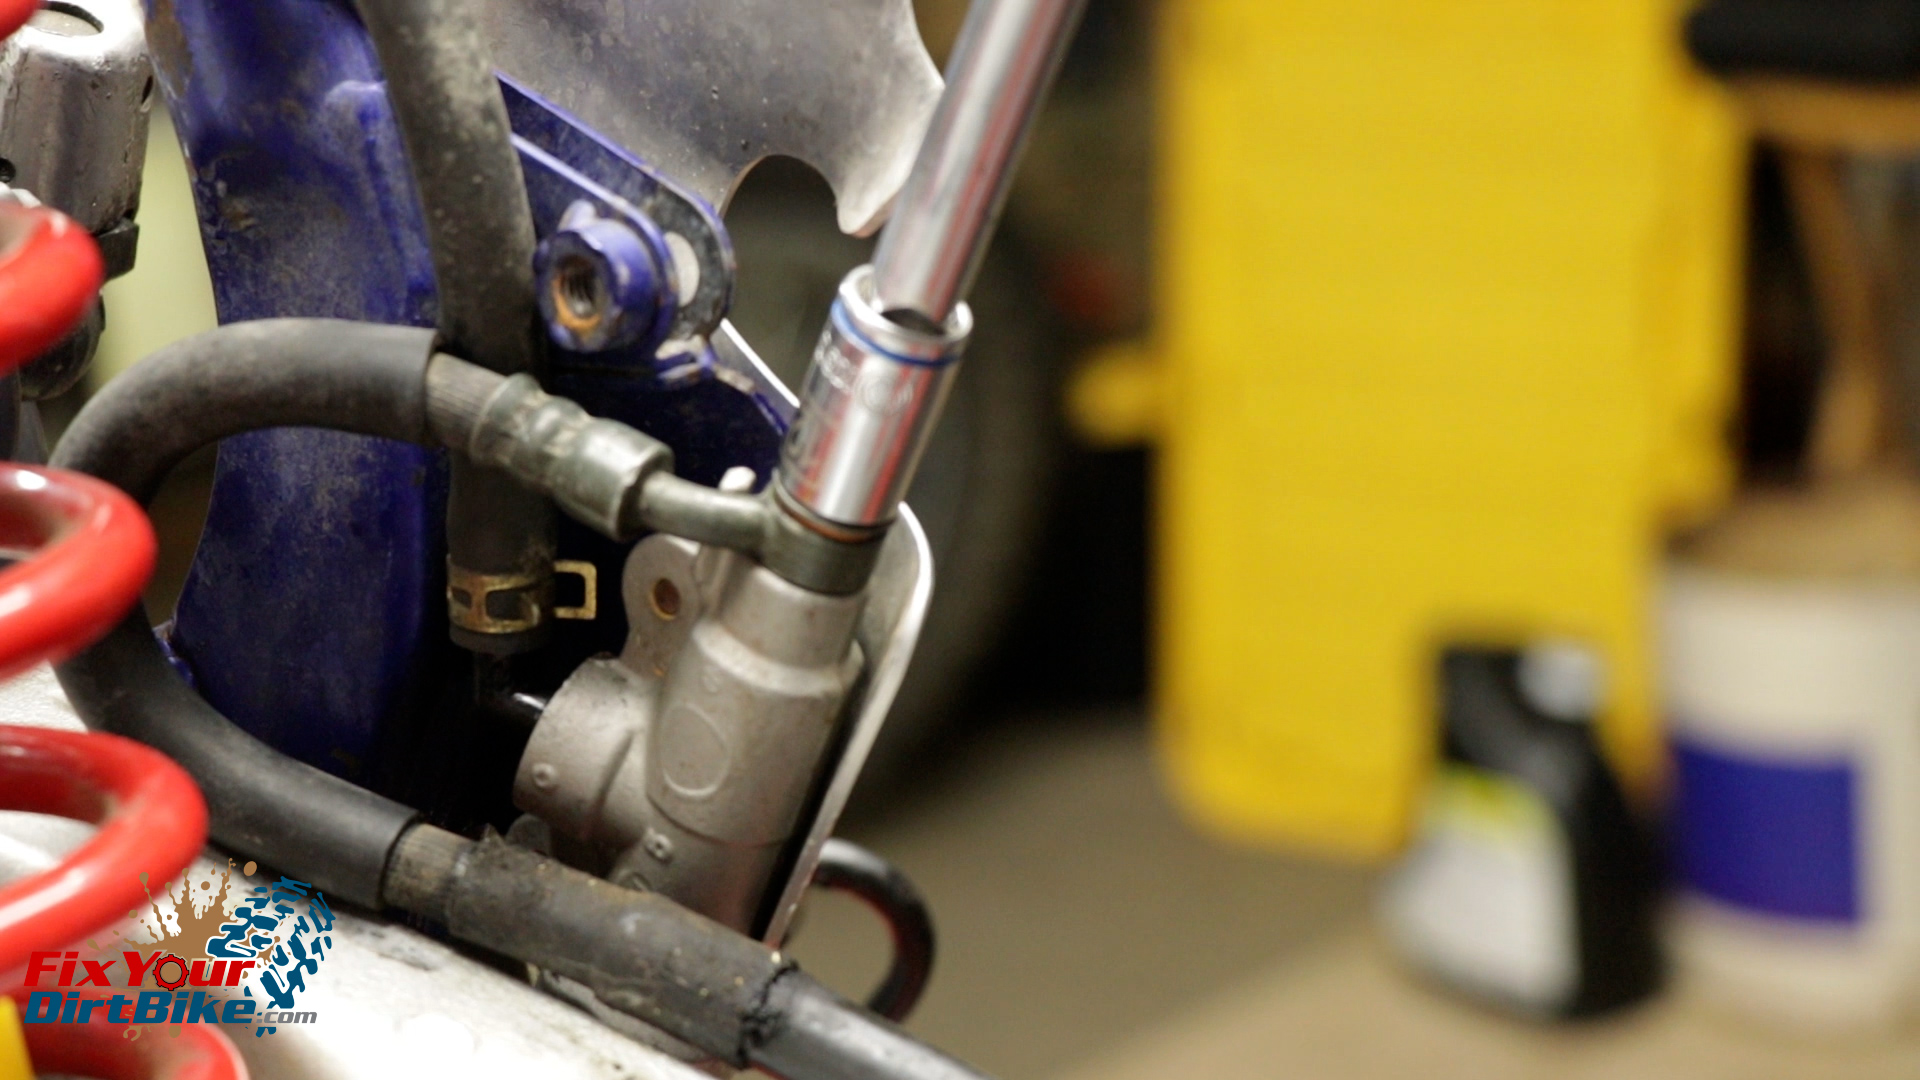
 My bike is stripped, so I am removing the banjo bolt on the bench, but I would recommend removing yours while still mounted to the bike.
Brake fluid can damage almost everything, so keep your shop towels handy.
The Tools You Will Need
- Philips Screwdriver
- Needlenose Pliers
- Calipers
- Picks
- 12mm Socket
- Pliers
- Electrical Tape
- Snap Ring Pliers
The Parts You Will Need
The parts you will need are a REAR master cylinder rebuild kit, rubber grease, and a fresh bottle dot four brake fluid.
If you don’t have parts yet, you can get all the parts you need HERE!
Make Sure To Service Your Entire Brake System!
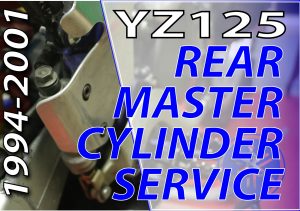
Rear Master Cylinder Removal
- Start by disconnecting the brake pedal return spring.
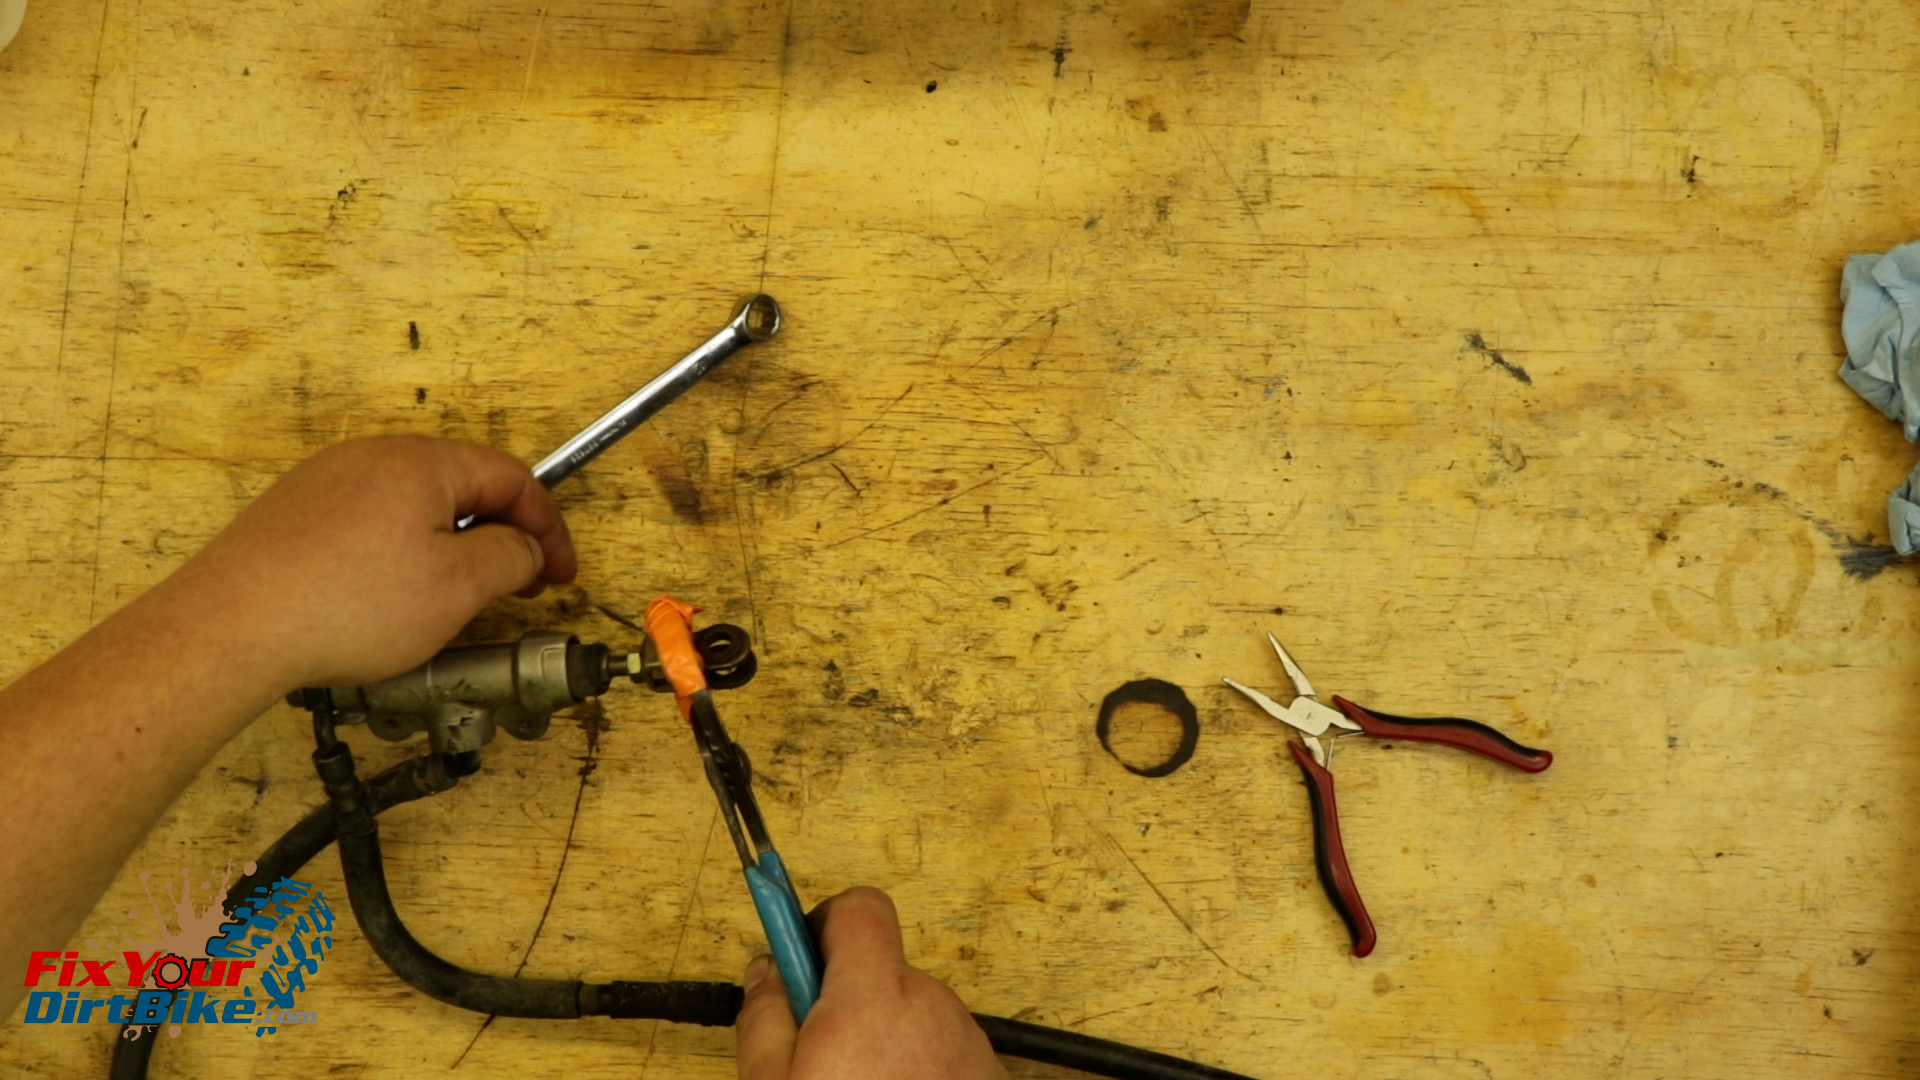
- Remove the banjo bolt and wrap the end of the brake line in a shop towel.
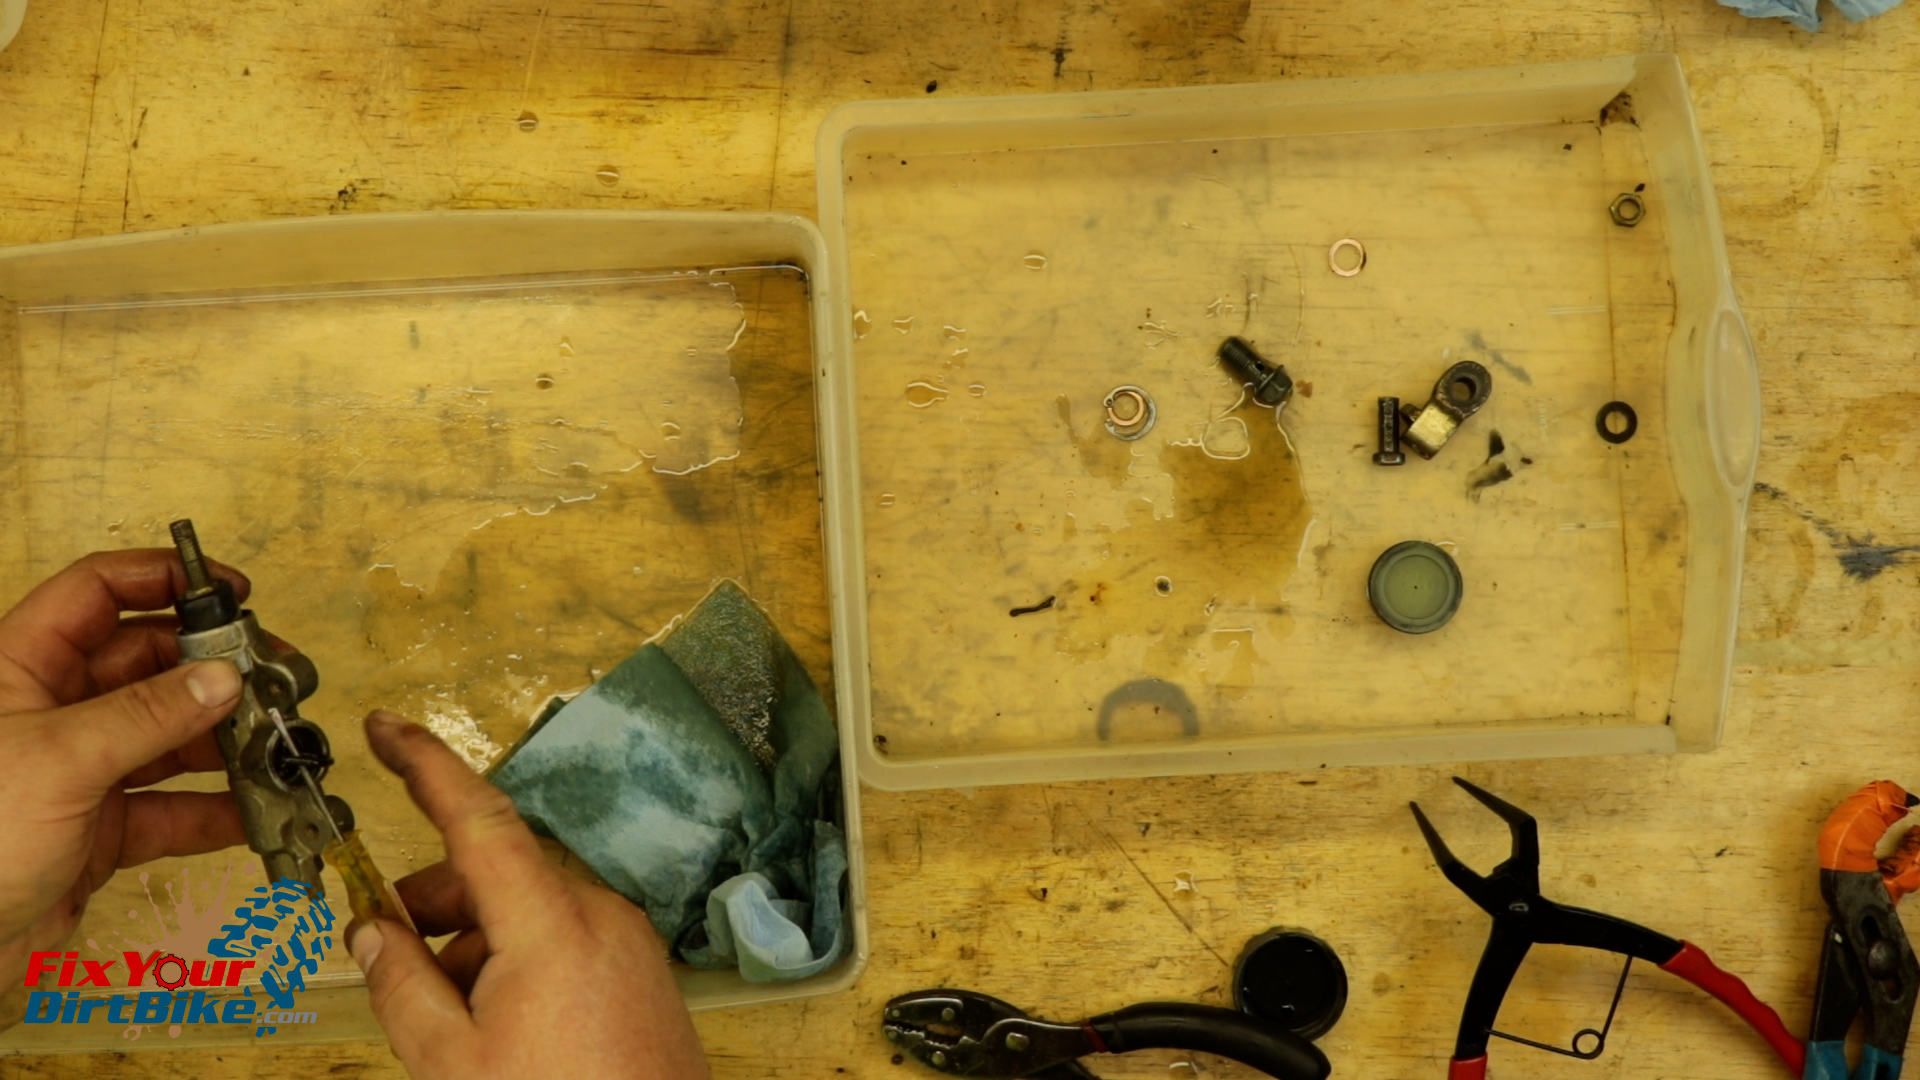
- I am removing the entire rear brake system so that I will remove my banjo bolt on the bench.
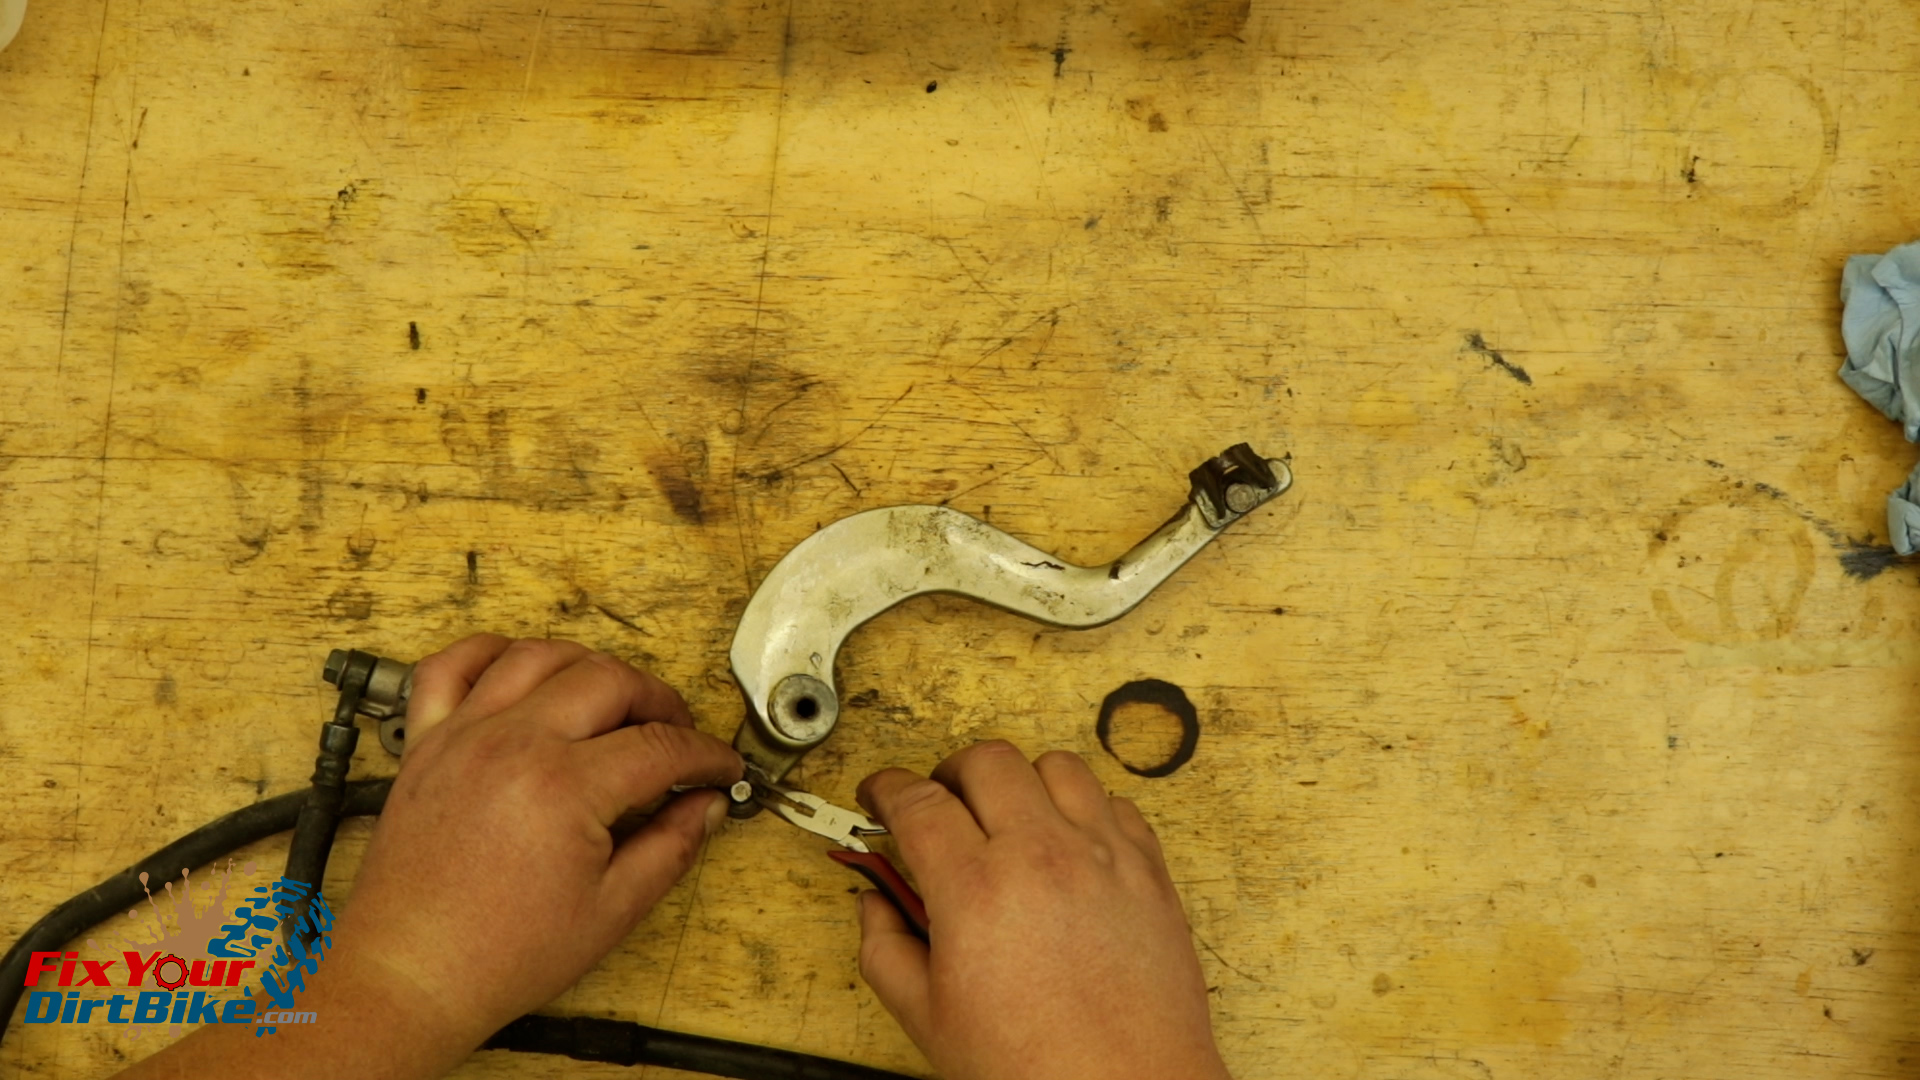
- Remove the brake lever pivot bolt.
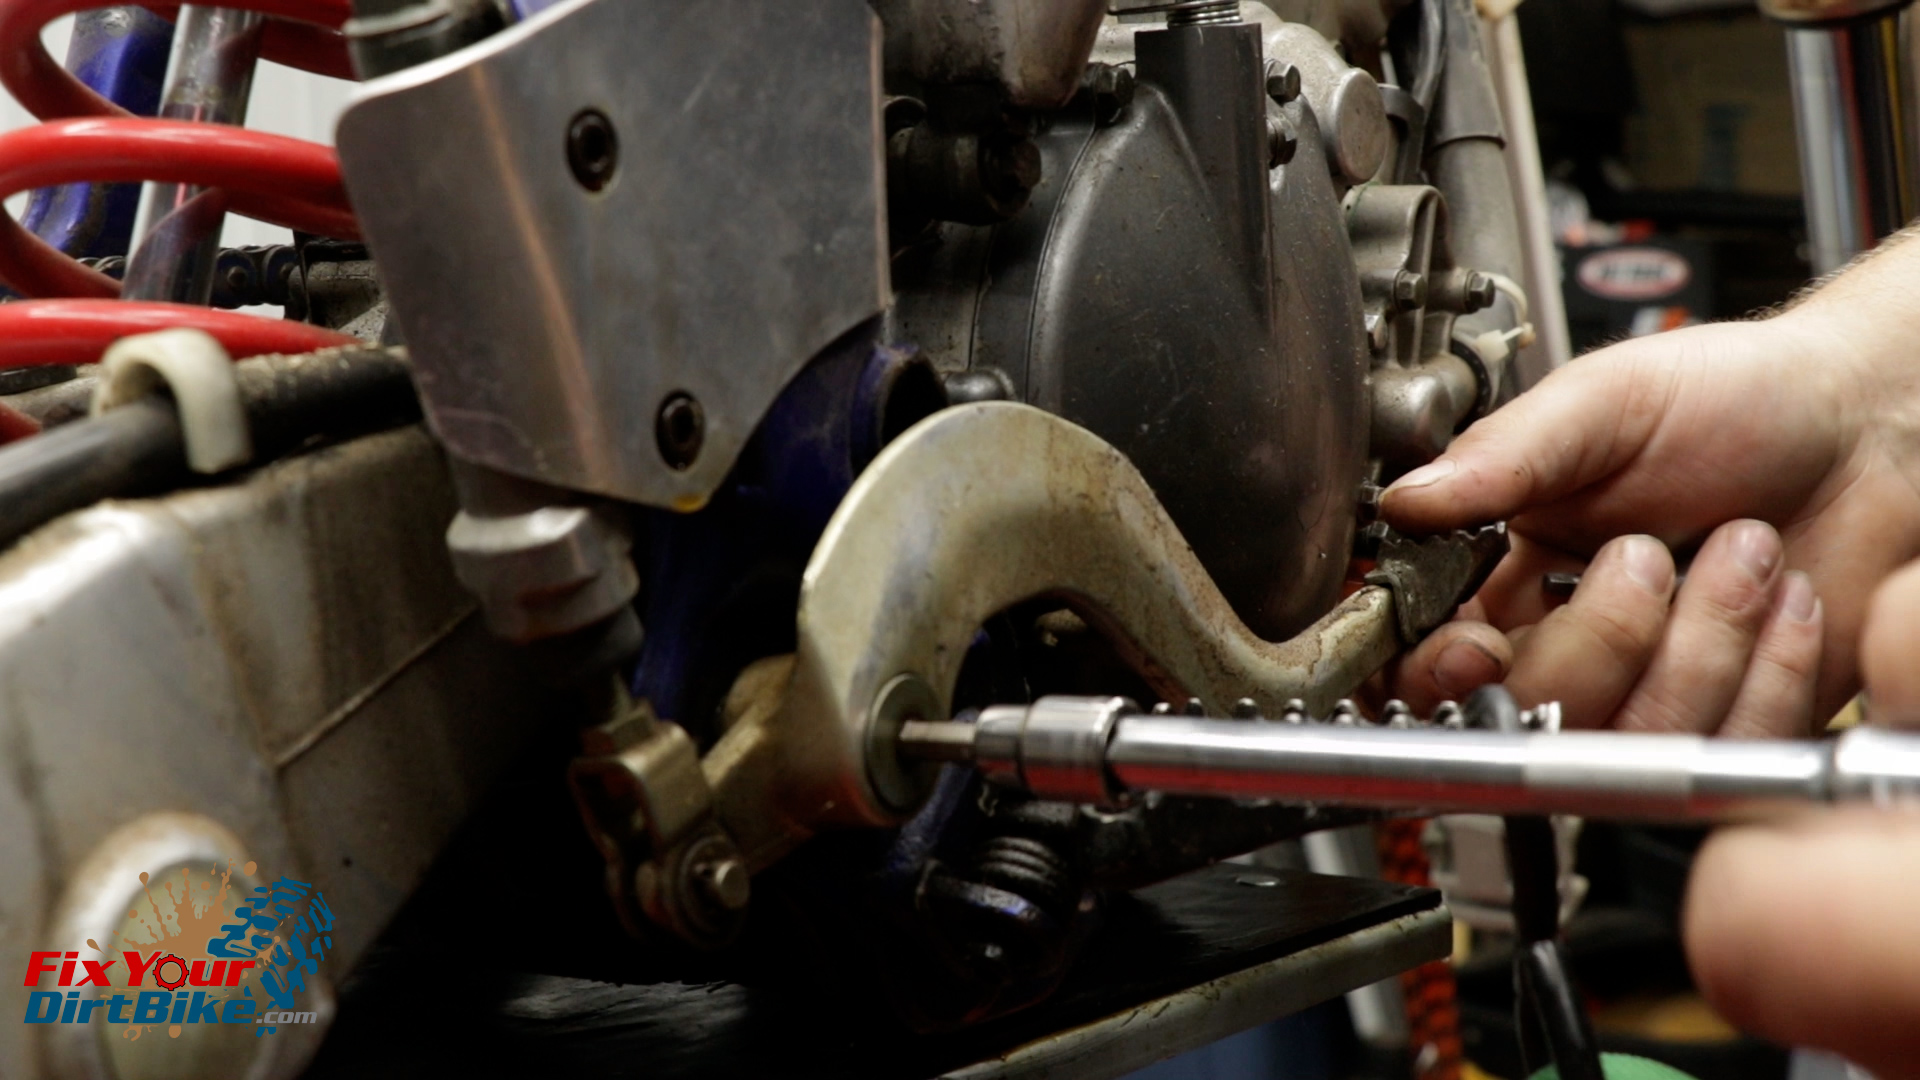
- Remove the reservoir bolt, and master cylinder bolts, then pull the unit away from the frame.
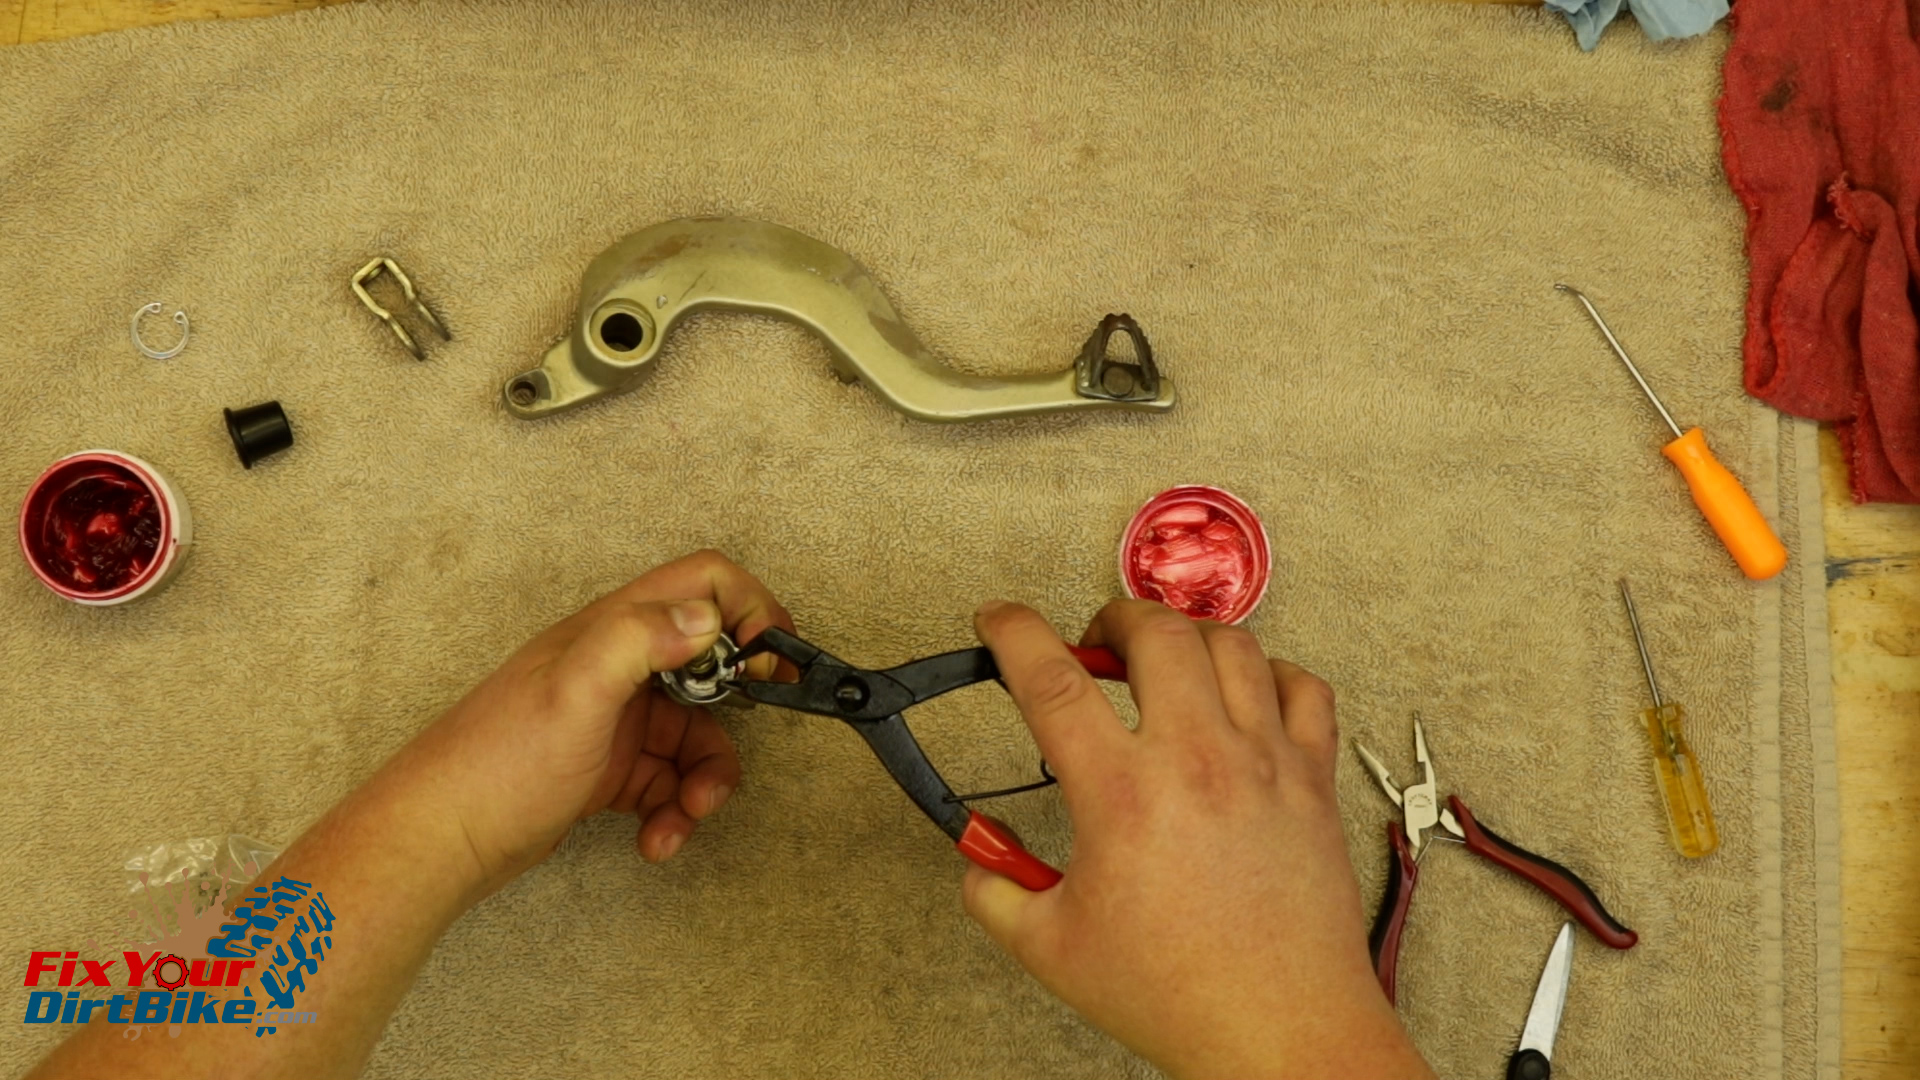
 Disassembly
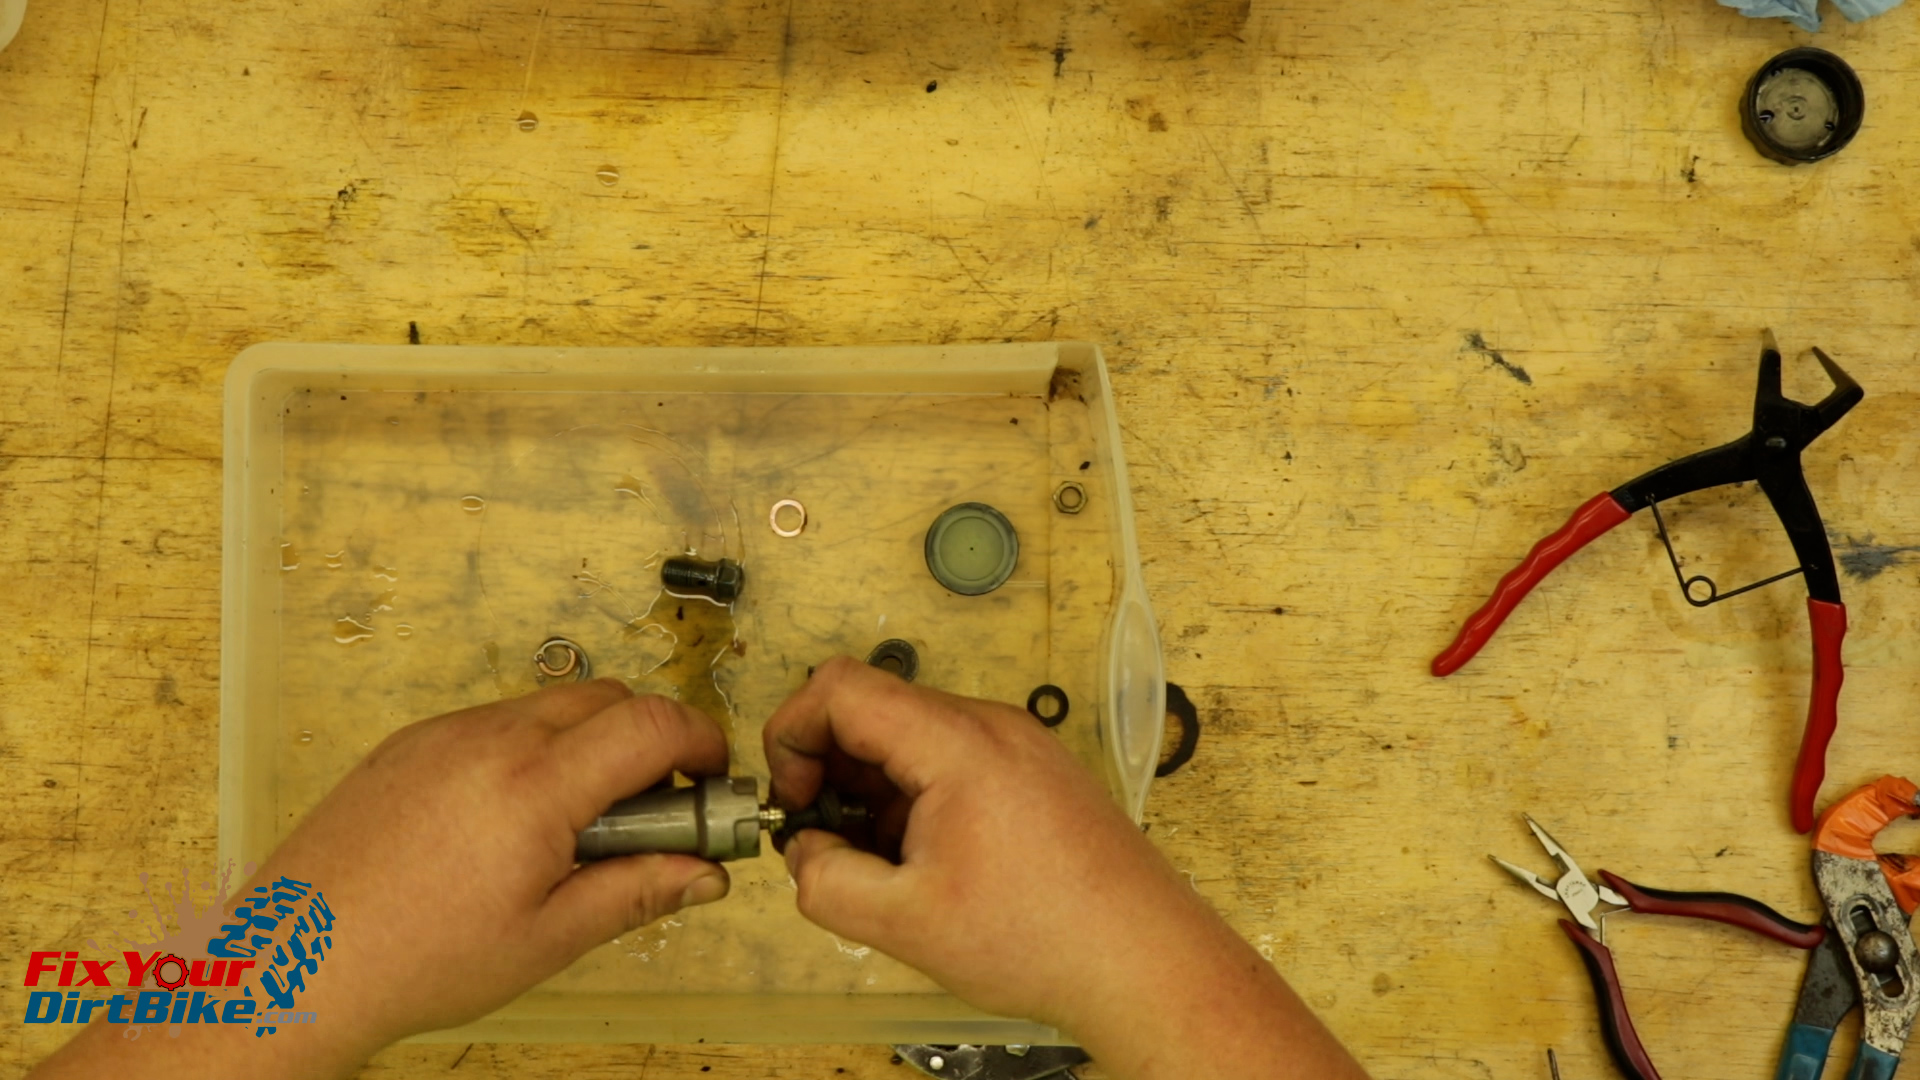
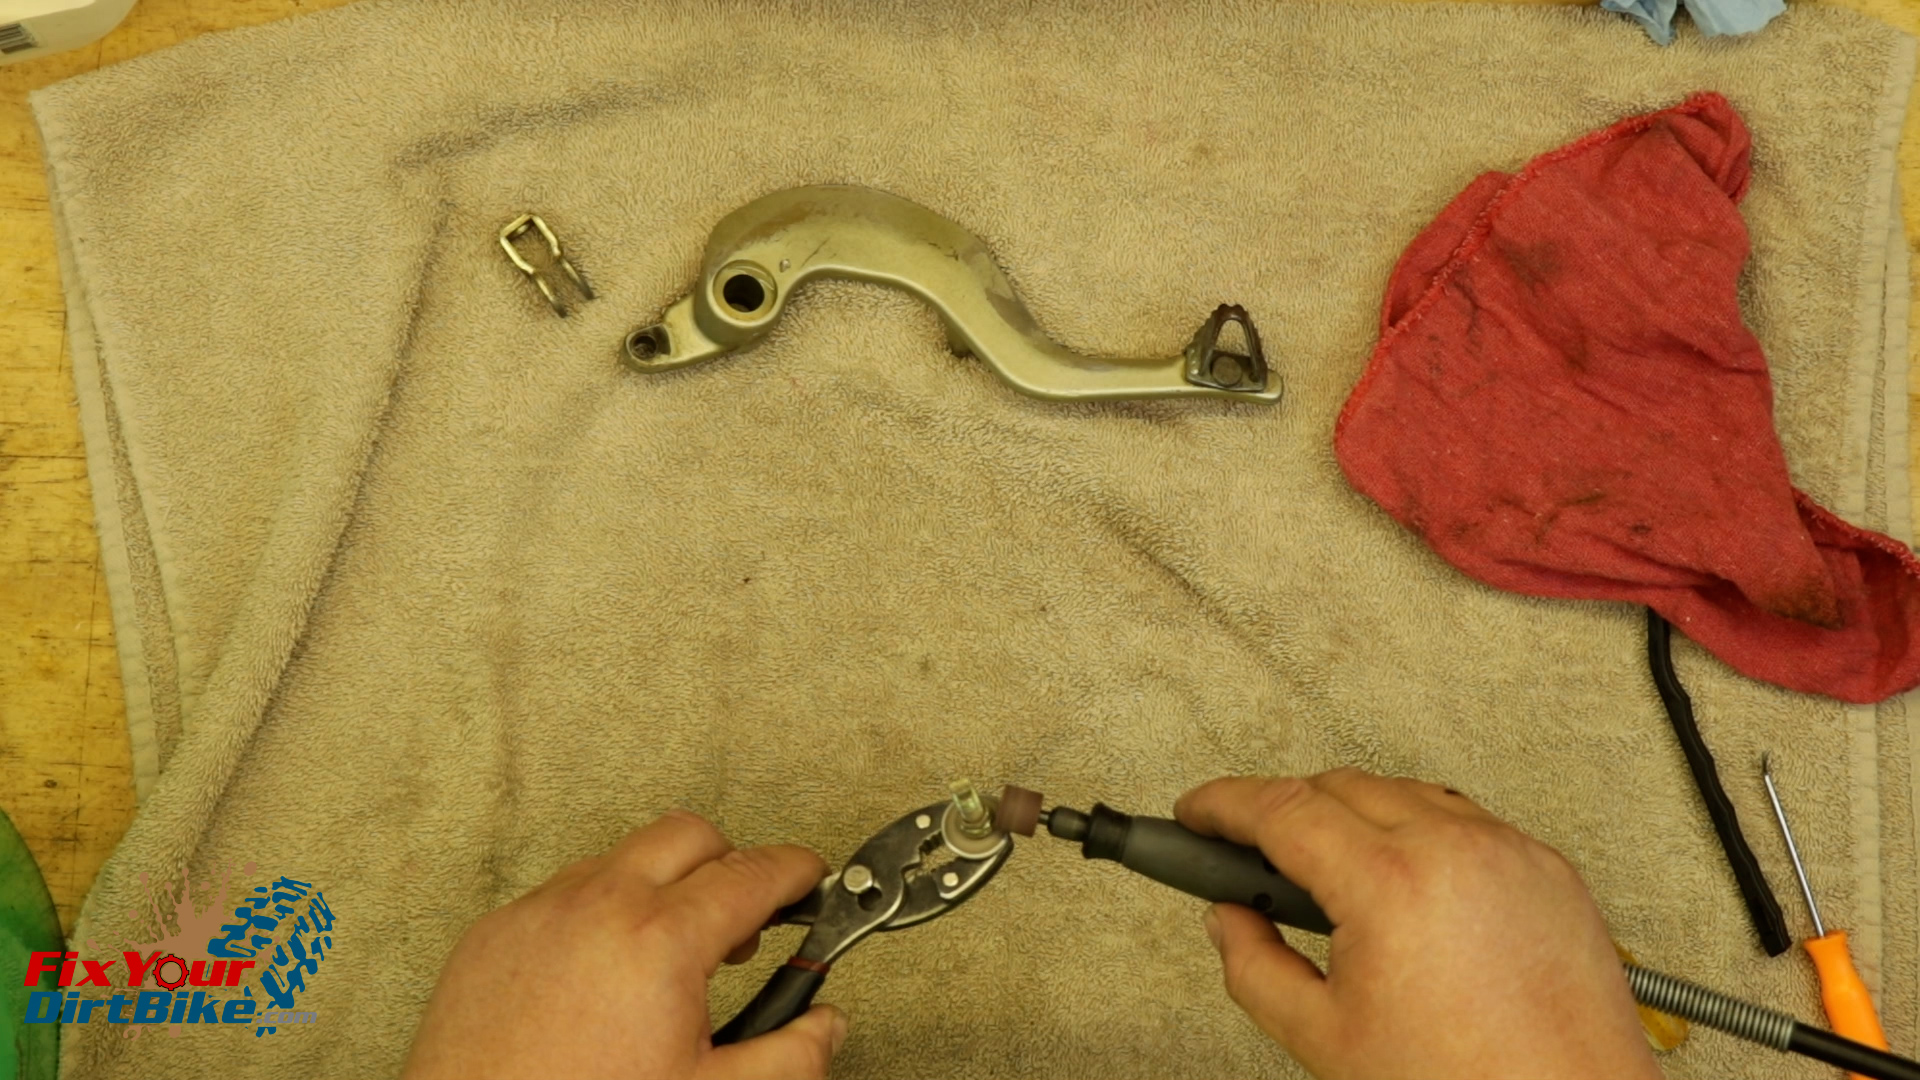
- When you take the master cylinder and brake lever off together, you can remove the clevis cotter pin much easier.
- With the brake pedal disconnected, remove the clevis and lock nut from the pushrod shaft.
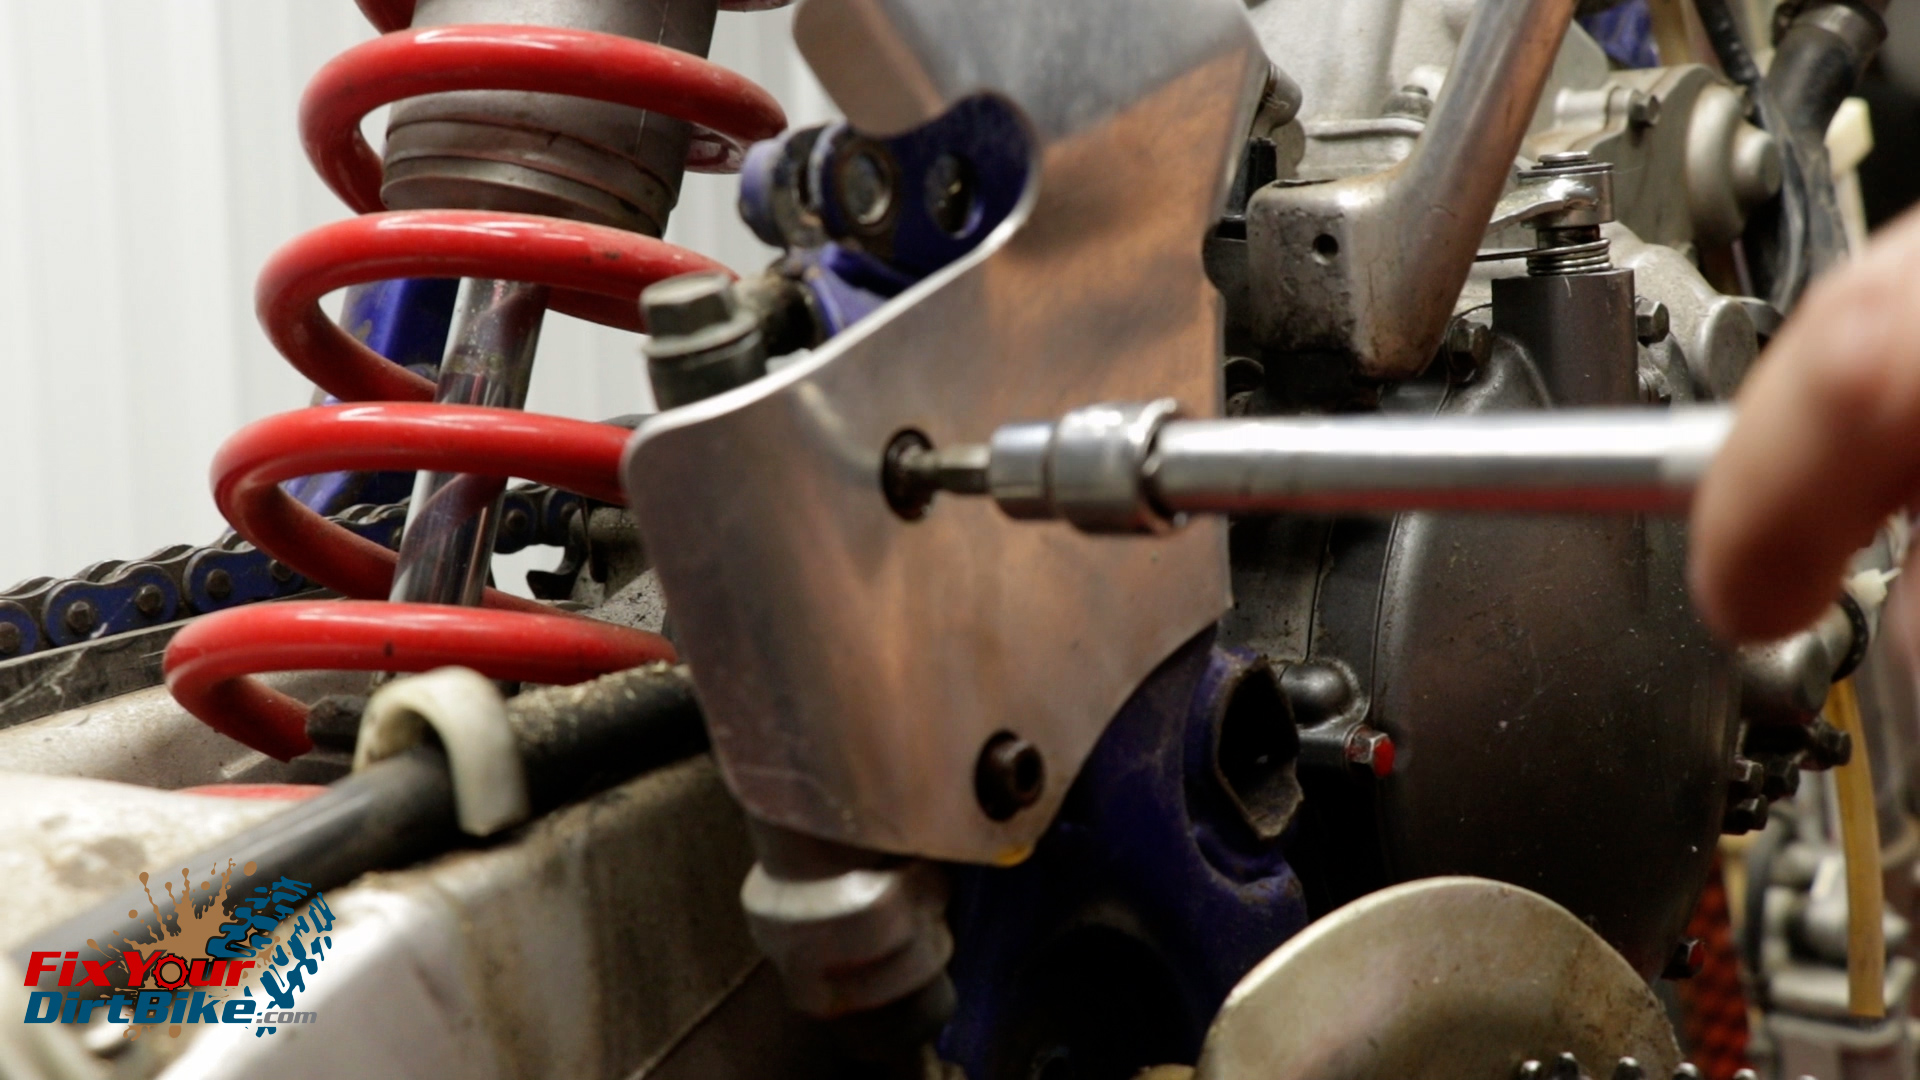
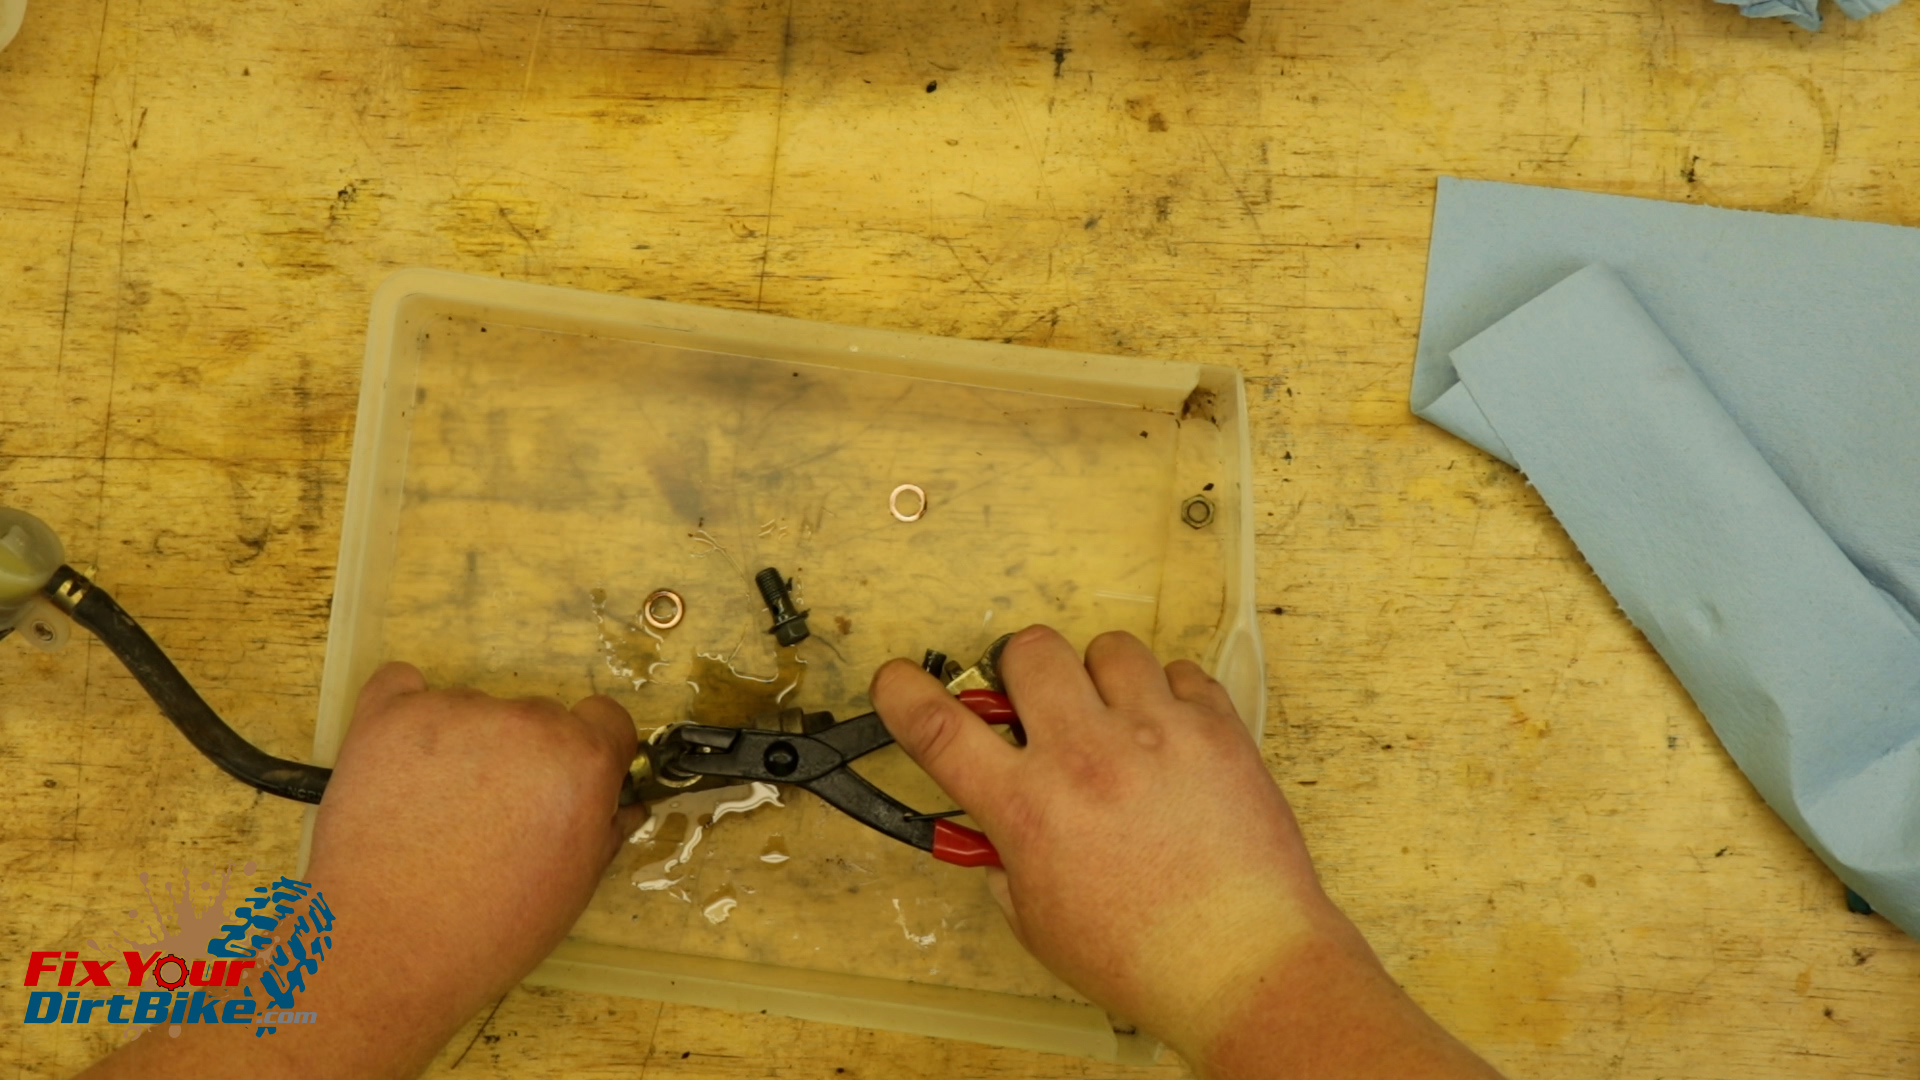
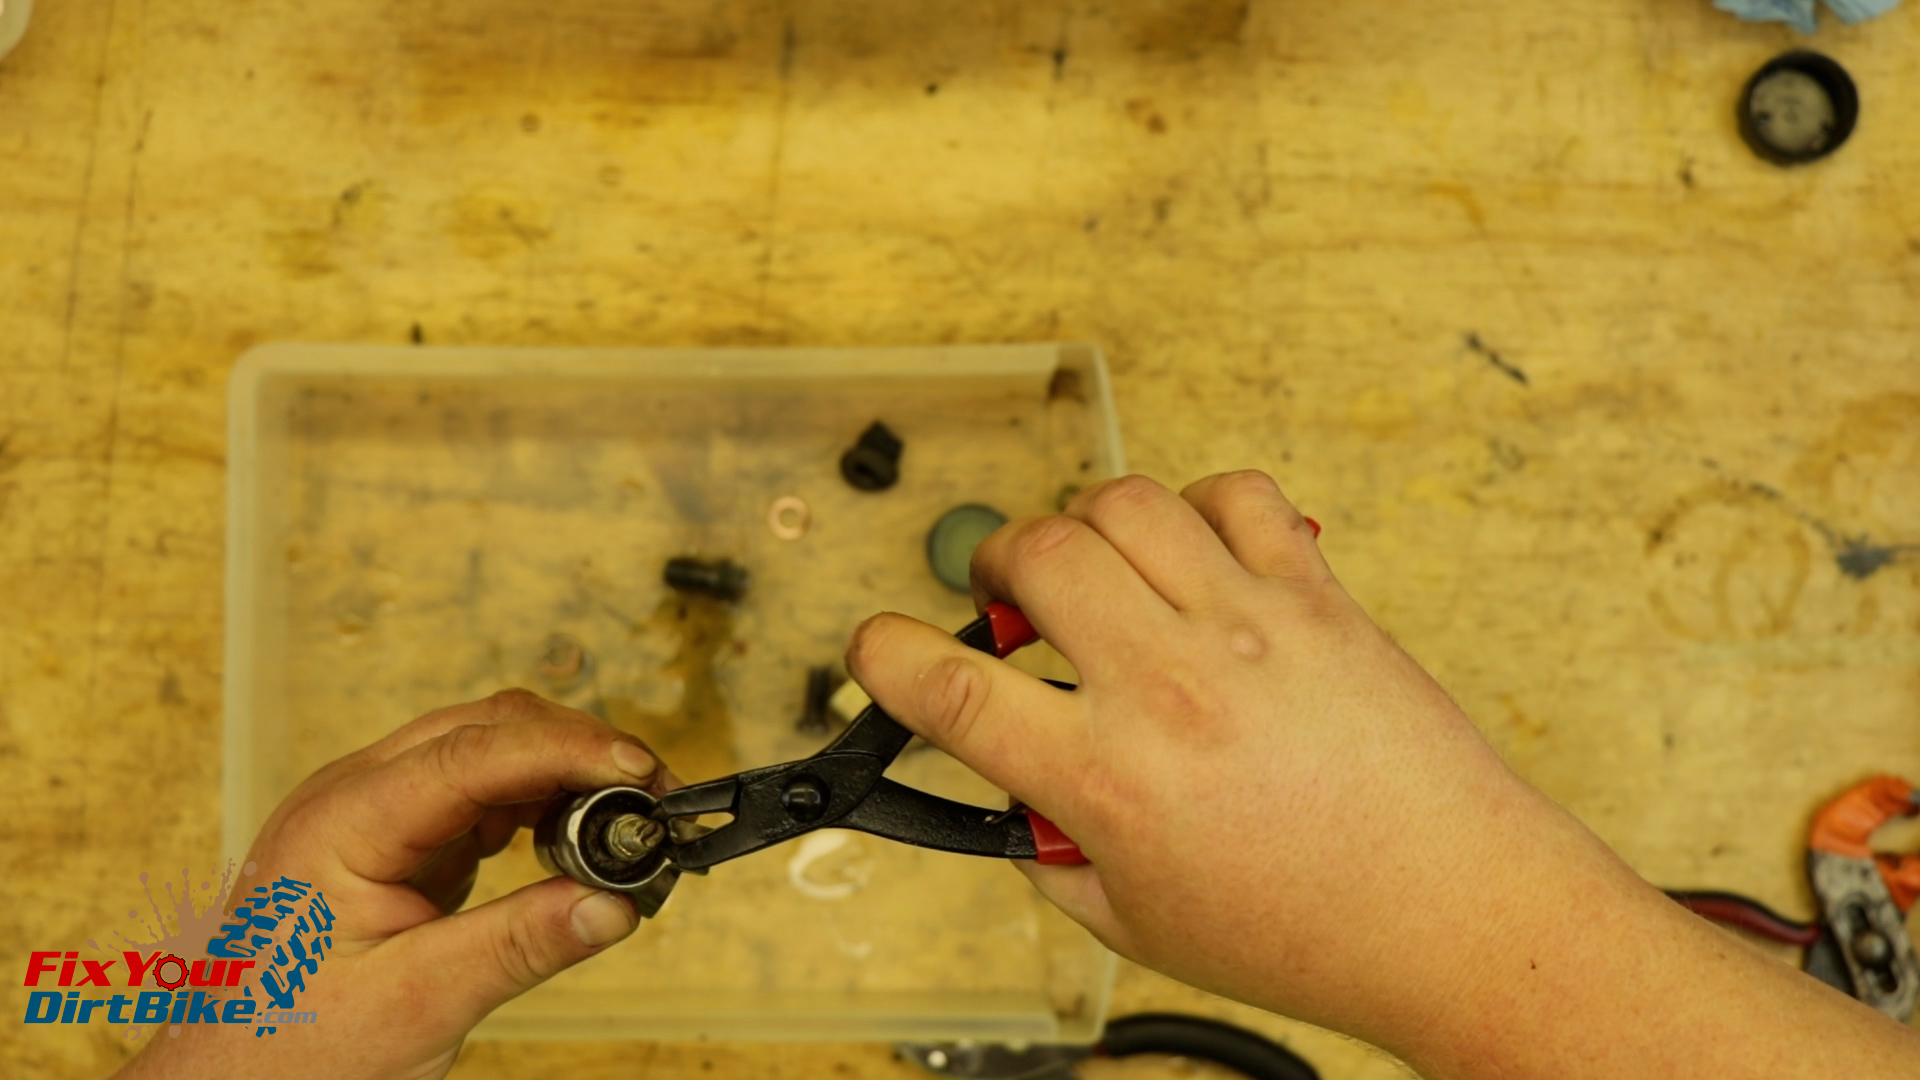
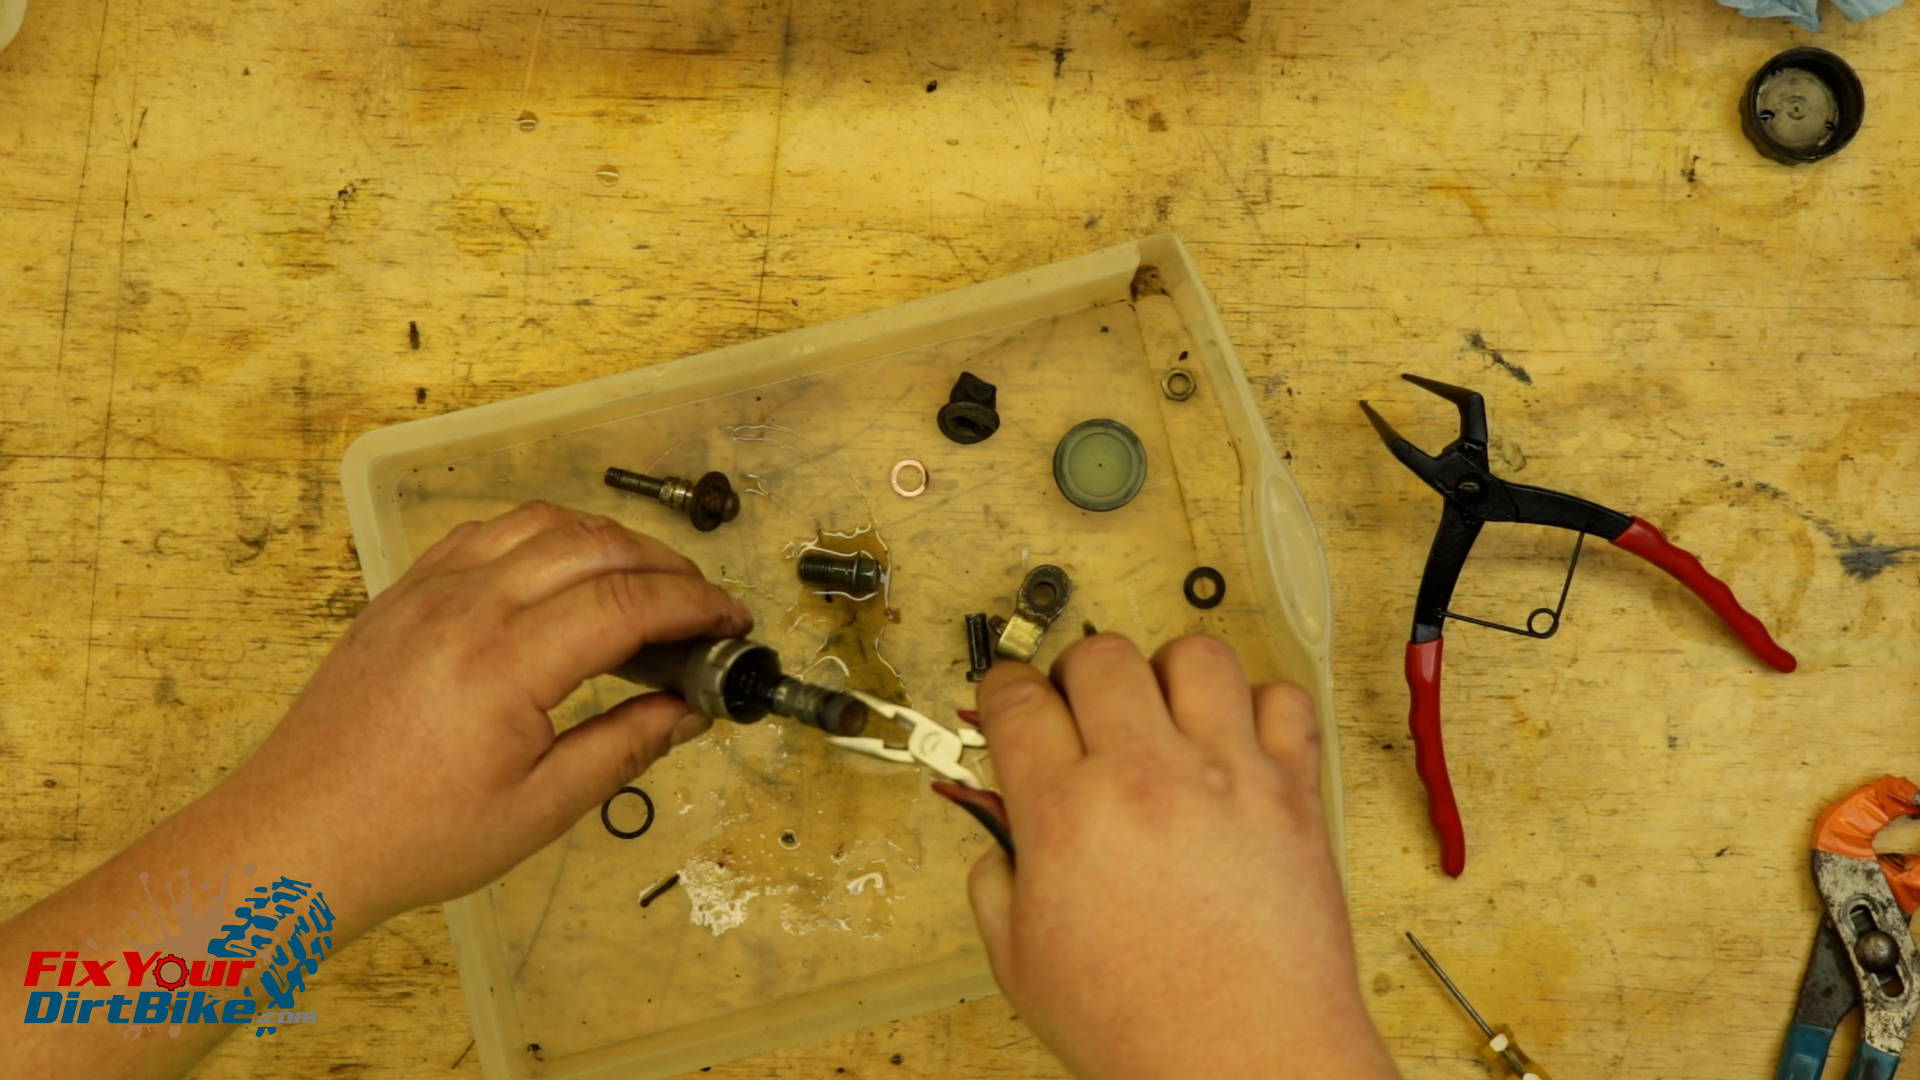
- Remove the snap ring retaining the reservoir hose connection.
- This reservoir connection is plastic, but the master cylinder body had rusted over the connection.
- If your connection is stuck, DO NOT TWIST the plastic elbow.
- Instead, grip the elbow with pliers and pry it out of the body.
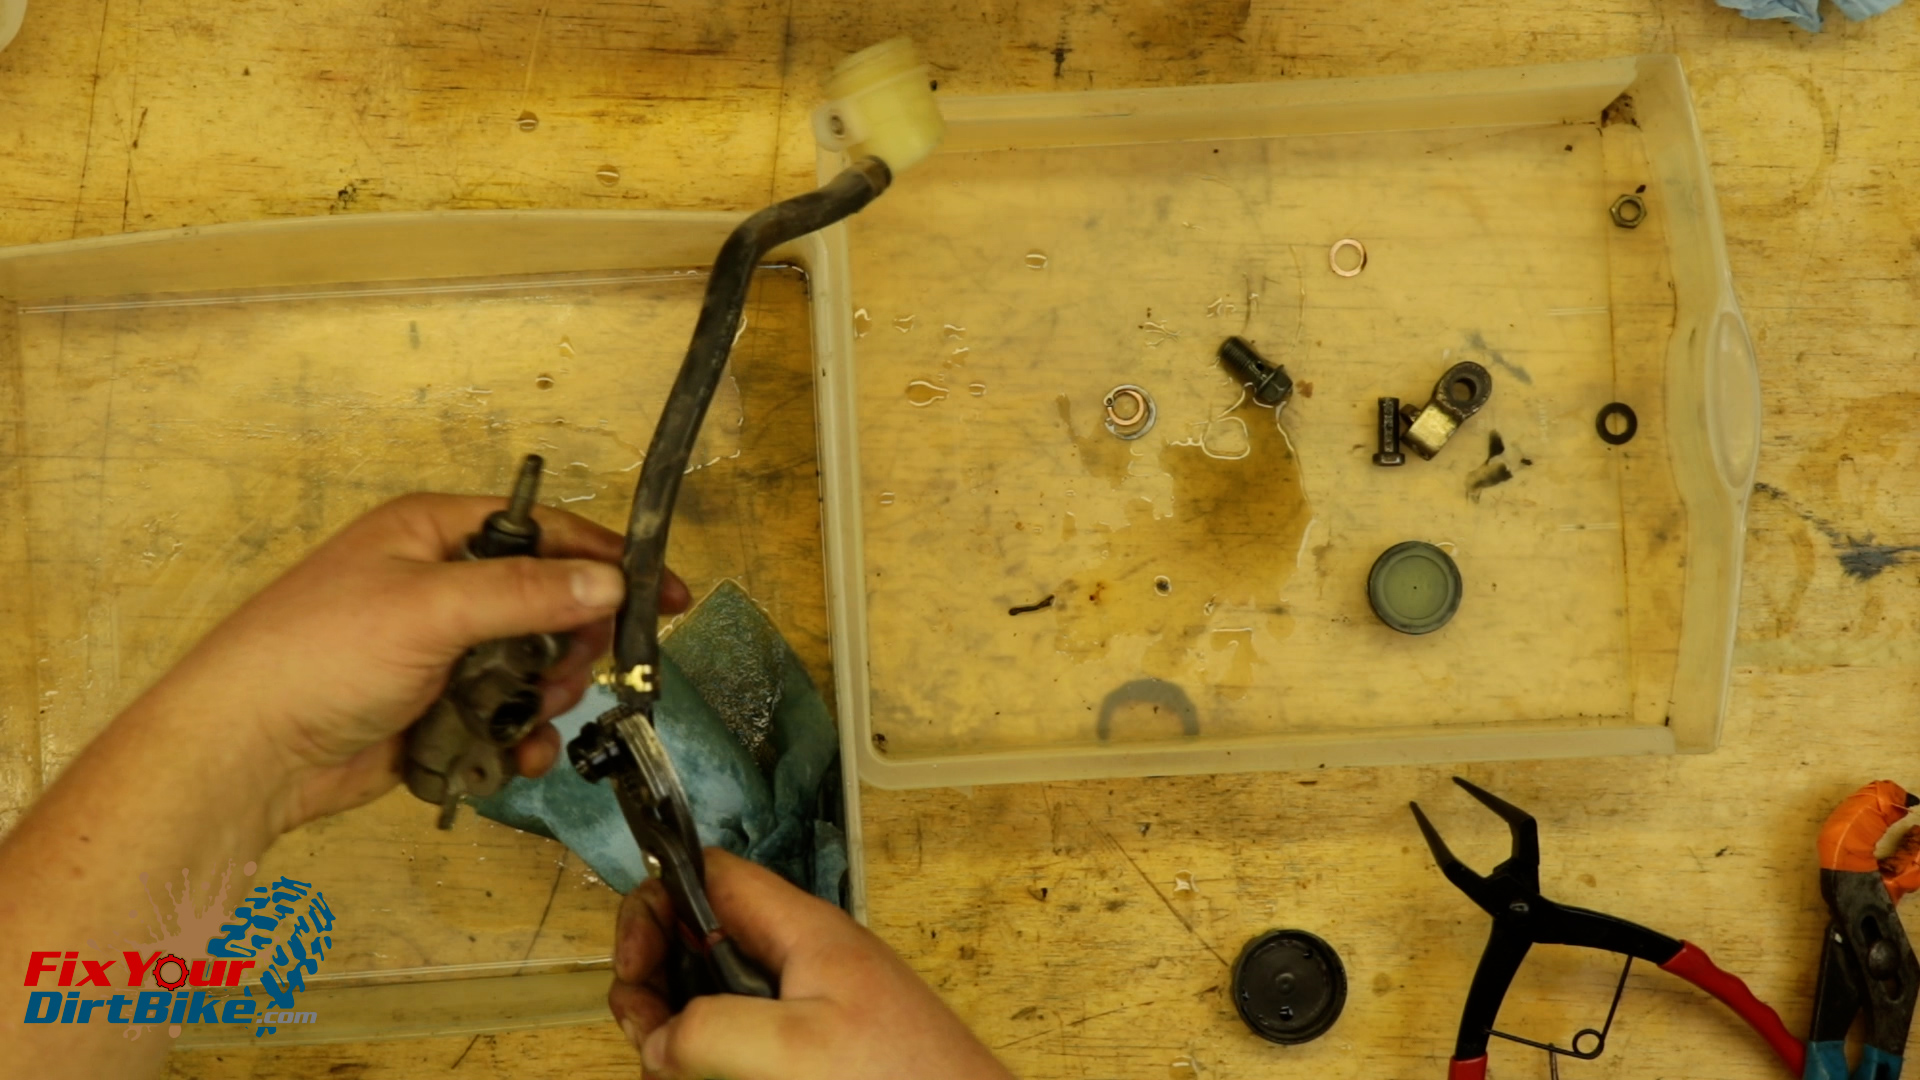
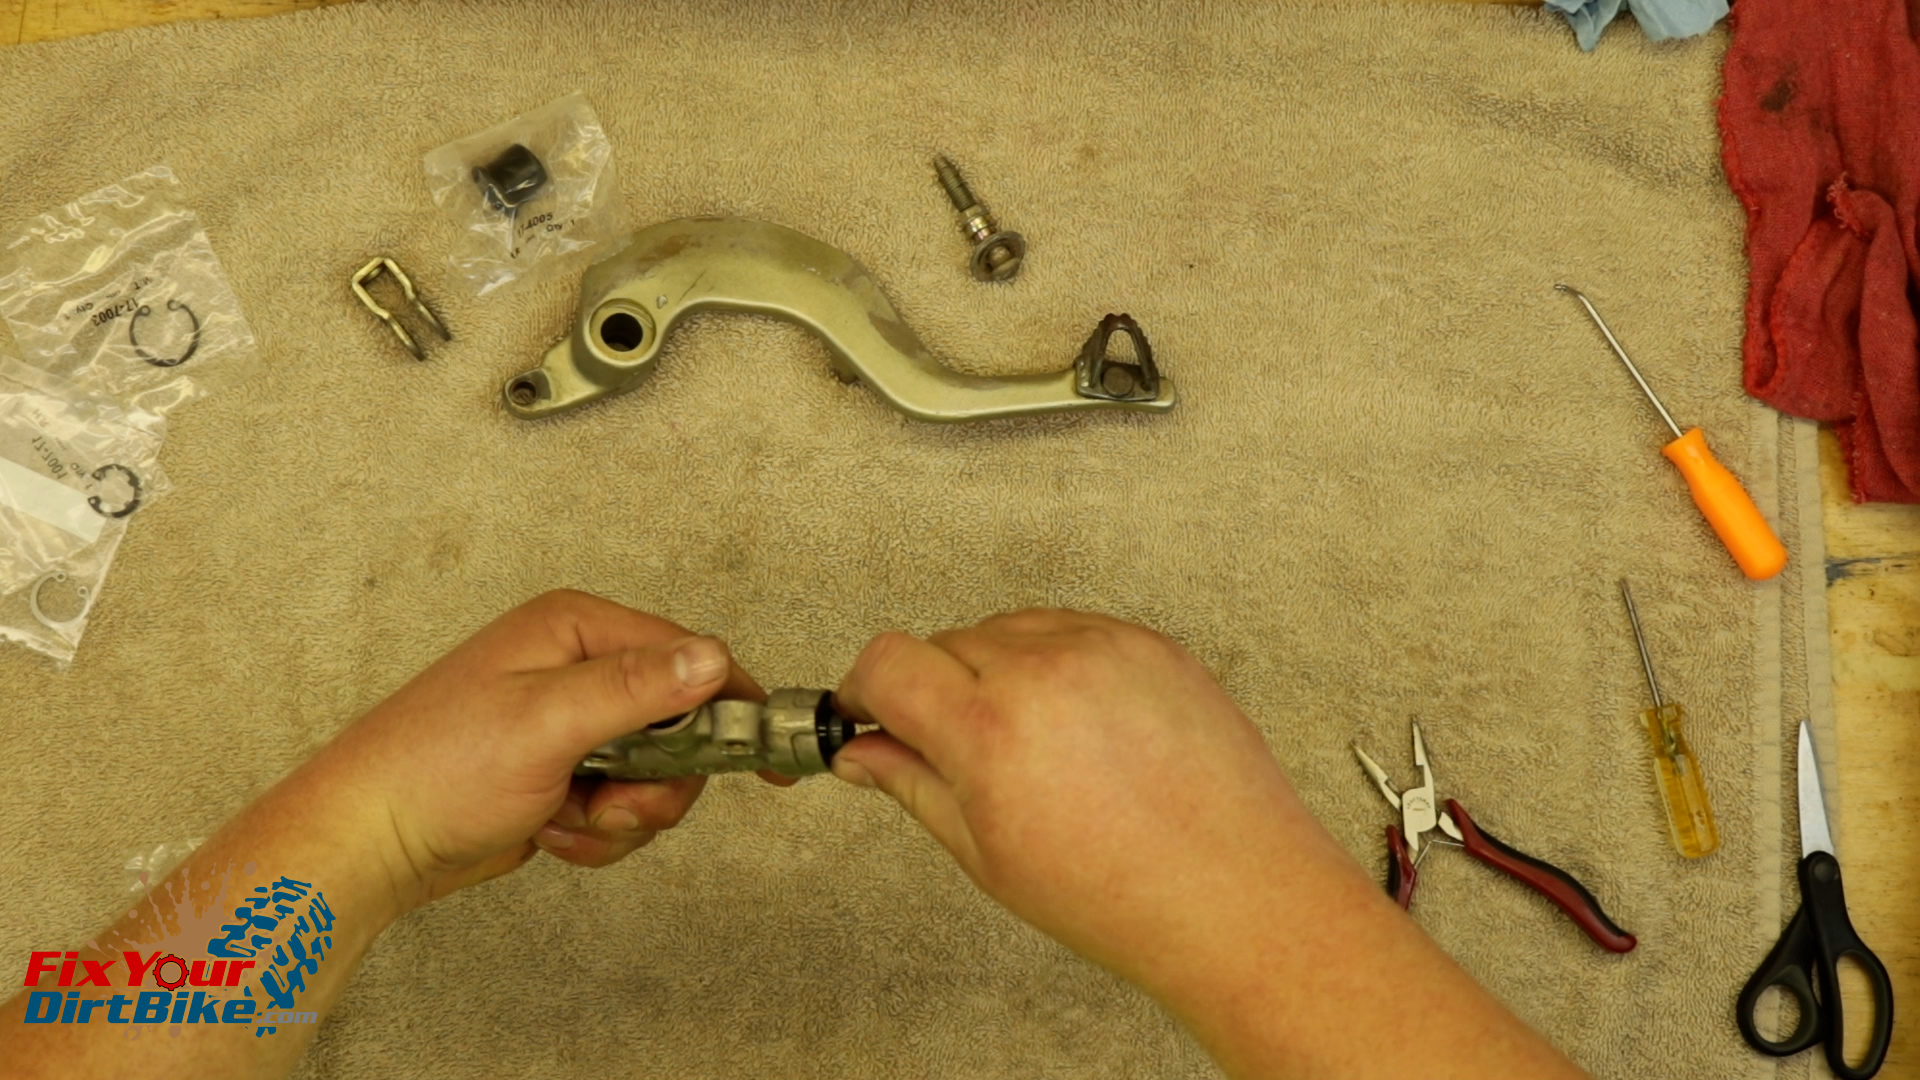
- Remove the O-ring from the reservoir connection.
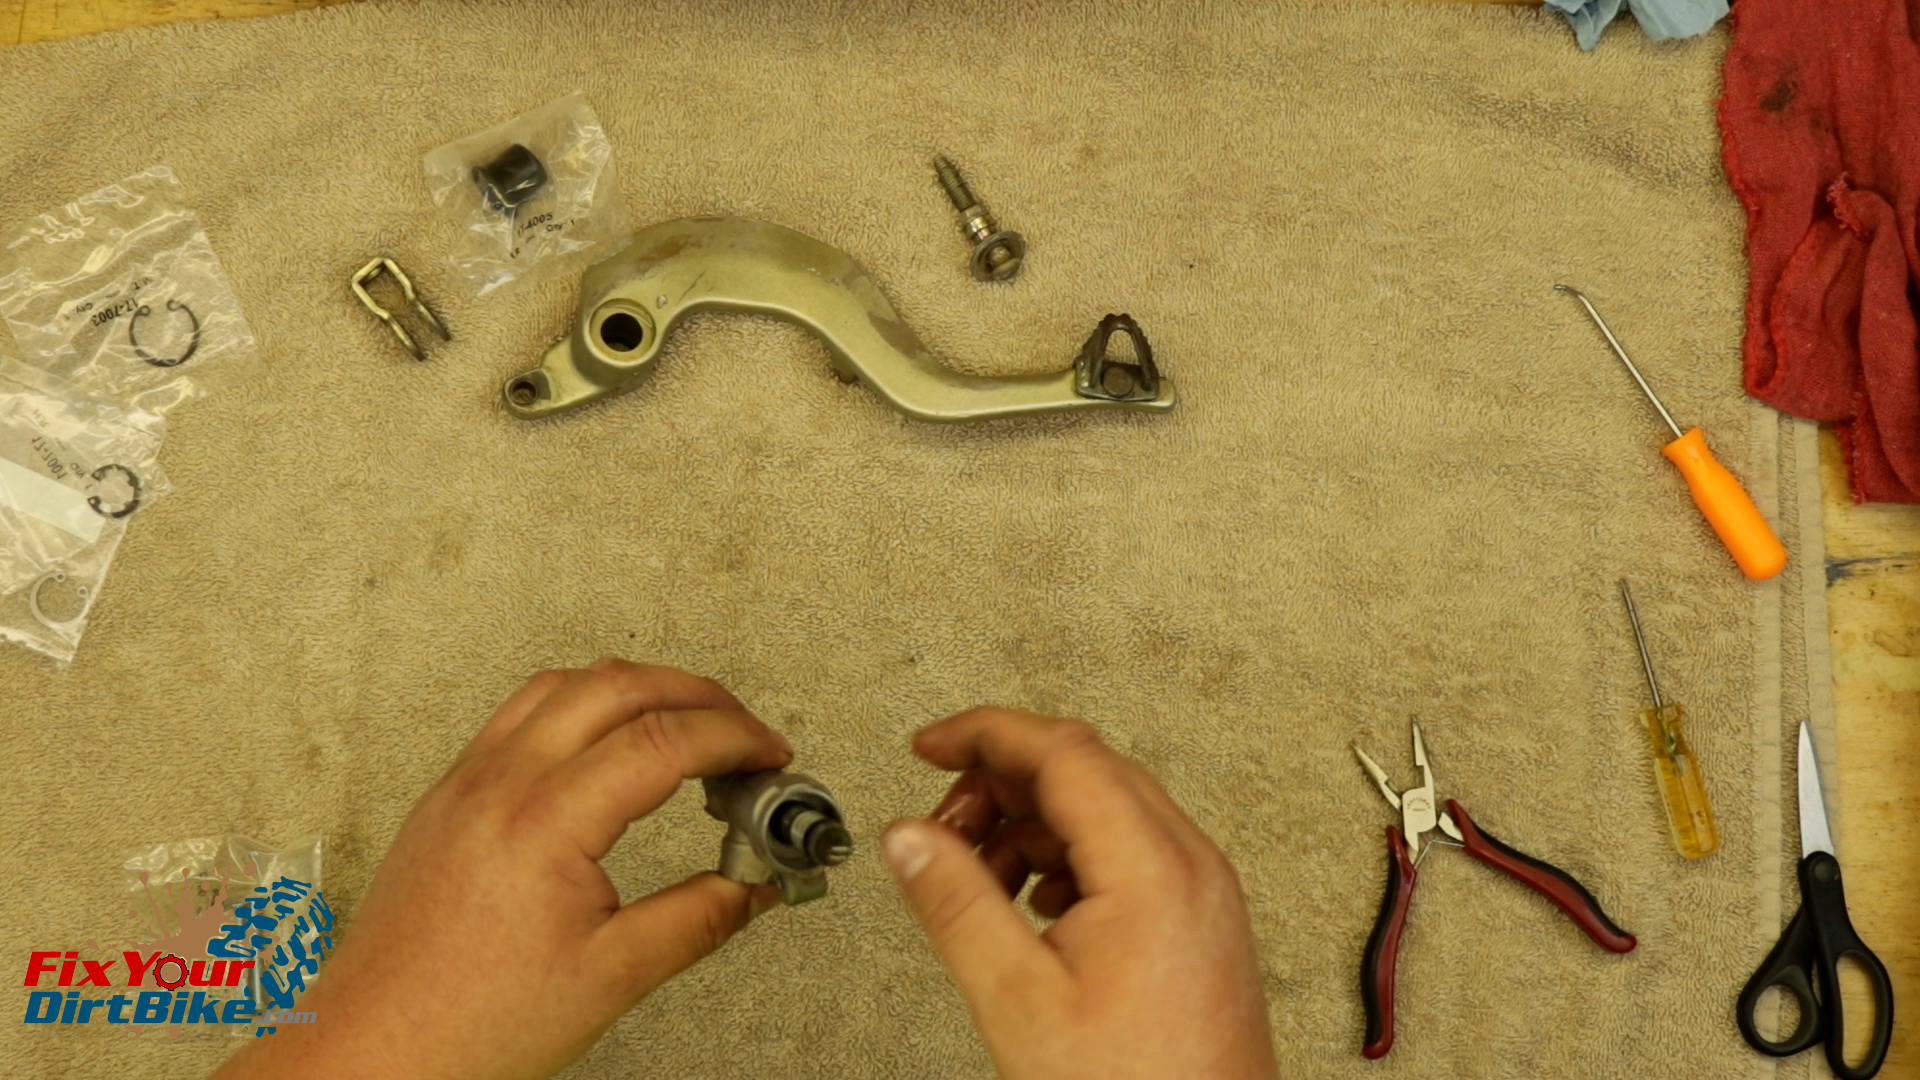
- Pull the boot from the pushrod shaft, then remove the snap ring.
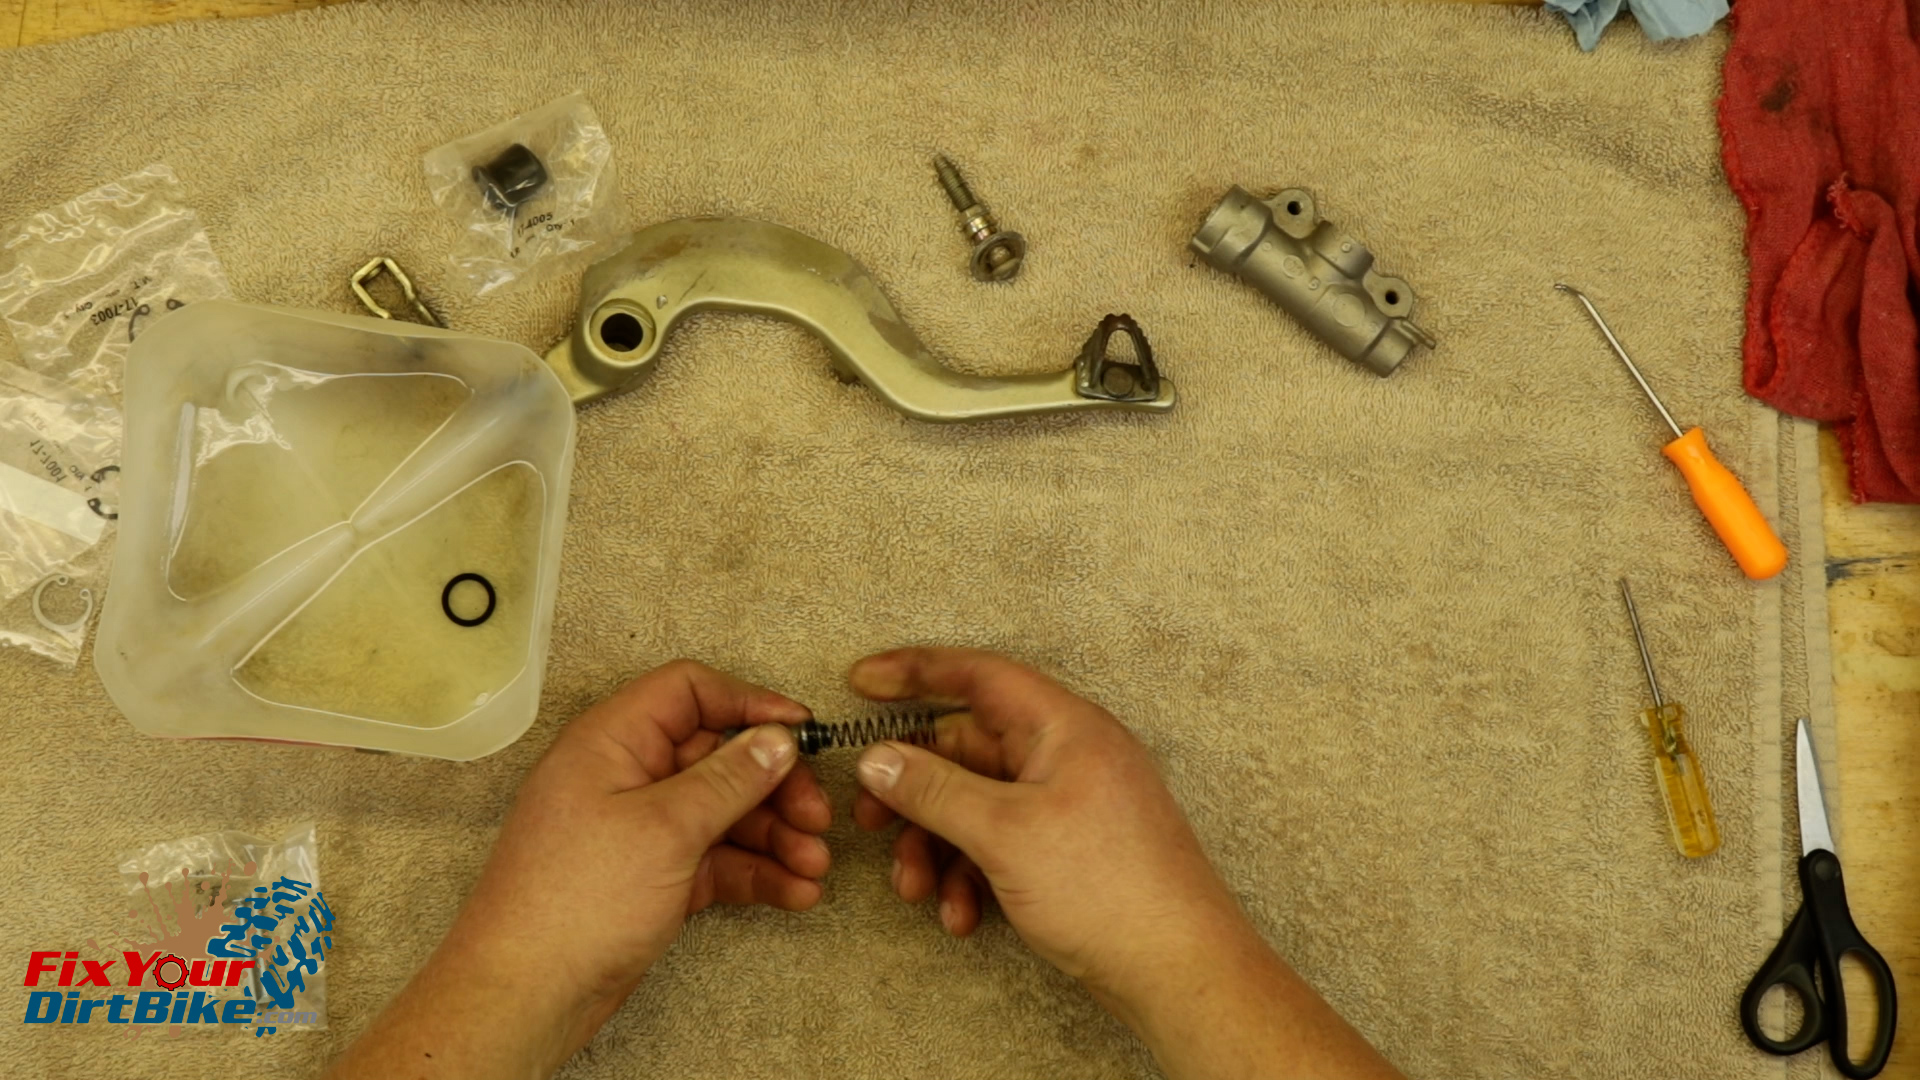
- Pull the pushrod and washer from the cylinder, followed by the piston and the spring.

Clean & Inspect
- Clean all of your rear master cylinder components, and make sure to rinse and dry them thoroughly.
- Inspect the components for excessive wear, pitting, and corrosion.
- If any part is damaged, you will need to replace it.
- Due to the rear master cylinder’s orientation, it is exposed to everything you ride over and through, so expect some rust.
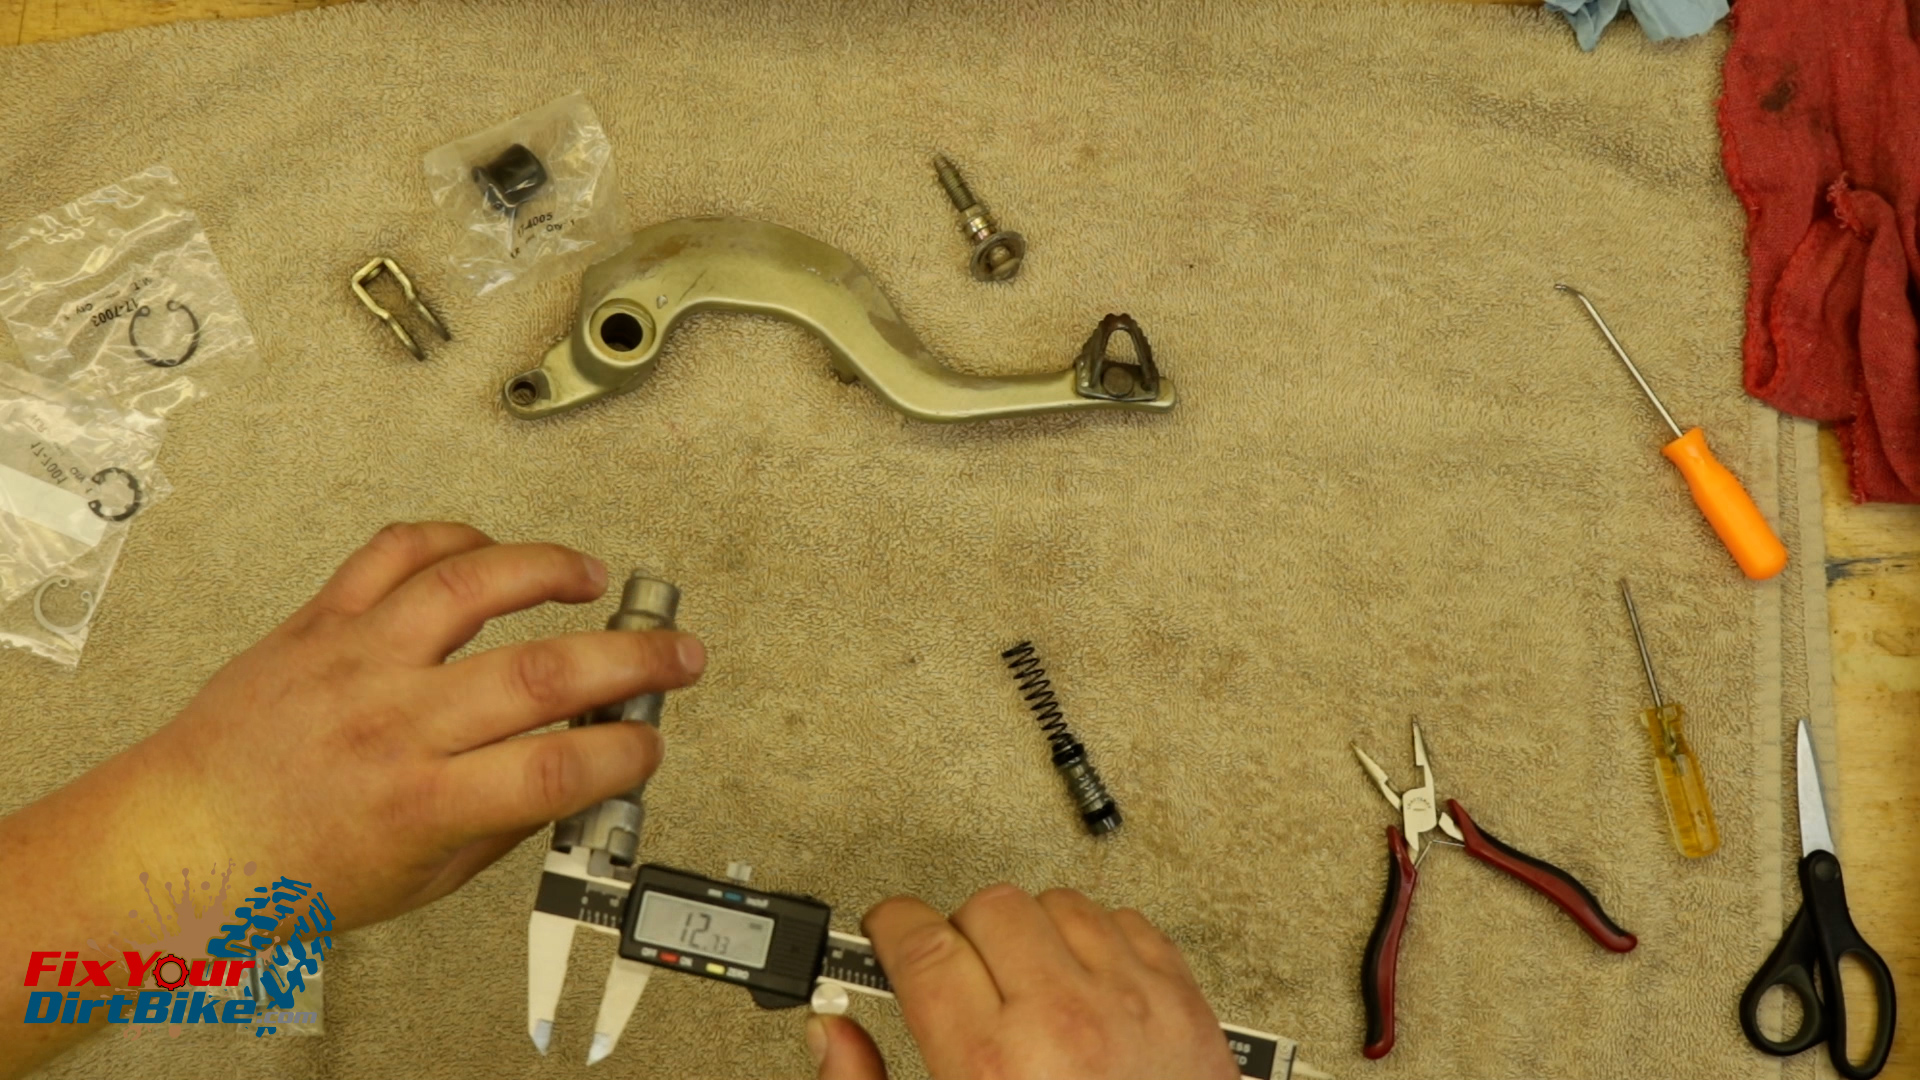
- Measure the inside diameter of the cylinder bore.
- The cylinder bore should measure no greater than 12.7mm.
- My cylinder bore was measured at 12.73mm.
- I am only out of spec by three-hundredths of a millimeter, so close enough!
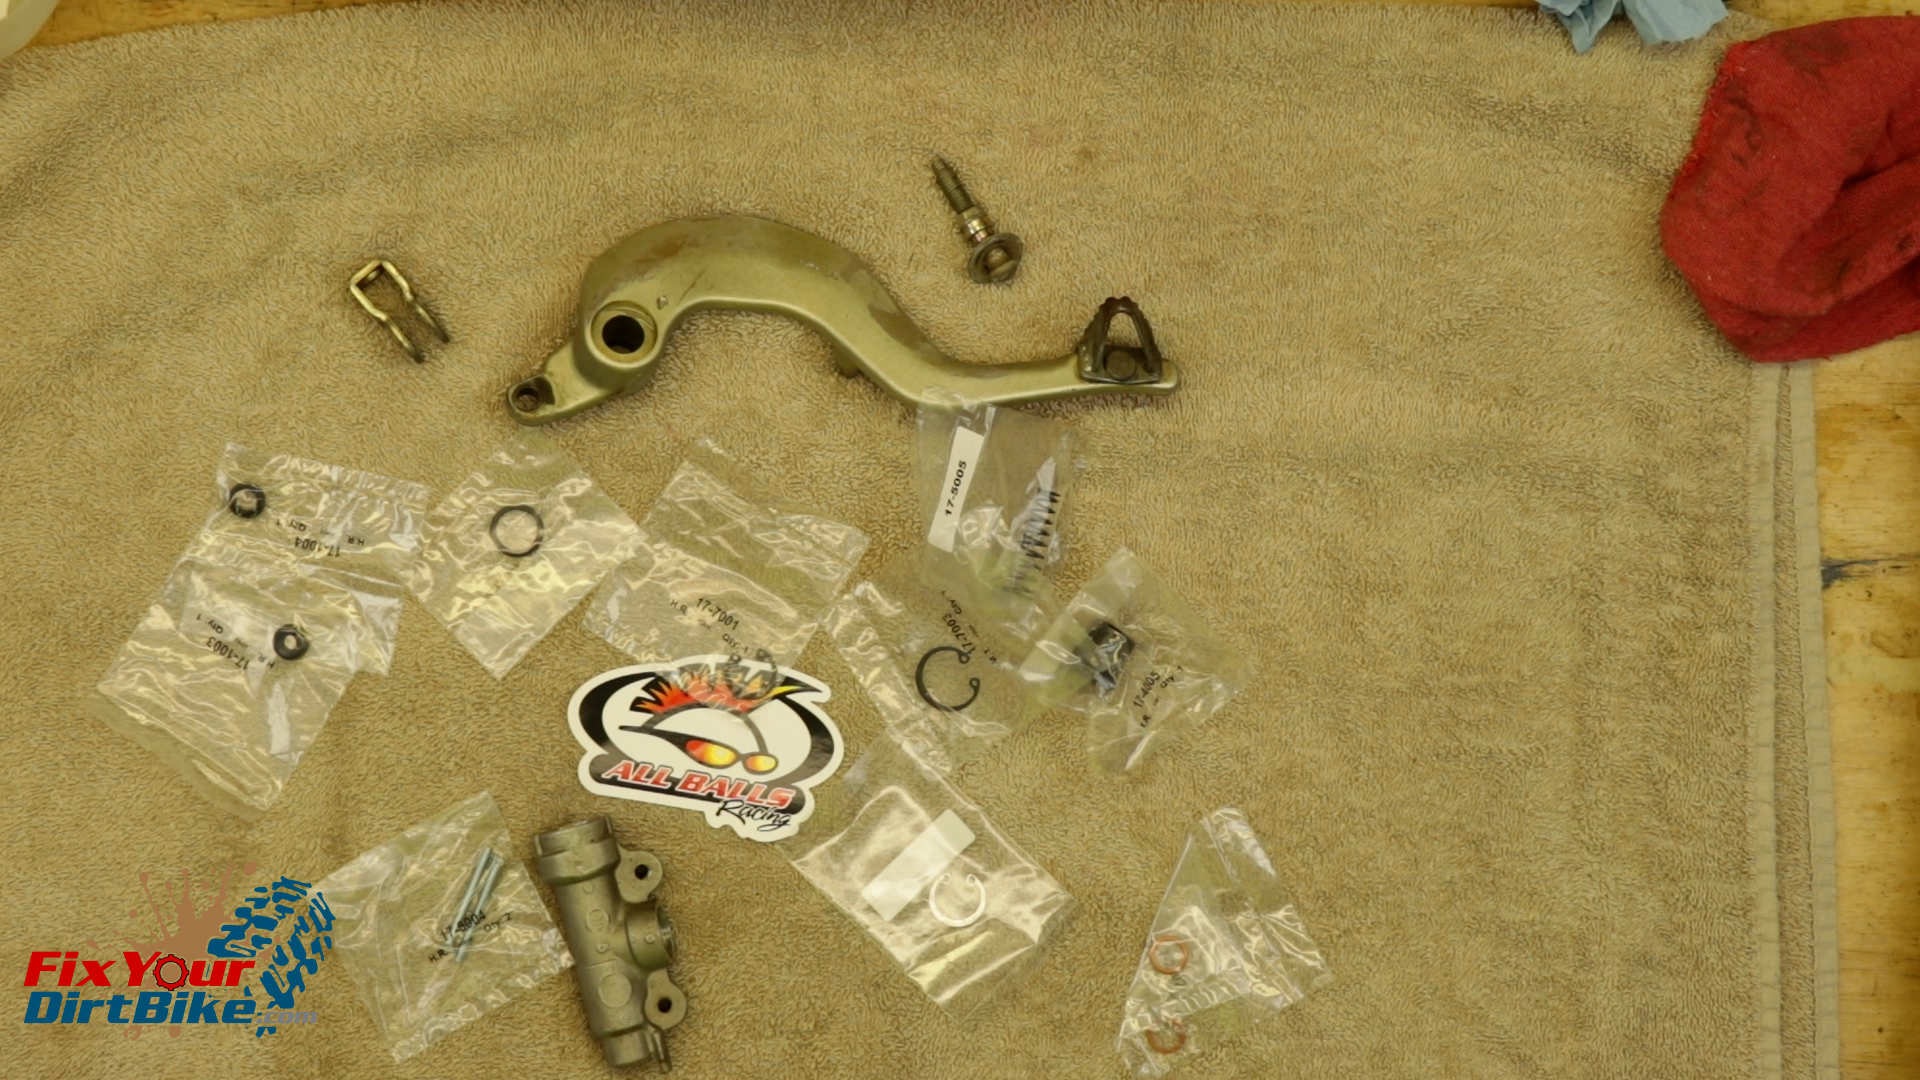
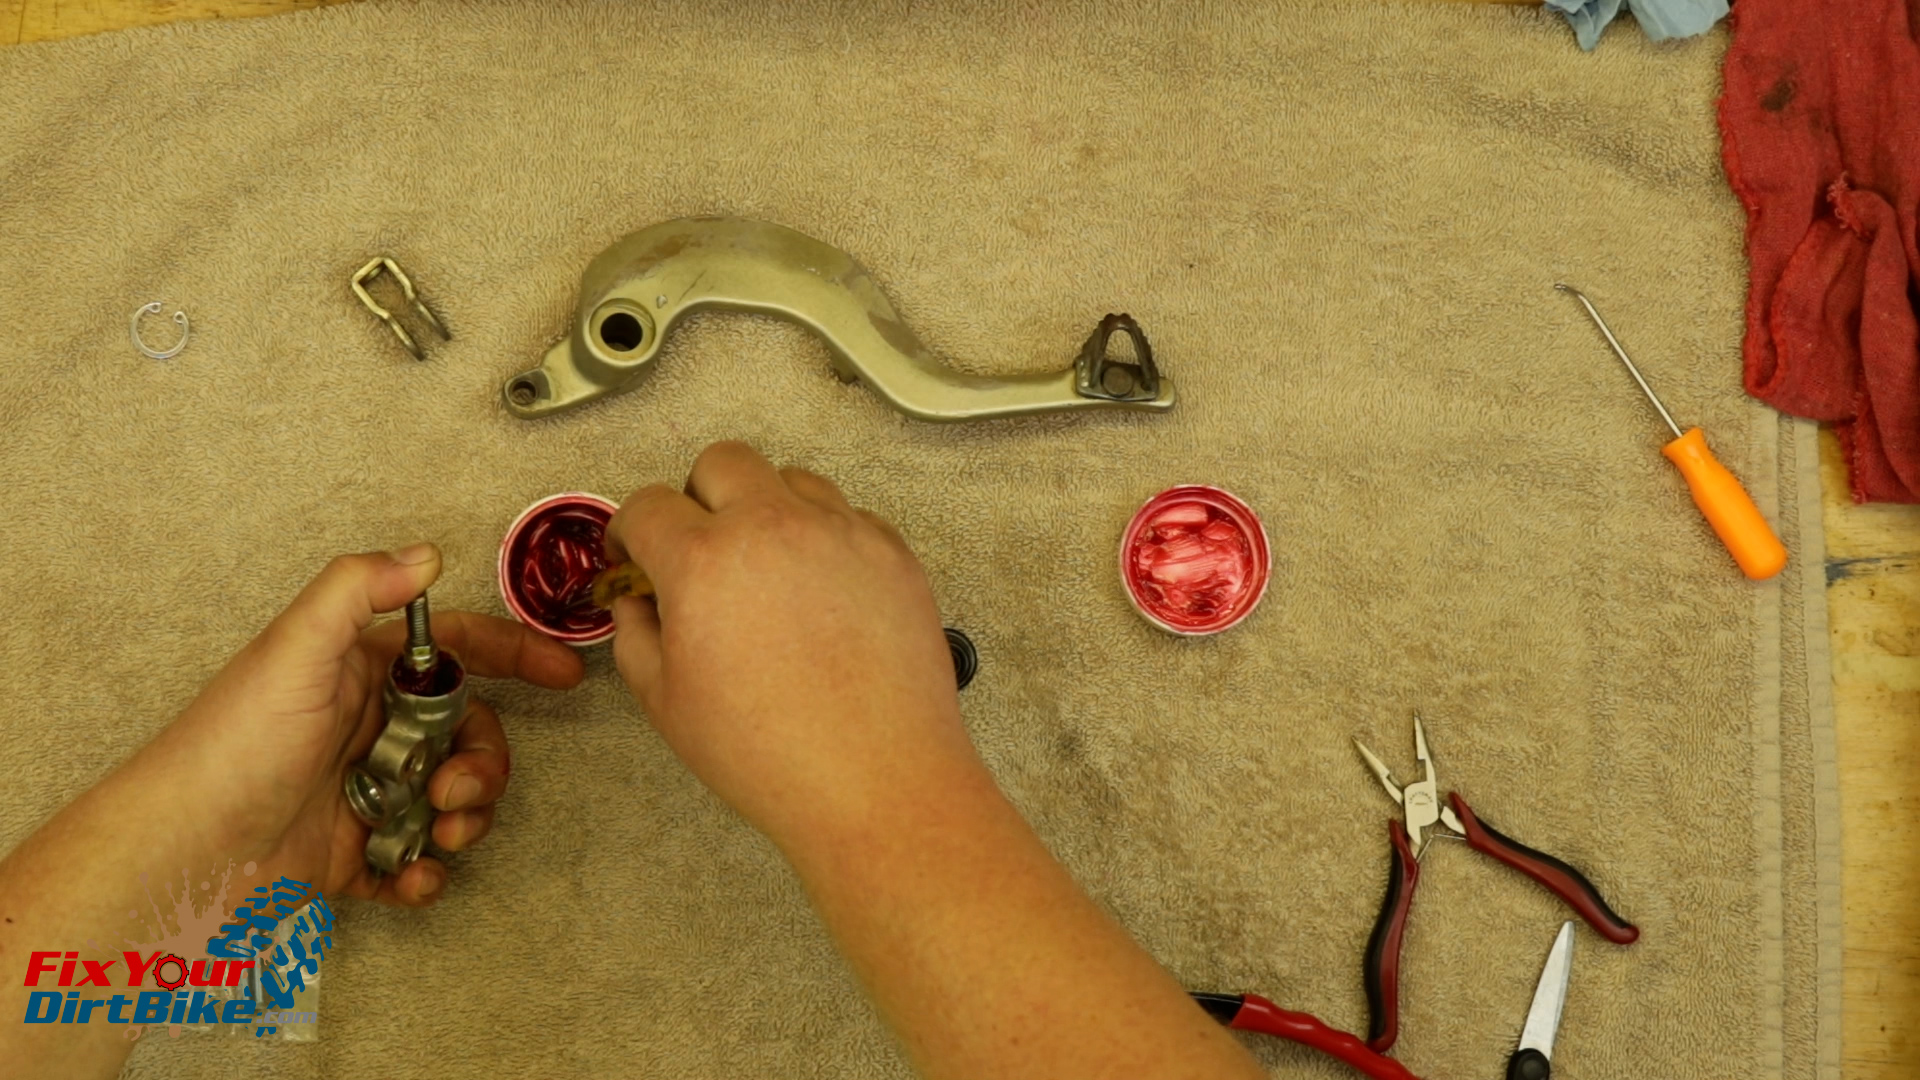
New Parts
- I am installing an All Balls REAR master cylinder rebuild kit, and you can get this same kit through the link below.
- Match the old parts with the new parts to make sure you’re not accidentally throwing away something you need.
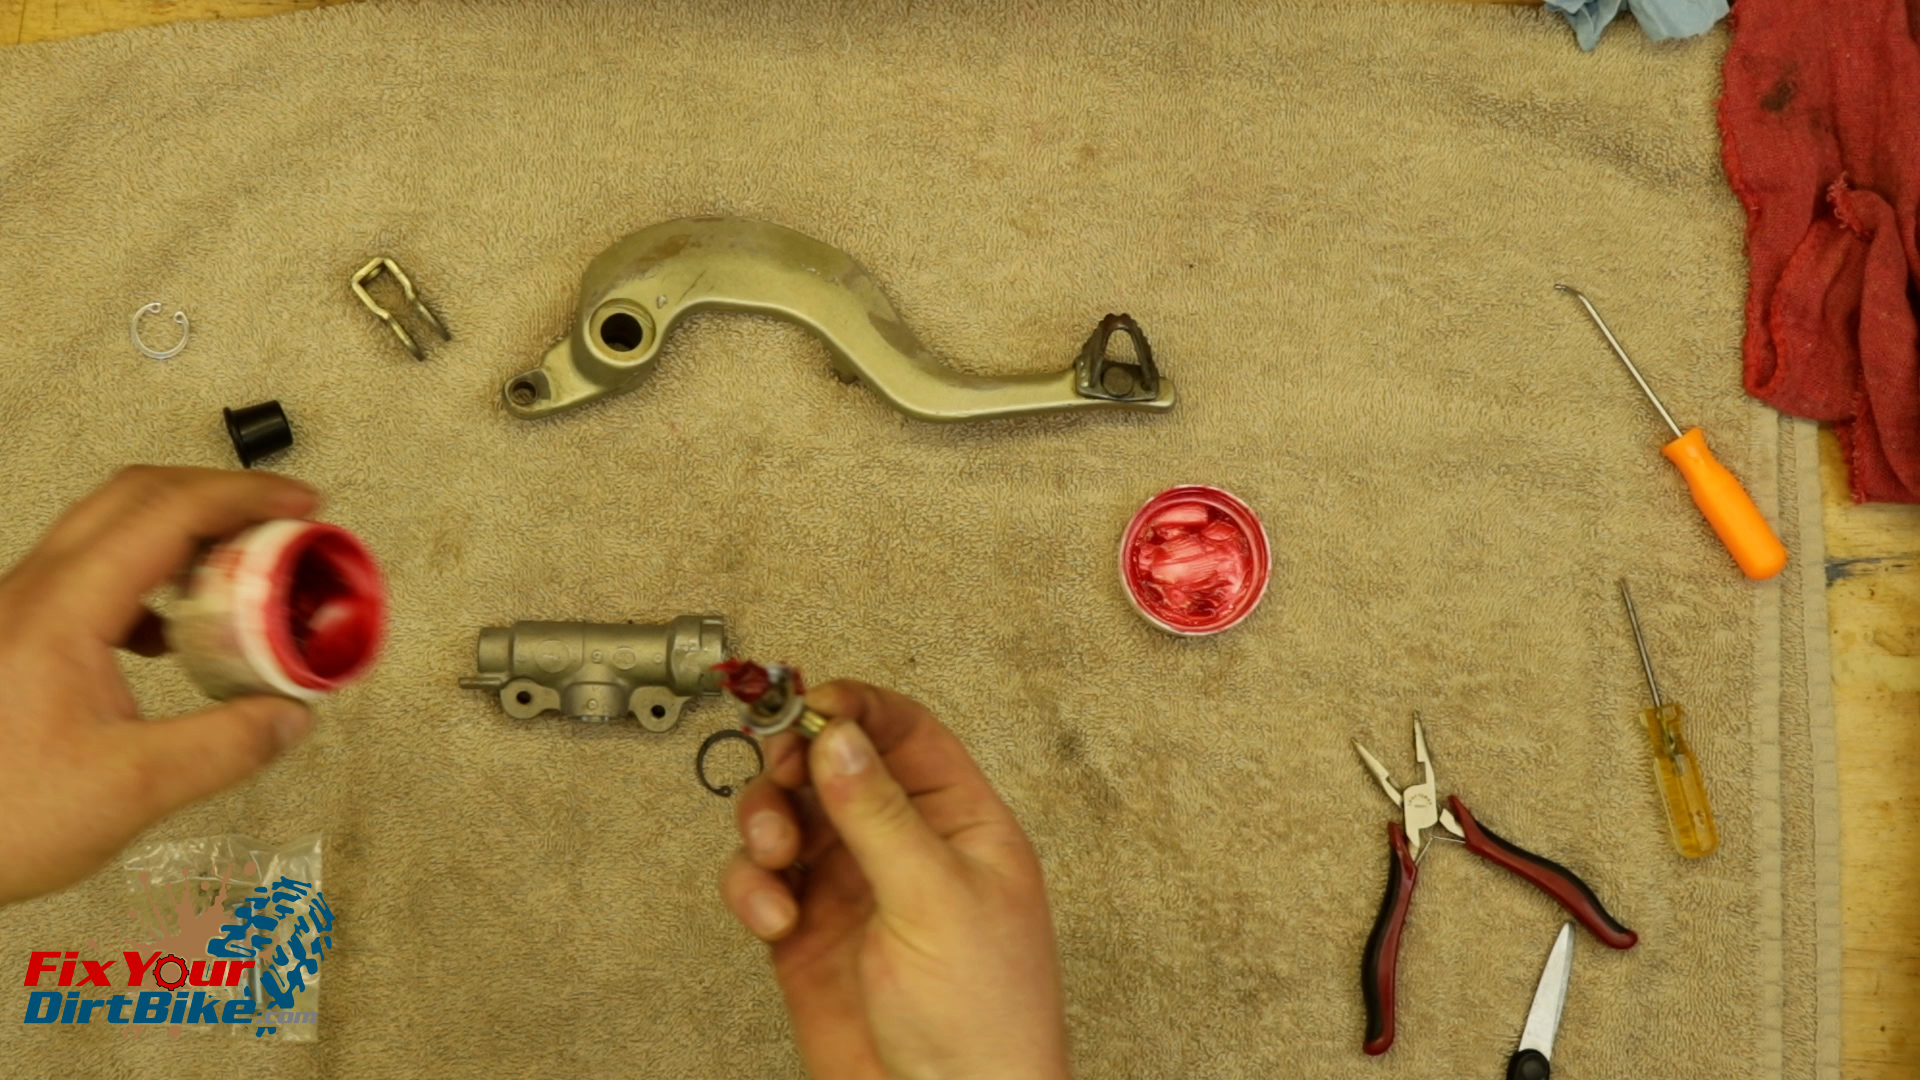
- Once you have your new parts ready, soak your new piston cups and o-ring in fresh brake fluid for 15 minutes to soften and lubricate for assembly.
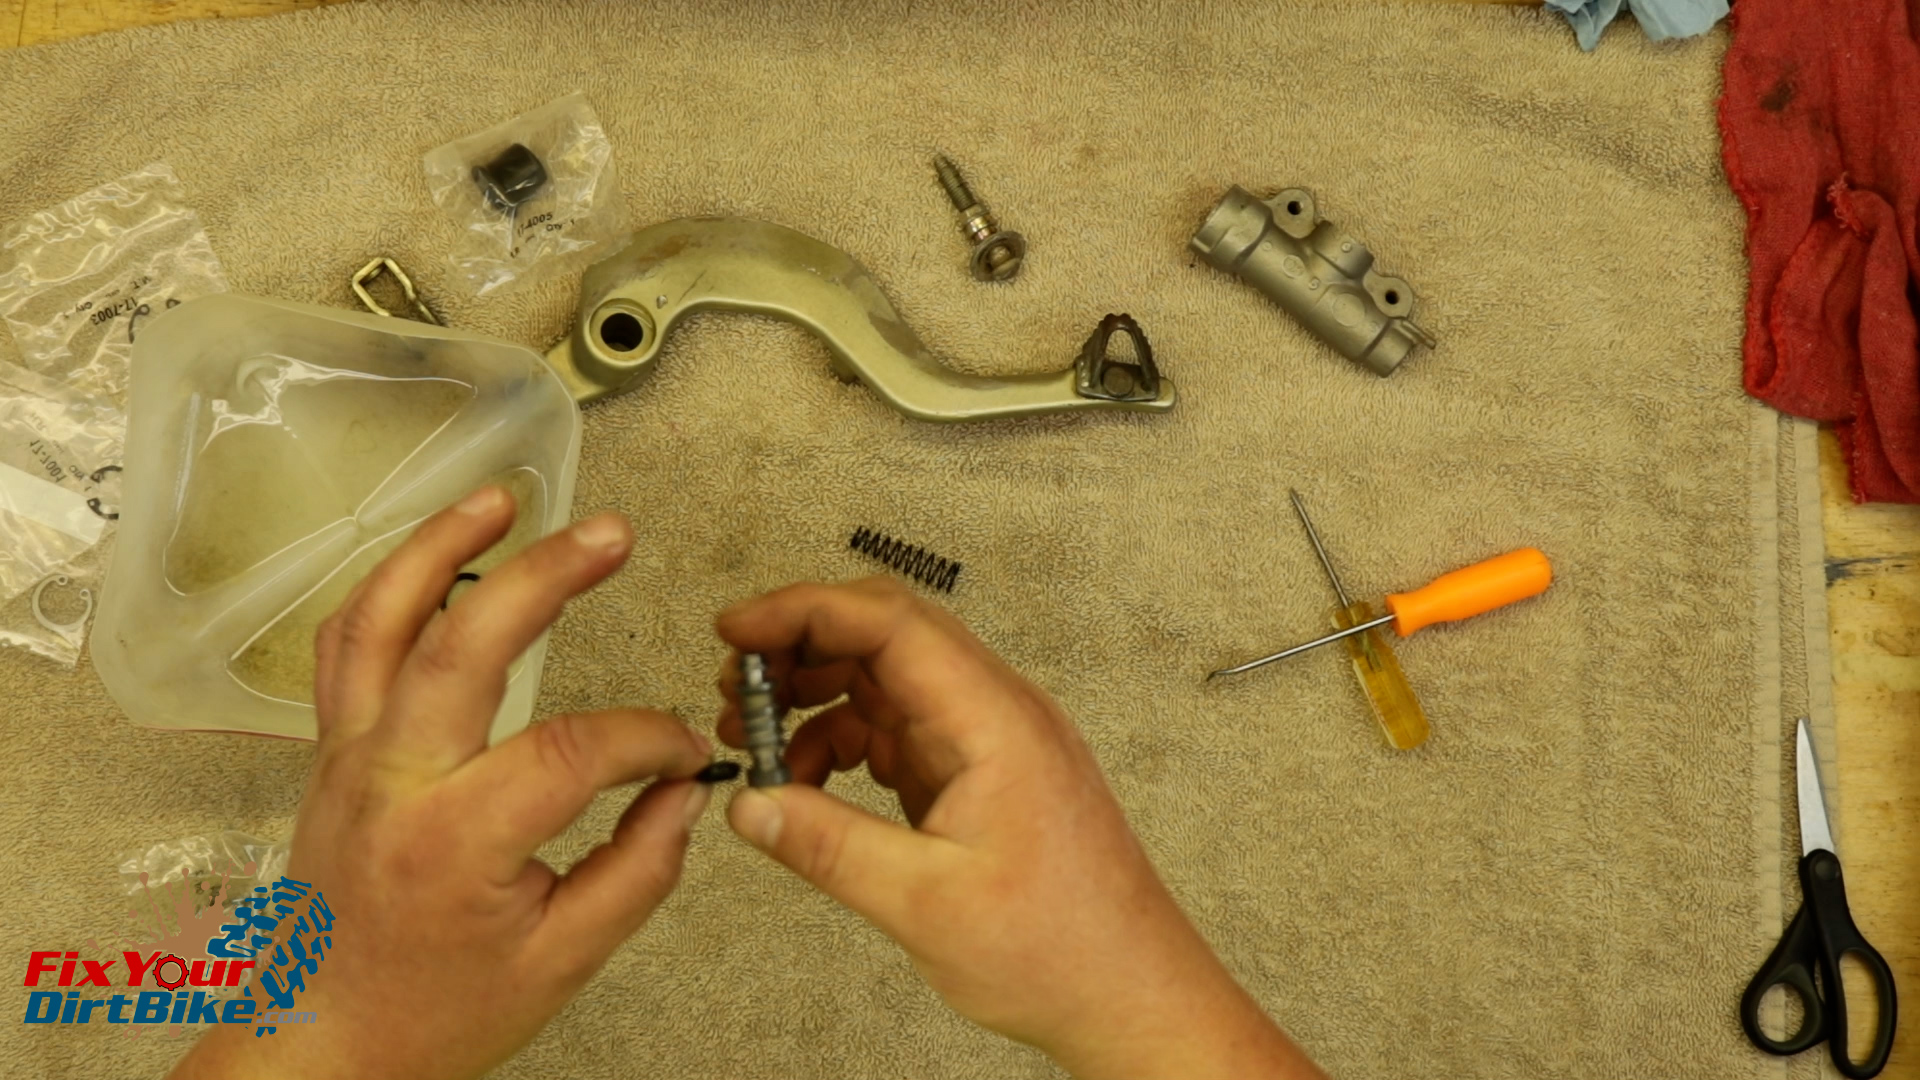
Assembly
- Start your assembly with the piston.
- Make sure to use brake fluid throughout the install to lubricate your parts.
- Install the piston cups in their matching grooves.
- Install the cups, so the wide side is facing the spring end.
- Attach the new spring.
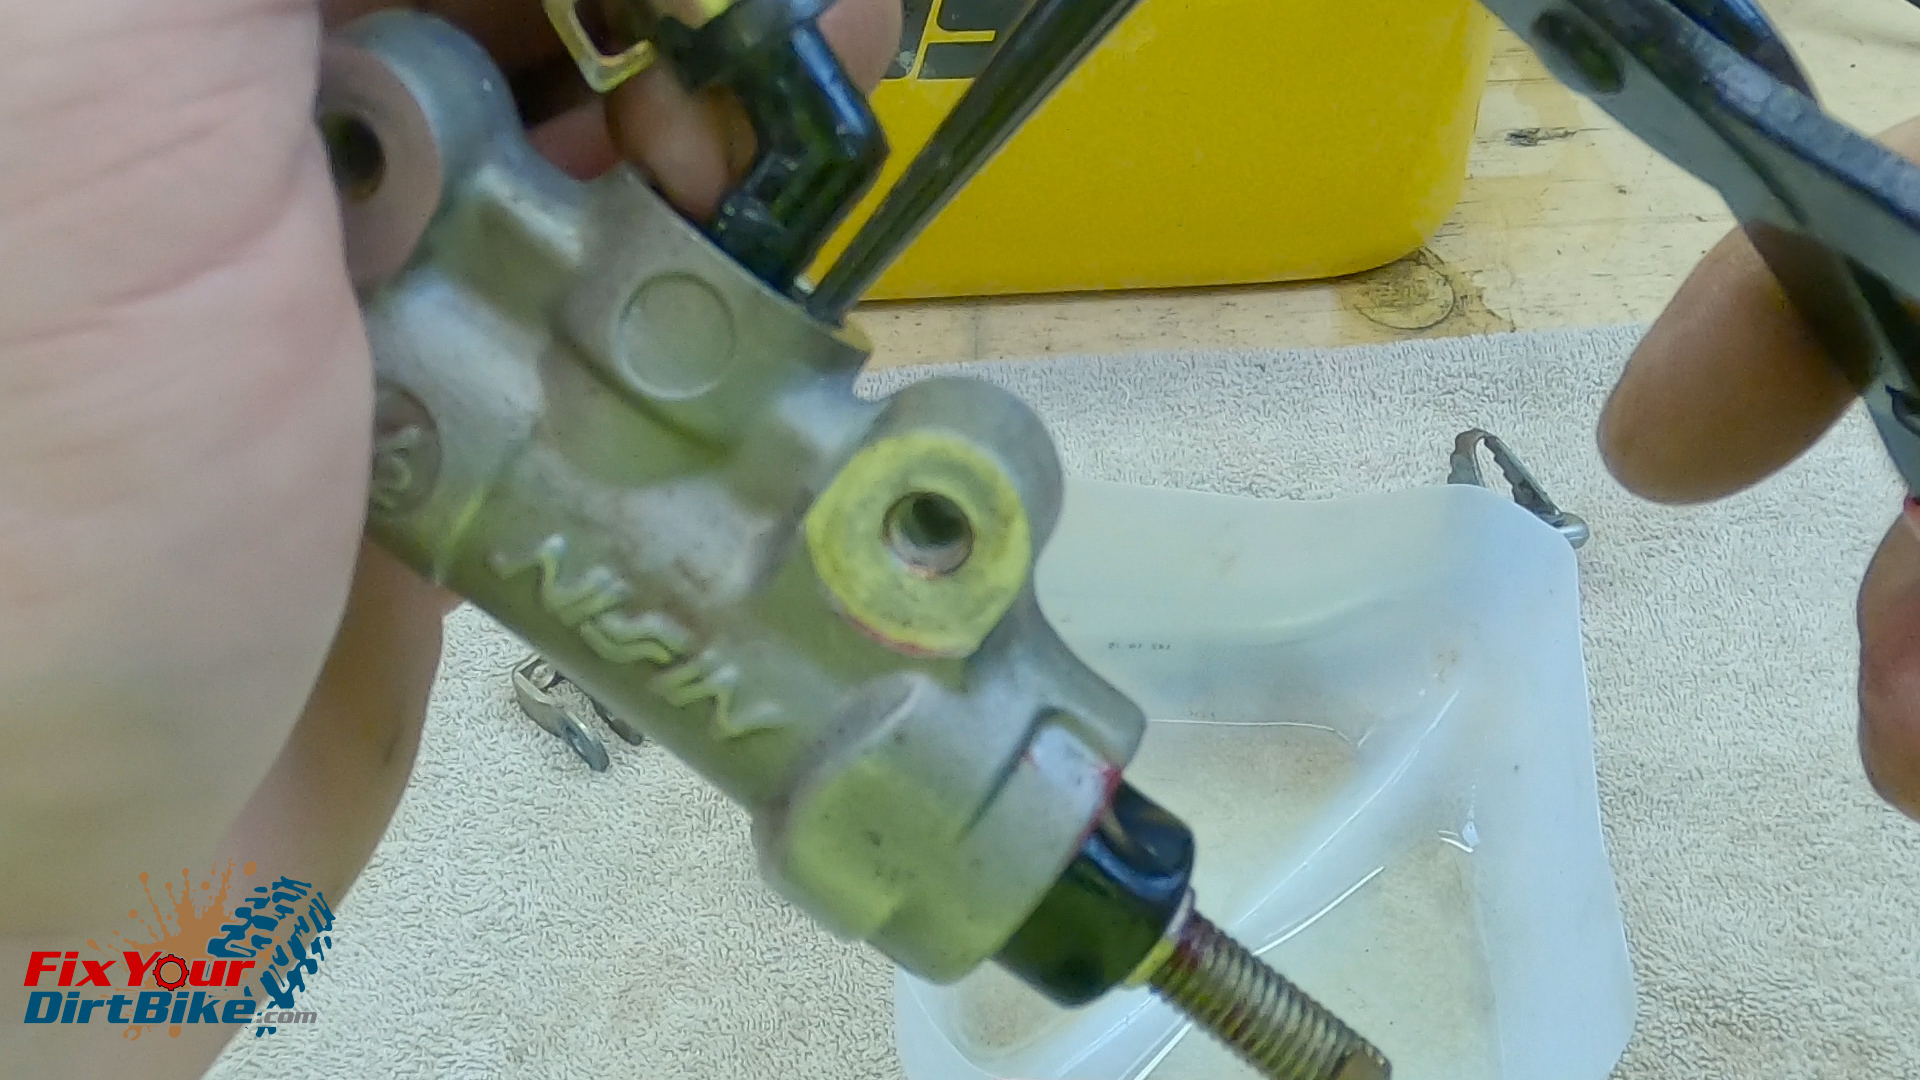
- Install the piston into the bore in a twisting motion past the first cup and stop when the spring touches the cylinder’s end.
- The piston and cylinder are a very tight fit, so make sure not to roll the piston cups on the way in.
- Coat the pushrod end with rubber grease, and hold the pushrod to the piston while you get the spring clip in position on the pushrod shaft.
- Grip the cylinder in one hand, while holding the pushrod with your thumb.
- Carefully press the pushrod down into the cylinder until the washer passes the spring clip groove, and install it.
- The flat side of the spring clip must face out.
- Heavily grease the pushrod and install the boot.
- You can use a socket or the round end of a small wrench to push the boot’s sides into the bore.
- Whatever you end up using, the boot needs to seat in the groove above the spring clip.
- Install the new o-ring for the reservoir hose mount.
- The flat side of the spring clip must face out.
- Make sure the reservoir is pointing in the same direction as the brake line connection.
- Install the lock nut and clevis.
- Reassemble the brake lever and clevis with a new cotter pin.

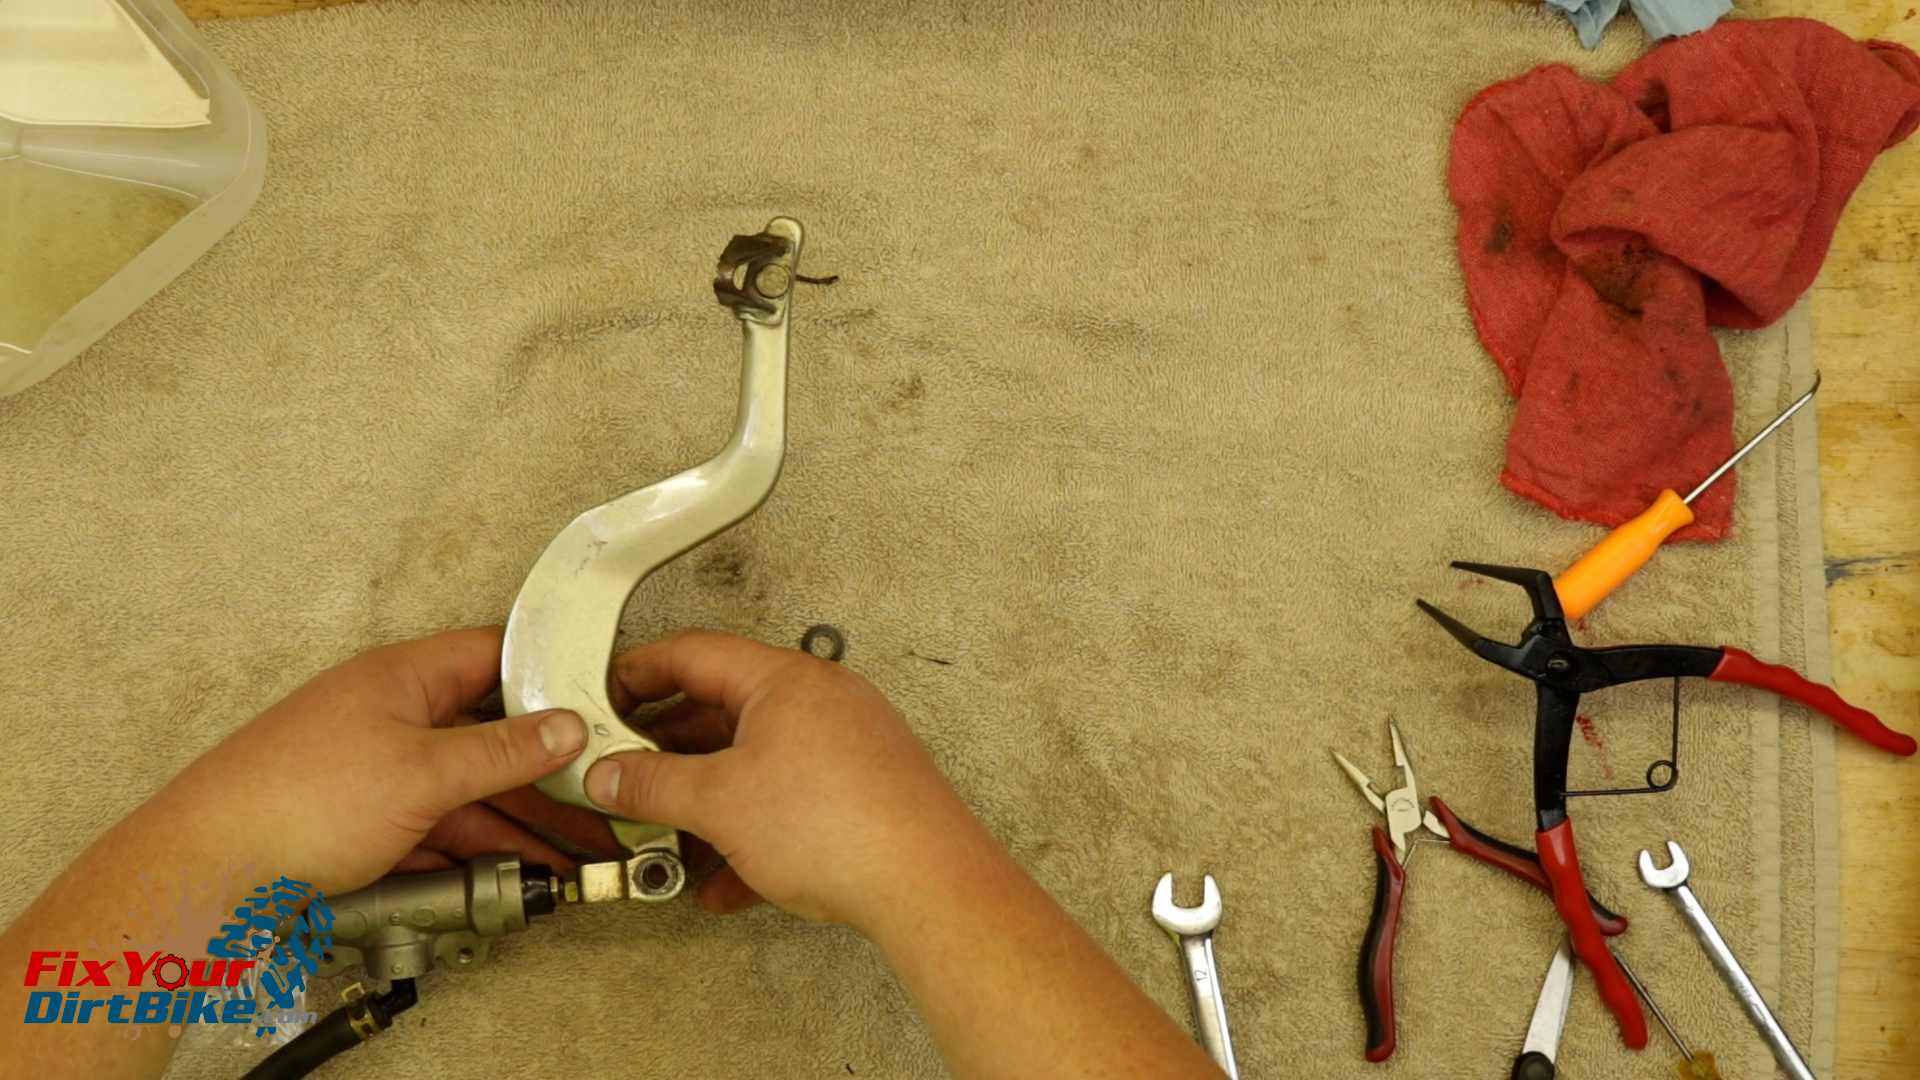
Rear Master Cylinder Installation
- Install the brake lever and master cylinder, then push the reservoir into the frame.
- Do not bolt the reservoir to the frame; you will need access to fill it when replacing brake fluid.
- Install the banjo bolt with the new seal washers, and reattach the return spring.
- Torque the banjo bolt to 25 foot-pounds, the master cylinder mounting bolts to 88 inch-pounds, and the brake lever pivot bolt to 14 foot-pounds.
You can follow me at Fix Your Dirt Bike across all social media, and If you have any questions, please let me know in the comments or direct message!
