
How To Rebuild The Front Master Cylinder On Your 1994 – 2001 Yamaha YZ125
 The front master cylinder design on your Yamaha YZ125 had some slight redesigns between 1994 and 2001, but the same service applies to all model years.
My bike is stripped, so I am removing the banjo bolt on the bench, but I would recommend removing yours while still mounted to the bike.
Brake fluid can damage almost everything, so keep your shop towels handy.
The Tools You Will Need
- 5mm Hex Wrench
- Calipers
- Philips Screwdriver
- Flathead Screwdriver
- Picks
- 12mm Socket
- 10mm Socket
- Pliers
- Electrical Tape
- Snap Ring Pliers
The Parts You Will Need
The parts you will need are a front master cylinder rebuild kit, rubber grease, and a fresh bottle dot four brake fluid.
If you don’t have parts yet, you can get all the parts you need HERE!
Make Sure To Service Your Entire Brake System!
Rear Master Cylinder Disassembly
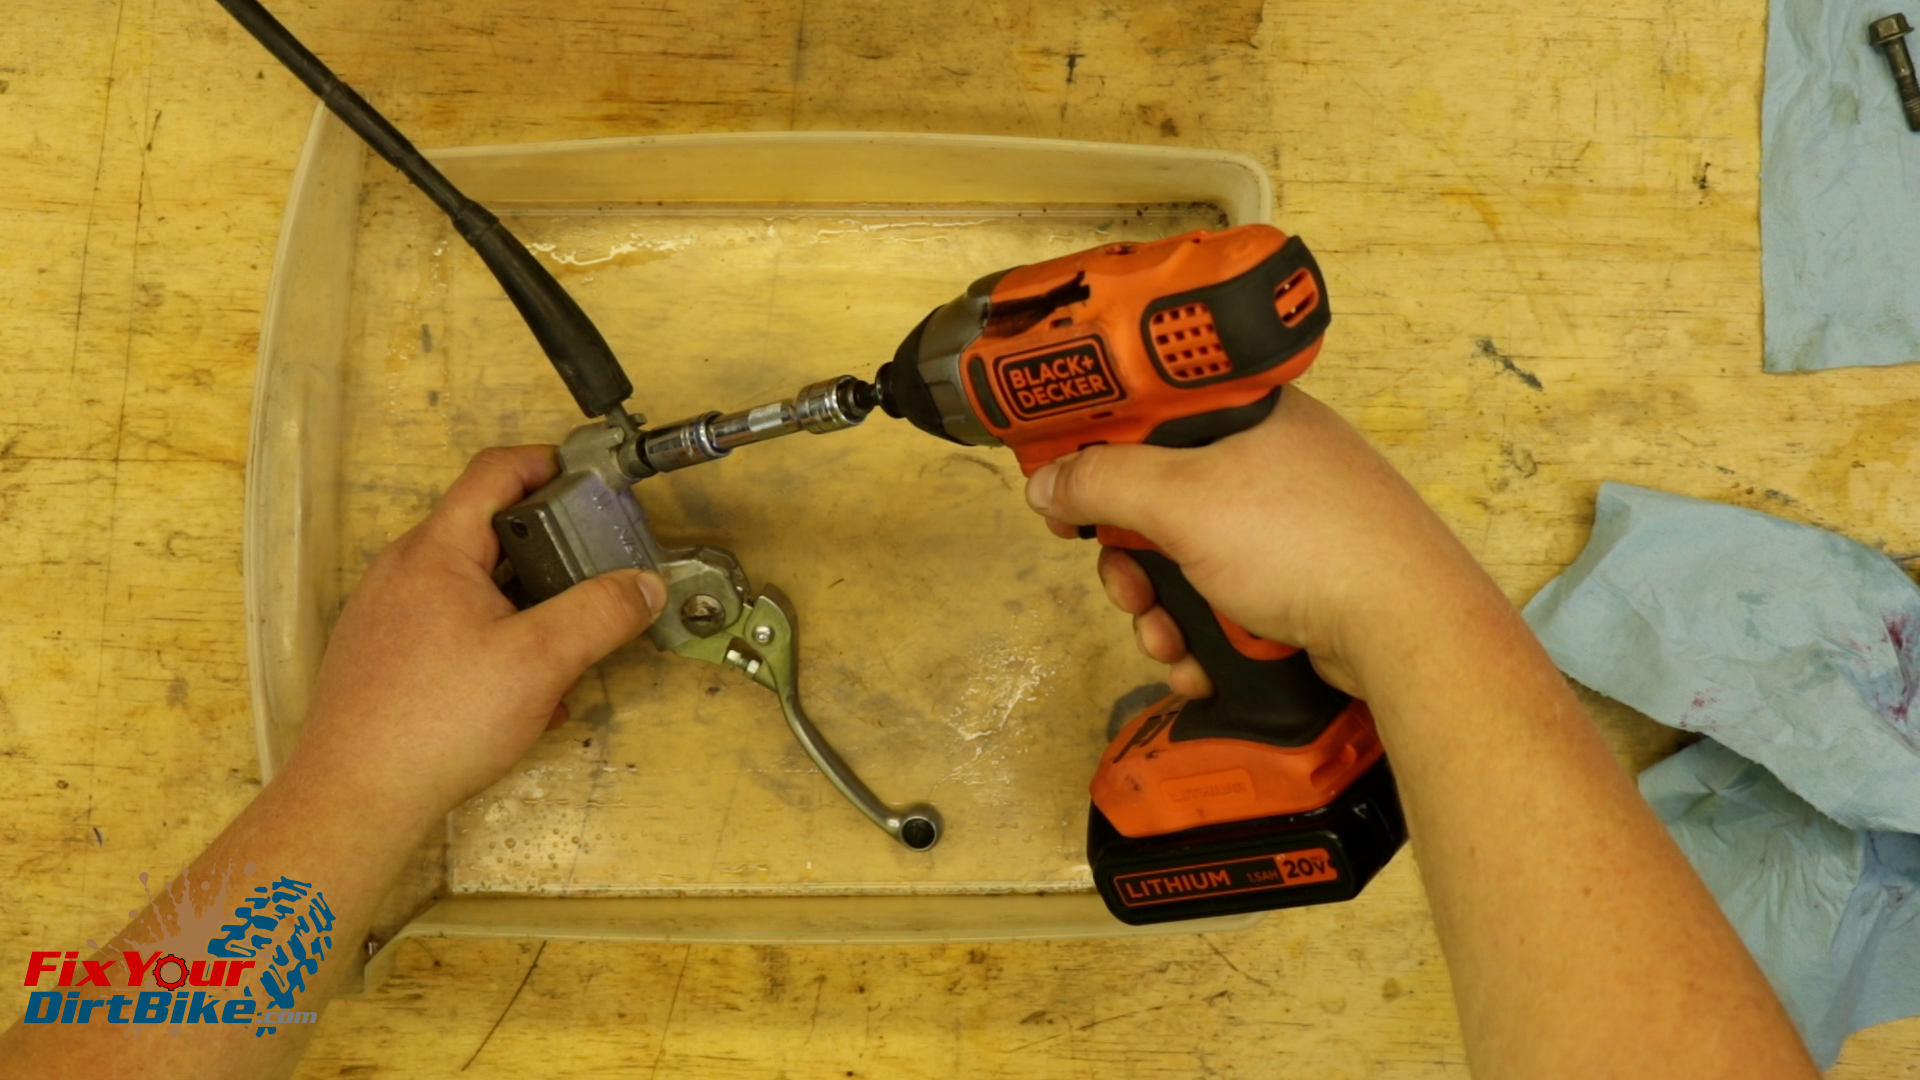
- Unbolt the banjo bolt and wrap the end of the brake line in a paper towel.
- Remove the reservoir cap and drain the master cylinder.
- My cap screws were stripped out, so I had to use a bolt extractor.
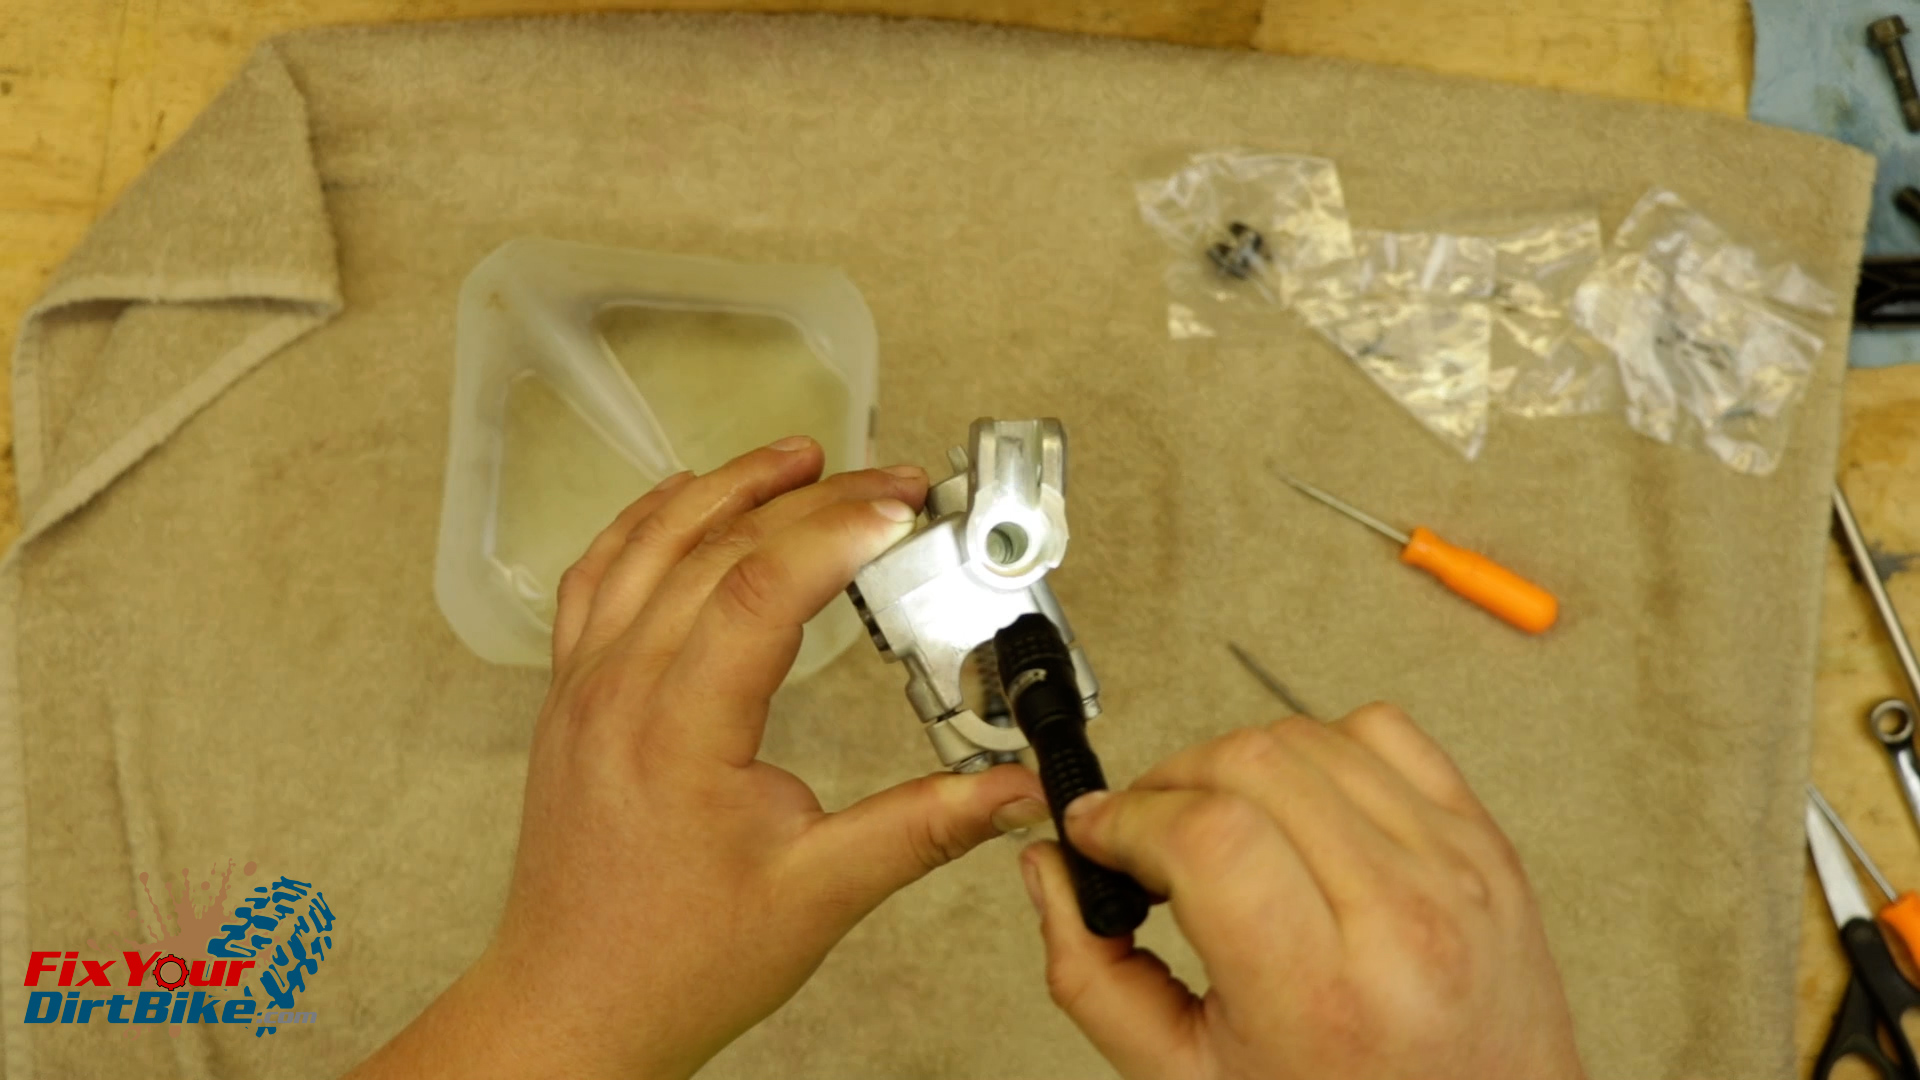
- Completely disassemble the master cylinder, starting with the brake lever.
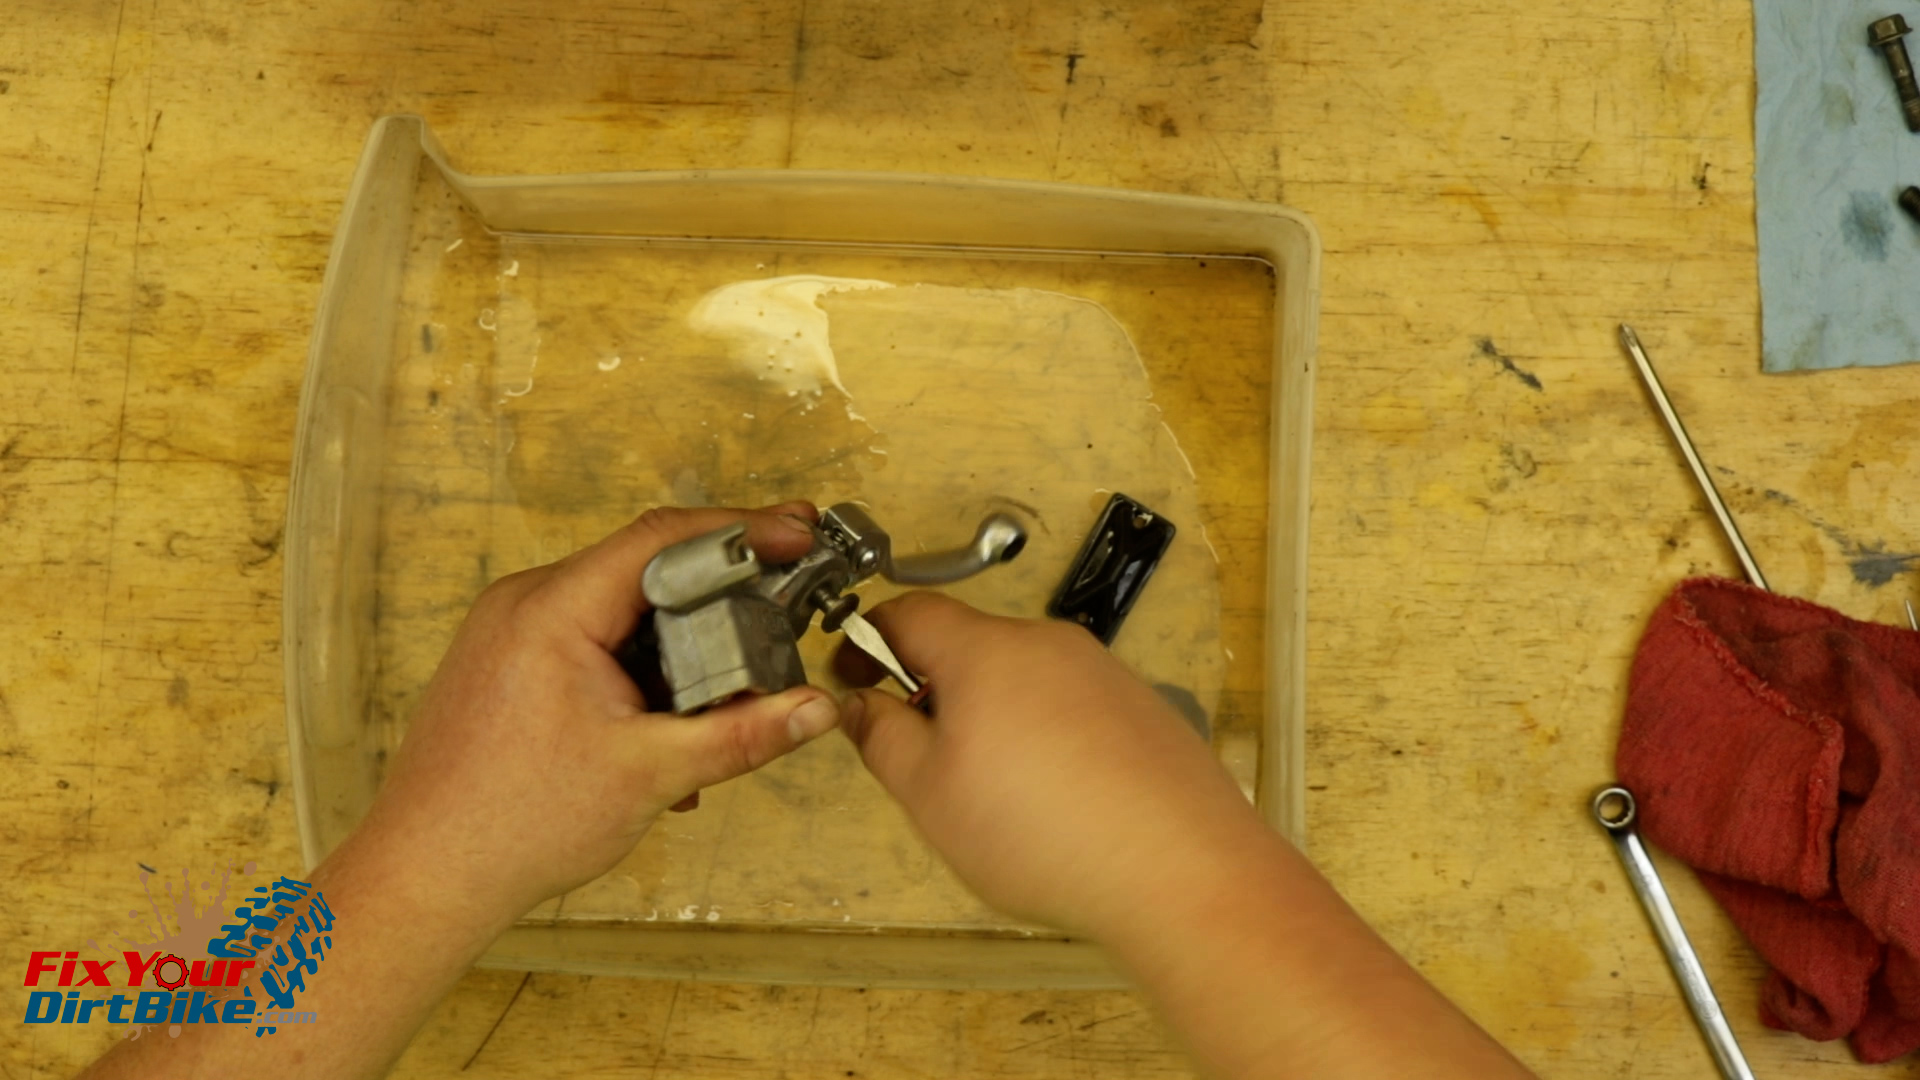
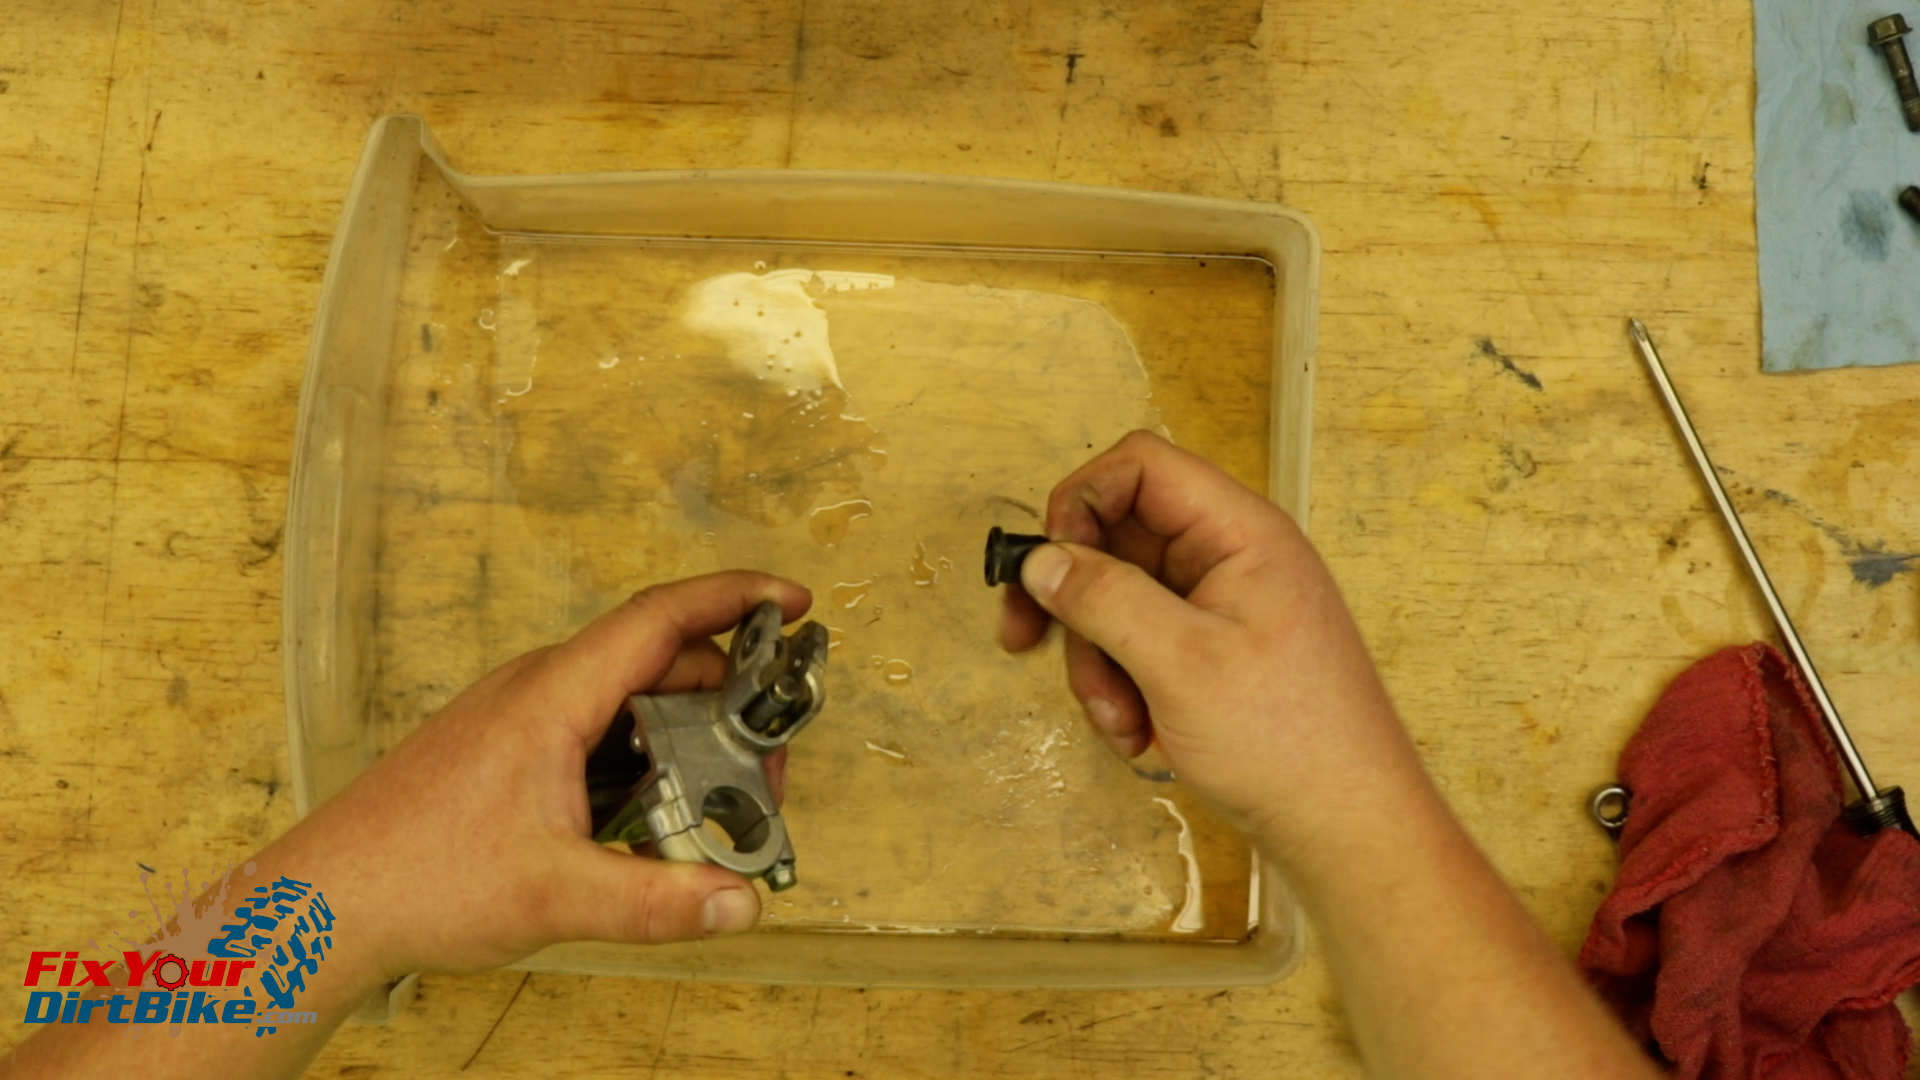
- Remove the piston boot.
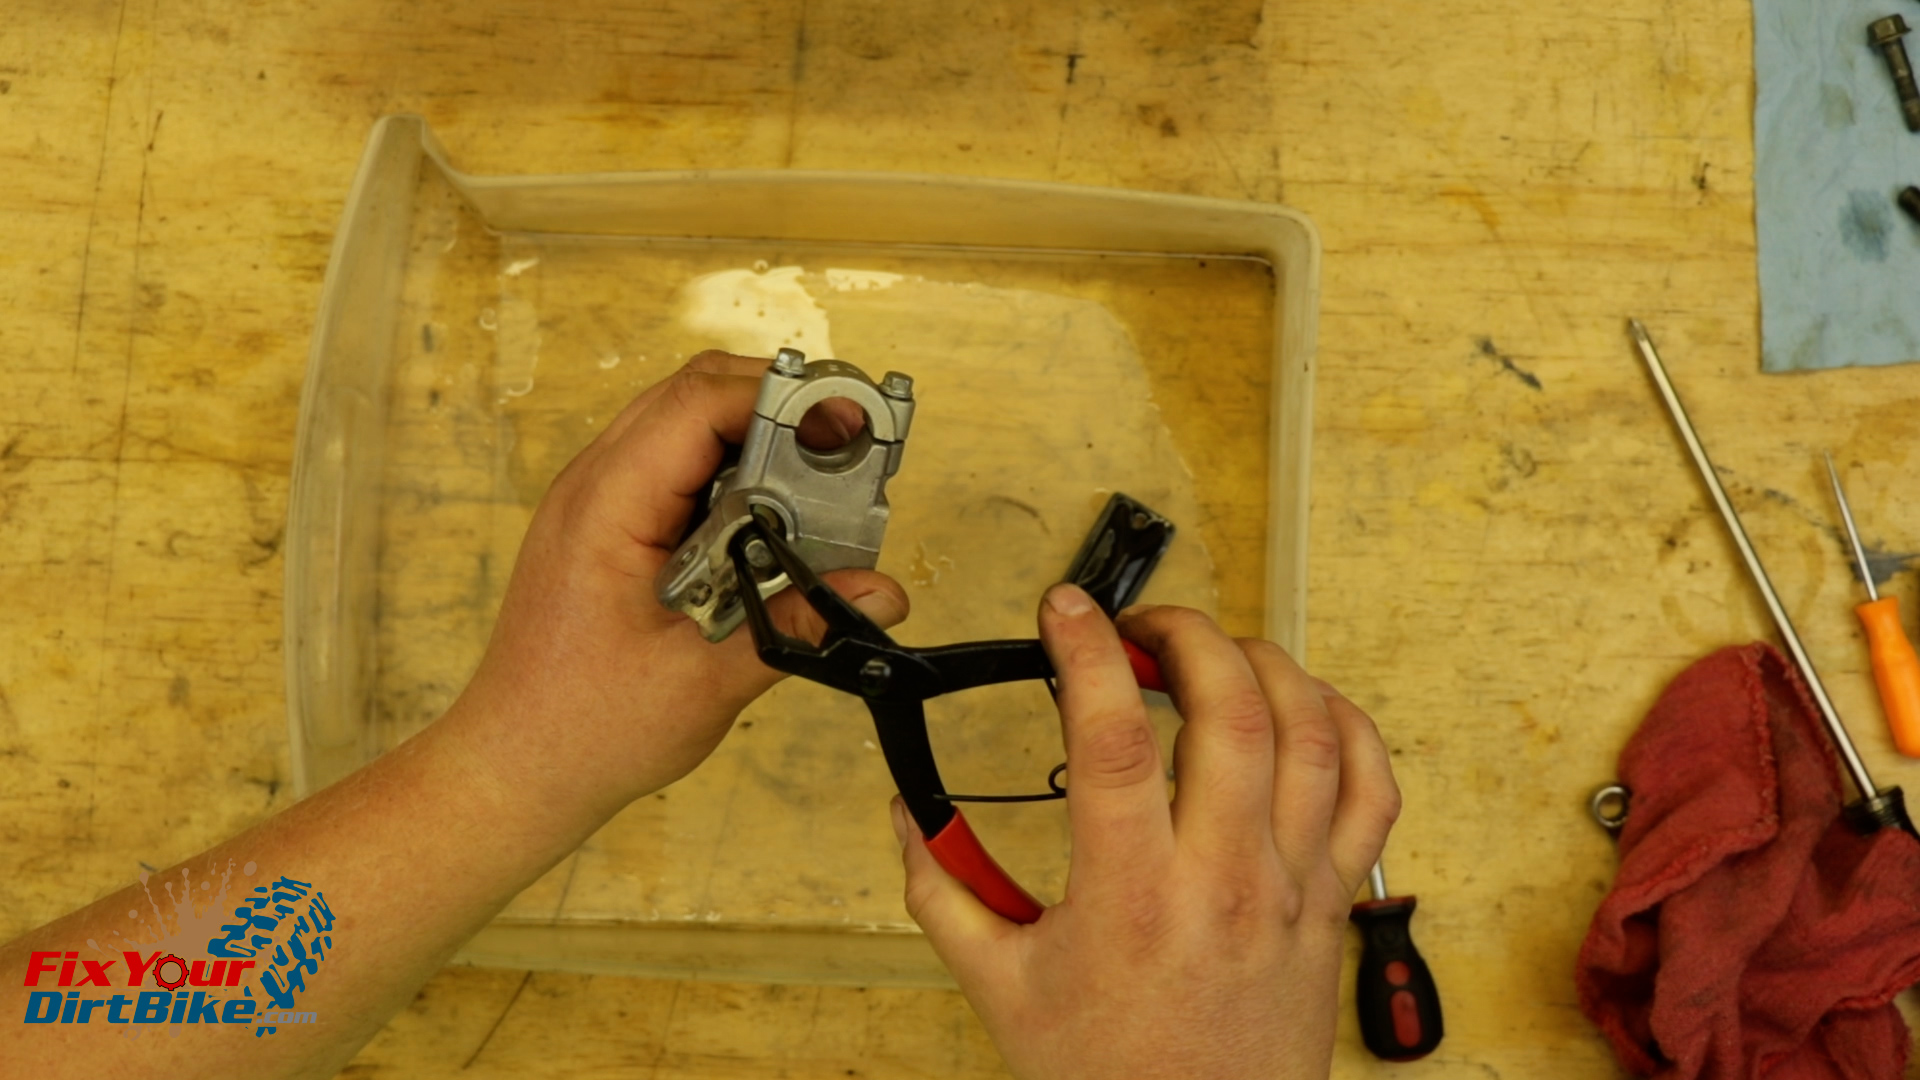
- Remove the snap ring retaining the piston with a pair of long nose snap ring pliers or picks.
- Pull the piston from the housing.
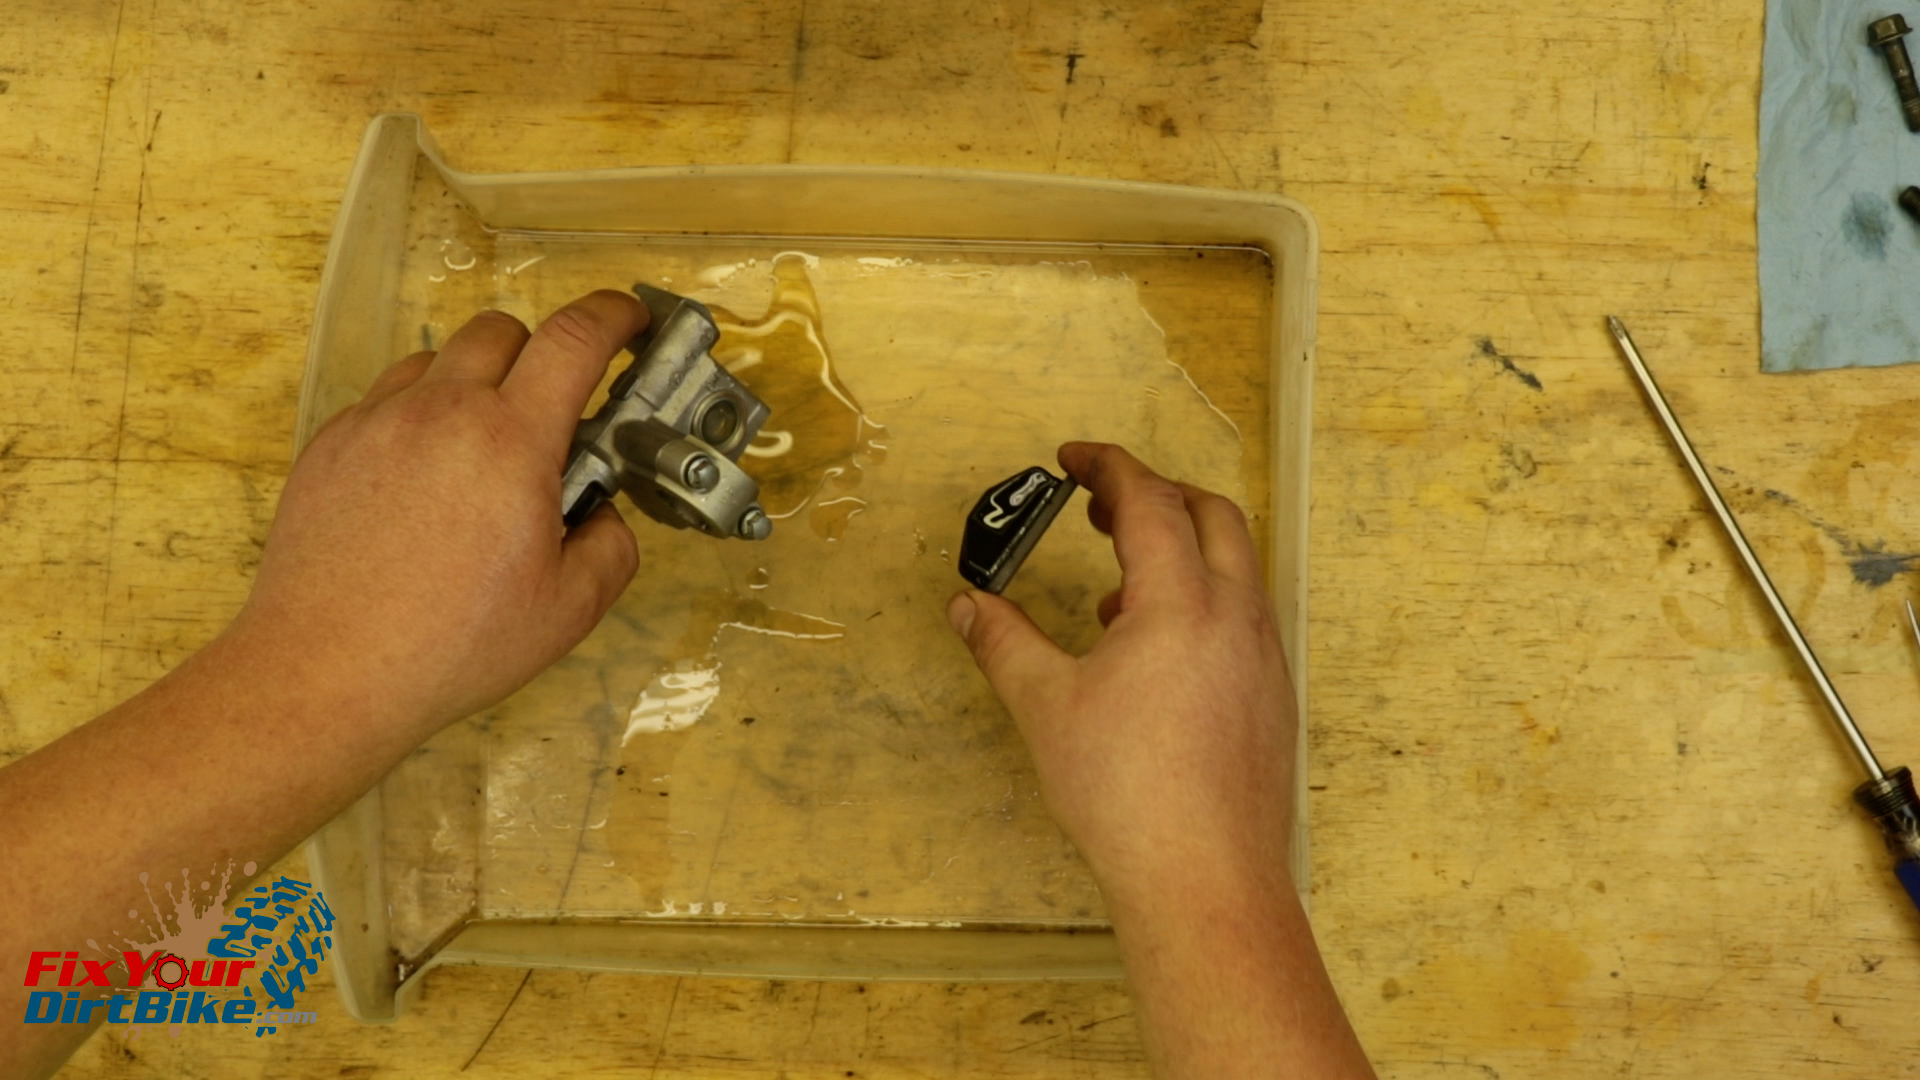
Clean & Inspect
- Clean all of your front master cylinder components, and make sure to rinse and dry them thoroughly.
- As you clean, inspect the components for excessive wear, pitting, and corrosion.
- If any piece is damaged, you will need to replace it.
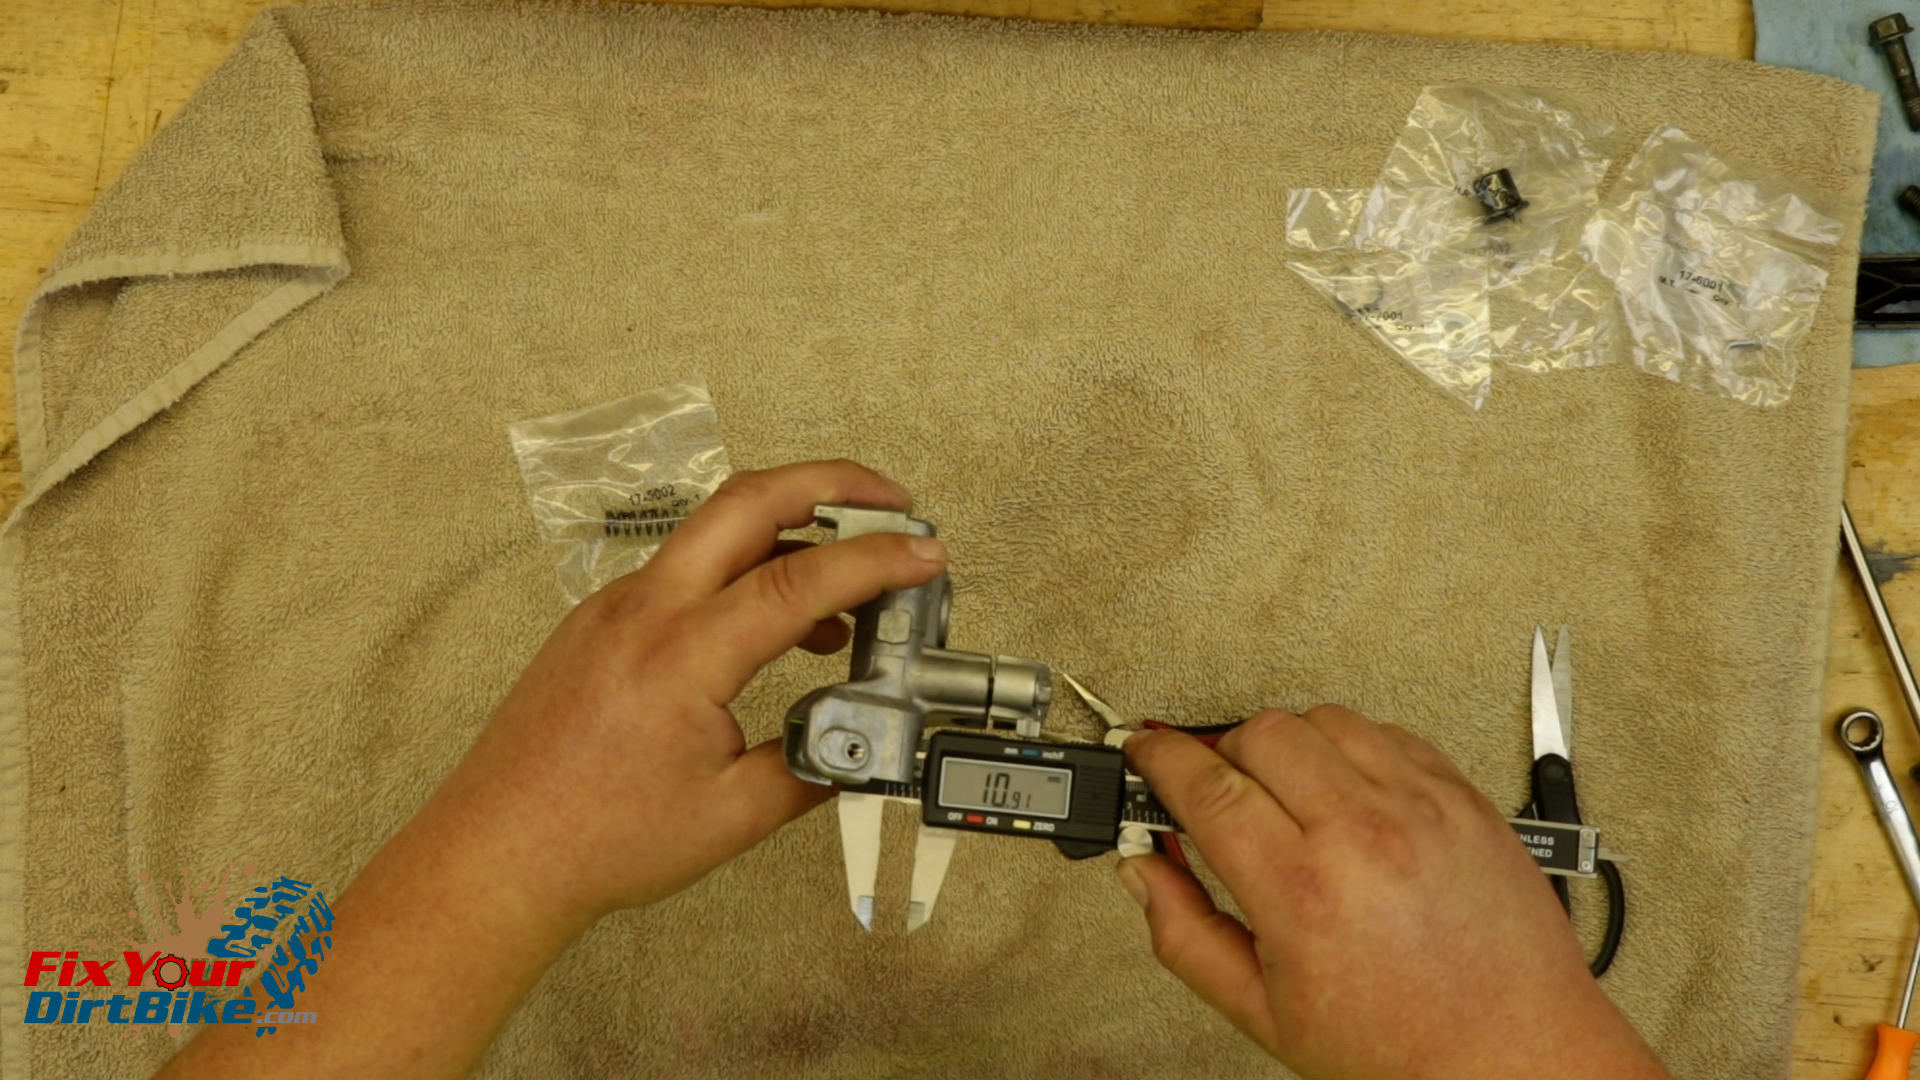
- Measure the inside diameter of the cylinder bore.
- The cylinder bore should measure no greater than 11mm.
- My cylinder bore is just under the service limit at 10.77mm, so my master cylinder is good to go.
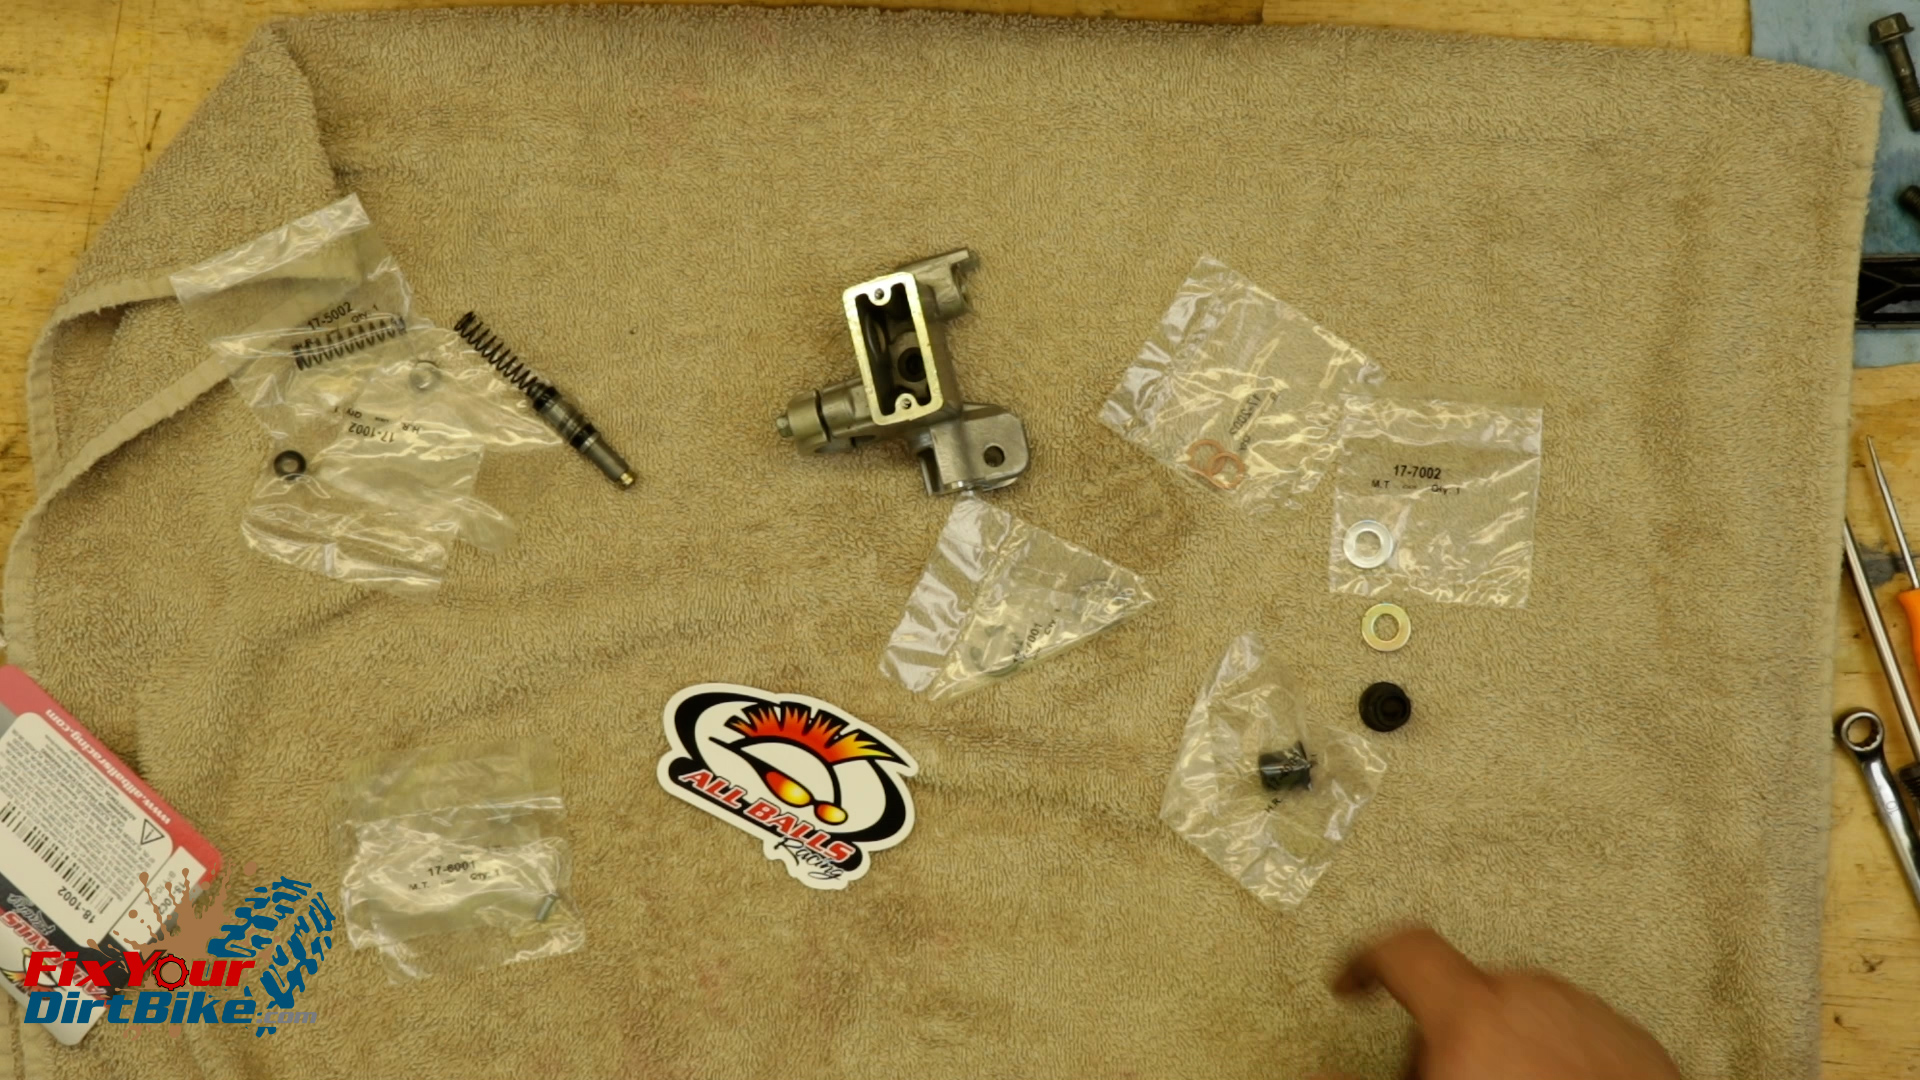
New Parts
- I am installing an All Balls FRONT master cylinder rebuild kit, and you can get this same kit through the link below.
- Match the old parts with the new parts to make sure you’re not accidentally throwing away something you need.
- Once you have your new parts ready, soak your new piston cups in fresh brake fluid for 15 minutes to soften and lubricate for assembly.
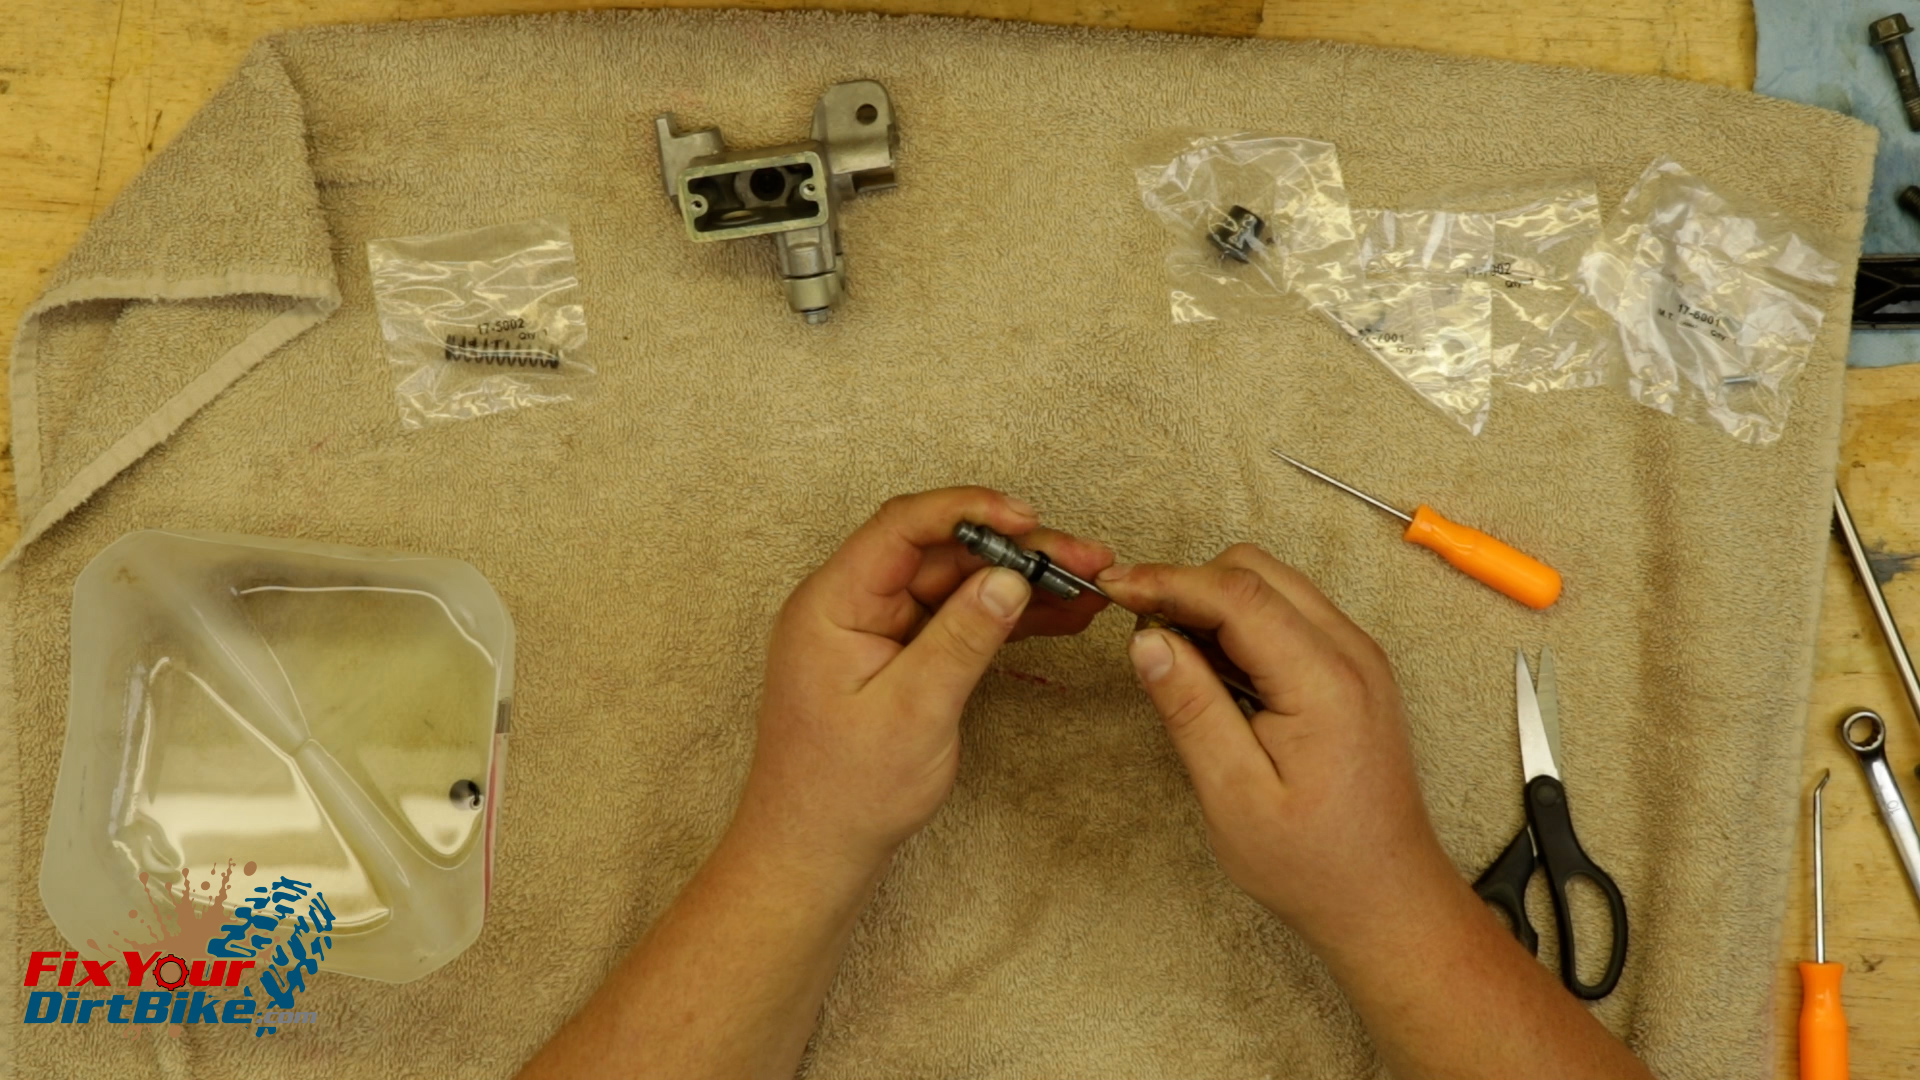
Master Cylinder Assembly
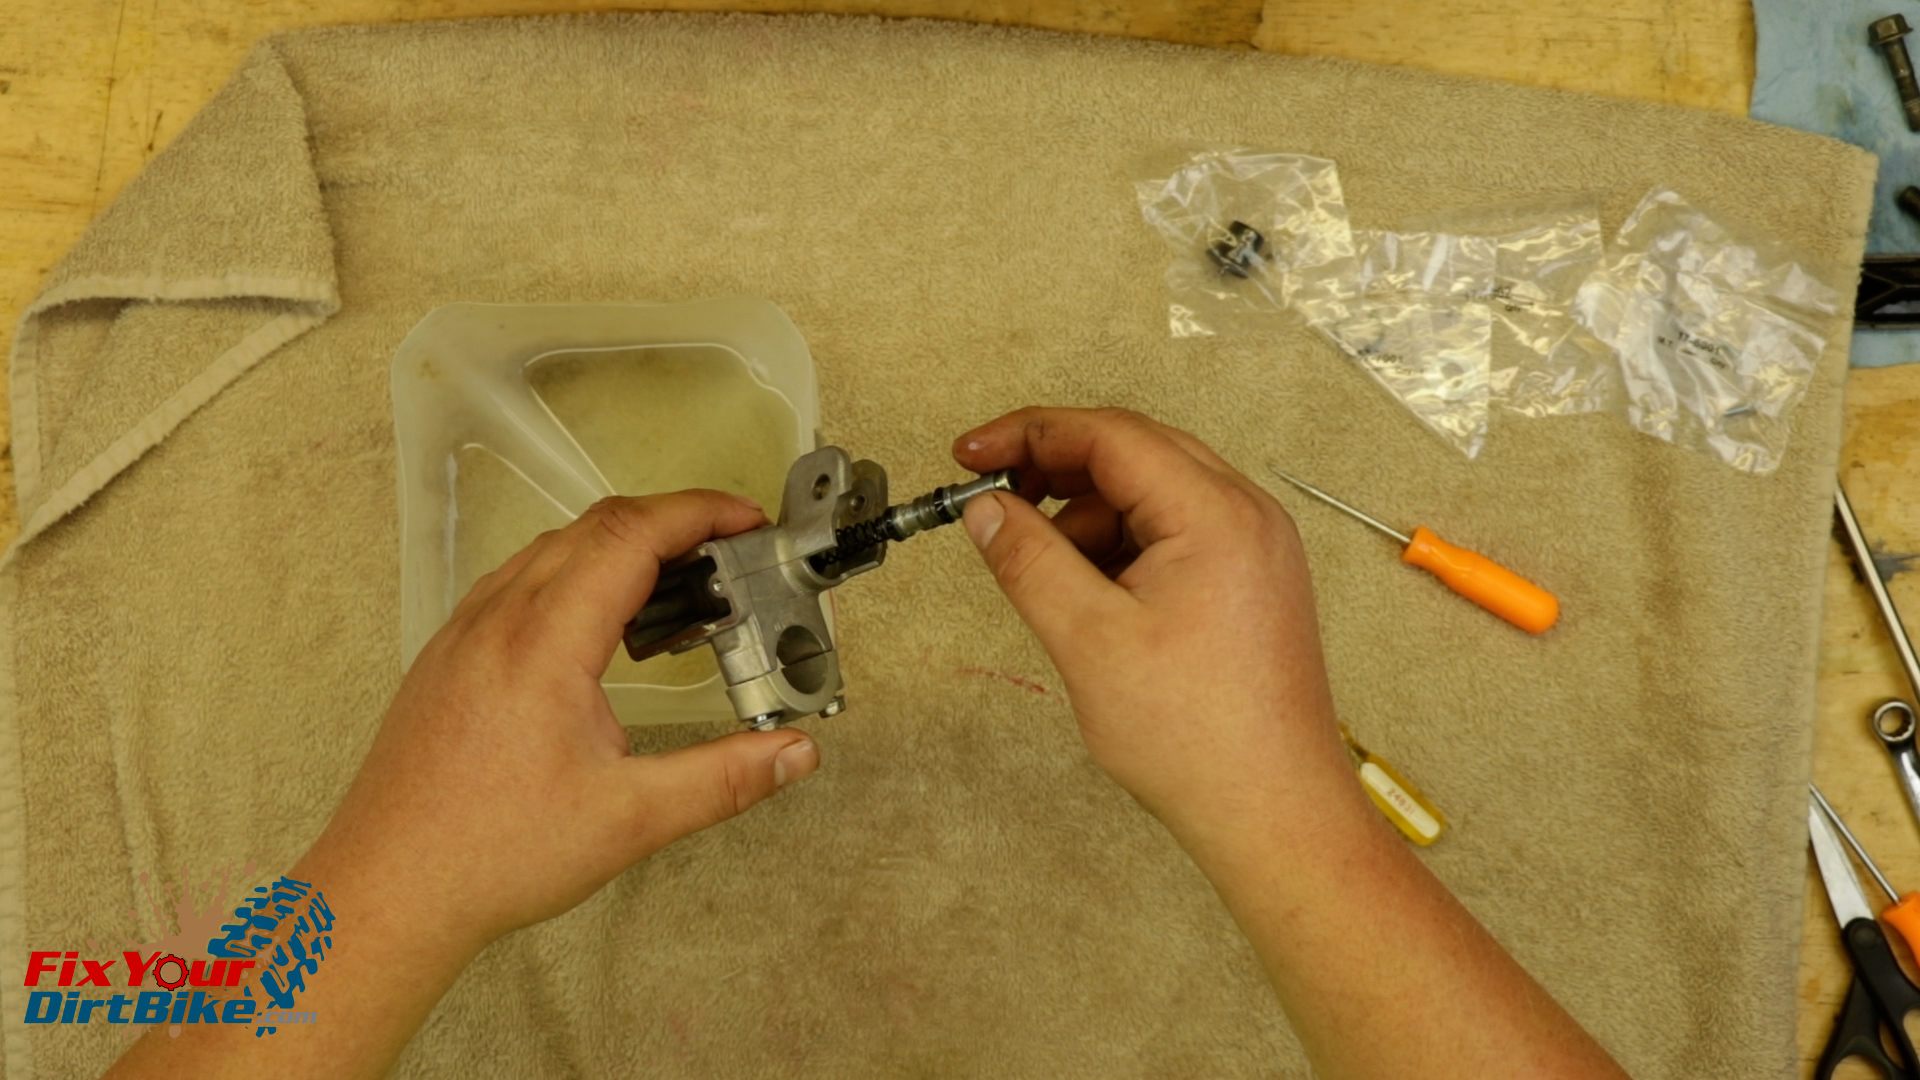
- Start your assembly with the piston.
- The piston cups are different sizes, so install them in their matching grooves.
- Make sure to install the cups, so the wide side is facing the spring end.
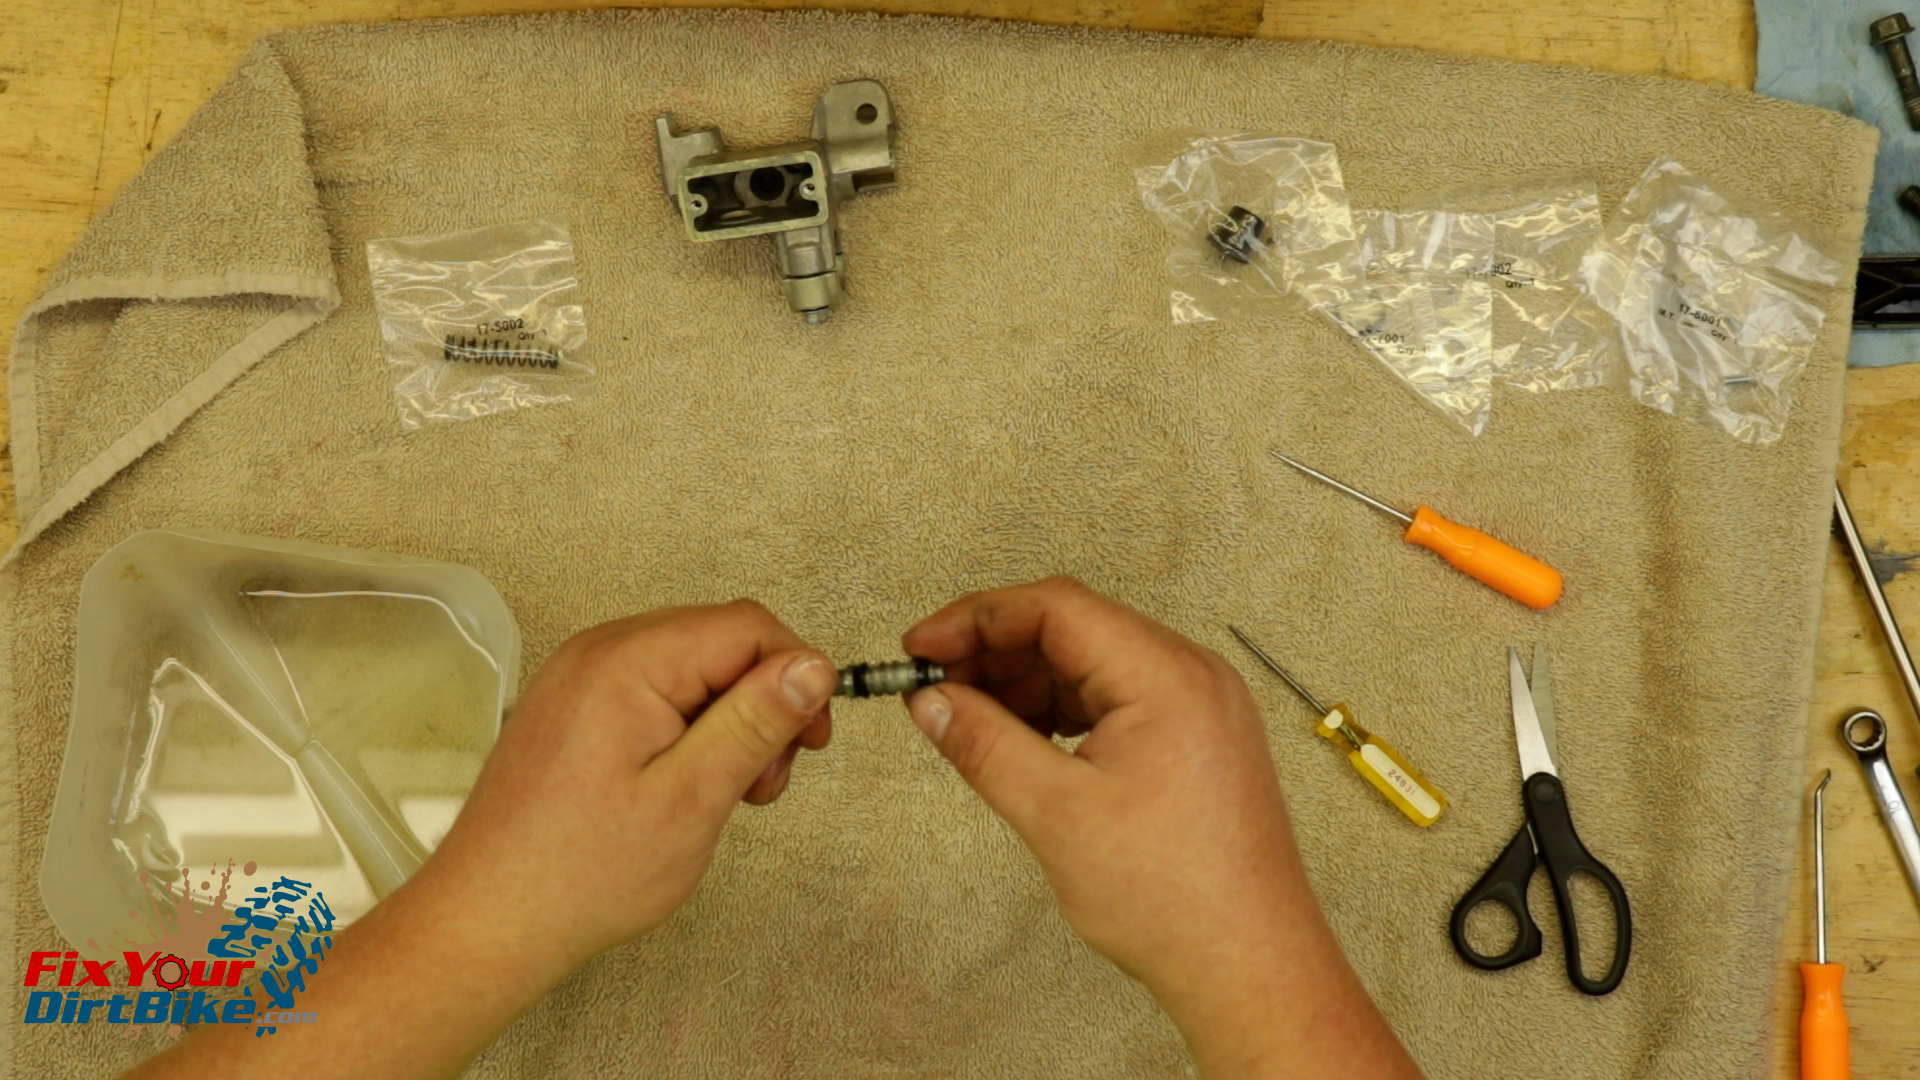
- Fitting the piston cups over the piston can be a hassle, so take your time and use plenty of brake fluid.
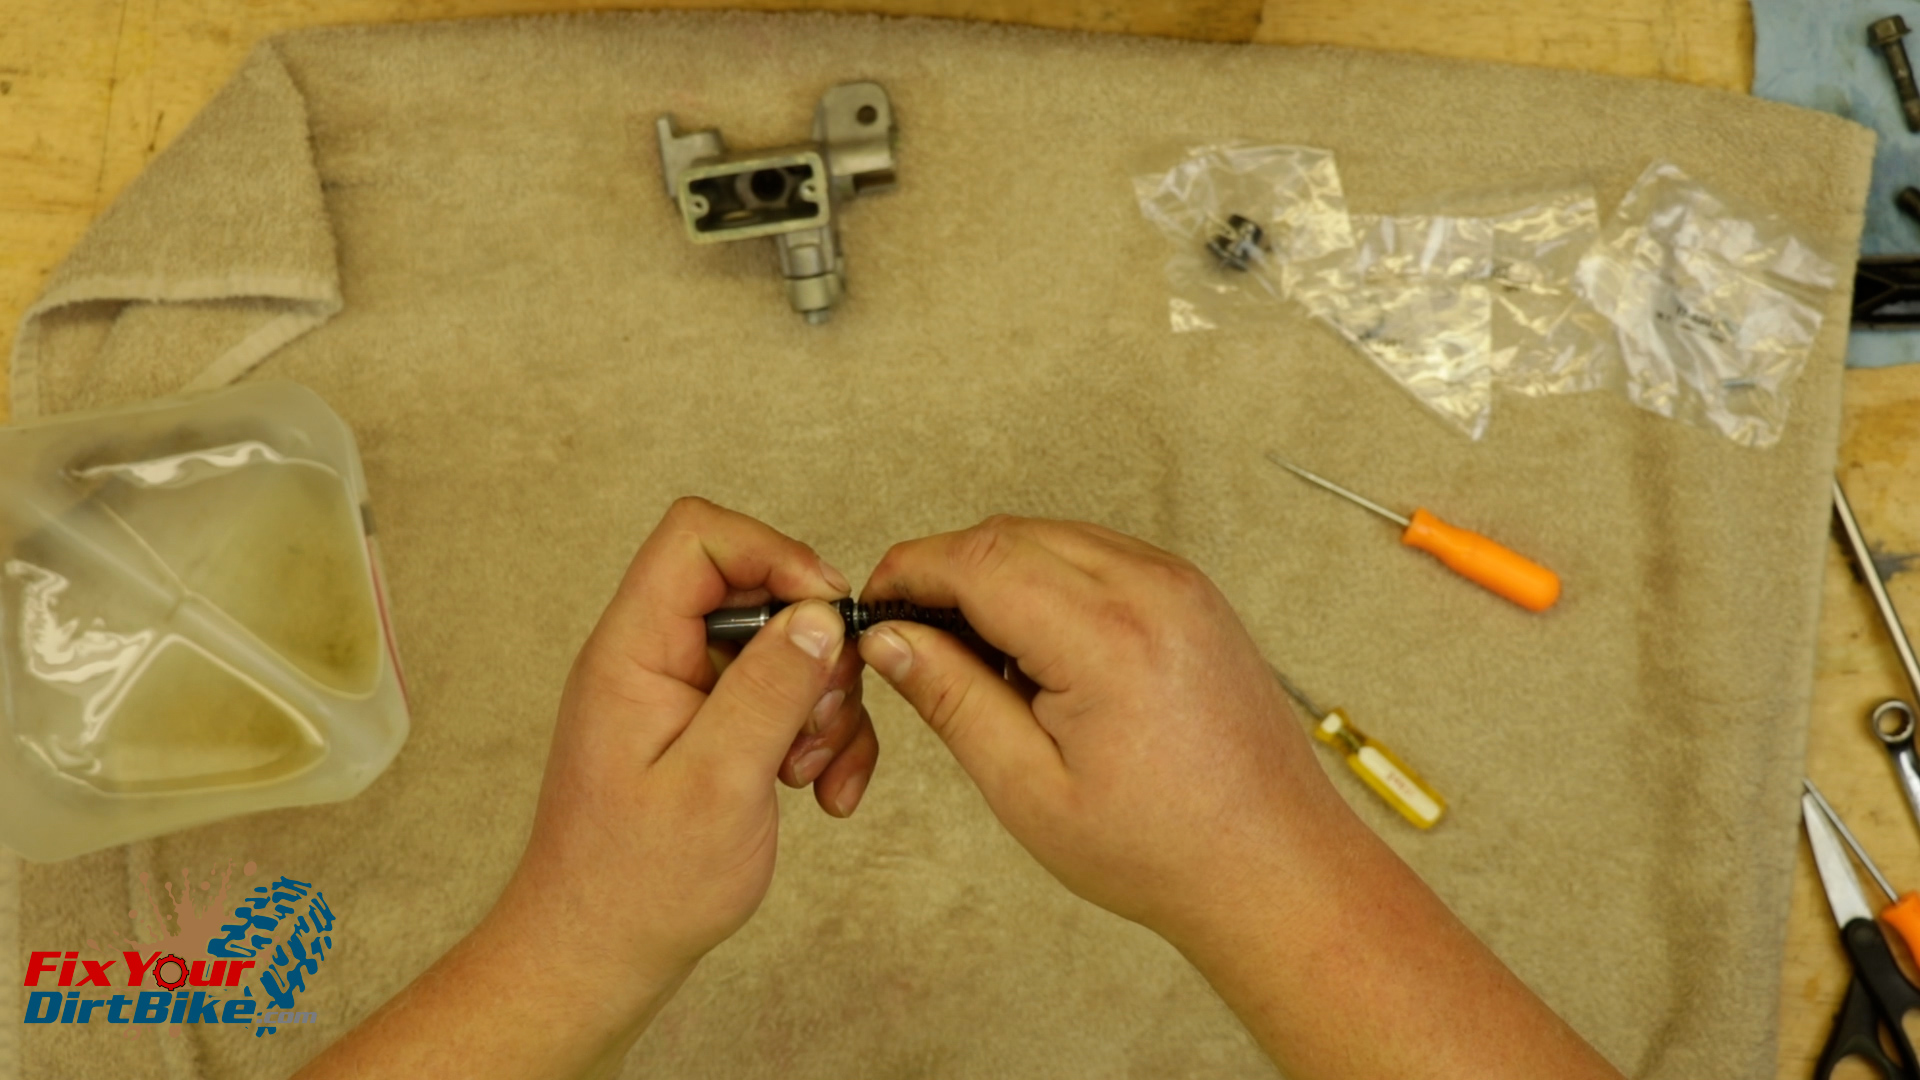
- Attach the new spring.
- Double-check the cylinder bore for any debris or water leftover from cleaning.
- Install the piston past the first cup in a twisting motion and stop when the spring touches the cylinder’s end.
- The piston and cylinder are a very tight fit, so make sure not to roll the piston cups on the way in.
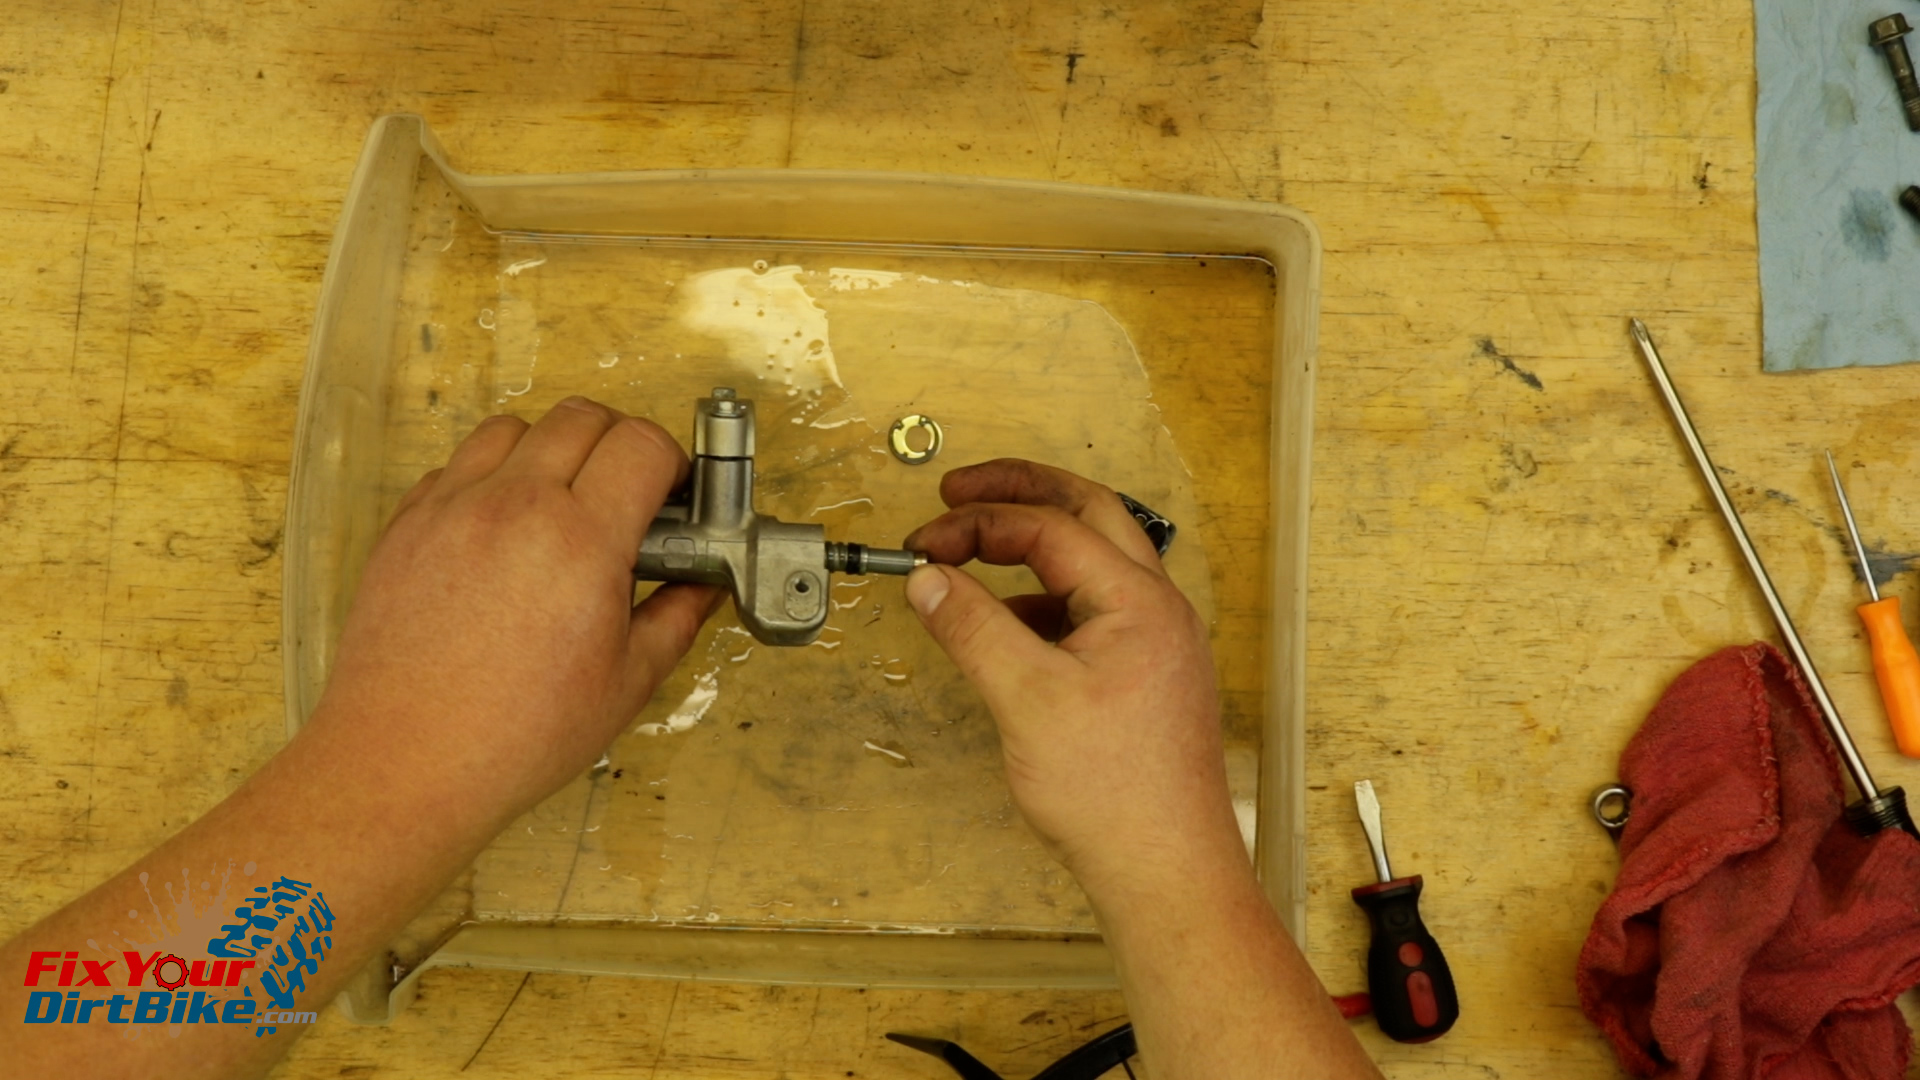
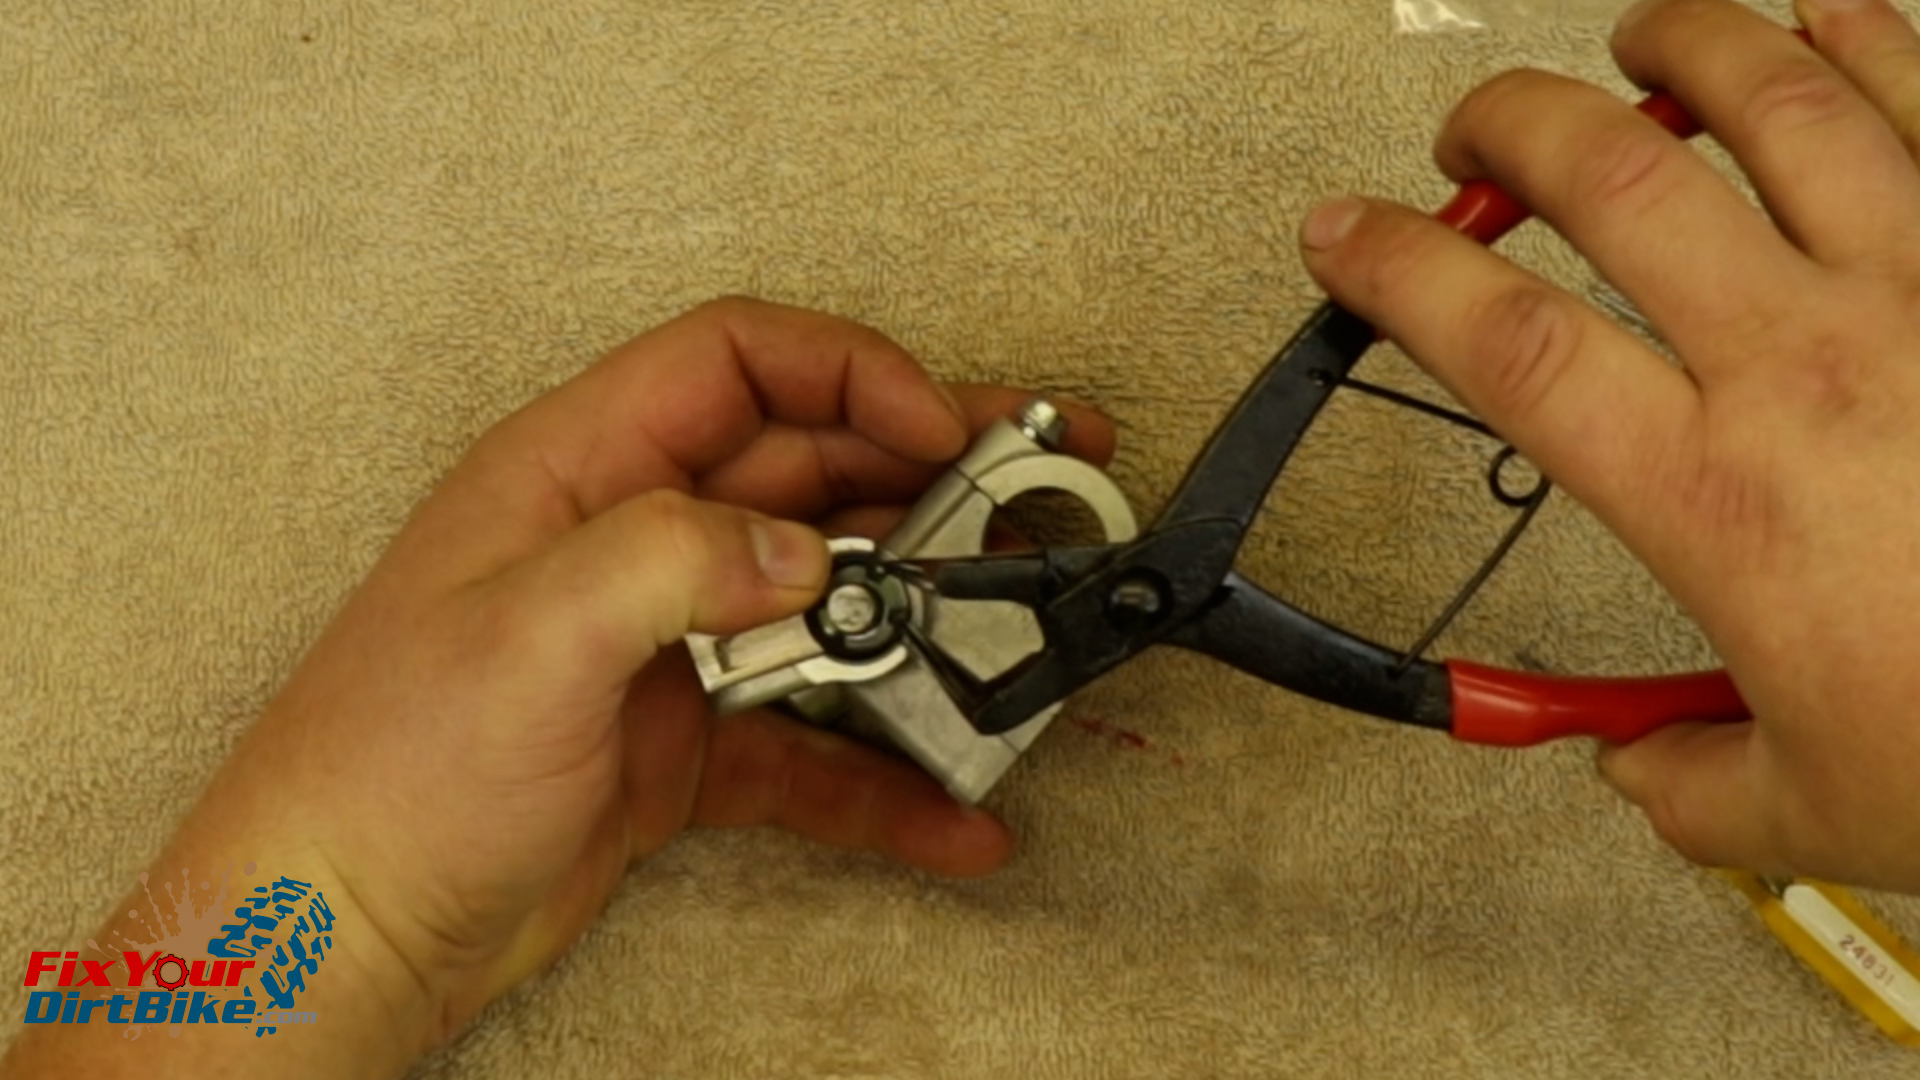
- Place the piston washer and spring clip on the piston.
- The flat side of the spring clip must face OUT.
- With your piston washer and spring clip in position, hold the master cylinder in one hand and carefully press the piston into the bore with your thumb.
- While holding the piston down, seat the washer, and install the spring clip.
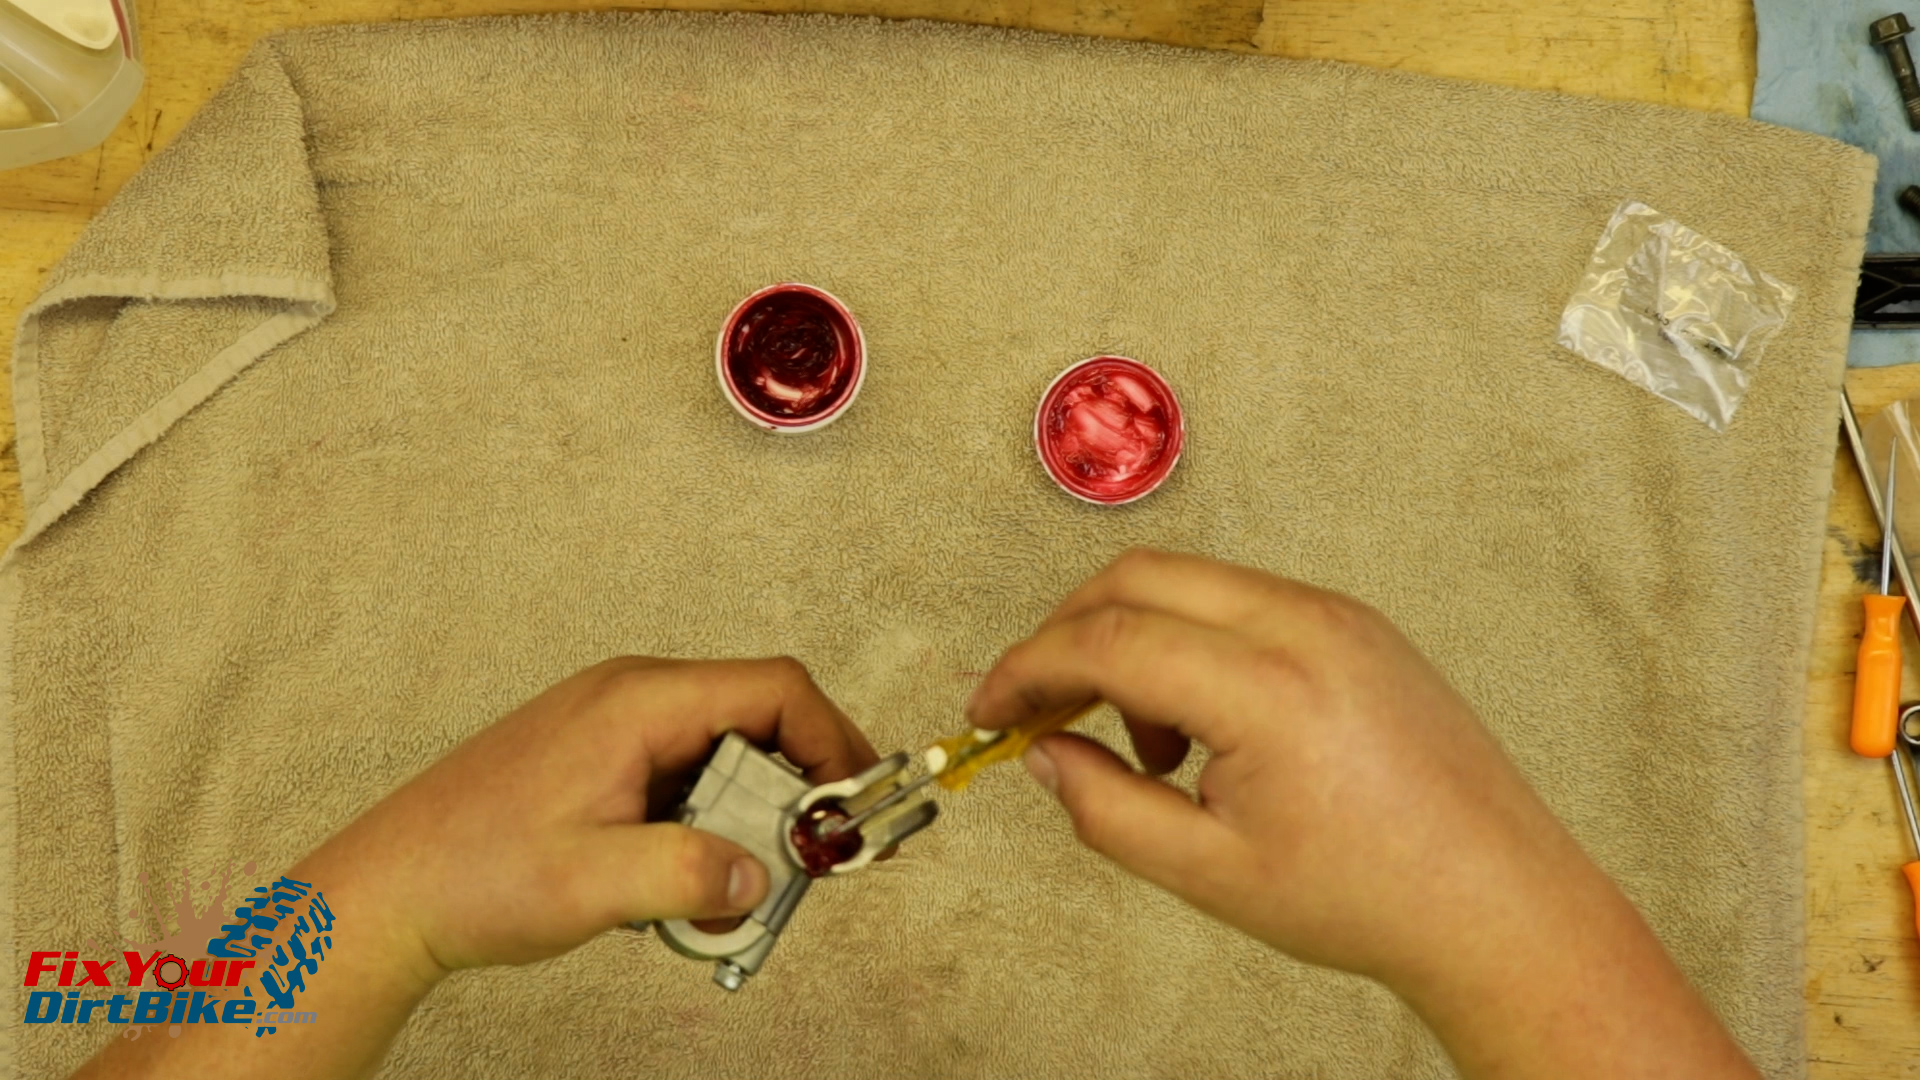
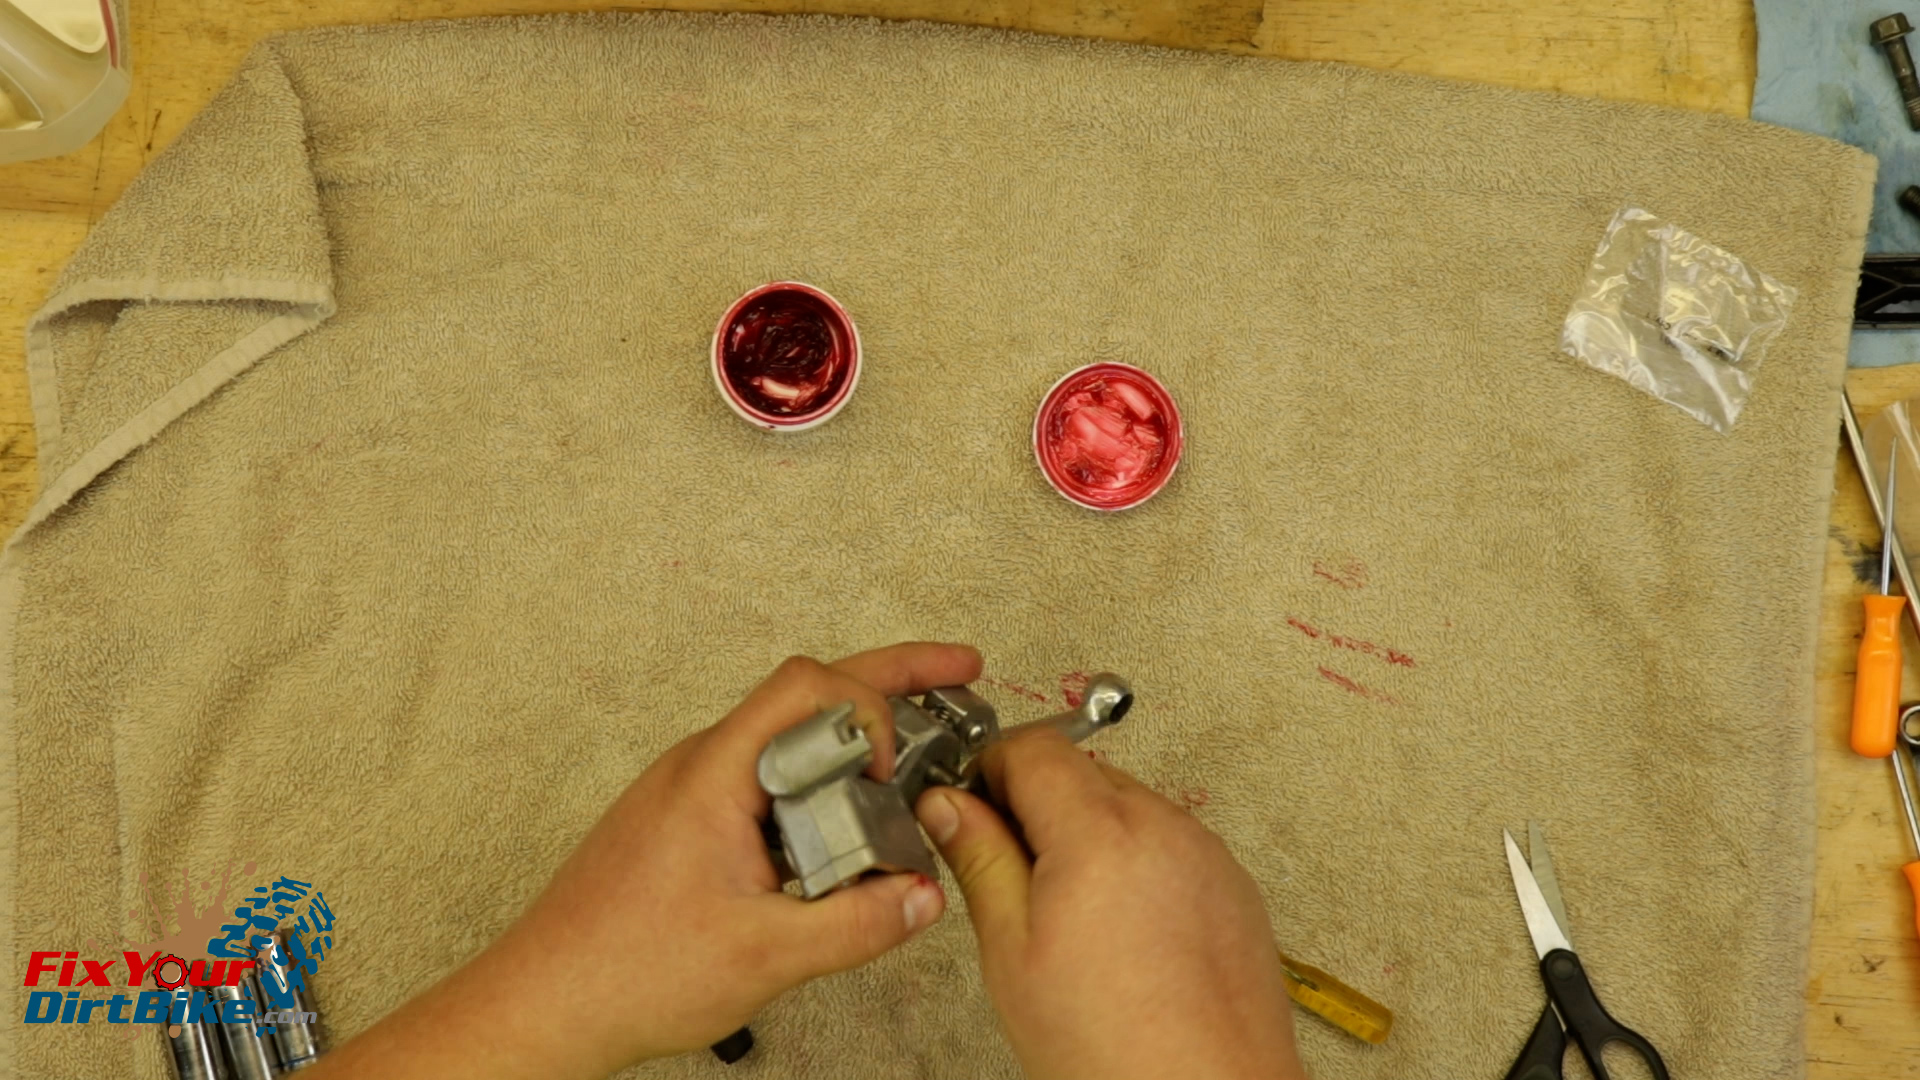
- Grease and install the piston boot.
- Now isn’t the time to be stingy with the grease, so pack in as much as you can.
- You can use a socket or the round end of a small wrench to push the boot’s sides into the bore.
- Whatever you end up using, the boot needs to seat in the groove above the spring clip.
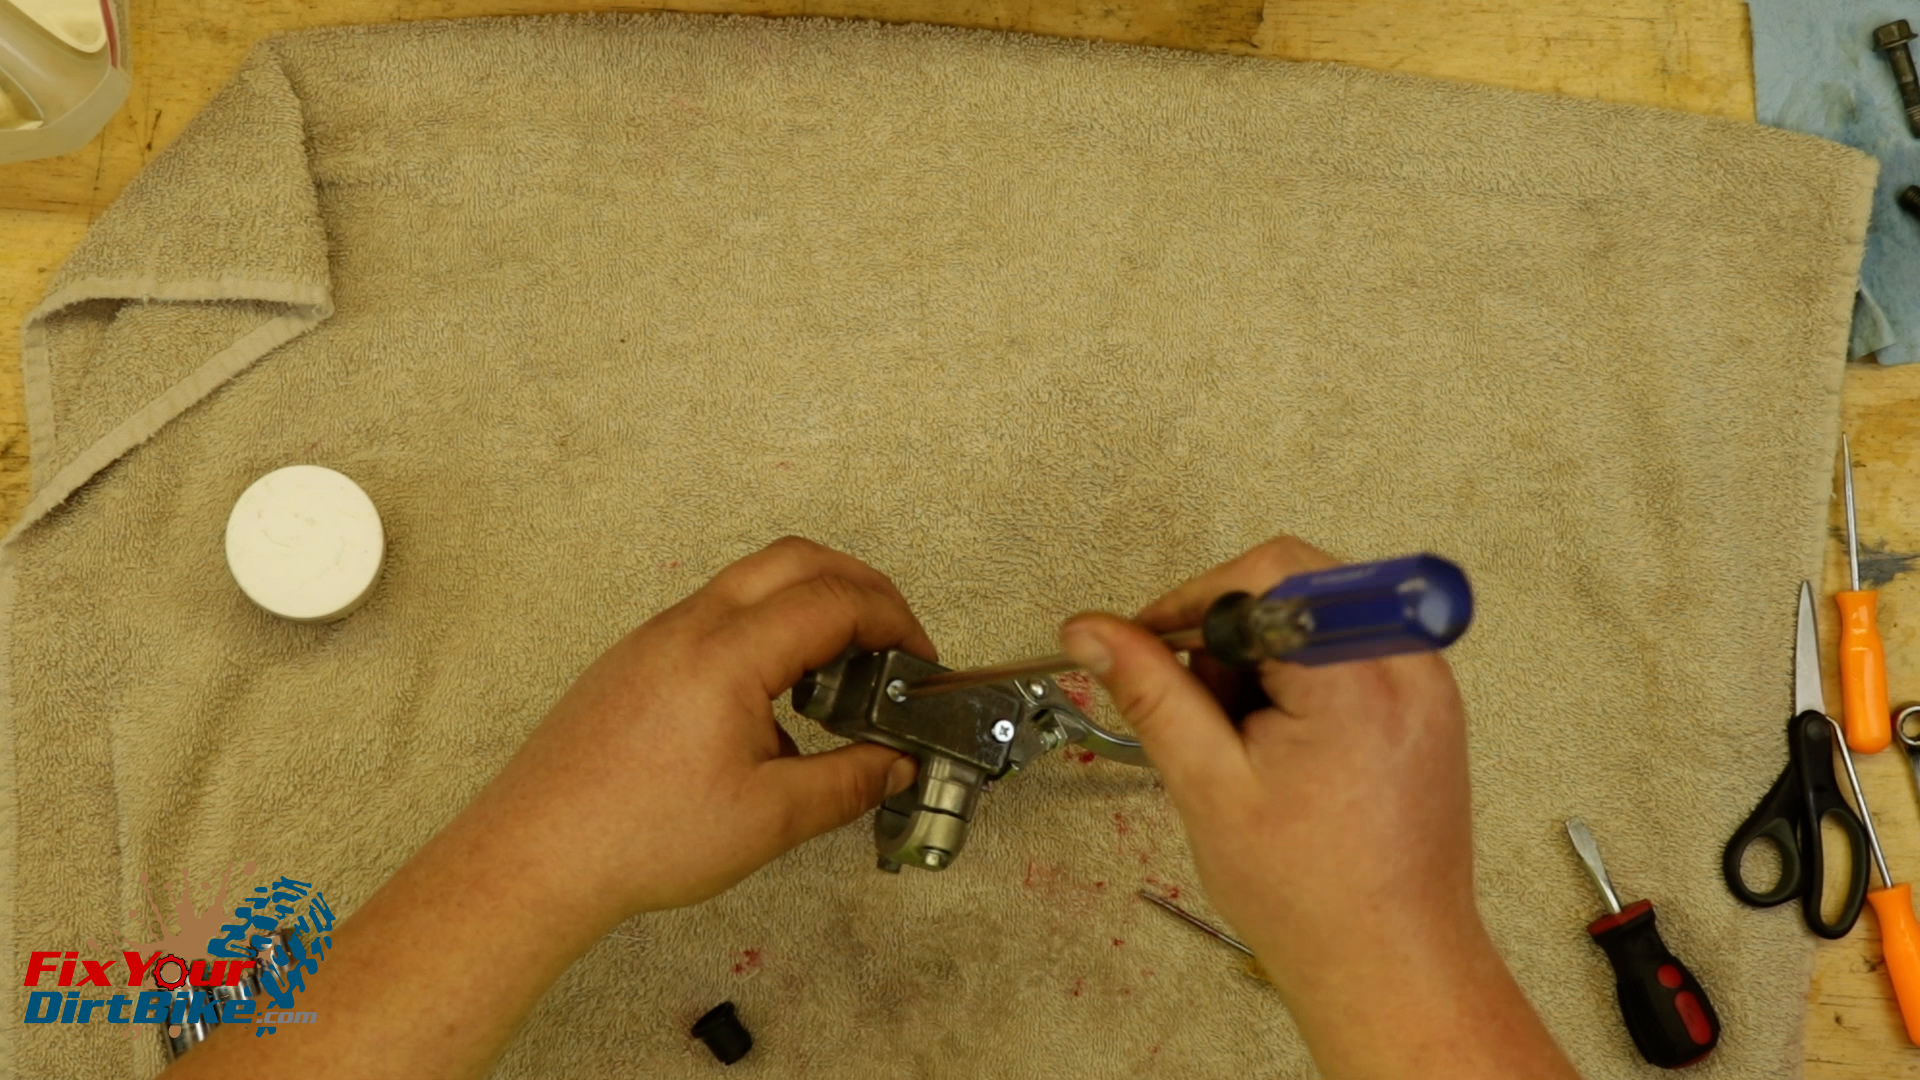
- Install the brake lever and test the piston action.
- If the action is anything other than smooth, you will need to disassemble the master cylinder and double-check everything.
- Install the reservoir cap with new screws.
Rear Master Cylinder Install
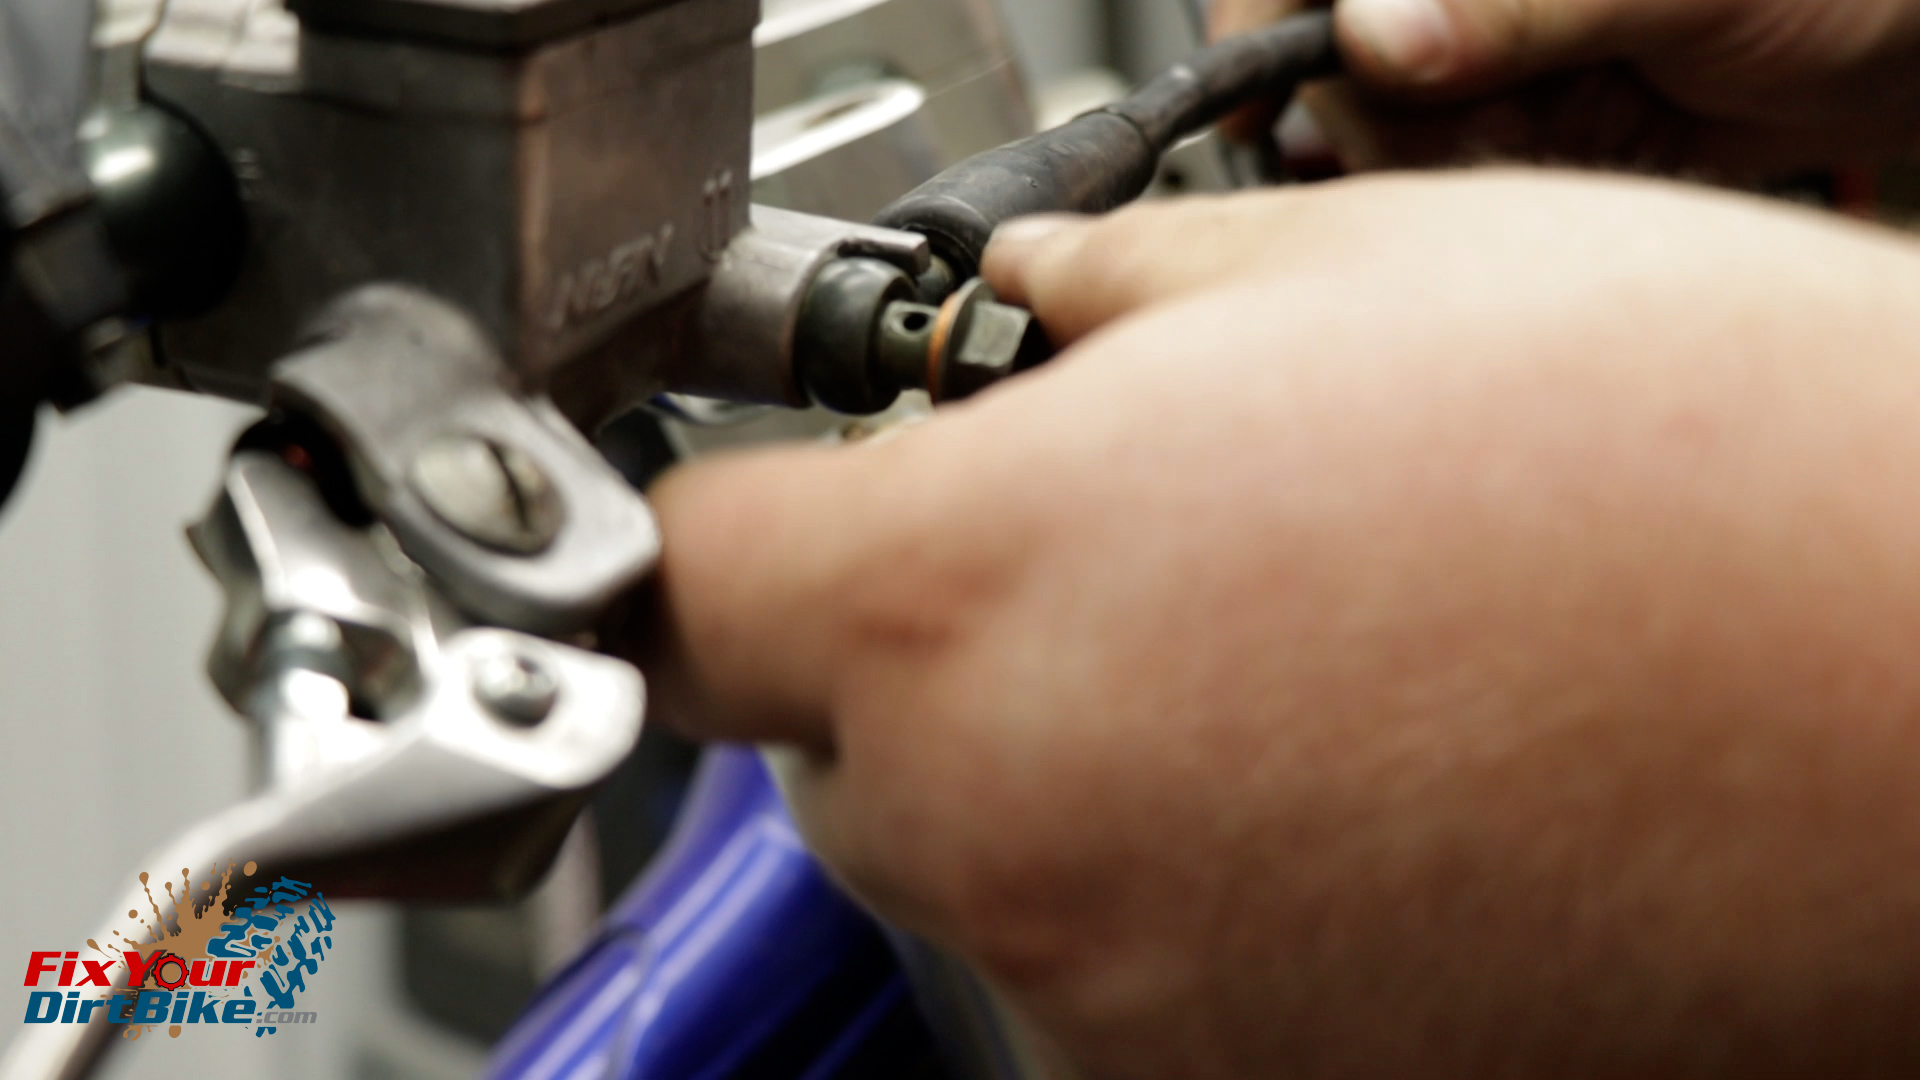
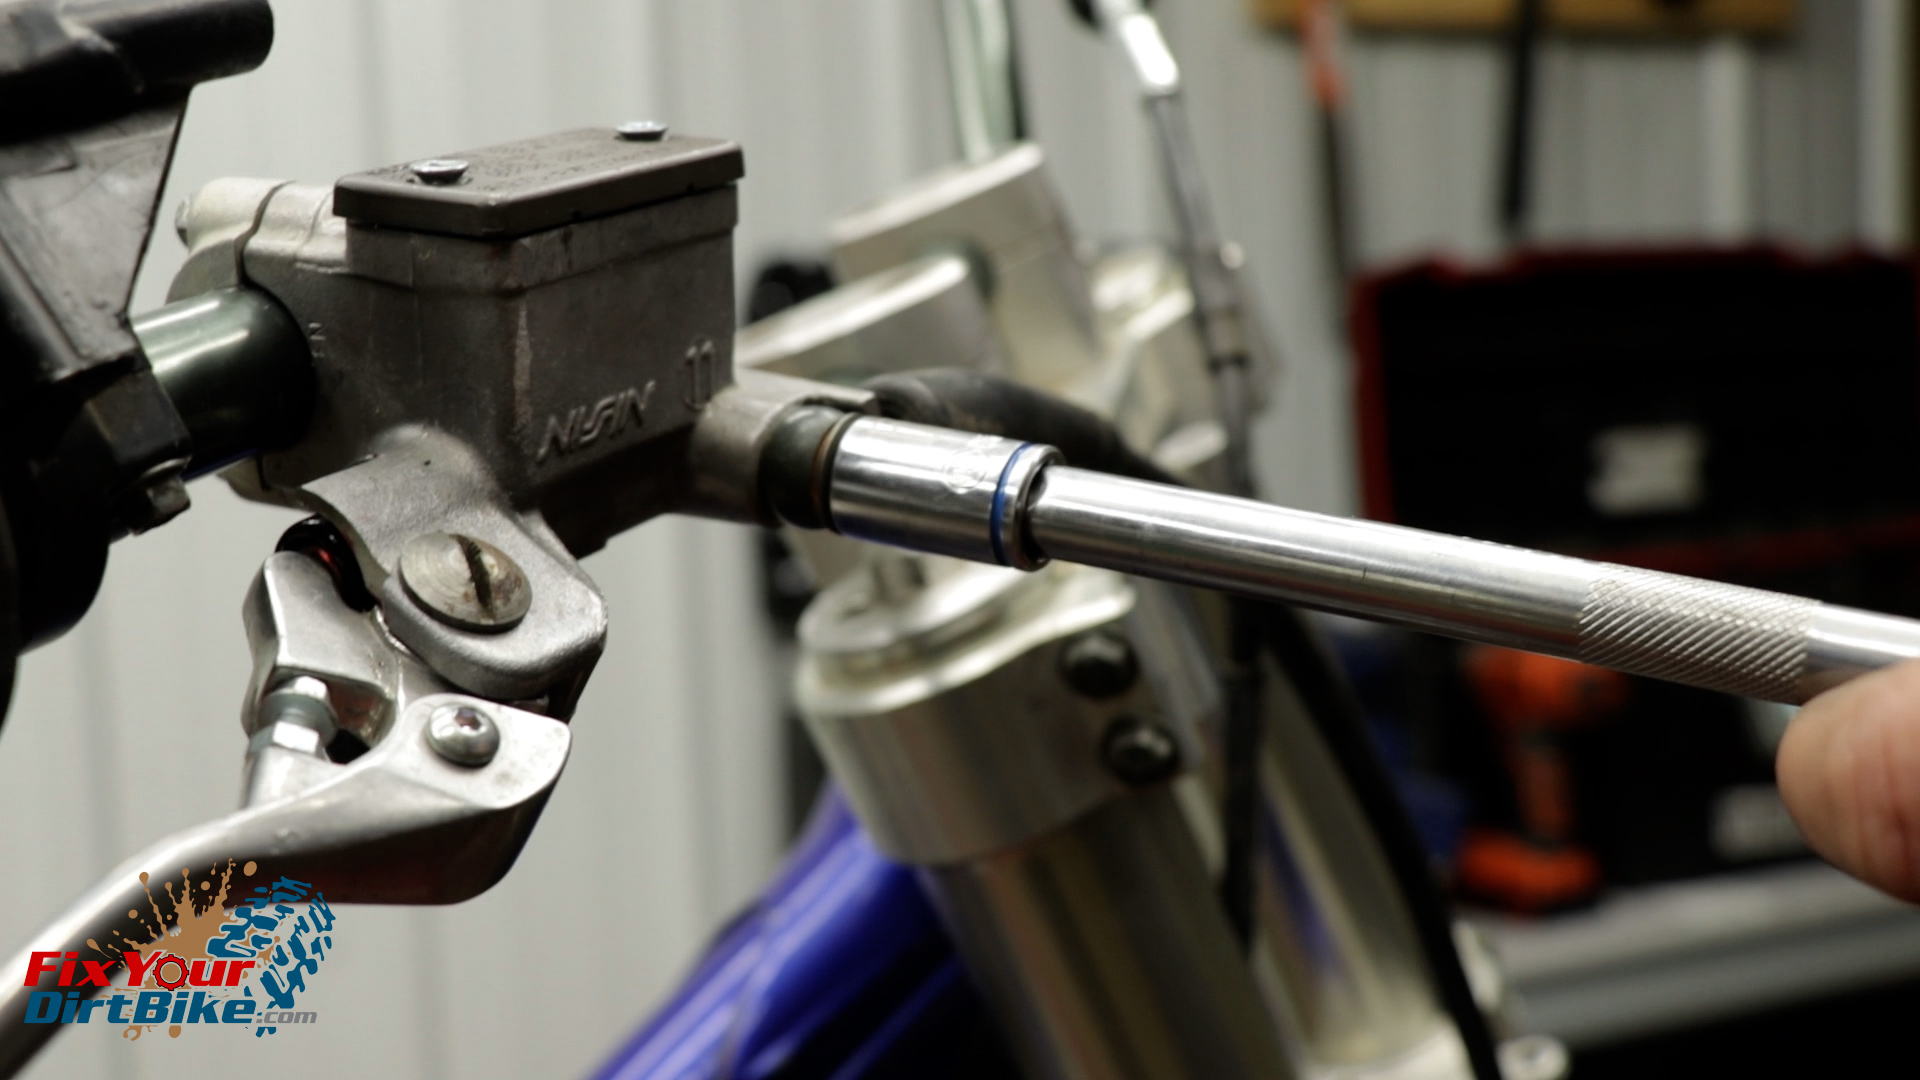
- Mount the master cylinder, and install the banjo bolt with the new seal washers.
- Torque the banjo bolt to 25 foot-pounds.
You can follow me at Fix Your Dirt Bike across all social media, and If you have any questions, please let me know in the comments or direct message!
