
How To Rebuild The Front Brake Caliper On Your 1994 – 2001 Yamaha YZ125
 The front caliper design on your Yamaha YZ125 had some slight redesigns between 1994 and 2001, but the same service applies to all model years.
My bike is stripped, so I am removing the banjo bolt on the bench, but I would recommend removing yours while still mounted to the bike.
Brake fluid can damage almost everything, so keep your shop towels handy.
The Tools You Will Need (Links To Amazon)
- 5mm Hex Wrench
- Calipers
- Picks
- 12mm Socket
- Pliers
- Electrical Tape
- Snap Ring Pliers
The Parts You Will Need
If you don’t have parts yet, you can get all the parts you need on Amazon!
Make Sure To Service Your Entire Brake System!
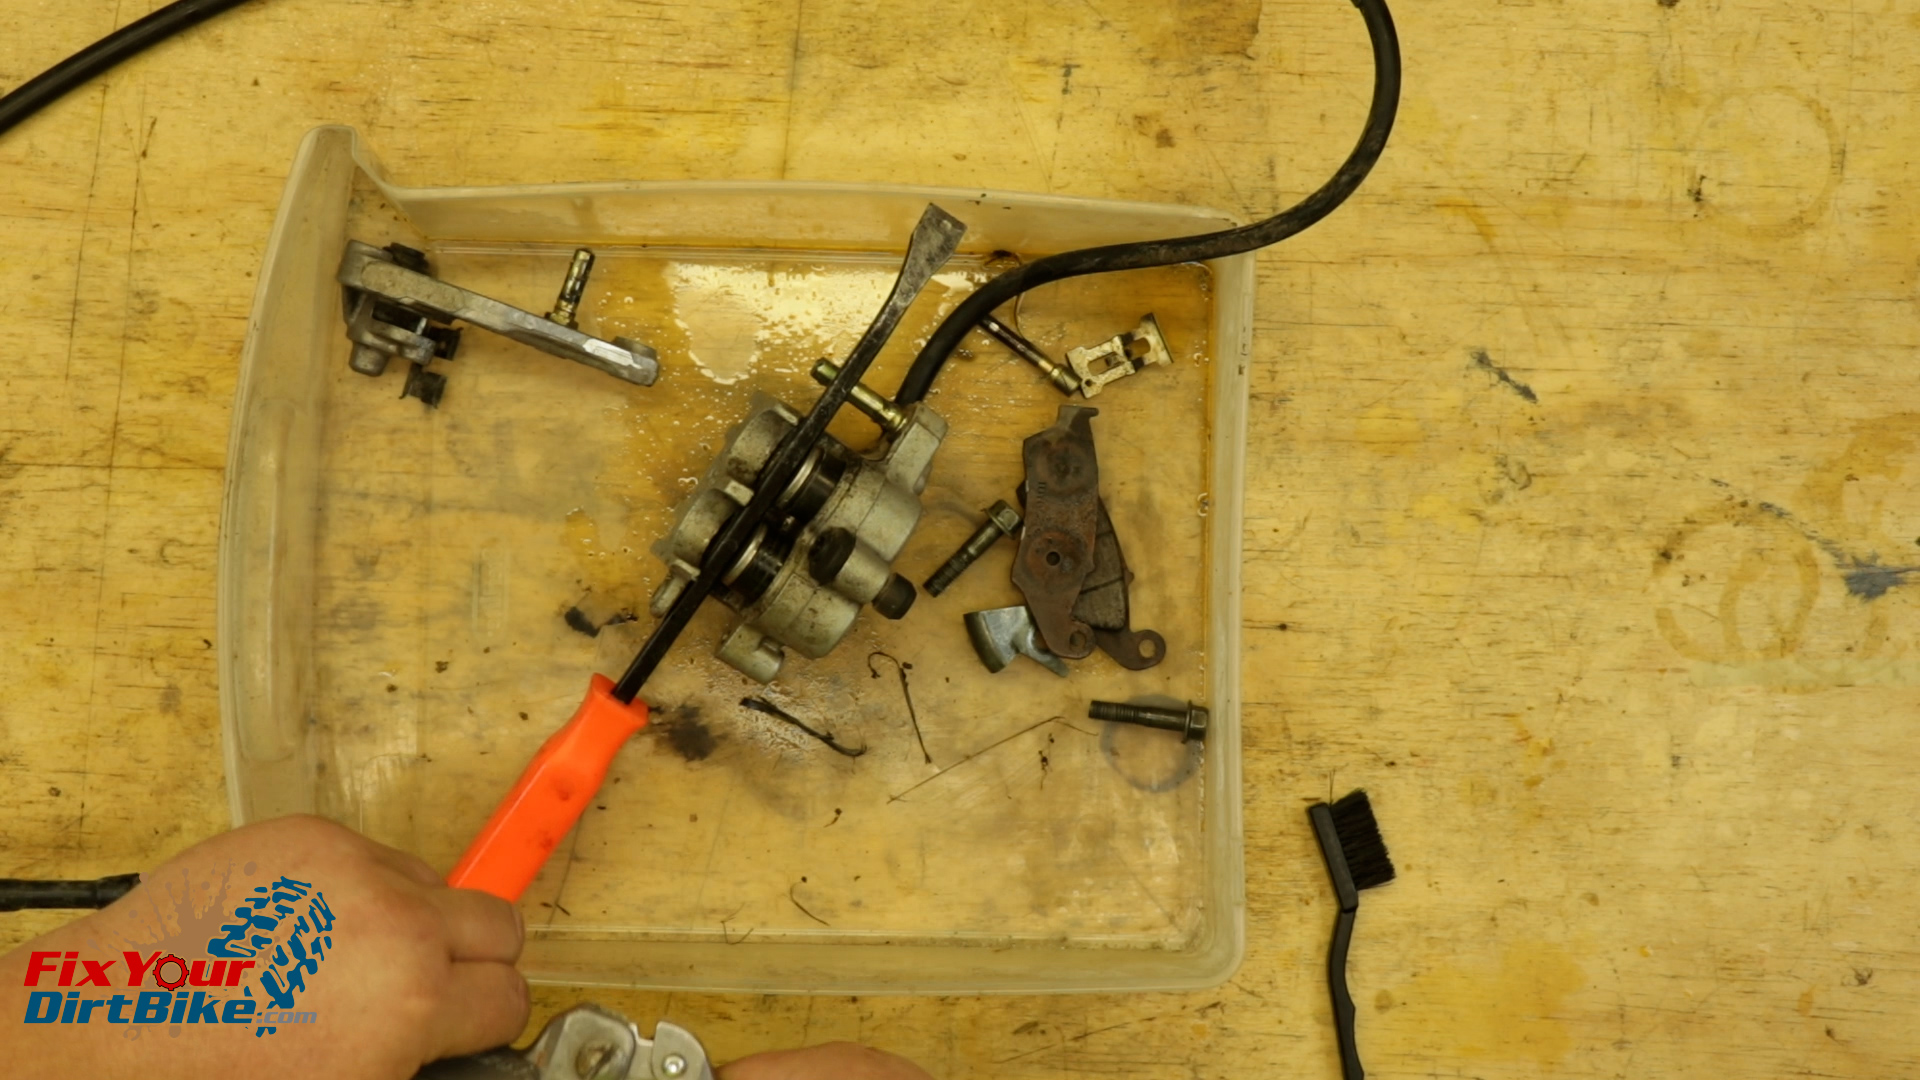
Caliper Removal
- Start by removing your front wheel and brake pads.
- Pump the brake lever to extend the pistons as far as possible.
- Place something flat against the pistons, so they extend evenly from the caliper body.
- When the pistons have reached full extension, remove the banjo bolt, and wrap the end of your brake line with a paper towel.
- Remove the caliper from the fork.
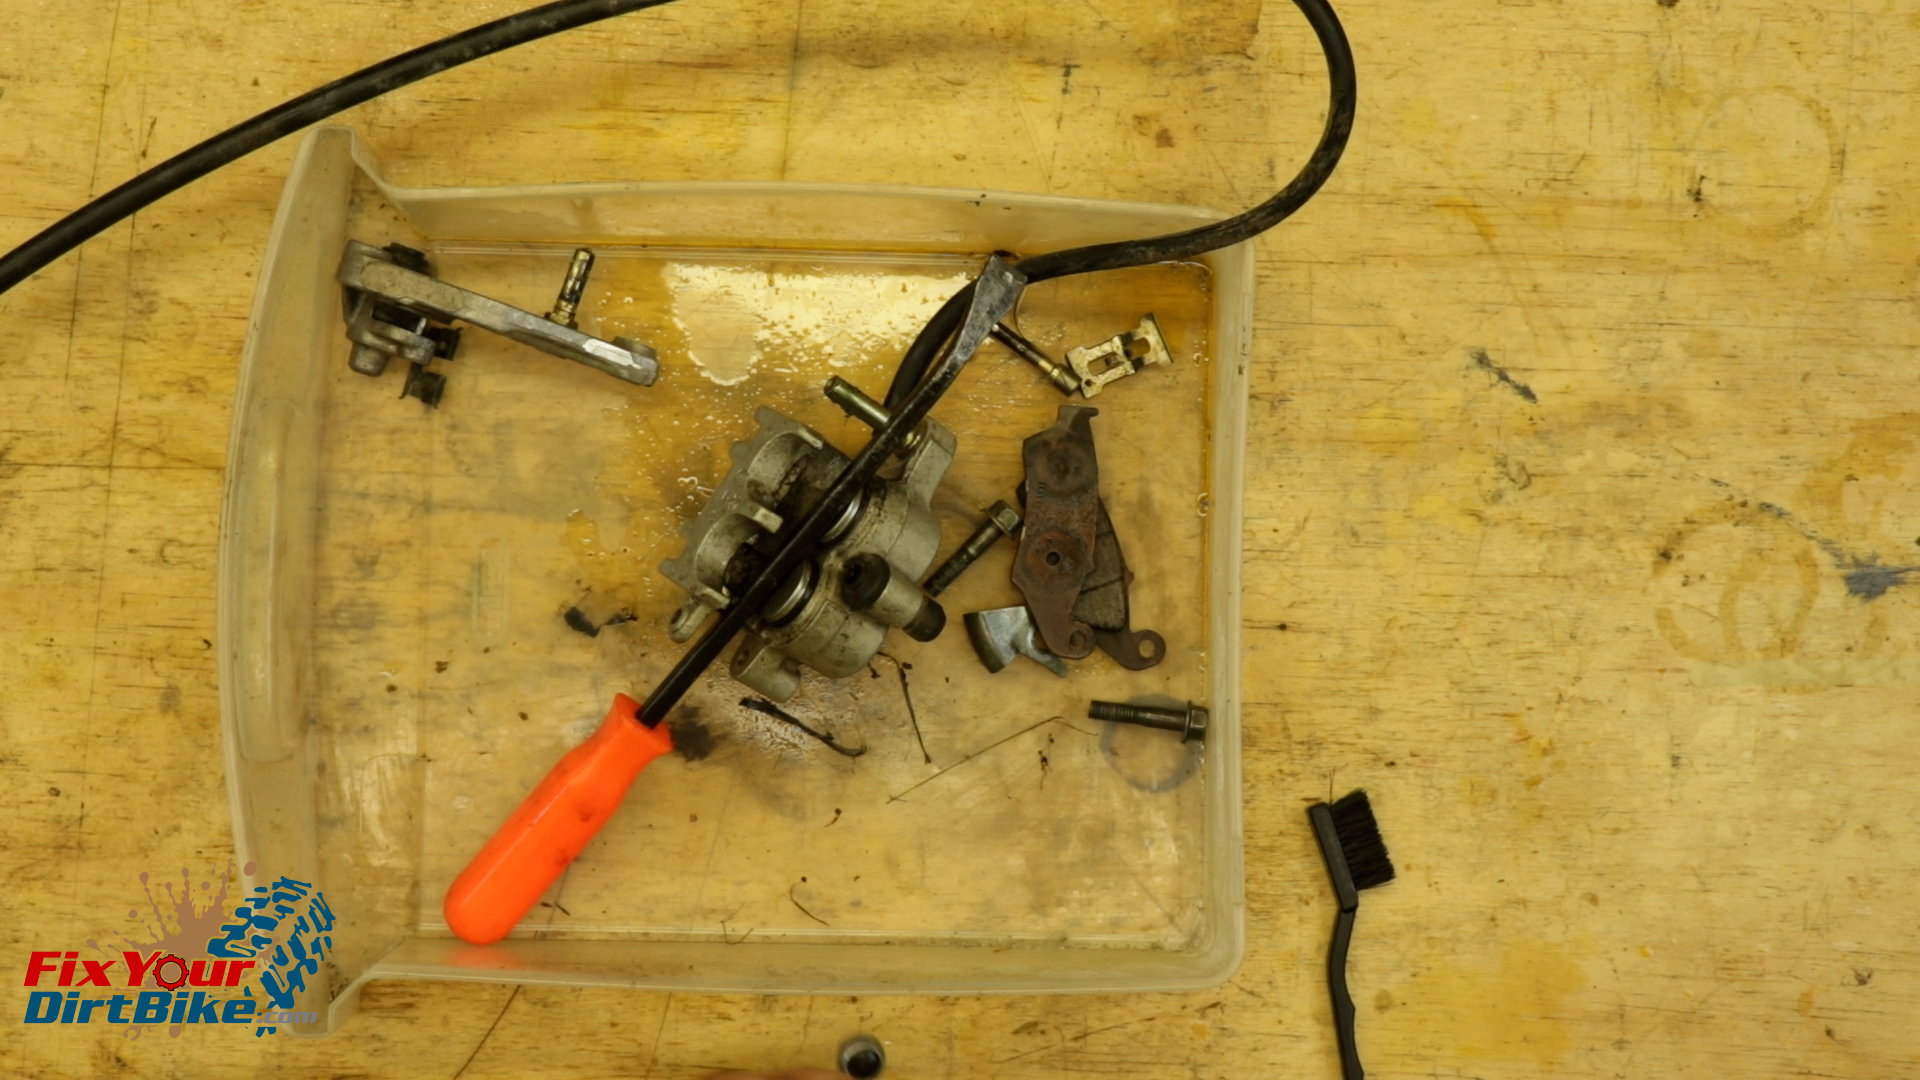
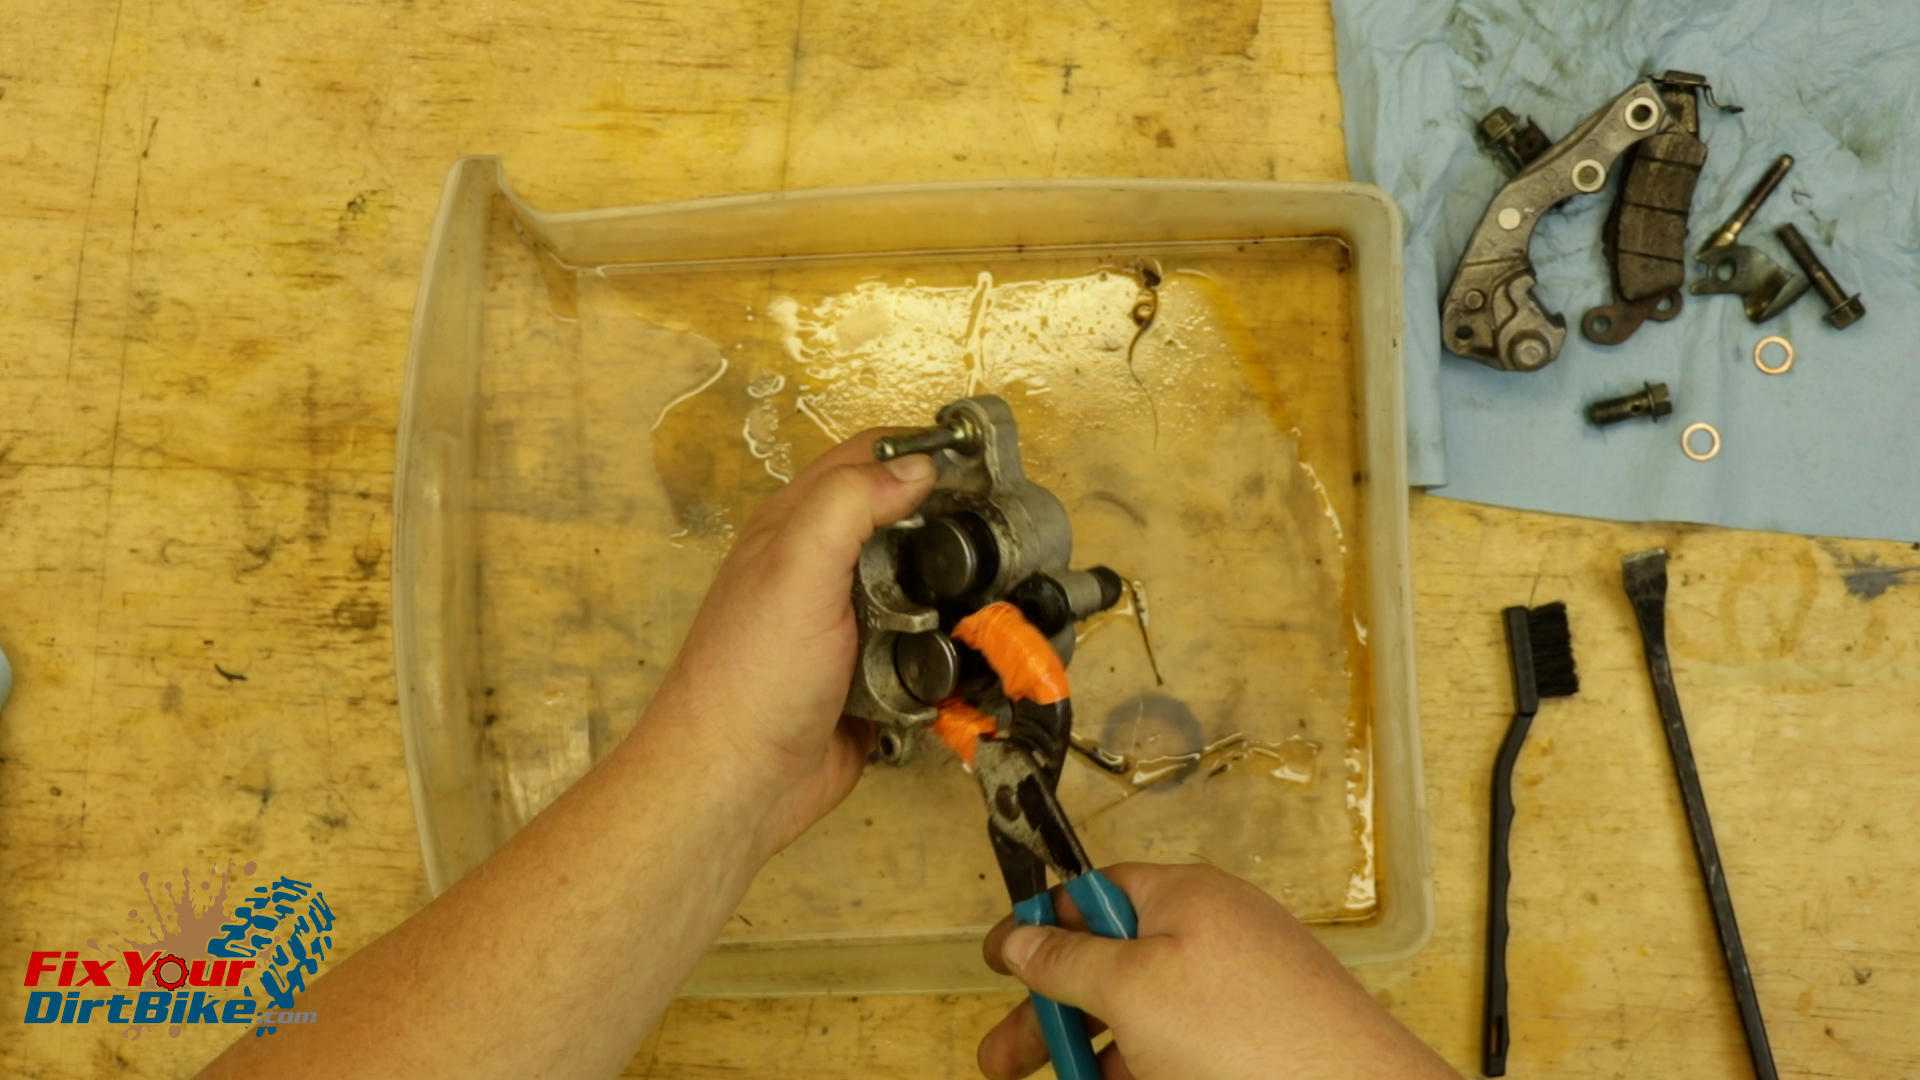
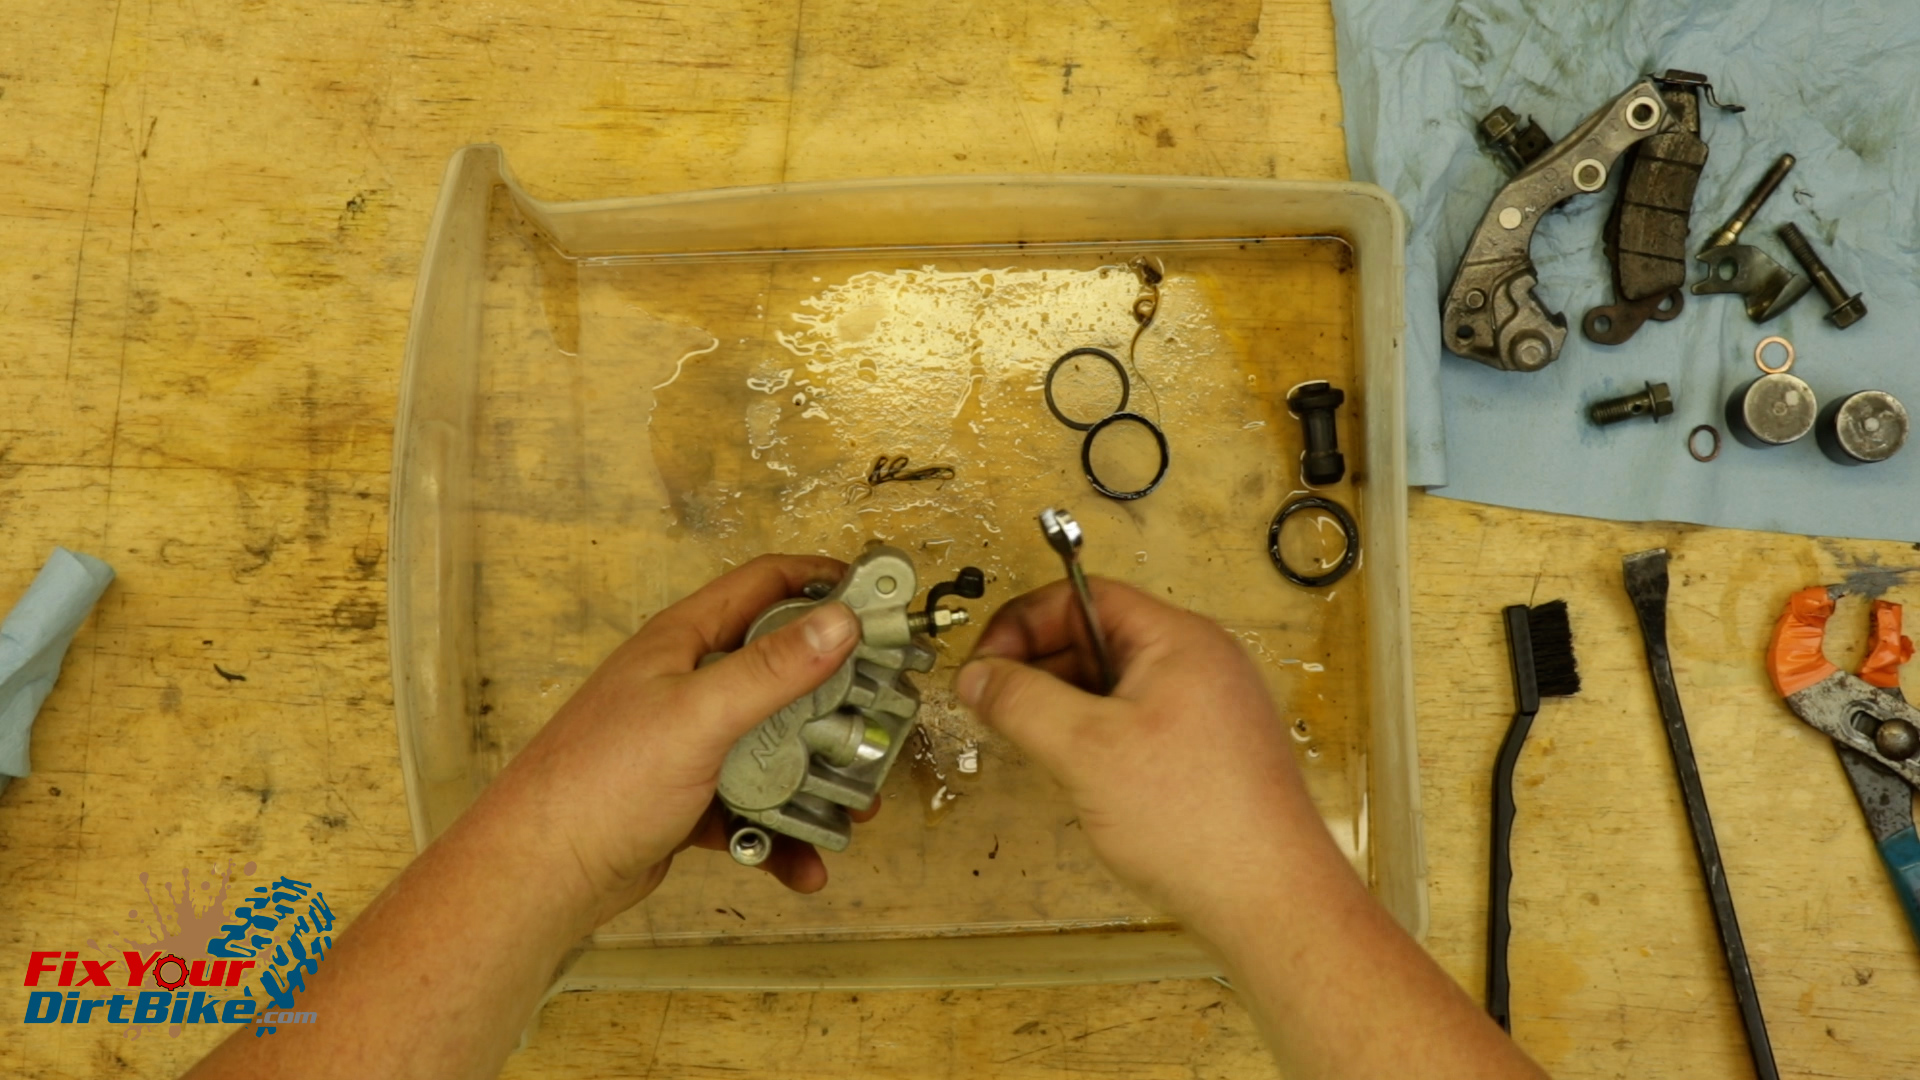
Caliper Disassembly
- Wrap a pair of pliers in electrical tape, and pull the pistons out of the caliper in a twisting motion.
- Carefully remove the seals from the caliper bore.
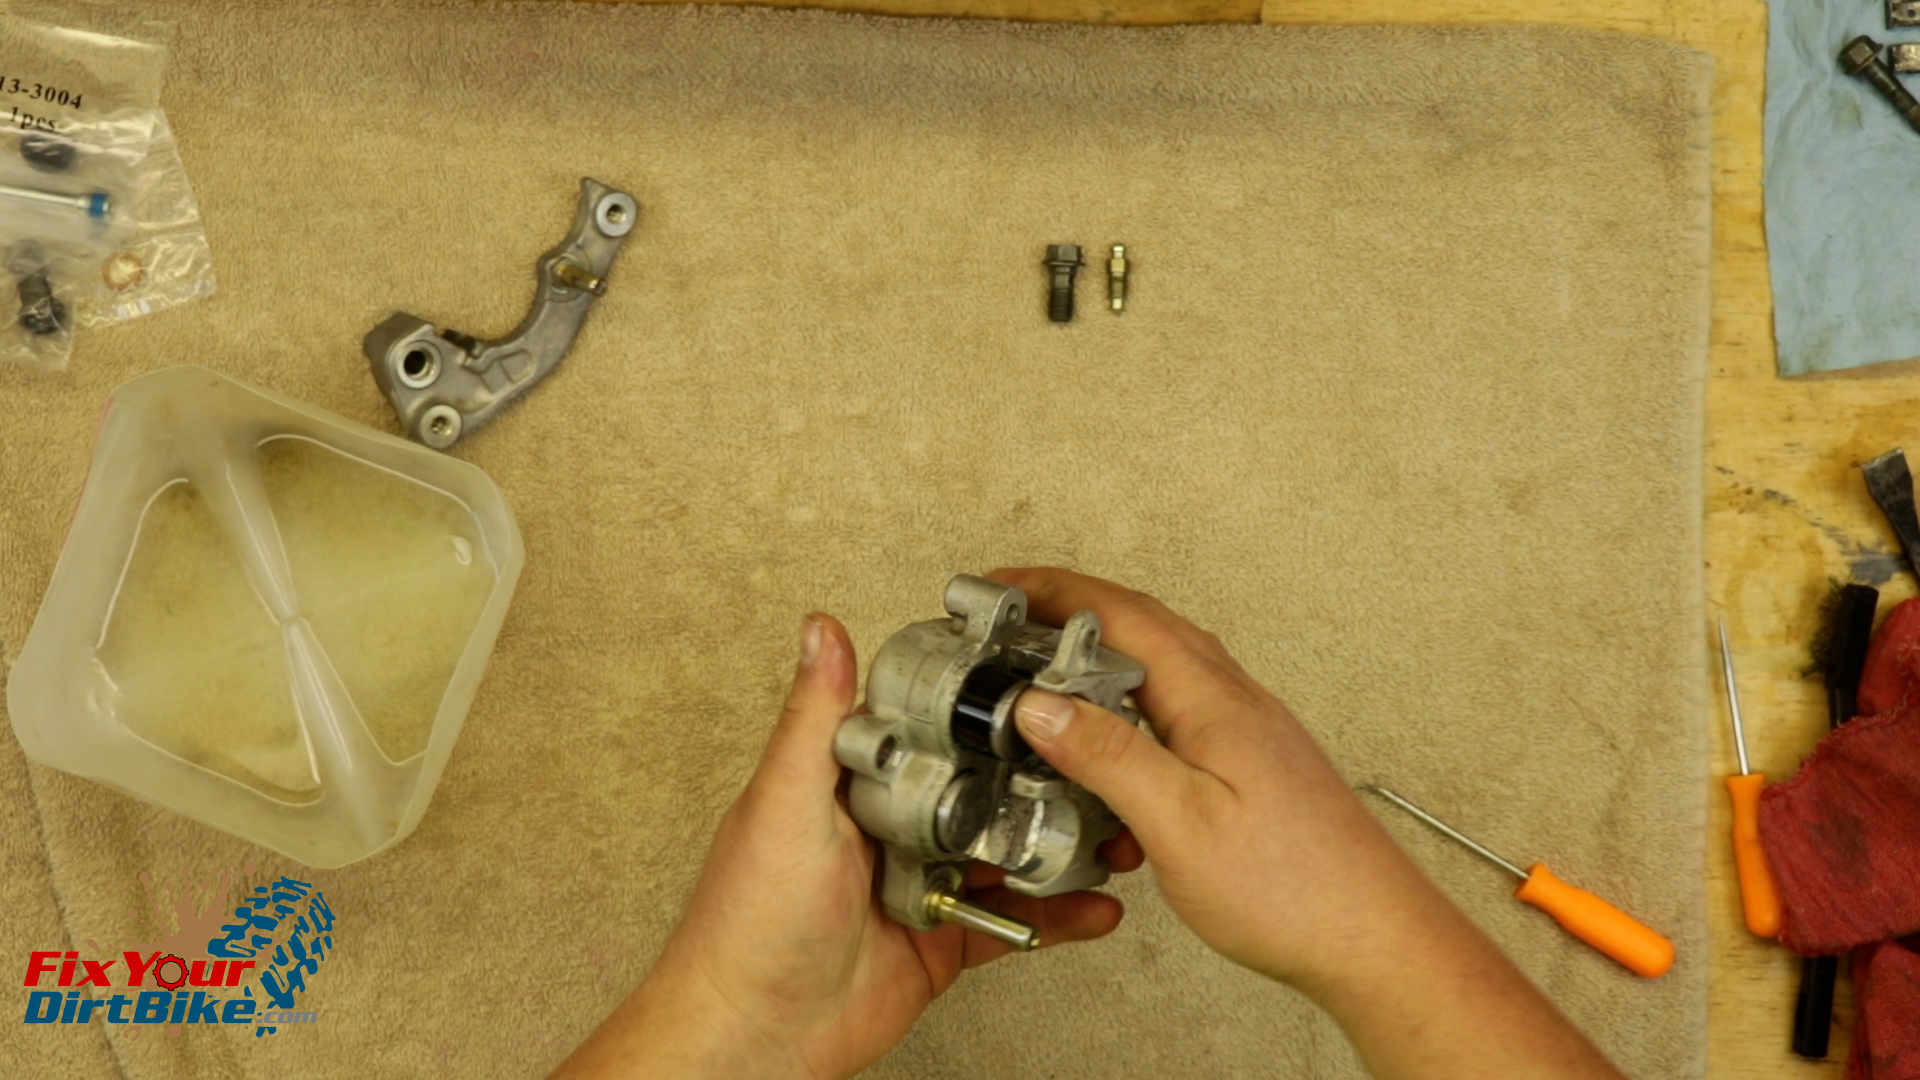
- Remove the slide boots from the caliper and bracket, followed by the bleeder valve.
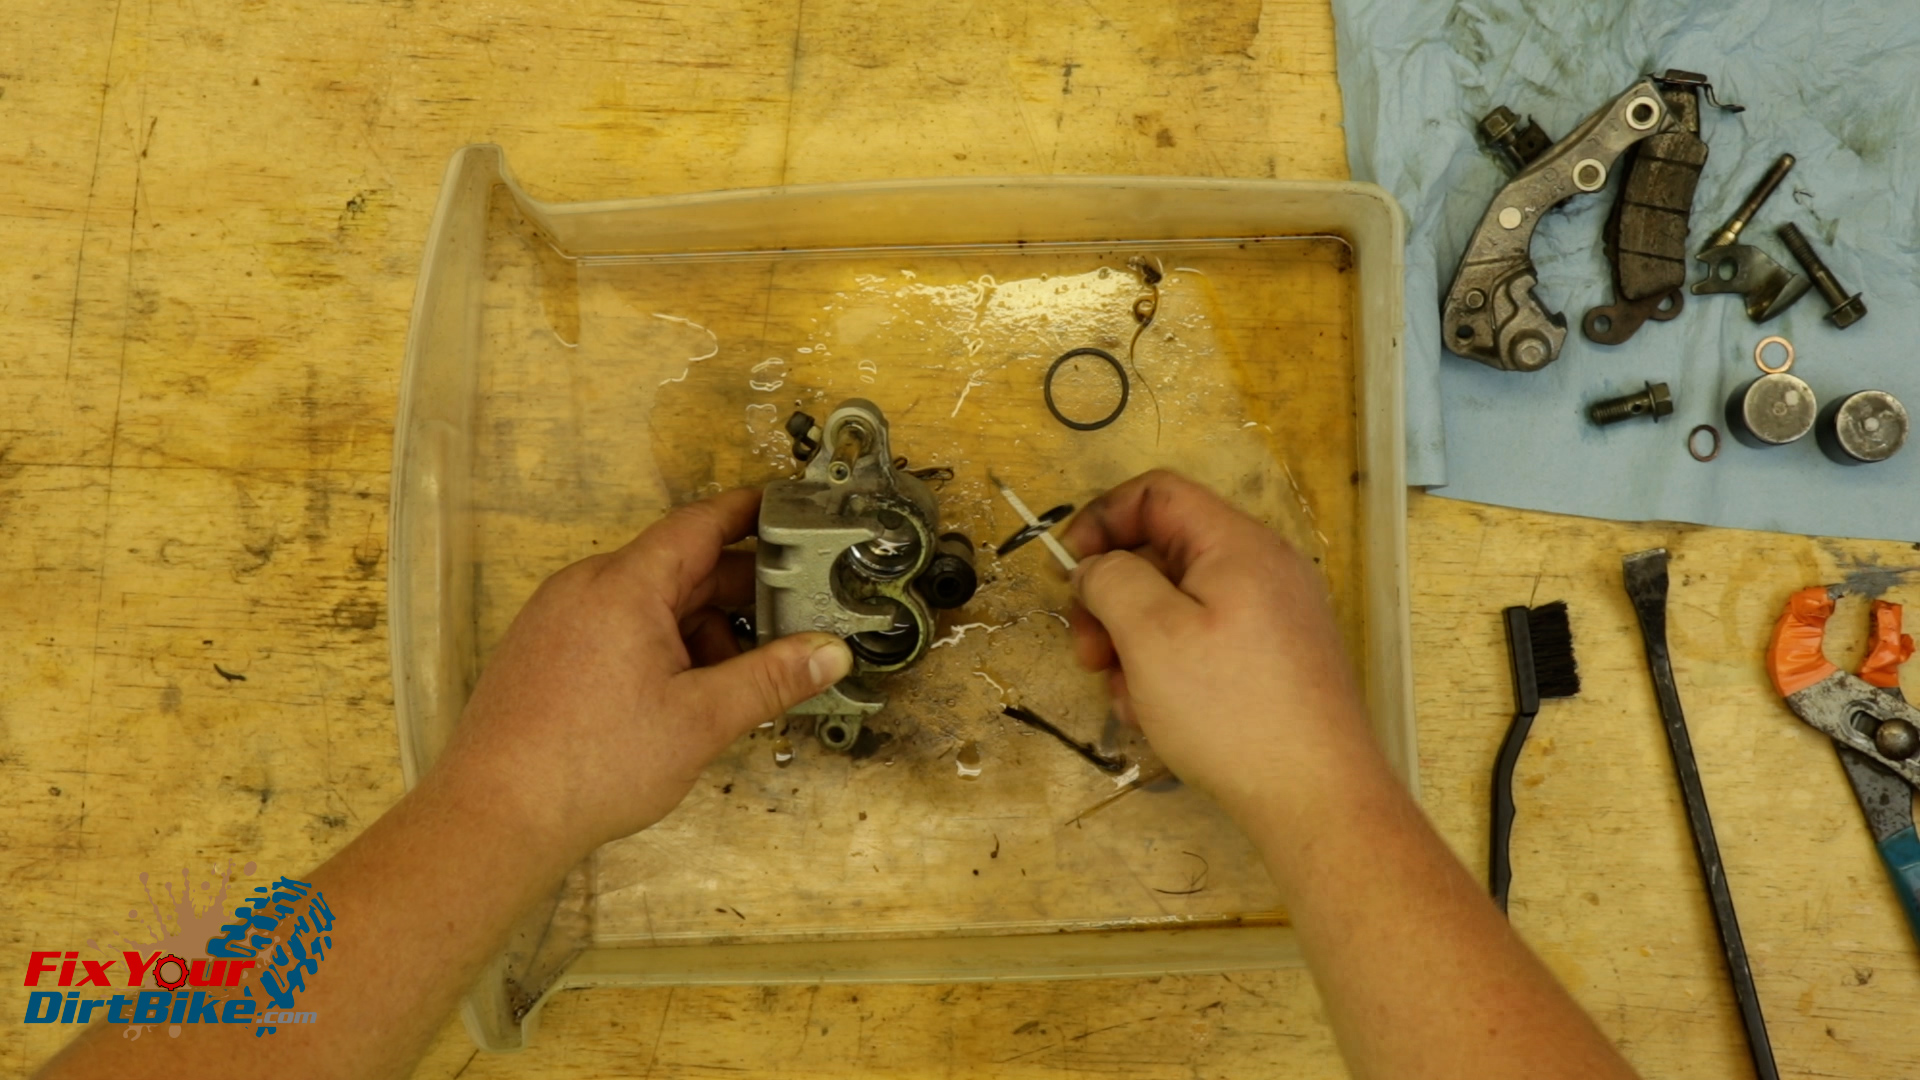
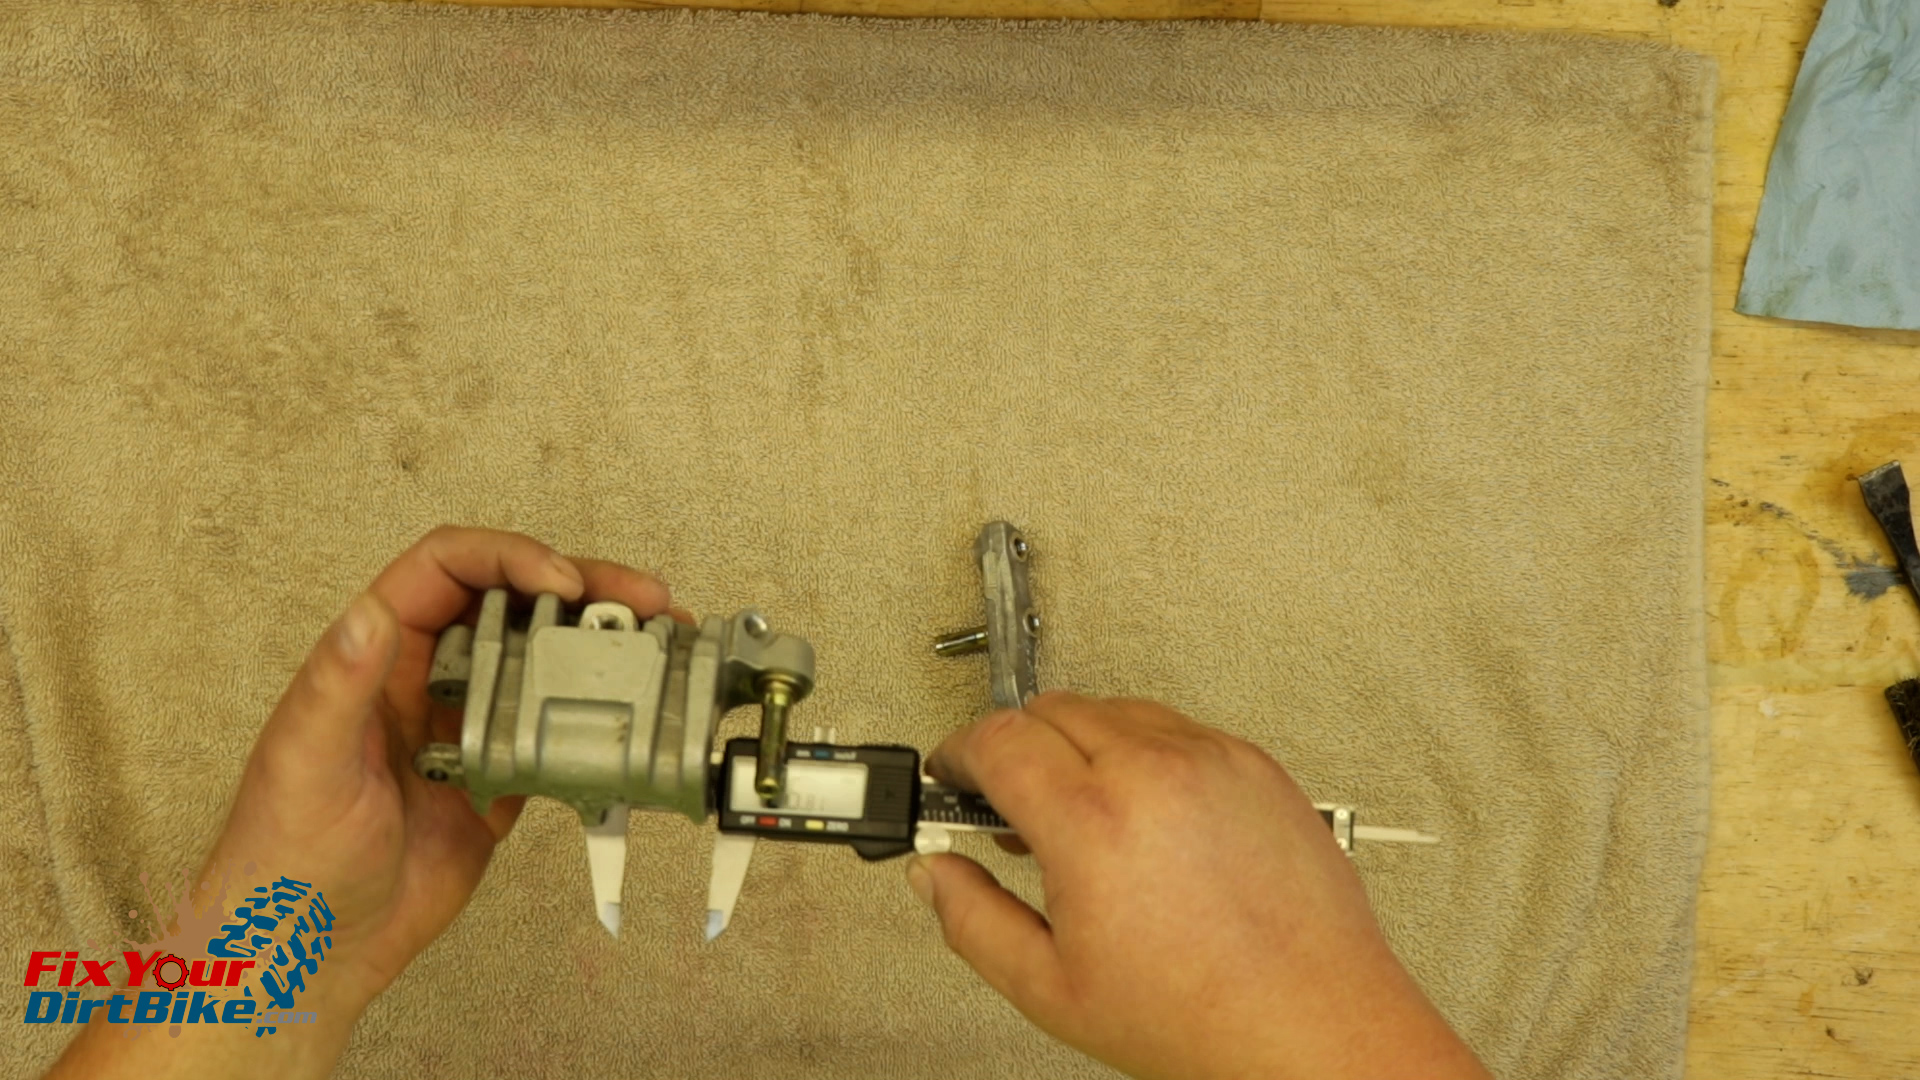
Clean & Inspect
- Clean all of your front caliper components, and make sure to rinse and dry them thoroughly.
- Inspect the components for excessive wear, pitting, and corrosion.
- If any part is damaged, you will need to replace it.
- Measure the inside diameter of the piston bore.
- The piston bore should be no Greater than 27mm.
- My caliper was within spec at 26.83mm, so it’s good to go.
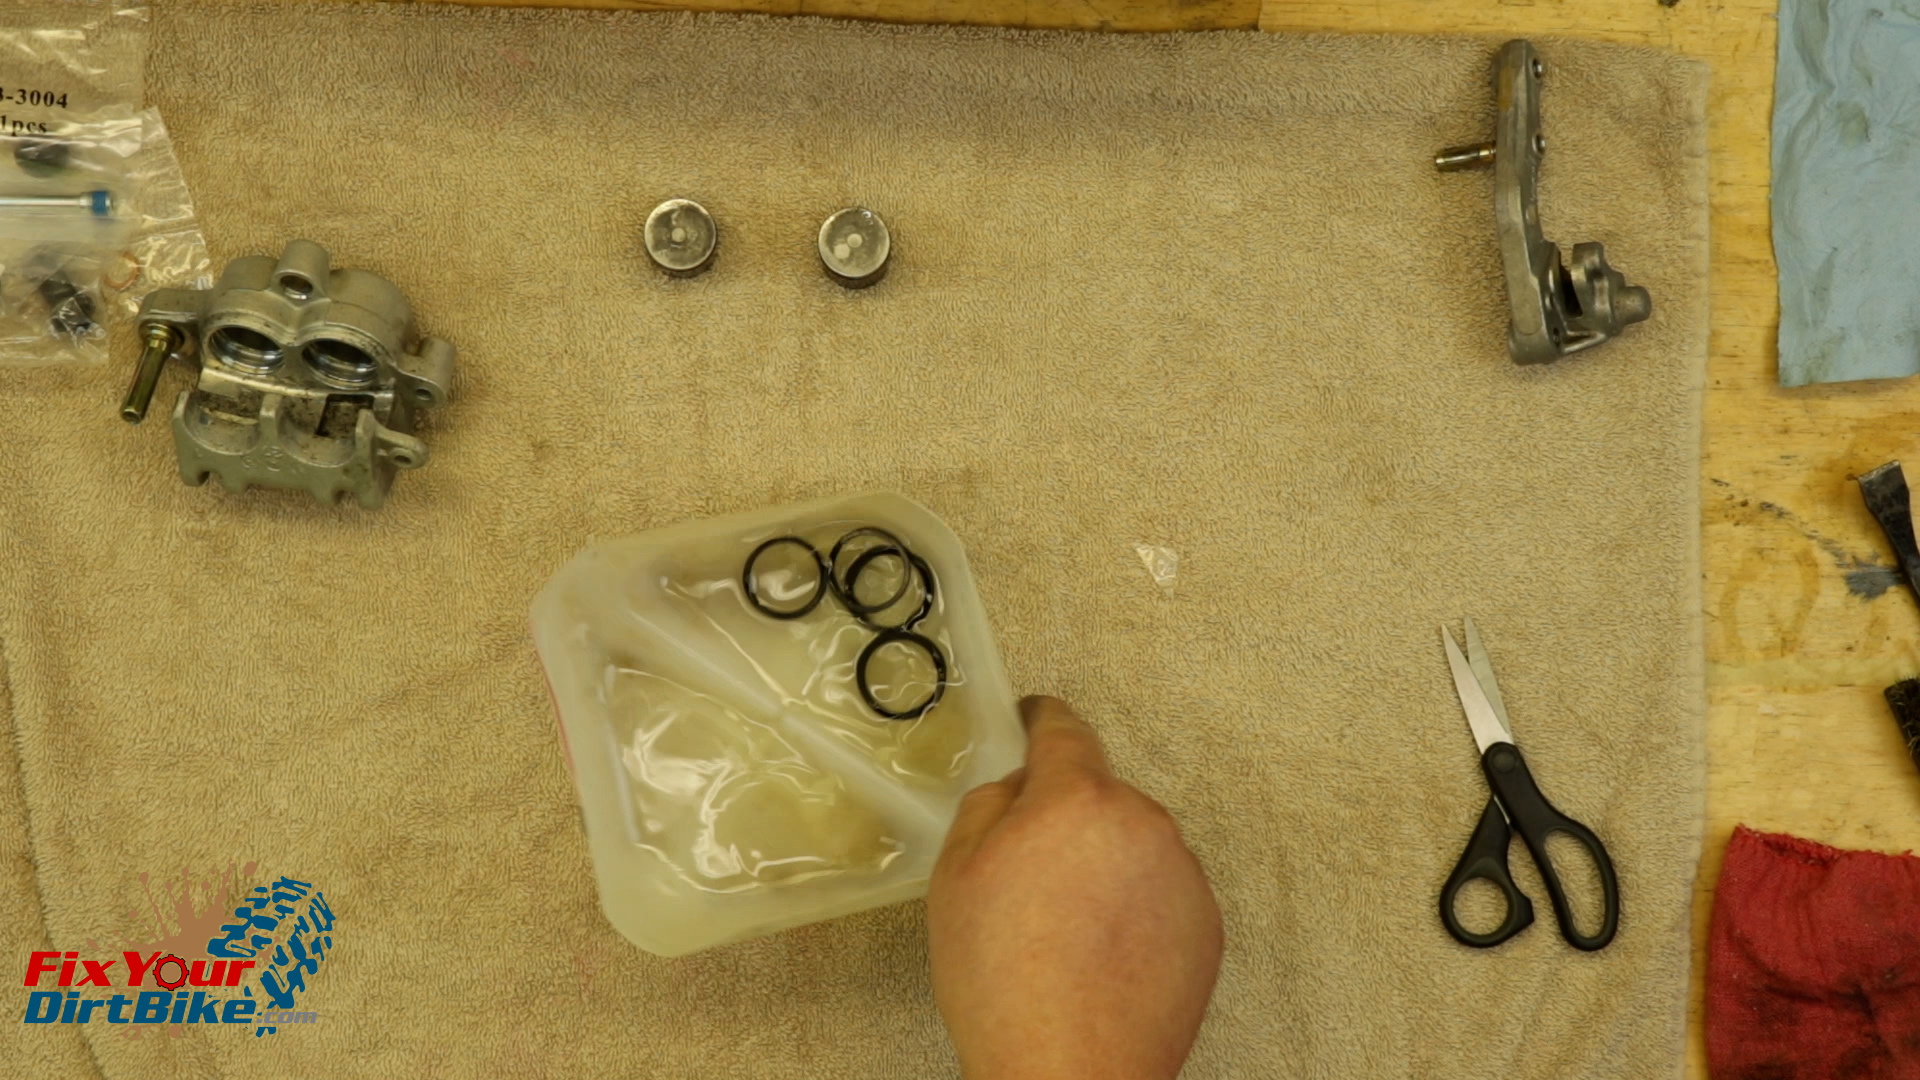
New Parts
- I am installing an All Balls Front Caliper rebuild kit, and you can get this same kit through the link below.
- Match the old parts with the new parts to make sure you’re not accidentally throwing away something you need.
- Once you have your new parts ready, soak your new piston seals in fresh brake fluid for 15 minutes to soften and lubricate for assembly.

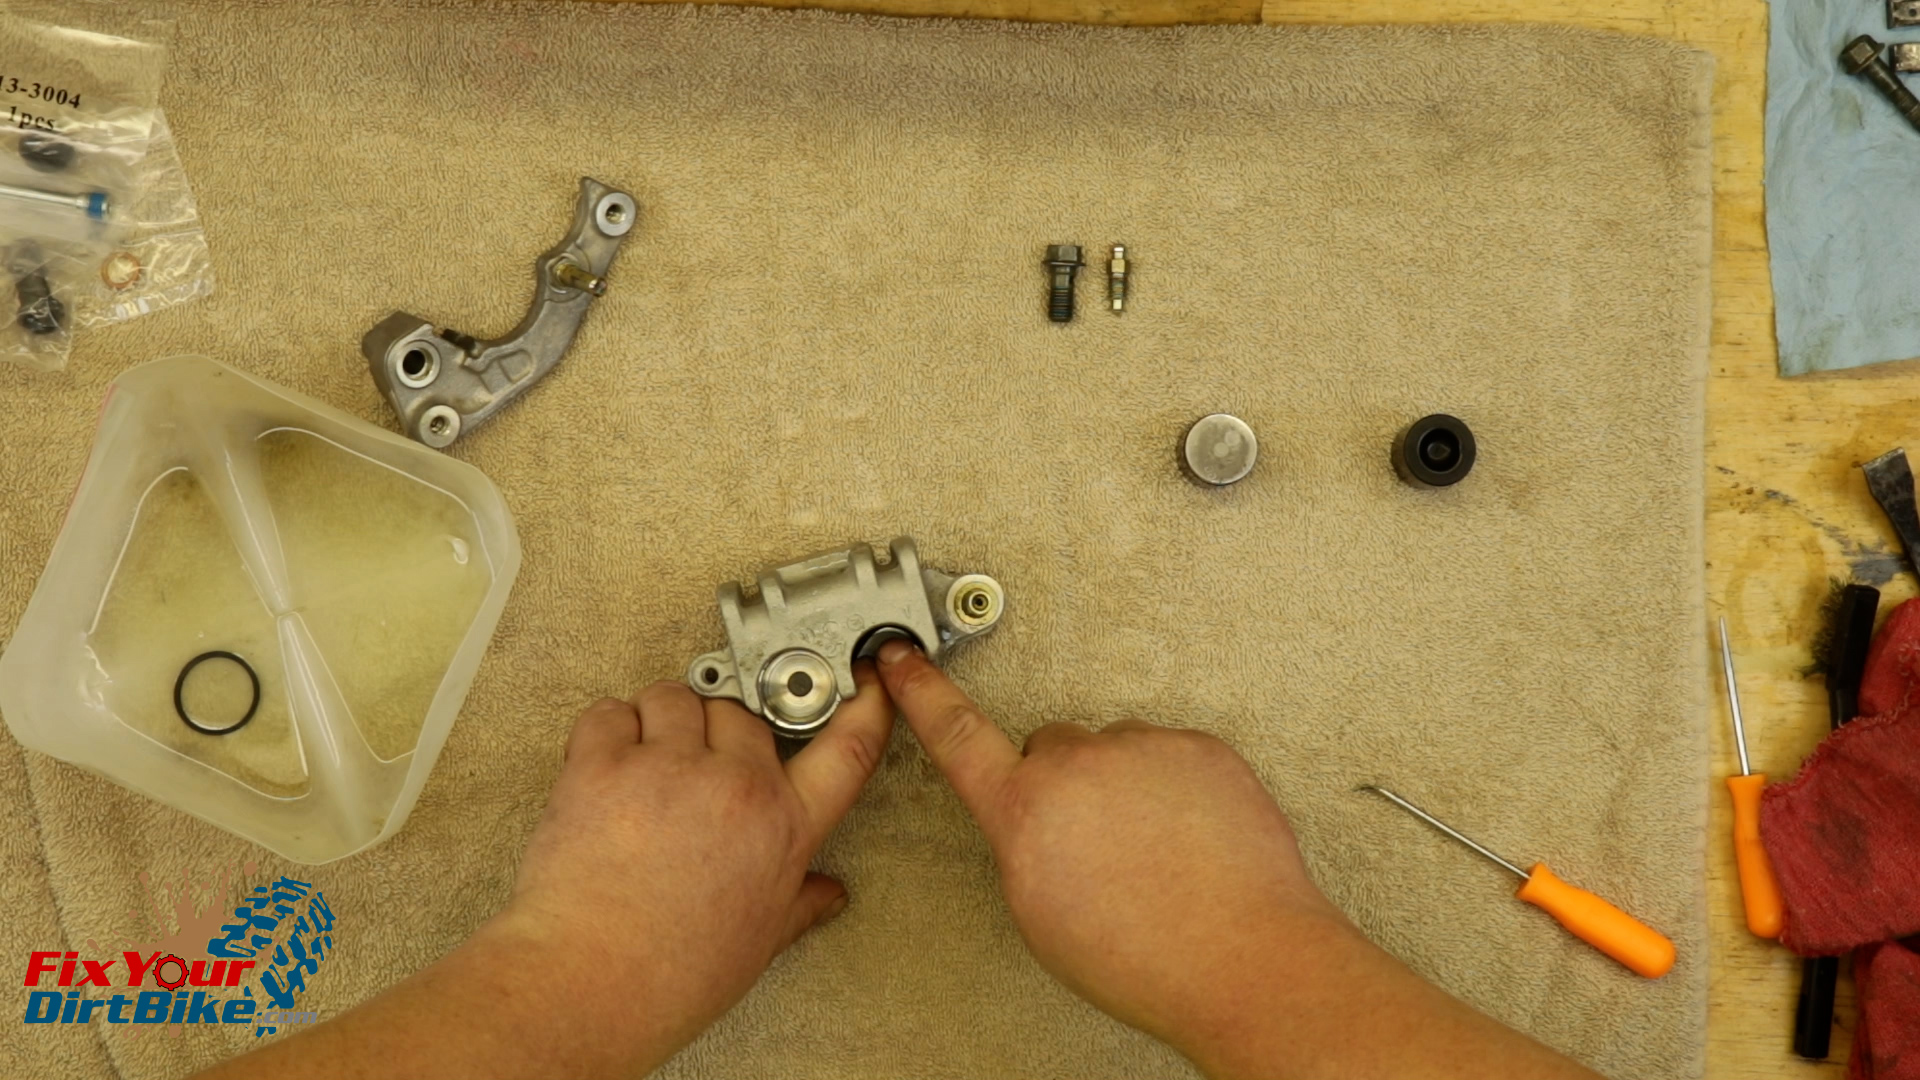
Caliper Assembly
- Install the piston seals and dust seals.
- Coat your pistons in brake fluid, and install them in a twisting motion.
- Install the bleeder valve cover, then the bleeder valve.
- Install the slide pin boots.
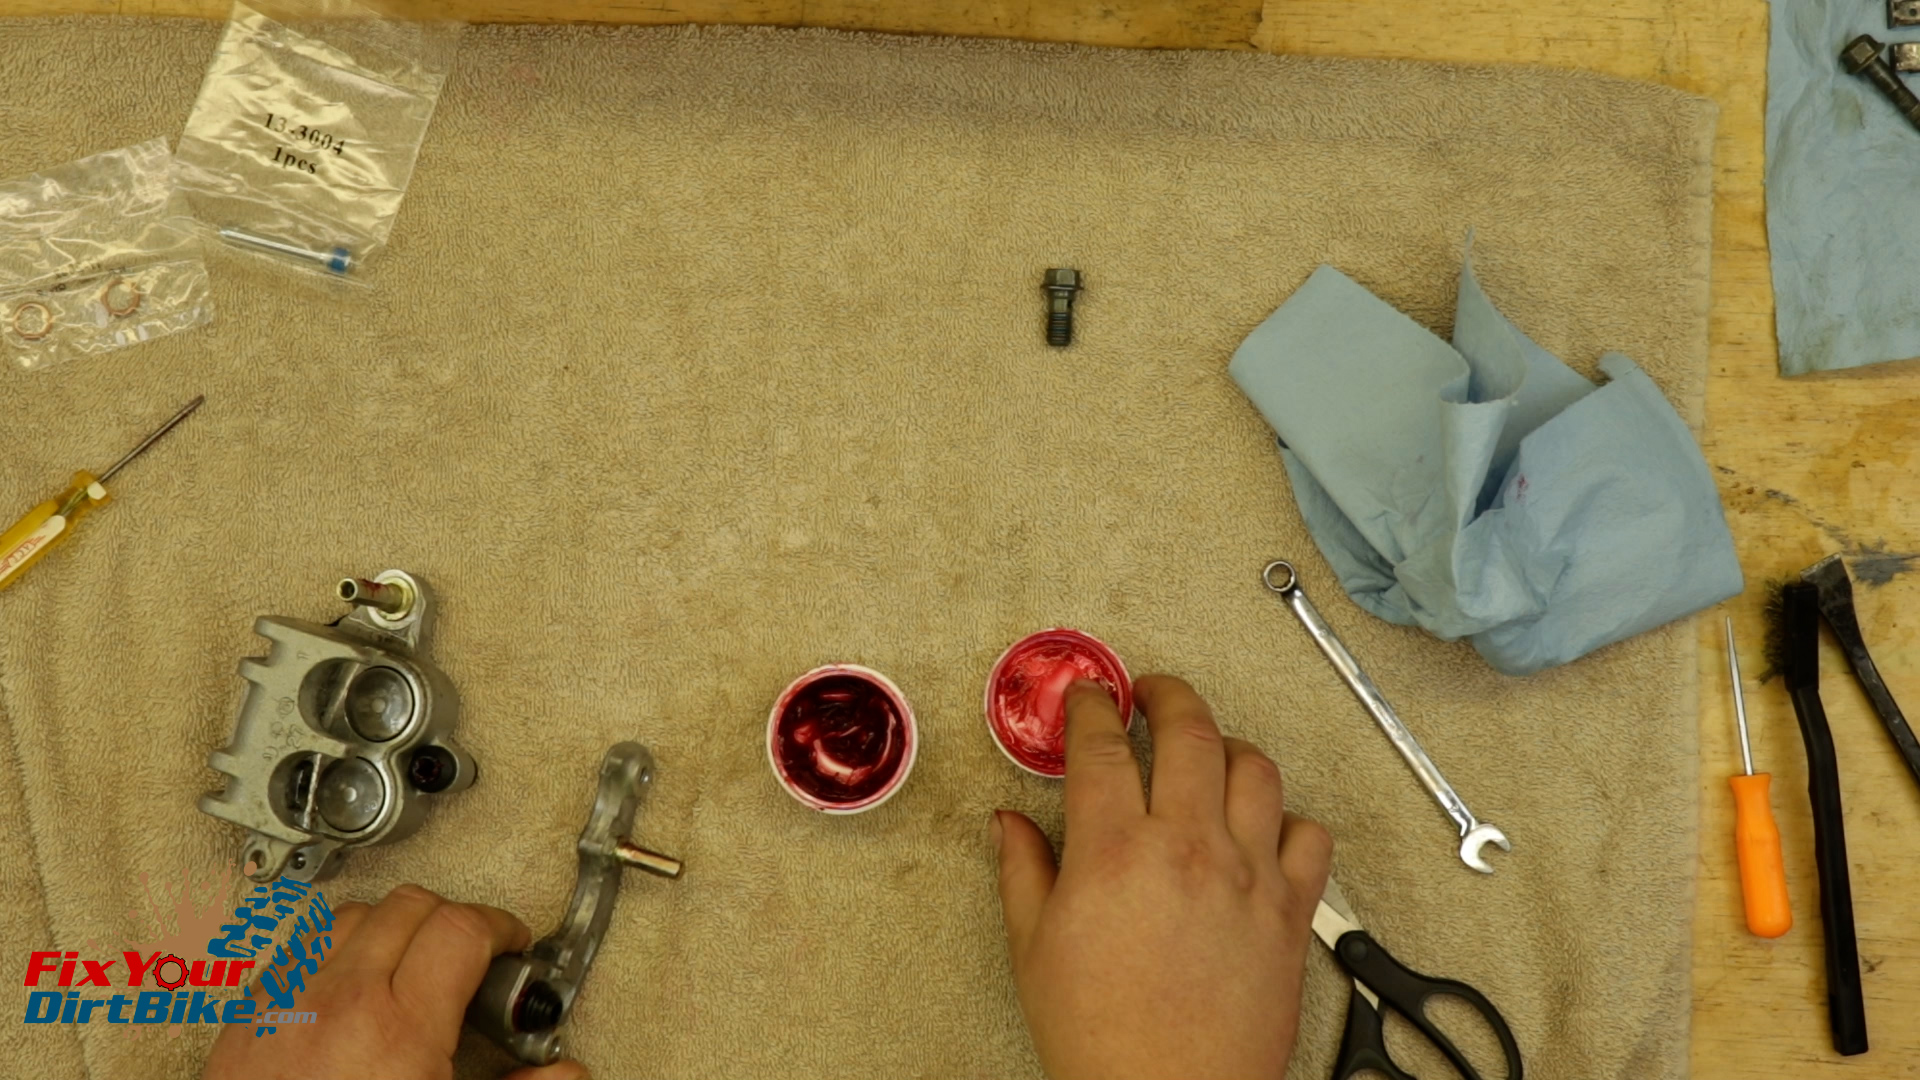
- The short boot goes on the bracket, and the long boot goes on the body.
- Grease the slide pin boots and slide pins, get as much grease as you can into the boots.
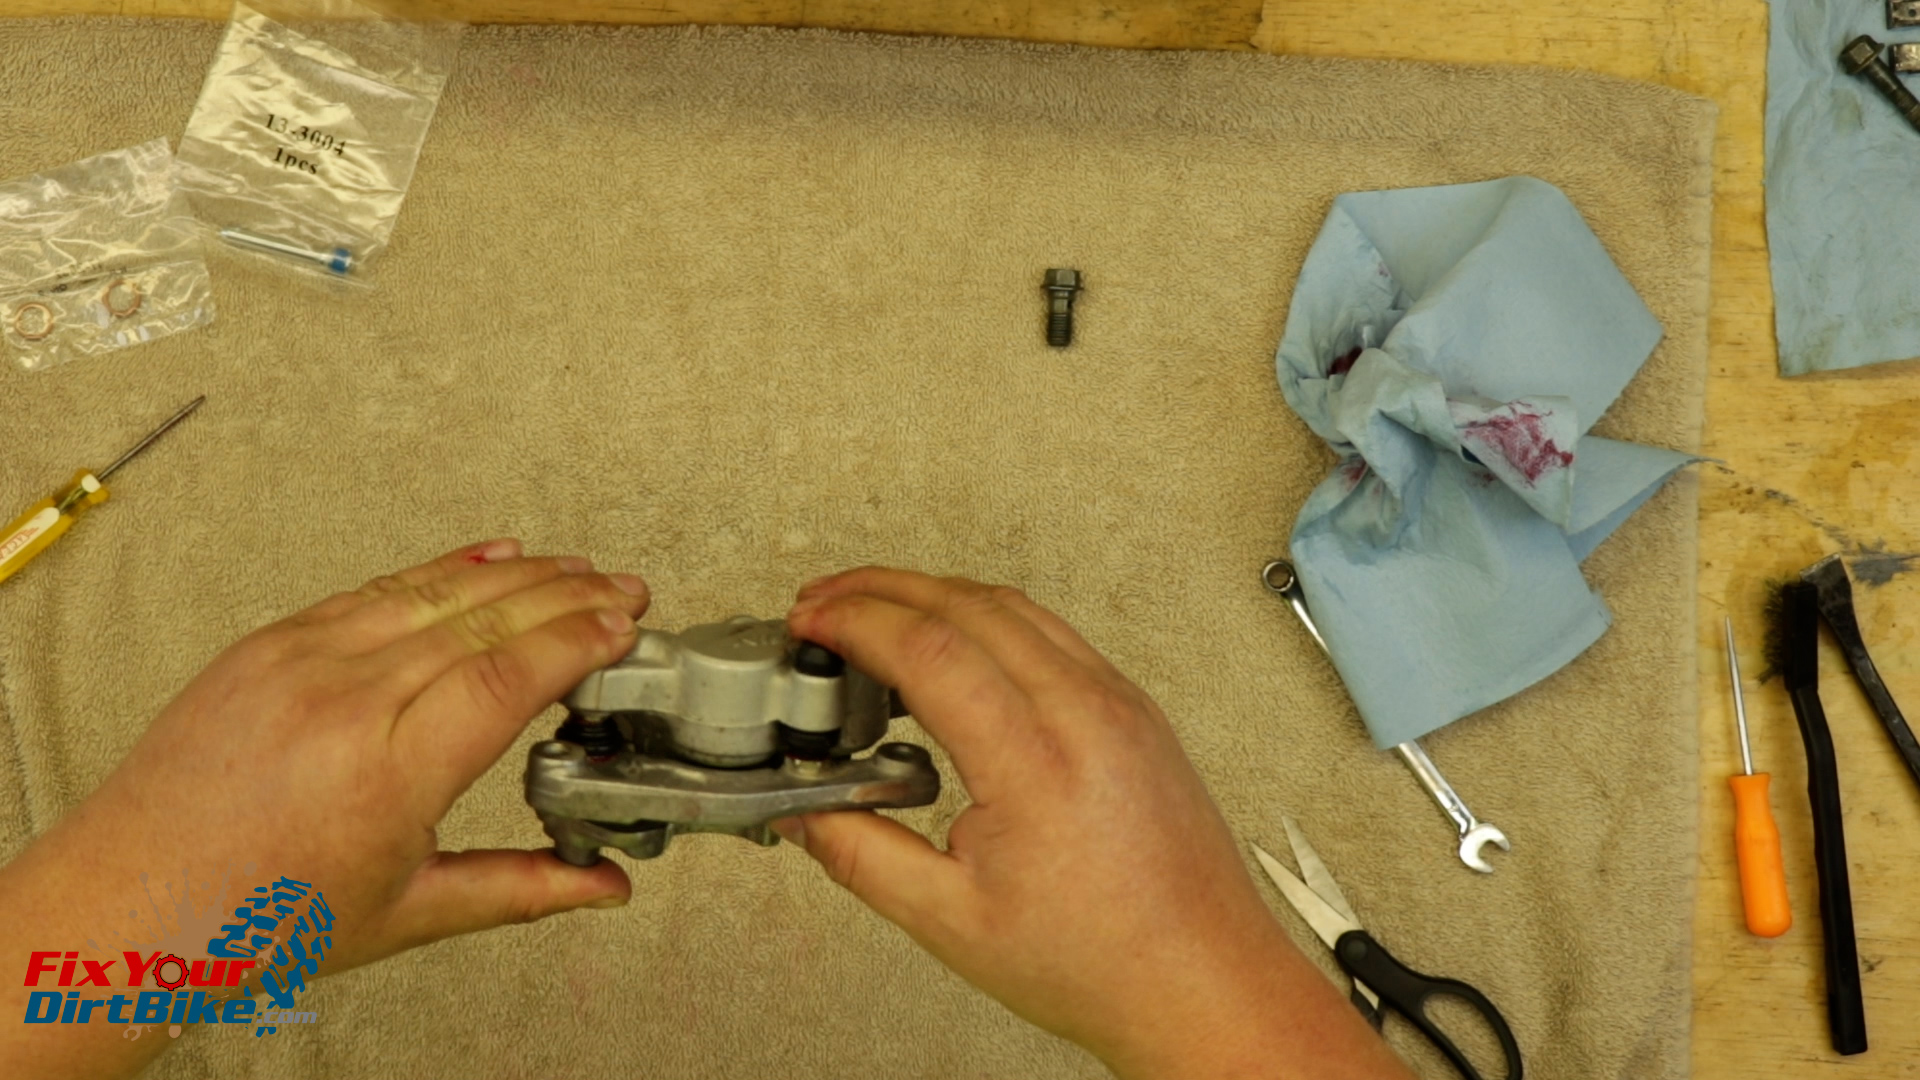
- Assemble the bracket and body, then give the bracket a few pumps to evacuate any trapped air in the boots.
Front Brake Caliper Install
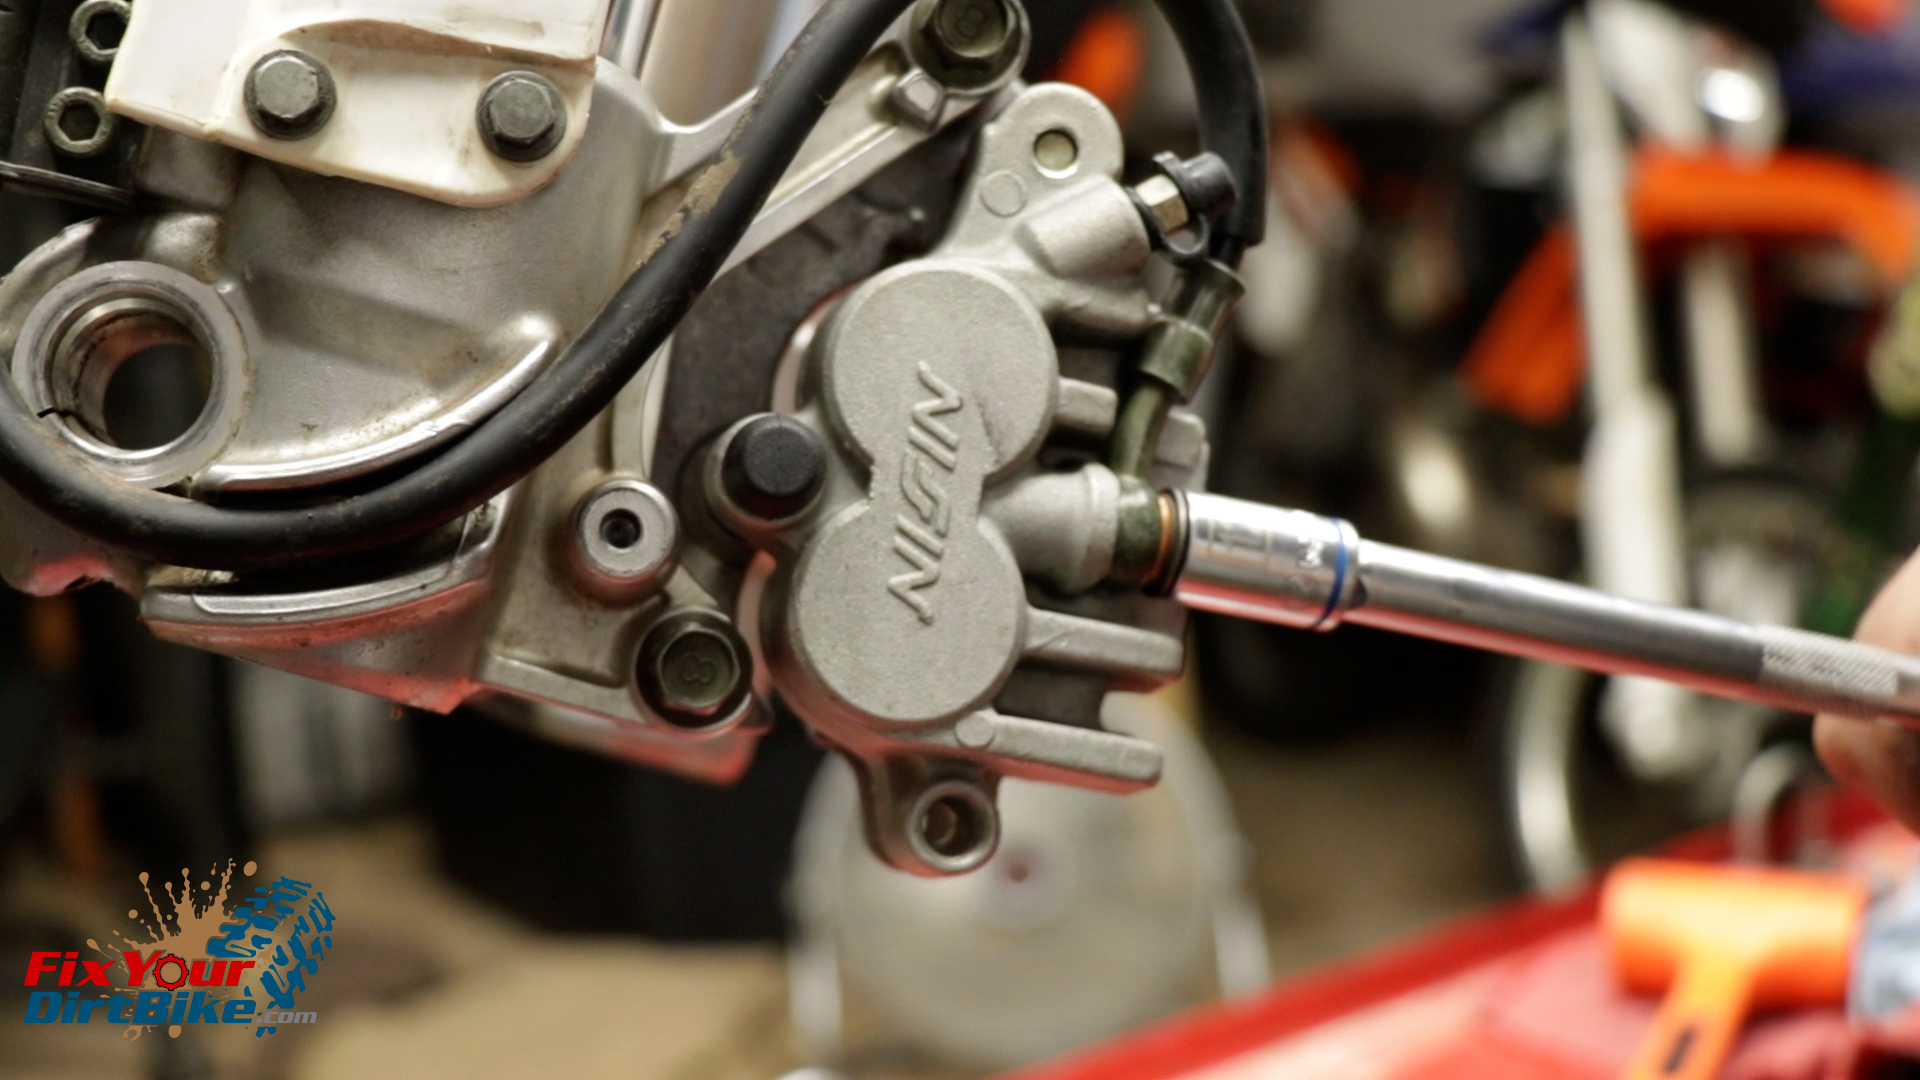
- Install your caliper on the fork, then route the brake line.
- Install your banjo bolt with the new seal washers.
- Torque the banjo bolt to 25 foot-pounds, and the mounting bolts to 17 foot-pounds.

You can follow me at Fix Your Dirt Bike across all social media, and If you have any questions, please let me know in the comments or direct message!
