
The Trail Tech Voyager is the top dog of GPS Trail Computers. That’s why I decided I wanted one for my KTM 450 XC-F!
I wrote a Trail Tech Voyager review in a different article, and (spoiler alert), I like it.
Installing the Voyager was straightforward and only required basic hand tools. Overall, the installation of the Voyager computer took about an hour.
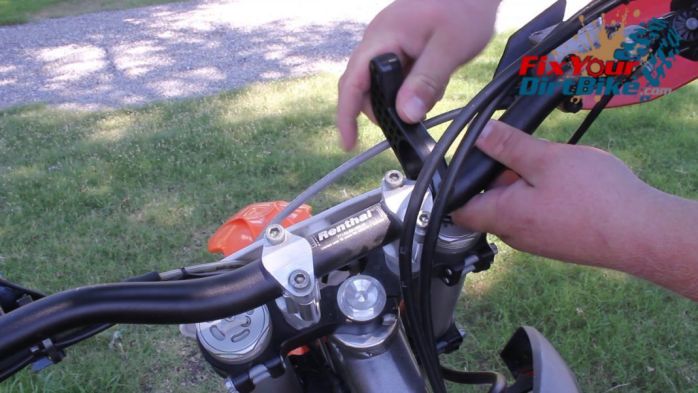
Trail Tech Voyager Mounting
- Test fit the mounting arm
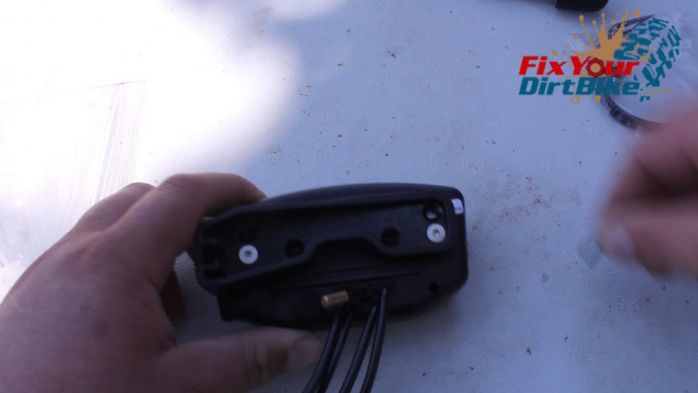
- Screw the mounting plate to the back of the computer
- Screw the backing plate to the mounting arm
- Attach the mounting arm to the handlebar
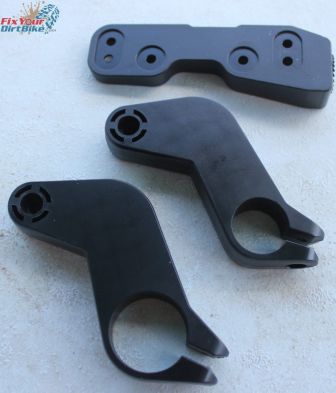
The Voyager comes with all the mounting hardware required – ⅞” and 1-⅛” handlebar mount arms and a backing plate for the computer. You will get three different-sized screws, two short screws for the backing plate, one medium screw to mount the backing plate to the arm, and the longest secures the mounting arm to the handlebars. You may need to remove safety foam from the handlebars to mount the Voyager in the center.
 |
 |
 |
 |
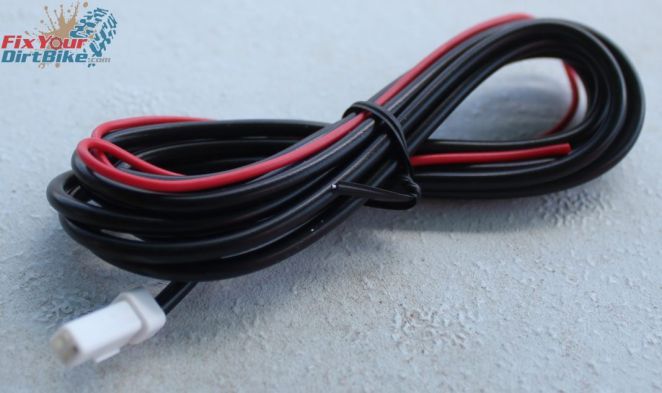
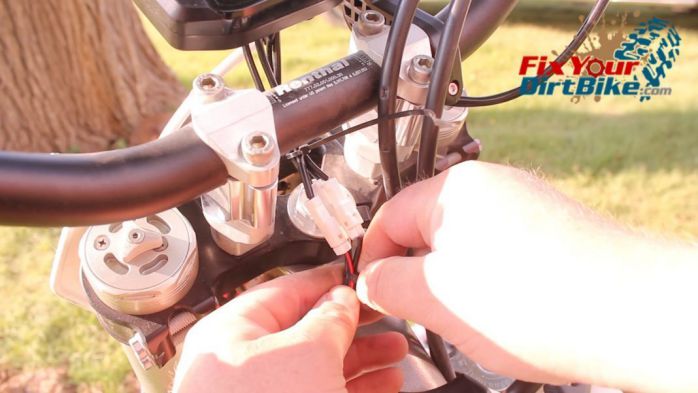
Battery Connections
- Run power connection to the Trail Tech, making sure to avoid heat sources
- Connect the black lead to vehicle GROUND
- Connect the red lead to battery positive +
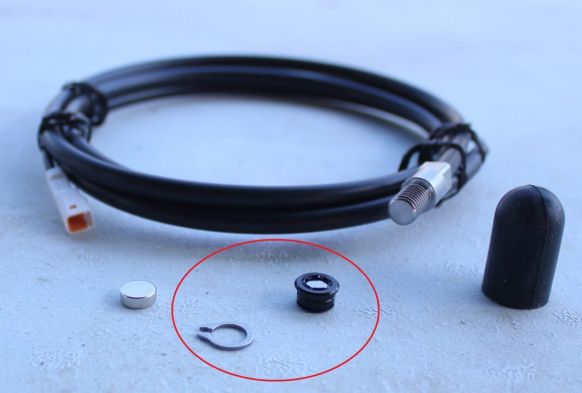
Although the TT Voyager has a built-in lithium-ion battery, you will still need to connect it to the vehicle battery to charge it. If you don’t have a battery on your bike, you must get the Trail Tech wall charger (not included).
Never connect positive and negative; always positive and ground!
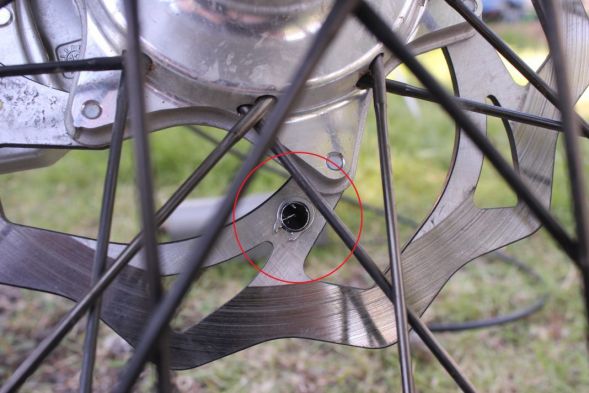
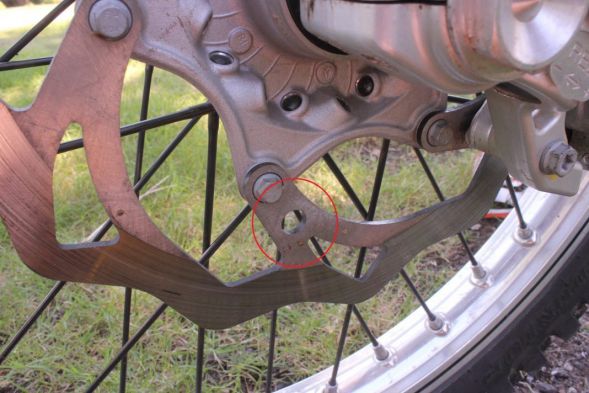
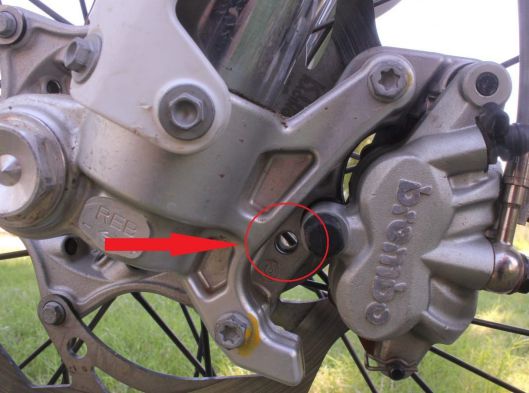
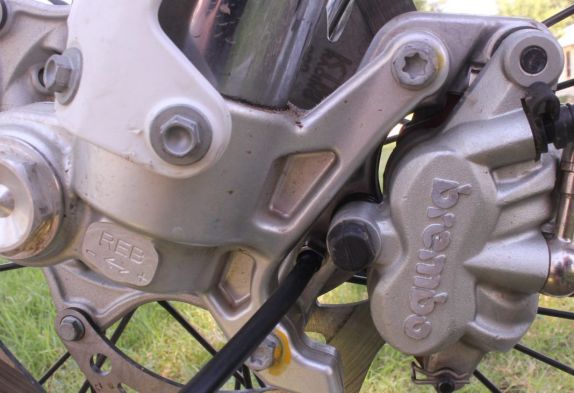
Trail Tech Wheel Sensor Mounting
- Connect the sensor to the brake caliper
- Run the up fork alongside the brake line
- Mount the magnet inside the disc brake
The wheel sensor for my KTM was designed to work with the factory mounting hole on the front caliper. Other brands require you to mount a sensor to the brake caliper and replace a disc bolt with a magnetic one.
 |  |
 |  |
 |  |
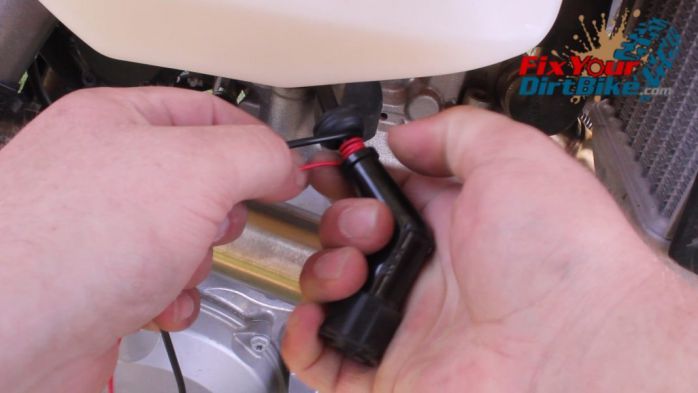
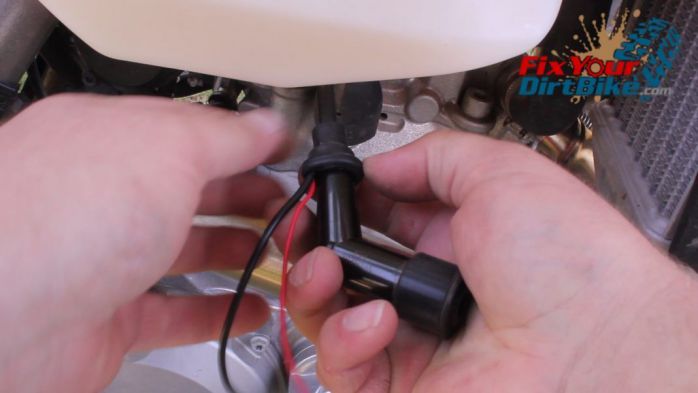
Engine Sensor (RPM)
- Unplug the spark plug boot from the plug
- Peel back the dust cover
- Wrap ignition sensor lead around spark plug wire five times
- Replace dust cover
- Trim Excess wire
If the ignition sensor cable is too long, trim it by stripping the black protection layer and cutting the red wire to the length you need. The engine sensor must be installed between the ignition coil and the spark plug. If your bike has the coil directly attached to the spark plug, you must pull back the water well and wrap the lead around the plug.
 |  |
 |  |
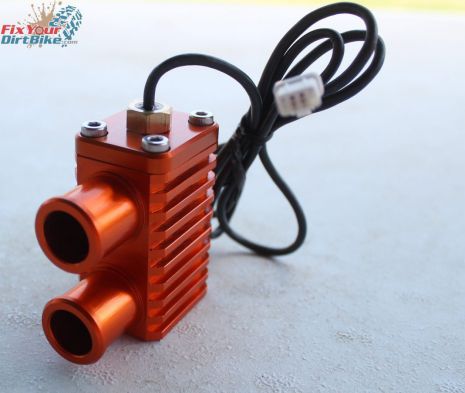
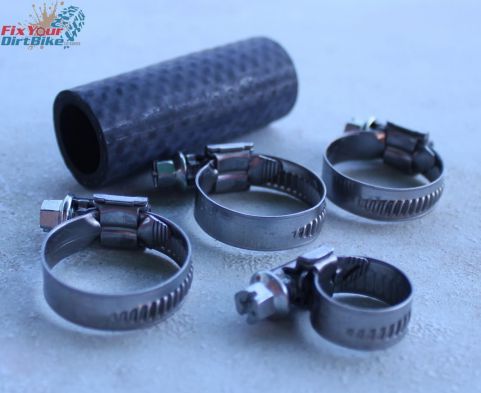
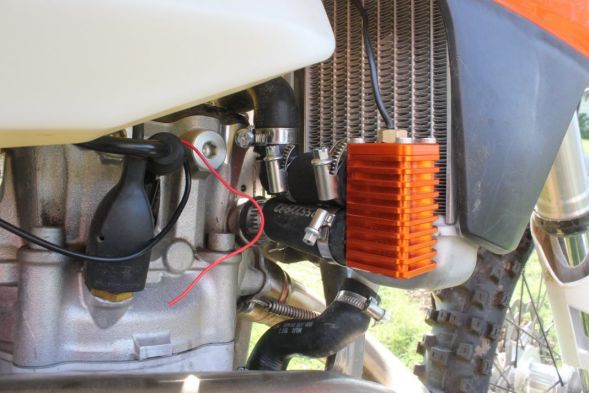
Coolant Temperature Sensor
- Locate the radiator hose, leaving the engine (out of the water pump)
- Splice in temperature sensor with supplied hardware.*
Different bikes will have different sensors. My KTM used a square sensor that needed to be mounted; other sensors were spliced directly in line with the hose.
*Because my KTM is the new model of the XC-F, I had to use a bit of extra hose and a few more clamps to make it fit.
 |  |
 |  |
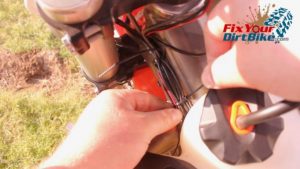
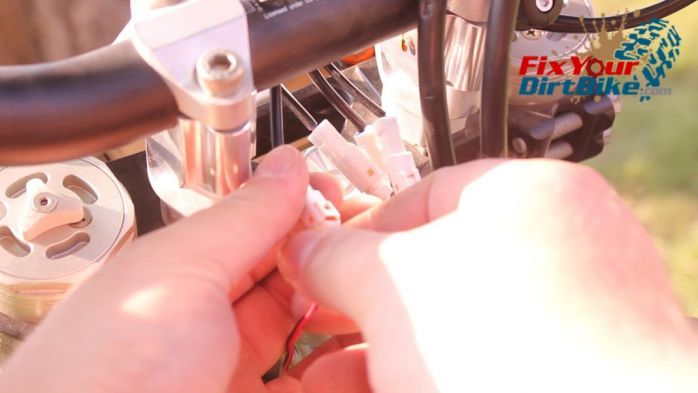
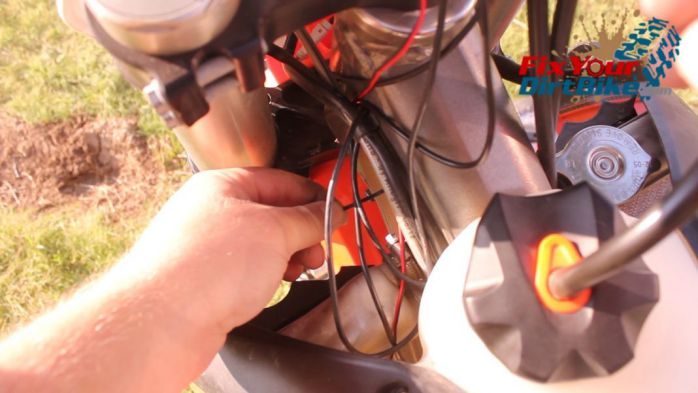
Connections & Cable Management
- Once your sensors are connected to your dirt bike, ensure enough slack at the handlebars for free turning motion.
- Connect the sensors
- Zip Tie cables to existing lines for a clean look, and go ride!


Now that you see how easy installing the Trail Tech Voyager is, get yours today! → https://amzn.to/4jvJrZC
If you have any questions or comments, please leave them in the comments or on our Facebook page!
Keep Reading – Motion Pro Micro Fork Bleeders


