
How To Repair A Crack In The Plastic Gas Tank On Your Dirt Bike
 Cracking your gas tank sucks twice; first, you get stranded, then you have to get a new tank.
If you have a metal tank, no problem, hose it out and weld it back together.
If you have a plastic tank, your options are limited.
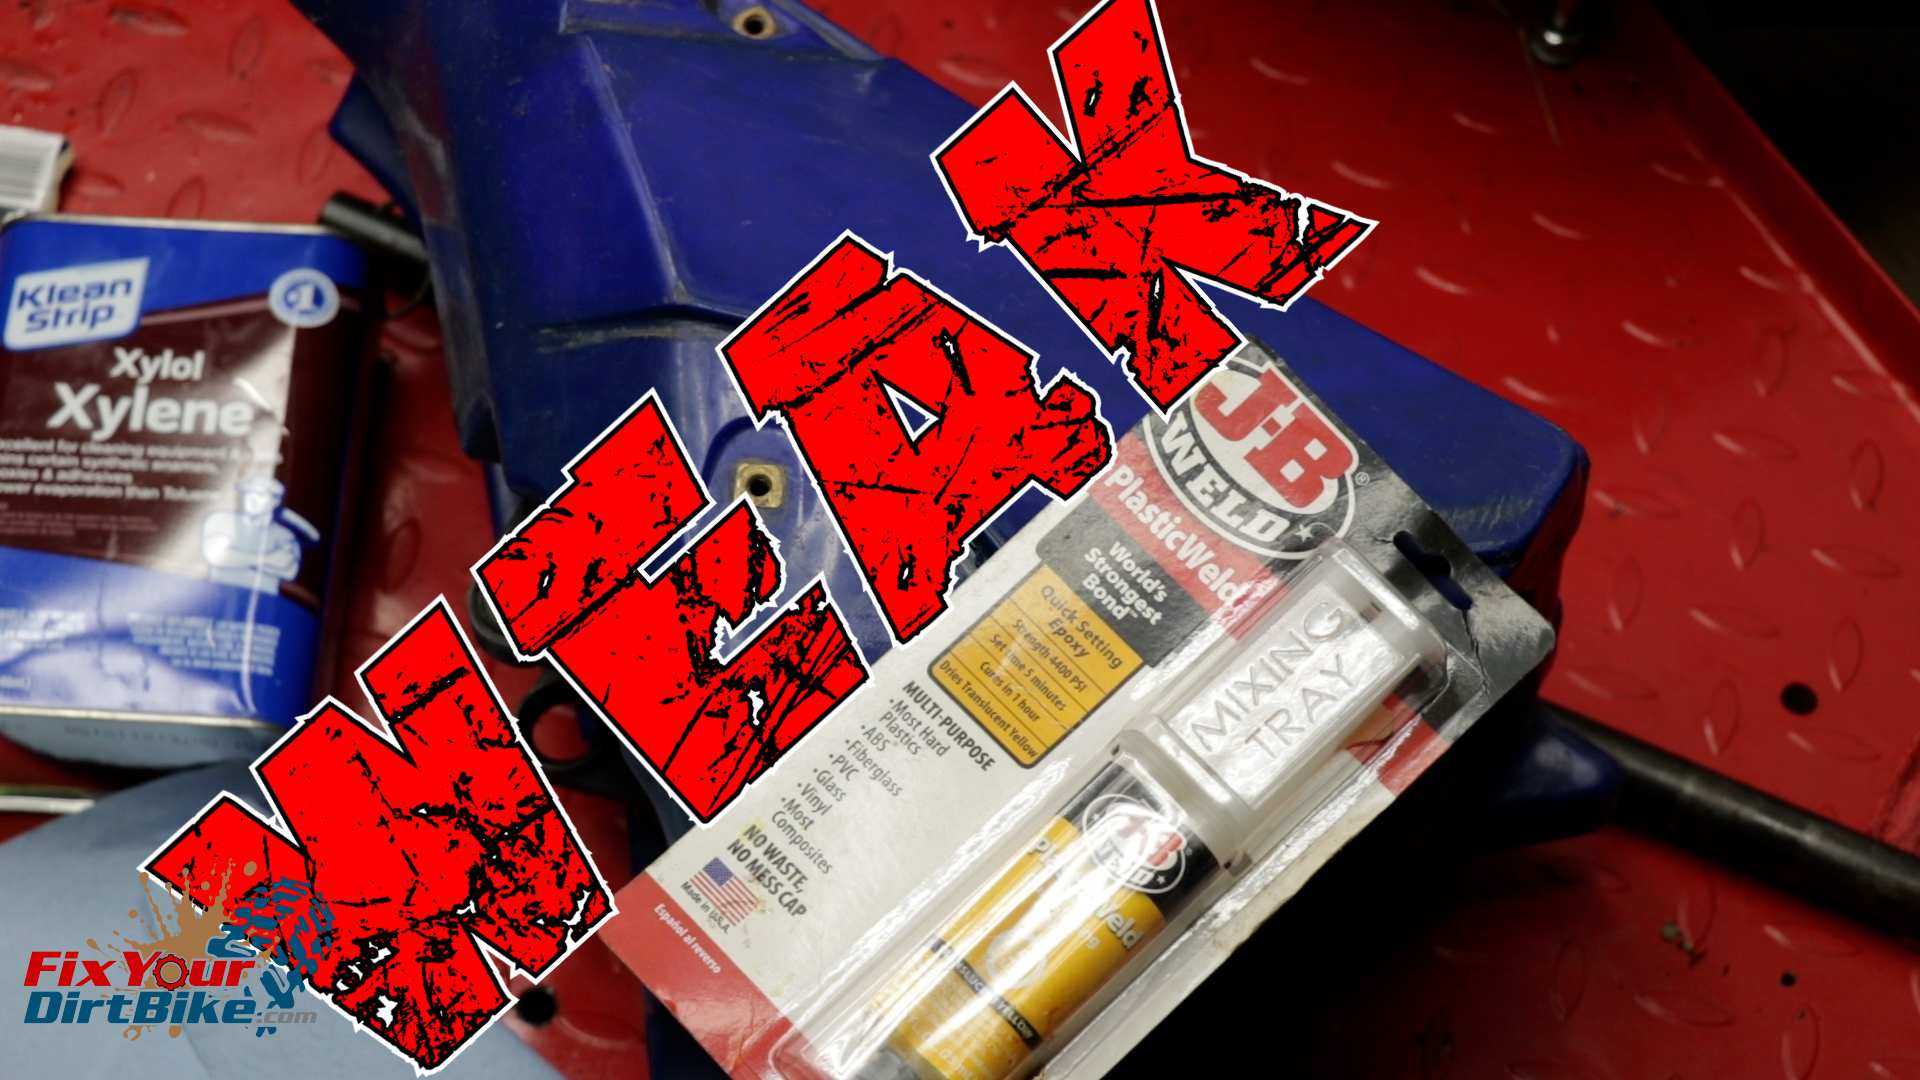
Long story short, JB weld PlasticWeld does not work.
It was only $8, I was in a hurry, and I could get it locally, so I gave it a shot.
I was suddenly no longer in a hurry for round two, so I had time to fix my tank correctly.
Plastic Gas Tank Repair
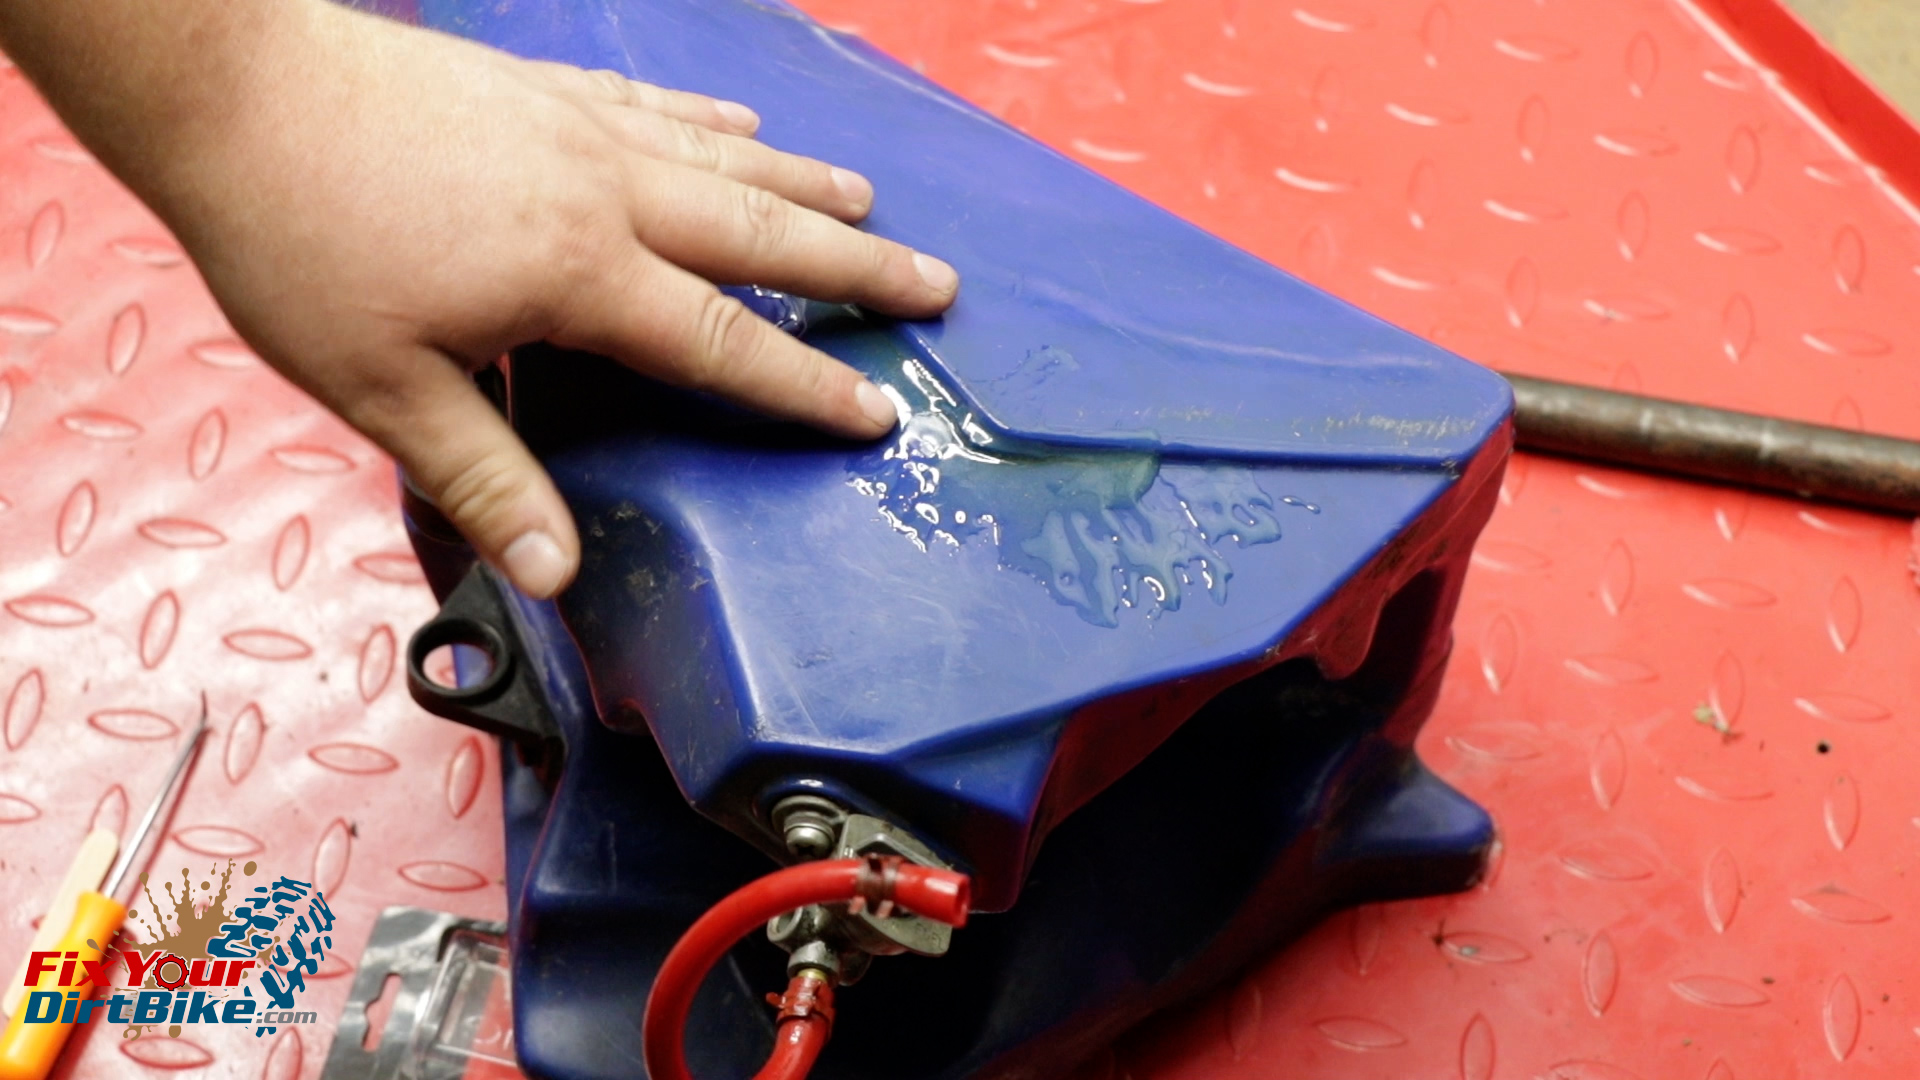
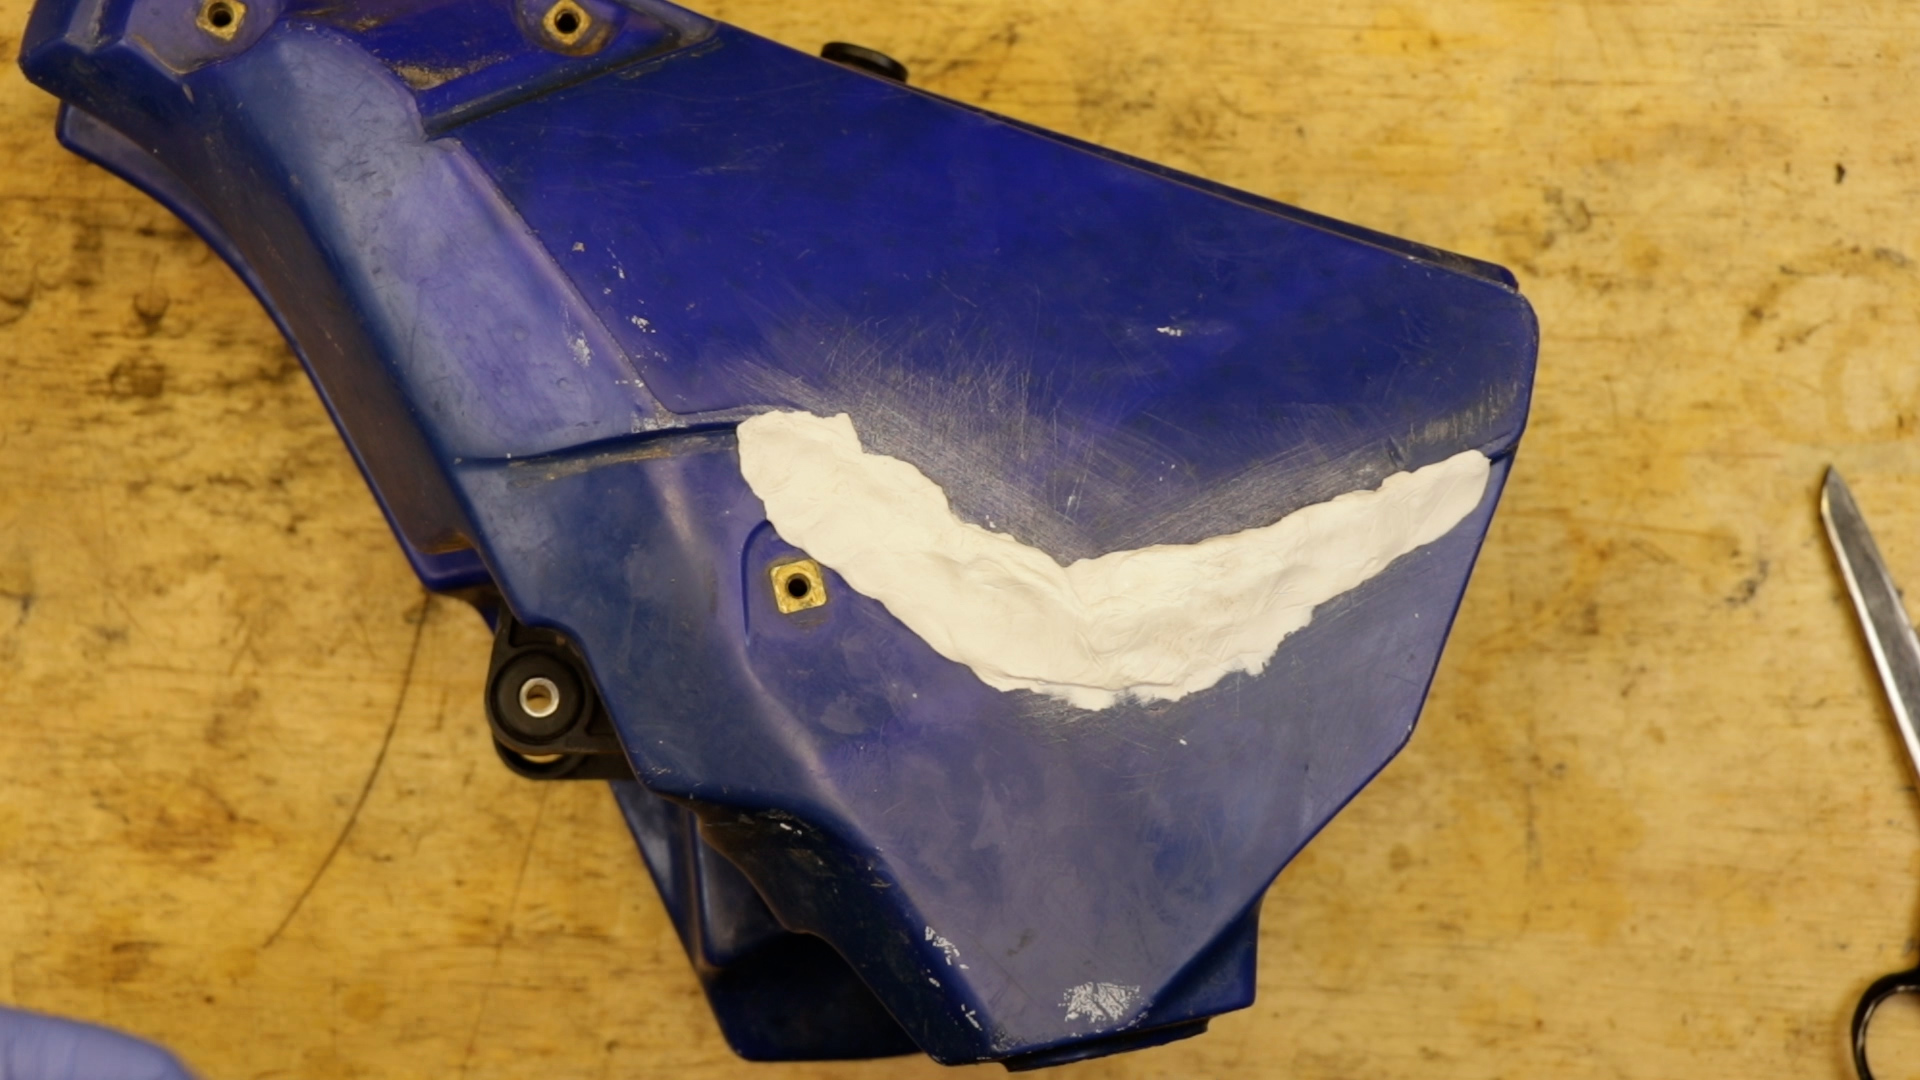
This tank is off my 2001 Yamaha YZ125 project bike, and it has a crack on both sides. The right side crack is relatively small, but the left side crack is on the body line, and I can almost stick my pinky through it when It flexes.

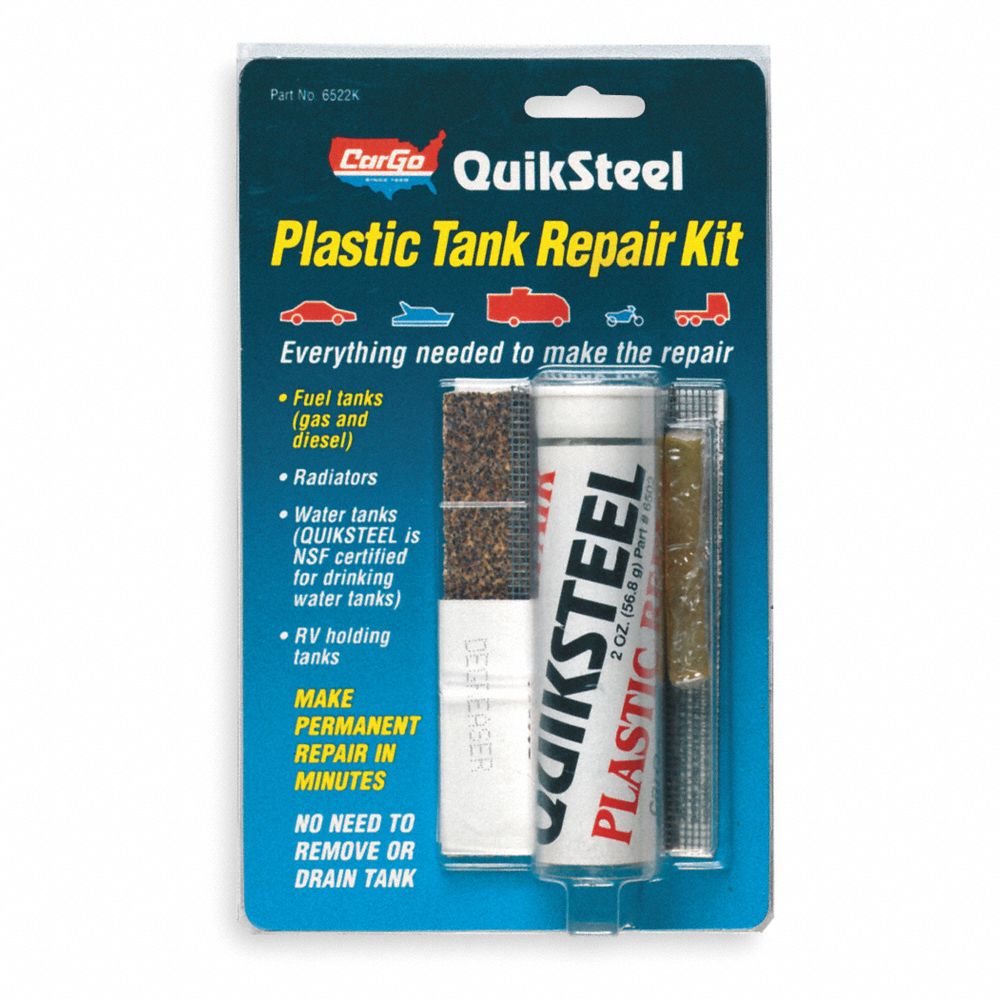
My go-to is the Blue Magic Quiksteel Plastic Gas Tank Repair Kit, which you get here if you don’t have one yet. I’ve never had to repair a crack this bad, but I’m not too worried, this stuff is really good.
 Gas Tank Prep
- Wash your tank to remove as much dirt as possible.
- Follow that with a wipedown of acetone to remove any fuel reside.
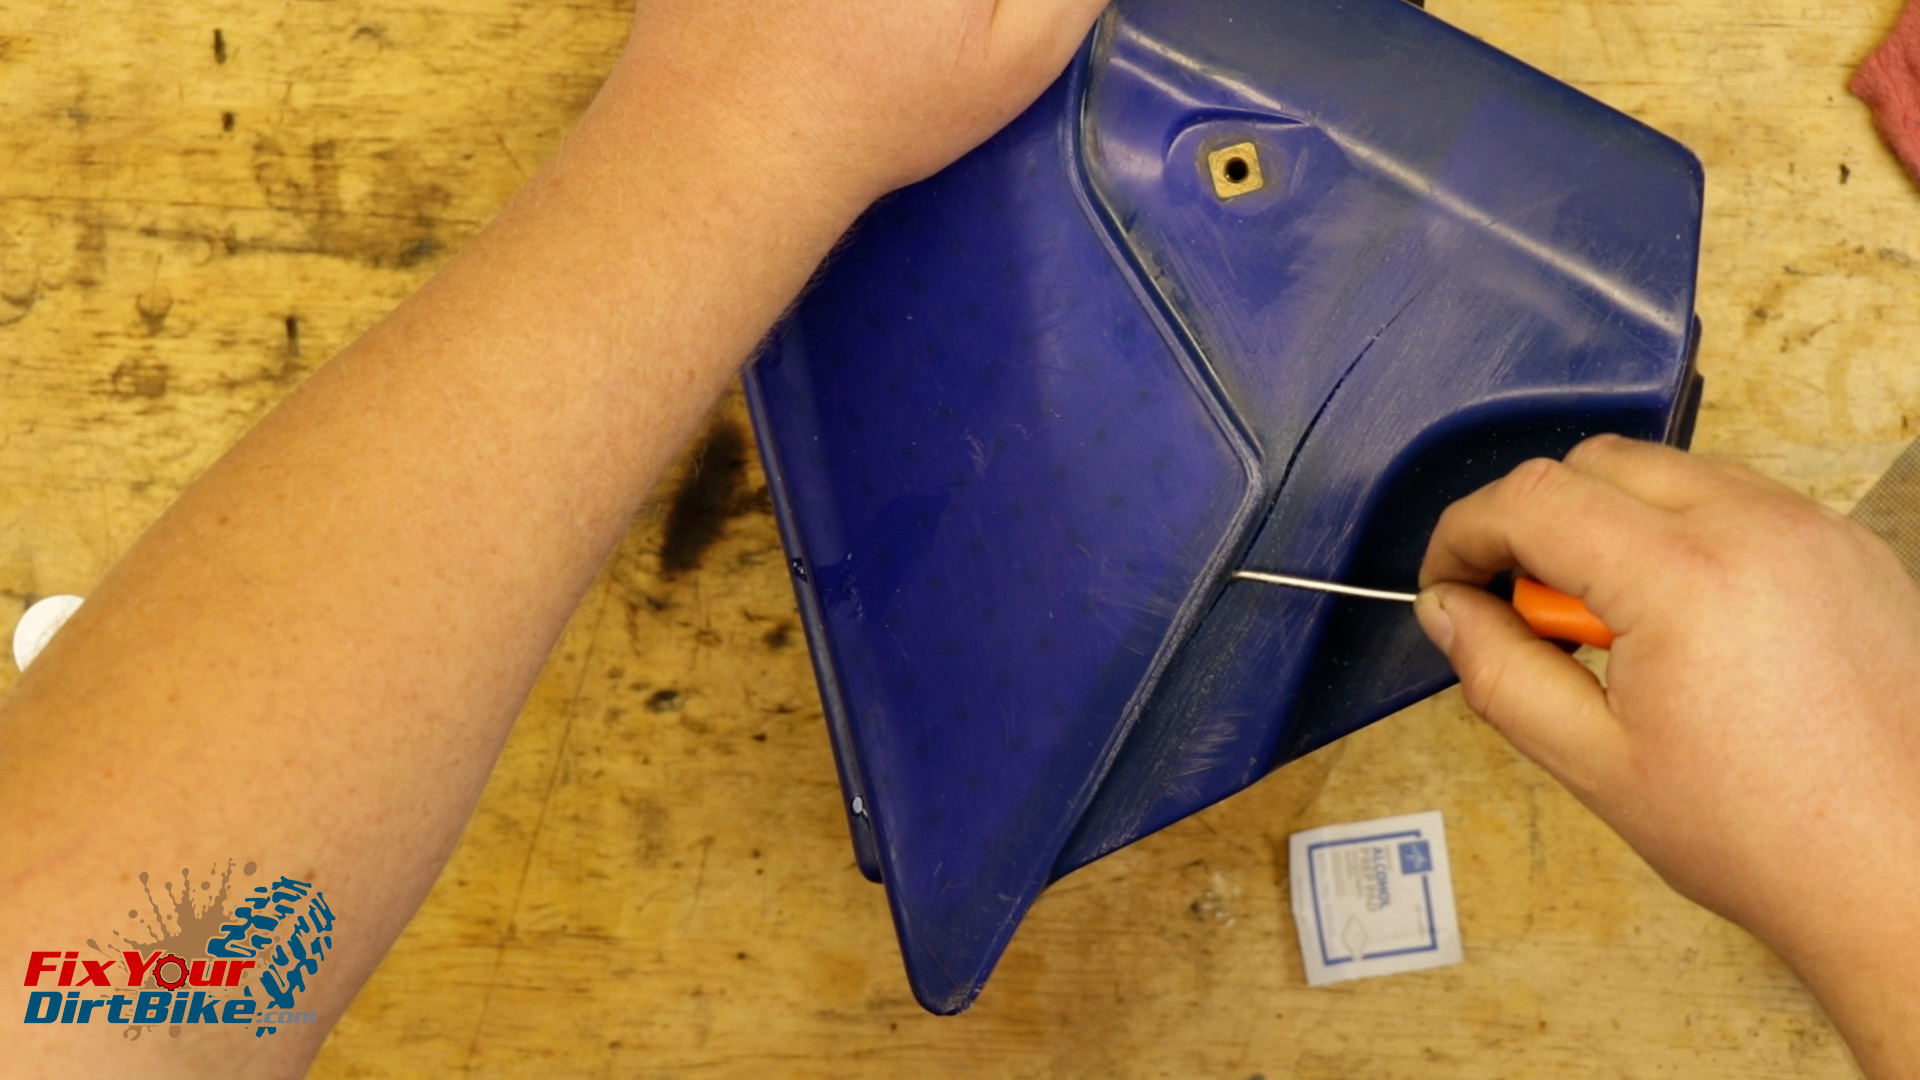
- The Quiksteel kit provides a small piece of sandpaper that I’m guessing is about 60 grit, so they mean it when the instructions say deep grooves on the tank.
- Sand the area around the crack in two directions to get a consistent crosshatch pattern for the putty to adhere.
- Follow that with a rub down of denatured alcohol.
Quicksteel Gas Tank Repair Putty Application
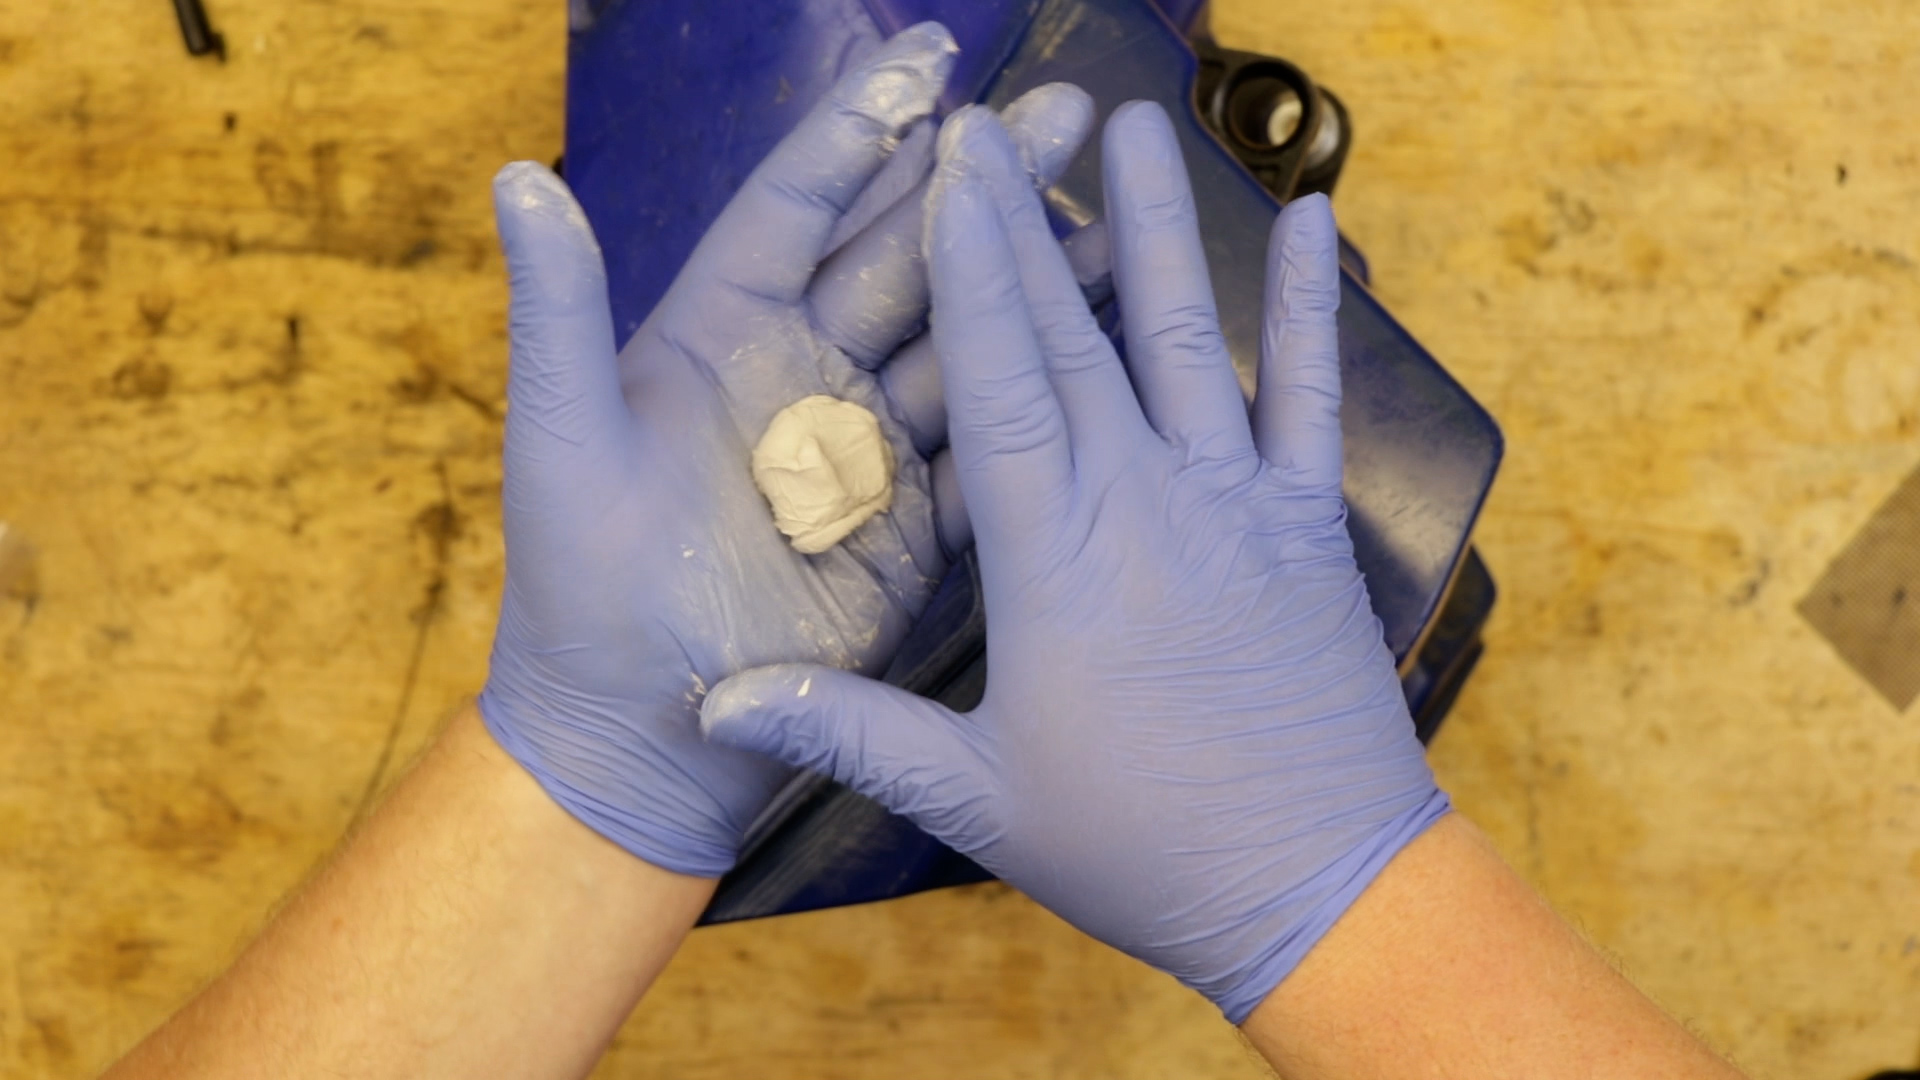
- I can never guess how much putty I need, so I started with about a quarter stick for the smaller crack.
- Work the putty until it starts heating up and changing color.
- The instructions say it will turn a different shade of white, but I can never tell the difference.
- However, you definitely won’t miss the heat!
- When your putty gets hot and starts leaving residue on your hands, it’s good to go.
- I recommend wearing gloves, I don’t know what it will do to my hands, and I don’t want to find out.
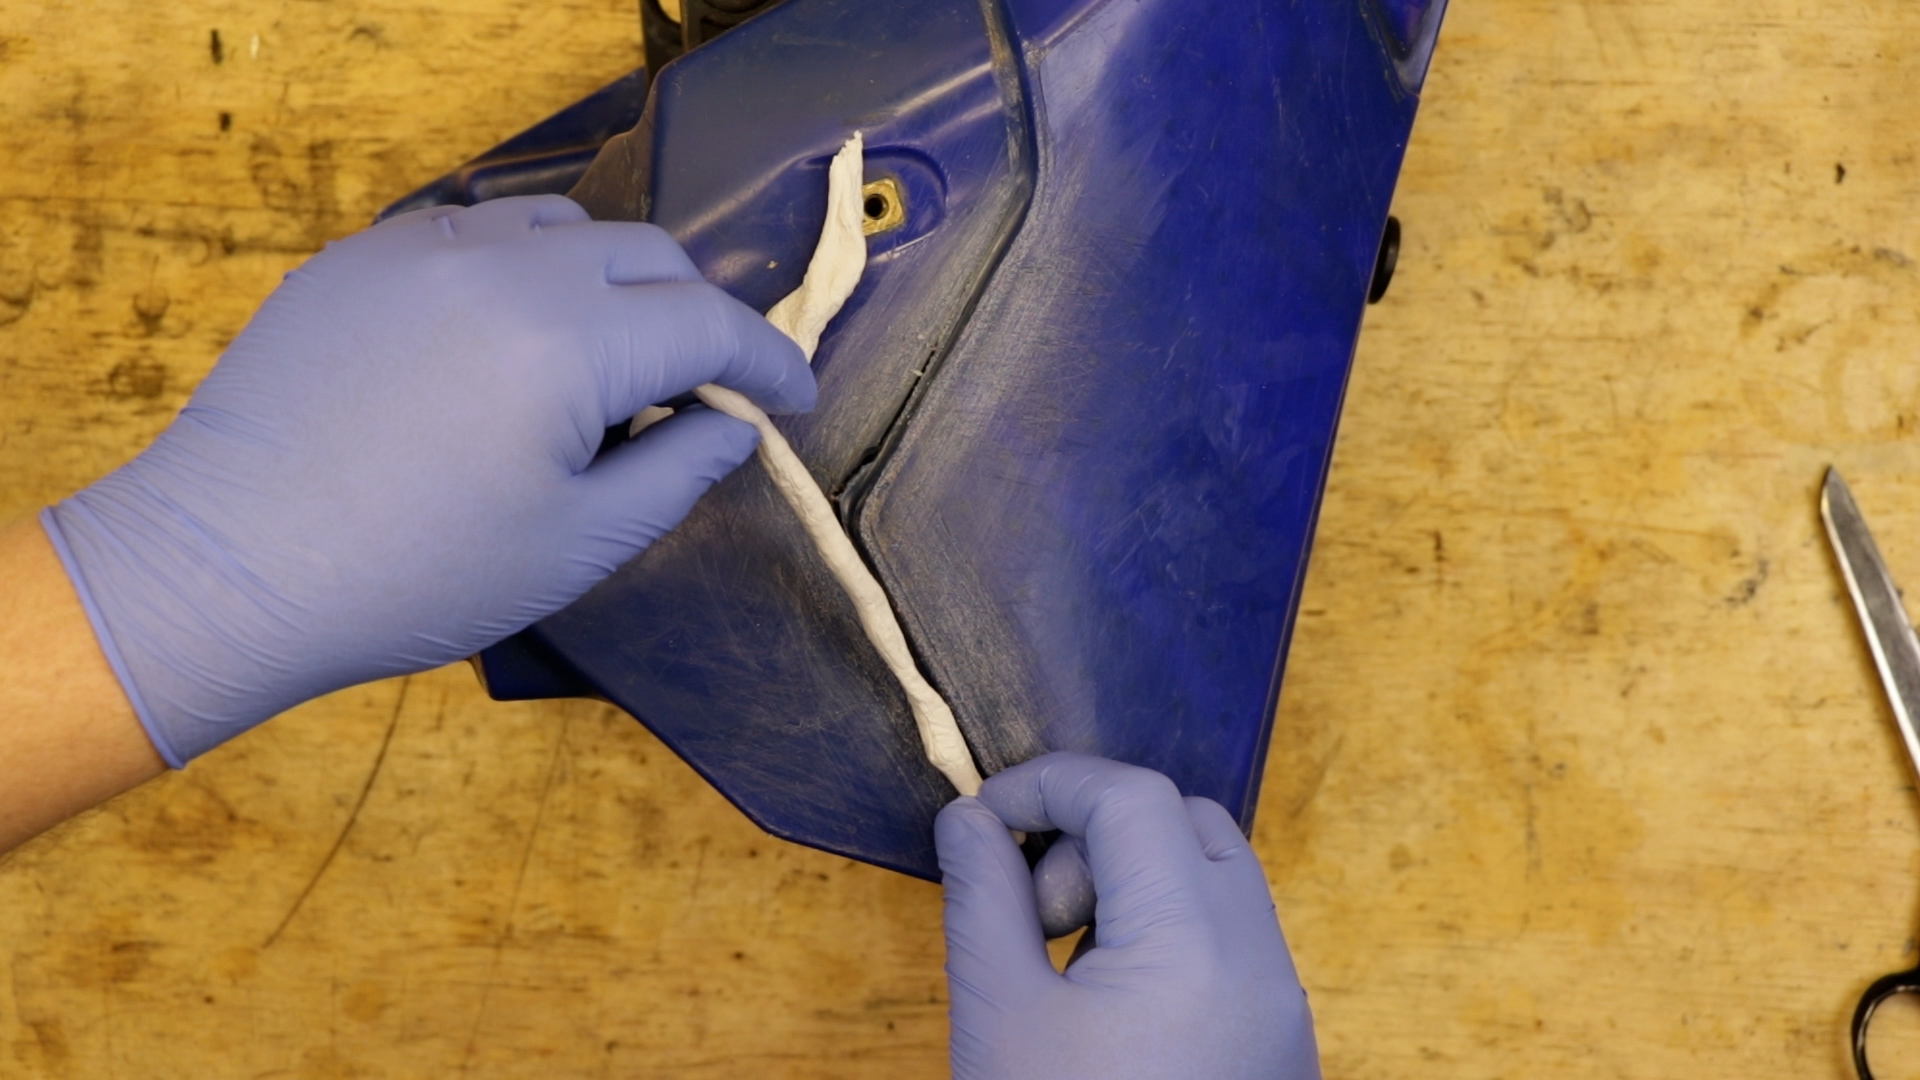
- You will have about 5 minutes to work the putty, and you will feel it stiffening as you go.
- This putty cures in an hour, but I usually let it sit overnight.
- Once the Quiksteel putty cures, you can sand off the high spots, but be careful not to sand down to the crack you just fixed!
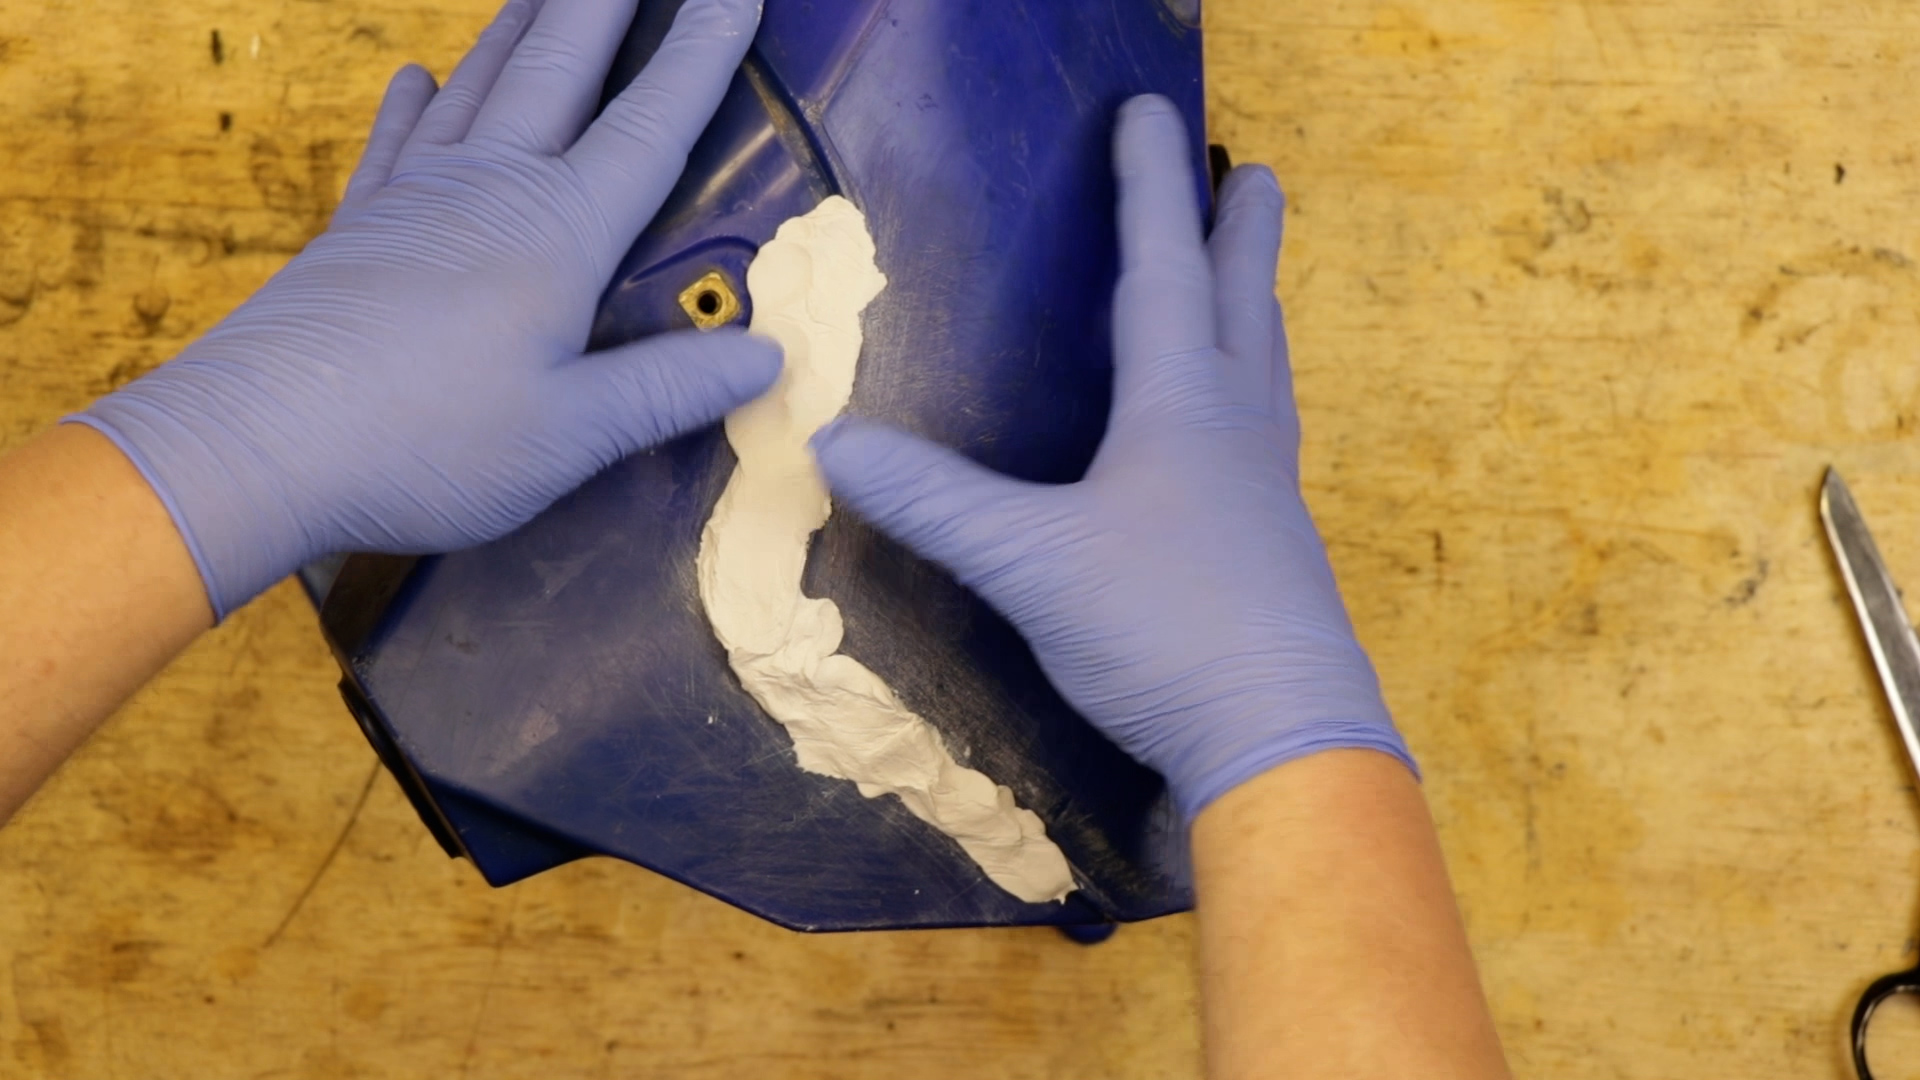
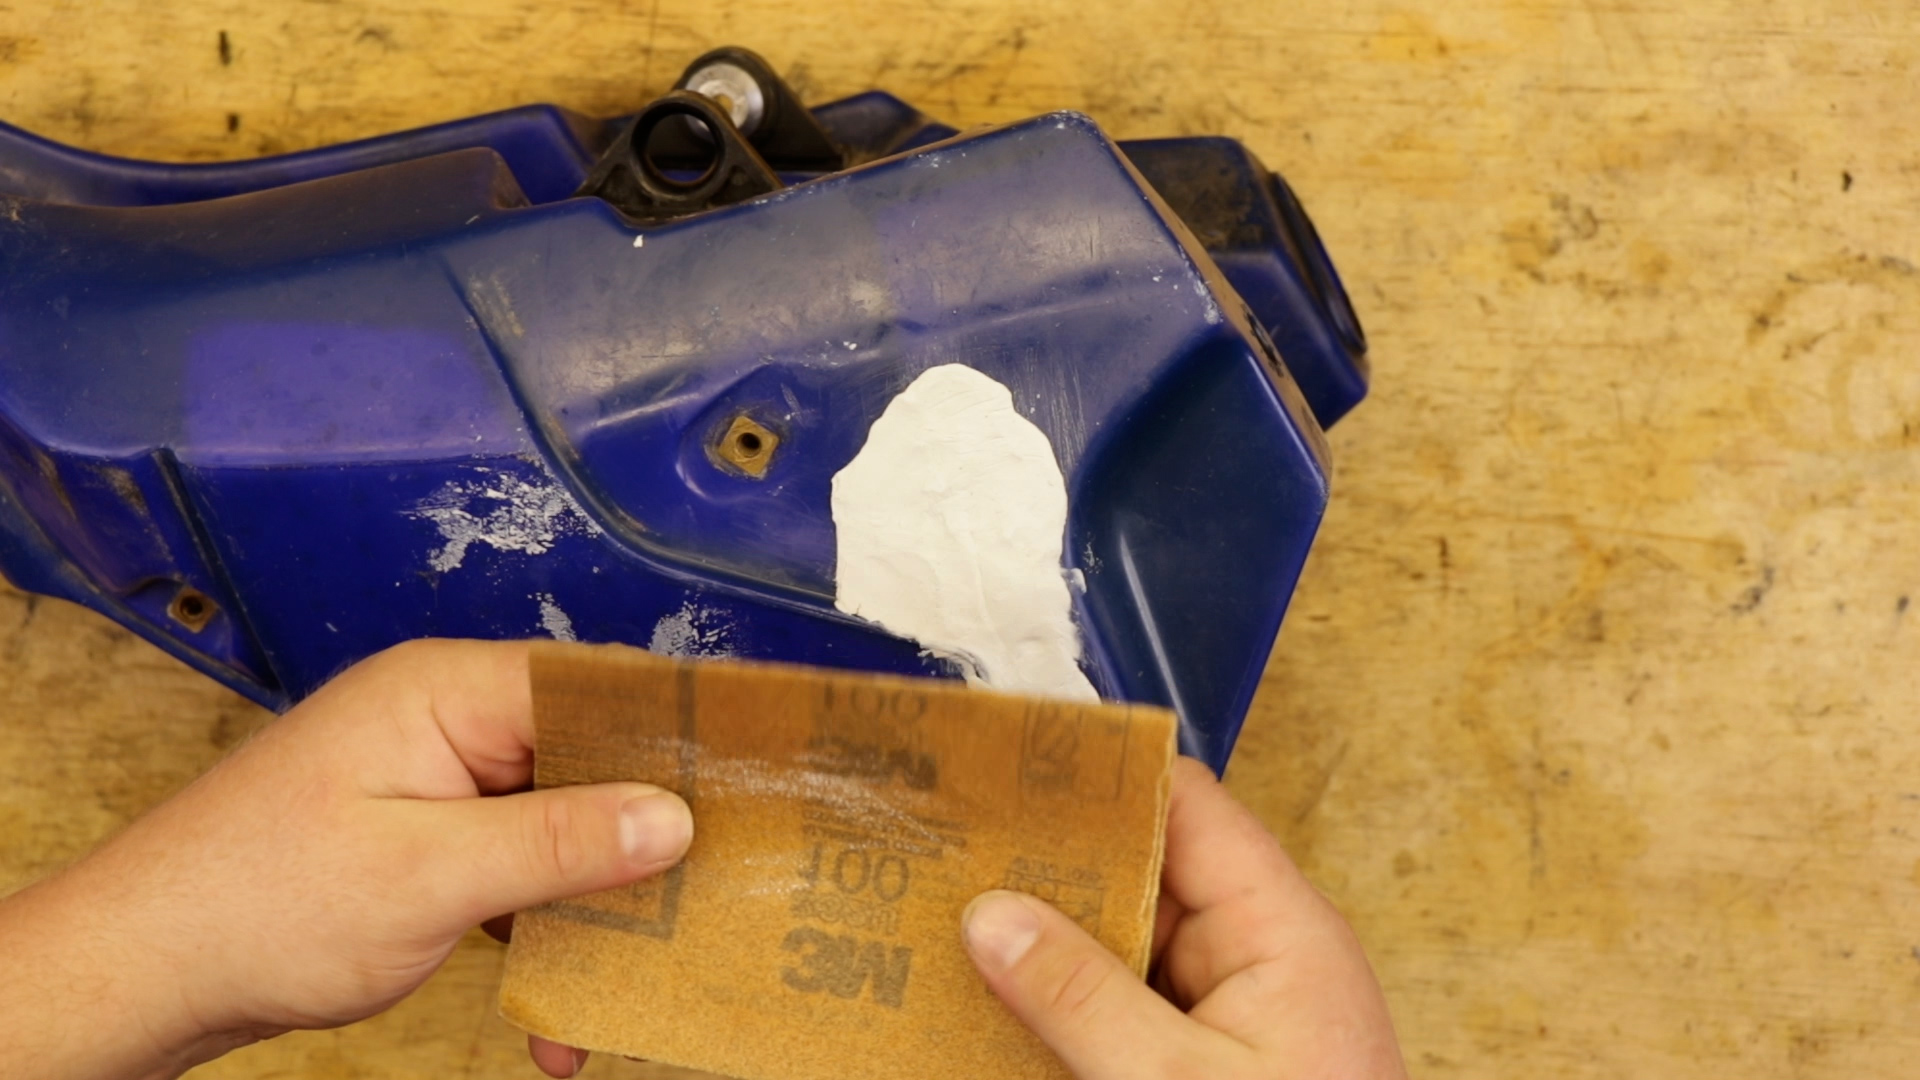
I’m not going to bother sanding my tank because at this point, I just… eh, it holds gas.
This Quiksteel Plastic Gas Tank Repair Kit works great, but it never looks great, and my plastics will never sit flush to the tank.
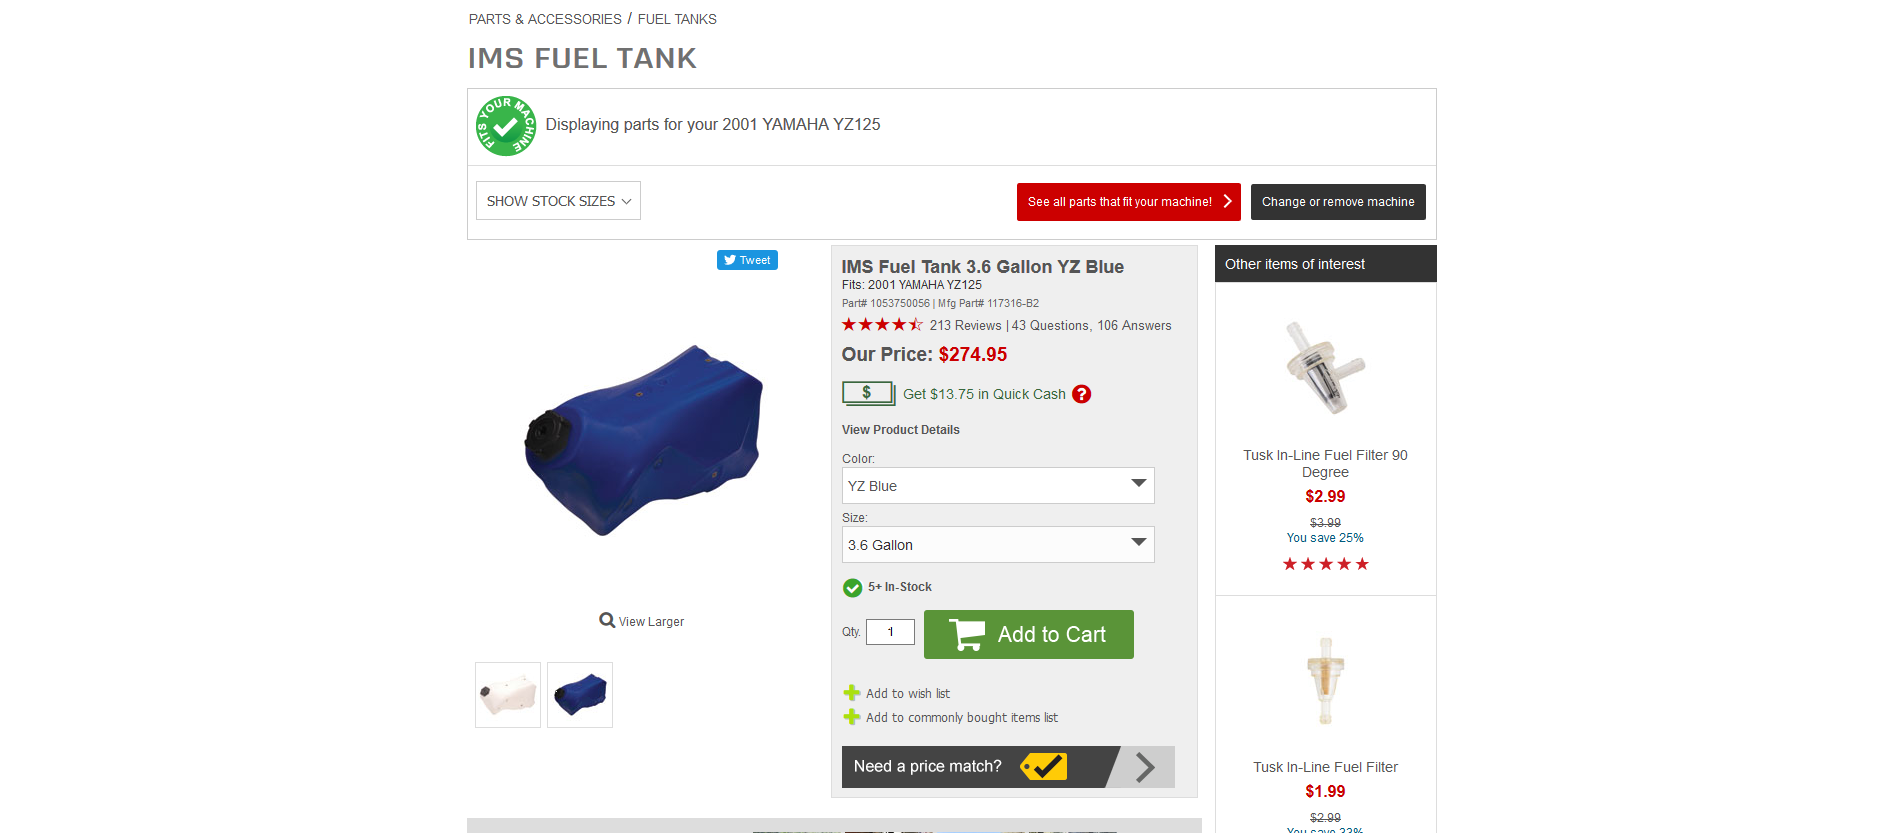
BUT, I can live with that considering this repair kit costs $15, and a new tank is over $200!
You can follow me at Fix Your Dirt Bike across all social media, and If you have any questions, please let me know in the comments or direct message.
