
How To Change The Tube & Tire On Your Dirt Bike
 There are already plenty of tube and tire change guides. In this guide, I’ll describe each step of the process, techniques, and tools in greater detail.
A few notes before you even take your wheel off your bike.
- You should never have to force your tire on or off the rim; the rim is designed to accommodate the tire during removal and installation.
- The rim is designed to let the tire bead drop into the center, giving you plenty of room when working on the opposite side of the rim.
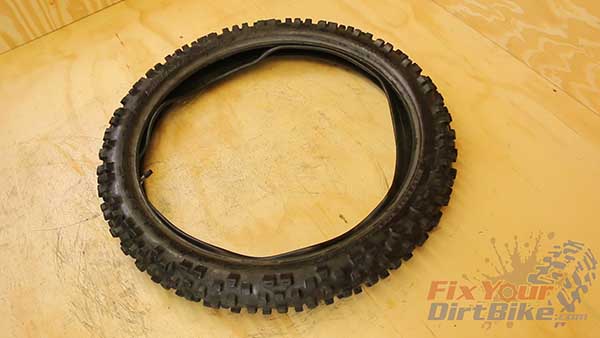
- A warm tire is much easier to work with, so lay your tire in the sun or a hot car for around half an hour before you start.
- Tires can’t stretch because of the metal bead wire, but the warm rubber will be much more flexible at the bead and less likely to tear.
Tube & Tire Lubrication
You can remove and install a tire without lubricant. In fact, this tire was so warm during the removal that I forgot to use it.
So remember, the lubricant is not for your benefit. Lubrication is for the rim and tire, so keep that in mind when you get to the tricky parts.
(I use rubber grease when I install my tires because I don’t need to change them often. It’s optional, very messy, and you probably don’t need it.)
Tire Change Tools
A full set of tire spoons and a bead holder are ideal, but basic tire irons will work. If you’re in a pinch, I can show you how to make your tools in my “DIY tire tools” article.
I usually only use rim guards for the first part of tire removal. If you have a nice new rim, I suggest sliding rim guards around it as you go to protect it as much as possible. It will take more time, but the rims aren’t cheap.
A set of tire spoons costs about $50, and a bead holder costs around $14. If you need tools, you can get a good deal HERE!
- Get Some Tire Spoons Here → https://amzn.to/4aqlHCj
Get A Bead Holder Here → https://amzn.to/4jkYSns
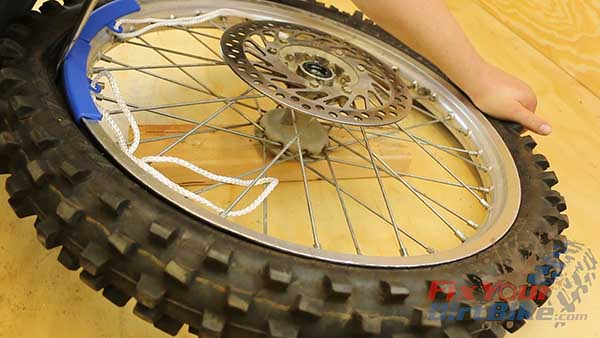
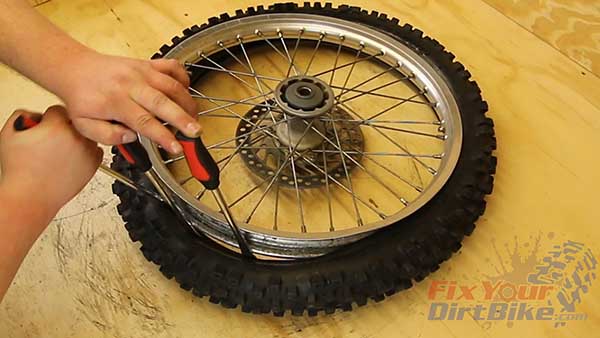
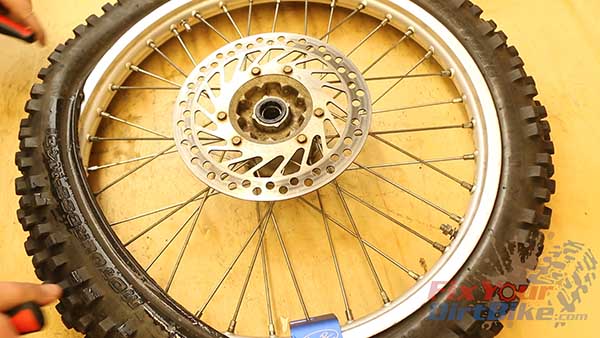
Work on your wheel with the brake rotor up. You can use it to hook your tire spoons during removal, and when it’s face-up, you avoid accidentally damaging the rotor. Plus, when you work to the rear tire, you won’t have to worry about punching the sprocket (that hurts).
Removing and installing tires can be very clumsy, but if you can mount your tire without ripping the bead or pinching the tube, you did it right!
Pre-Service Notes
- If you need parts and tools, make sure to buy them here! → https://amzn.to/40uWvWN
- Pictures with captions are after the steps below.
- If you need any help, don’t hesitate to ask!
Tube & Tire Removal
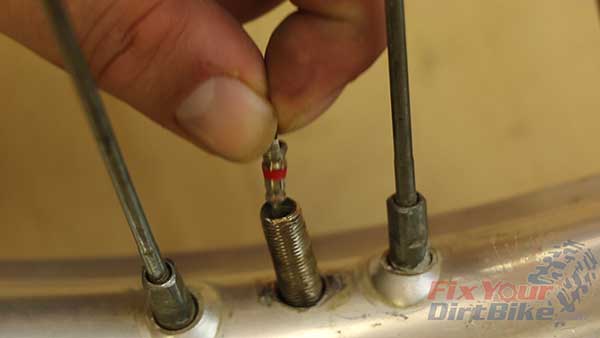
- Completely remove the Schrader valve from the valve stem. Even if the tube is ripped or punctured, having the valve open is still ideal. If you don’t have a valve stem tool, let out as much air as possible. If you have a valve stem nut, remove it and save it.
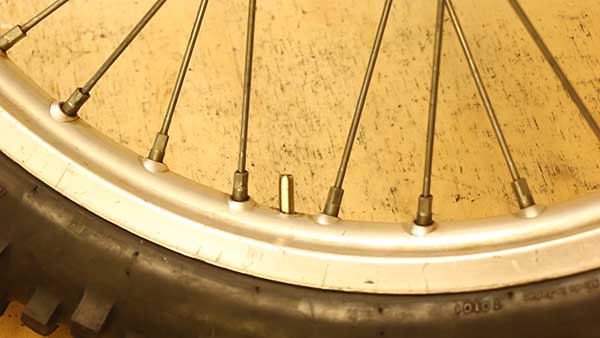
- Loosen the rim lock nut, but do not remove it. Give the rim lock a push to make sure it’s free.
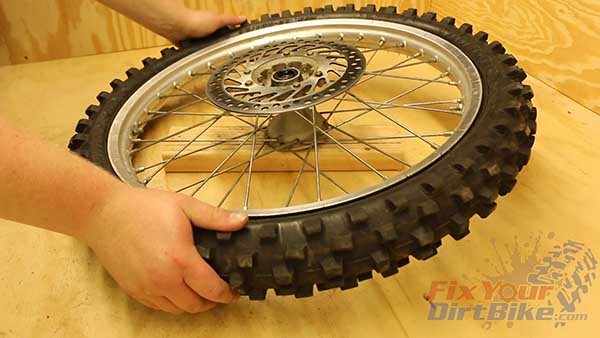
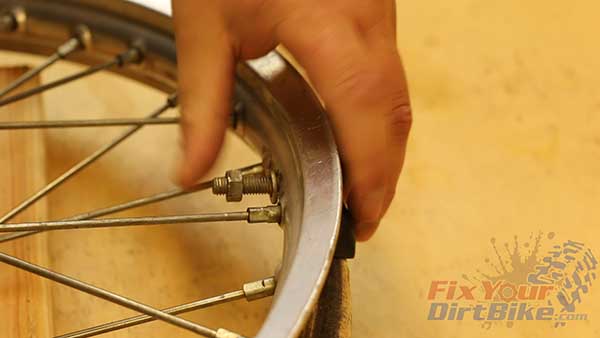
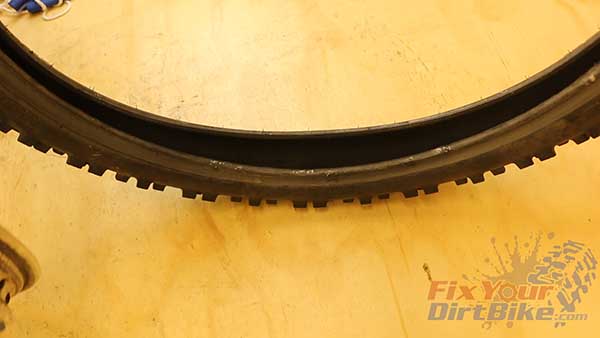
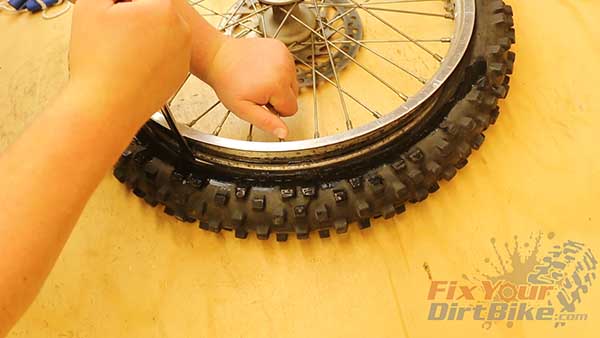
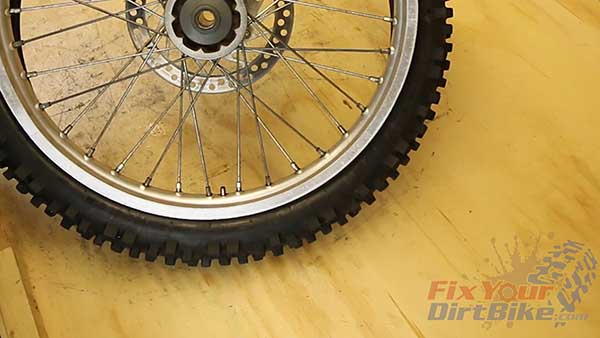
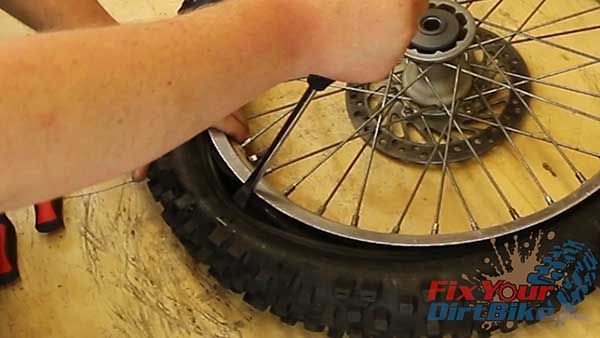
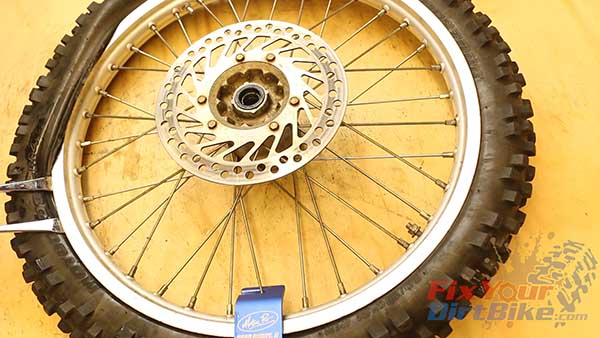
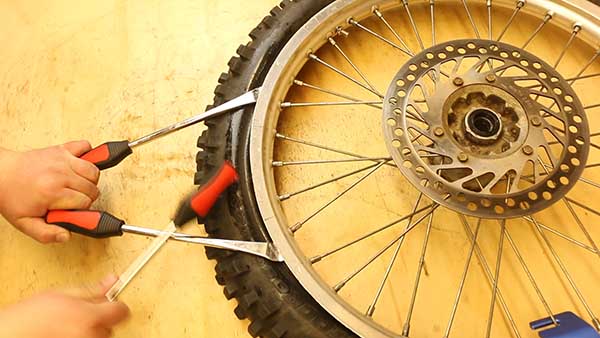
- With the brake rotor up, break the tire bead by pressing down firmly on opposite sides of the rim.
- Begin removing the tire on the opposite side of the rim lock.
- Use lubrication as needed. I use my rim guards here because this is the hardest part of removal.
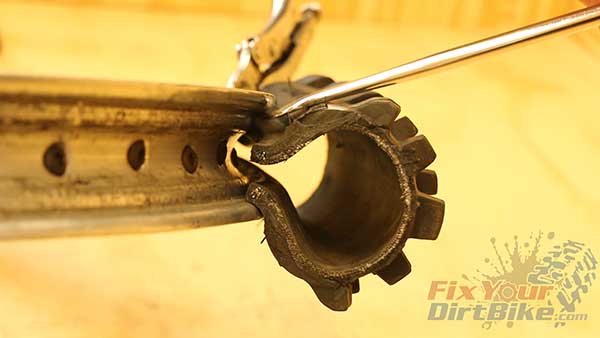
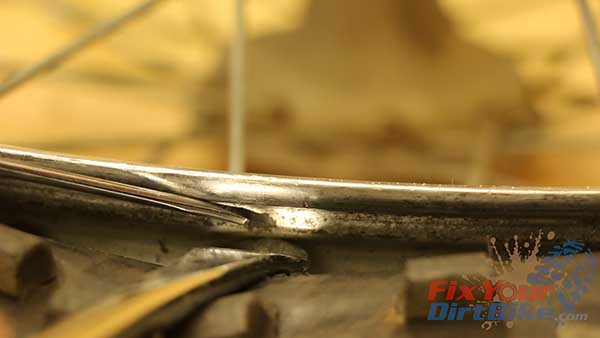
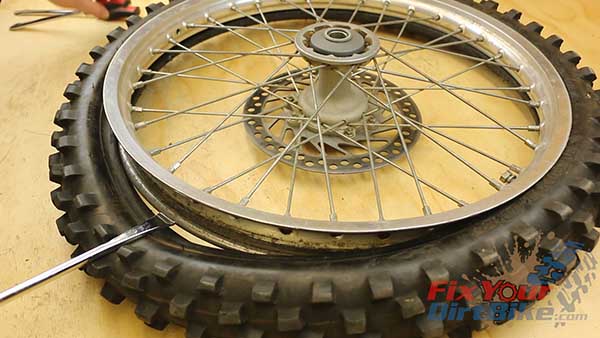
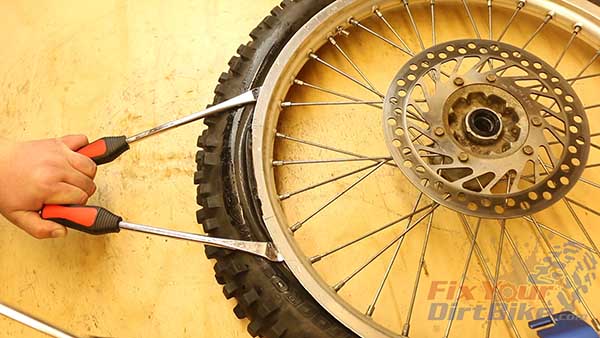
- Work the first spoon between the bead and the rim lip up and push your tire away from the rim. Do your best to pry past the bead seat. If you damage the rim center, you can easily sand it to smooth; the bead seat is a little more work.
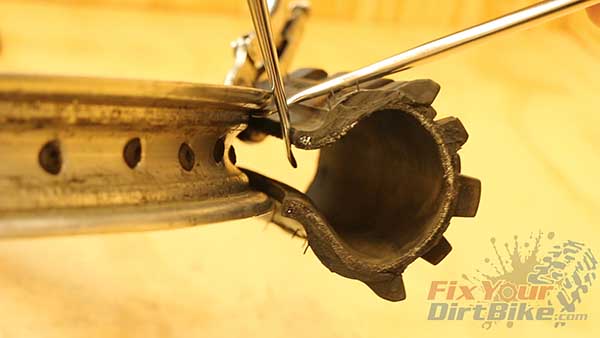
- Take your second spoon, lip down, hook your tire, and apply pressure, but do not try to pull the tire over the rim yet.
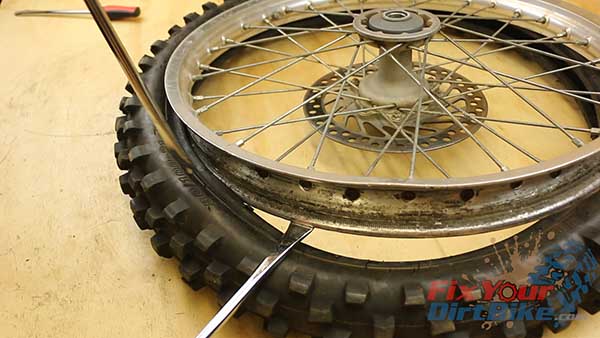
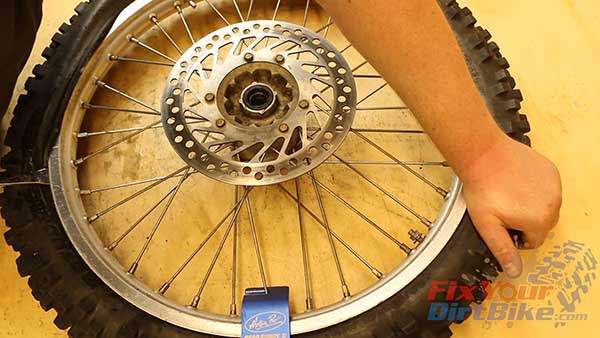
- With your free hand, push down on the opposite side of the rim to drop the tire into the rim center.
- Now, pry the tire over the rim.
- Work around the rim in both directions, ending at the rim lock.
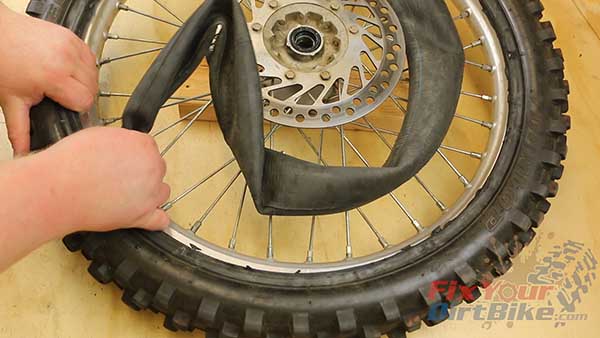
- Pull the old tube out of the tire with the first side removed.
- Flip your wheel over, start the opposite of the rim lock, and finish removing the tire from the rim.
- Use your spoons with the lip up and pry the rim out of the tire this time.


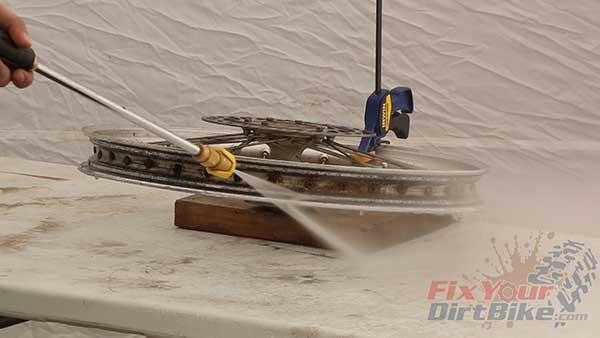
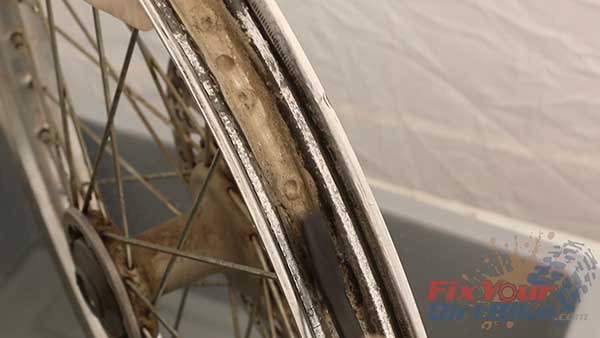
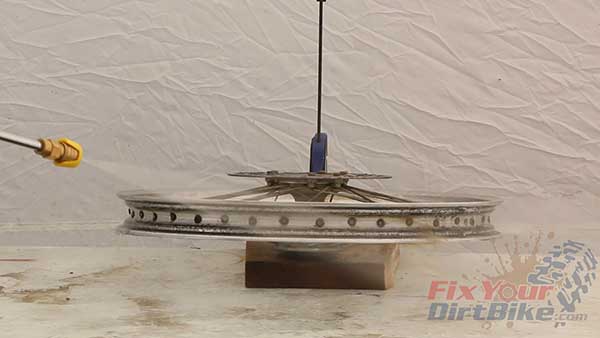
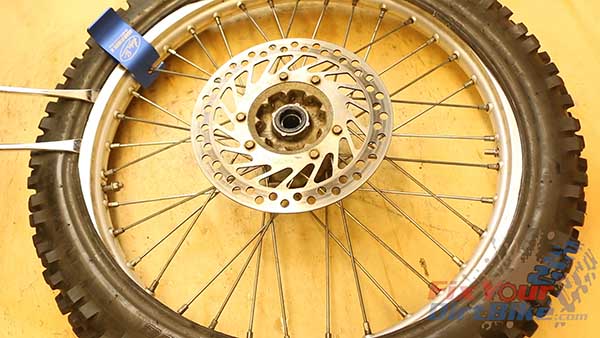
Inspect & Clean The Rim
- Take this opportunity to clean and inspect your rim and rim lock.
- I power wash and scrub my rim with CLR; then power rewash it to remove residual chemicals.
- A clean rim is a good foundation for a long-lasting tube and tire.
Tube & Tire Installation
If you’re just changing your tube, check to see how old your tire is before you install it. You may want to consider a new one while it’s mostly off.
To find the date of manufacture, look for the oval stamp on the sidewall. The last four digits tell you when your tire was manufactured. The first two digits are the week, and the last two are the year.
 So this tire was made in the 20th week of 2005.
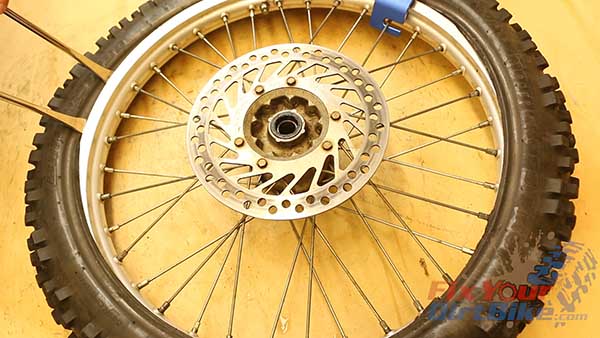
Check your tire to see if it is directional. If it is, an arrow on the sidewall will be pointing toward rotation. You will need to orient your rim and tire accordingly.
For example, if your front brake is on your left fork, lay your rim down with the rotor facing up. When you look up from the rotor, the arrow on the tire should point left.
If there is no arrow, your tire is bi-directional, and you can install it either way.
If you serviced your rim, make sure you have reinstalled the rim lock!
 There are two ways to mount your tire. You can install the first bead, then the tube, or the tube, and then the first bead. I will show you both methods, starting with the bead and then the tube.
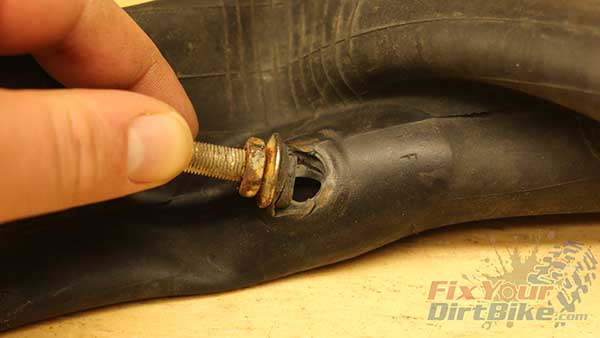
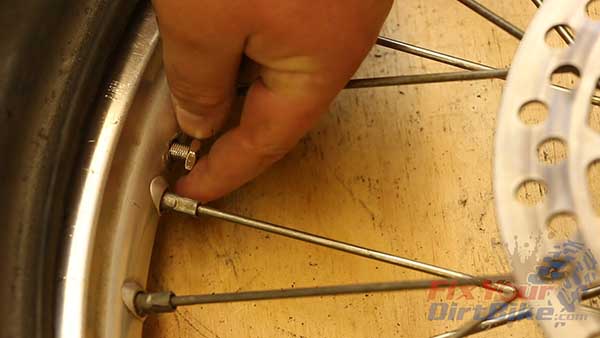
No matter your method, the valve stem nut goes inside the rim. I know this seems counter-intuitive, but there’s an excellent reason.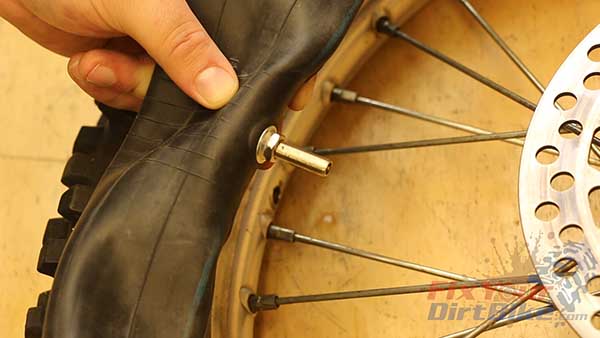 The nut supports the valve stem and protects the rubber at the stem joint from rubbing against the inside of the rim.
But more importantly, with the nut on the inside, the valve stem has more lateral play if your tube goes out of alignment, helping to avoid damage.
Method #1 – Bead Then Tube
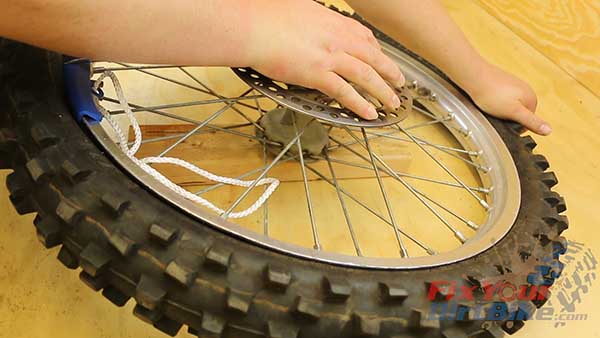
- To start the installation, stand the tire up and push it down from the top. This will open the tire a little and let you slip the rim lock-in.
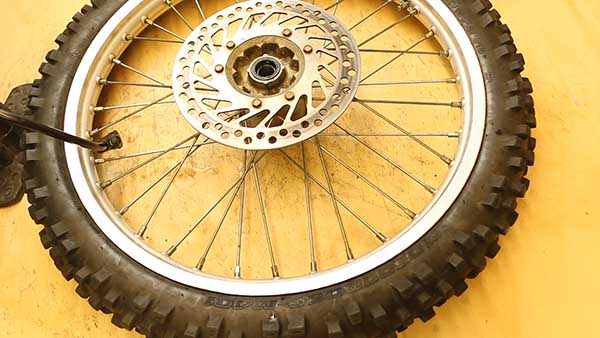
- Make sure the brake rotor is facing the tire when you start. This will ensure the rotor is face-up during installation.
- Lay the wheel rotor side down.
- With your tire spoons lip down, pry your rim into the tire.
- Use lubrication as needed.
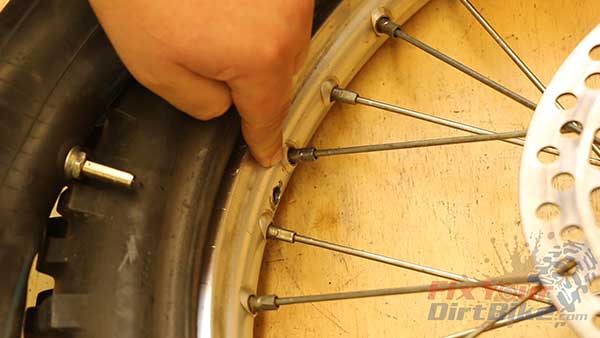
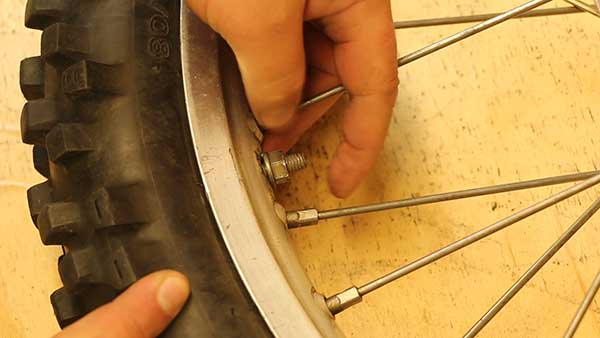
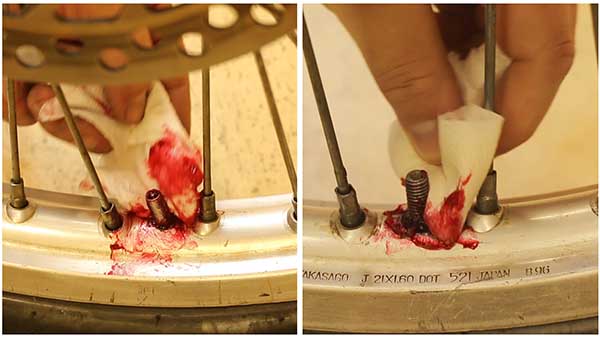
- Start your tube install by pushing the valve stem through the valve stem hole.
- *This first step can be a hassle because your fingers, valve stem, and tire are simultaneously trying to occupy the same space.
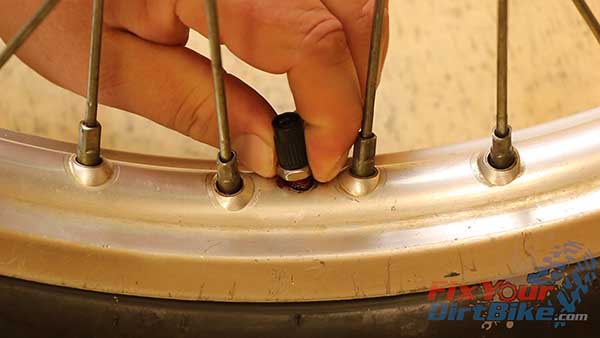
- When you finally wrestle the valve stem through, install the nut from the old tube to keep it from slipping back into the rim.
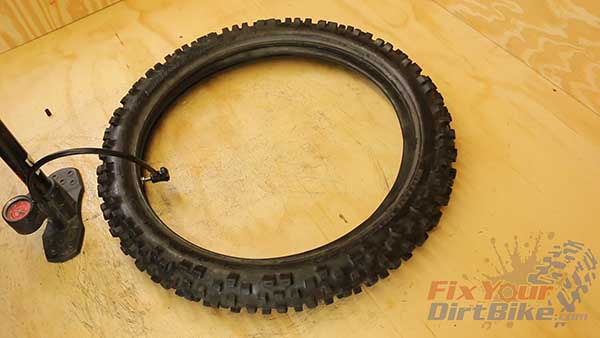
- Inflate the tube just enough to give it some body; this will help you avoid pinching it with your spoons.
- If you inflate it too much, though, you won’t be able to drop the tire into the rim when you need to.
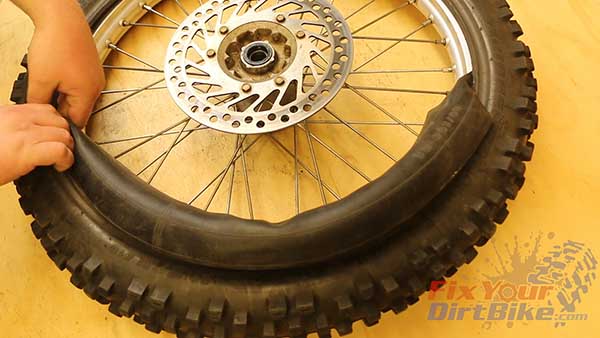
- Work the tube into the tire, taking care not to twist it.

Method #2 – Tube In Tire
- Install the tube into the tire and inflate it just enough to keep it in place.
- With the rotor facing the tire, align and install the valve stem. Trow the nut from the old tube just enough to keep the valve stem from slipping out of the rim.
- Start on either side of the valve stem and work the first bead onto the rim. You should end at the rim lock.
- Use lubrication as needed.
- At this point, the bead will be ready to slip onto the rim; you only need to pull it out enough to slip over the rim lock.
- Once your first bead is installed, loosen the rim lock and ensure it’s not caught on anything.
Both methods have benefits. The question is whether you want to fight the valve stem or the rim lock.
Finish Tire Installation
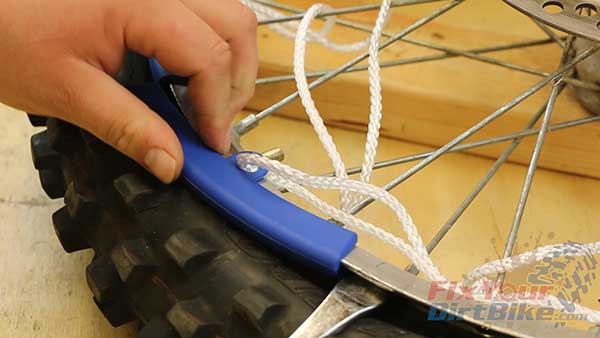
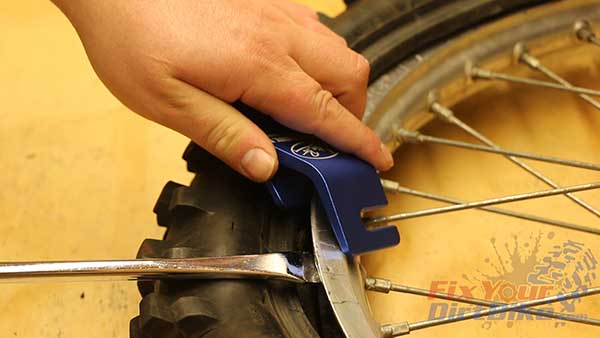
- You want to end the installation away from the valve stem and the rim lock, so install your bead holder about 6 inches away from your target endpoint.
- Start the opposite side of the valve stem.
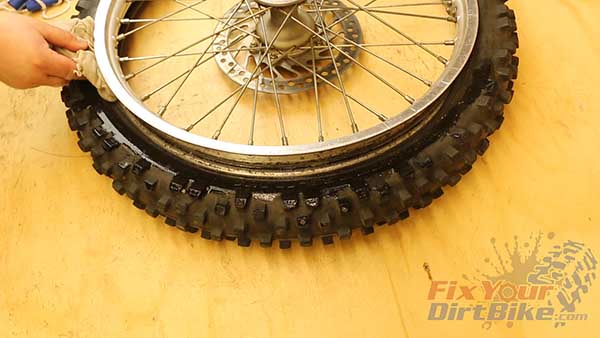
- With your tire spoon, lip down, and pry your tire into the rim. Take small bites and use lube as needed.
- Your installation will get more challenging as you get closer to the end, and this is where you need to take your time.
- At this point, it’s very easy to damage your rim and tire, so be patient and use as much lubrication as necessary.
- You will get a big overhang when you have about 12 inches of tire left to install.
- Get your spoons into position on one end of the overhang, and then push down on the opposite side of your tire. This will drop the tire into the rim center and give you enough room to finish your installation.
- Push the opposite side of the tire into the rim center as needed.
- At the end of your installation, you may encounter a few inches of tire that don’t want to slip over the rim, and you can’t fit your third spoon under the bead.
- Take both spoon handles in one hand, then give the sidewall a good whack with the handle of your third spoon to finish the job. Try to avoid hitting the bead.
- My valve got misaligned during installation, so I must seat the bead here to ensure it seats properly, then release the air and re-align the valve stem after the wheel is installed on my bike.
- Do not exceed 30 PSI when you seat the bead. If you’re at 30 psi and the bead won’t seat, deflate the tube, check your bead, and try again.
- Do not tighten the rim lock until after you have seated the bead. If you tighten it before, you could be locking the bead too far into the rim, which would cause the rest of the tire to not seat properly.
- I apply a little rubber grease to the valve stem and rim lock hole to finish my installs.
- Once I have seated the grease on the valve stem with the nut from the old tube, I install the valve stem cap, then tighten the outside nut to the cap, locking it on.
- This is unnecessary, but I like to waterproof my rim as much as possible.

Using the right tools and techniques, changing your tire should only take about 10 minutes. The only thing you might have trouble with is the valve stem; those rarely do what you want them to!
If you have any questions or want to share tips, please leave them in the comments or on our Facebook page!


