
How To Service The Rear Brake Master Cylinder On Your 2009 – 2010 Honda CRF450R
 The Tools You Will Need Are:
- 12mm Socket
- 7mm Socket
- 12mm Wrench
- 10mm Wrench
- 8mm Wrench
- 8mm Hex
- 5mm Hex
- Small Pick
- Stiff Brush
- Long Nose Snap Ring Pliers → https://amzn.to/4h1uxc7
- Calipers → https://amzn.to/40Eye1z
- Foot-Pound Torque Wrench → https://amzn.to/3WonMsn
- Shop Towels
- Safety Glasses → https://bulltru.com
The Parts You Will Need Are:
- ’09-’10 Honda CRF450r Rear Master Cylinder Rebuild Kit → https://amzn.to/4hJ9knp
- DOT 4 Brake Fluid → https://amzn.to/3WucSkS
- Rubber Grease → https://amzn.to/4awR9Po
This rear master cylinder rebuild should cost around $25 and take about 30 minutes to complete. If you don’t have your rebuild kit, you can get the one I am using HERE.
Pre-Service Notes
- I recommend opening the Service & Torque Specs in a new tab for easy reference.
- If you need parts and tools, make sure to buy them here! → https://amzn.to/4h4lDKq
- Pictures with captions are after the steps below.
- Brake fluid will damage everything, so keep your shop towels ready!
- If you need any help, don’t hesitate to ask!
Rear Master Cylinder Removal
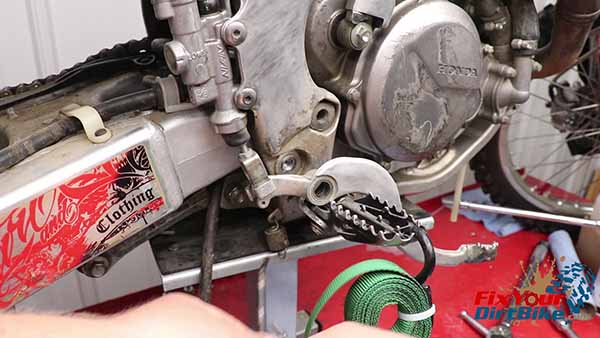
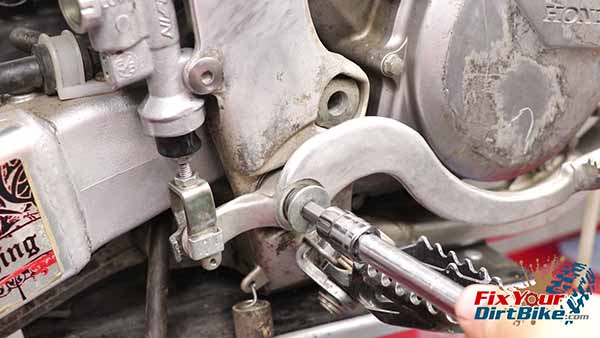
- Start by unbolting the brake lever and removing the brake lever spring.
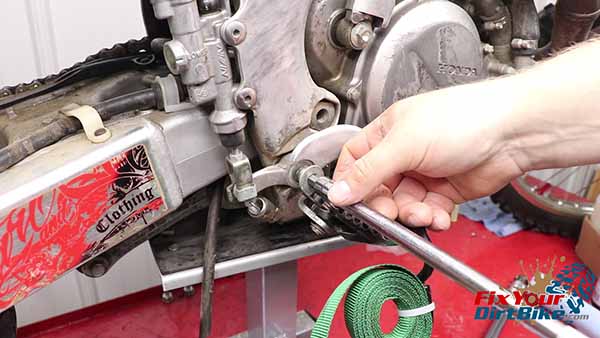
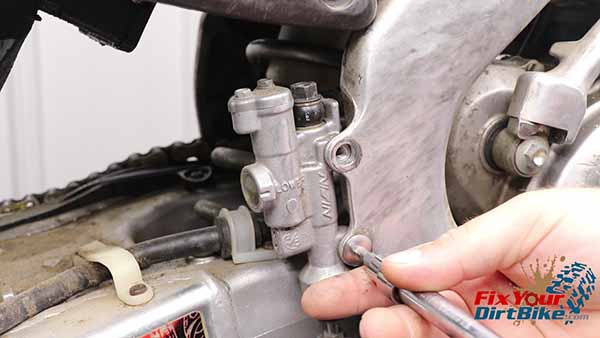
- Loosen the banjo bolt while the master cylinder is still mounted.
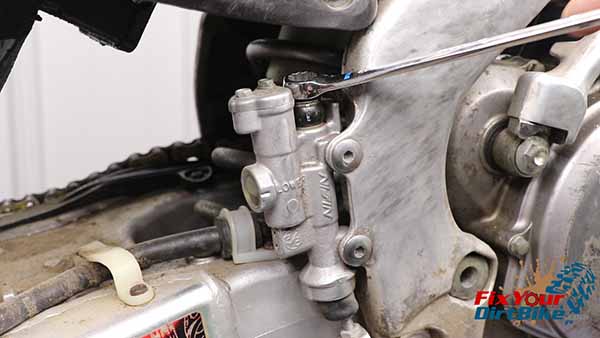
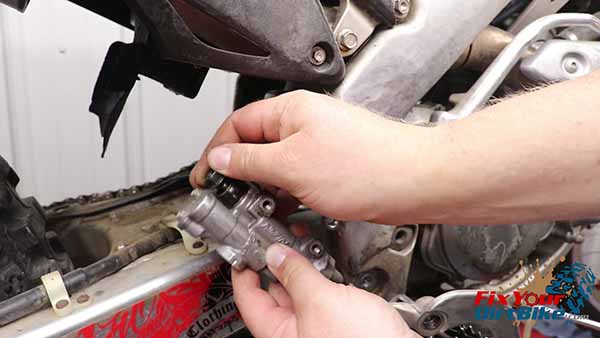
- Remove the mounting bolts, followed by the banjo bolt.
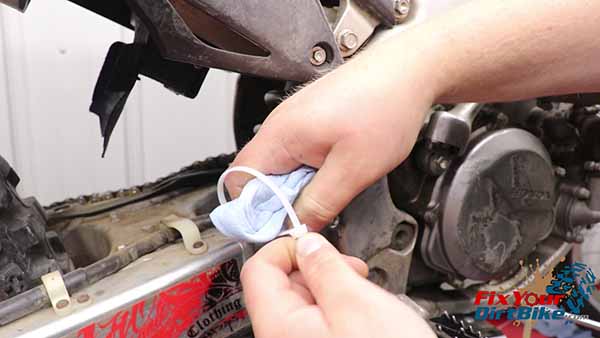
- Make sure to wrap the end of the brake line with a paper towel.
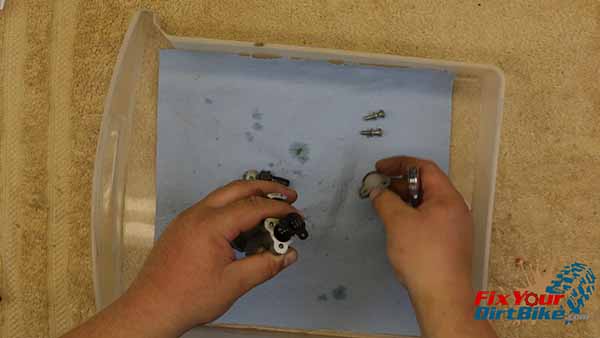
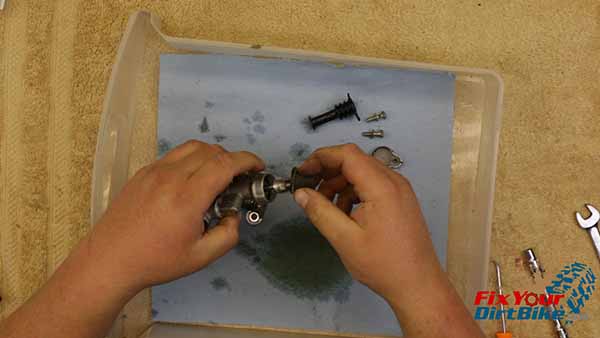
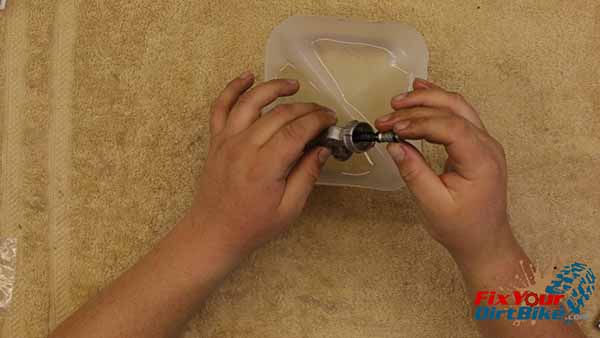
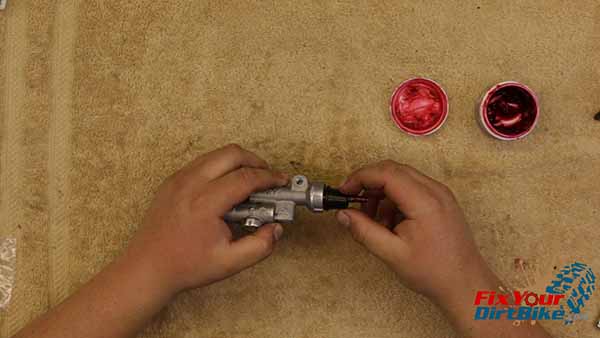
Rear Master Cylinder Disassembly
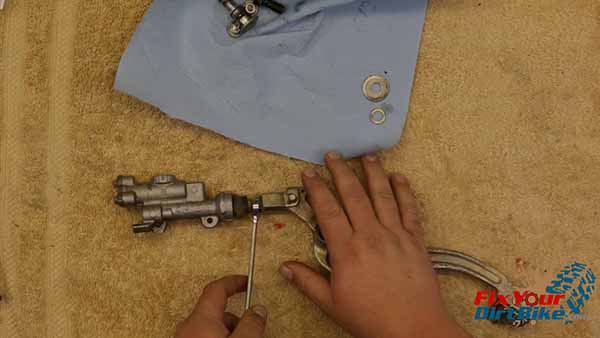
- Completely disassemble the master cylinder.
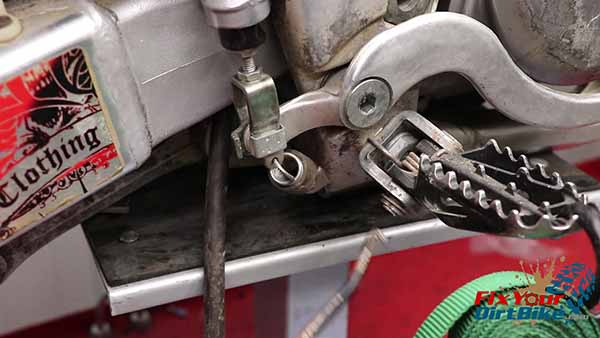
- Undo the brake lever clevis lock nut and set the lever assembly aside.
- The nut by the boot is part of the pushrod, so don’t try to remove it. It’s there to adjust the brake lever after installation.

Related: Now that your brake system is rebuilt, you’ll need to install fresh brake pads.
Clean And Inspect
Clean
- Scrub every part inside and out with brake cleaner and a shop towel.
- If you need to scrub anything, use a non-metallic brush.

Inspect
- Inspect every component for damage or uneven wear.
- If you find any rough spots, gently sand them down with fine-grit emery paper.
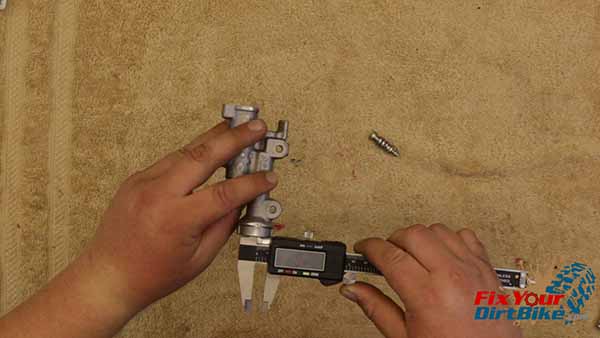
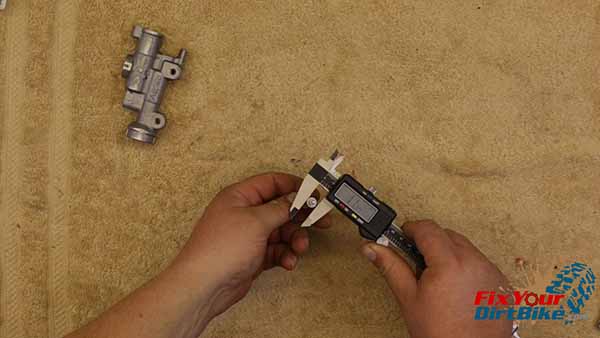
Measure
- Measure the cylinder bore’s inside diameter and the piston’s outside diameter.
- The cylinder bore should be no Greater than 9.575mm, and the piston should be no LESS than 9.465mm.
- If your cylinder bore and piston are out of spec, they must be replaced.
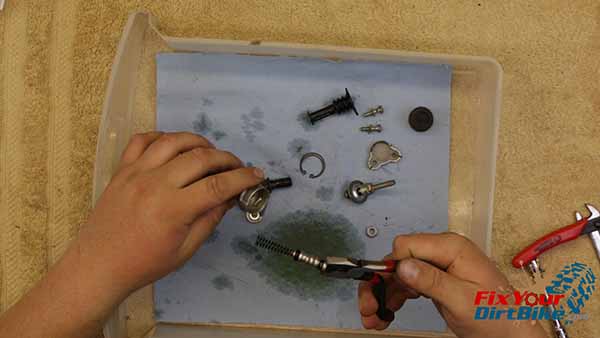
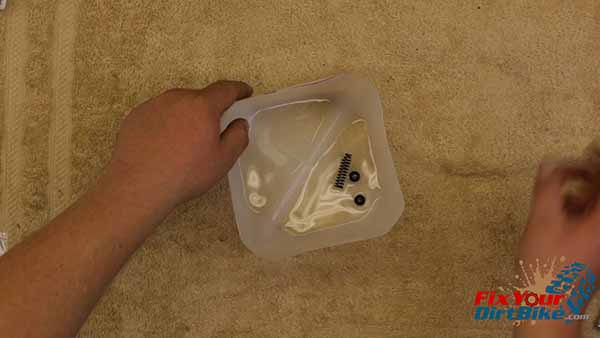
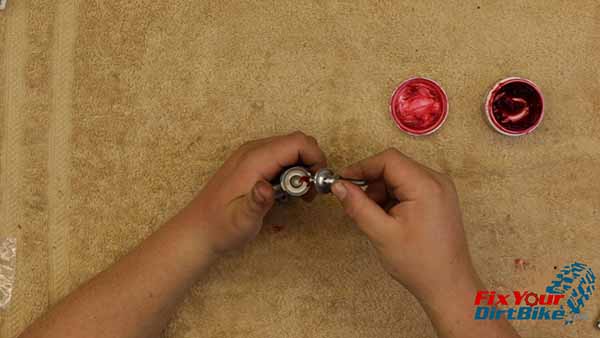
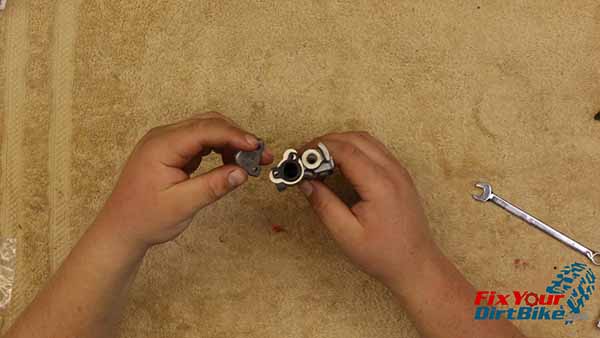
New Rear Master Cylinder Parts
- Before assembly, take stock of your new parts.
- I am installing an All Balls Rear Master Cylinder Rebuild kit, which includes a new pushrod boot, banjo bolt seal washers, piston cups, spring clip, and piston spring.
- Match the old parts with the new parts so you don’t unintentionally throw away something you need.
- Soak your new piston cups in fresh brake fluid for about 15 minutes before assembly.

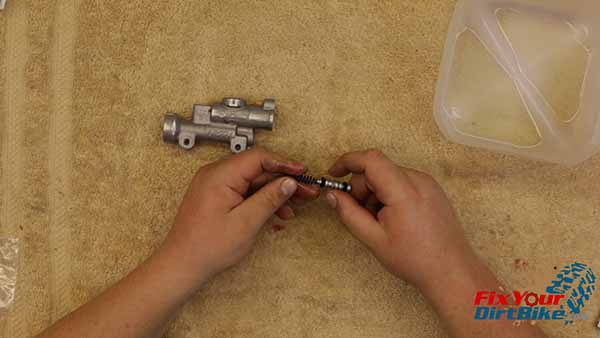
Rear Master Cylinder Assembly
- Start your assembly with the piston. Install the piston cups with the large side facing the spring end.
- Take your time with the cups; if they are damaged during installation, your brakes won’t work.
- Install the piston spring.
- Coat the master cylinder bore with brake fluid, and install the piston past the first cup.
- Install the piston in a twisting motion to avoid rolling the cups.
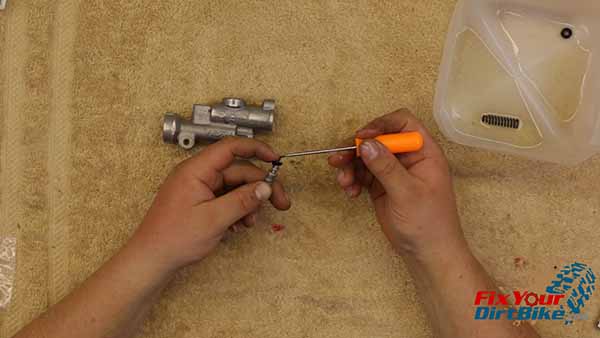
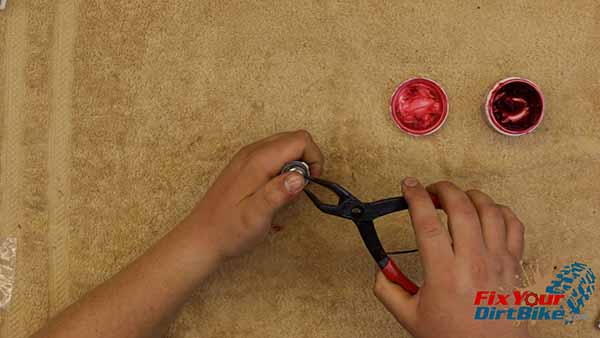
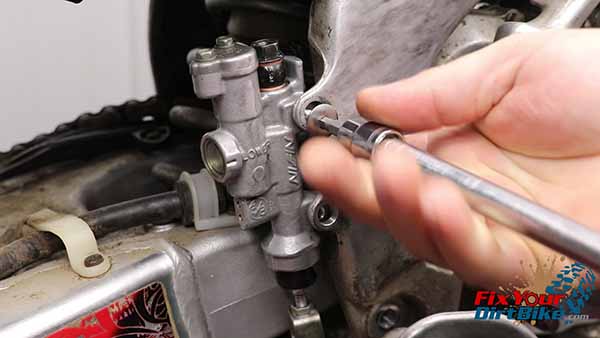
- Start by holding the cylinder body with your left hand to install the pushrod.
- Apply a layer of rubber grease to the pushrod, then position the pushrod and spring clip.
- Firmly press the pushrod down with your left thumb, and clip the pushrod into place.
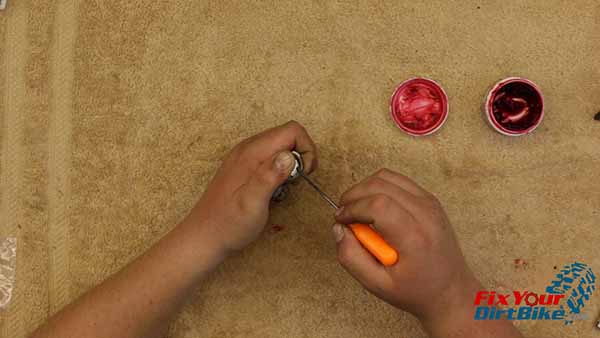
- To ensure the clip is in the groove, rotate it with your pick. If it moves, it’s seated.
- Apply some rubber grease to the inside of the new boot and slip it over the pushrod.
- Push the boot into place with the round side of your 8mm wrench, and make sure the top of the boot seats in the groove past the nut.
- Wipe off any excess grease.
- Install the diaphragm and reservoir cap.
Related: Red rubber grease works great for brake pad pins but makes tube installations way too easy!
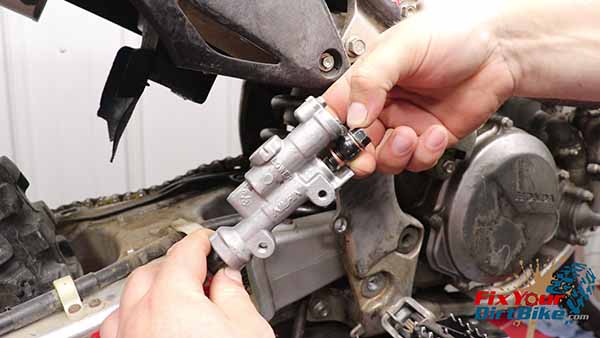
Rear Master Cylinder Installation
- Install the banjo bolt with the new seal washers, and make sure the shank rests on the tab.
- Install the master cylinder mounting bolts.
- Install the brake lever and attach the return spring. After your rebuild, make sure to bleed the rear brake system!
Rear Master Cylinder Torque Specs
- Mounting Bolts – 10 ft-lbs
- Banjo Bolt – 25 ft-lbs
- Pivot Bolt – 27 ft-lbs
If you have any questions or comments, please leave them in the comments or on our Facebook page!
Keep Your ’09-’10 CRF450r Running Right!
- Service Specification
- Clutch Replacement
- Fuel System Service
- Engine Top End
- Brakes
- Exhaust
- Front Suspension & Steering
- Rear Suspension
- Wheels & Tires
- Kickstarter
- External Shift Linkage


