
How To Service The Front Brake Caliper On Your 2009 – 2010 Honda CRF450R
 The Tools You Will Need Are:
- 12mm Socket
- 10mm Socket
- 5mm Hex Socket
- 8mm Wrench
- Screwdriver
- Small pick
- Non-Metallic Stiff Brush
- Calipers → https://amzn.to/40Eye1z
- Brake Cleaner → https://amzn.to/4jvsBKH
- Safety Glasses → https://bulltru.com
The Parts You Will Need Are:
- ’09-’10 Honda CRF450r Front Caliper Rebuild Kit → https://amzn.to/3E4eDz4
- Fresh DOT 4 Brake Fluid → https://amzn.to/3WucSkS
- Rubber Grease → https://amzn.to/4awR9Po
This front caliper rebuild on your 2009-2010 Honda CRF450r should cost around $25 and take about 45 minutes to complete.
Pre-Service Notes
- I recommend opening the Service & Torque Specs in a new tab for easy reference.
- If you need parts and tools, make sure to buy them here! → https://amzn.to/4h4lDKq
- Pictures with captions are after the steps below.
- Brake fluid will damage everything, so keep your shop towels ready!
- If you need any help, don’t hesitate to ask!
Caliper Removal
- Remove the brake pad pin plug, followed by the brake pad pin, and remove the brake pads, but leave the front caliper mounted.
- Pump the brake lever to extend the pistons, using the brake disc as a backstop.
- If you take your caliper off the fork and pump the pistons out, they may not extend evenly, like this one.
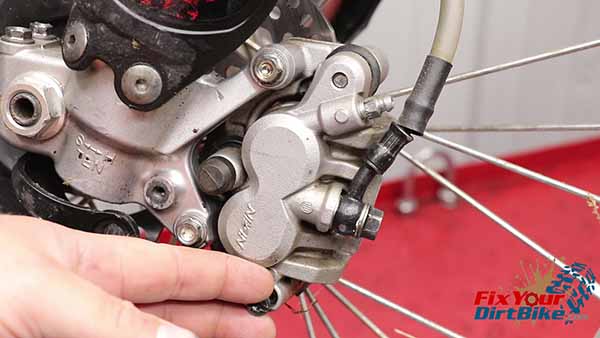
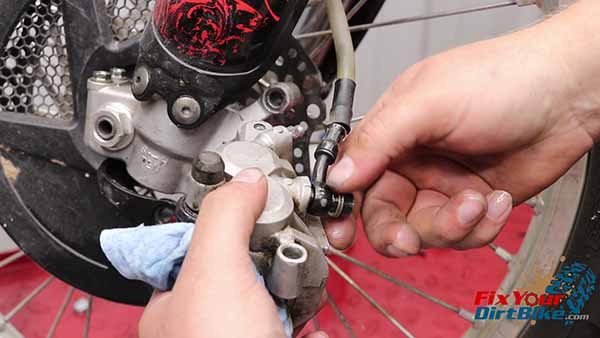
- When the pistons have reached the brake disk, remove the banjo bolt and the front caliper.
- Make sure to wrap the end of your brake line with a paper towel.
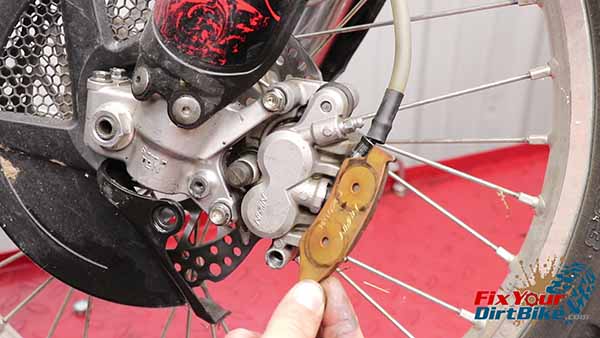
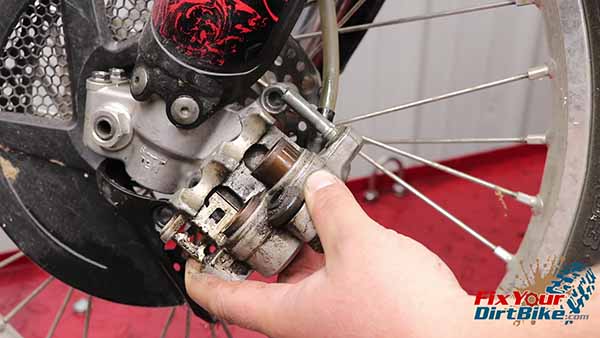
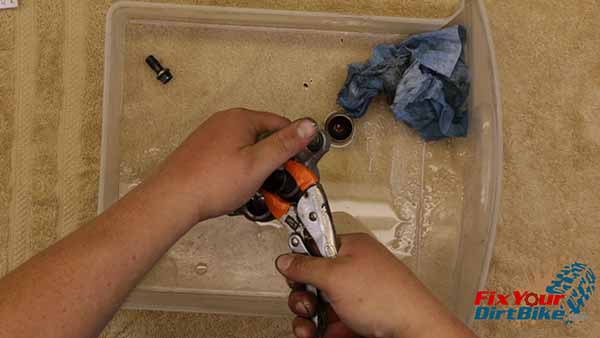
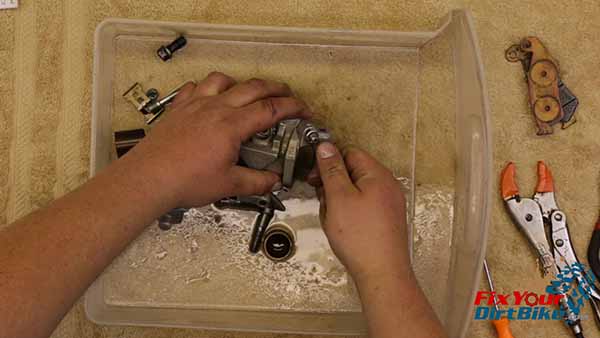
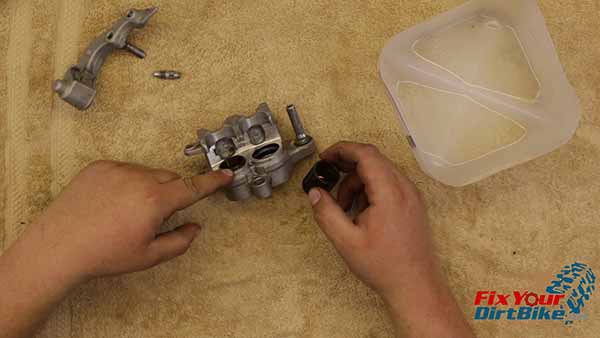
Front Caliper Disassembly
- If your pistons are hard to remove, you can CAREFULLY remove them with pliers wrapped in electrical tape.
- Remove the slide pin boots, bleeder valve, and piston seals.
- Be very patient when removing the piston seals.
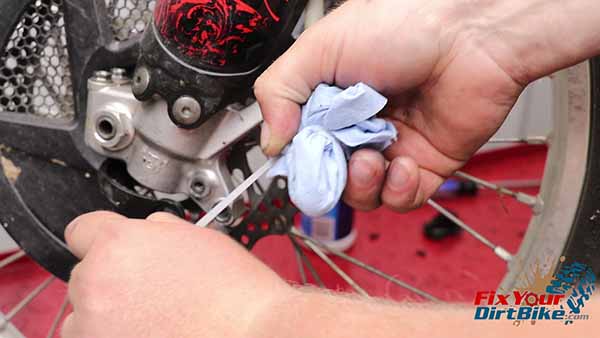
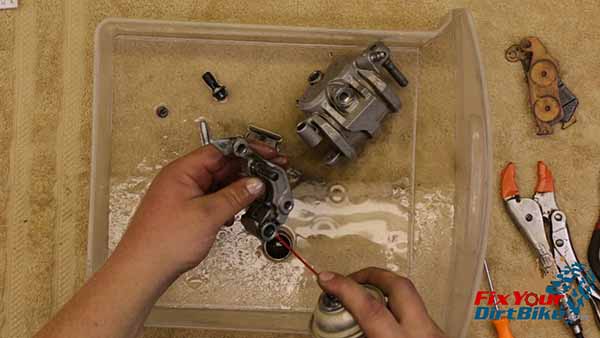
Clean And Inspect
Clean All Front Caliper Components
- The components need to be free of brake cleaner residue before assembly.
- You can wash everything down with brake fluid and a clean towel or rinse and scrub with water. I don’t recommend using water unless you have compressed air to dry the front caliper body completely.
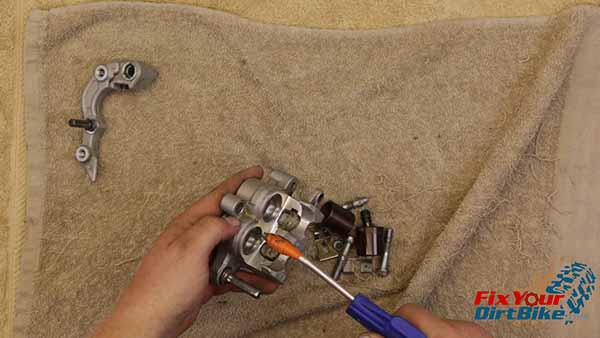
Inspect
- Check the caliper components for any signs of noticeable wear or damage.
- One of these pistons is pitted, so I must sand that down.
- Check the slide pins for any rough areas that could bind. If you feel anything, gently sand it with fine-grit emery paper until smooth.
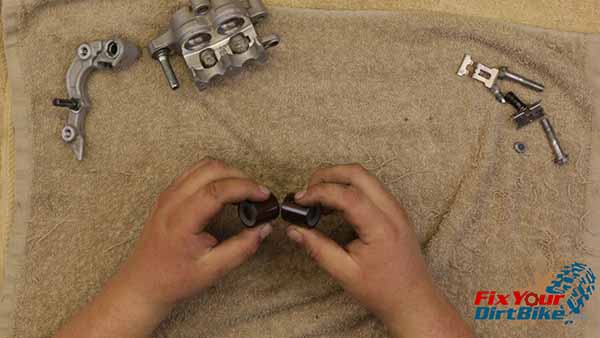
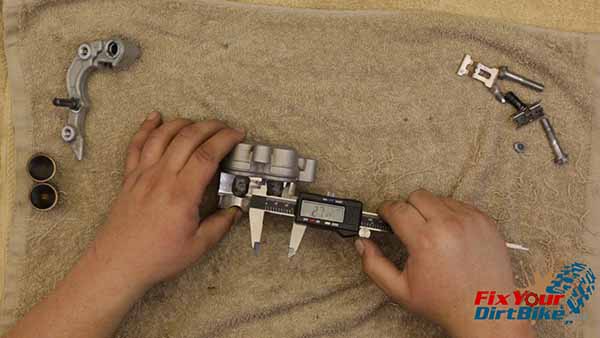
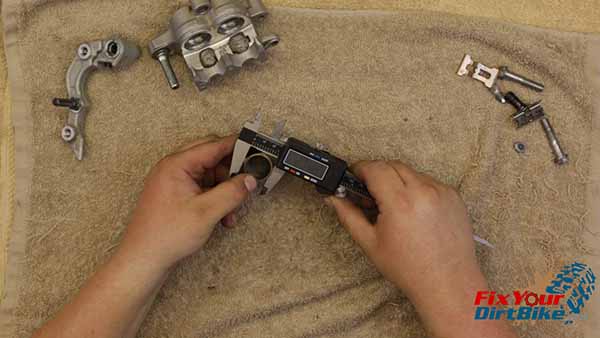
Measure
- Measure the piston bore’s inside diameter and the piston’s outside diameter.
- The piston bore should be no Greater than 27.060mm, and the piston should be no LESS than 26.853mm.
- If your front caliper bore and pistons are out of spec, they must be replaced.
Related: How to reverse bleed the brakes on your freshly rebuilt brake system.
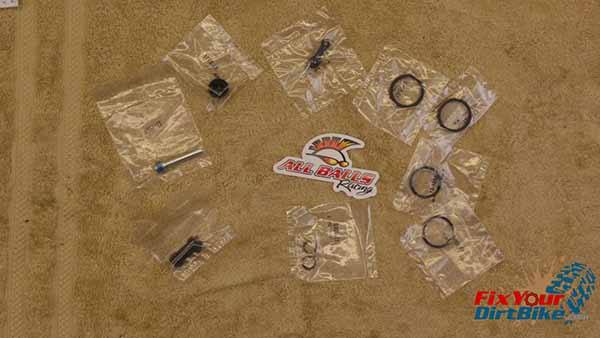
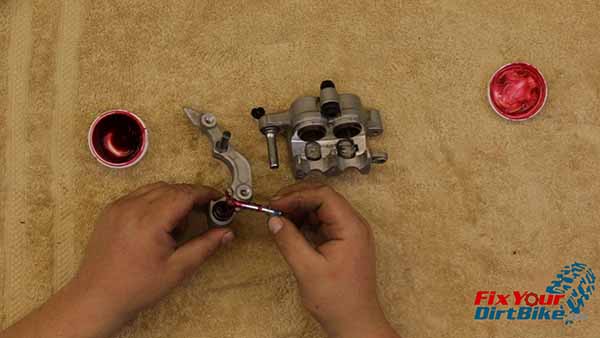
New Brake Parts
- Before assembly, take stock of your new parts. Do you need parts?
- I am installing an All Balls rebuild kit that includes a new set of slide pin boots, bleeder valve cap, pistons seals, banjo bolt seal washers, and slide pin.
- Match the old parts with the new ones so you don’t throw away something you need.
- Soak your new piston seals in fresh brake fluid for 15 minutes before assembly.

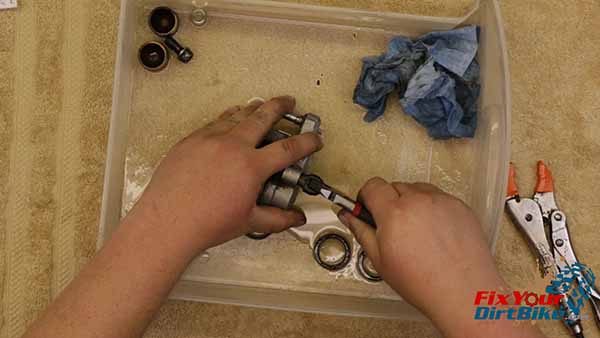
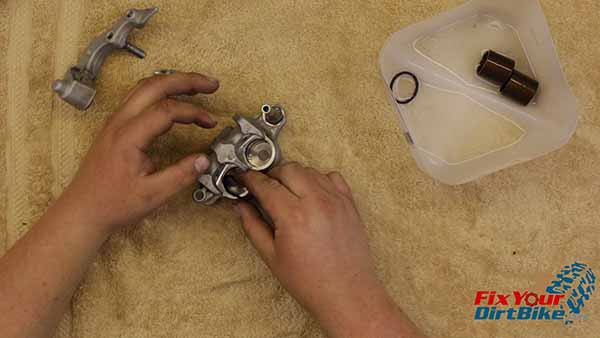
Caliper Assembly
- Give the caliper bore one last wipe just to be safe.
- Install the piston seals, immediately followed by the pistons.
- Make sure your pistons are aligned as flat as possible, then install them in a twisting motion.
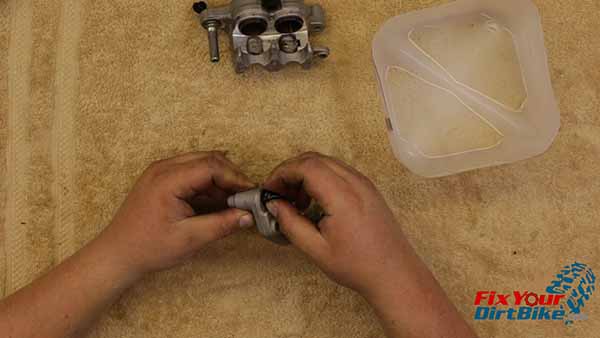
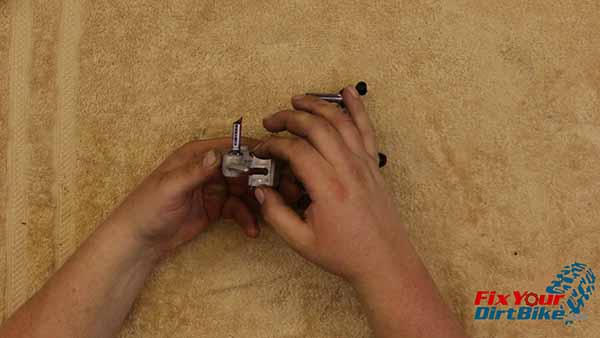
- Install the slide-pin boots. The short boot goes on the bracket, and the long boot goes on the body.
- Install the bleeder valve cover, then the bleeder valve.
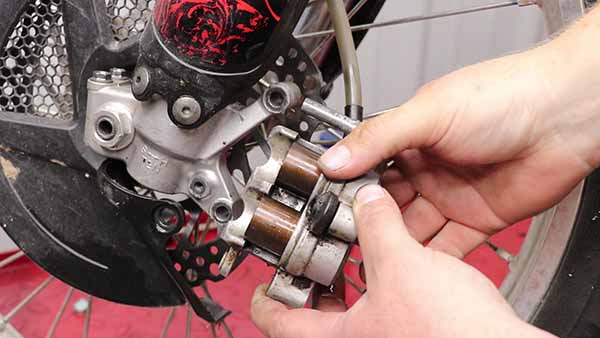
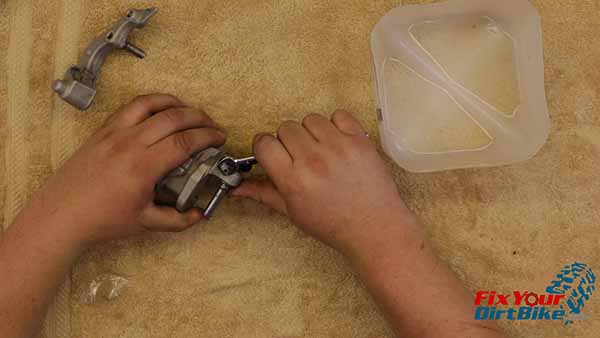
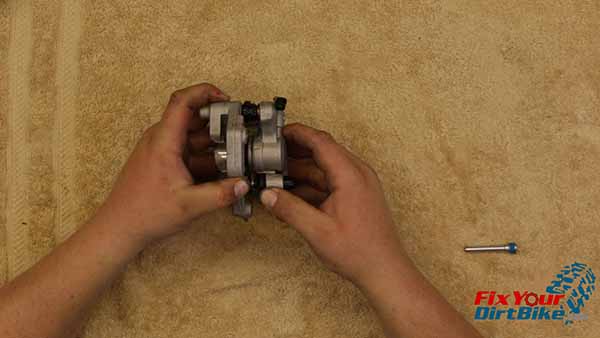
- Grease the slide pin boots with rubber grease, assemble the bracket and body, and give the bracket a few pumps to evacuate any trapped air in the boots.
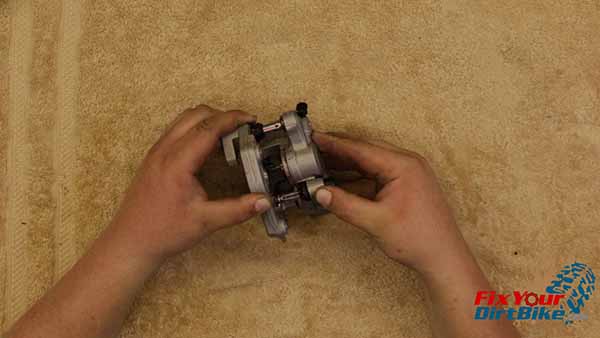
- If everything feels smooth, remove the bracket, install the brake pad retainer, and reassemble the front caliper.

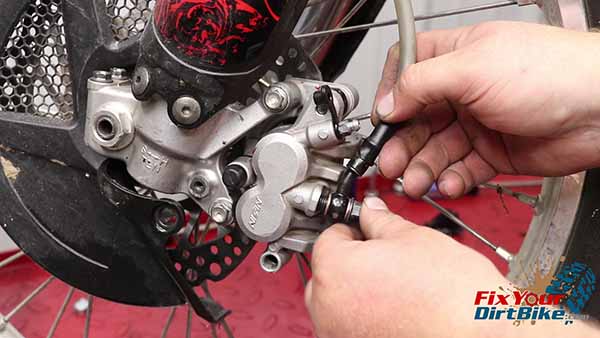
Front Caliper Installation
- Mount the caliper and install the banjo bolt with new seal washers.

Front Caliper Torque Specifications
Banjo Bolt25 ft-lbsMounting Bolt23 ft-lbs
Keep Your ’09-’10 CRF450r Running Right!
- Service Specification
- Clutch Replacement
- Fuel System Service
- Engine Top End
- Brakes
- Exhaust
- Front Suspension & Steering
- Rear Suspension
- Wheels & Tires
- Kickstarter
- External Shift Linkage
If you have any questions or anything to add, please leave them in the comments or on our Facebook page!


