
How To Change The Brake Pads On Your 2009 – 2010 Honda CRF450R
 The Tools You Will Need Are:
- Flathead Screwdriver
- 5mm Hex Wrench
- 8mm Socket
- Foot-Pound Torque Wrench → https://amzn.to/3WonMsn
The Parts You Will Need Are:
The parts you will need are a set of 2009-2010 Honda CRF450r brake pads for front and rear calipers. → https://amzn.to/3WpMJE8
Changing your pads can cost between $5 and $25, depending on what pads you go with, and should take about 15 minutes.
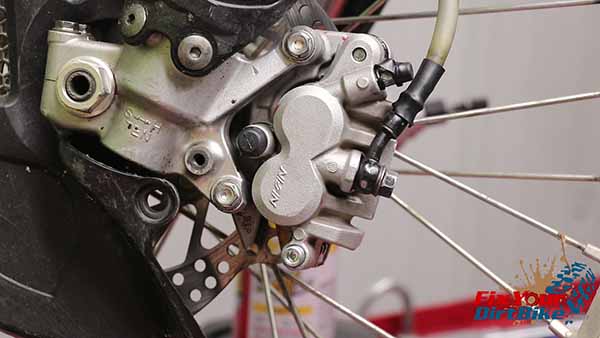
Make sure to start your pad change with clean calipers!
Pre-Service Notes
- I recommend opening the Service & Torque Specs in a new tab for easy reference.
- If you need parts and tools, make sure to buy them here! → https://amzn.to/4h4lDKq
- Pictures with captions are after the steps below.
- Brake fluid will damage your pads, so keep your shop towels ready!
- If you need any help, don’t hesitate to ask!
Brake Pad Removal
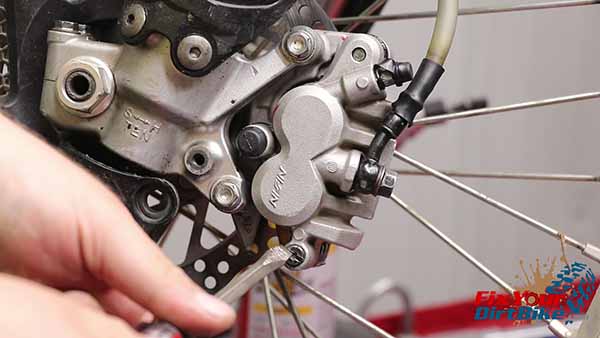
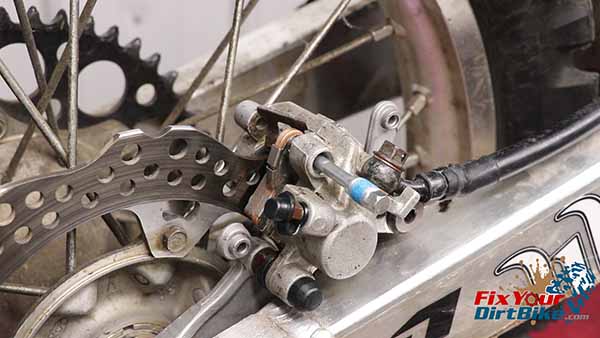
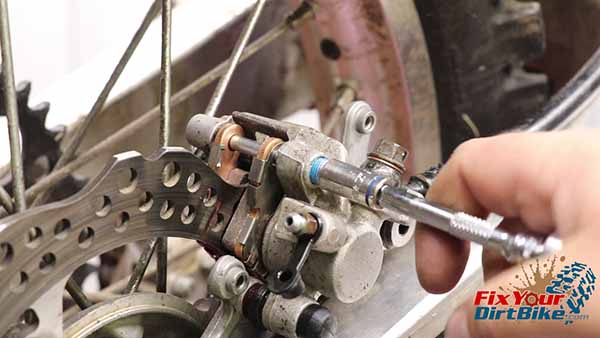
- Start by removing the brake pad pin plug and pad pin from the caliper.
- Push your caliper in and out to make room, and the old pads should come right out.

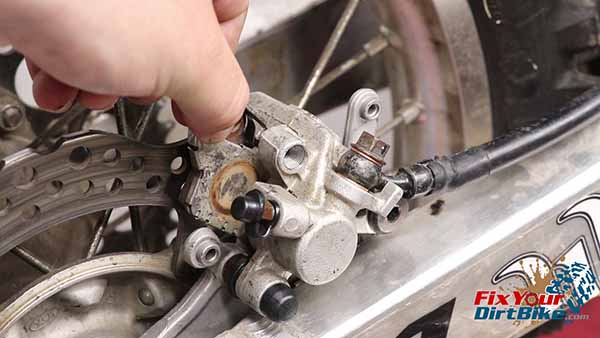
Clean & Inspect
Unless something is damaged, you only need to replace your pads.
Brake Pad Installation
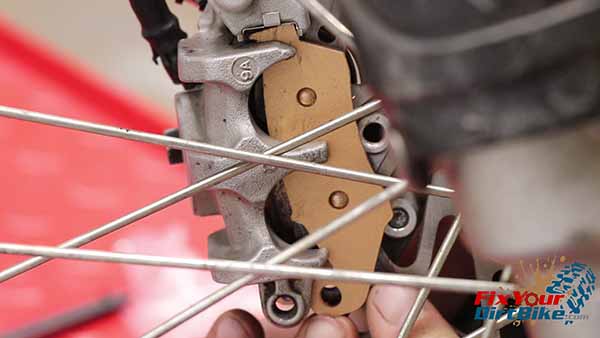
- When installing your new pads, you will not be able to see your outside pad, so you must feel for the pad retainer. And it will feel like this looks.
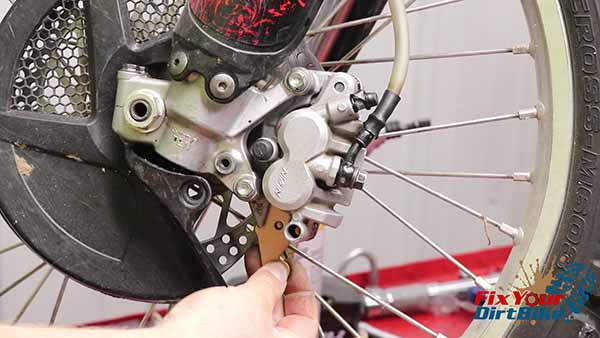
- Place the outside brake pad fist and hold it in place with the pin.
- Place the inside pad, then install the pad pin.
Brake Pad Torque Specifications
- Pan Pins – 13 ft lbs
If you have any questions or comments, please leave them in the comments or on our Facebook page!
Keep Your ’09-’10 CRF450r Running Right!


