
How To Bleed The Brake System On Your 2009-2010 Honda CRF450R
 The Tools You Will Need Are:
- 8mm Wrench
- Clear Tubing
- Catch Pan
- Shop Towels
- Safety Glasses → https://bulltru.com
You will only need a bottle of fresh DOT 4 brake fluid.
- DOT 4 Brake Fluid → https://amzn.to/3WucSkS
Bleeding your brake system after a caliper rebuild or brake pad change is simple but requires patience. You can bleed your brakes either manually or with a hand-held vacuum pump. The vacuum pump is faster, but I don’t take it to the track so that we will stick with the manual method.
Pre-Service Notes
- I recommend opening the Service & Torque Specs in a new tab for easy reference.
- If you need parts and tools, make sure to buy them here! → https://amzn.to/4h4lDKq
- Pictures with captions are after the steps below.
- Brake fluid will damage your pads, so keep your shop towels ready!
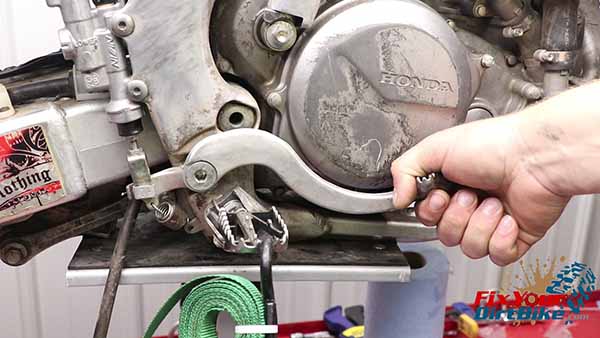
- The bleeding procedure is the same on the front and rear brakes.
- If you need any help, don’t hesitate to ask!
Bleeding Your Brakes
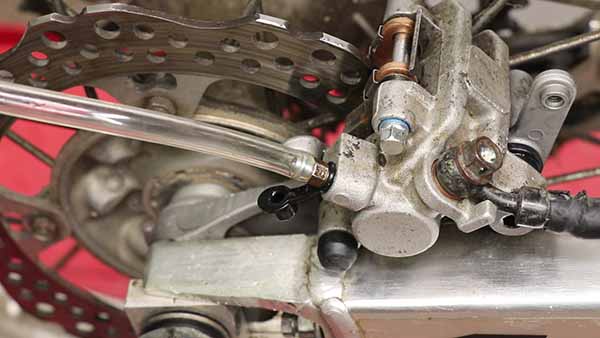
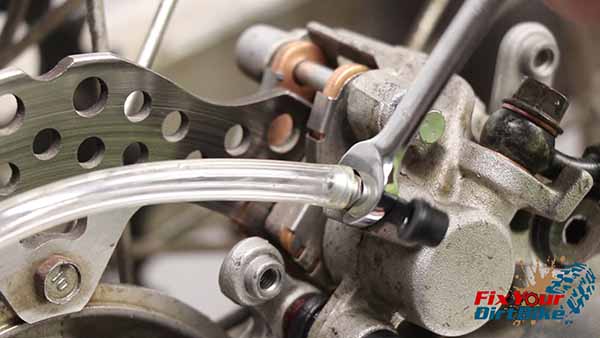
- Connect your tube to the bleeder valve, and place the drain end in your catch pan.
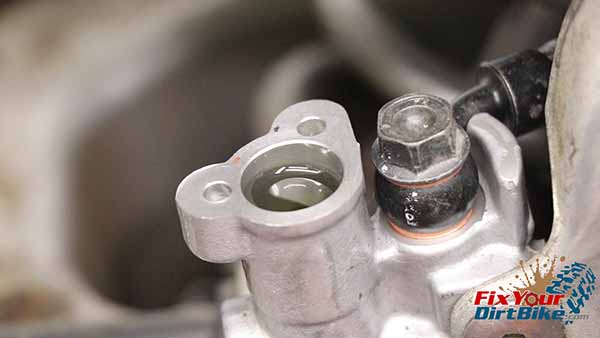
- Fill the reservoir to the marked limit, but do not install the cap.
- The brakes are a sealed system, so installing the reservoir cap will work against the bleeding process by creating a vacuum in the reservoir.
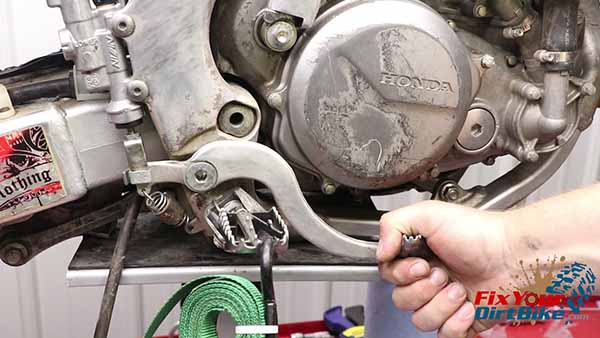
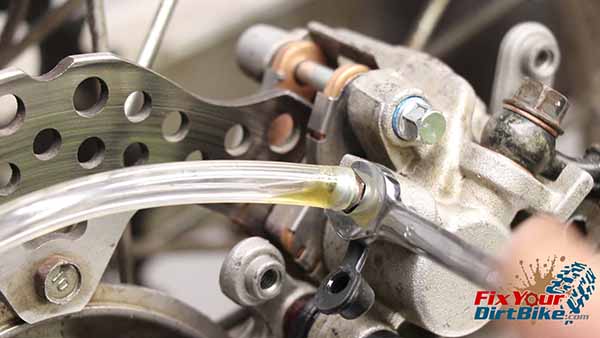
- Firmly apply the brakes and hold them.
- With pressure applied, open the bleeder valve.
- After the system pressure is released, close the bleeder valve, then release the brake.
- Do NOT Pump Your Brakes!
- If you pump the brakes with the valve open, you will draw air back into the system.
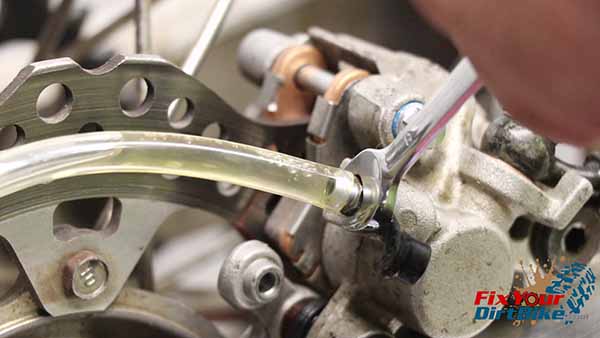
- Repeat this process until the air bubbles have stopped and only brake fluid is visible in the tube.
- Repeat this process if you are replacing the fluid until fresh brake fluid is pumped from the caliper.
- Throughout the bleeding process, keep an eye on your fluid level. If you let the reservoir drain, you will introduce air from the opposite side of the brake system, and you need to start over.
If you have any questions or anything to add, please leave them in the comments or on our Facebook page!
Keep Your ’09-’10 CRF450r Running Right!
- Service Specification
- Clutch Replacement
- Fuel System Service
- Engine Top End
- Brakes
- Exhaust
- Front Suspension & Steering
- Rear Suspension
- Wheels & Tires
- Kickstarter
- External Shift Linkage


