
How To Change The Crankcase Bearings And Seals On Your 97-01 Honda CR250
Changing the bearings is easy; all your time will go into preparing the cases.
These bearings are an interference fit, meaning the outside diameter of the bearings is slightly bigger than the inside diameter of the bore. You can only remove and install these bearings by changing their sizes. Interference fit means you must freeze your new bearings to contract them and heat the case halves in the oven to expand the bores.
Do not try to remove and install these bearings with a torch or force. The uneven temperature will compromise the metal, and force will break it. When done right, the bearings will practically remove and install themselves.
The New Parts You Will Need
- New ’97-’01 Honda CR250 Main Bearings → https://amzn.to/4fSWCRm
- New Transmission Bearings → https://amzn.to/429AtLG
The Tools You Will Need
- Oven
- Baking Sheet
- Wood Blocks
- Baking Sheet
- Oven Mitts
- Laser Thermometer or Water
- Mallet
- Bearing Drivers → https://amzn.to/3WdKLGR
- Slide Hammer (Maybe) → https://amzn.to/4j81rJA
- Denatured Alcohol → https://amzn.to/3Pu9tyU
- Safety Glasses → https://bulltru.com
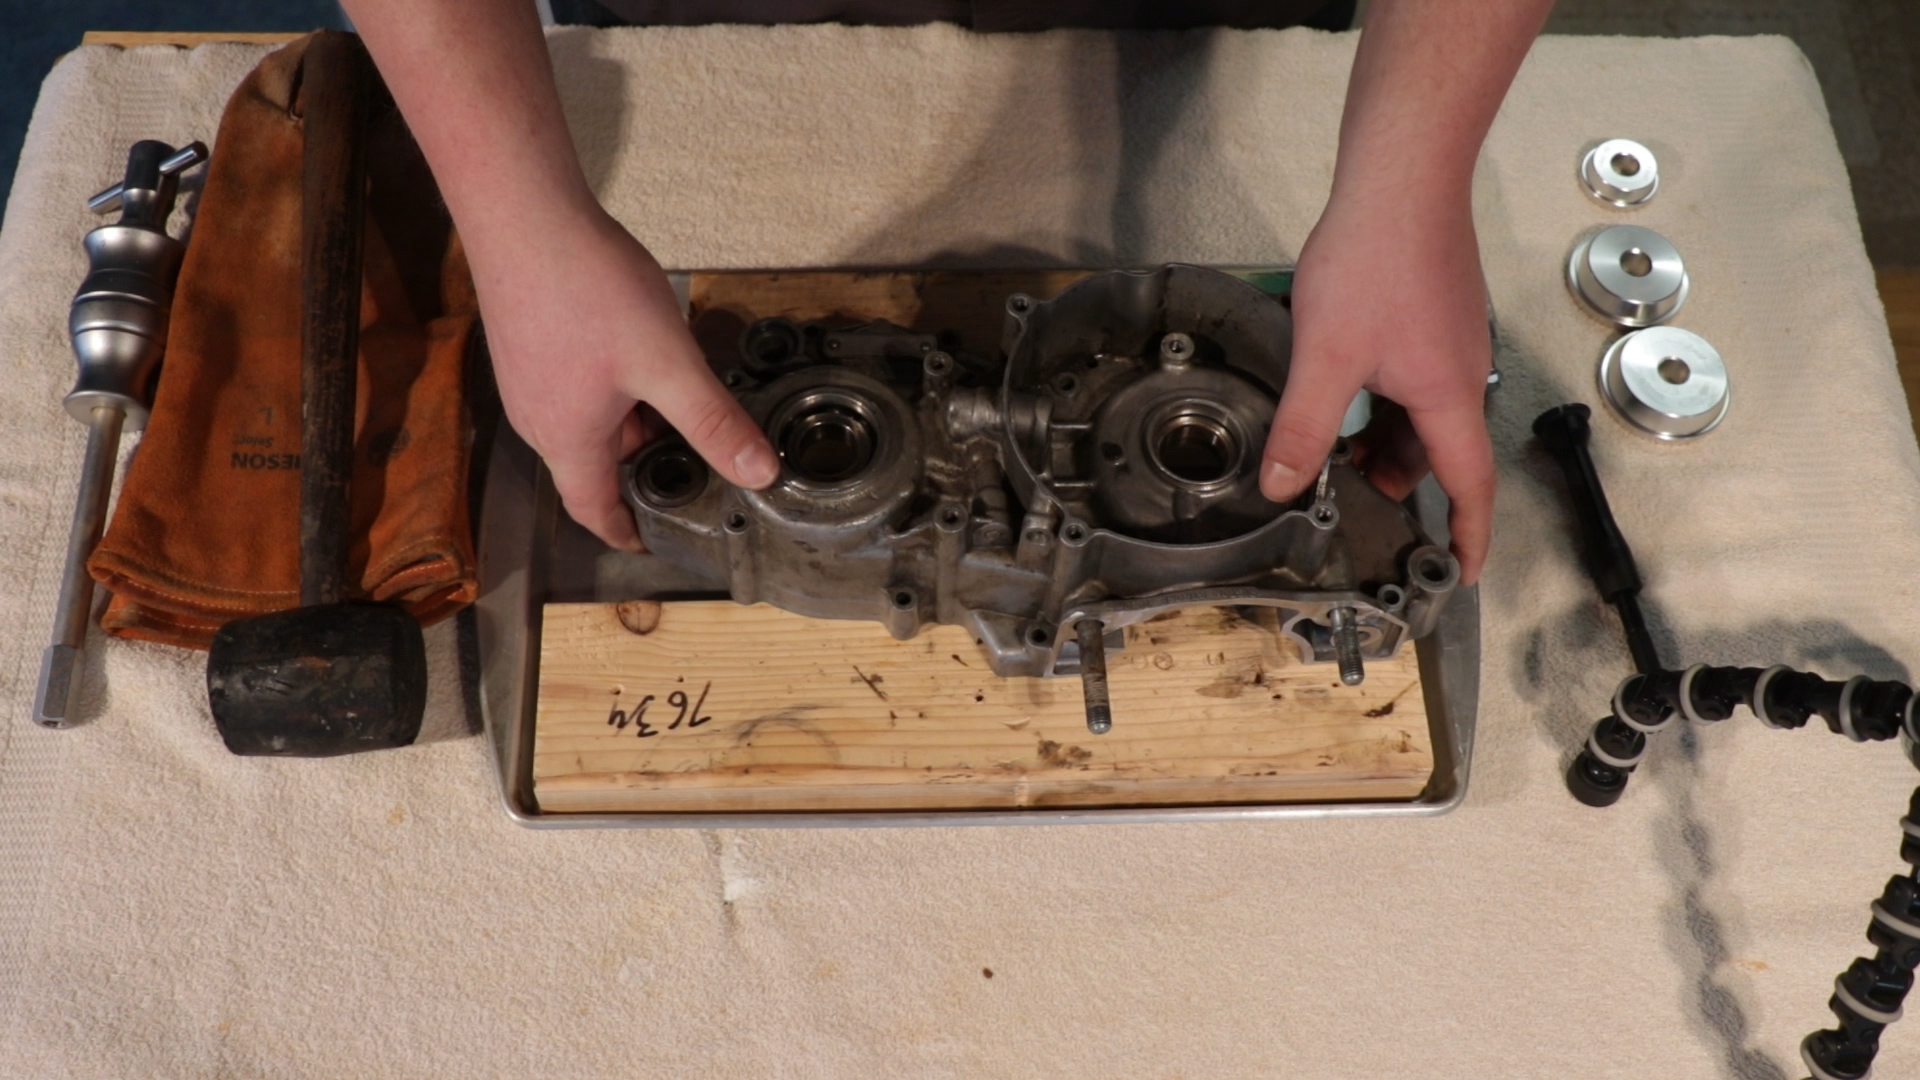
Before taking your case to the oven, ensure you have all the bearings you need. I am using a Hot Rods transmission bearings kit for this crankcase and OEM main bearings.
Match your new bearings with the old ones. Keep the new ones separated by the case side because you will install them one at a time.
The last thing to do before you bake your cases is to remove the screws and retainers in the left case and the bolts and retainers in the right case.
Pre-Service Notes
- I recommend opening the Bottom End Service Specifications in a new tab for easy reference.
- If you need parts and tools, make sure to buy them here!
- Pictures with captions are after the steps below.
- If you need any help, don’t hesitate to ask!
Related: Change your tube and tire quickly and the right way!
Dirt Bike Bake Off!
- Preheat your oven to 350 degrees Fahrenheit, or 180 degrees Celsius, if you’re fancy,
- The heat will let you know if you cleaned your case well enough. Any residue on your case is about to turn to smoke inside your house, so you might want to double-check your work.
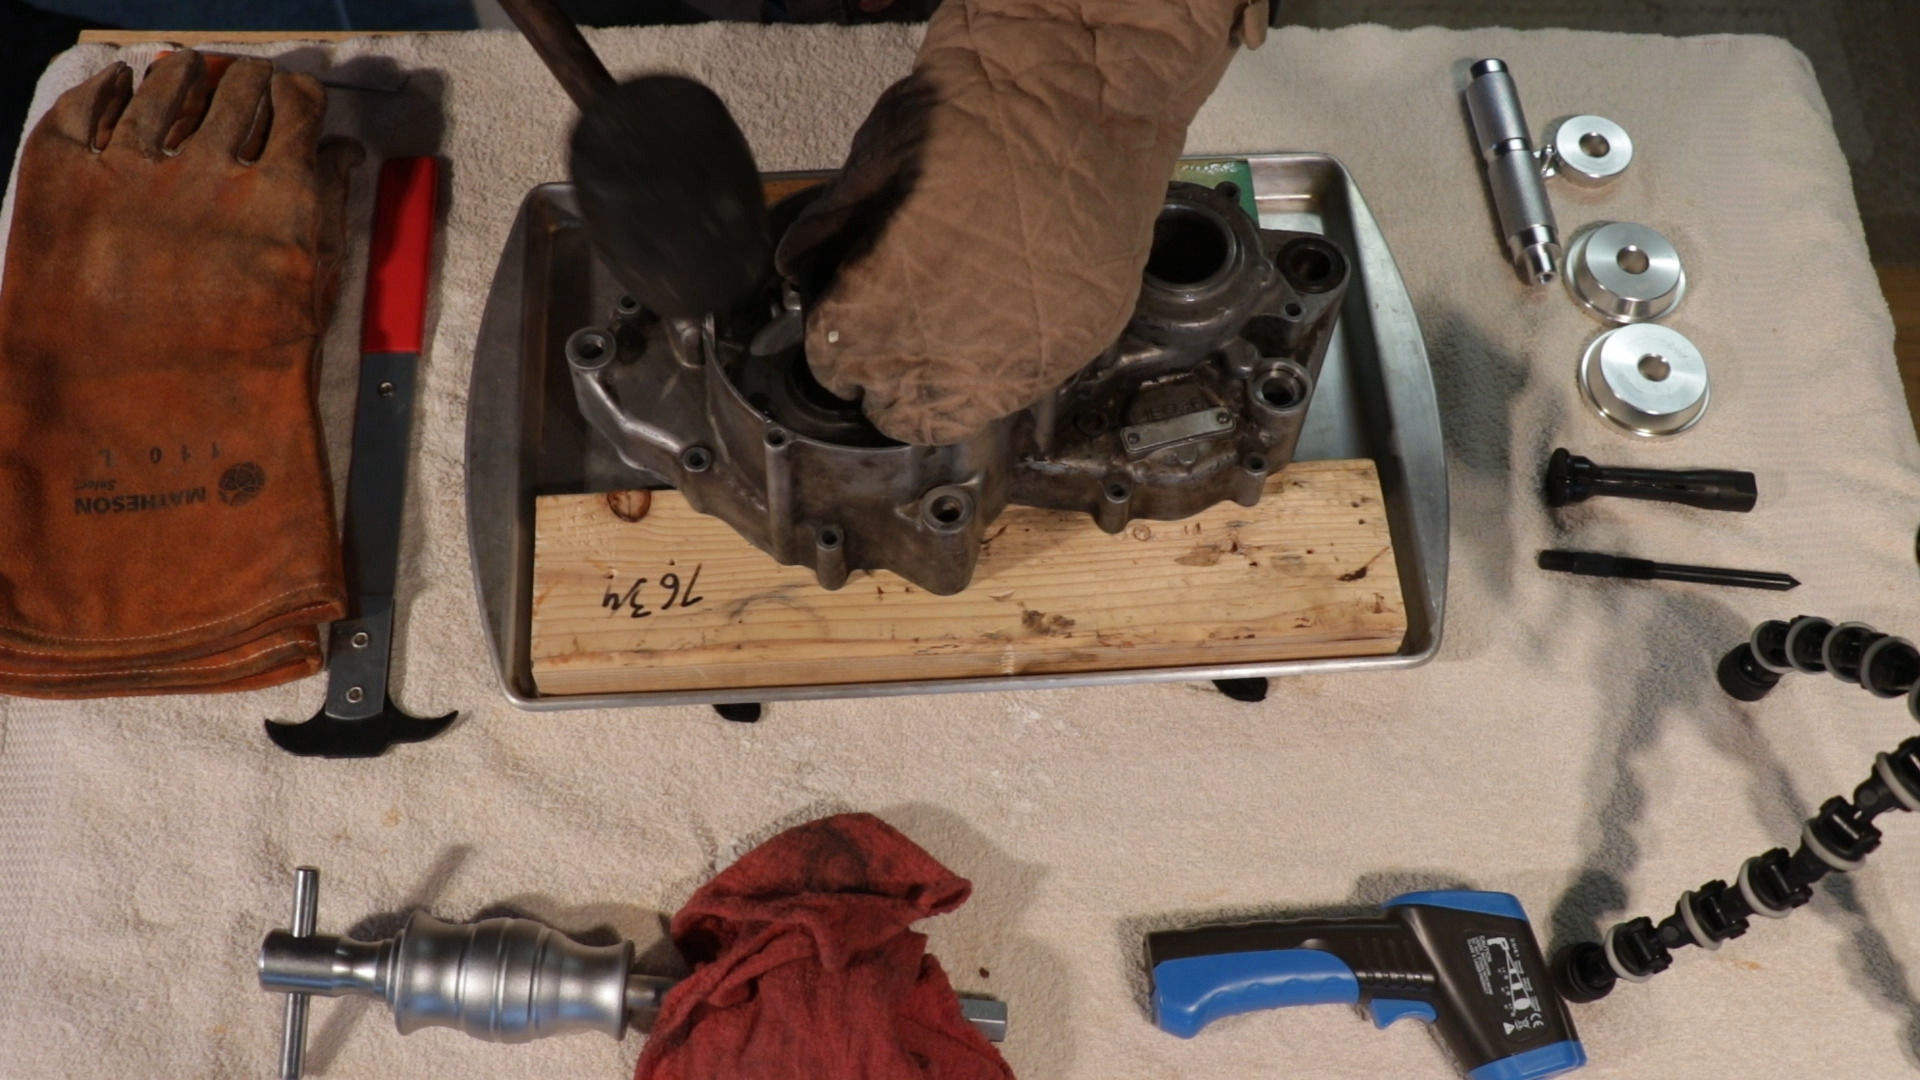
- Place half of your case on your blocks, bearing side down, and put it in the oven for about 10 minutes.
- The case wall is thicker at the crank, meaning it will take the longest to heat up, so you want to measure your temperature there.
- The ideal temperature to work at is 250 degrees Fahrenheit, or 120 degrees Celsius if ya nasty.
- The accurate way to measure the temperature is with a laser thermometer, but if you don’t have one, flick some water on the case; if it sizzles and evaporates immediately, you should be good.

Crankcase And Transmission Bearing Swap
- Remove the case and tap the bearings. If they don’t fall out with a few taps, return the case to the oven and wait another 5 minutes.
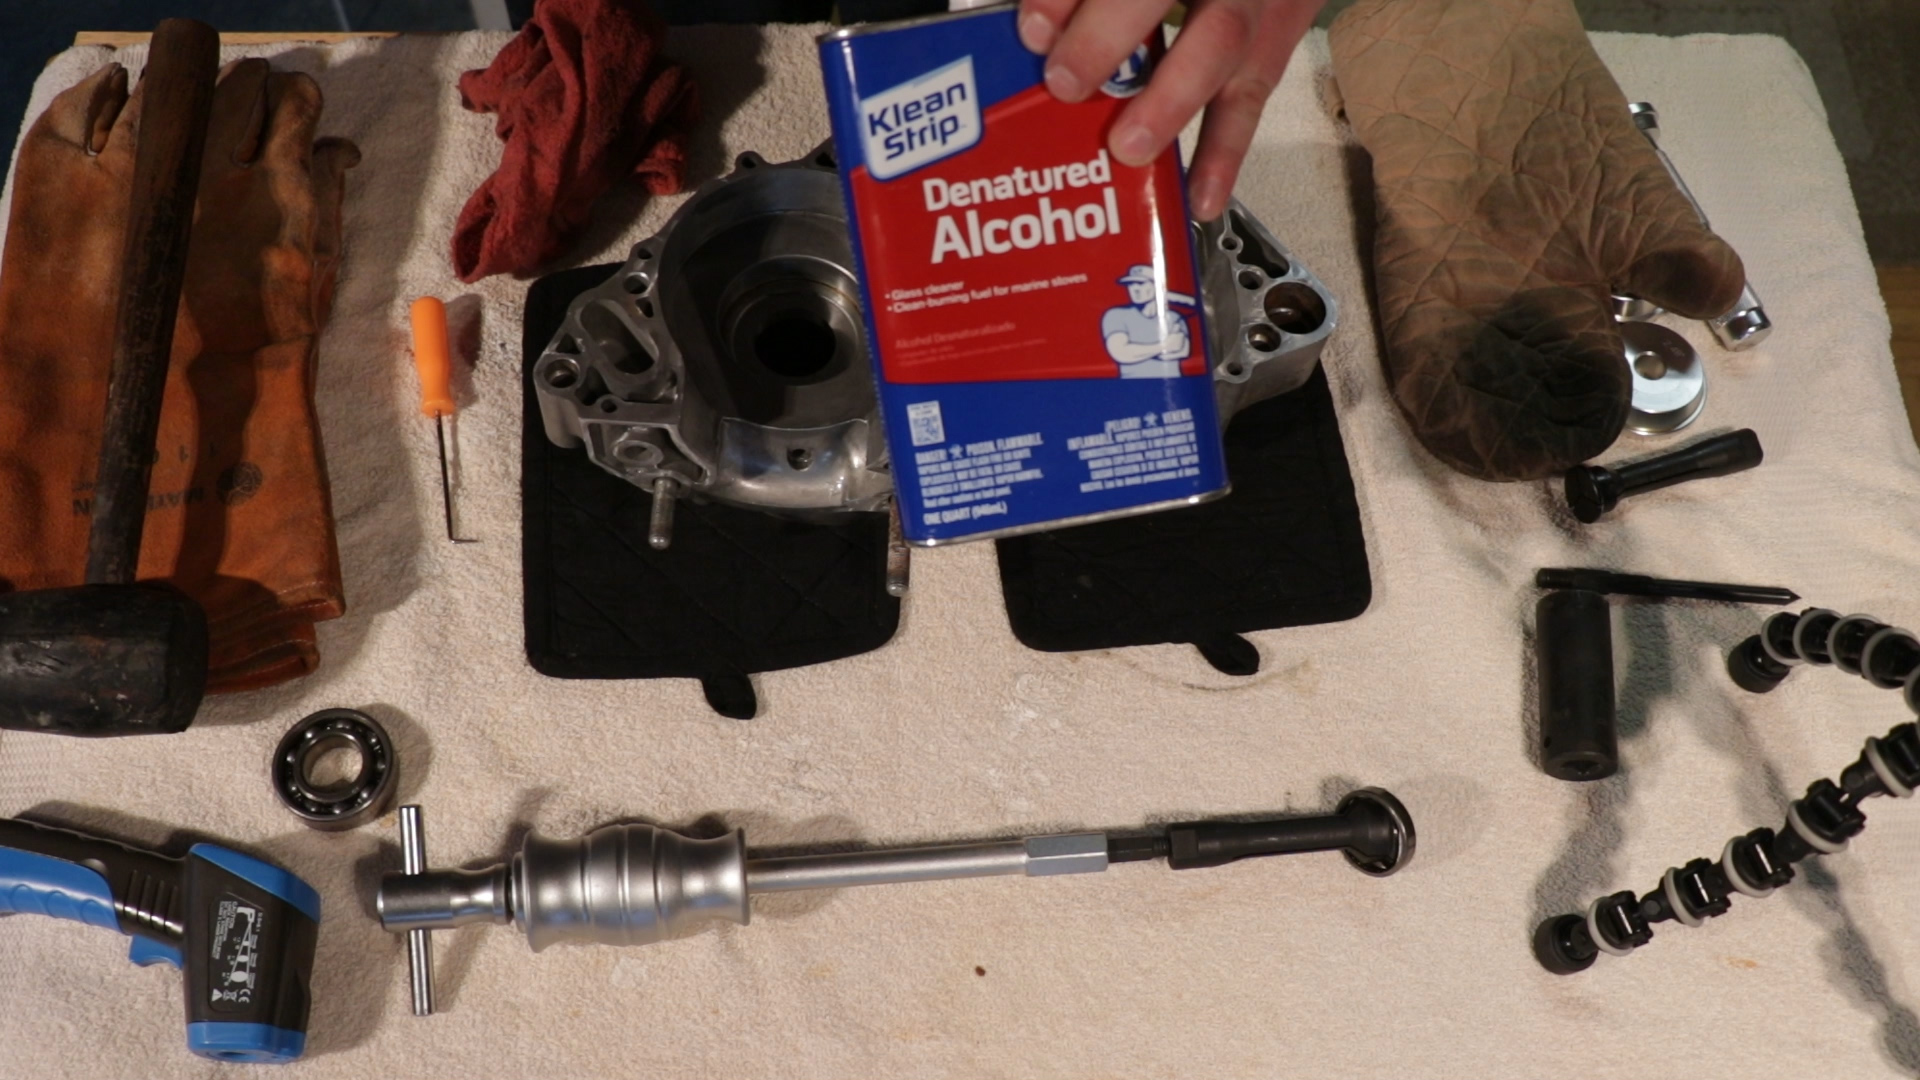
- After you remove the bearings, let the cases cool and clean the bearings bores with denatured alcohol.
- To install the new frozen bearings, reheat your case halves and drop them into place. If they don’t sit flush or all the way, lightly tap them until they do.
- Repeat with the other half.
- After your cases cool down, install the retainers and screws in the left case and the retainers and bolts in the right case.
Bonus
- While your crankcase is disassembled, consider changing the clutch lifter bearings.
- Removing these bearings can be a hassle because of their shape and placement.
- Usually, you can slide the bearings out with a pick, but I had to use a slide hammer on these.
- Install the bearings with a socket, then grease and install the new seal.
← Part 2: Transmission Service
Keep Your ’97-’01 CR250 Running Right!
- Service Specification
- Clutch Replacement
- Carburetor Service
- Engine Top End
- Engine Bottom End
- Brakes
- Exhaust
- Front Suspension
- Rear Suspension
- Wheels & Tires
- Kickstarter Inspection
- External Shift Linkage


