
How To Inspect The Exhaust Valve On Your 97-01 Honda CR250
 The Tools You Will Need
- Stiff Brush
- Shop Towels
- Parts Cleaner
- Dremel with Sanding Disc → https://amzn.to/407t6l3
- Calipers → https://amzn.to/3BRoCXX
- Emery Paper
- Safety Glasses → https://bulltru.com
Pre-Service Notes
- I recommend opening the Service & Torque Specs in a new tab for easy reference.
- If you need parts and tools, make sure to buy them here! → https://amzn.to/4h4lDKq
- Pictures with captions are after the steps below.
- If you need any help, don’t hesitate to ask!
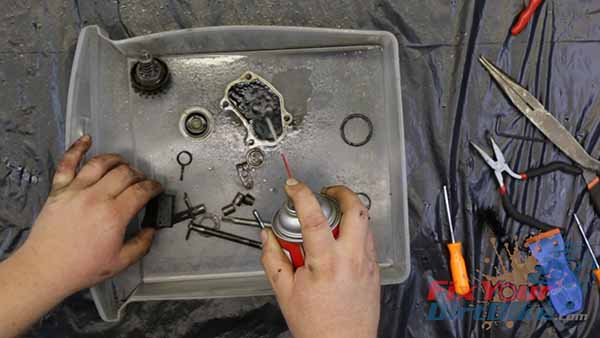
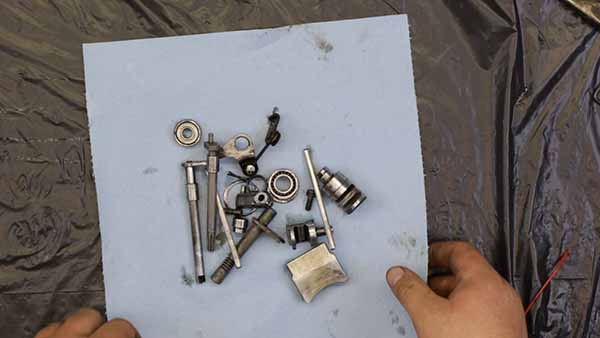
Exhaust Valve Cleaning
The exhaust valve components are in direct contact with exhaust gases so that the carbon build-up will be substantial. If you have the time, soak all the parts overnight in brake cleaner and degreaser.
- Scrub every component thoroughly with a soft bristle brush.
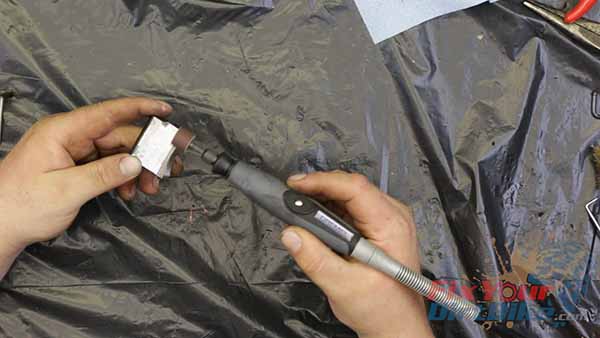
- If your valve components are as bad as mine, you can use a steel brush on a drill for the big stuff, followed by a light sanding with a Dremel.
- However, I must follow the Dremel with fine-grit sandpaper to avoid gouging or uneven surfaces.
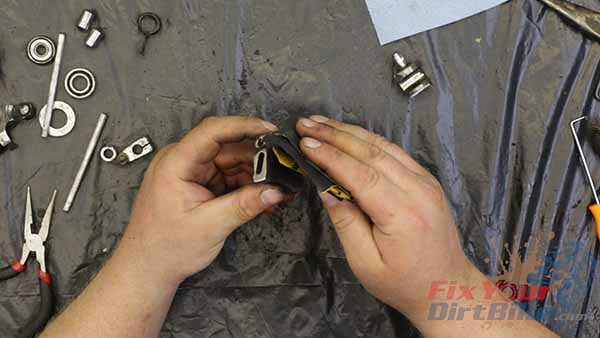
- Visually inspect every part for apparent signs of uneven wear or damage.
- Inspect the valve bearings for smooth operation. If they snag or feel rough, they need to be replaced.
Related: Shot-peened parts are stronger, last longer, and are definitely worth the money!
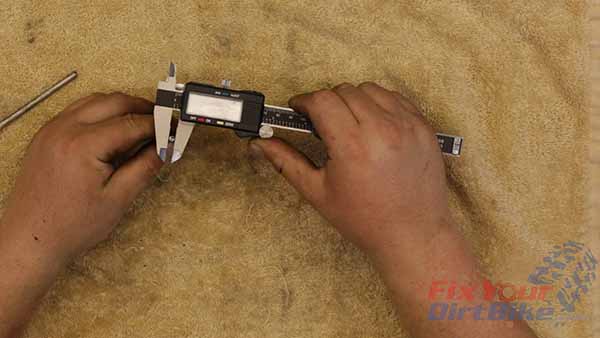
Exhaust Valve Measurements
- Measure the valve and flap shafts at their contact points.
- Both shafts should measure no LESS than 0.196 inches.
Exhaust Valve Governor
- Clean the governor and pinion shaft.
- Make sure the rack and pinion shaft grooves are straight and mesh smoothly.
Part 9: Clearance Calculations →
Keep Your ’97-’01 CR250 Running Right!
- Service Specification
- Clutch Replacement
- Carburetor Service
- Engine Top End
- Engine Bottom End
- Brakes
- Exhaust
- Front Suspension
- Rear Suspension
- Wheels & Tires
- Kickstarter Inspection
- External Shift Linkage


