
How To Inspect The Cylinder Head On Your 97-01 Honda CR250
The Tools You Will Need
- Plastic Scraper
- Soft Brush
- Shop Towels
- Spark Plug Thread Follower
- Metal Lubricant/Oil
- Machinists Straight Edge
- Feeler Gauges
- Emery Paper
- WD40
- Plastic Wrap
- (Master Tools & Parts List Below)
Pre-Service Notes
- I recommend opening the Service & Torque Specs in a new tab for easy reference.
- If you need parts and tools, make sure to buy them on Amazon!
- Pictures with captions are after the steps below.
- If you need any help don’t hesitate to ask!
Cylinder Head Cleaning
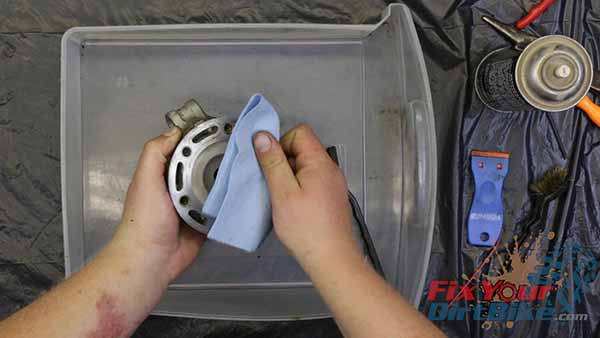
- Clean the entire head with parts cleaner and a soft brush.
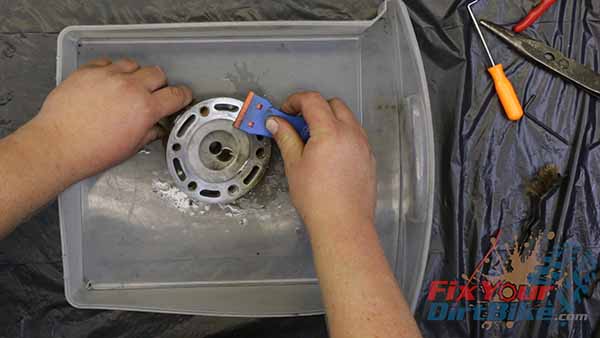
- Clean the cylinder head mounting surface with a plastic scraper.
- If you have carbon buildup in the combustion chamber, soak it in parts cleaner, then gently scrub it off with a scouring pad.
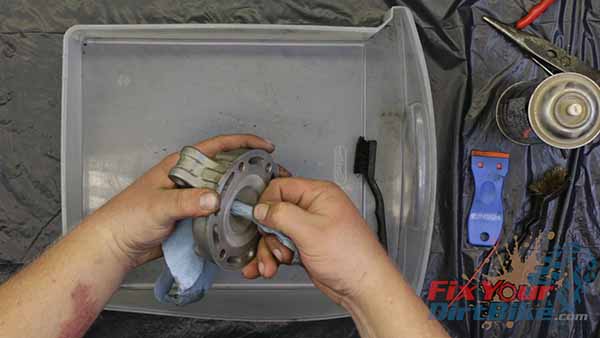
- Clean the spark plug threads by threading a rolled-up shop towel through the hole.
- With the surfaced cleaned, inspect for any signs of obvious wear or damage
- Check the water jackets are free of obstruction, and the mating surface is smooth.
- You can smooth out small burs and pits with 600 grit emery paper, but be very careful, 1000th of an inch could take your head out of spec.
- Gently run your spark plug thread follower all the way through the spark plug hole to correct any potential misalignment.
- If your threads are stripped out and your follower cannot correct them, you will need to install a Helicoil.
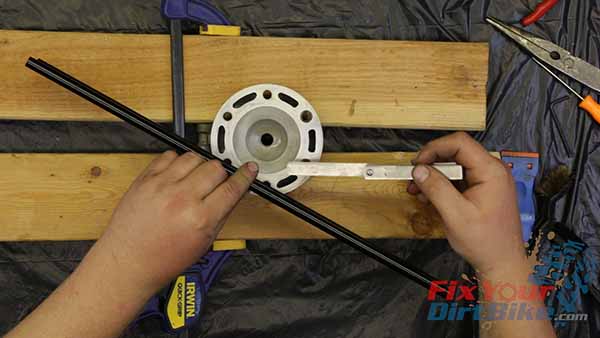
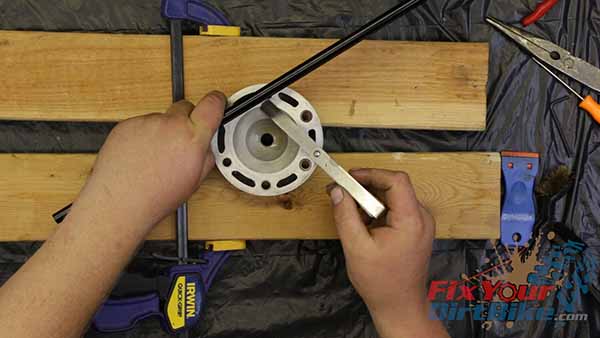
Inspect The Cylinder Head for Warp
- Lay your straight edge across two adjacent mounting holes, and try to fit your feeler gauge underneath.
- If you find any gaps, double-check the head for smoothness, and try again.
- If the gap still exists, record the measurement.
- Repeat this measurement around the head.
- The warp limit for your cylinder head is two thousandths (0.002) of an inch.
How To Surface The Cylinder Head
- You may be able to bring your head into spec with a sheet of 600 grit emery paper.
- Tape the emery paper to a sheet of glass, and dampen with water.
- Run your cylinder head in a figure-eight motion against the paper, using light pressure.
- Stop and measure your clearance every 3 passes.
- If you cannot bring your head back to spec, you will need to take it to a machine shop.
- Clean your cylinder head with HOT soapy water, and rinse thoroughly.
- Dry with compressed air and double-check the mating surface for smoothness.
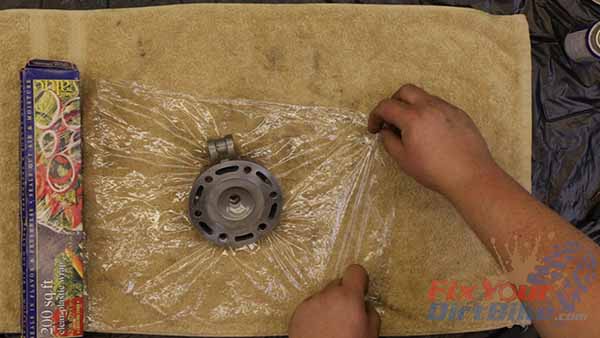
- If everything looks good, apply a light coat of WD-40 to avoid oxidation, and wrap your cylinder head in plastic wrap to avoid contaminants until you are ready for assembly.
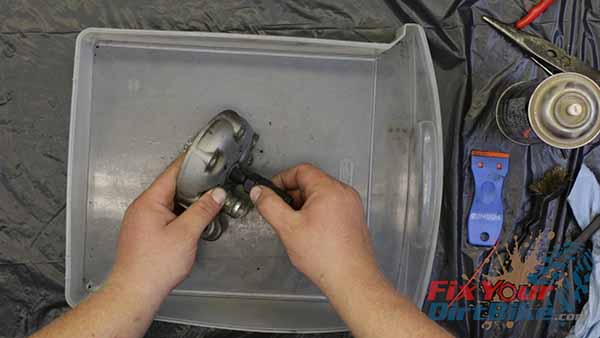
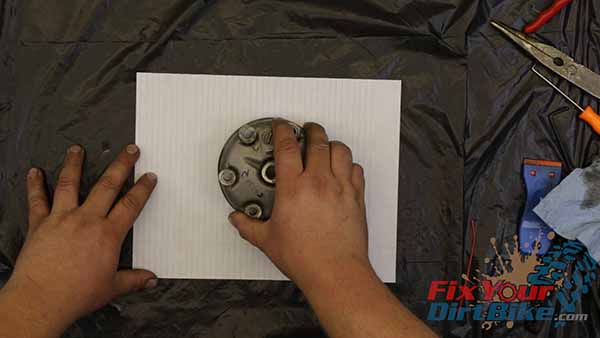
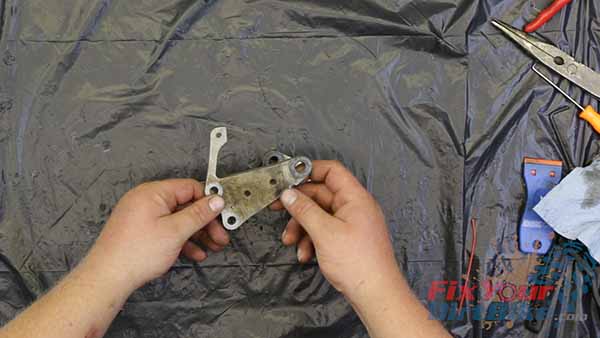
- Finally, check the hanger plates for damage.
- If the plates are bent, or the holes are elongated, they need to be replaced.
- These have some dents on the top, but they are still straight with round holes.
Top End Rebuild Tools List: (Links to Amazon)
- Piston Pin Puller
- Piston Holder
- Machinists Straight Edge
- Feeler Gauges
- Telescoping Bore Gauges
- Digital Calipers
- Plastic Scraper
- Spark Plug Thread Follower
- Motion Pro Torque Wrench Adapter
- Molybdenum Grease
- Lithium Grease
Top End Rebuild Parts List: (Links to Amazon)
Keep Your ’97-’01 CR250 Running Right!
- Service Specification
- Clutch Replacement
- Carburetor Service
- Engine Top End
- Engine Bottom End
- Brakes
- Exhaust
- Front Suspension
- Rear Suspension
- Wheels & Tires
- Kickstarter Inspection
- External Shift Linkage
