1997-2001 Honda CR250 – Top End Service – Part 2: Cylinder Removal

0
32
1997 - 2001 Honda CR250 - Top End Service - Part 2 - Cylinder Removal

How To Remove The Cylinder On Your 97-01 Honda CR250
1997 - 2001 Honda CR250 - Top End Service - Part 2 - Cylinder Removal

The Tools You Will Need

  • Motion Pro Torque Wrench Adapter
  • 3/8″ Socket Wrench
  • 17mm Socket
  • 14mm Socket
  • 8mm Socket
  • Mallet or Dead Blow
  • Sharpie Marker
  • Shop Towel

Pre-Service Notes

  • Start your removal by turning the piston to bottom dead center.
  • I recommend opening the Service & Torque Specs in a new tab for easy reference.
  • If you need parts and tools, make sure to buy them here!
  • Pictures with captions are after the steps below.
  • If you need any help don’t hesitate to ask!

Cylinder Removal

  1. Remove the right cylinder cover, and loosen the left valve cover while the cylinder is still mounted.
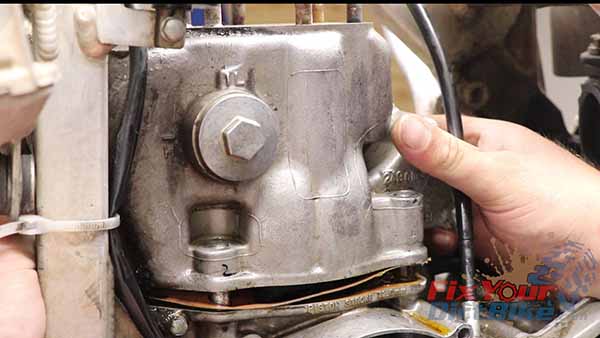
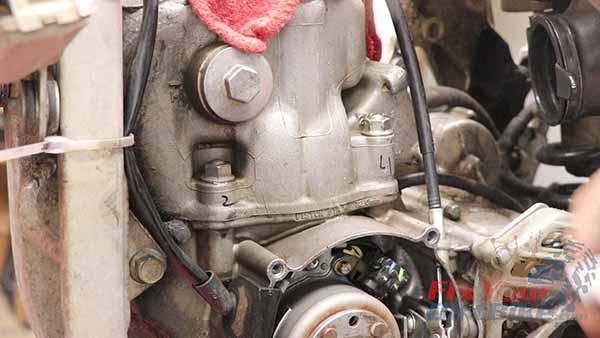
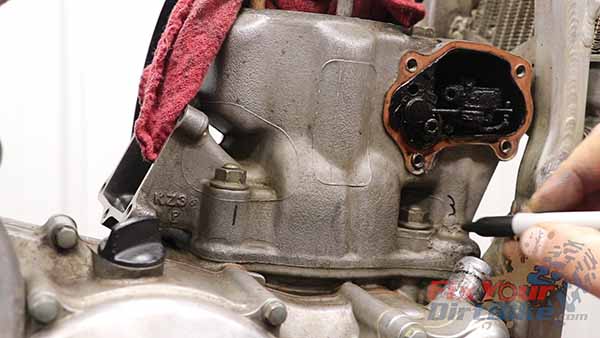
  2. Mark the four cylinder base nuts 1 through 4 to follow a consistent pattern.
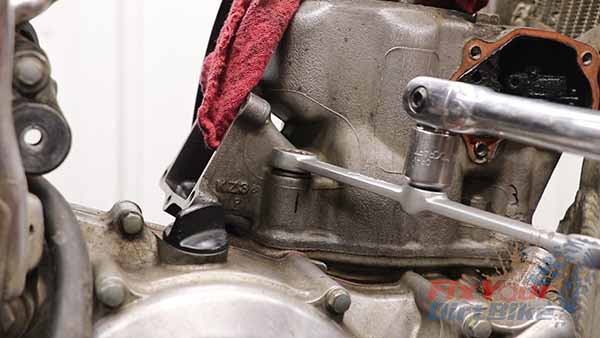
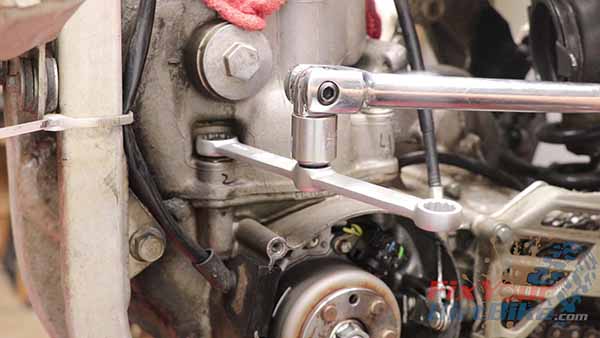
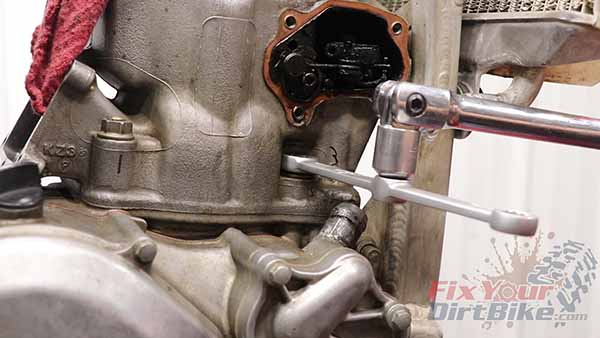
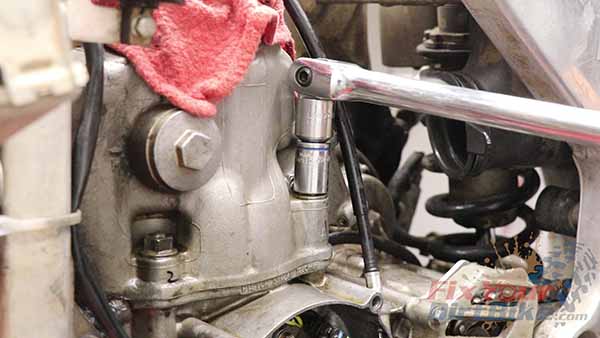
  3. Loosen the cylinder base nuts ¼ turn at a time to avoid binding, take as many passes as you need.
  4. Tap the cylinder with a mallet in multiple locations.
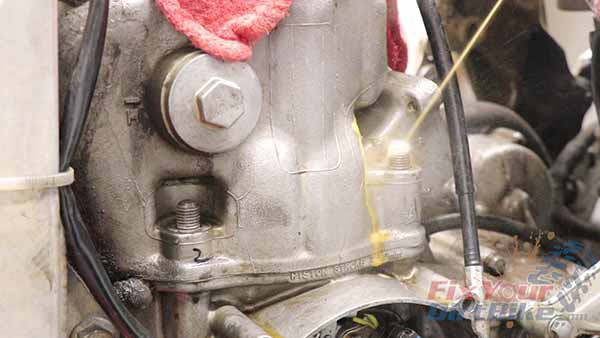
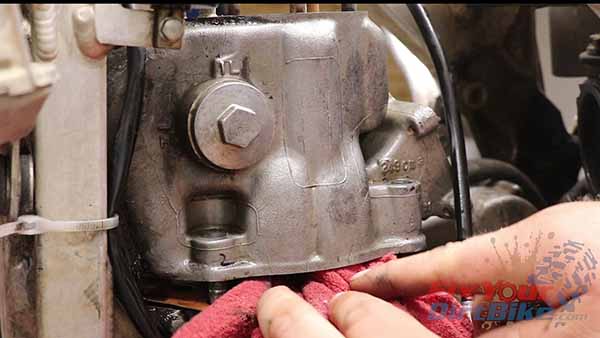
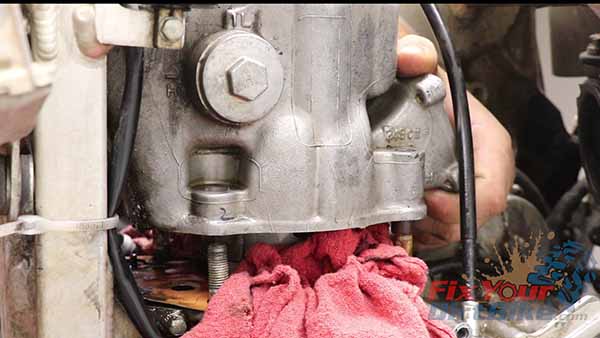
  5. While standing on the left side of your bike, slowly raise the cylinder up to expose the alignment dowels, and stuff a clean shop cloth into the crankcase opening.
  6. DO NOT TWIST THE CYLINDER!
  7. If your dowels are seated on the studs, remove the cylinder. If the dowels are in the cylinder, make sure they don’t fall into the crankcase!

  8. You may experience binding on the left side of the cylinder due to seized alignment dowels.
  9. If your cylinder is seized to the stud, use PB blaster and patience.
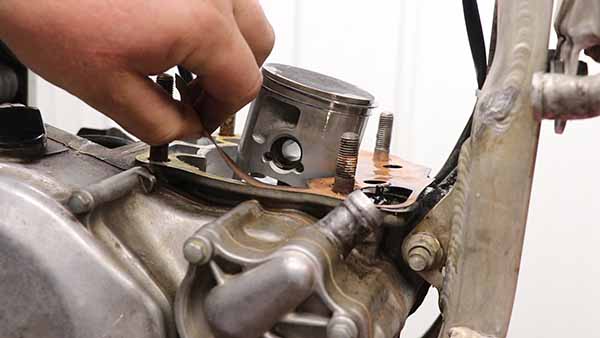
  10. Remove the alignment dowels, and any loose gasket material immediately following cylinder removal.
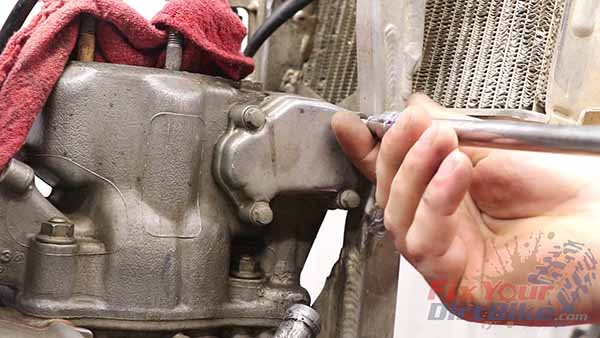
Remove the right cylinder cover, and loosen the left valve cover while the cylinder is still mounted.
Mark the four cylinder base nuts 1 through 4 to follow a consistent pattern.

Mark Nuts 2 and 4

Loosen the cylinder base nuts ¼ turn at a time to avoid binding, take as many passes as you need.
Raise Cylinder
While standing on the left side of your bike, slowly raise the cylinder up to expose the alignment dowels, and stuff a clean shop cloth into the crankcase opening.

Loosen Base Nuts 2Loosen Base Nuts 3Loosen Base Nuts 4Stuff Shop Towel Into Opening

PB Blast Stud Dowel
You may experience binding on the left side of the cylinder due to seized alignment dowels.
Remove the alignment dowels, and any loose gasket material immediately following cylinder removal.

Lift culinder Off Studs← Part 1: Cylinder Head Removal

Part 3: Piston Removal →

Keep Your ’97-’01 CR250 Running Right!
Fix Your Dirt Bike Logo

This site uses Akismet to reduce spam. Learn how your comment data is processed.