
How To Install The Cylinder Head On Your 97-01 Honda CR250
 The Tools You Will Need
- Foot-Pound Torque Wrench → https://amzn.to/3DOqm4B
- 12mm Socket
- 12mm Wrench
- 14mm Socket
- 8mm Hex Wrench/Socket
- 13/16 Inch Spark Plug Socket
- Phillips Head Screwdriver
The Parts You Will Need
- New ’97-’01 Honda CR250 Top End Gasket Kit → https://amzn.to/4jjF2ci
- New Spark Plugs → https://amzn.to/3WnzUdn
Pre-Service Notes
- I recommend opening the Service & Torque Specs in a new tab for easy reference.
- If you need parts and tools, make sure to buy them here! → https://amzn.to/4h4lDKq
- Pictures with captions are after the steps below.
- If you need any help, don’t hesitate to ask!
Cylinder Head Installation
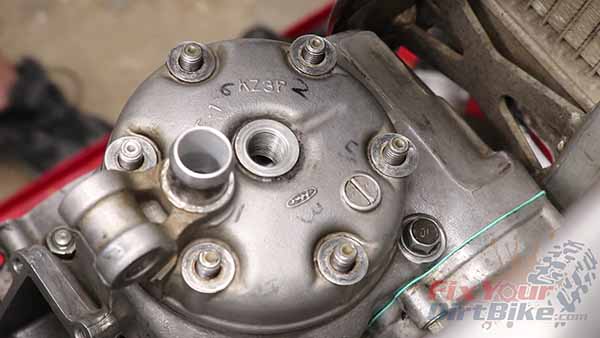
- Double-check the mating surfaces for cleanliness. Install a new gasket with the indentations facing up and the tab at the rear.
- Place your cylinder head, and install the mounting nuts finger tight.
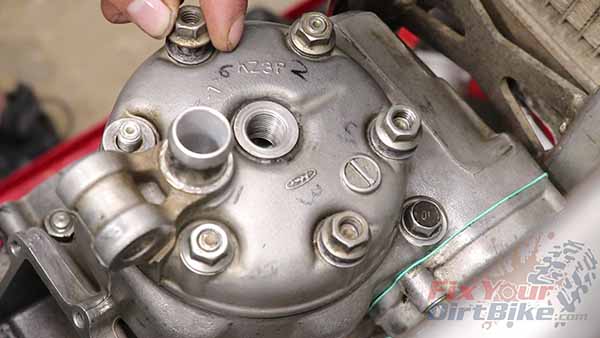
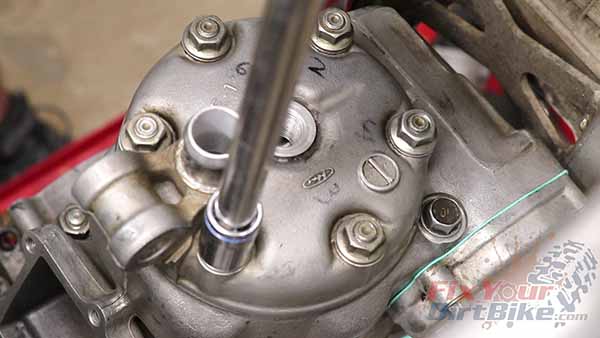
- Torque the mounting nuts in the same pattern as the removal video, turning the nuts ¼ turn at a time until you reach torque. Torque the mounting nuts to 20 ft-lbs.
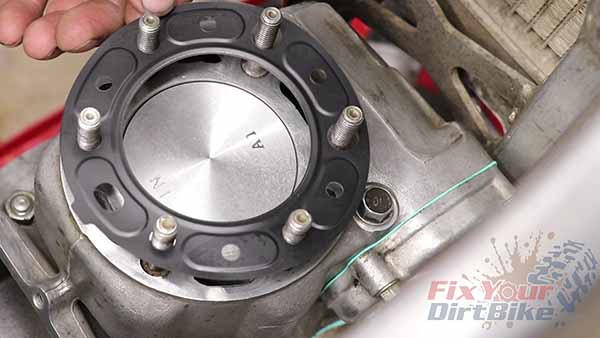
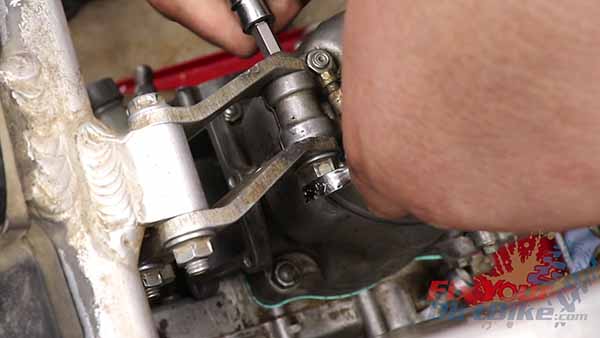
- Install the hanger plates and torque the bolts to 20 ft-lbs.
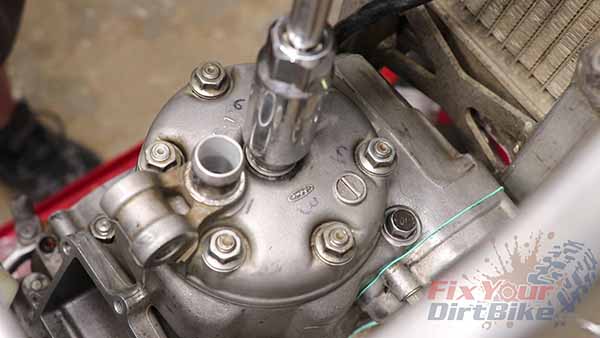
- Install a new spark plug and torque to 13 ft-lbs.
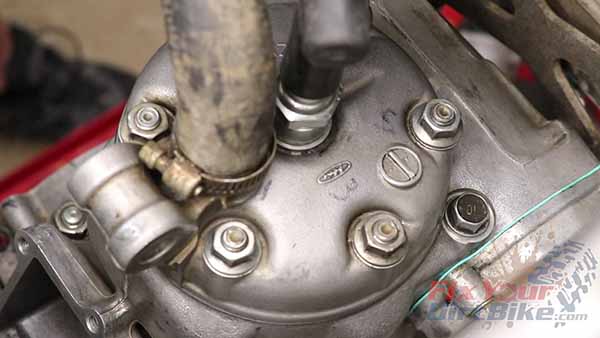
- Finally, install your coolant hose.
Torque Specifications
- Mounting Nuts 20 ft-lbs.
- Hanger Plates 20 ft-lbs.
- Spark Plug 13 ft-lbs.
← Part 12: Cylinder Installation
Keep Your ’97-’01 CR250 Running Right!
- Service Specification
- Clutch Replacement
- Carburetor Service
- Engine Top End
- Engine Bottom End
- Brakes
- Exhaust
- Front Suspension
- Rear Suspension
- Wheels & Tires
- Kickstarter Inspection
- External Shift Linkage


