
How To Remove The Cylinder Head On Your 97-01 Honda CR250
The Tools You Will Need
- 13/16 Inch Spark Plug Socket
- Philips Head Screwdriver
- 14mm Socket
- 12mm Wrench
- 8mm Hex Wrench/Socket
- Sharpie Marker
- 12mm Socket
- Shop Towels
- Safety Glasses → https://bulltru.com
Pre-Service Notes
- Start with your bike on a stand with the body and exhaust removed and the cooling system drained.
- I recommend opening the Service & Torque Specs in a new tab for easy reference.
- If you need parts and tools, make sure to buy them here! → https://amzn.to/4h4lDKq
- Pictures with captions are after the steps below.
- If you need any help, don’t hesitate to ask!
Cylinder Head Removal
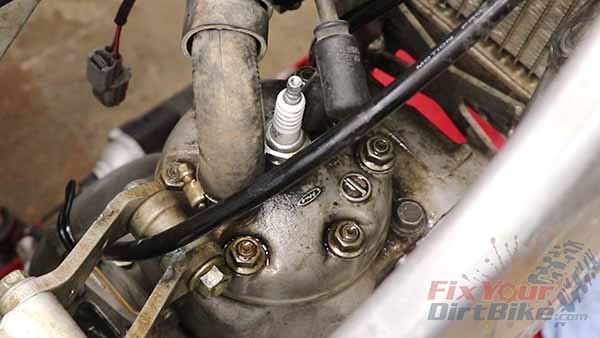
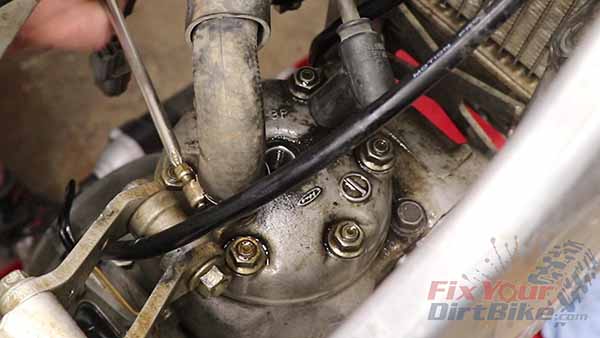
- Remove the coolant hose and spark plug from the cylinder head.
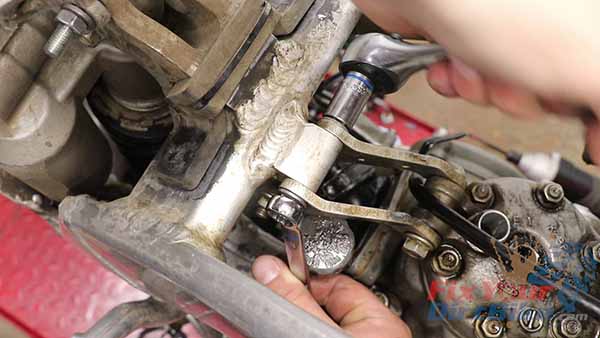
- Remove the engine hanger bolts, and keep track of which direction they are facing on the mounting plates.
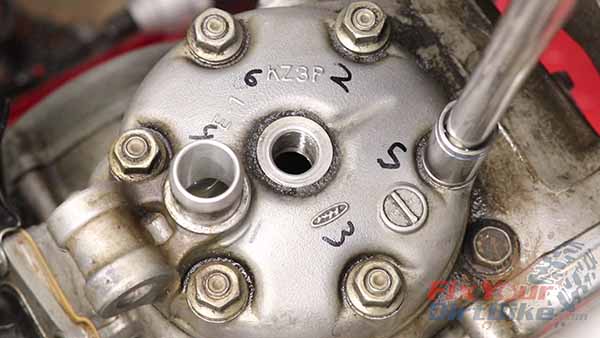
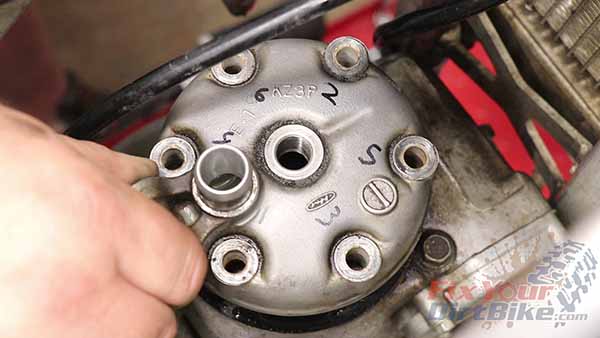
- Mark the head nuts with 1 through 6 to follow a consistent crisscross pattern.
- Loosen the cylinder head nuts ¼ turn at a time to avoid head warp, with as many passes as you need.
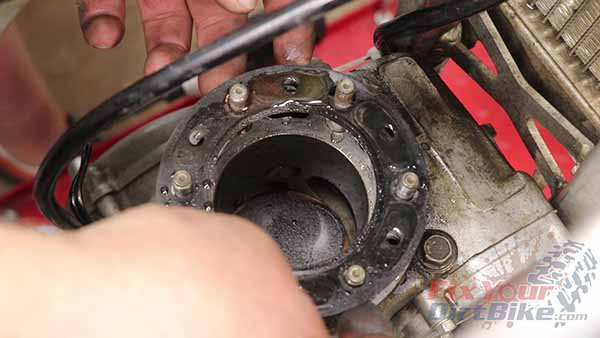
- Lift the cylinder head off of the cylinder, followed by the gasket.
- Set your cylinder head aside and the old gasket in the trash.
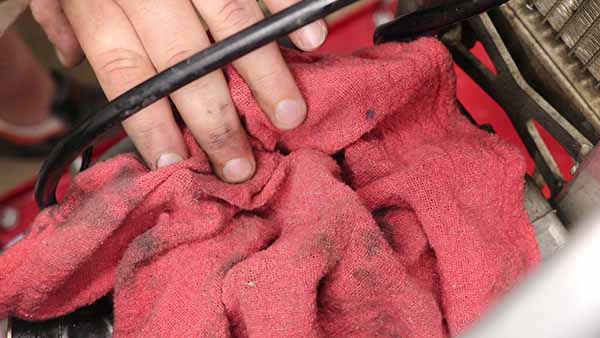
- Remember to stuff a clean shop towel into the cylinder.

← Previous: Top End Service Introduction
Next Step – Part 2: Cylinder Removal →
Keep Your ’97-’01 CR250 Running Right!


