
How To Inspect The Piston On Your 97-01 Honda CR250
 The Tools You Will Need
- 4mm Hex Wrench
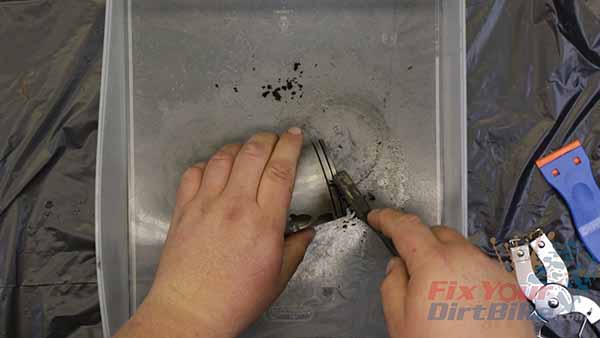
- Needle-nose Pliers
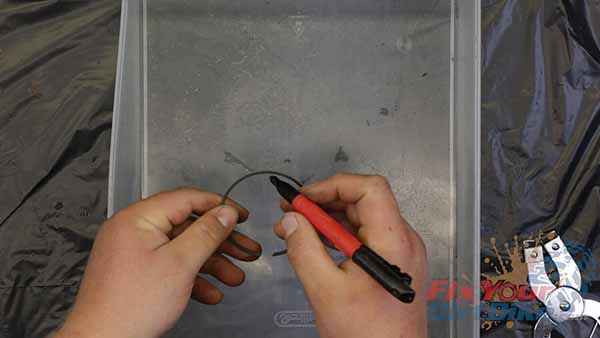
- Snap Ring Pliers
- Calipers → https://amzn.to/3BRoCXX
- Telescoping Bore Gauges → https://amzn.to/4g5reiE
Pre-Service Notes
- I recommend opening the Service & Torque Specs in a new tab for easy reference.
- If you need parts and tools, make sure to buy them here! → https://amzn.to/4h4lDKq
- Pictures with captions are after the steps below.
- If you need any help, don’t hesitate to ask!
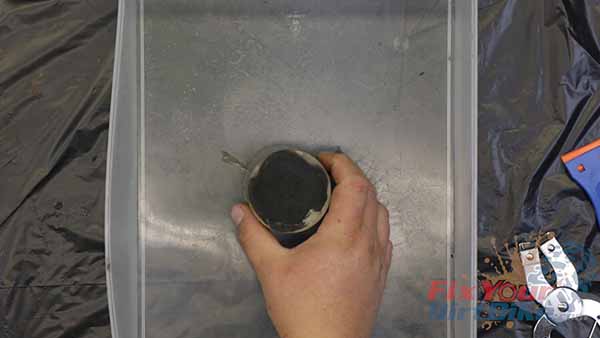
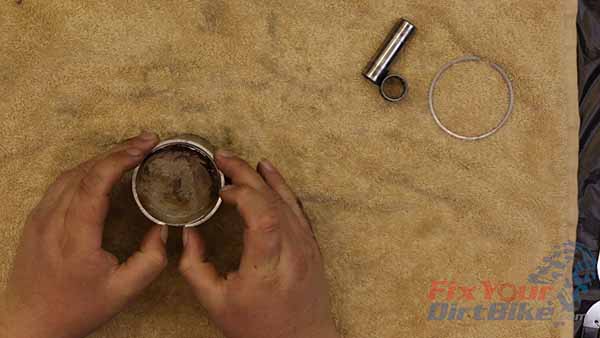
This piston has perfect carbon build-up, meaning the premix ratio is correct, the carb is tuned right, and the transfer ports are flowing freely.
 This piston made contact on the intake side of the cylinder, indicating the piston warmed up before the cylinder and expanded too fast.
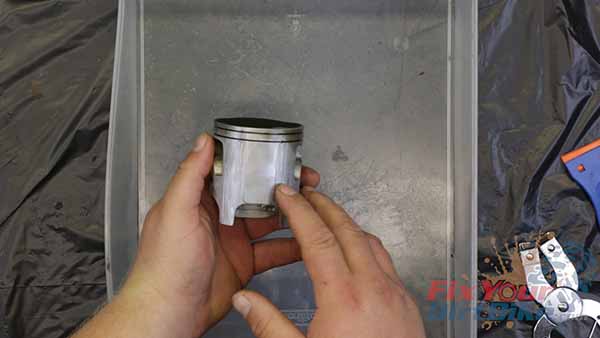 This is what happens when you don’t let your engine warm up!
I have to replace this piston, but if your piston still looks good, it may still be within spec, and if it is, all you need are new rings. Your piston must be in perfect condition to reuse, so one thing is wrong and must be replaced. You will, however, need new wrist pin clips regardless of your piston’s condition.
Piston Inspection
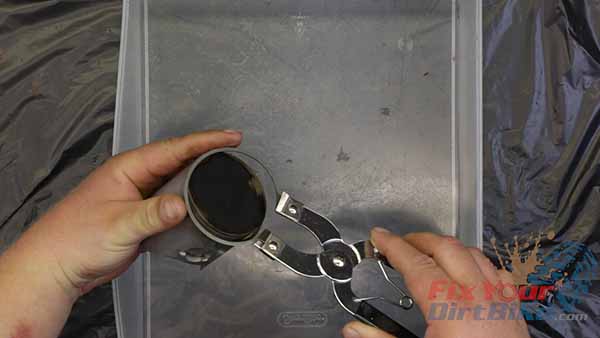
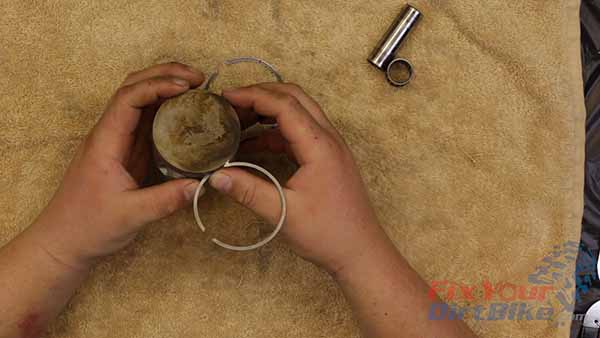
- Expand the rings and move them straight up off the piston.
- Do not try to “unwrap” the rings. You can use a ring spreader, but your fingernails will work fine.
- Label the top and bottom rings accordingly. You will not reuse these rings, but you will need them later.
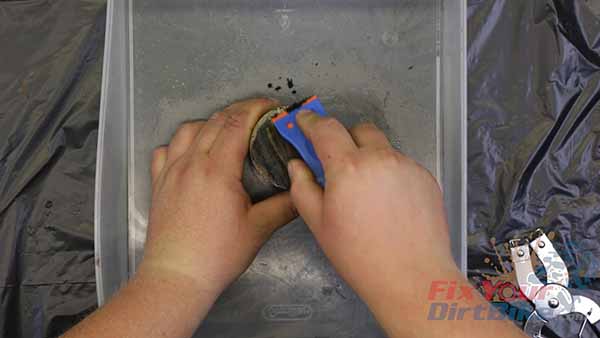
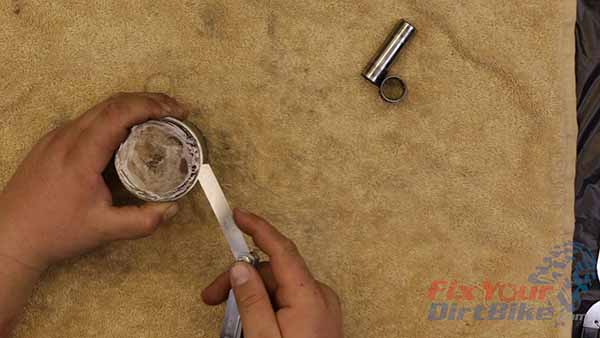
- Clean the carbon from the crown of the piston with parts cleaner and a plastic scraper.
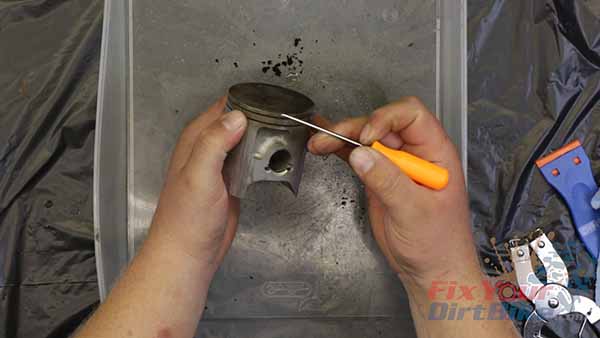
- Clean the pin bore and ring grooves with a soft brush and a pick.
- Inspect the piston crown for damage. If you find any, replace the piston.
- Inspect the ring grooves and locating pins, if they are damaged, or you have missing pins, replace the piston.
- Inspect the piston skirt; replace the piston if you find any abrasions or cracking.
- Inspect the interior of the piston and pin bore for wear or cracks. Guess what you need to do if you find any?
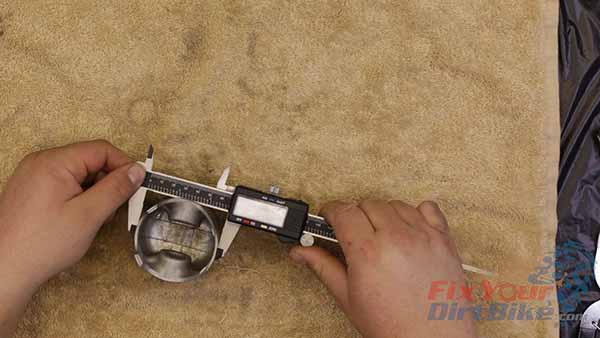
- Measure the piston diameter perpendicular to the wrist pin bore and record it for later.
Related: How to change the brake pads on your 97-2001 Honda CR250.
Pin, Needle Bearing & Connecting Rod Inspection
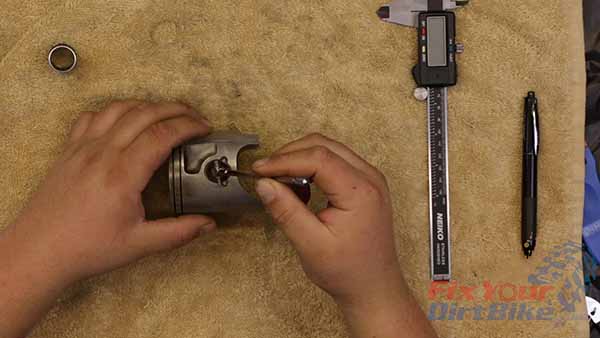
- Clean and dry the wrist pin and bearings, then check for excessive wear or damage.
- Measure the pin at the three contact points and the pin bore. The pin should measure no less than 0.707 inches, and the pin bore should measure no greater than 0.709 inches.
- The piston-to-pin clearance can be no GREATER than 0.0016 inches.
- To calculate the piston-to-pin clearance, subtract the smallest wrist pin measurement from the largest piston bore measurement.
- The largest bore measurement for this piston was 0.708 inches, and my smallest pin measurement was 0.707 inches, resulting in a clearance of 0.001 inches, which is within spec.
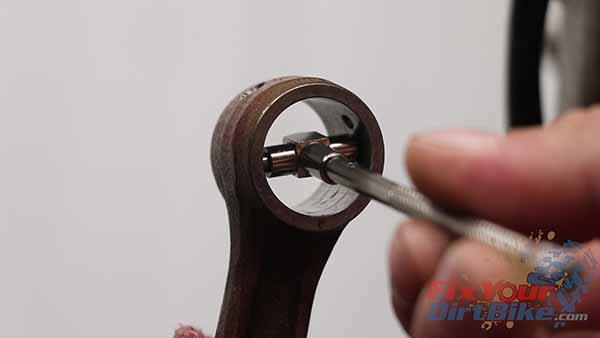
- Inspect and measure the connecting rod bore. The conrod bore can be no GREATER than 0.867 inches.
- You must replace the crank assembly if the connecting rod is out of spec.
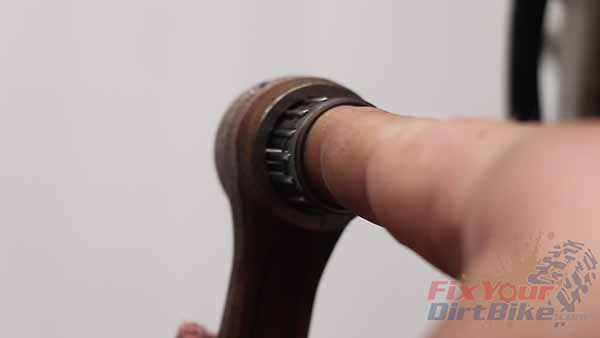
- Insert the needle bearing into the rod bore. If the conrod bore is in spec and there is play, the needle bearing needs to be replaced.

Piston Ring Inspection
Even though you will not be reusing your piston rings, we can use them to see what the engine has been doing.
- Take the old pistons and roll them around their respective grooves. Feel for any snags or binding.
- Re-install the piston rings. Lubricate the crown and grooves with assembly lube or 2-stroke oil.
- Position the bottom ring with the IT mark facing up. Spread and install the ring straight down over the piston.
- Make sure the ring is seated against the locating pin.
- Repeat with the top ring.
- Press the rings into the groove and measure around the piston with a feeler gauge.
- The top ring should have a clearance no greater than 0.0037 inches.
- The bottom ring should have a clearance no greater than 0.026 inches.
- If the ring-to-piston clearances are out of spec, the piston is most likely worn, not the rings.
- Repeat this process with the new rings. If the clearance exceeds spec with the new rings, the piston must be replaced.
- This kind of wear is caused by ring deflection, which occurs due to improper lubrication, such as a poor air-to-fuel ratio, wrong premix ratio, engine braking, or a combination of all three.

← Part 4: Exhaust Valve Removal
Part 6: Cylinder Head Inspection →
Keep Your ’97-’01 CR250 Running Right!
- Service Specification
- Clutch Replacement
- Carburetor Service
- Engine Top End
- Engine Bottom End
- Brakes
- Exhaust
- Front Suspension
- Rear Suspension
- Wheels & Tires
- Kickstarter Inspection
- External Shift Linkage


