
This is Part 1 of the step-by-step Kickstarter maintenance for your 1997-2001 Honda CR250 Dirt Bike.
You can find Part 2: Inspection and Part 3: Installation.
When did you last perform a full Kickstarter inspection of your motocross or trail Honda CR250? Your Kickstarter might be bad, and you don’t even know it, which could damage other internal parts!
The Tools You Will Need
- 8mm Socket
- 10mm Socket
- Pry Bar
- Calipers → https://amzn.to/3BRoCXX
- Foot-Pound Torque Wrench → https://amzn.to/3DOqm4B
The Parts You Will Need
- Crankcase Cover Gasket → https://amzn.to/3C9FrgQ
- Water Pump Gasket → https://amzn.to/4aj2xy1
- Clutch cover O-ring → https://amzn.to/4gRzww1
Common Kickstarter Problems
- If your Kickstarter does not return after the kick, the return spring is worn out or broken.
- If the Kickstarter slips on the down kick, the ratchet, pinion, or idle gear may be damaged or worn.
- The only way to prevent these problems is to inspect your Kickstarter regularly.
Pre-Service Notes
- Put your bike on a sturdy stand and drain oil and coolant.
- I recommend opening the Service & Torque Specs table in a new tab for easy reference.
- If you need parts and tools, make sure to buy them here! → https://amzn.to/4h4lDKq
- Pictures with captions are after the steps below.
- Keep track of every bolt and nut; there will be a lot!
- If you need any help, don’t hesitate to ask!
Related: It’s time for a bearing change if your steering feels notchy!
Kickstarter Removal
Click The Pictures To Start Slideshow!
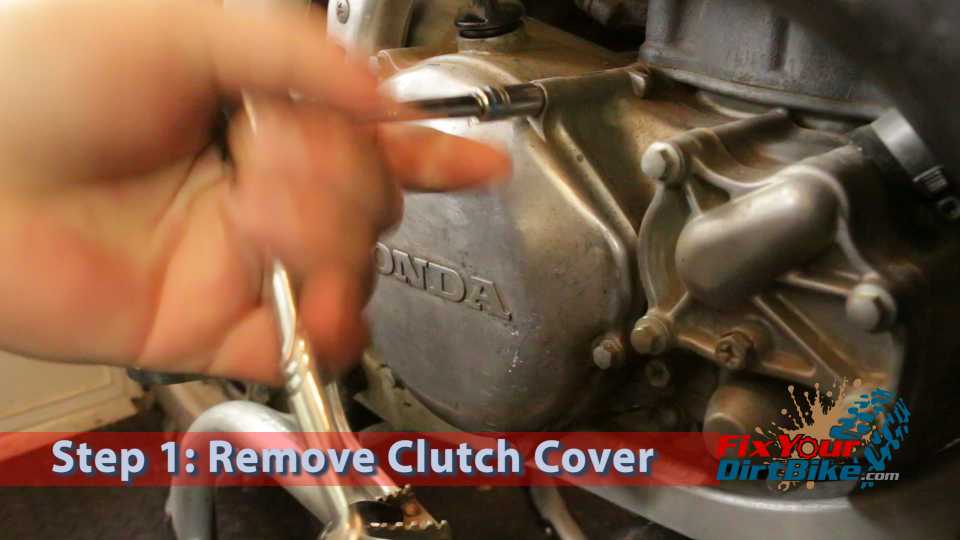
- Step 1: Remove the outer clutch cover.
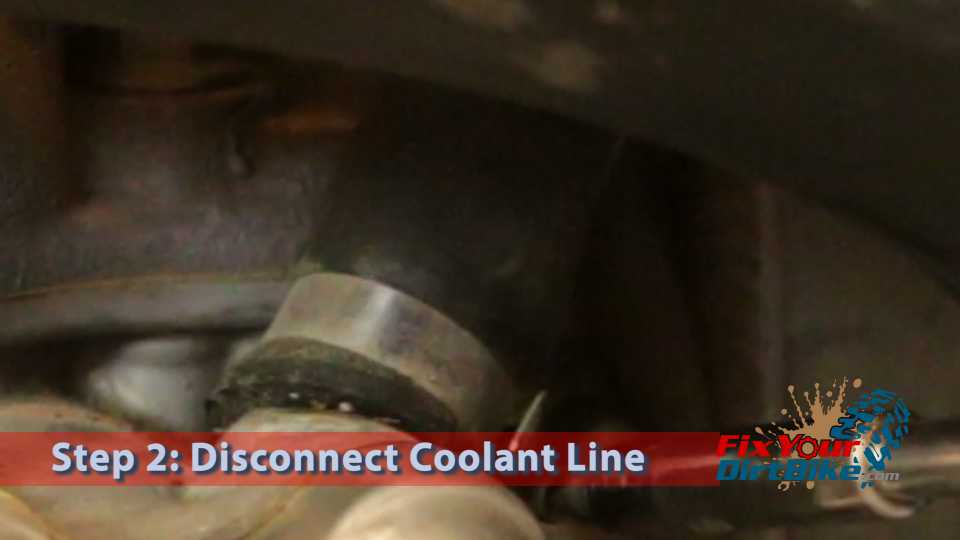
- Step 2: Disconnect the coolant line.
- Step 3: Remove the water pump cover.
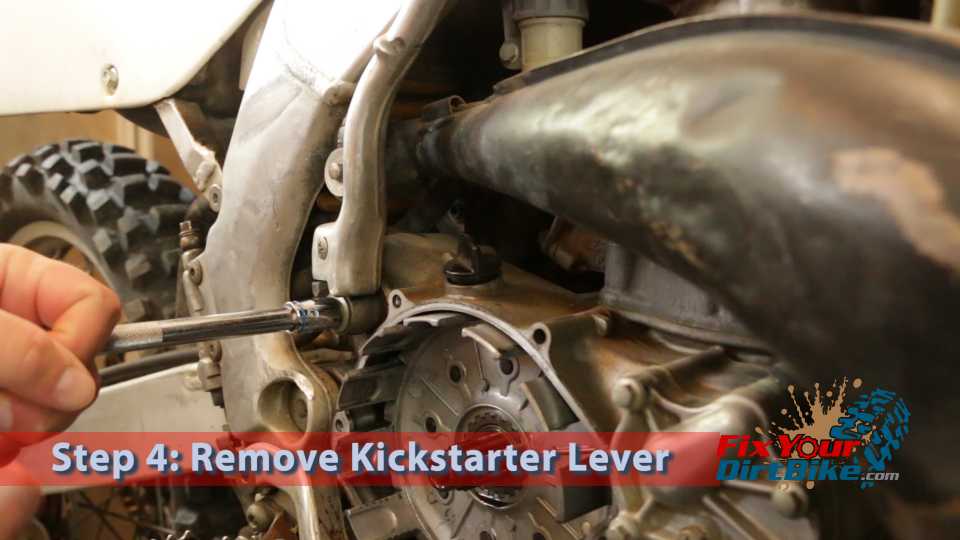
- Step 4: Remove the kickstart lever.
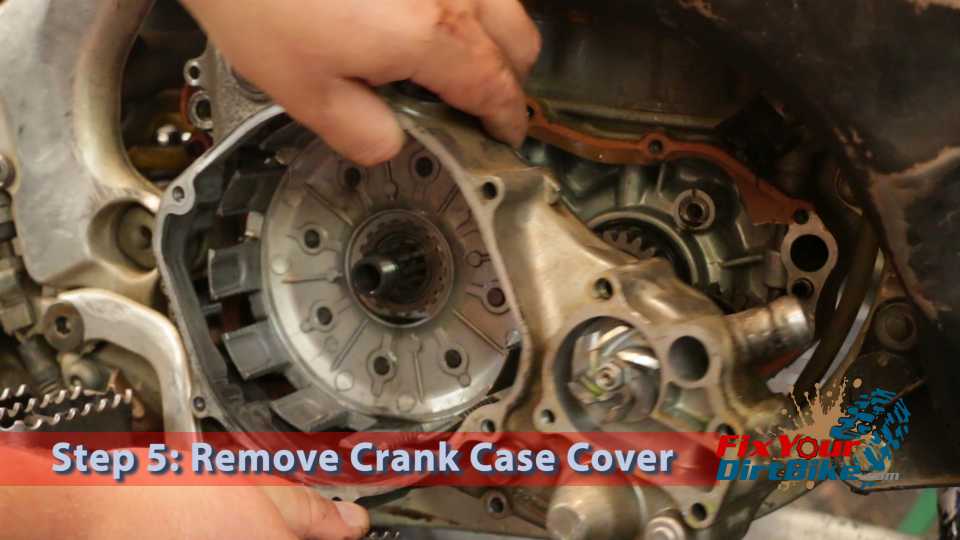
- Step 5: Remove the crankcase cover.
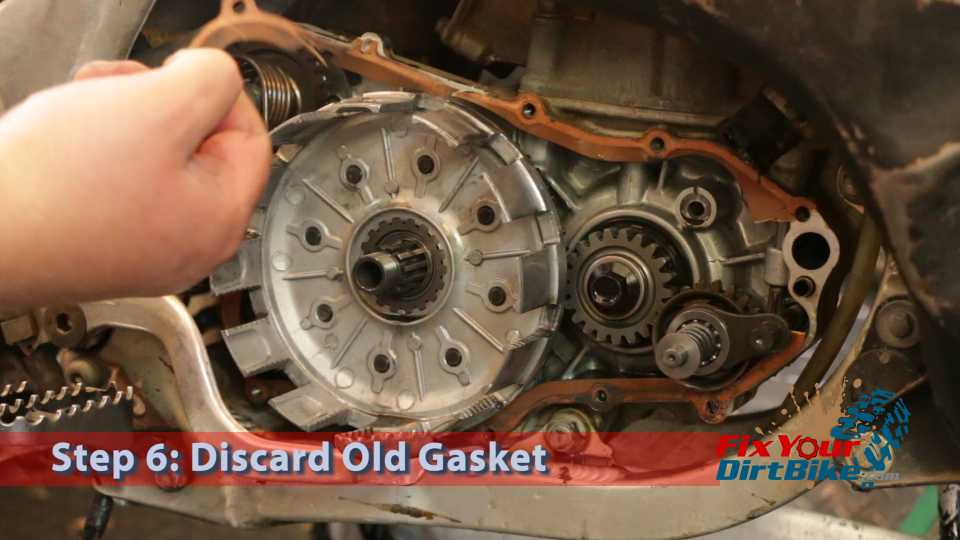
- Step 6: Discard the old crankcase cover gasket.
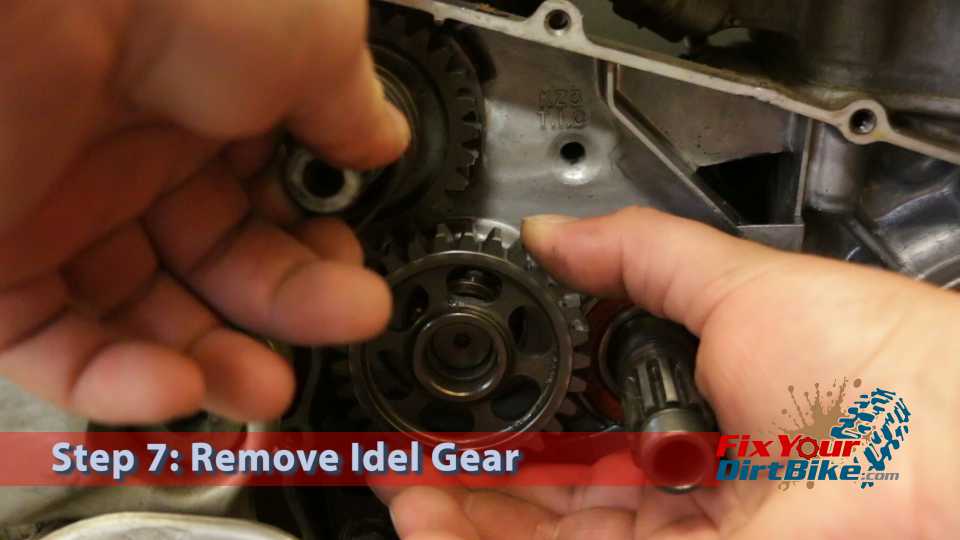
- Step 7: Pull Idle gear and idle gear bushing.
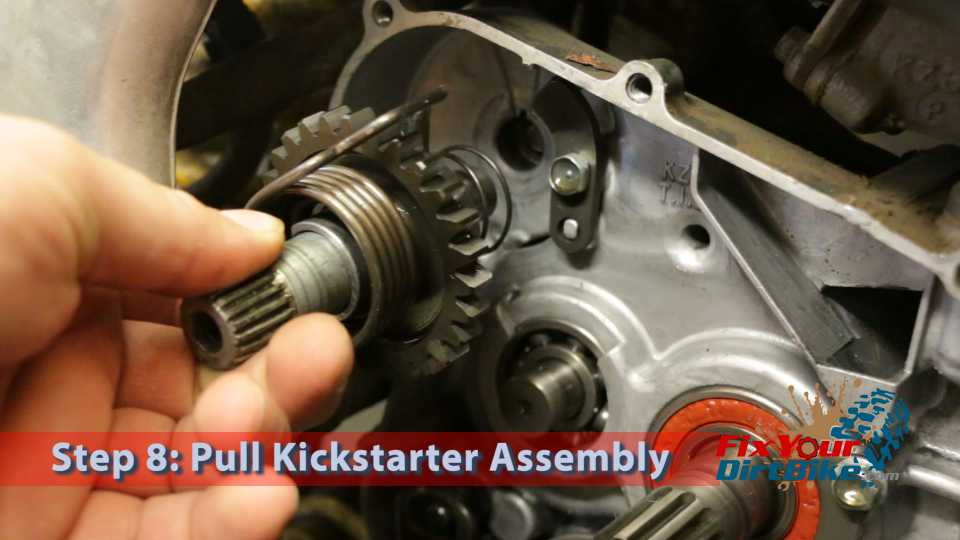
- Step 8: Pull the kickstarter, keeping the assembly in one piece.

OEM Honda Part Numbers
- Ratchet Spring – 28223-KA4-740
- Starter Ratchet – 28221-KZ3-A10
- Snap Ring – 94510-19000
- Inner Thrust Washer – 90554-728-940
- Kickstarter Spindle – 28251-KZ3-690
- Pinion Gear – 28211-KZ3-A10
- Outer Thrust Washer – 90554-728-940
- Return Spring – 28261-KA4-741
- Collar – 28282-KZ3-690
- Idle Gear – 28231-KS7-000
- Idle Gear Bushing – 28232-KA4-740
- Right Crank Case Cover Gasket – 11395-KZ3-880
- Water Pump Gasket Separator – 19222-KZ3-860
- Water Pump Gasket – 19229-KZ3-880
- Clutch Cover O-ring – 91211-KS7-701
If you have any questions or comments, please leave them in the comments or on our Facebook page!
97-01 Honda CR250 Kickstarter Part 2: Inspection →
Keep Your ’97-’01 CR250 Running Right!
- Service Specification
- Clutch Replacement
- Carburetor Service
- Engine Top End
- Engine Bottom End
- Brakes
- Exhaust
- Front Suspension
- Rear Suspension
- Wheels & Tires
- Kickstarter Inspection
- External Shift Linkage


