
How To Rebuild The Rear Master Cylinder On Your 97-01 Honda CR250
 The Tools You Will Need
- 5mm Hex Wrench
- 8mm Hex wrench
- 12mm box wrench
- 12mm socket
- Torque Wrench
- Long Nose Snap Ring Pliers
- Regular Pliers
- Needle-Nose Pliers
- Calipers
- Rubber Grease
- Shop towels
- And Safety Glasses
The Parts You Will Need
- New ’97-’01 Honda CR250 Rear Master Cylinder Rebuild Kit
- New Cotter Pin
- Fresh DOT 4 Brake Fluid
This rear master cylinder rebuild should cost no more than $25, and less than one hour to complete.
Pre-Service Notes
- I recommend opening the Service & Torque Specs in a new tab for easy reference.
- If you need parts and tools, make sure to buy them here!
- Brake fluid damages everything, so keep your towels handy!
- Pictures with captions are after the steps below.
- If you need any help don’t hesitate to ask!
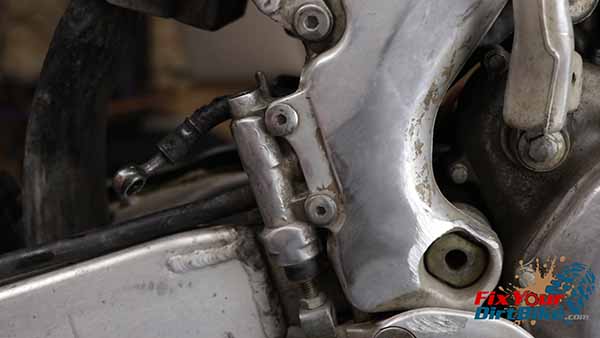
Rear Master Cylinder Removal
- Brake fluid will damage almost everything, so keep your shop towels handy.
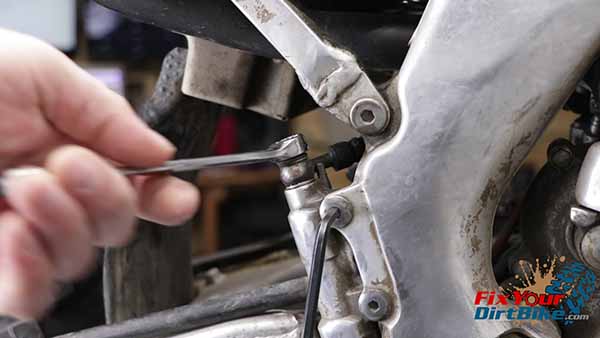
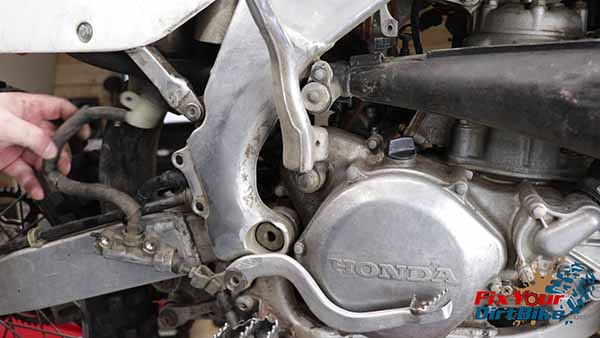
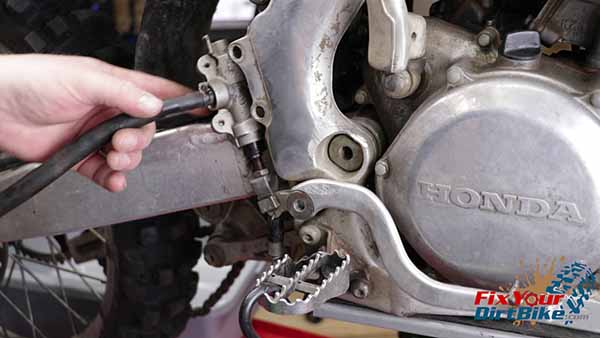
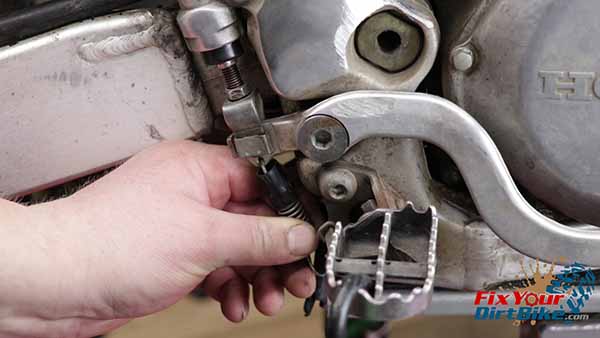
Start by disconnecting the brake pedal return spring. - Unscrew the banjo bolt, and keep track of the seal washers.
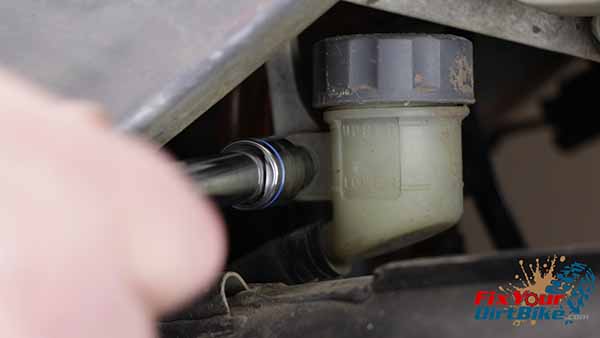
- Remove the brake fluid reservoir bolt.
- Remove the master cylinder mounting bolts.
- Pull the unit away from the frame.
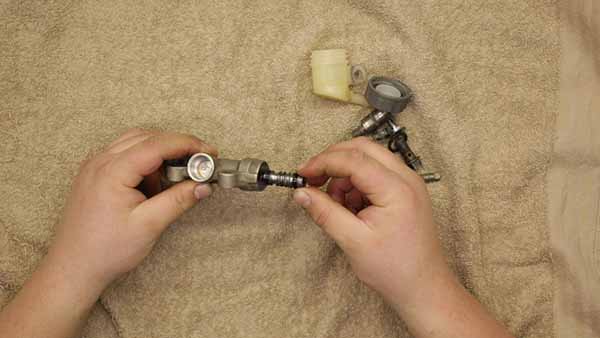
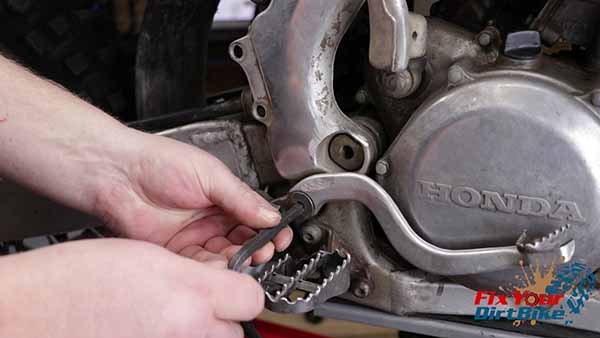
- Remove the brake lever pivot bolt, then pull the entire master cylinder assembly.
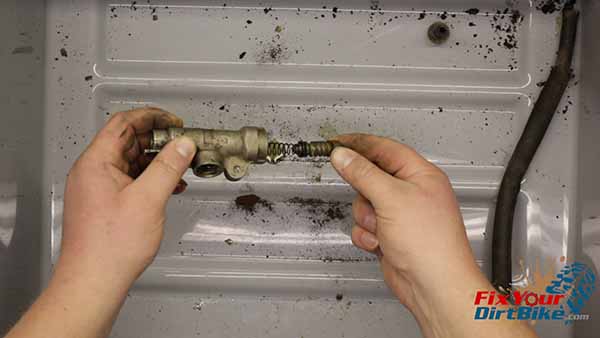
 Rear Master Cylinder Disassembly
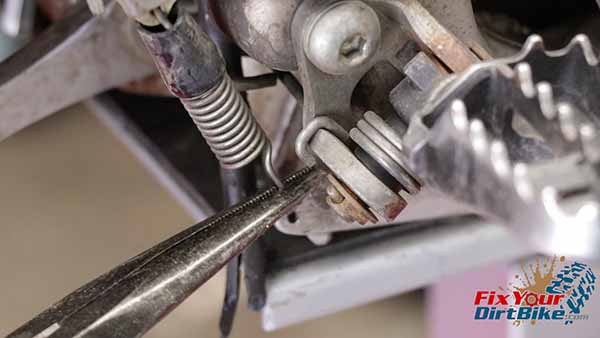
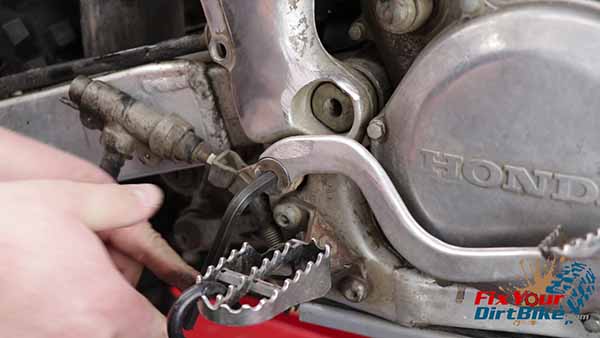
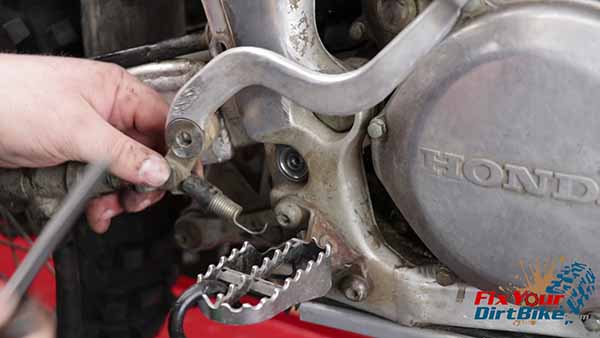
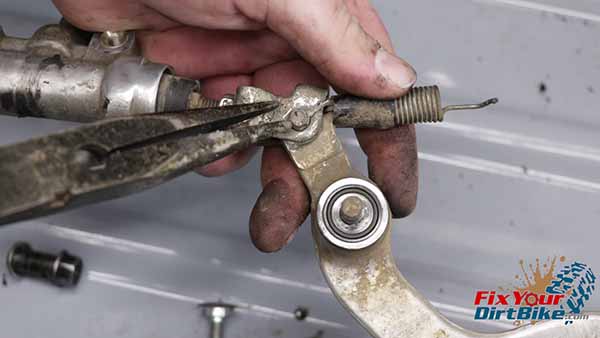
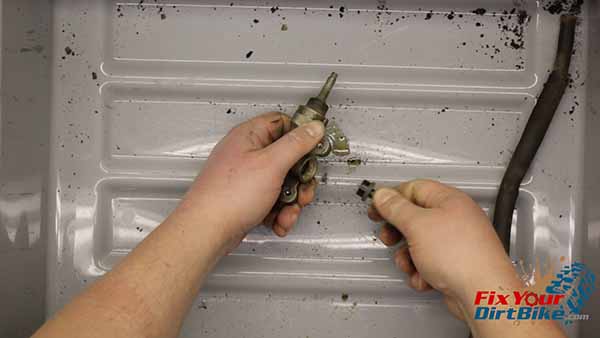
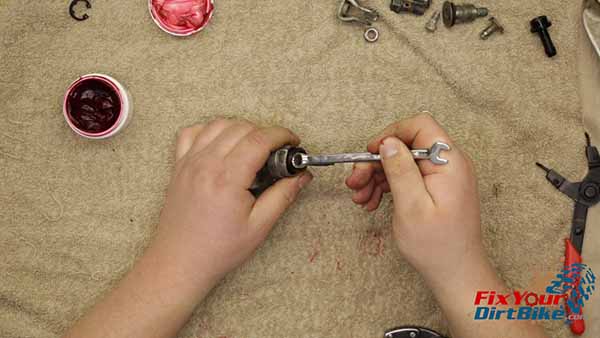
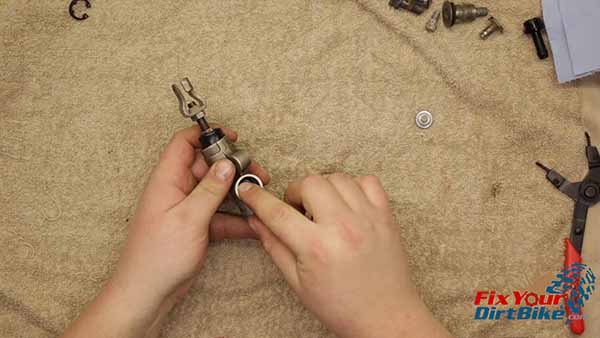
- When you take the entire assembly off your bike, you can remove the clevis cotter pin much faster. Even with the assembly off the bike, I still had a hard time pulling this cotter pin.
- With the brake pedal disconnected, remove the clevis and lock nut from the pushrod shaft.
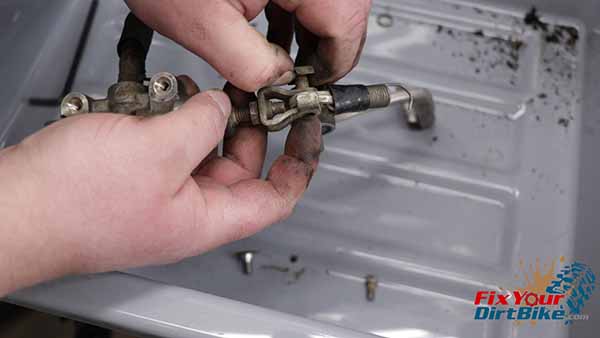
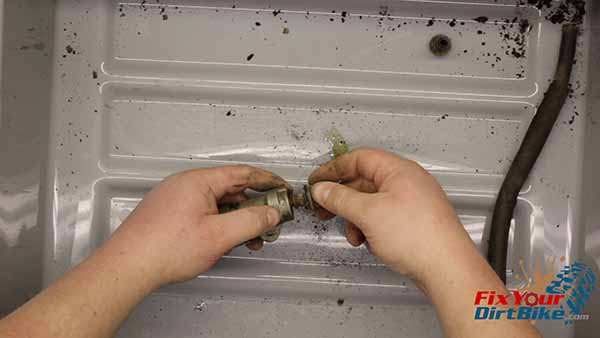
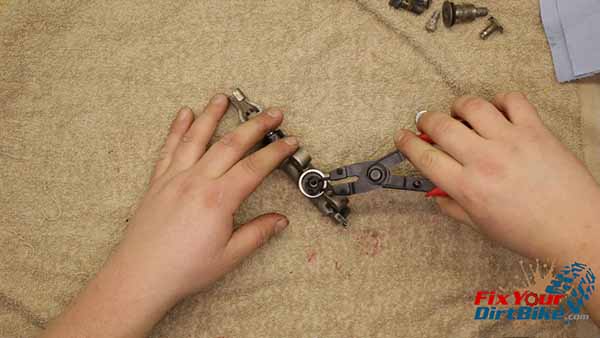
- Remove the reservoir and hose from the cylinder body.
- Remove the snap ring and reservoir hose mount.
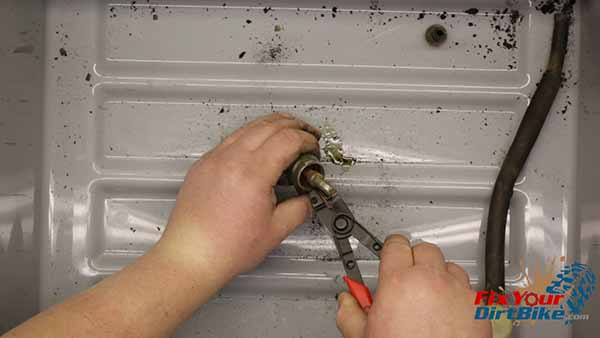
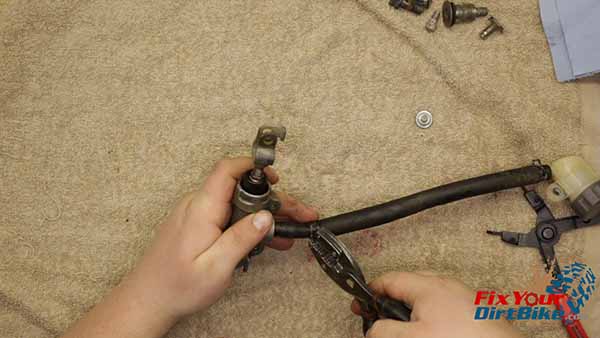
- Pull the boot from the pushrod shaft, then remove the snap ring.
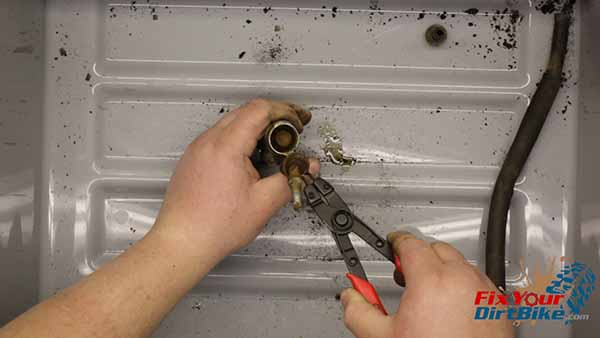
- Remove the pushrod and washer from the cylinder.
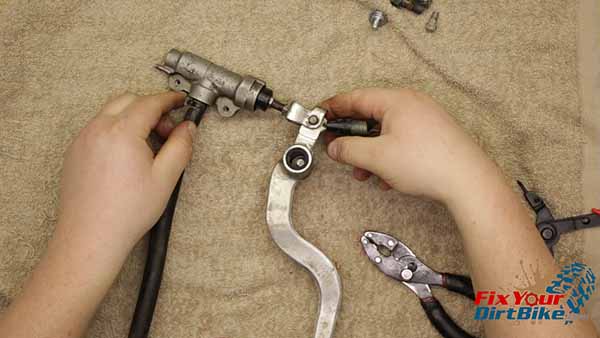
- Pull the piston and the spring. Remove the spring and cups from the piston.
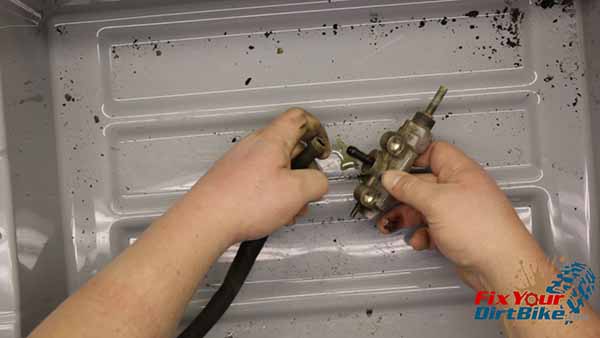
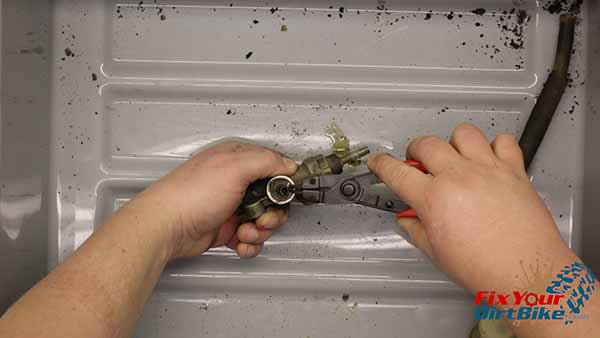
- Finally, disassemble the reservoir and hose.
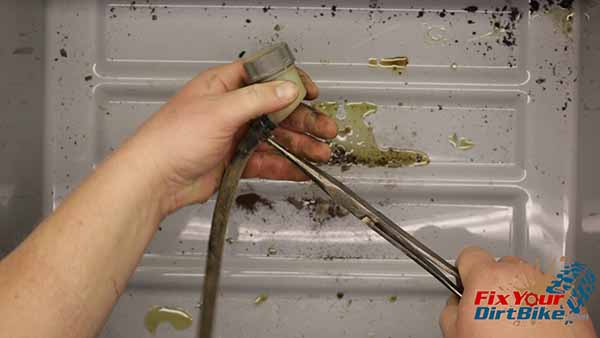
Clean & Inspect
- Clean every piece of the system and inspect them as you go. When cleaning brake components, all you need to use is clean brake fluid and a stiff brush.
- But this master cylinder was so rusty, this went from routine service to a full restoration, so I had to clean it with something harsher than brake fluid.
- So after I scrub all the grime and sand off all the rust, I’m going to have to thoroughly rinse and dry every component, then clean again with brake fluid, to remove any residue.
Related: How many hours are on the top end of your CR250? It might be time for a rebuild!
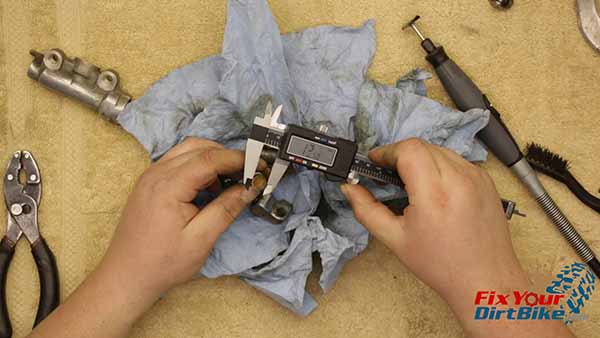
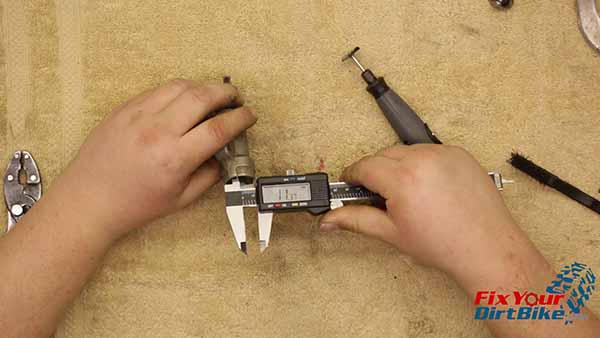
Measure
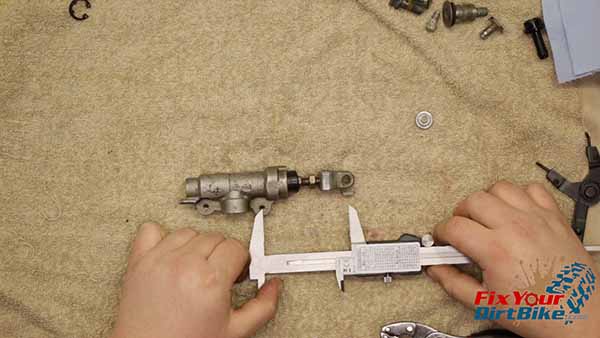
- Measure the inside diameter of the cylinder bore and the outside diameter of the piston.
- The cylinder bore should measure no greater than 12.76mm, and the piston should measure no less than 12.64mm.
- This cylinder bore is 12.77mm, and the piston is 12.59mm, which means this is out of spec by .06mm.
- I’m going to take my chances and keep using these parts. If you want to reuse out of spec parts, I didn’t tell you to do it.
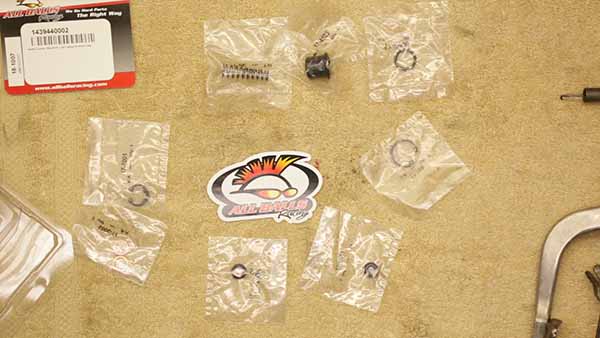
New Rear Master Cylinder Parts
- While everything is drying, take stock of your new parts. I am installing an All Balls master cylinder rebuild kit number 1439440002.
- This kit comes with a new spring, boot, reservoir o-ring, piston clip, piston cups, reservoir clip, and banjo bolt washers.
- Get Your Rebuild Kit Here
- Make sure to match the old parts with the new parts to make sure you’re not accidentally throwing away something you need.
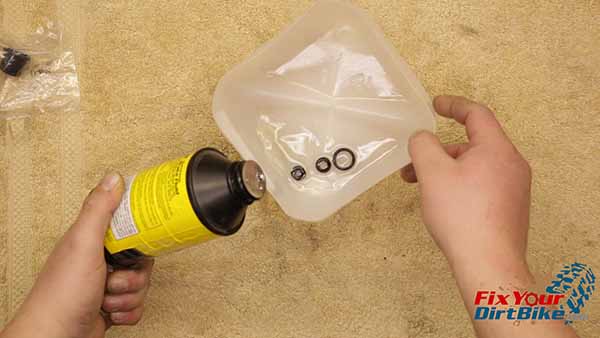
- Once you have your new parts ready, soak your new o-ring and piston cups in fresh brake fluid for 15 minutes to soften and lubricate for assembly.
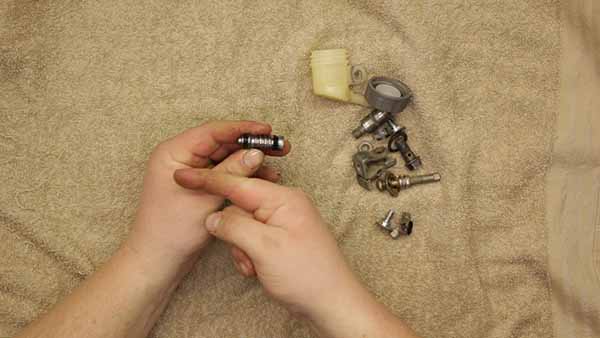
Rear Master Cylinder Assembly
- Start your assembly with the piston.
- Make sure to use brake fluid throughout the install to lubricate your parts
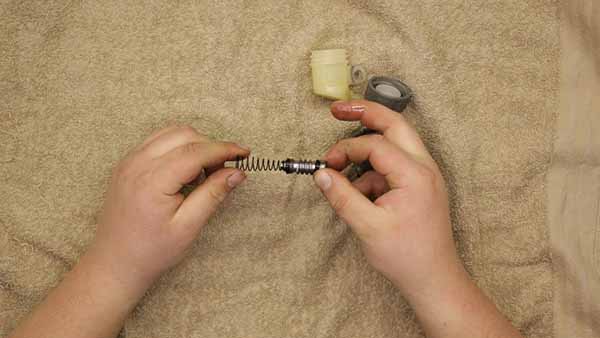
Install the large piston cup on the pushrod end and the small cup on the spring end. - Make sure to install the cups, so the wide side is facing the spring end.
Attach the new spring. - Install the piston past the first cup, and stop when the spring touched the end of the cylinder.
- The piston and cylinder are a very tight fit, so take care not to roll the piston cups on the way in.
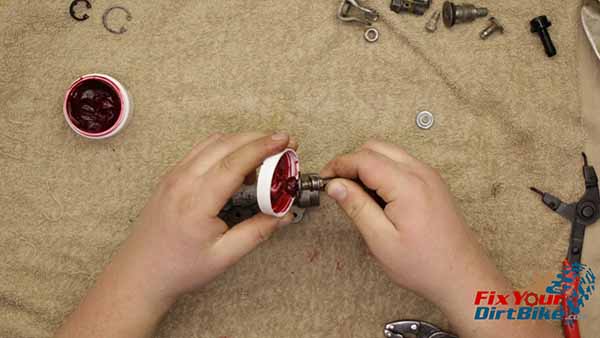
- Coat the pushrod end with rubber grease, and hold to the pushrod to the piston while you get the spring clip in position on the pushrod shaft.
- Grip the cylinder in your fist, and hold the pushrod with your thumb.
- Carefully press the pushrod down into the cylinder until the washer passes the spring clip groove, and install the spring clip.
- If your spring clip has a flat side and a rounded side, the flat side must face out.
Grease and install the boot. - You can use the round end of a small wrench to push the sides of the boot all the way into the bore.
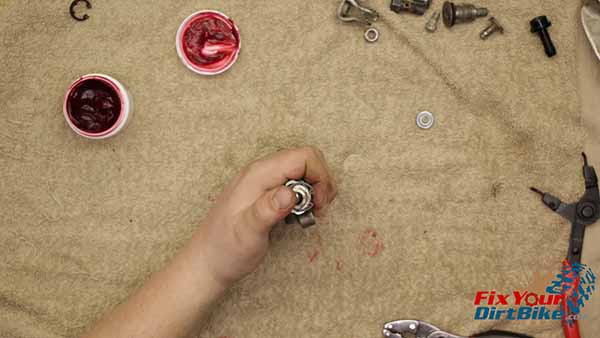
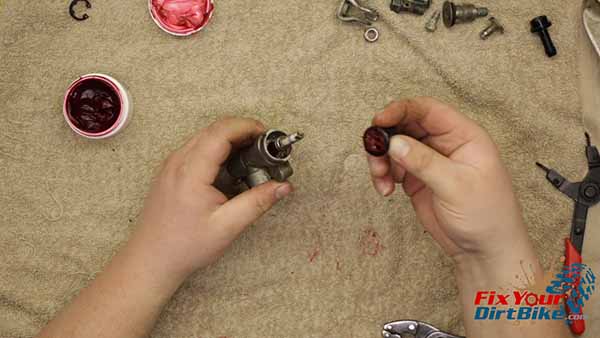
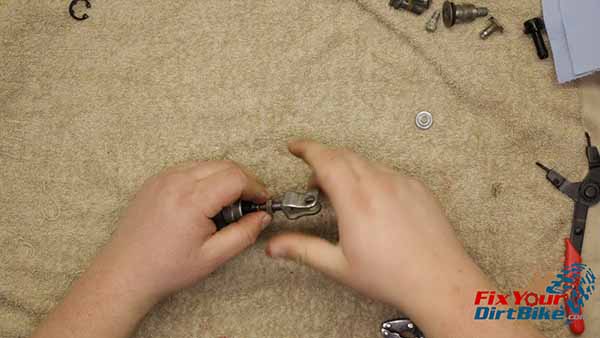
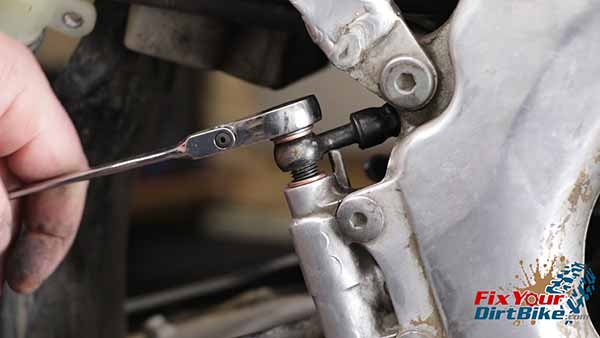
- Install the lock nut and clevis.
- Adjust the clevis so the center of the first mounting hole, and the center of the clevis hole are 75mm apart.
- Install the new o-ring for the reservoir hose mount.
- Install the hose mount, and secure it with the spring clip.
- If your spring clip has a flat side and a rounded side, the flat side must face out.
The hose mount may feel loose, but the pressure in the system will push it tight to the clip. - Assemble and install the reservoir and hose.
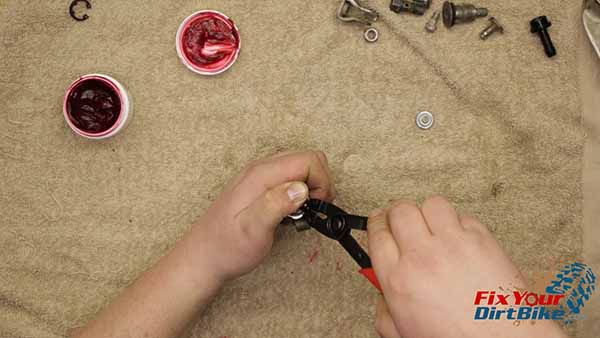
- Reassemble the brake lever and clevis with a new cotter pin.

Rear Master Cylinder Installation
- Install the brake lever and master cylinder, then push the reservoir into the frame.
- Do not attach the reservoir; you will need access to fill it when replacing brake fluid.
Install the banjo bolt with the new seal washers, and reattach the return spring.
Torque Specs
- Banjo Bolt 25 ft-lbs
- Master Cylinder Mounting Bolts 9 ft-lbs
- Brake Lever Pivot Bolt 19 ft-lbs
If you want to help take fix your dirt bike to the next level, check out my Patreon page!
If you have any questions or anything to add, please leave them in the comments or on our FaceBook page!
Back To 1997-2001 Honda CR250 Master Repair Index
