
How To Service The Rear Brake Caliper On Your 97-01 Honda CR250
 The Tools You Will Need
- 12mm Socket
- 12mm Box Wrench
- Torque Wrench
- 6mm Hex Socket
- 6mm Hex Wrench
- A Stiff Brush
- Calipers → https://amzn.to/3BRoCXX
- Gloves
- Shop Towels
- Safety Glasses → https://bulltru.com
The Parts You Will Need
- New ’97-’01 Honda CR250 Rear Caliper Rebuild Kit → https://amzn.to/40dhtJm
- New Brake Pads → https://amzn.to/4ae5obn
- Rubber Grease → https://amzn.to/3WetmOa
- DOT 4 Brake Fluid → https://amzn.to/42bPEUr
This rebuild should cost no more than $25 and take around 1 hour.
Pre-Service Notes
- I recommend opening the Service & Torque Specs in a new tab for easy reference.
- If you need parts and tools, make sure to buy them here! → https://amzn.to/4h4lDKq
- Brake fluid damages everything, so keep your towels handy!
- Pictures with captions are after the steps below.
- If you need any help, don’t hesitate to ask!
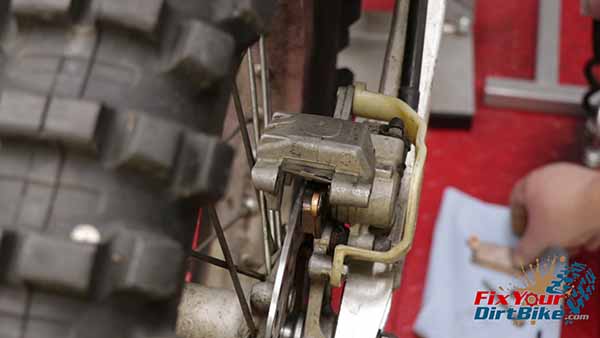
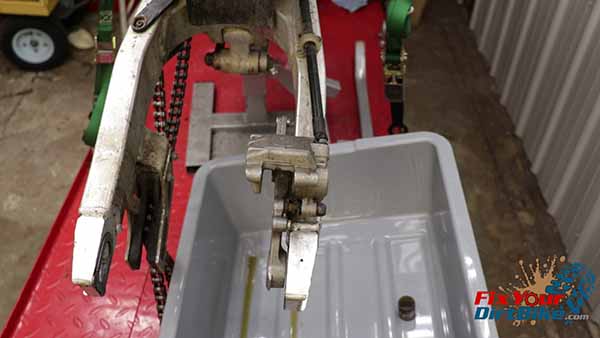
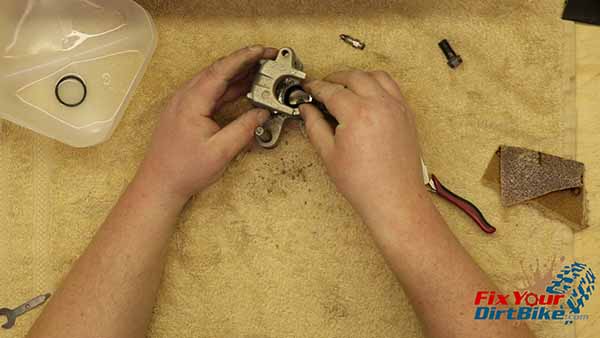
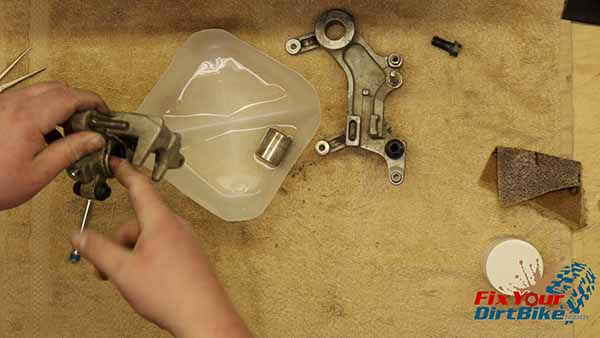
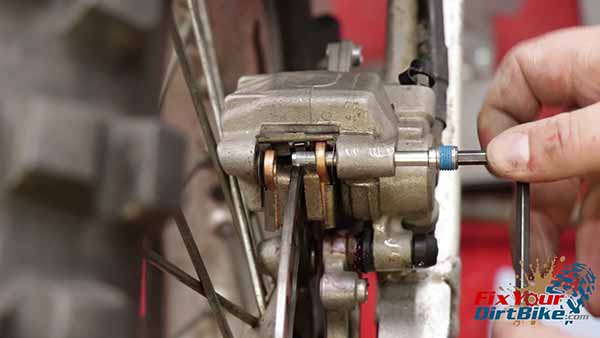
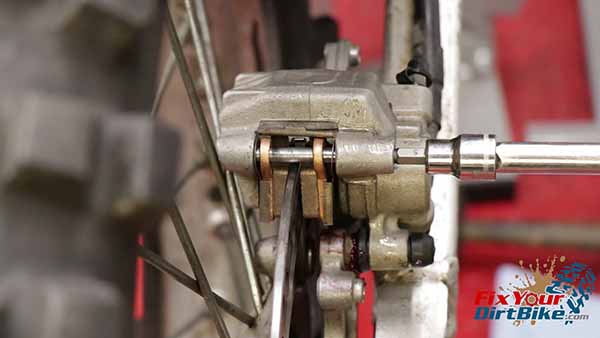
Rear Caliper Removal
- Start by removing the brake pad pin and brake pads while your caliper is still on your bike.
- Remove the caliper guard, then separate the caliper from the caliper bracket.
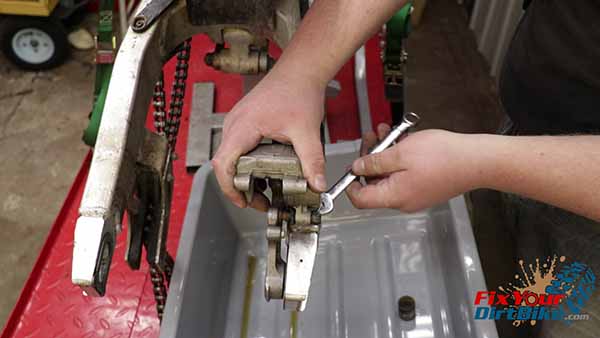
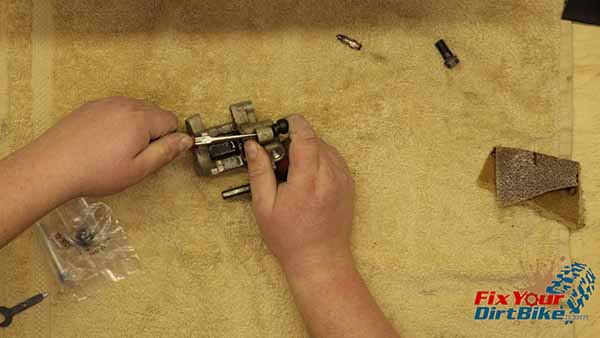
- Pump the brake pedal to build pressure in the brake line, pushing the piston out of the caliper body.
- If your piston will not unseat itself, pump it out of the body as far as you can, then remove it by hand, twisting it.
- Reassemble the caliper and bracket, re-mount the assembly, and loosen the banjo bolt.
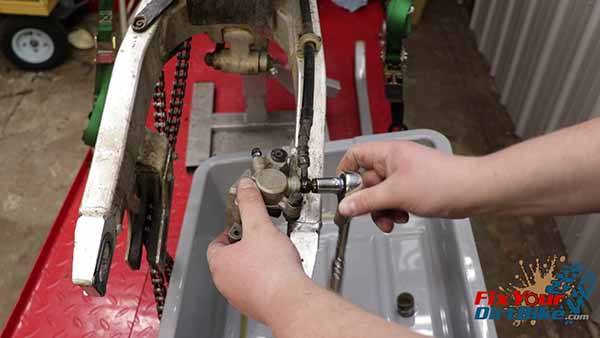
- Remove the assembly, then remove the banjo bolt and seal washers.
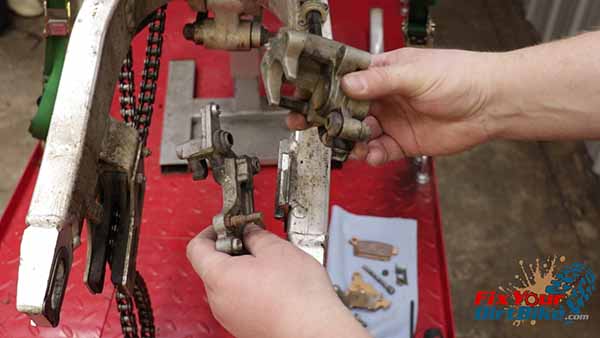

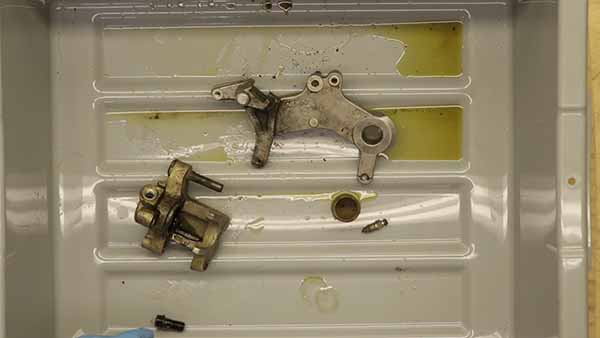
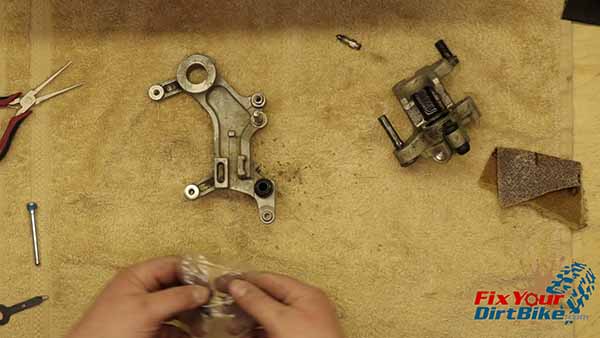
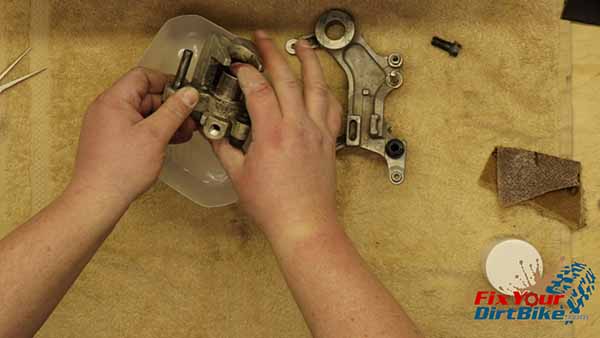
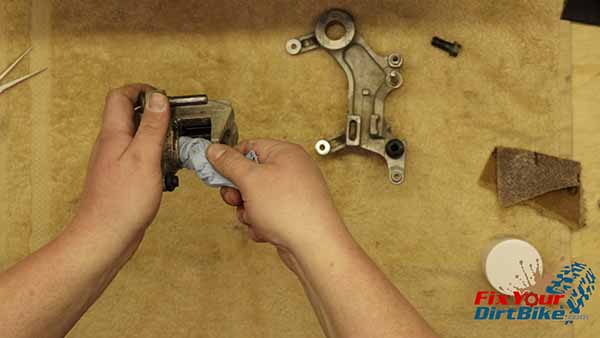
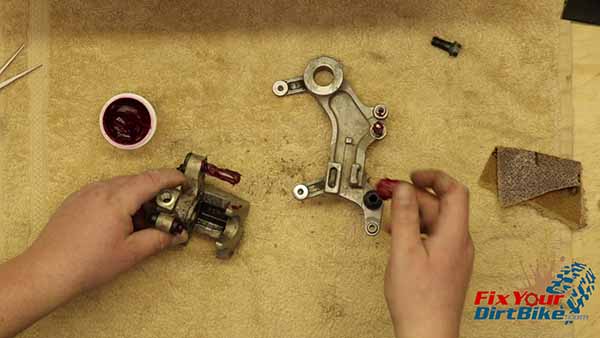
Clean & Inspect
- Clean every part of the assembly with fresh brake fluid and a stiff bristle brush.
- As you can see, I had to take extra steps to clean this rear caliper thoroughly. So, after scrubbing, grinding, and sand, I will have to go back through with brake cleaner for the final clean.
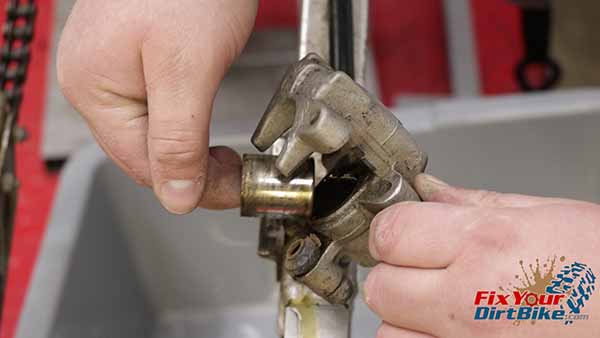
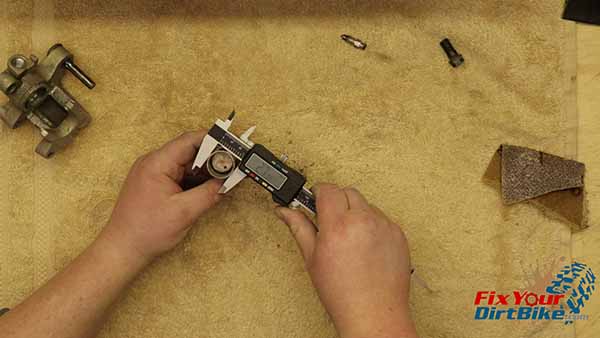
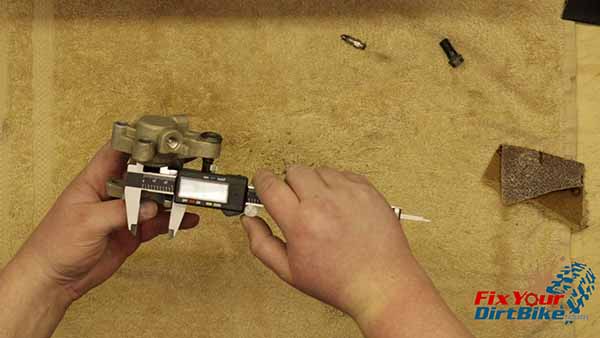
Measure the piston’s outside diameter and the piston bore’s inside diameter. - The piston should be no less than 26.89mm, and the piston bore should be no More than 27.06mm.
Related: Rear swingarm rebuild for your 1997-2001 Honda CR250.
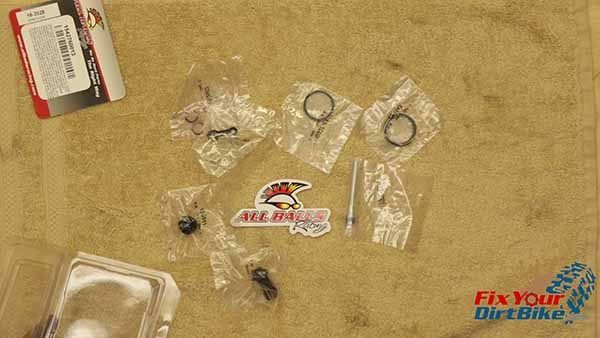
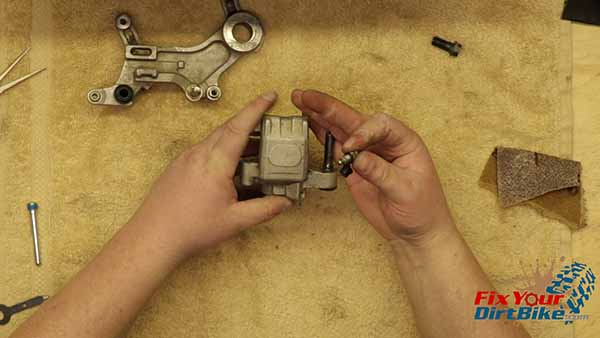
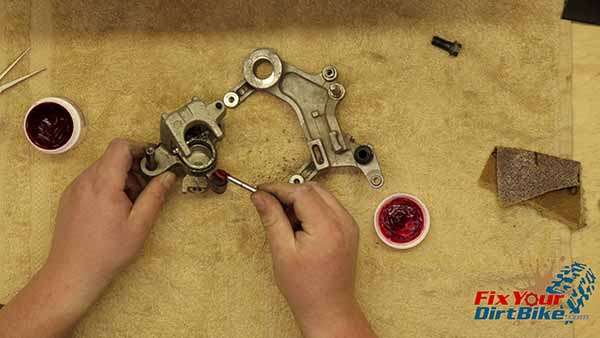
New Brake Parts
- Before assembly, take stock of your new parts so you don’t accidentally throw away something you need.
- I am installing an All Balls rebuild kit with a new banjo bolt seal, washers, dust seal, piston seal, pad pin, bleeder cap cover, and new boots. (Get Yours HERE)
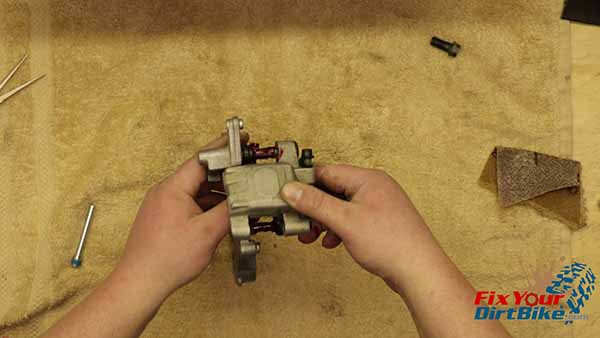
Rear Caliper Assembly
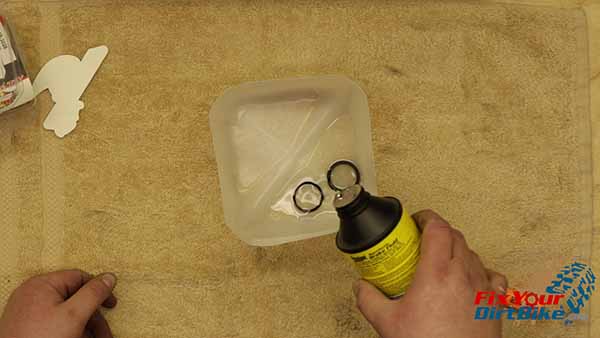
- Soak your new dust and piston seal in fresh stop juice for about 15 minutes before the installation.
- Start by installing your new piston seal and dust seal.
- Install the new boots. The long boot goes on the caliper, and the short boot goes on the bracket.
- Install the new bleeder valve cap, then install the bleeder valve.
- Coat the piston in brake fluid, then install the piston with the open end facing OUT.
- Make sure to wipe off any remaining brake fluid.
- Use your new pad pin to grease the insides of the boots.
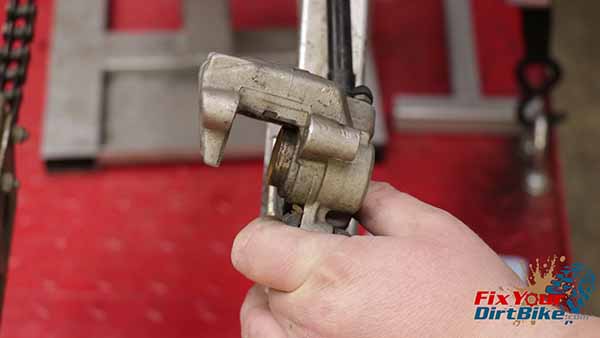
- Add a layer of grease to the caliper sliders, and assemble the caliper and the mount.

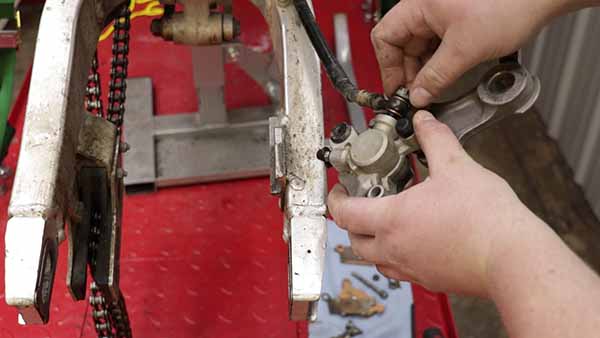
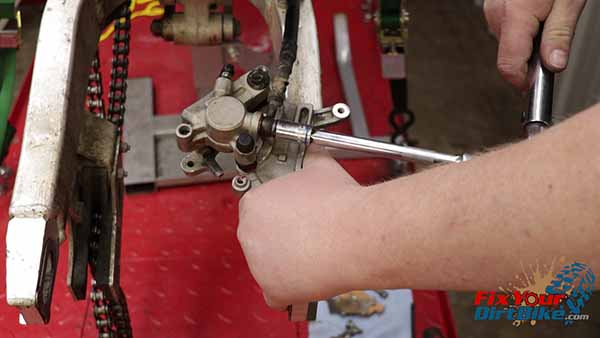
 Installation
- Install the banjo bolt with new seal washers.
- Hold the bracket to the swingarm, and torque the banjo bolt to 25-foot-pounds.
- Install the rear wheel, and install the brake pads.
- Torque the brake pad pin to 13-foot pounds.
Torque Specs
- Banjo Bolt 25 ft-lbs
- Brake Pad Pin 13 ft-lbs
If you want to help take Fix Your Dirt Bike to the next level, check out my Patreon page!
If you have any questions or comments, please leave them in the comments or on our Facebook page!
Keep Your ’97-’01 CR250 Running Right!
- Service Specification
- Clutch Replacement
- Carburetor Service
- Engine Top End
- Engine Bottom End
- Brakes
- Exhaust
- Front Suspension
- Rear Suspension
- Wheels & Tires
- Kickstarter Inspection
- External Shift Linkage


