
This is PART 2 of the step-by-step rebuild for your Showa KZ3P SA-1 rear shock.
You can find Part 1: Disassembly & Inspection here, and Part 3: Body Assembly here.
You Can Get Parts And Tools Through Our Partner Links HERE!
Click Here To Open The Rear Suspension Specifications In A New Window
1997-2001 Honda CR250 Rear Shock Shaft Assembly
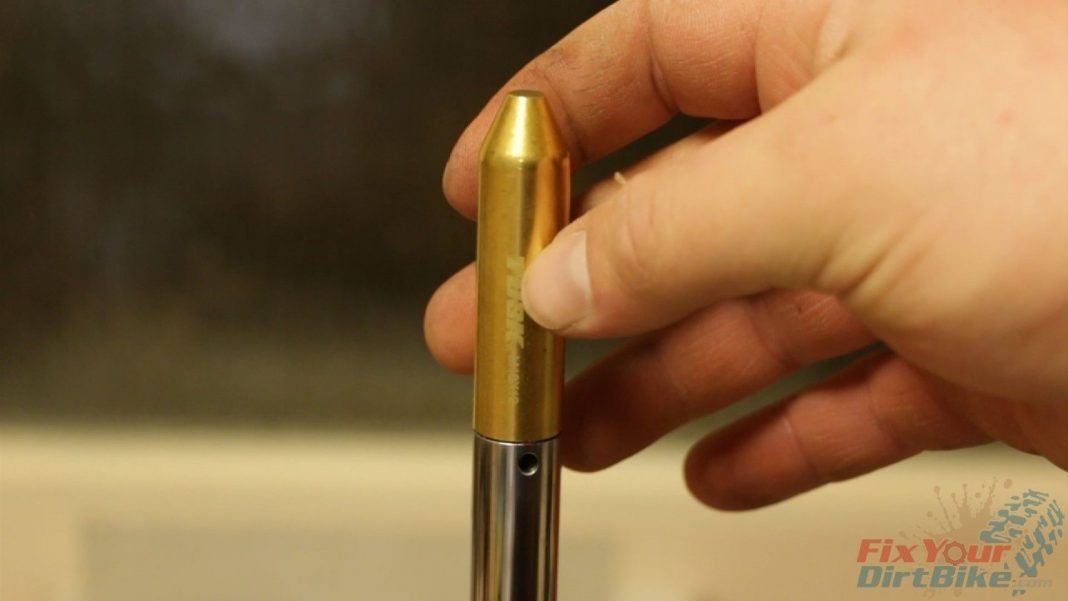
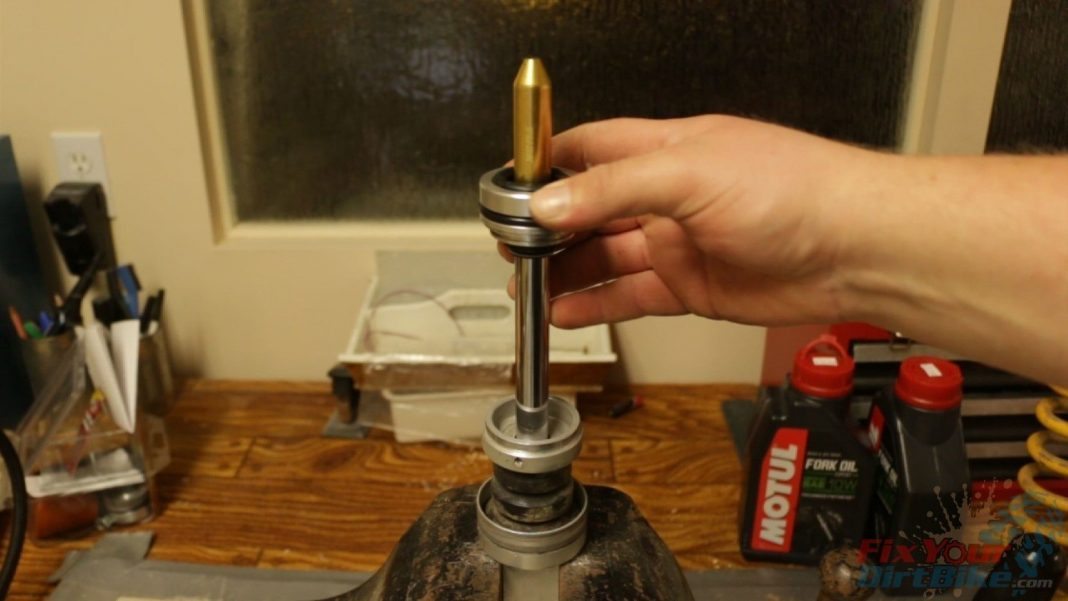
- Step 10: Place the seal bullet over the end of the shock shaft, this will not only protect the threads, but it will create a smooth surface for the seal head to slide over.
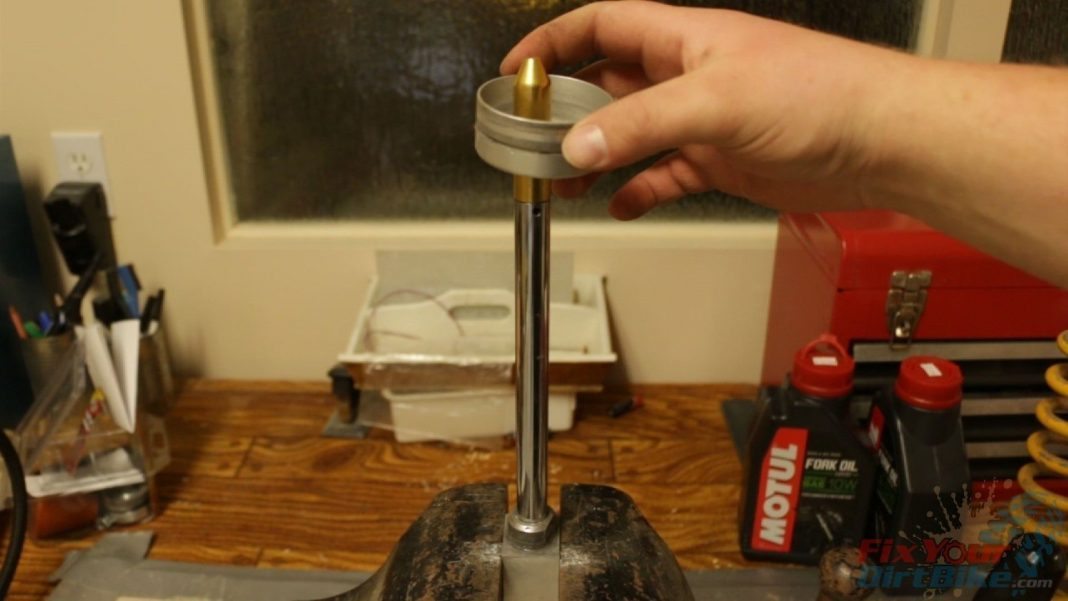
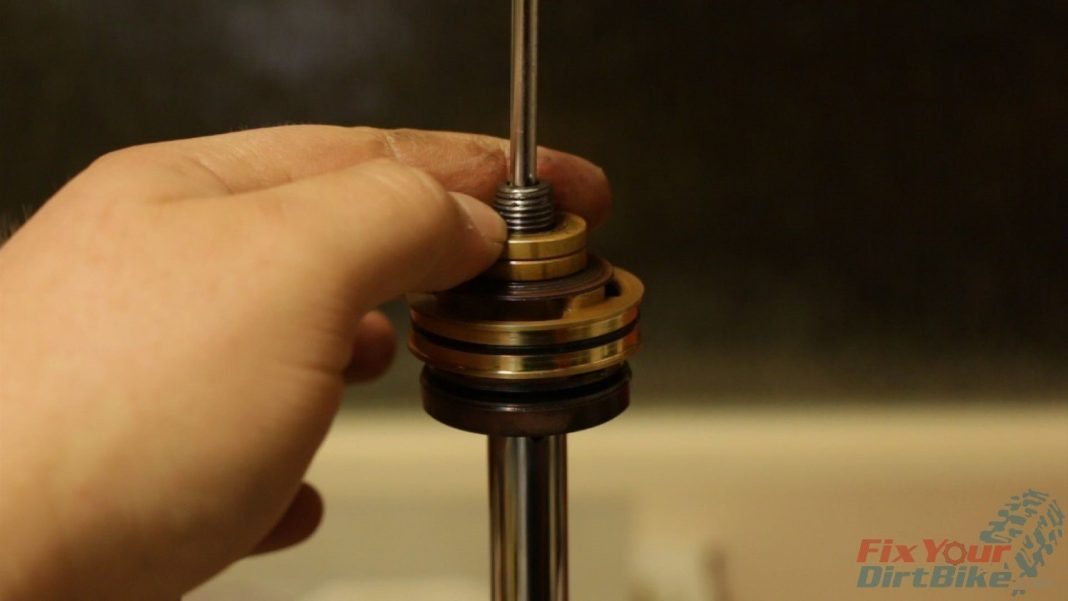
- Step 11: Install the collar, bumper, shock body cap, and seal head.
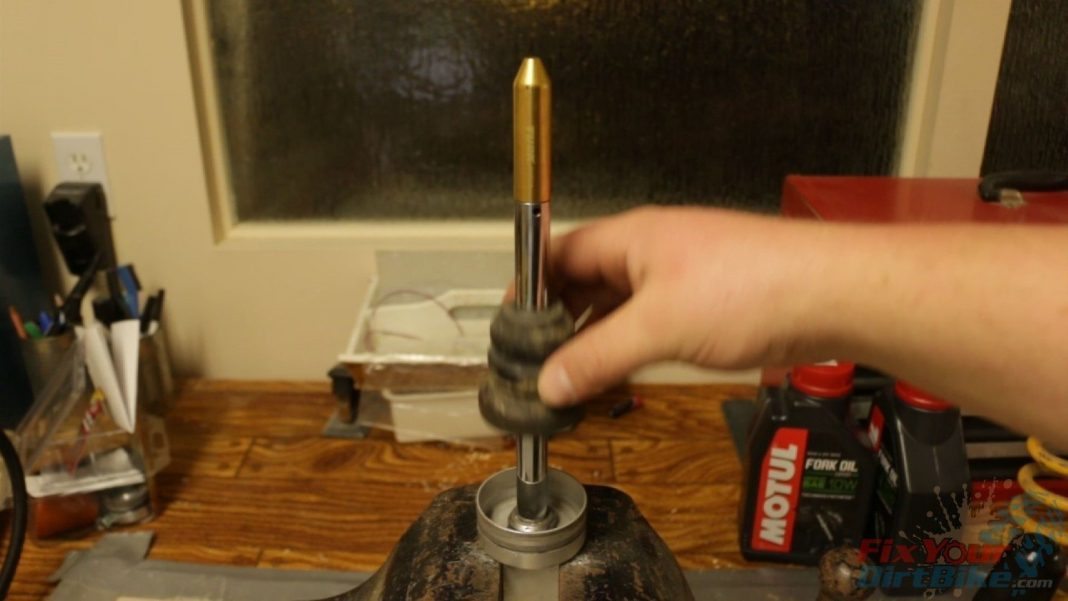
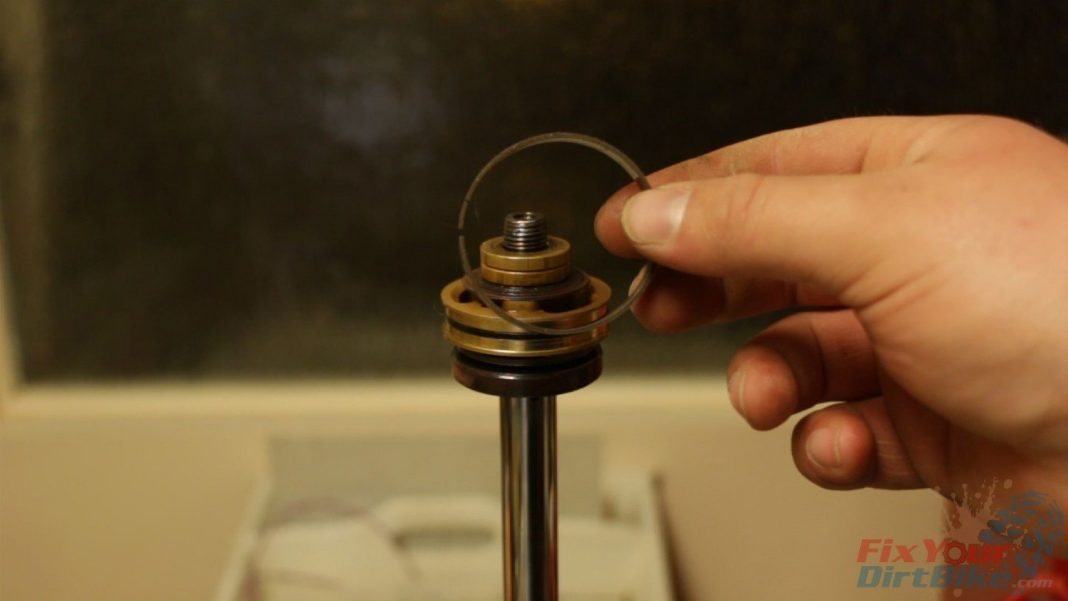
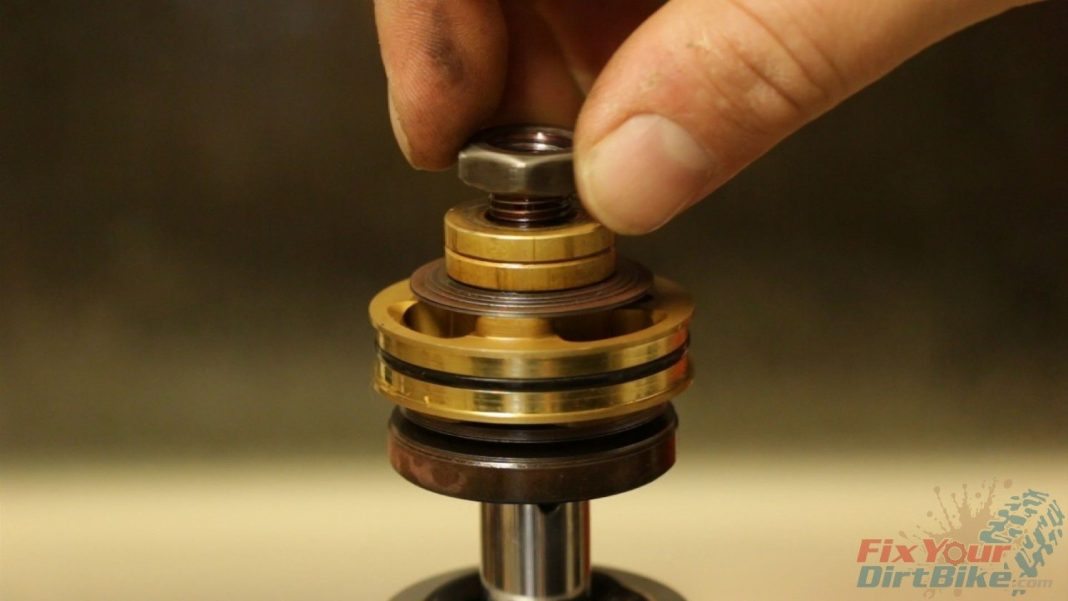
- Step 12: Install the valve stack. Slide the shims and valve around until they line up, do not force them!
- *Do not install the valve bushing yet. The valve bushing creates a seal around the valve, but when filing the rear shock body with oil, the oil needs to flow around the valve to get as much air out as possible. We will install the valve bushing right before the final assembly.
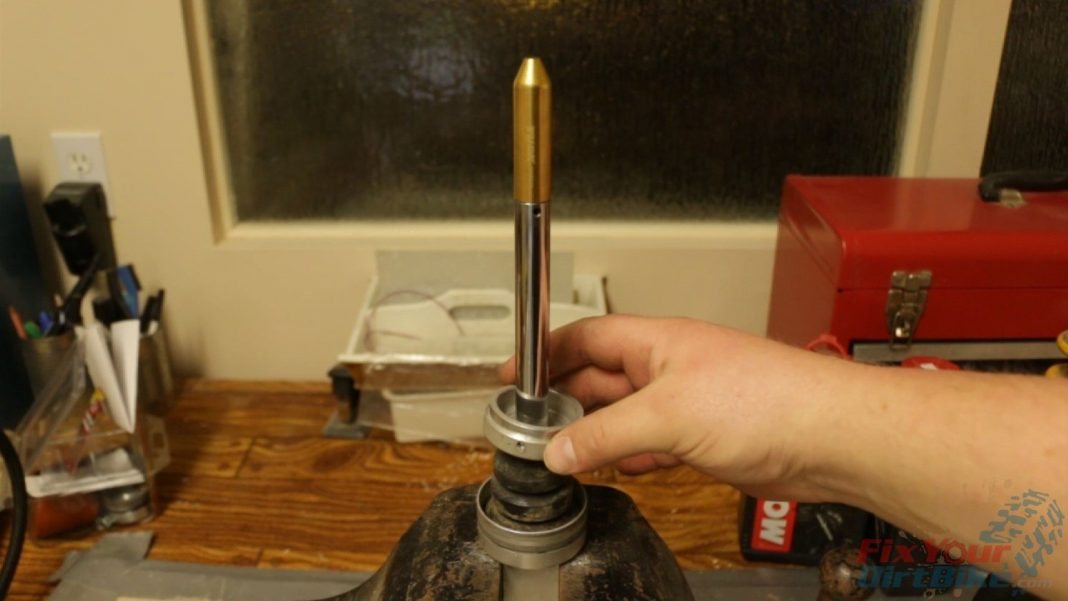
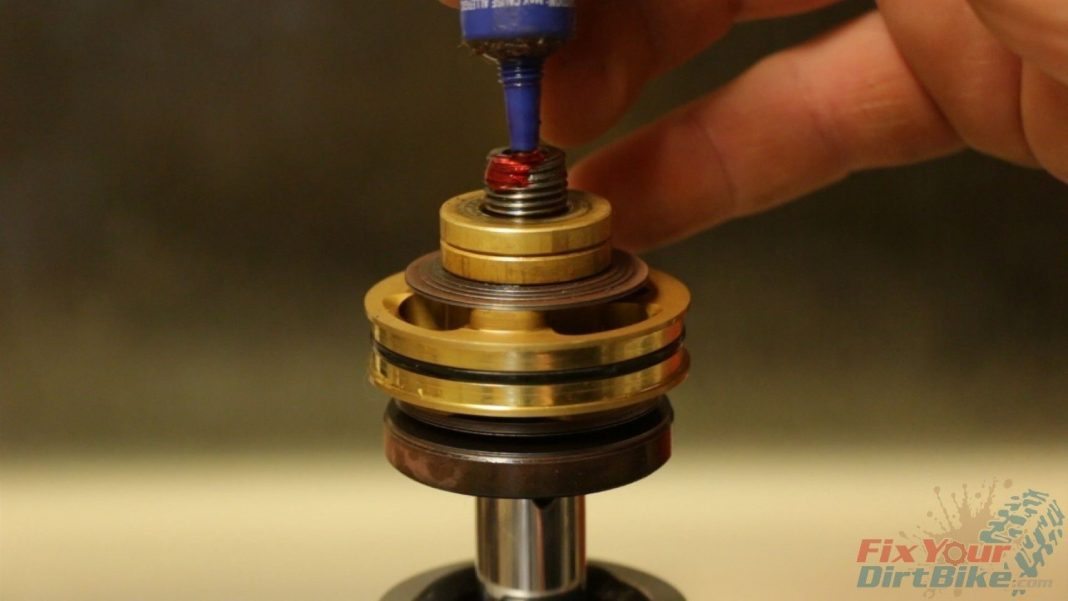
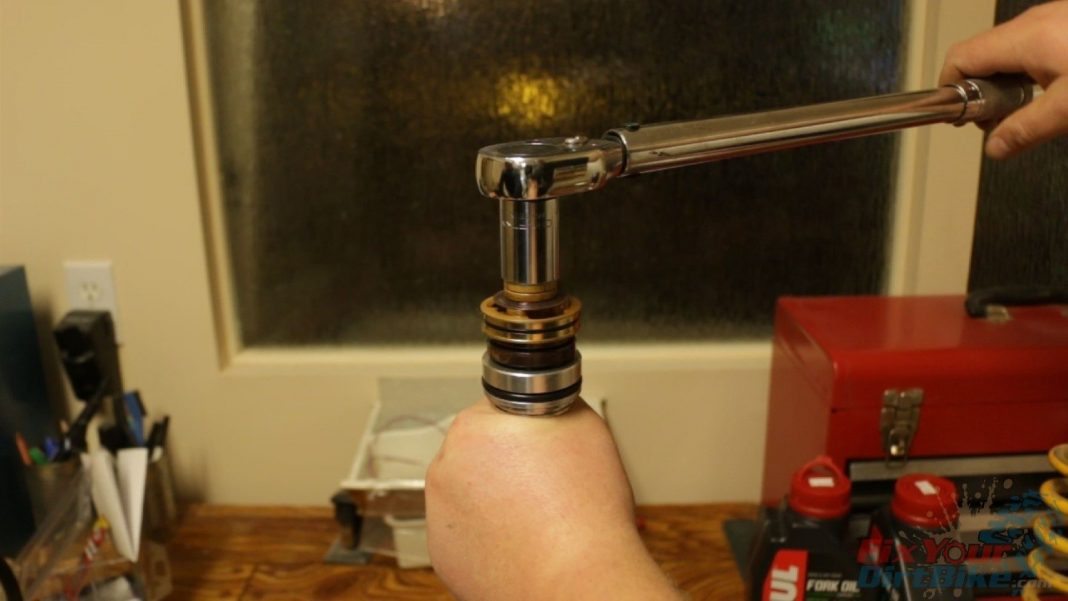
- Step 13: Apply a generous amount of thread locker to the shaft threads.
- Step 14: Thread and torque the shaft nut to 35 to 50 foot-pounds
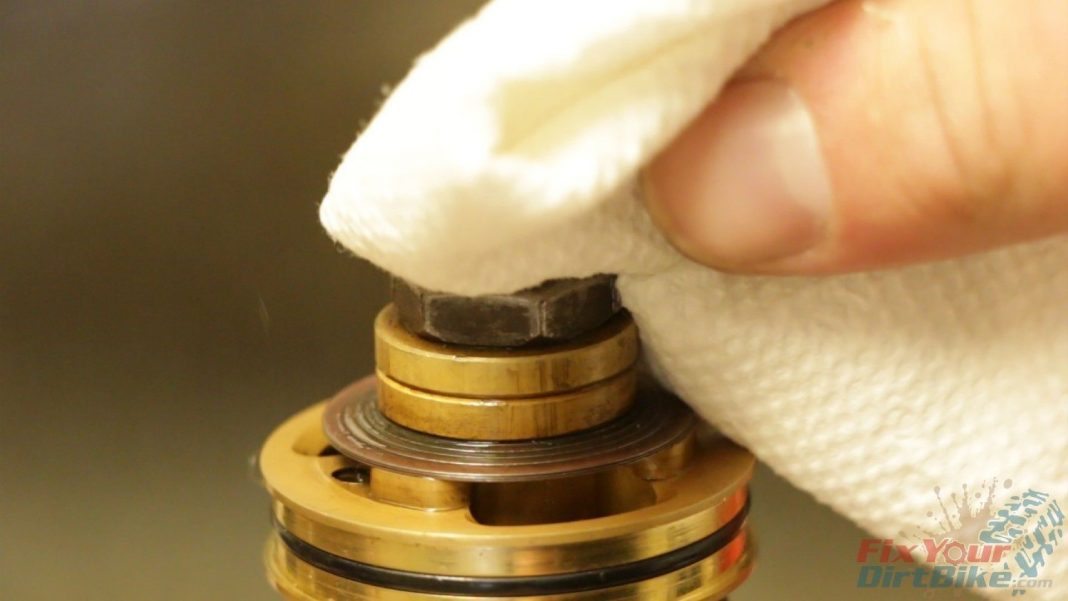
- Wipe off any excess thread locker. You don’t want it flaking off and clogging up your rear shock.
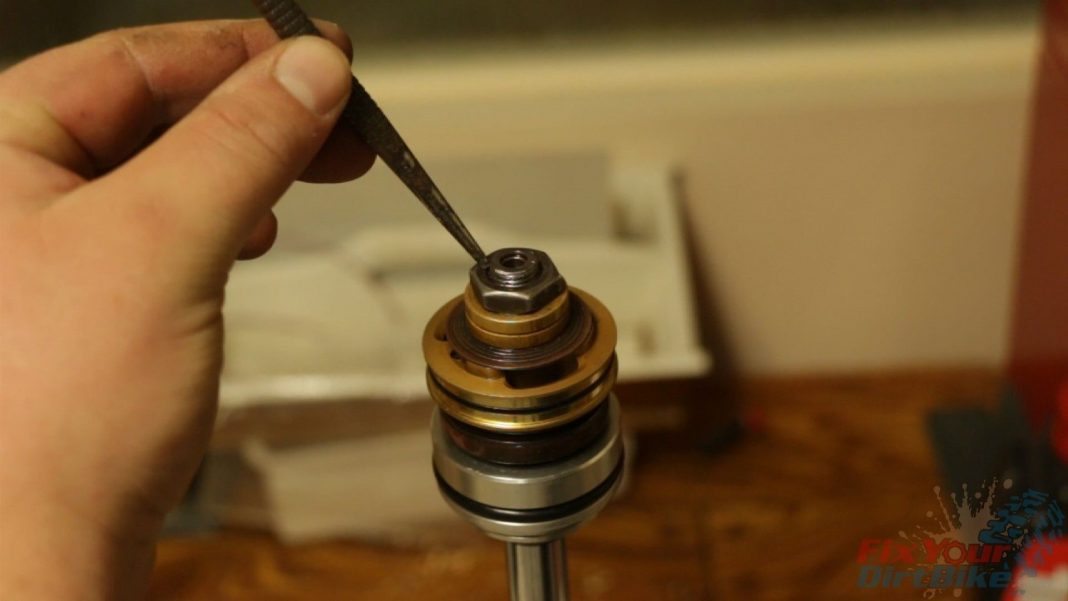
- Step 15: After you torque the shaft nut, use a punch and hammer to seal the threads.
If you have any questions or anything to add, please leave them in the comments or on our FaceBook page!
97-99 Honda CR250 Rear Shock Rebuild Part 3: Body Assembly →
Keep Your ’97-’01 CR250 Running Right!
- Service Specification
- Clutch Replacement
- Carburetor Service
- Engine Top End
- Engine Bottom End
- Brakes
- Exhaust
- Front Suspension
- Rear Suspension
- Wheels & Tires
- Kickstarter Inspection
- External Shift Linkage
