PART 1 of the step-by-step rebuild for 1998-2001 Showa 47mm suspension forks.
You can find Part 2: Inspection and Part 3: Installation.
1997 – 2001 Honda CR250 Front Fork Rebuild
This dirt bike is a 1997 Honda CR250. I would be rebuilding the original forks, but the rebound clickers broke off on both forks and replacement fork cap assemblies are hard to find and way too expensive.
Instead, I found a set of 1998 forks on eBay for around $115, which I will show you how to rebuild.
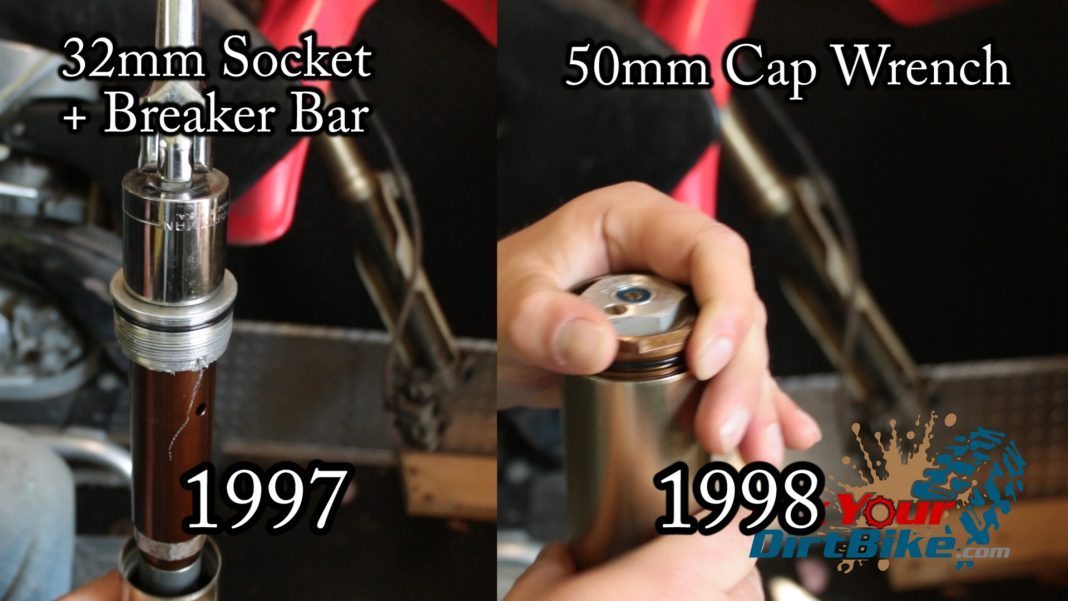
The 1997 and 1998 forks are the same, except for how the fork cap assembly is connected to the fork compression unit and tube. The ’97 fork has a cap that screws onto the OUTSIDE of the compression unit (damper) and uses a set screw to keep the cap in place.
This proved to be a problem for people because they would forget to tighten the set screw and strip out the fork tube… like I did…
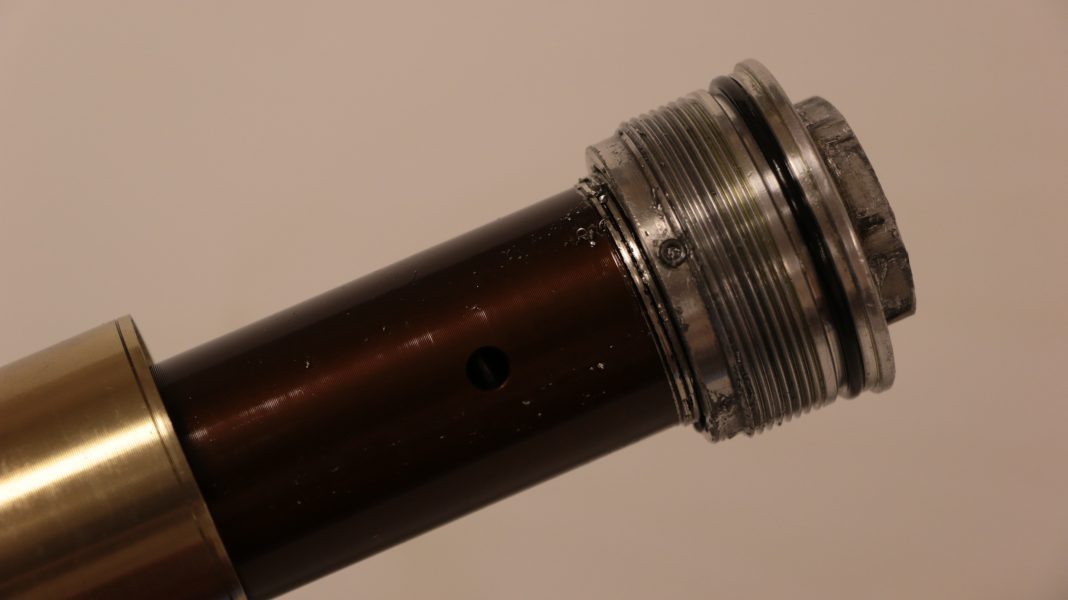 So, in ’98, Honda changed the design to a fork cap that threads INTO the compression unit, and then the compression unit threads into the fork tube.
The only difference between a ’97 and a ”98-’01 fork is the fork cap assembly; other than that, everything is the same as far as disassembly, maintenance, and reassembly go.
First, gather all the necessary tools.
Related: When was the last time you changed the bearings on your bottom end?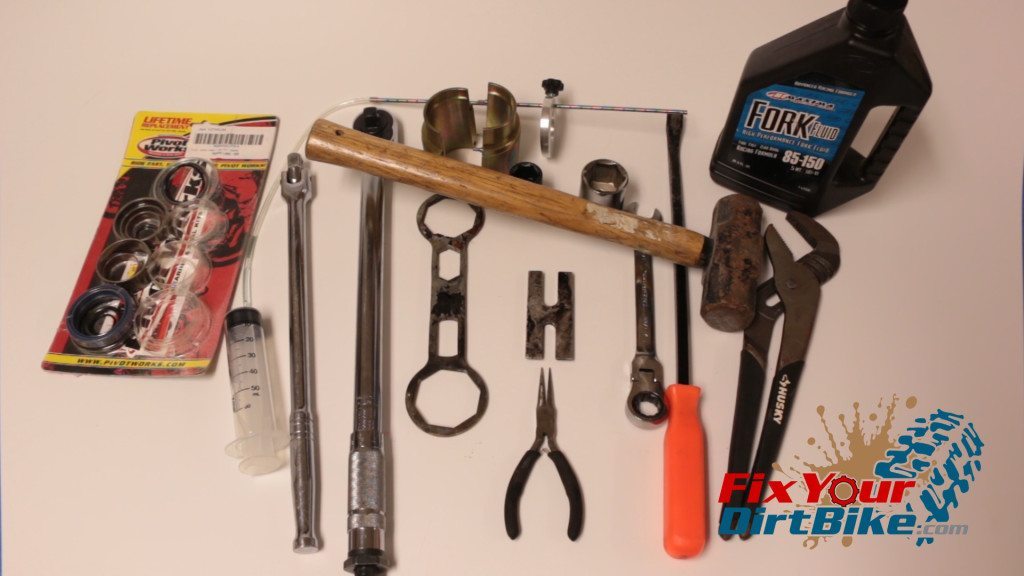
Tools You Will Need
- 50mm fork cap wrench (’98) → https://amzn.to/40yj12b
- Compression rod stopper/holder → https://amzn.to/42fyl4S
- 47mm fork seal driver → https://amzn.to/4fWa7jd
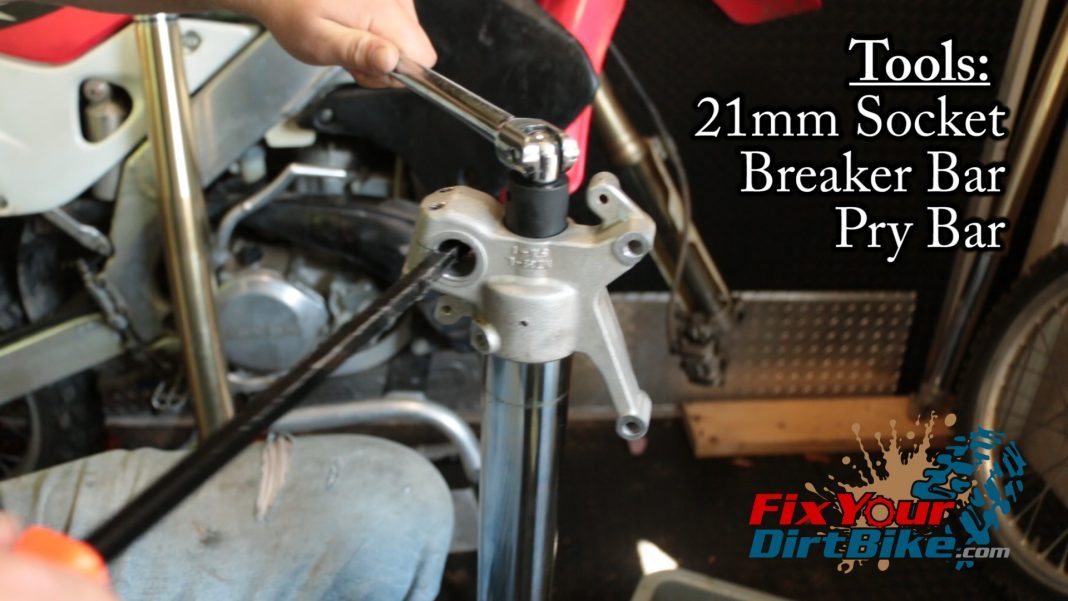
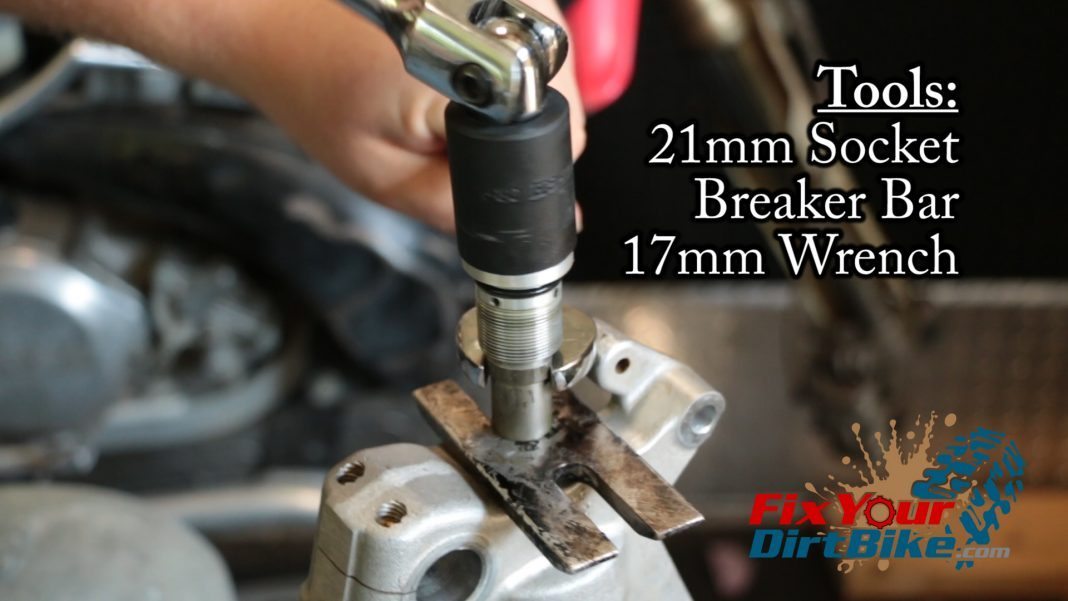
- 21mm socket
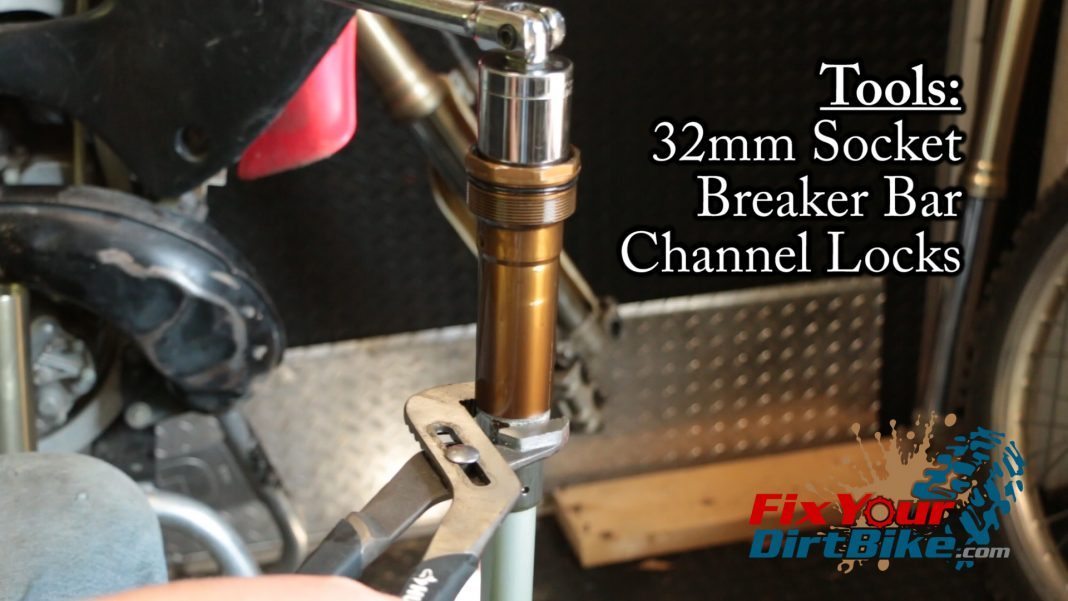
- 32mm socket
- 17mm box wrench
- Needle-Nose pliers
- Torque Wrench → https://amzn.to/3DOqm4B
- Breaker bar
- Pry bar
- Channel-lock pliers
- Level setting gauge → https://amzn.to/4gTKscf
- Hammer
The Parts You Will Need
- Fork oil → https://amzn.to/4h5uiMO
- Bushings and O-rings → https://amzn.to/3PAJHcg
*You must know proper torque specifications and oil levels; click here to open this information in a new window.
Start by loosening the top bridge screws of the triple tree and loosen the fork cap in the tree. Just loosen, do not unscrew! Loosen the lower bridge screws and remove the fork.
Let’s go!
Front Fork Disassembly
- Step 1: Separate the fork cap from the fork tube.
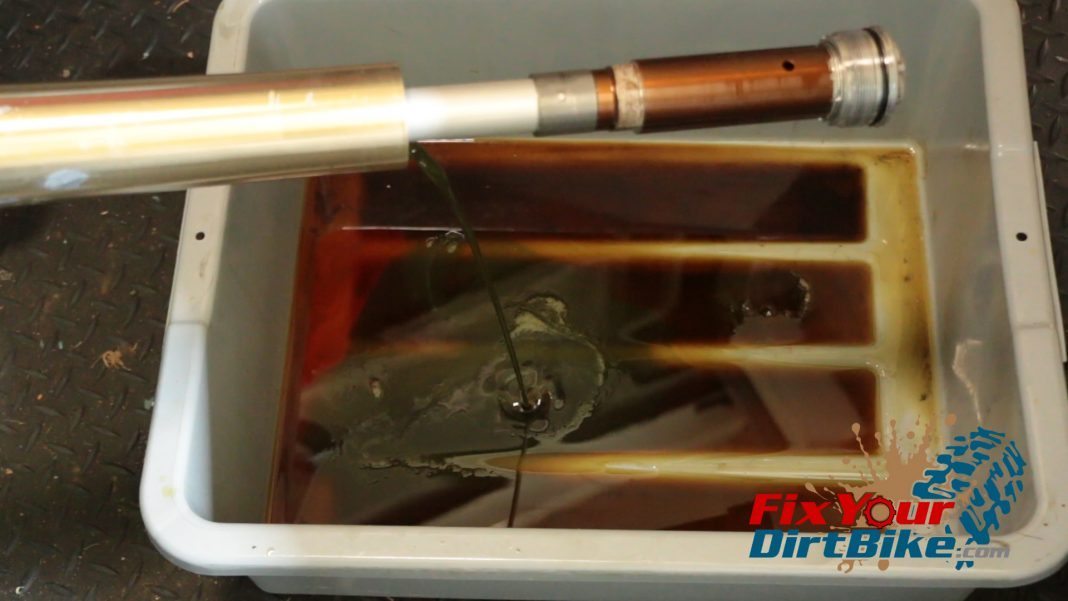
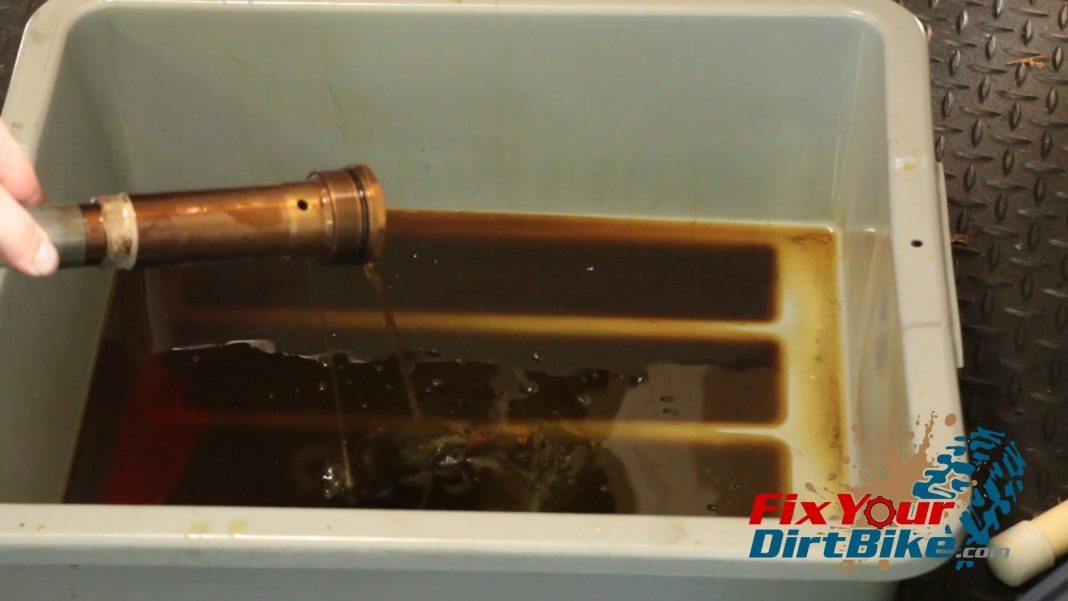
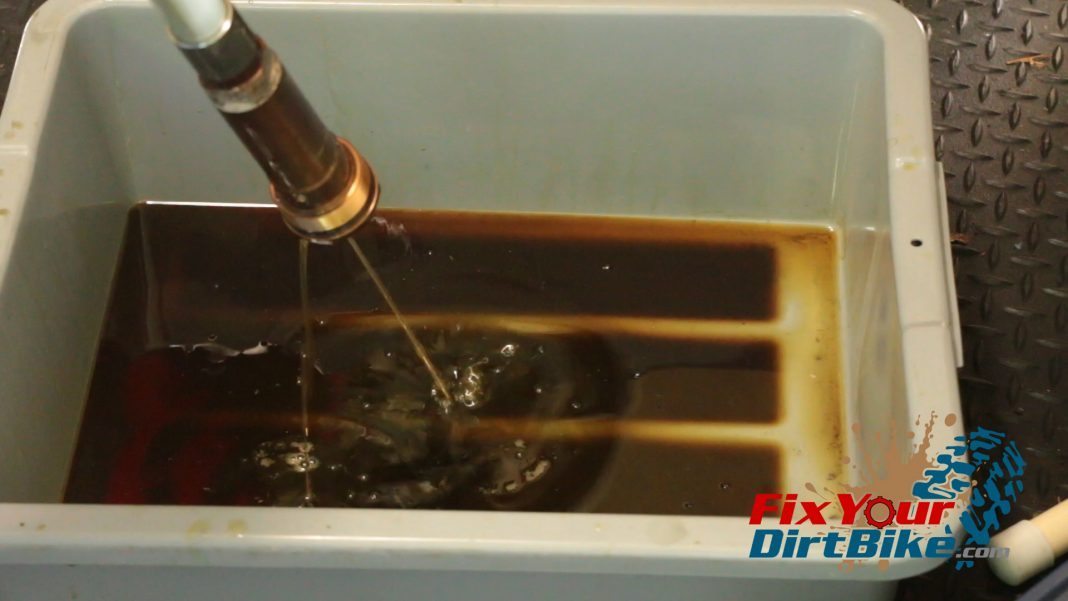
- Step 2: Drain the old oil.
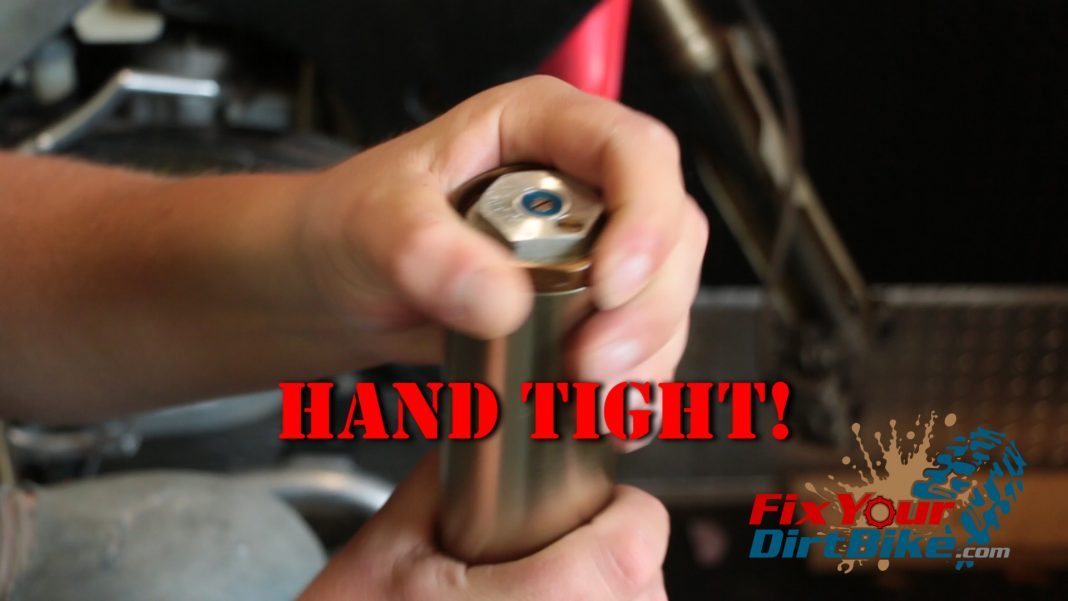
- Step 3: Re-thread the fork cap (hand tight)
- Step 4: Back out compression and rebound clickers.
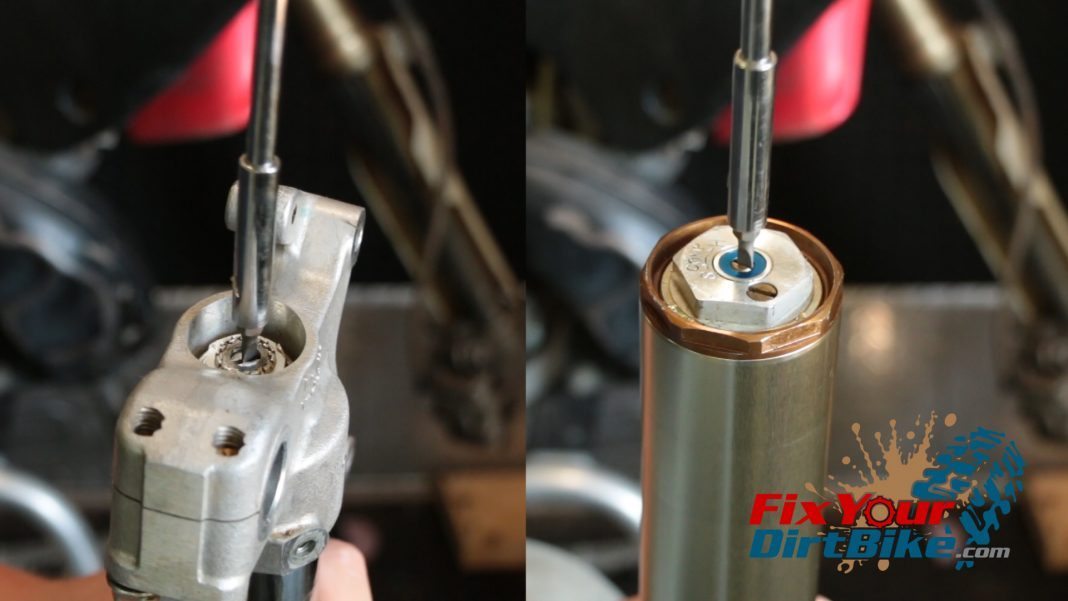
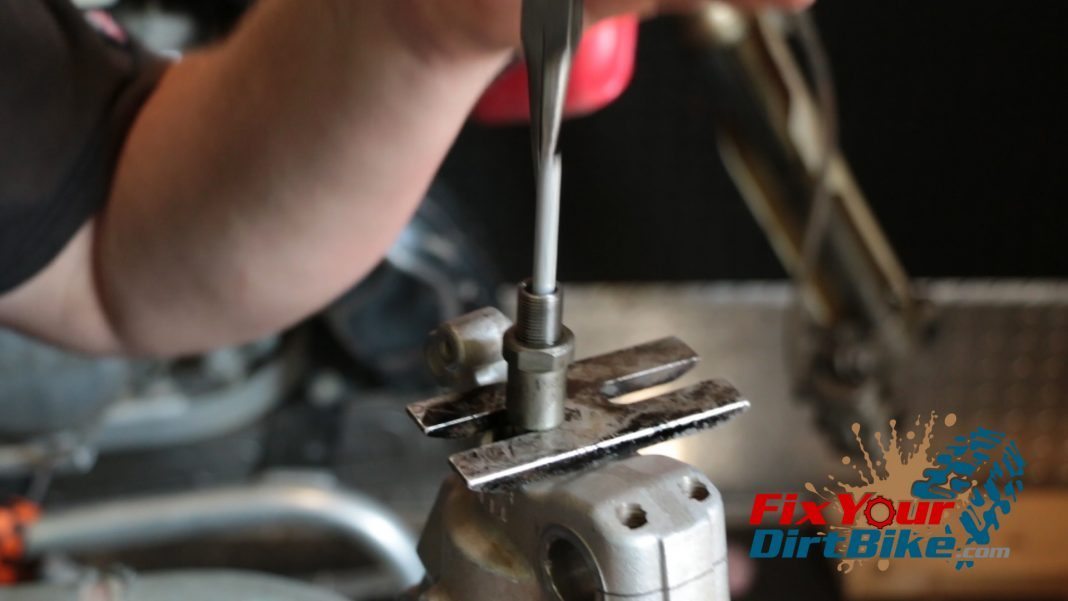
- Step 5: Unscrew the center bolt.
- Step 6: Install fork rod stopper.
- Step 7: Unscrew the center bolt from the compression rod.
- Step 8: Remove the internal pushrod.
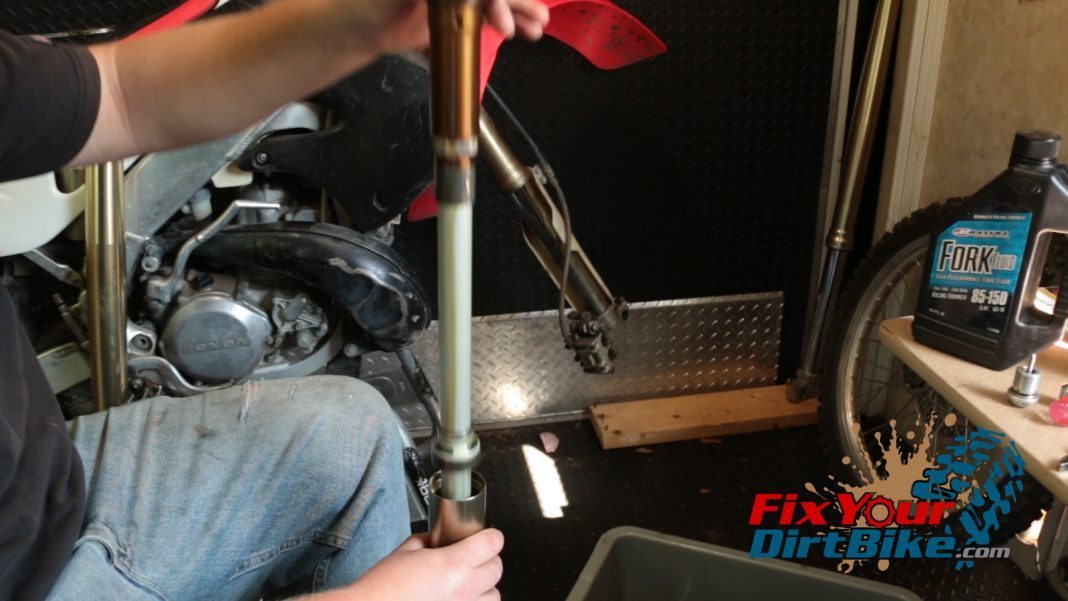
- Step 9: Remove the compression unit (damper) from the tube.
- Step 10: Unscrew the fork cap assembly.
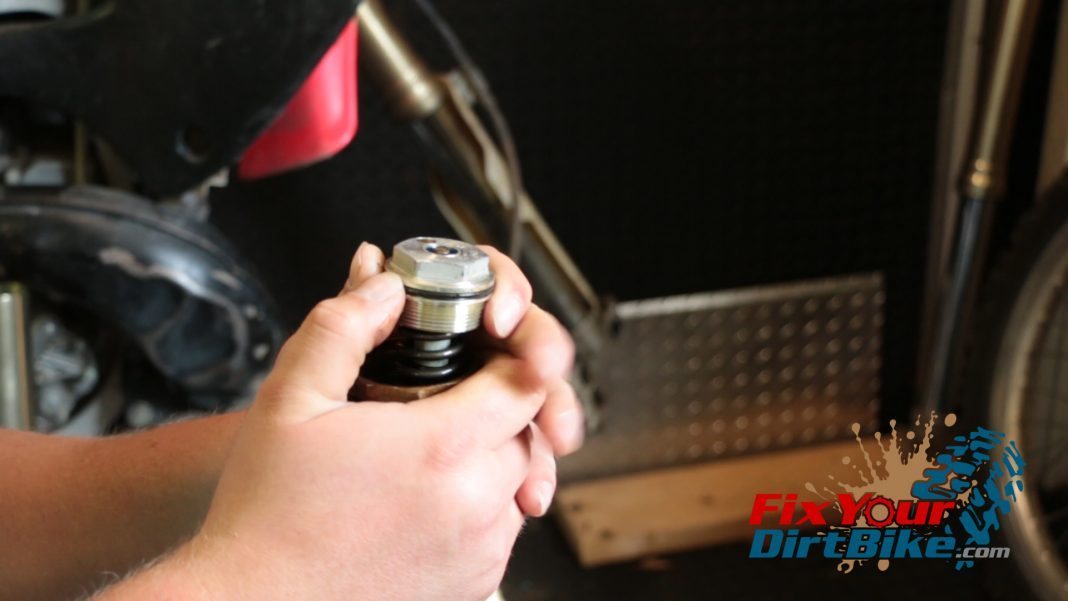
- Step 11: Remove fork cap assembly.
- Step 12: Drain internal oil.
- Pump the piston several times to evacuate internal oil.
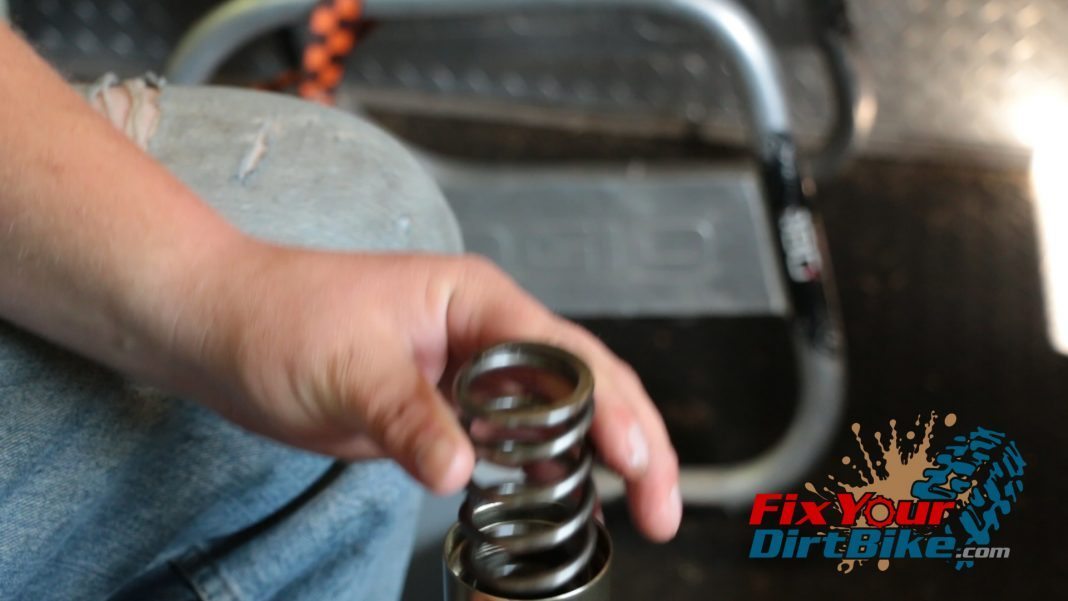
- Step 13: Remove the spring.
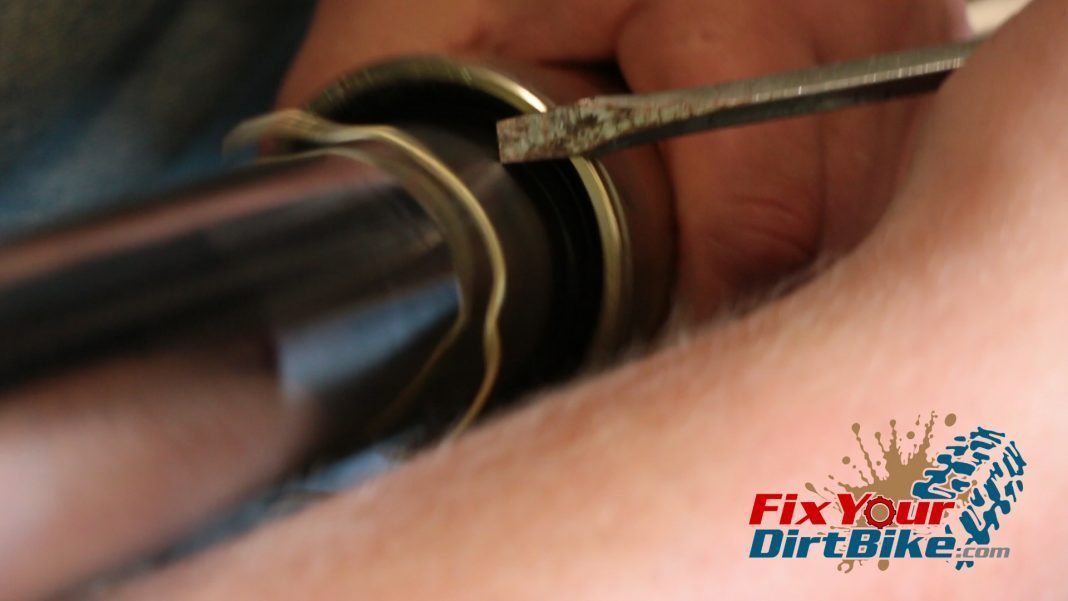
- Step 14: Remove the dust seal.
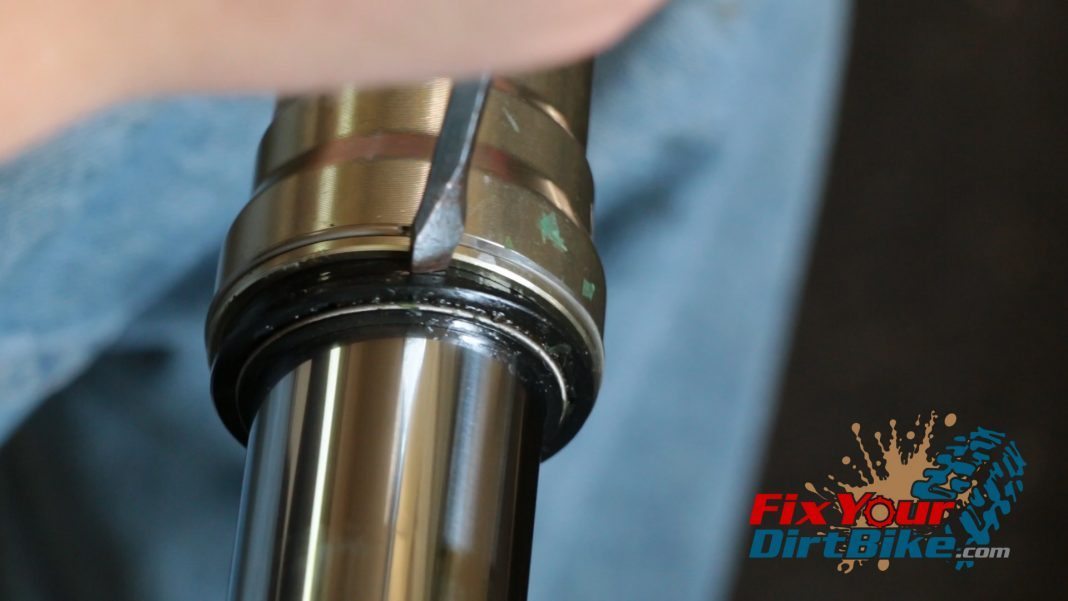
- Step 15: Remove the lock ring.
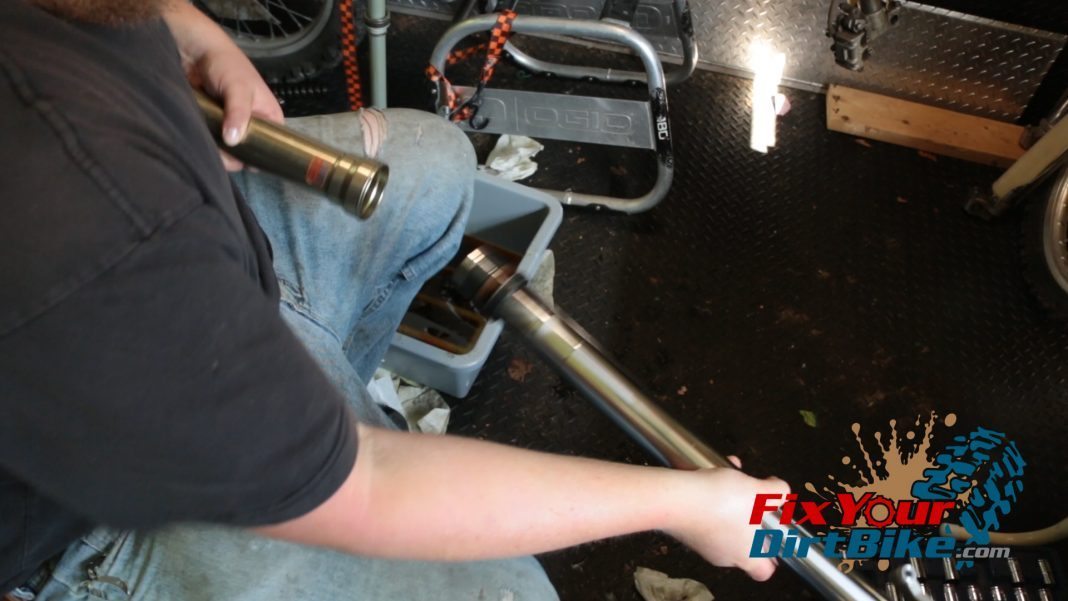
- Step 16: Separate the slider tube from the outer tube.

If you have any questions or comments, please leave them in the comments or on our Facebook page!
1997-01 Honda CR250 Front Fork Part 2: Inspection →
Keep Your ’97-’01 CR250 Running Right!
- Service Specification
- Clutch Replacement
- Carburetor Service
- Engine Top End
- Engine Bottom End
- Brakes
- Exhaust
- Front Suspension
- Rear Suspension
- Wheels & Tires
- Kickstarter Inspection
- External Shift Linkage


This is by far the most in depth how to I’ve ever seen, thank you! BTW, have you thought about putting up a checklist we can download?
Good idea! I’ll put one together!