I Finally Bought A Lectron Carburetor For My KTM 300XC-W!
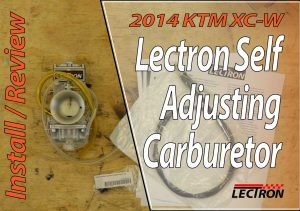
I finally bought a Lectron carb because since I bought my KTM in 2014, I have had to re-jet my stock Keihin PWK carburetor every single time I wanted to ride.
This bike is so finicky that it needs a different jetting for every 2,500 feet of elevation, and every 20 degrees Fahrenheit. And since I have to travel at least 3 hours in any direction to find trails, this was an inconvenience.
I also started having constant tuning problems with my carb about six months after I bought the bike, and I could never get it to run right above 90 degrees, regardless of elevation.
 I was so tired of fighting my carb, to the point that I didn’t even bother taking my KTM on riding trips. I considered selling my bike and buying a fuel-injected 4-stroke or TPI 2-stroke, but that was not a practical option.
So what is the best compromise? A carb that you don’t have to think about. And that is the Lectron Self Adjusting Carburetor!
First Impressions:
I was excited during unboxing, but that took a nosedive as soon as I started reading the setup guide.
The manual made it sound like all the Lectron carburetor does is remove the jets and replace them with the metering rod, and I had to remove the carb to adjust the rod to where I’m riding.
If I have to take it off every time to adjust to it than what’s the point? Why did I shell out $500 for a carb that still needed adjusting, I would have just got a dial-a-jet system and saved $400
I was wrong about that; I know that now. But I’ll get to that in a minute.
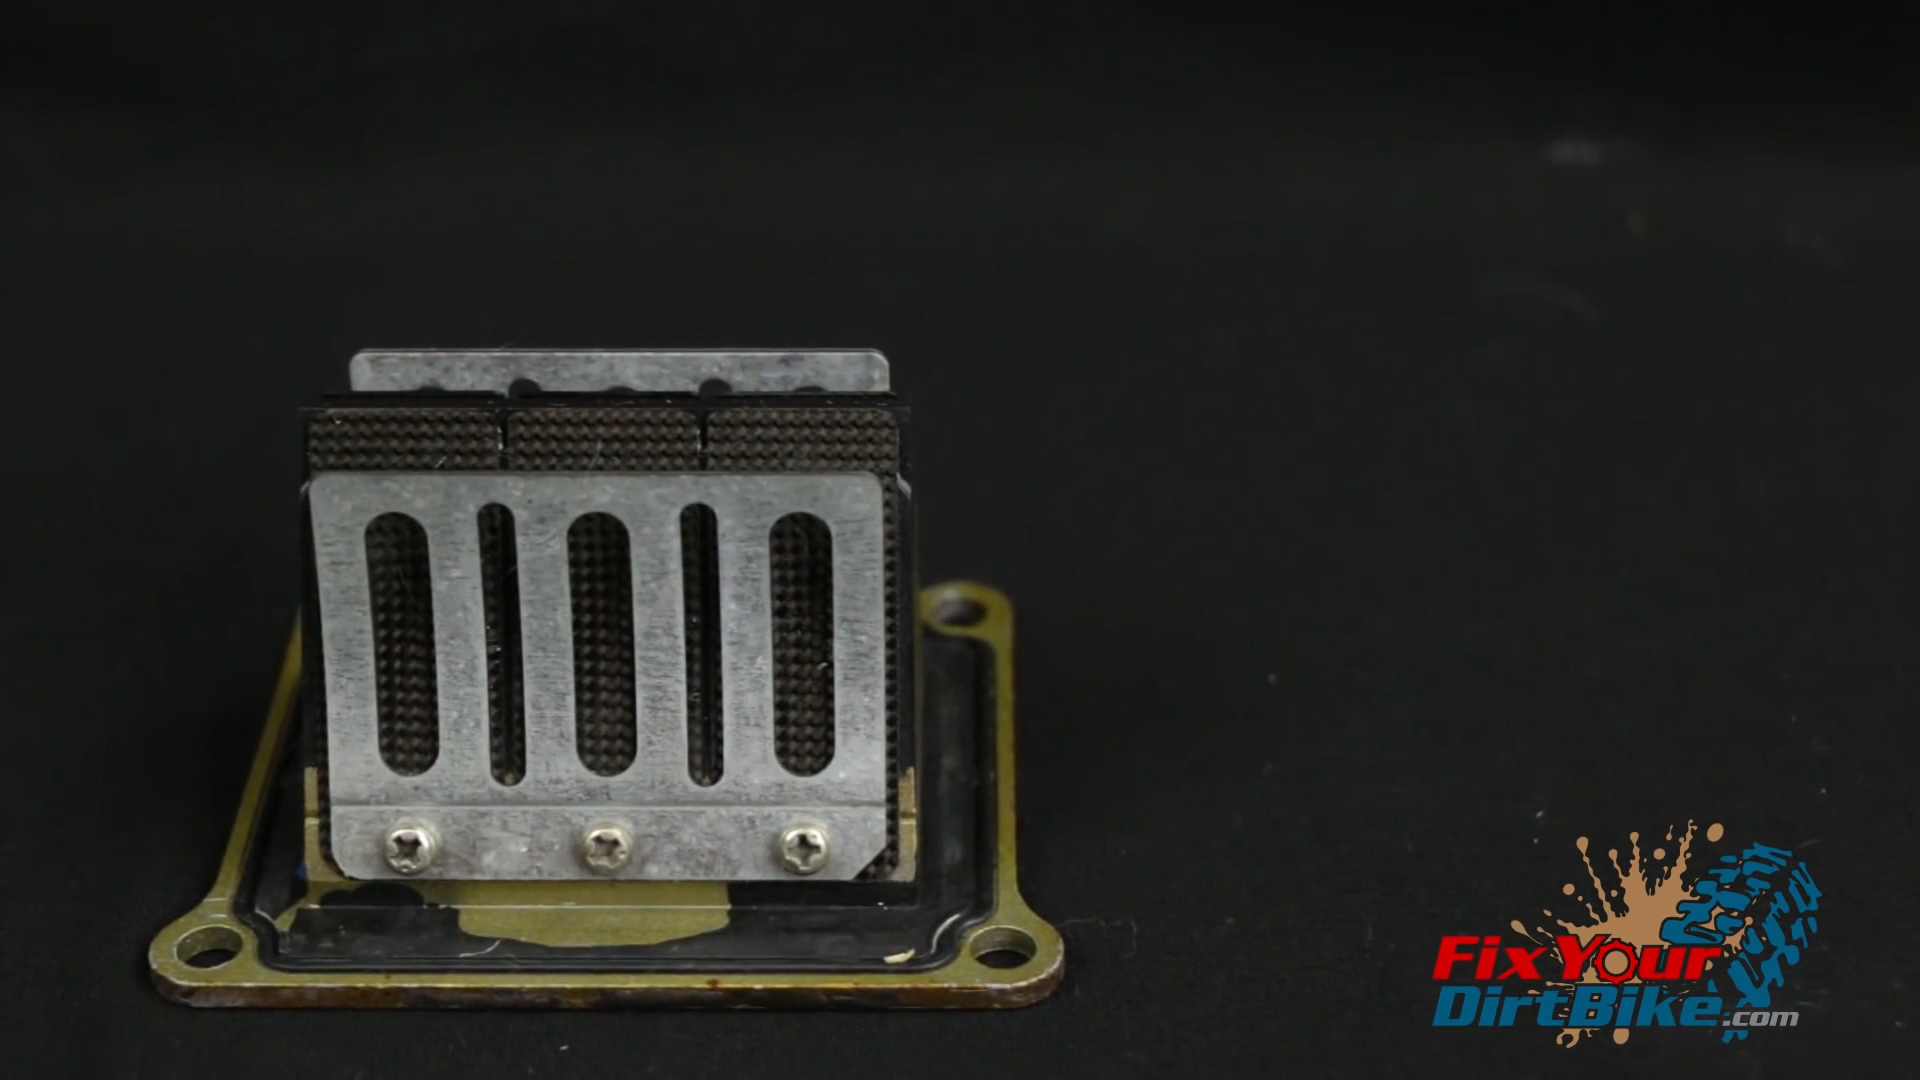
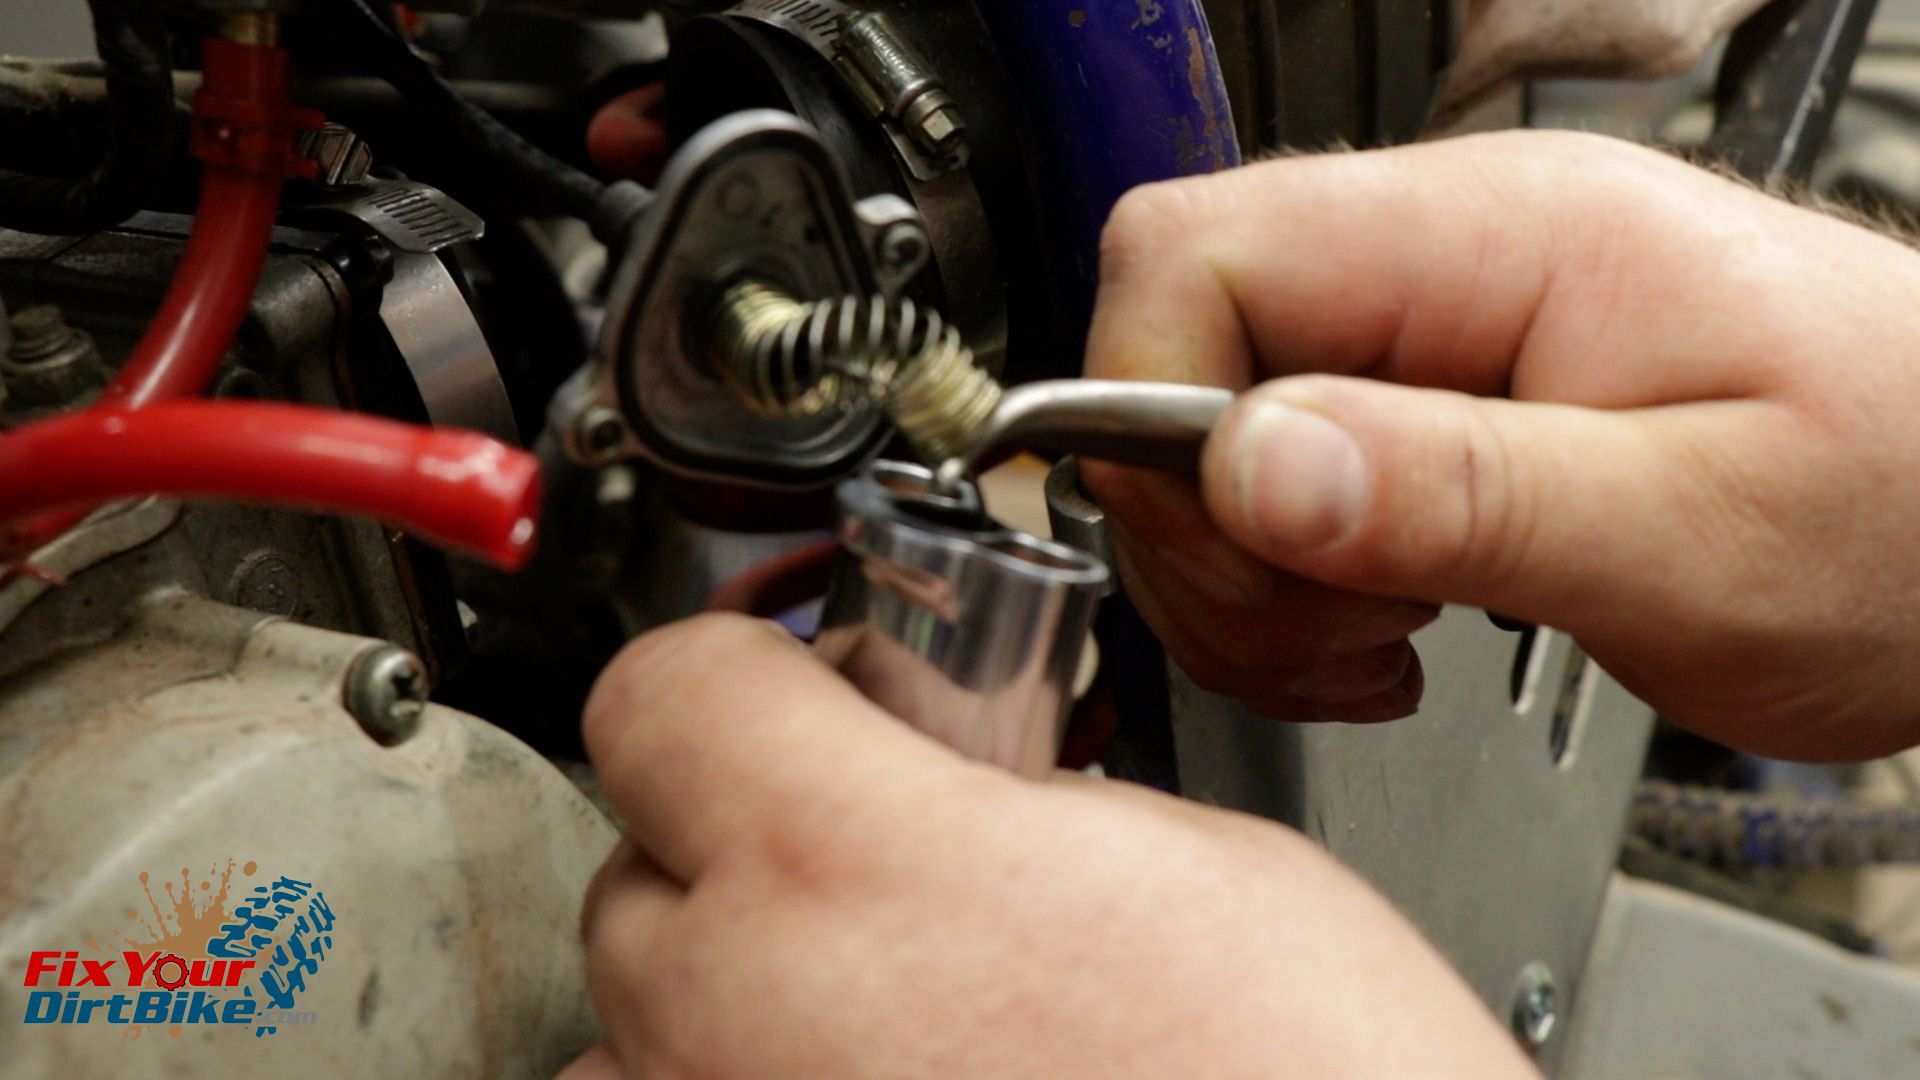
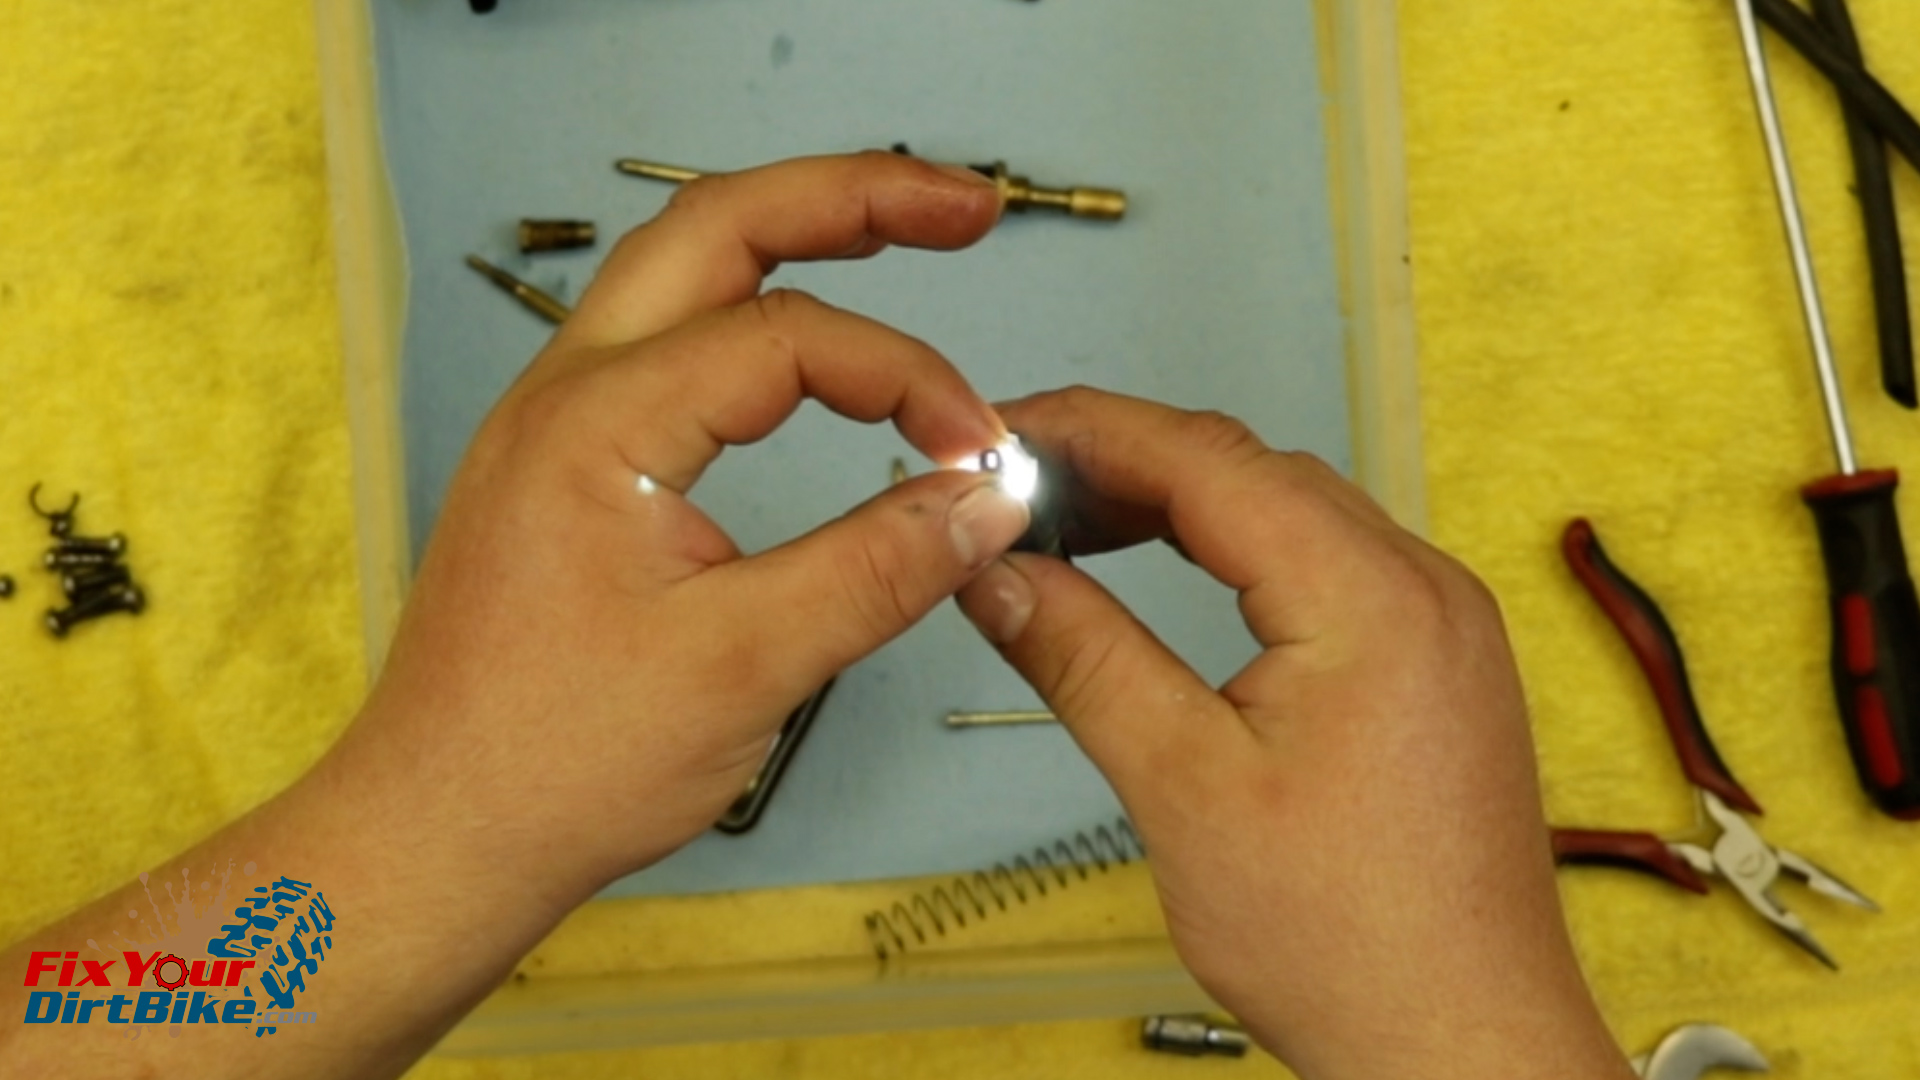
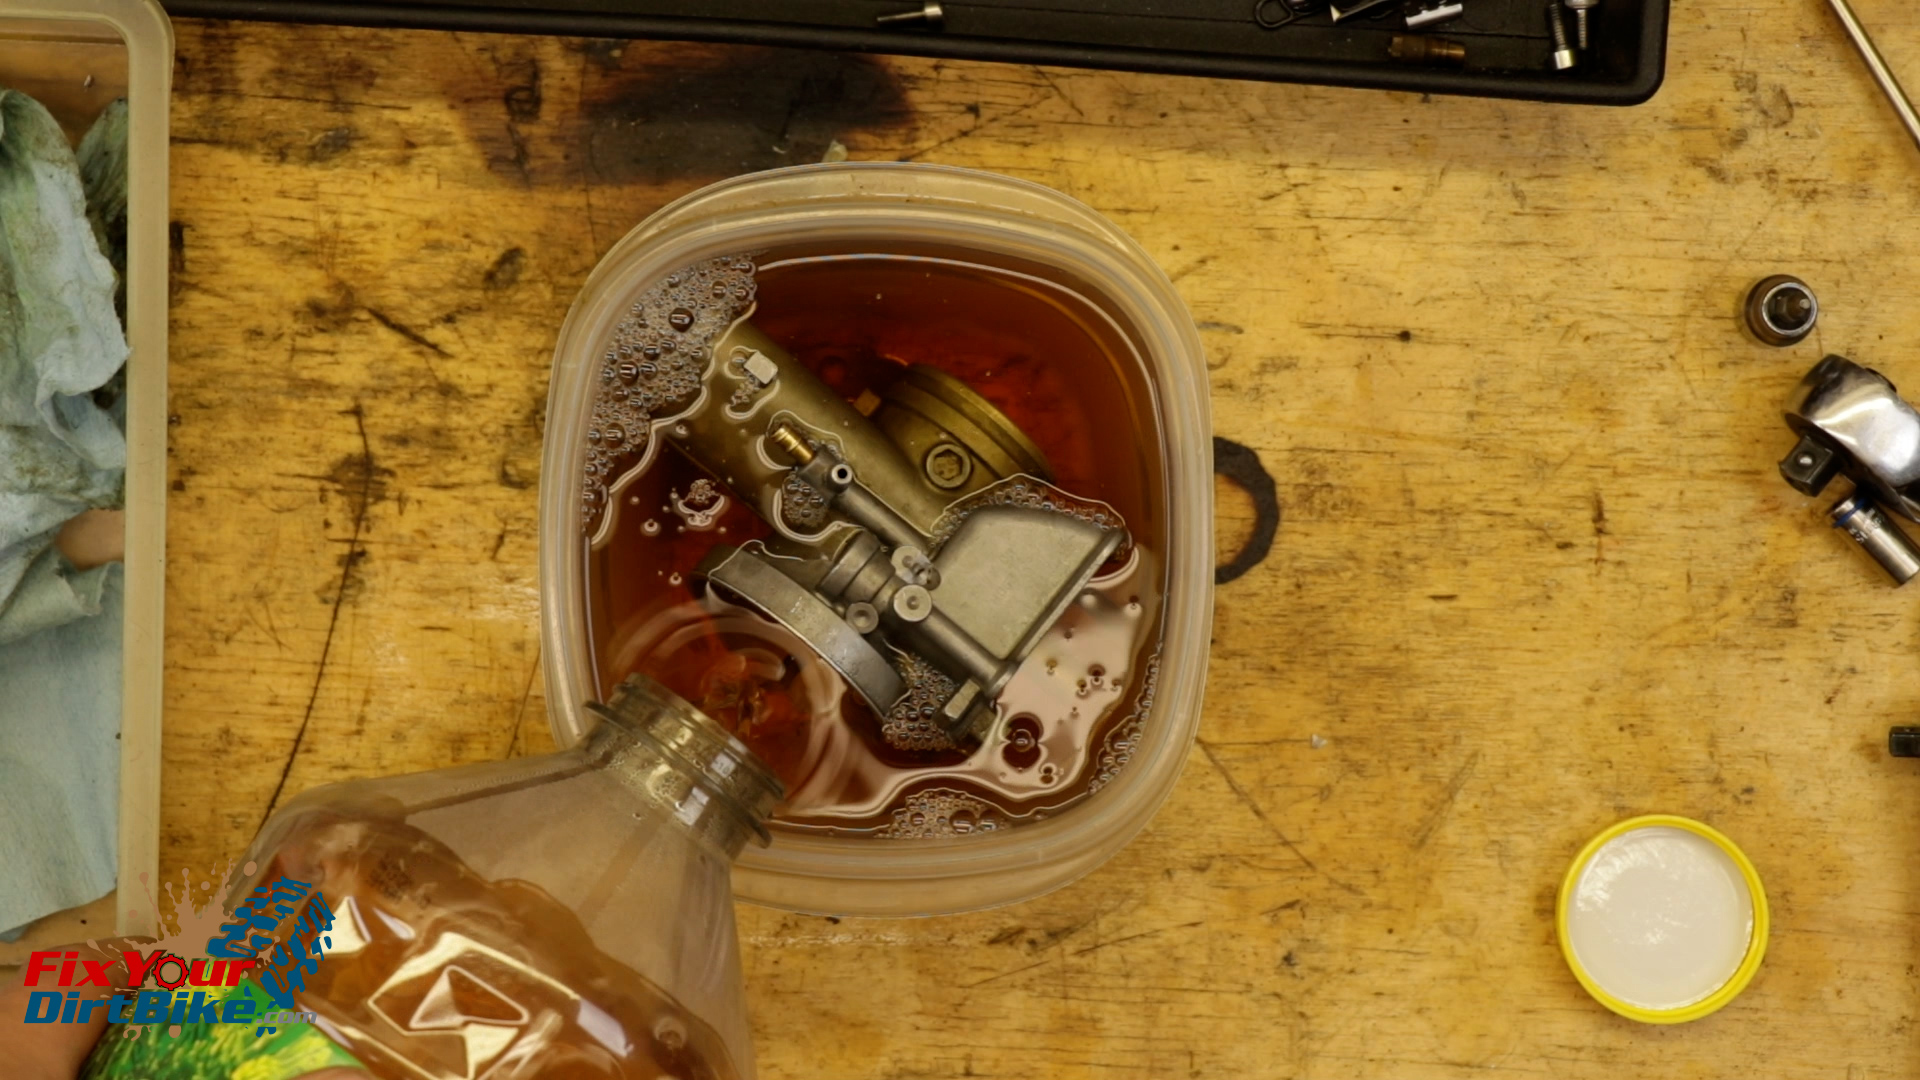
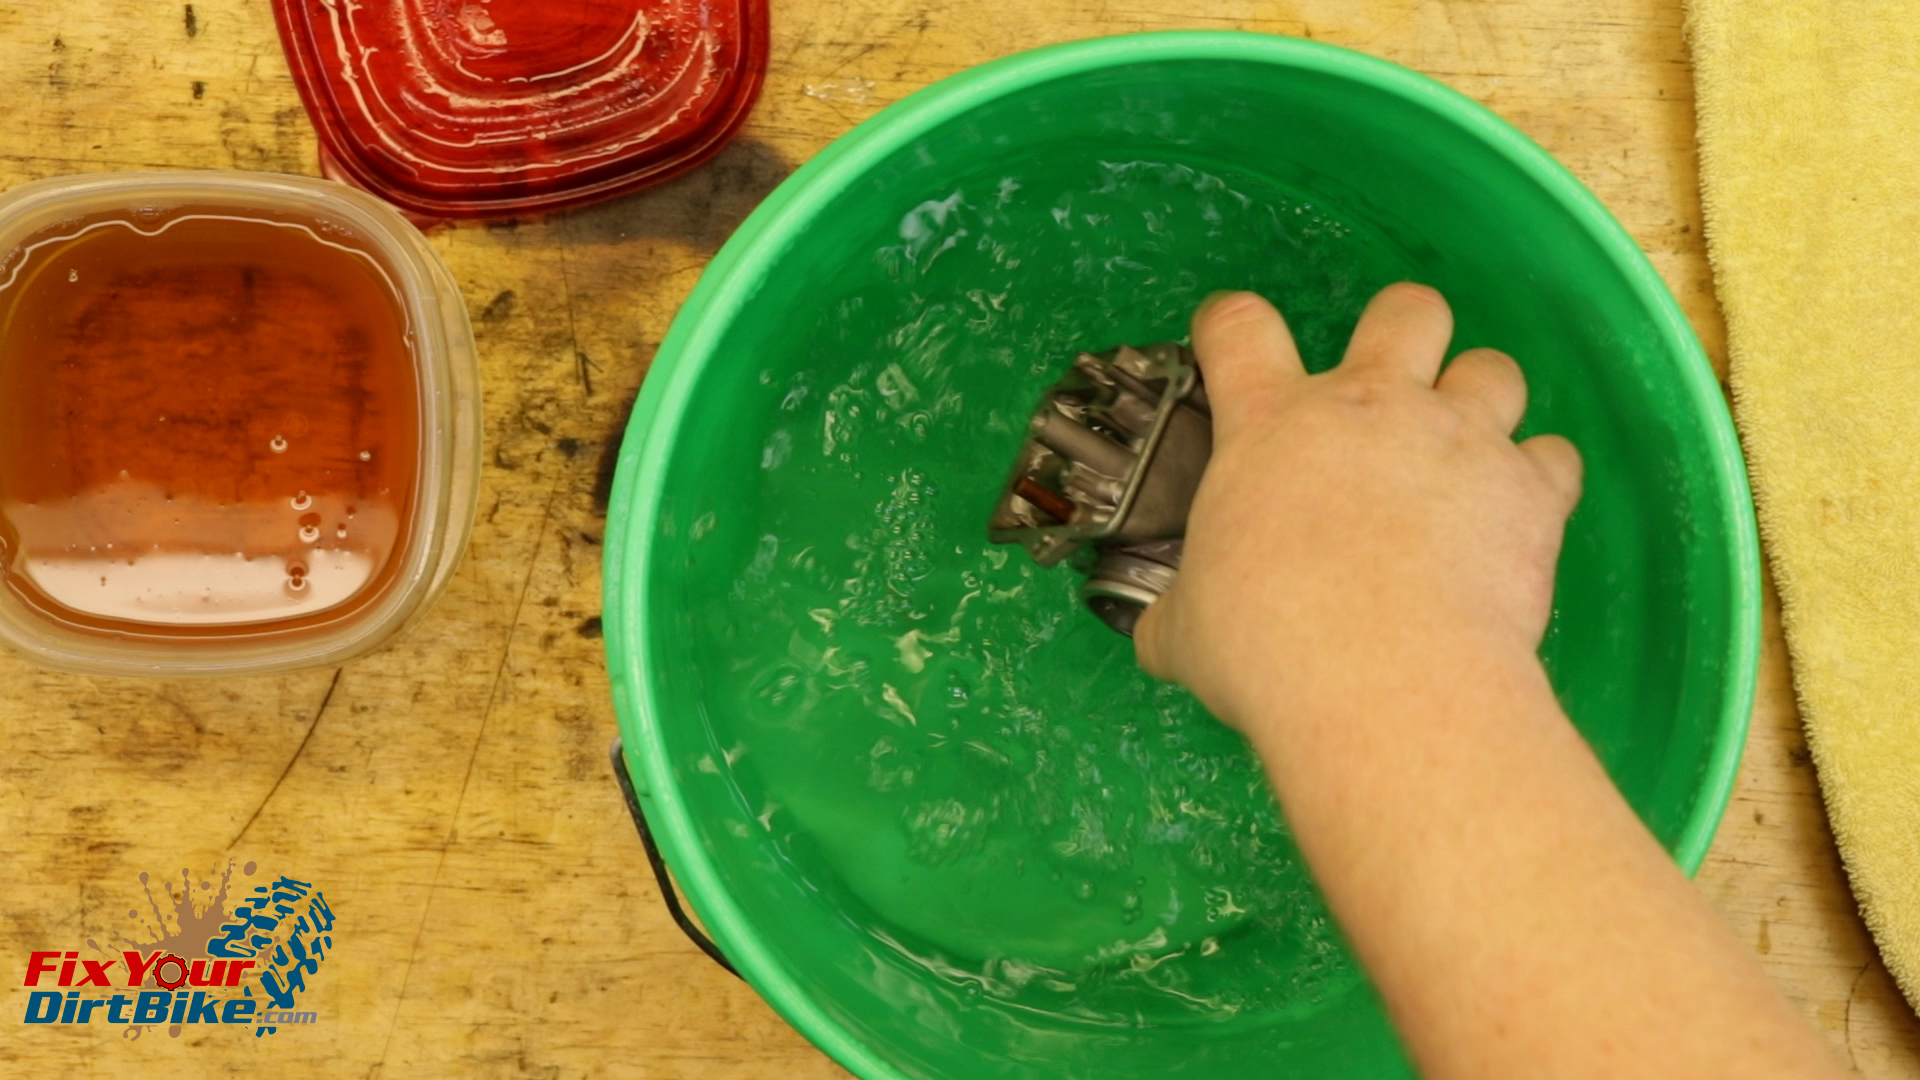
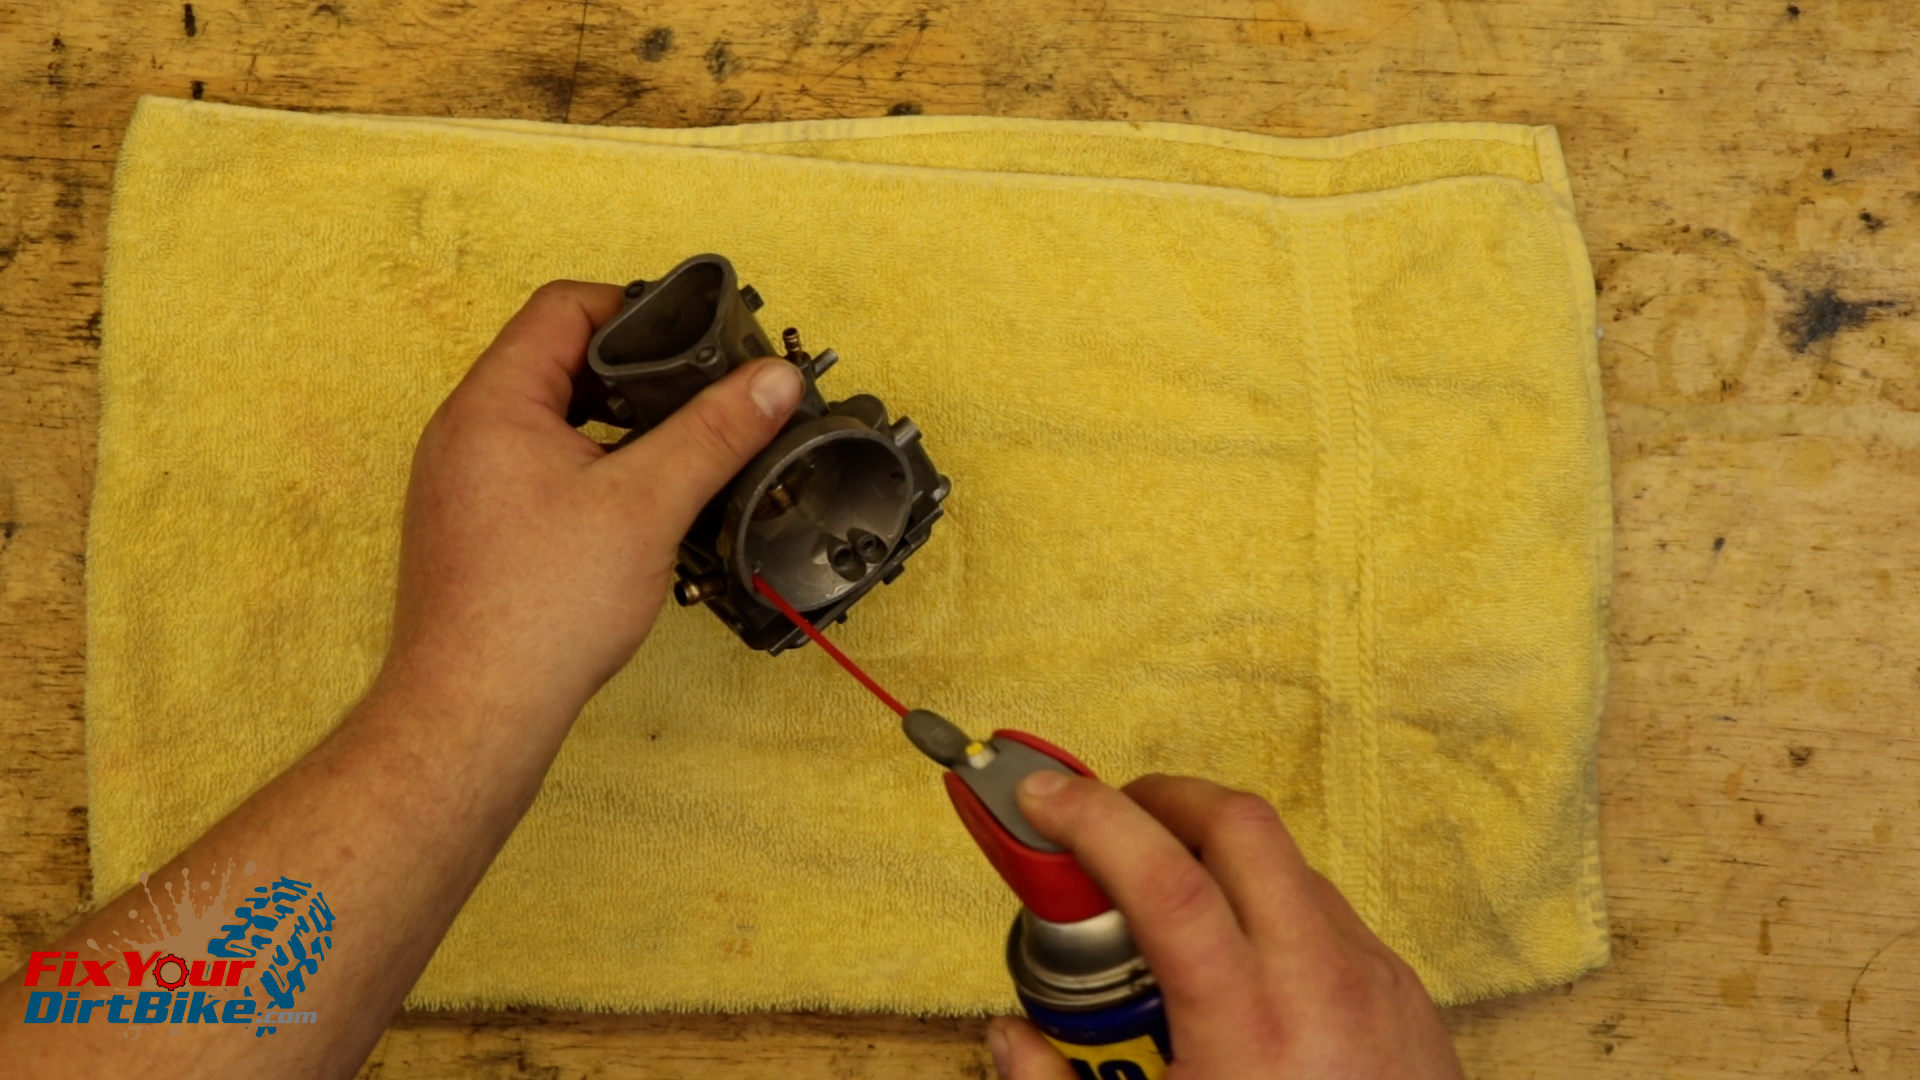
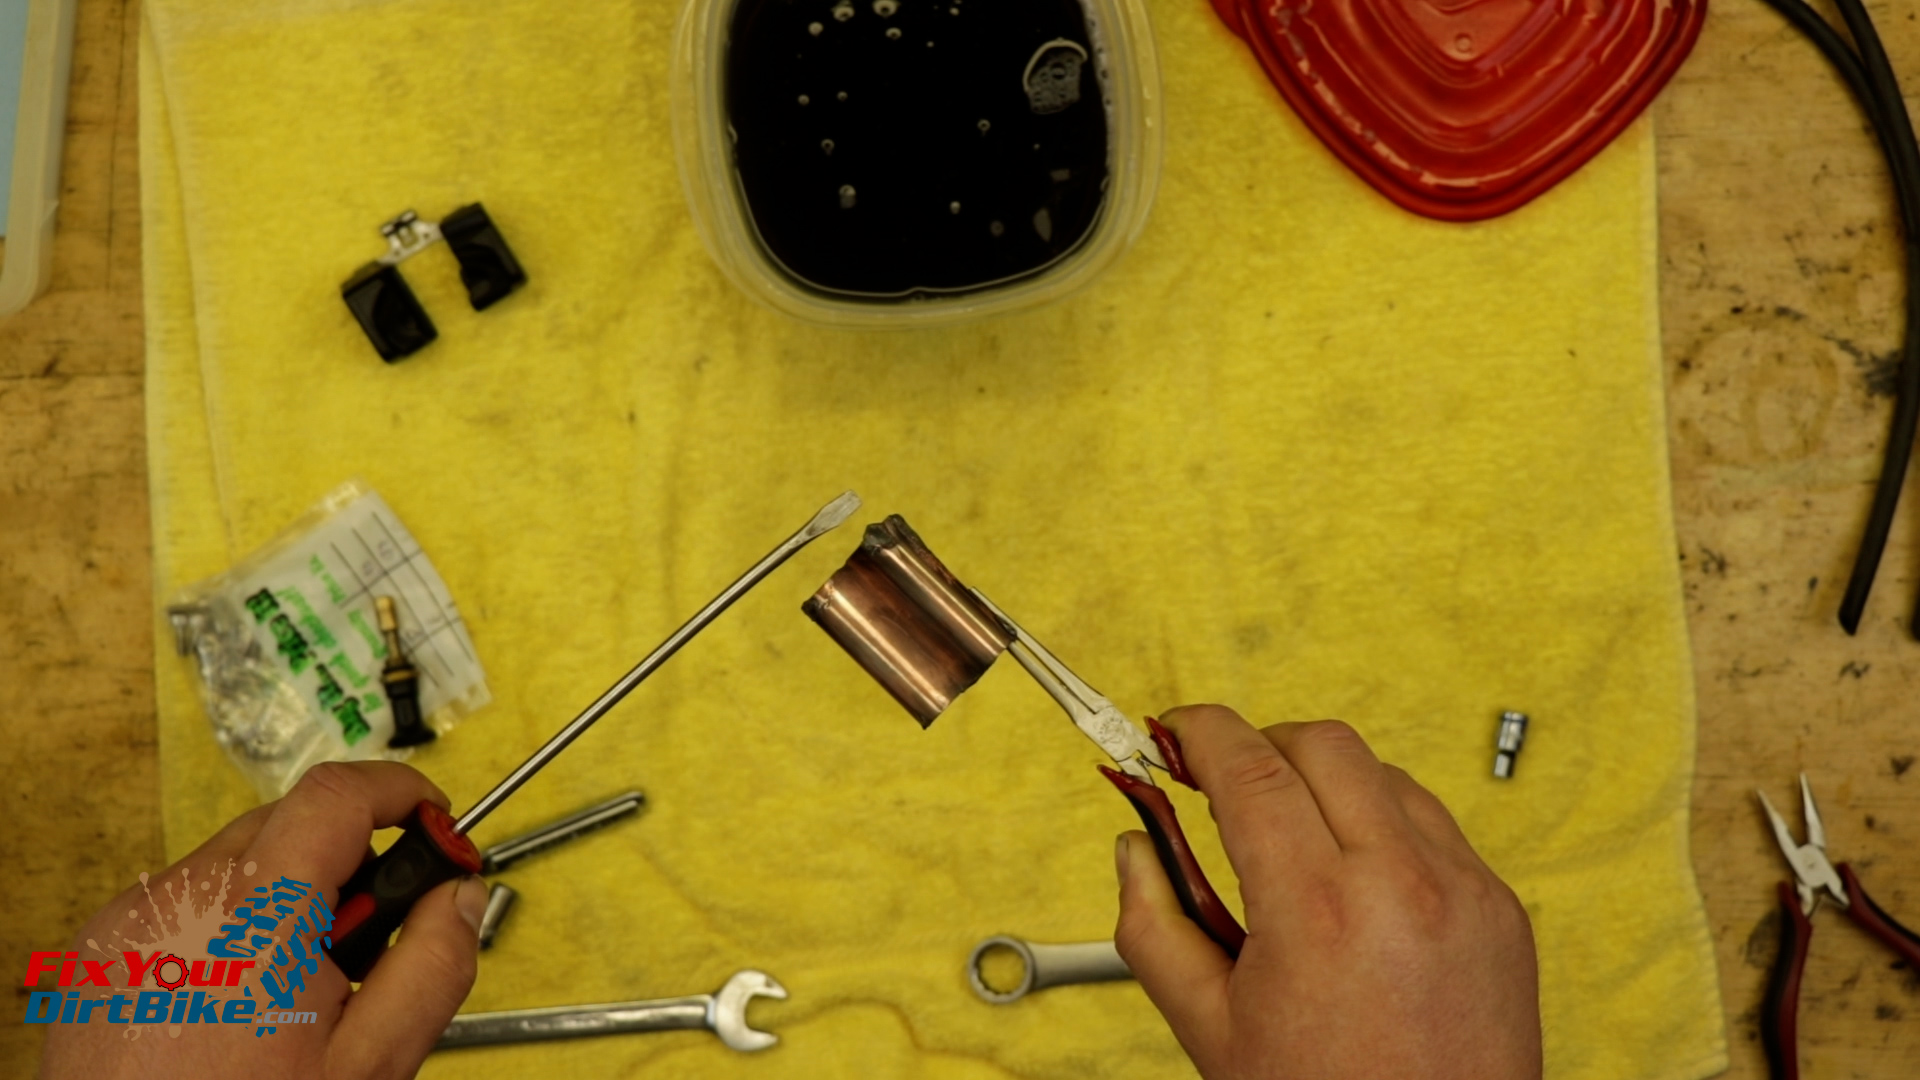
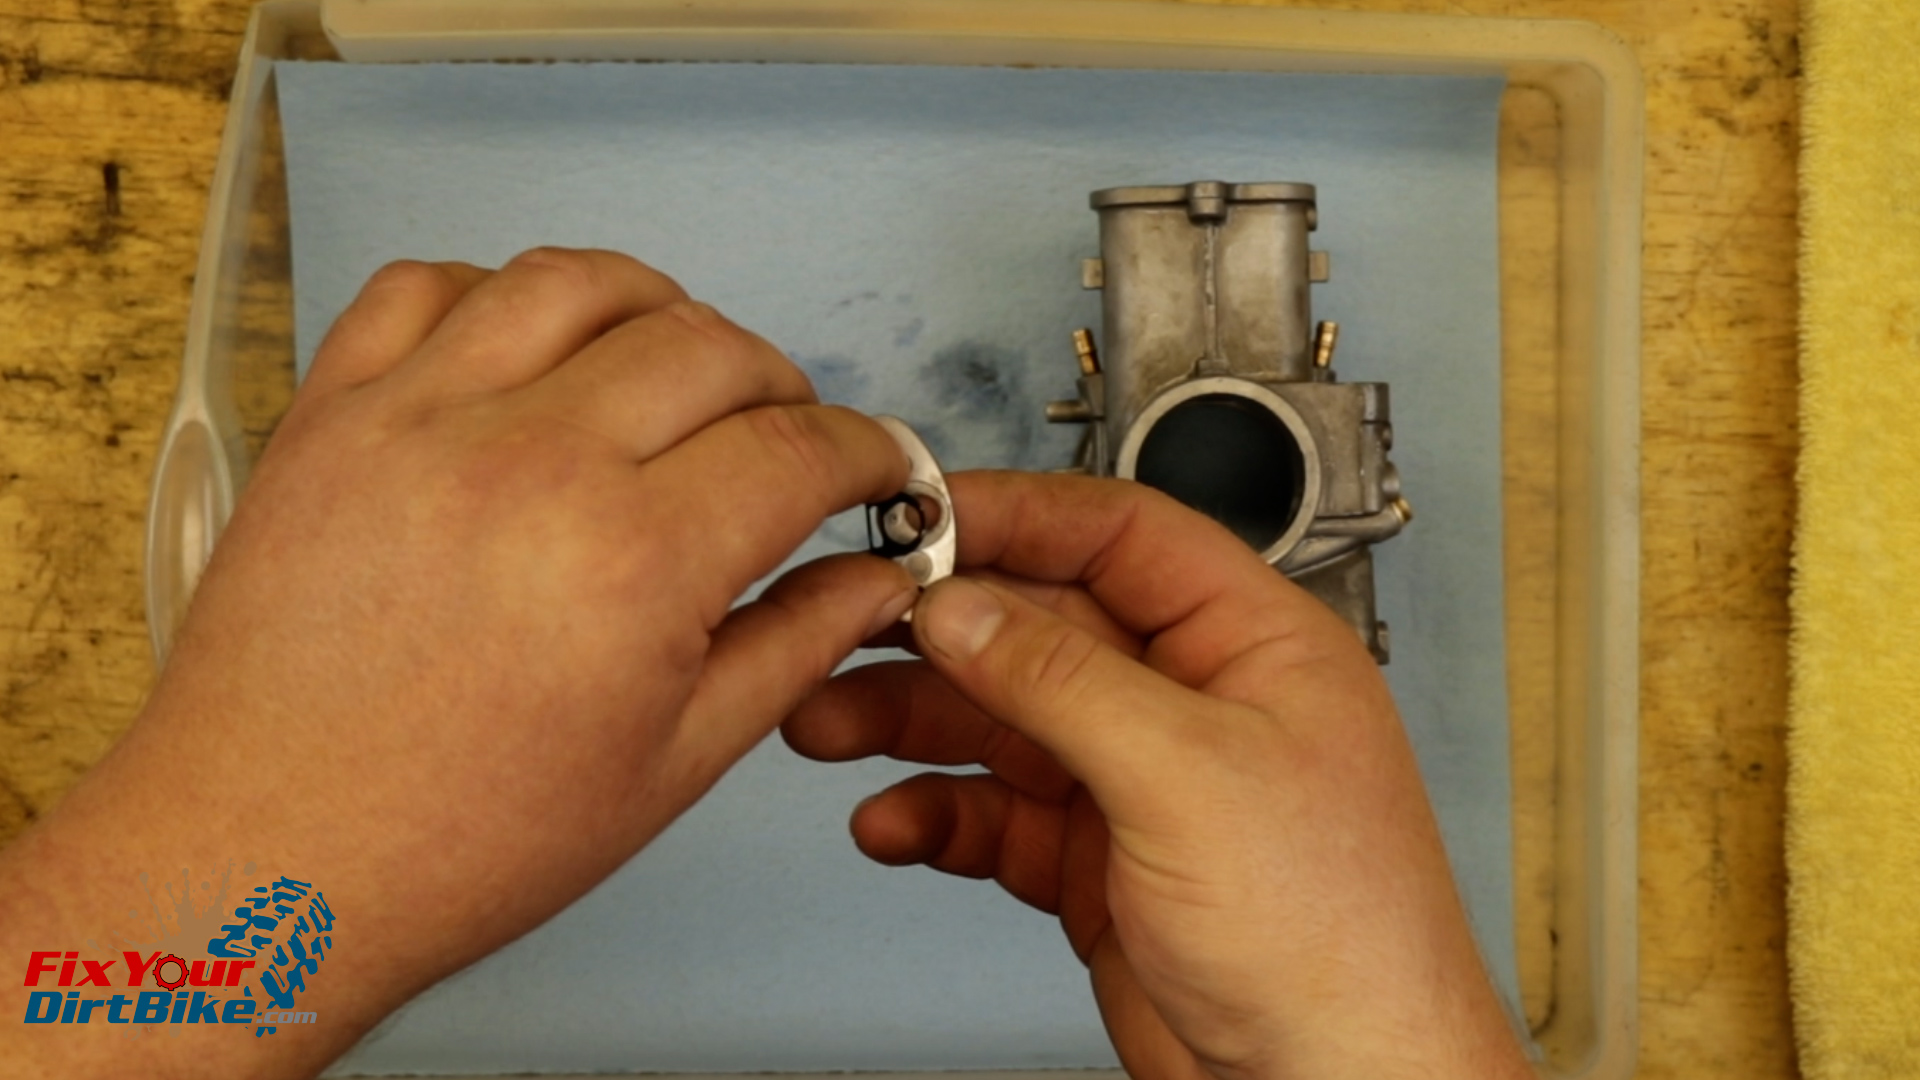
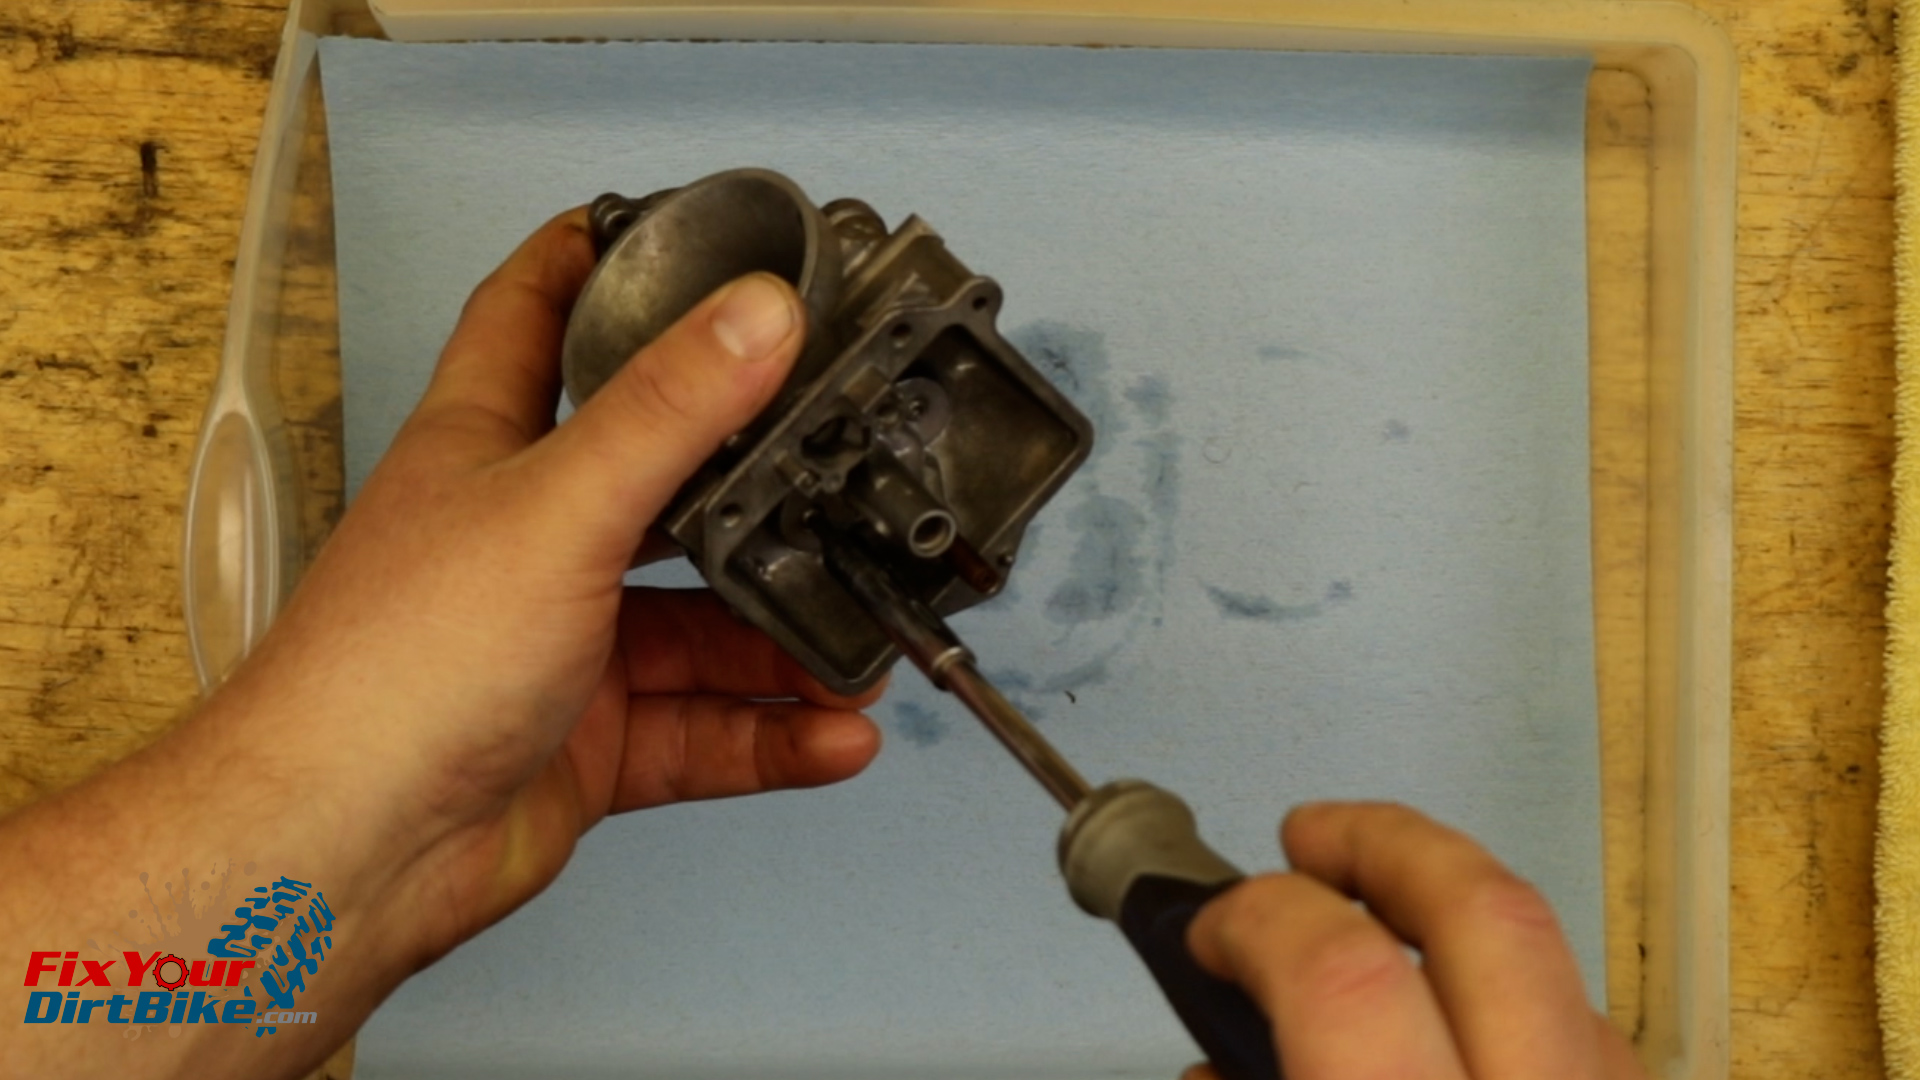
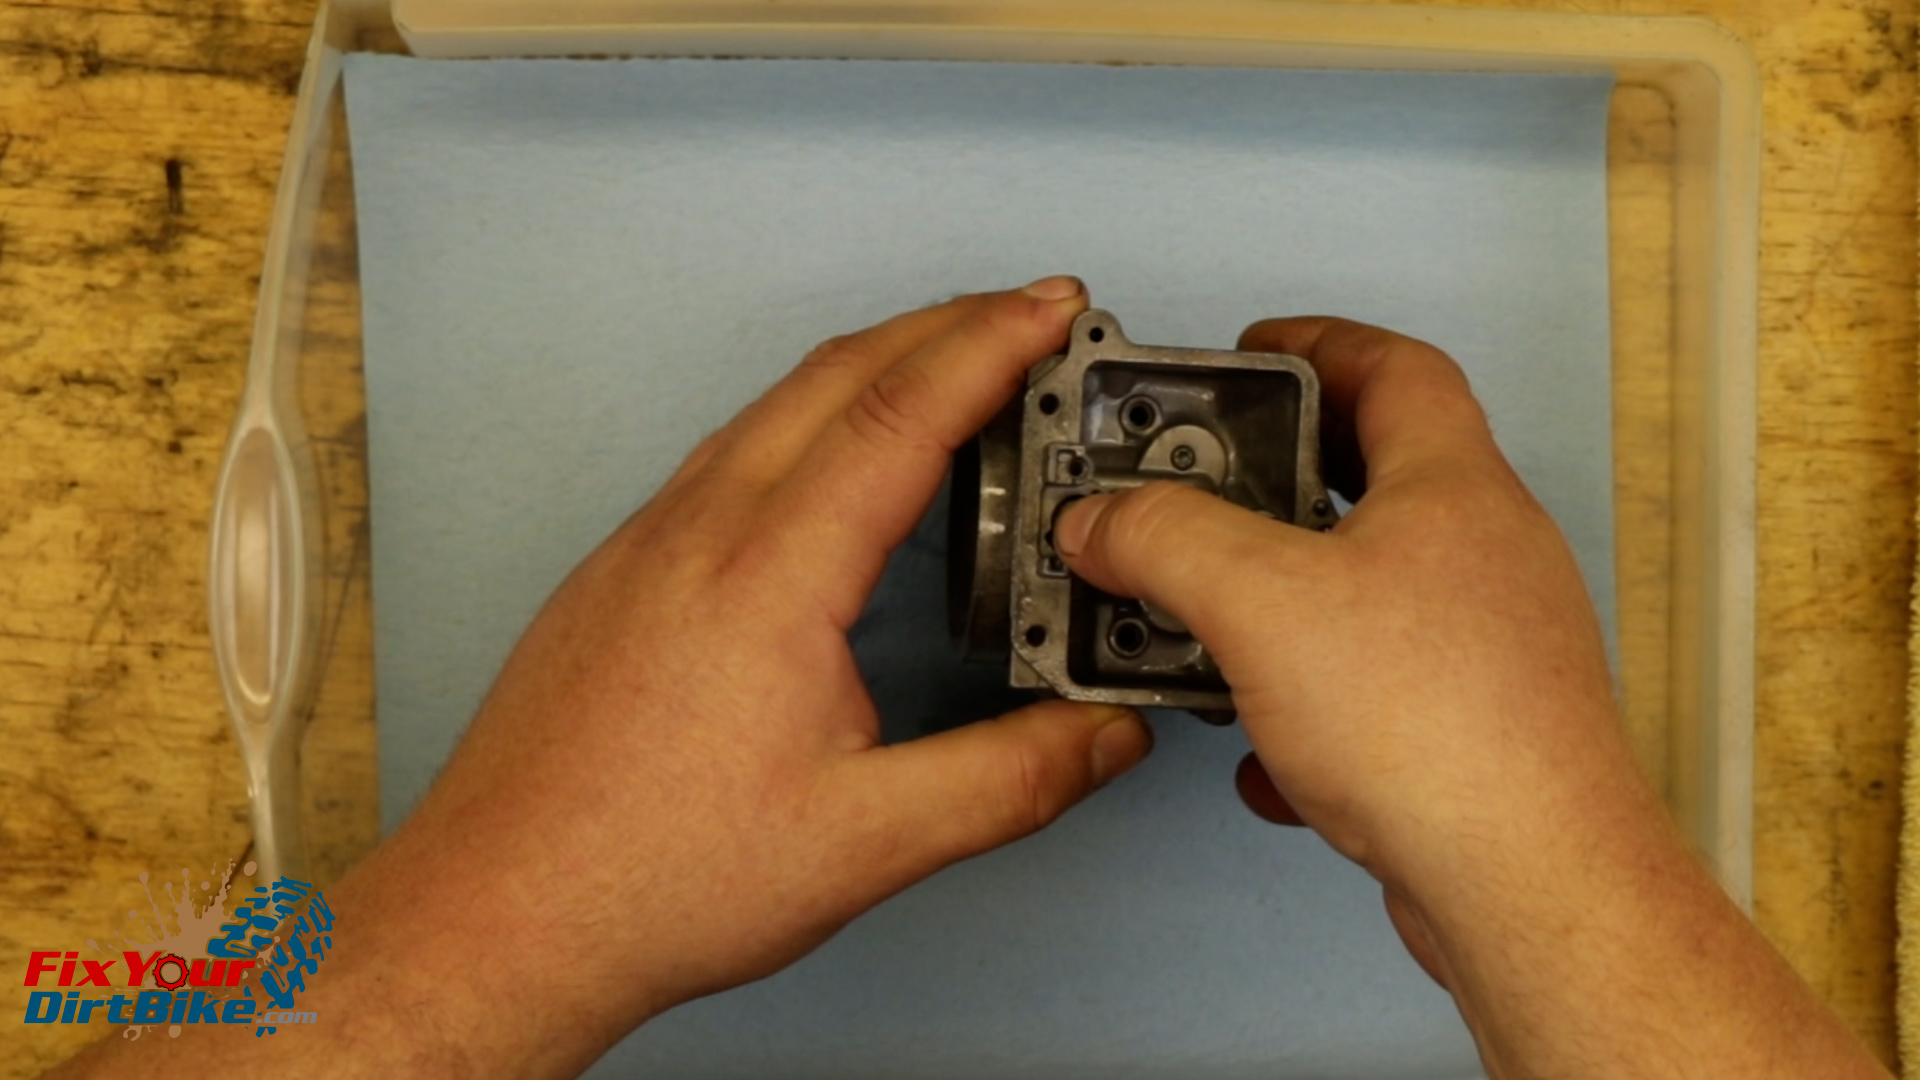
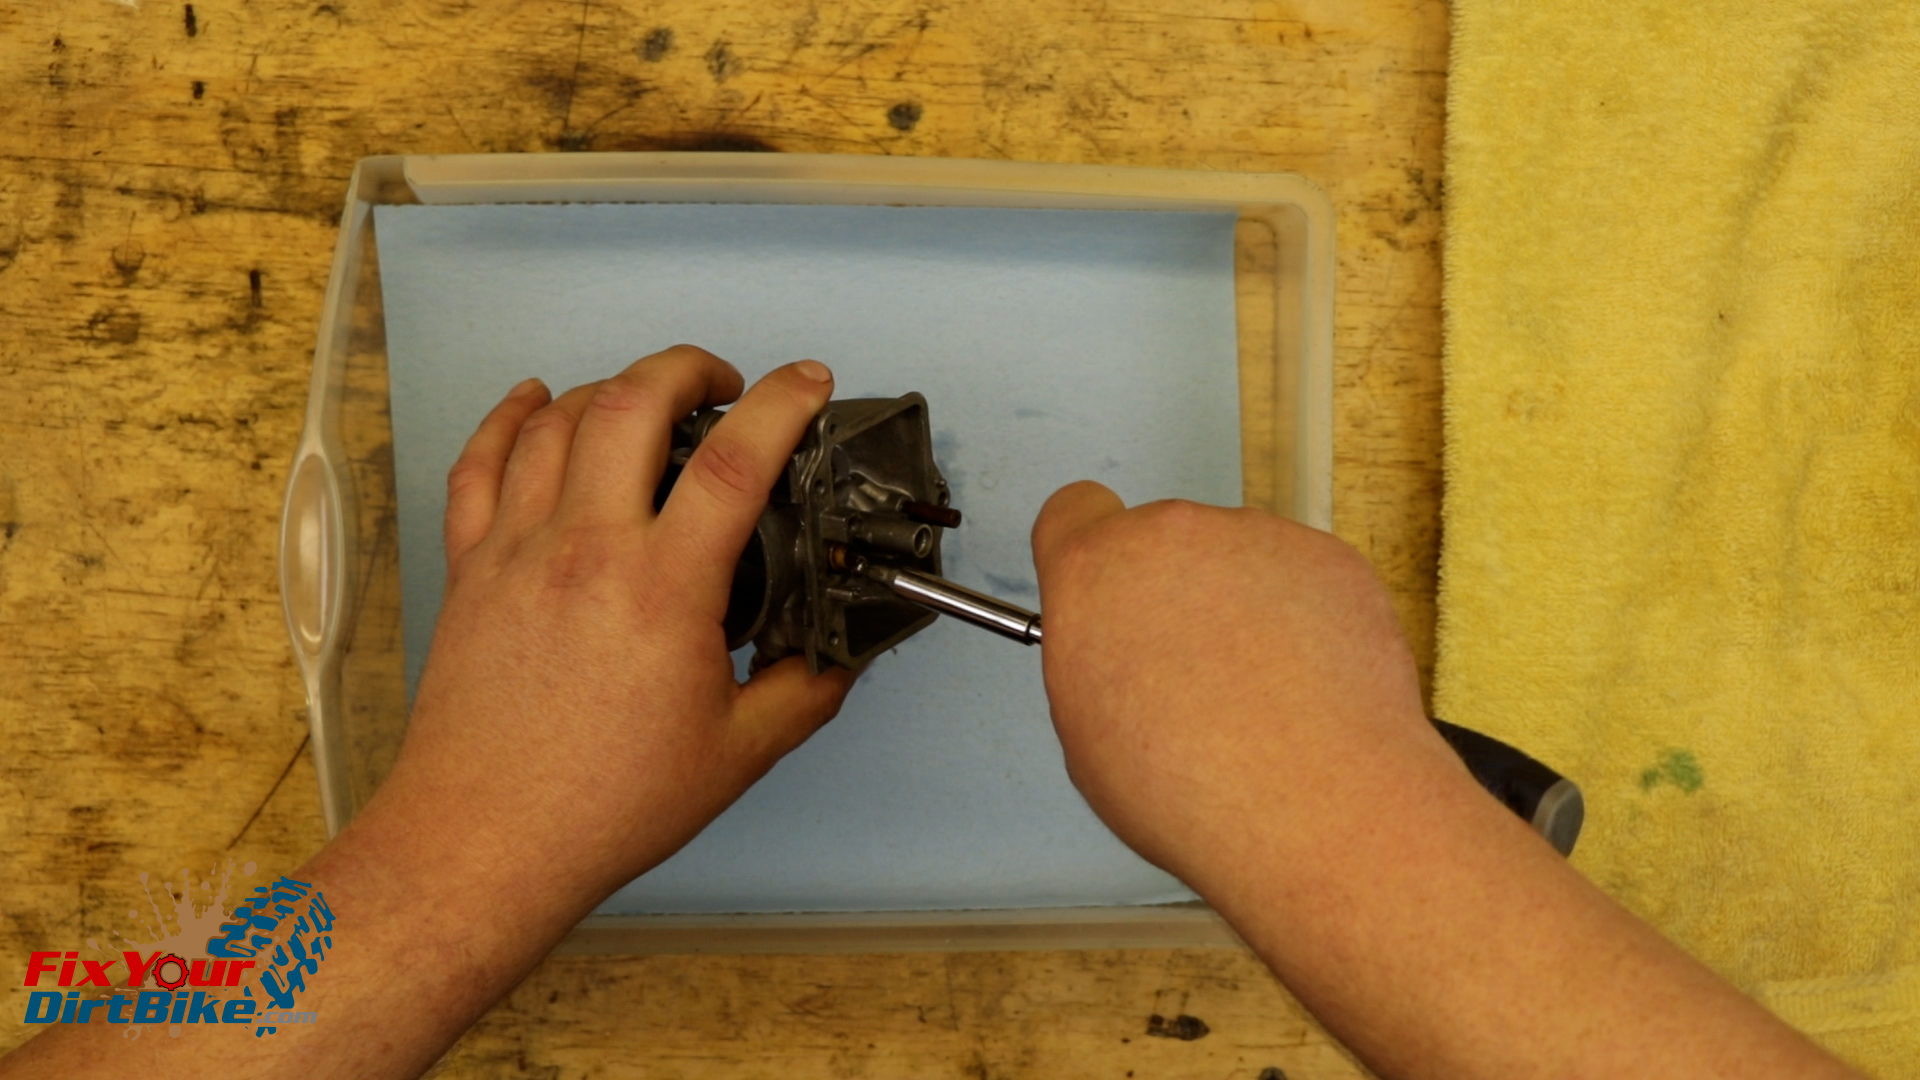
Lectron also provides a set of breakdown pictures for cleaning, which is nice, because I wanted to tear this thing down and see how it worked as soon as I got my hands on it.
Initial Likes & Dislikes:
Likes
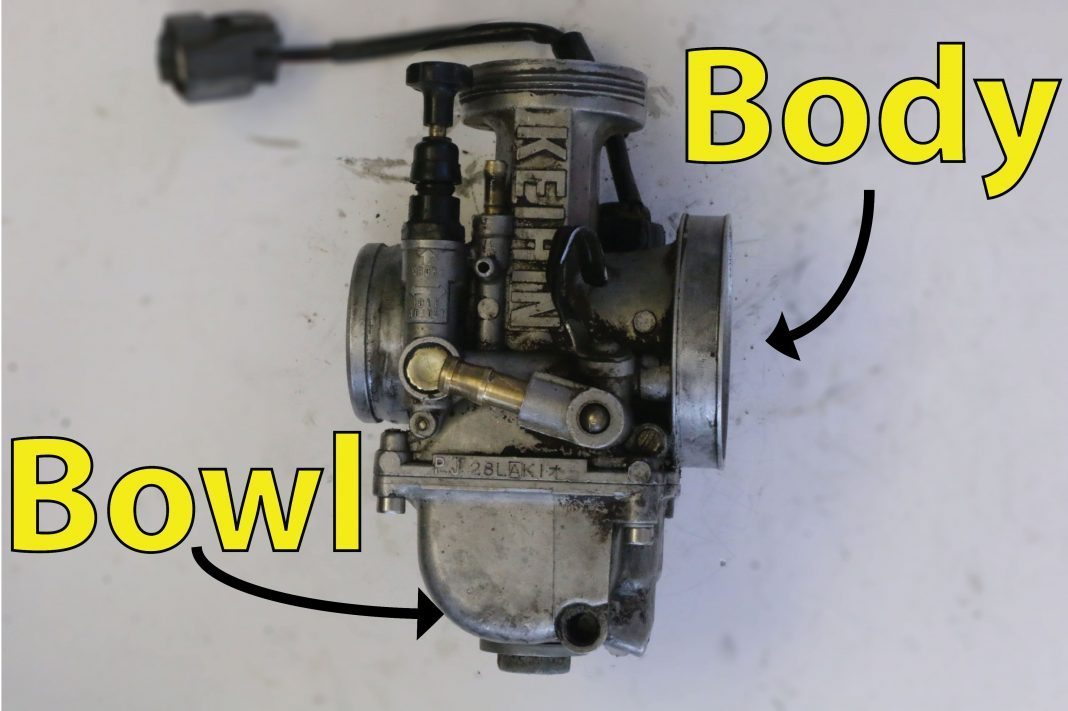
Right away, I noticed they used Allen screws for the fuel bowl and slide. It doesn’t seem like much, but that attention to detail is appreciated considering every rider I know replaces the stock Phillips screws immediately.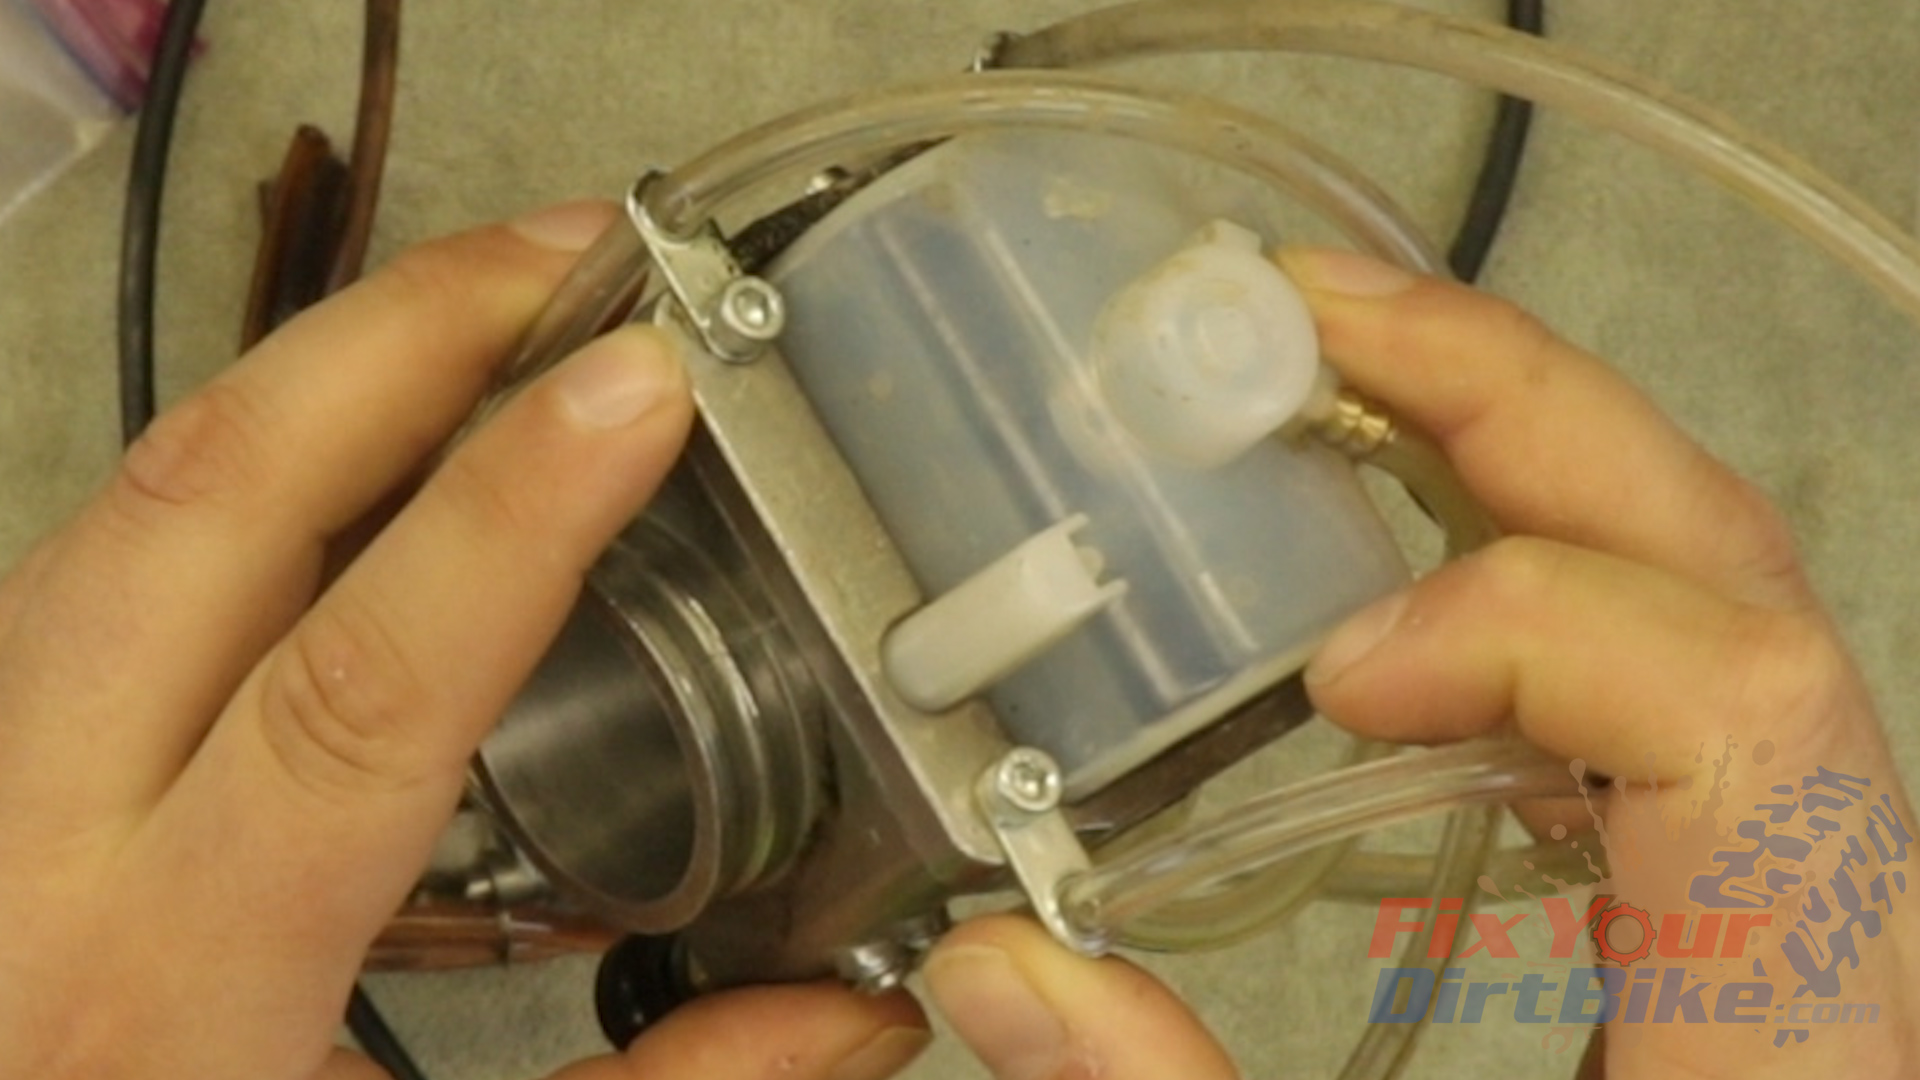 Speaking of the fuel bowl, it’s clear. I can monitor my fuel level, and see if any contaminants made their way into the bowl.
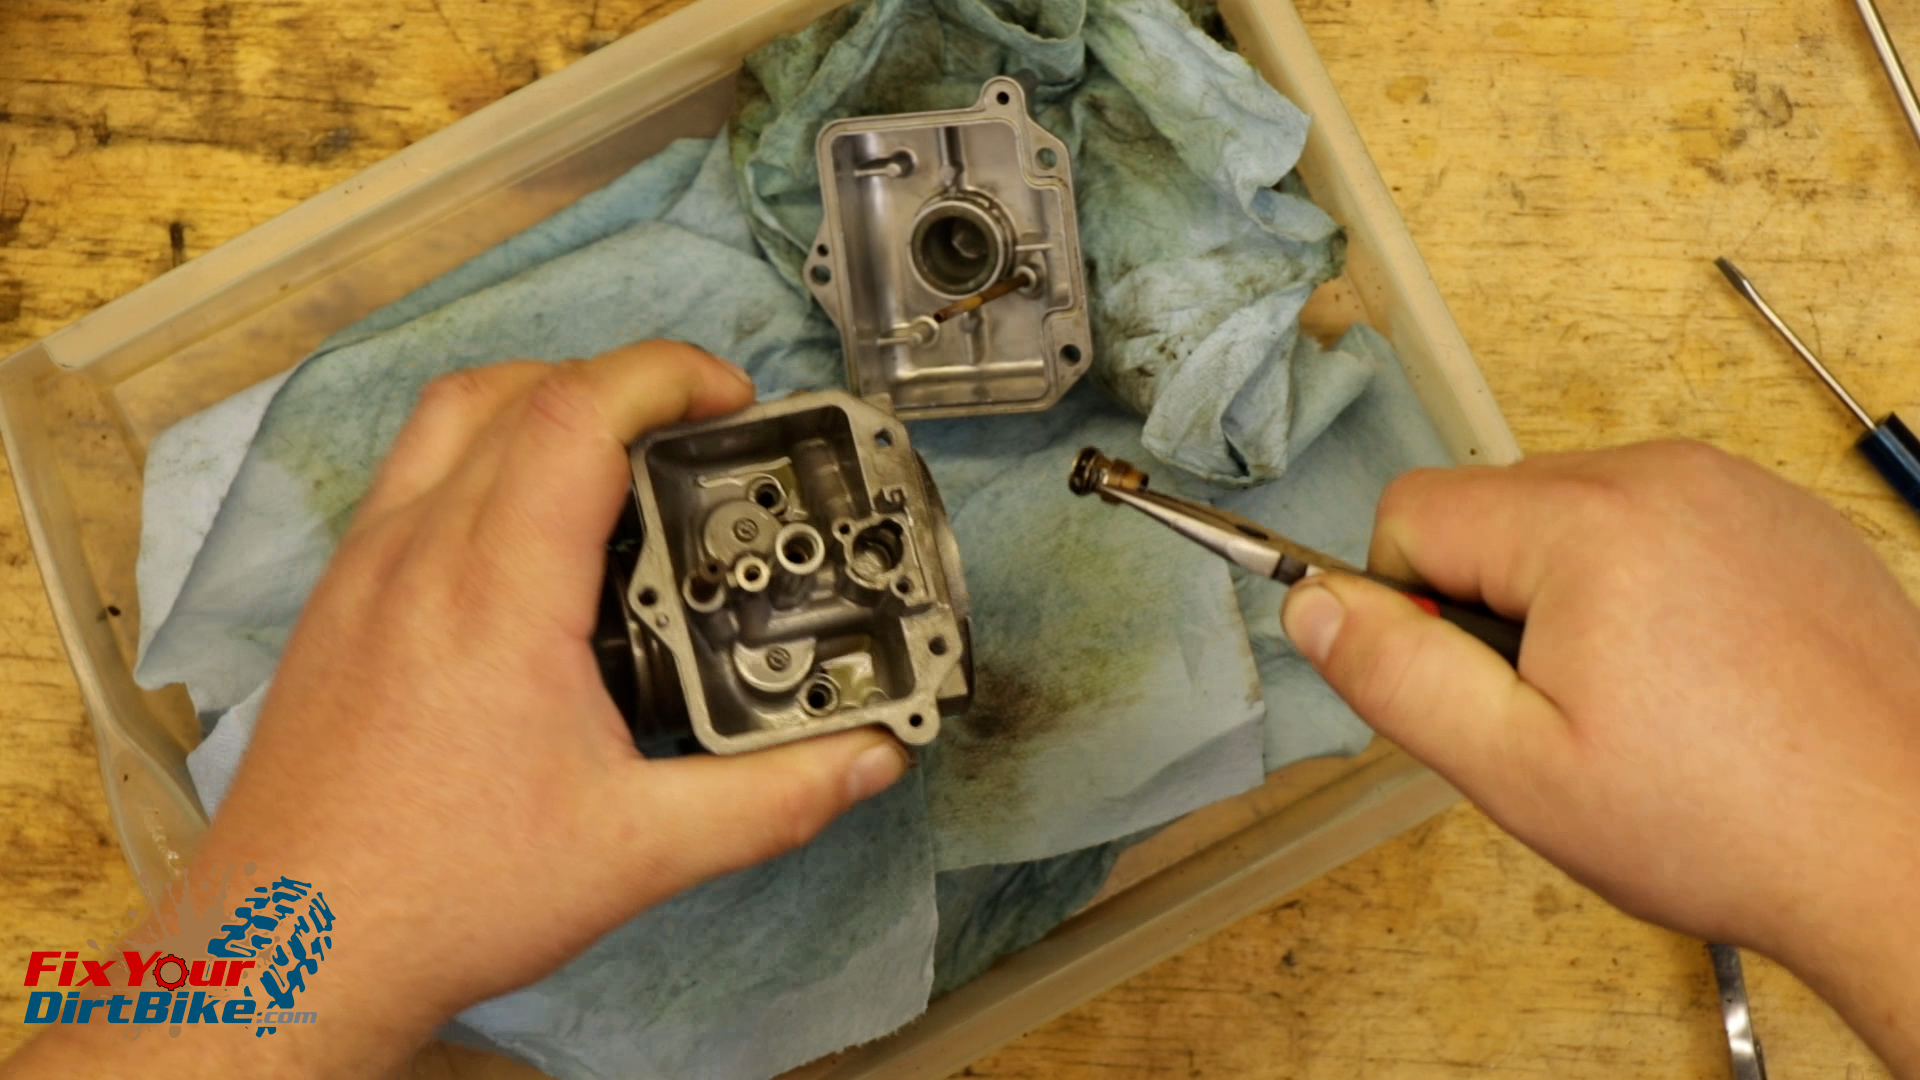
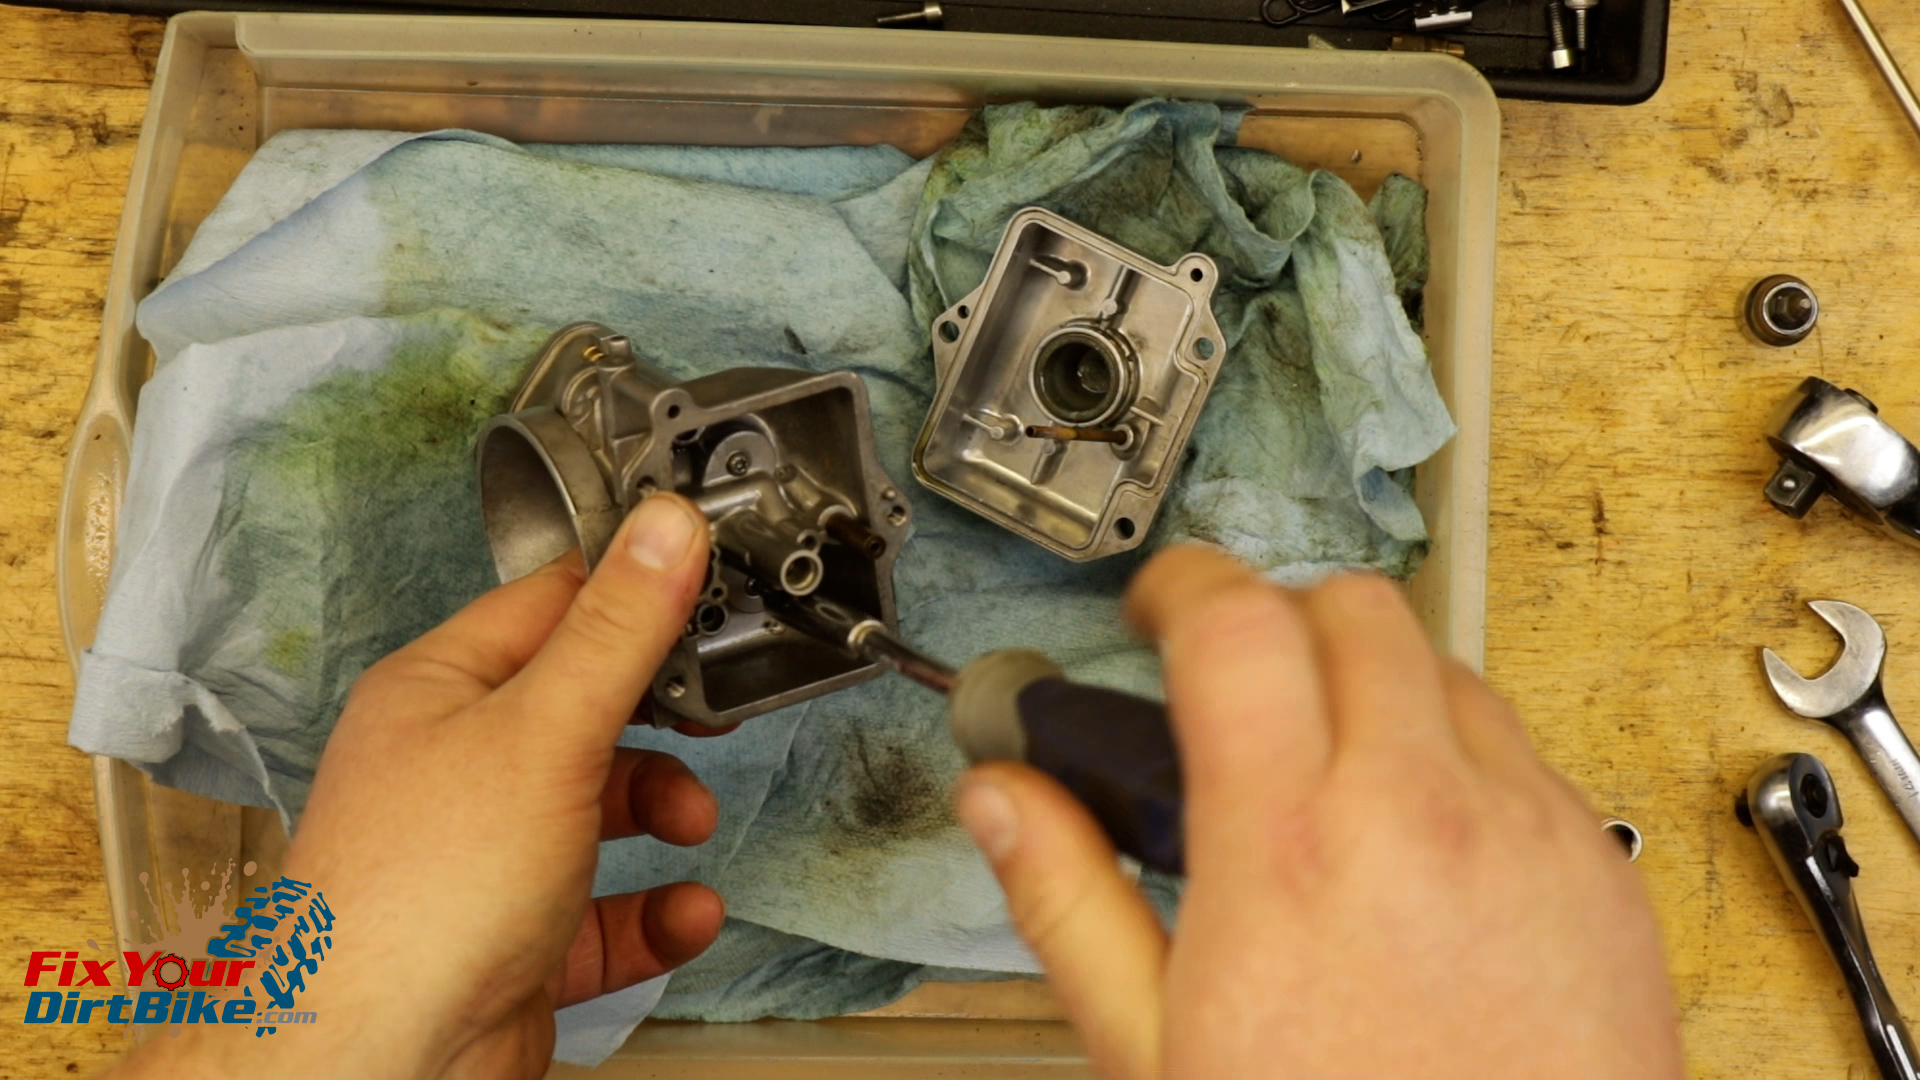
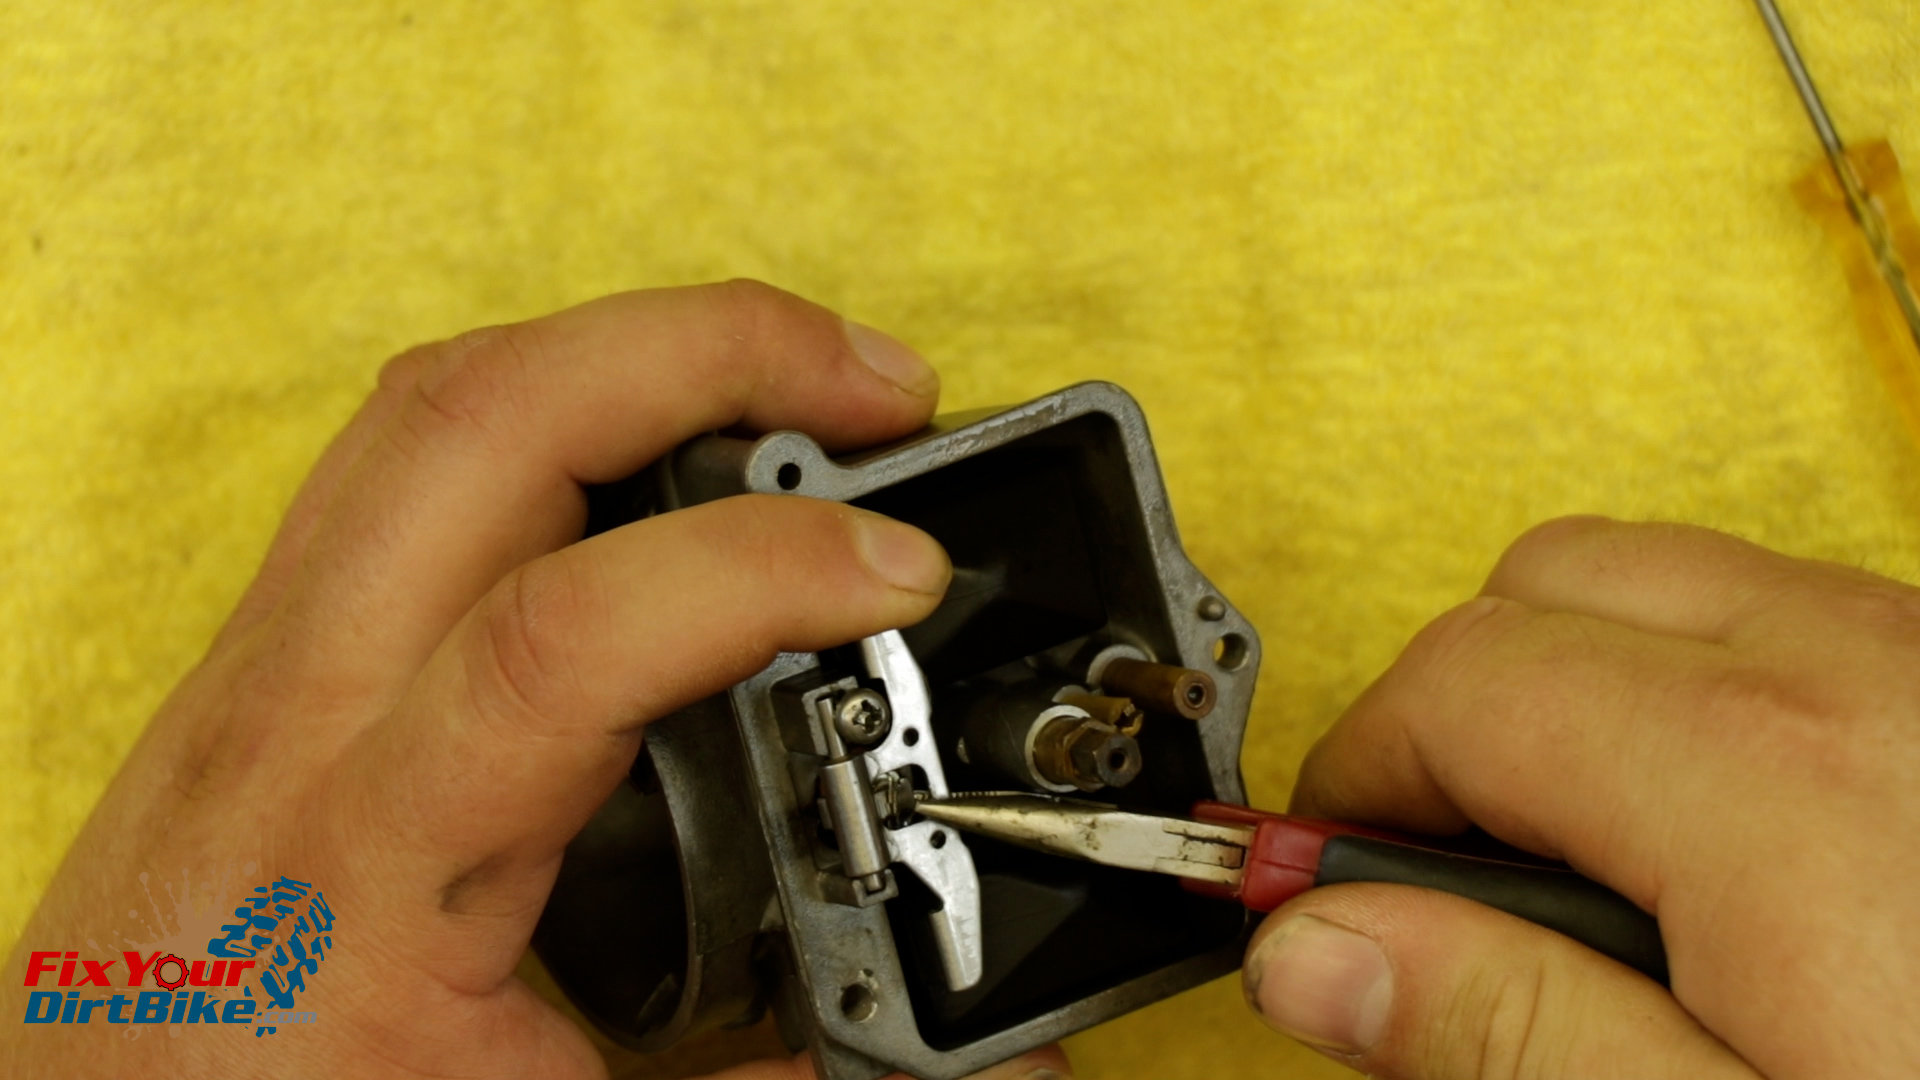
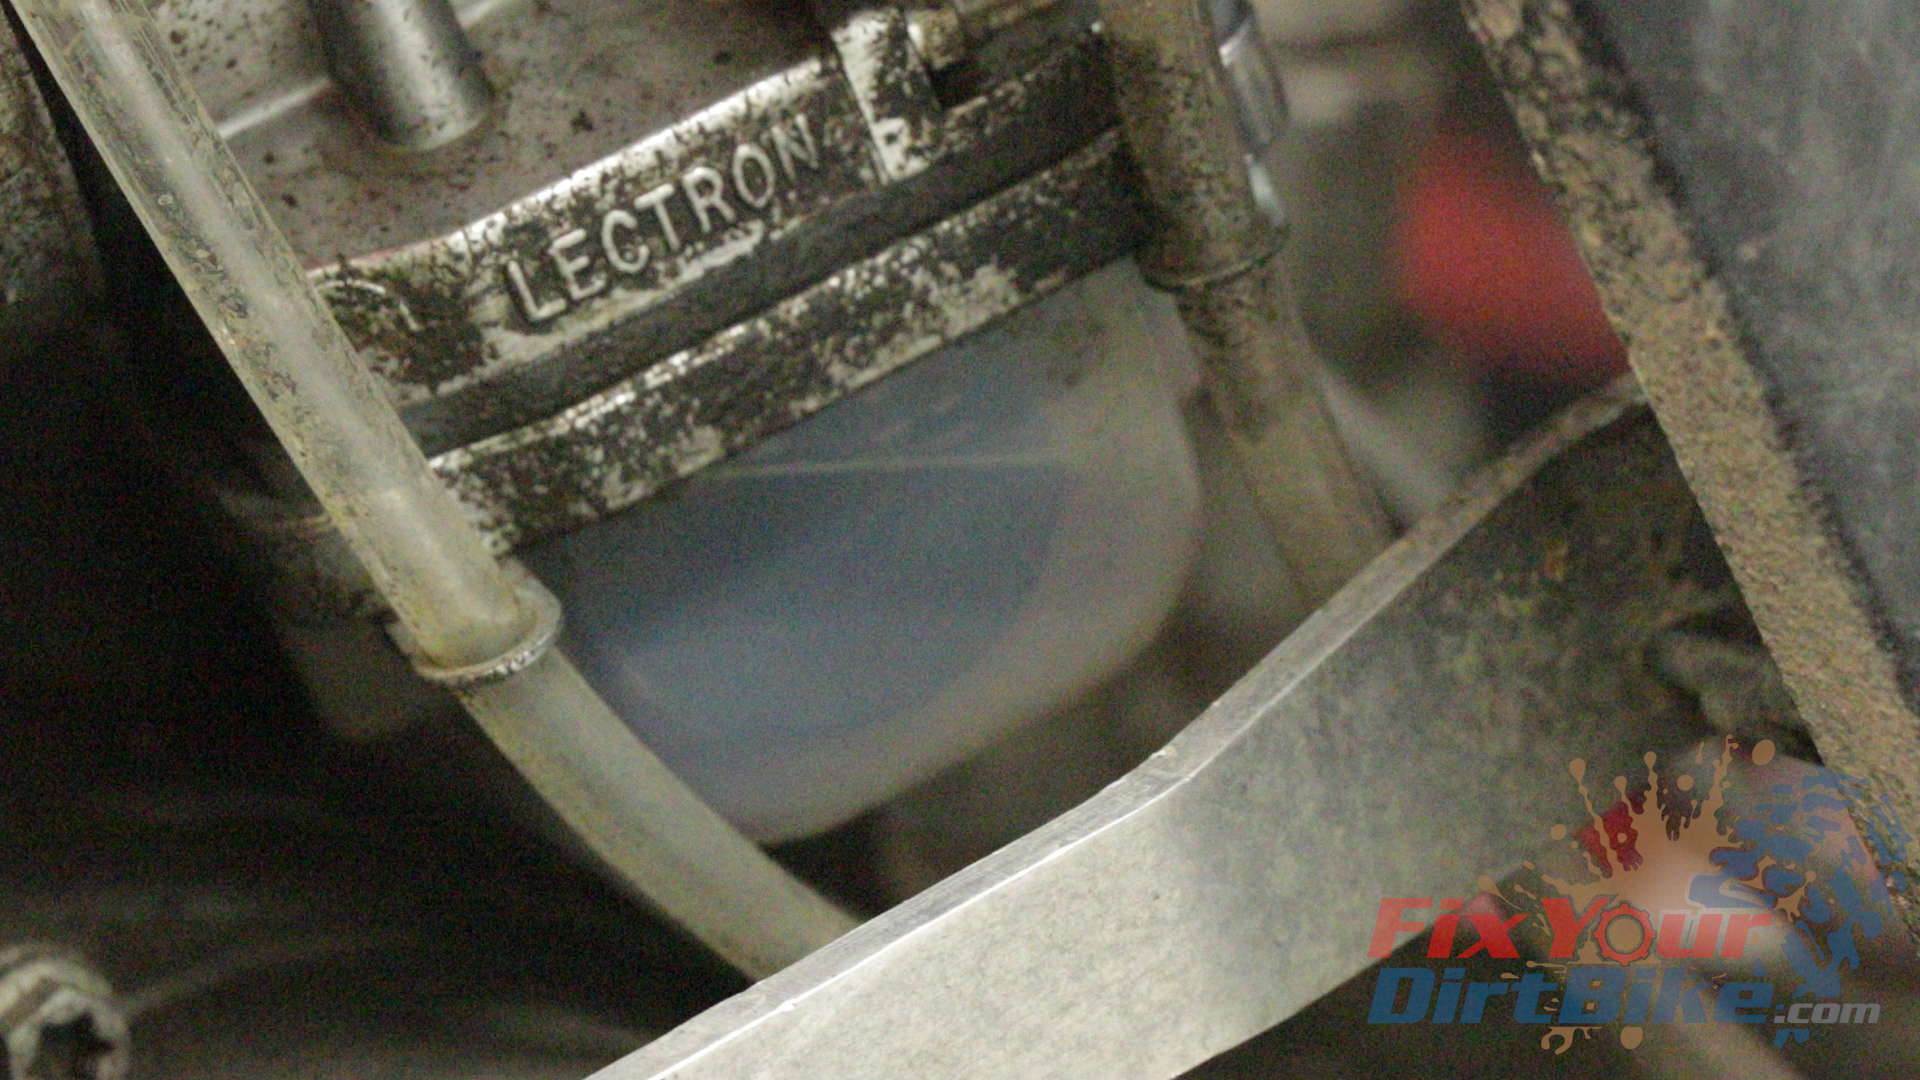 I also noticed that the carburetor body is made of two cast aluminum halves joined with Allen screws, meaning I can get to the internals during cleaning.
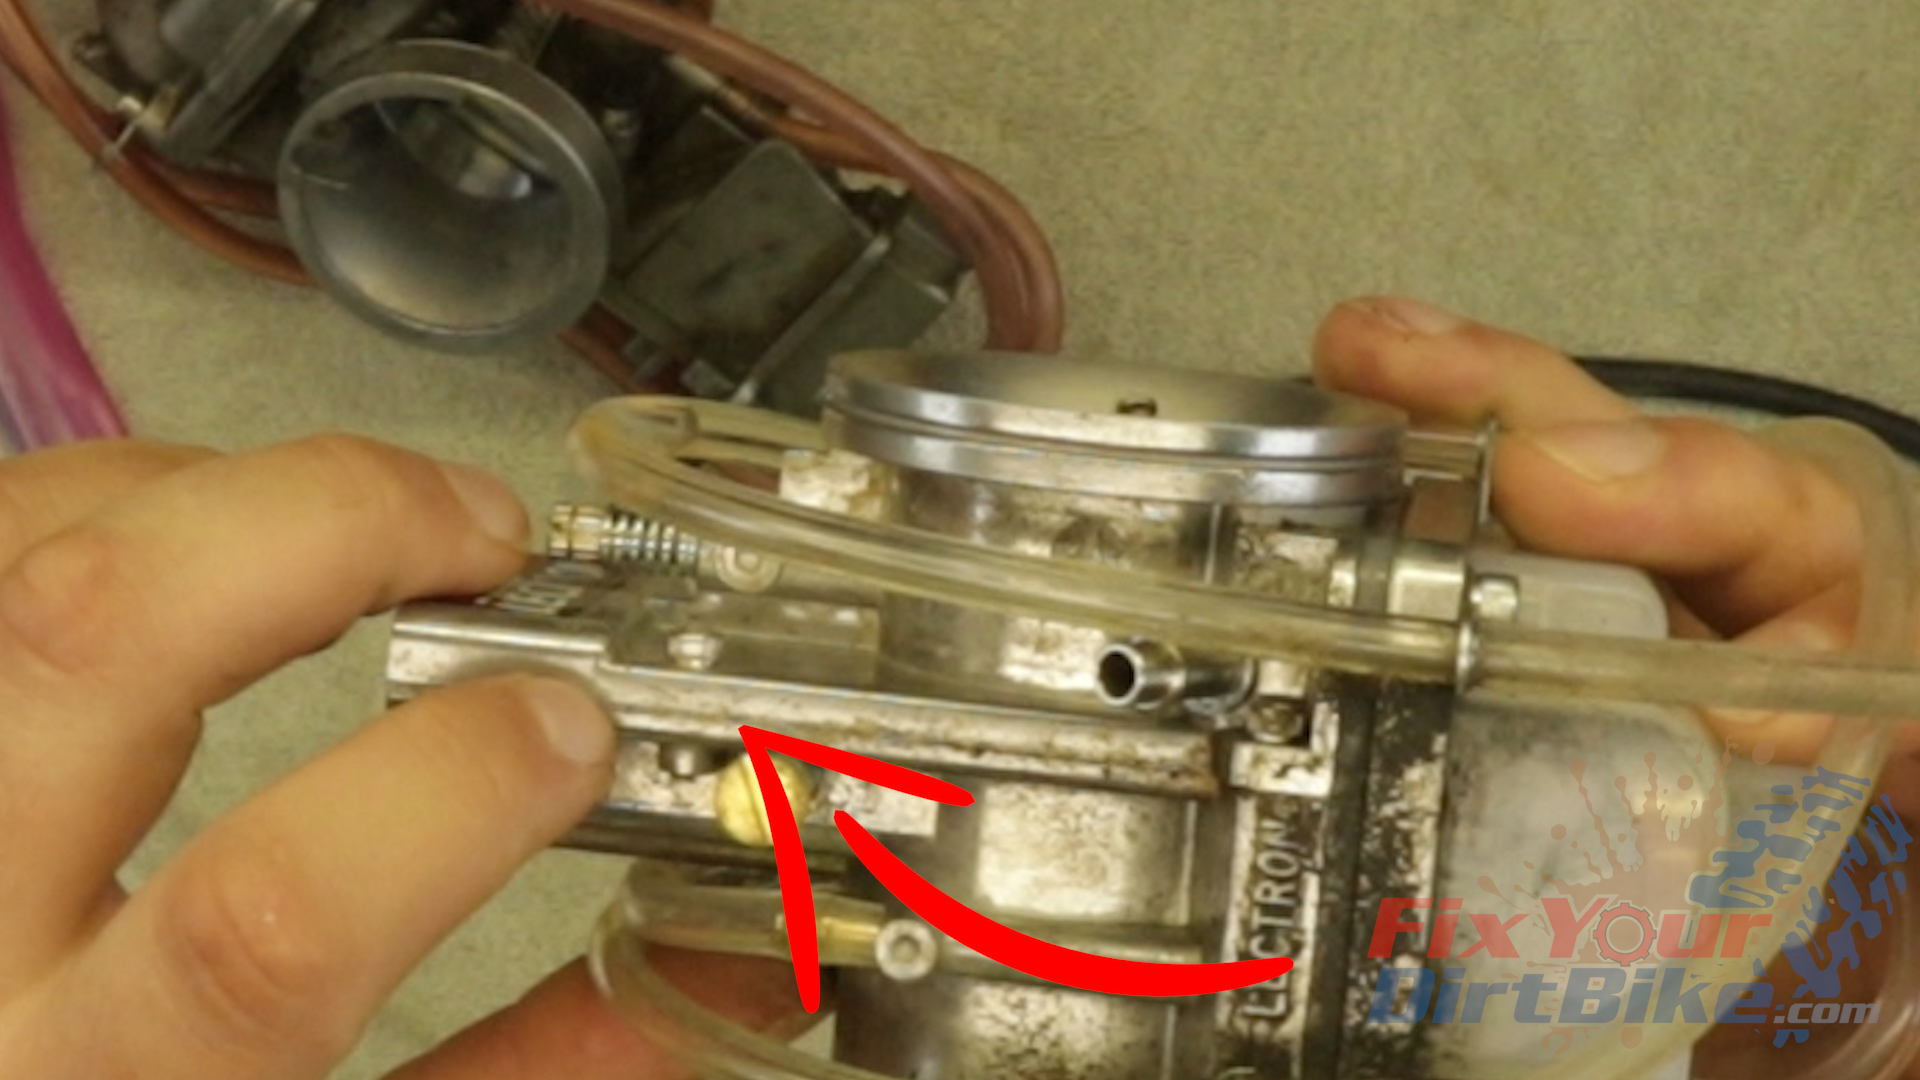 However.
Dislikes
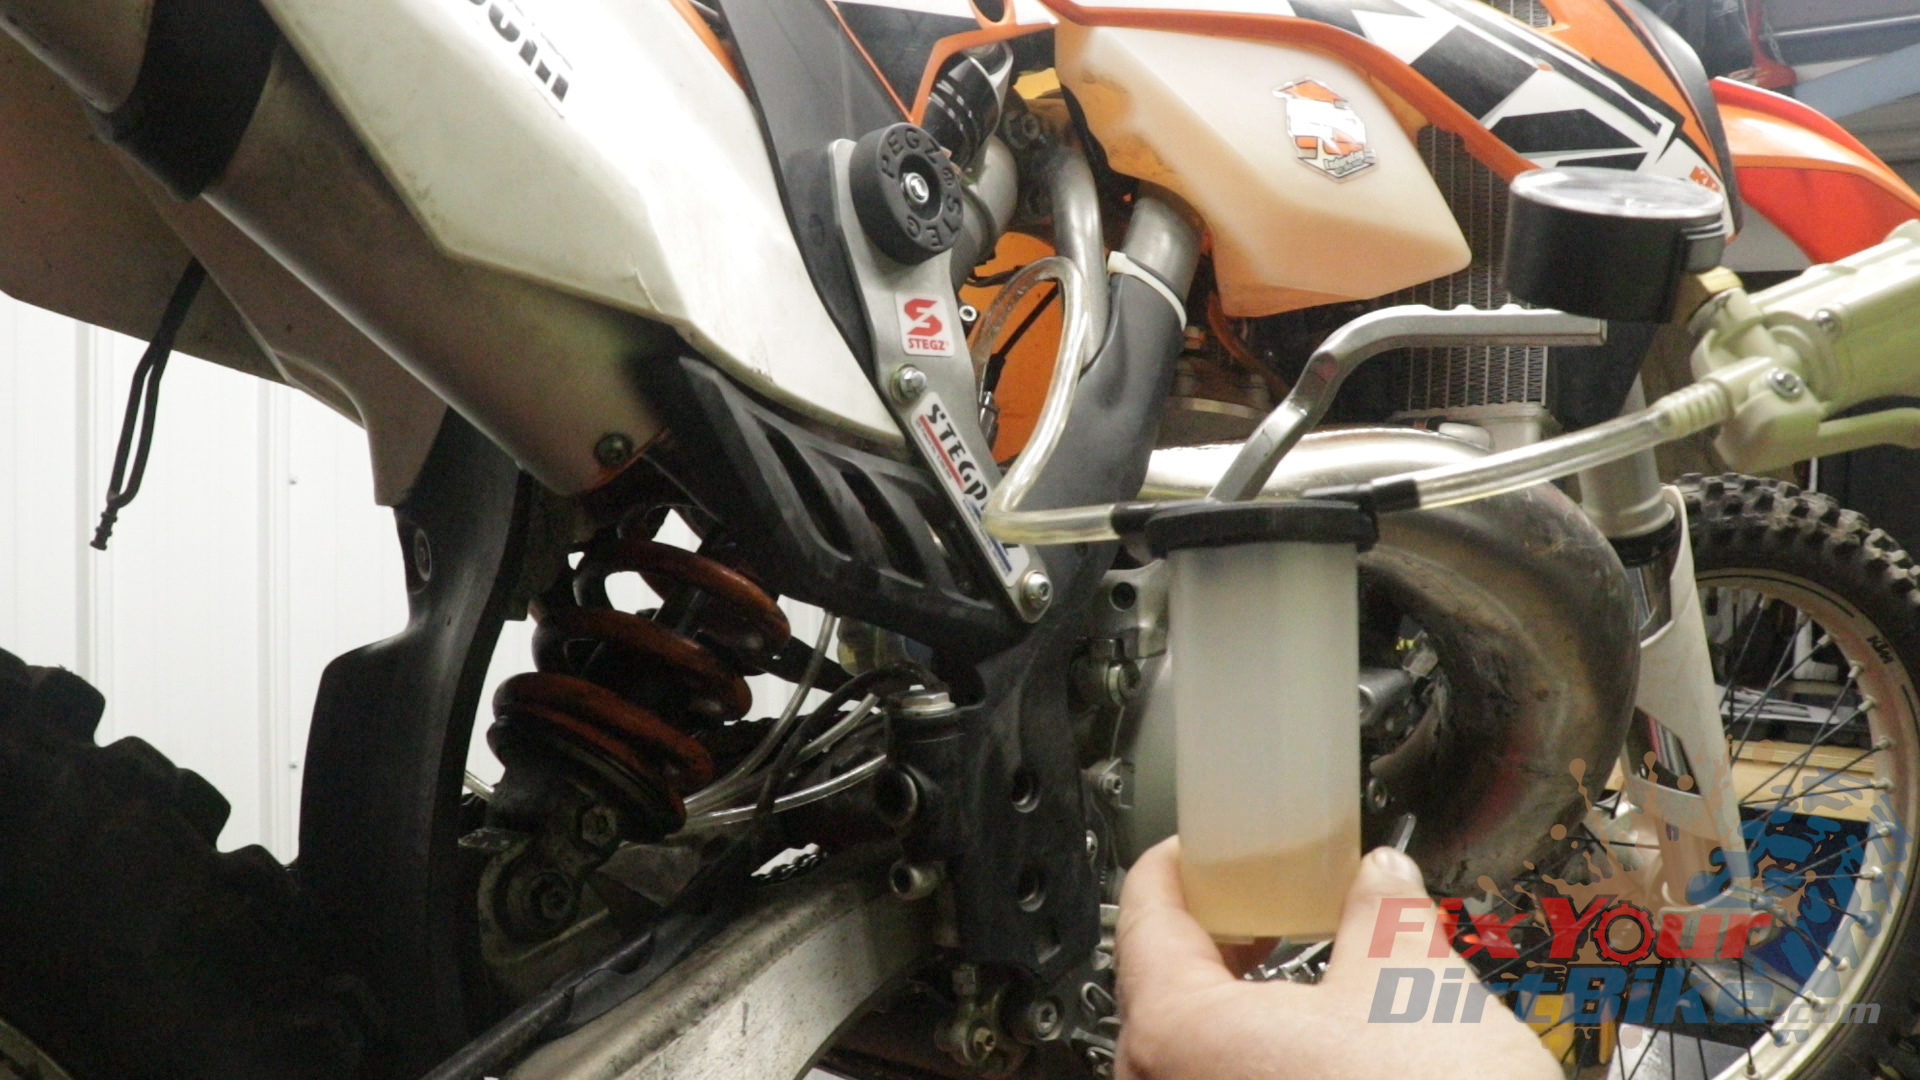
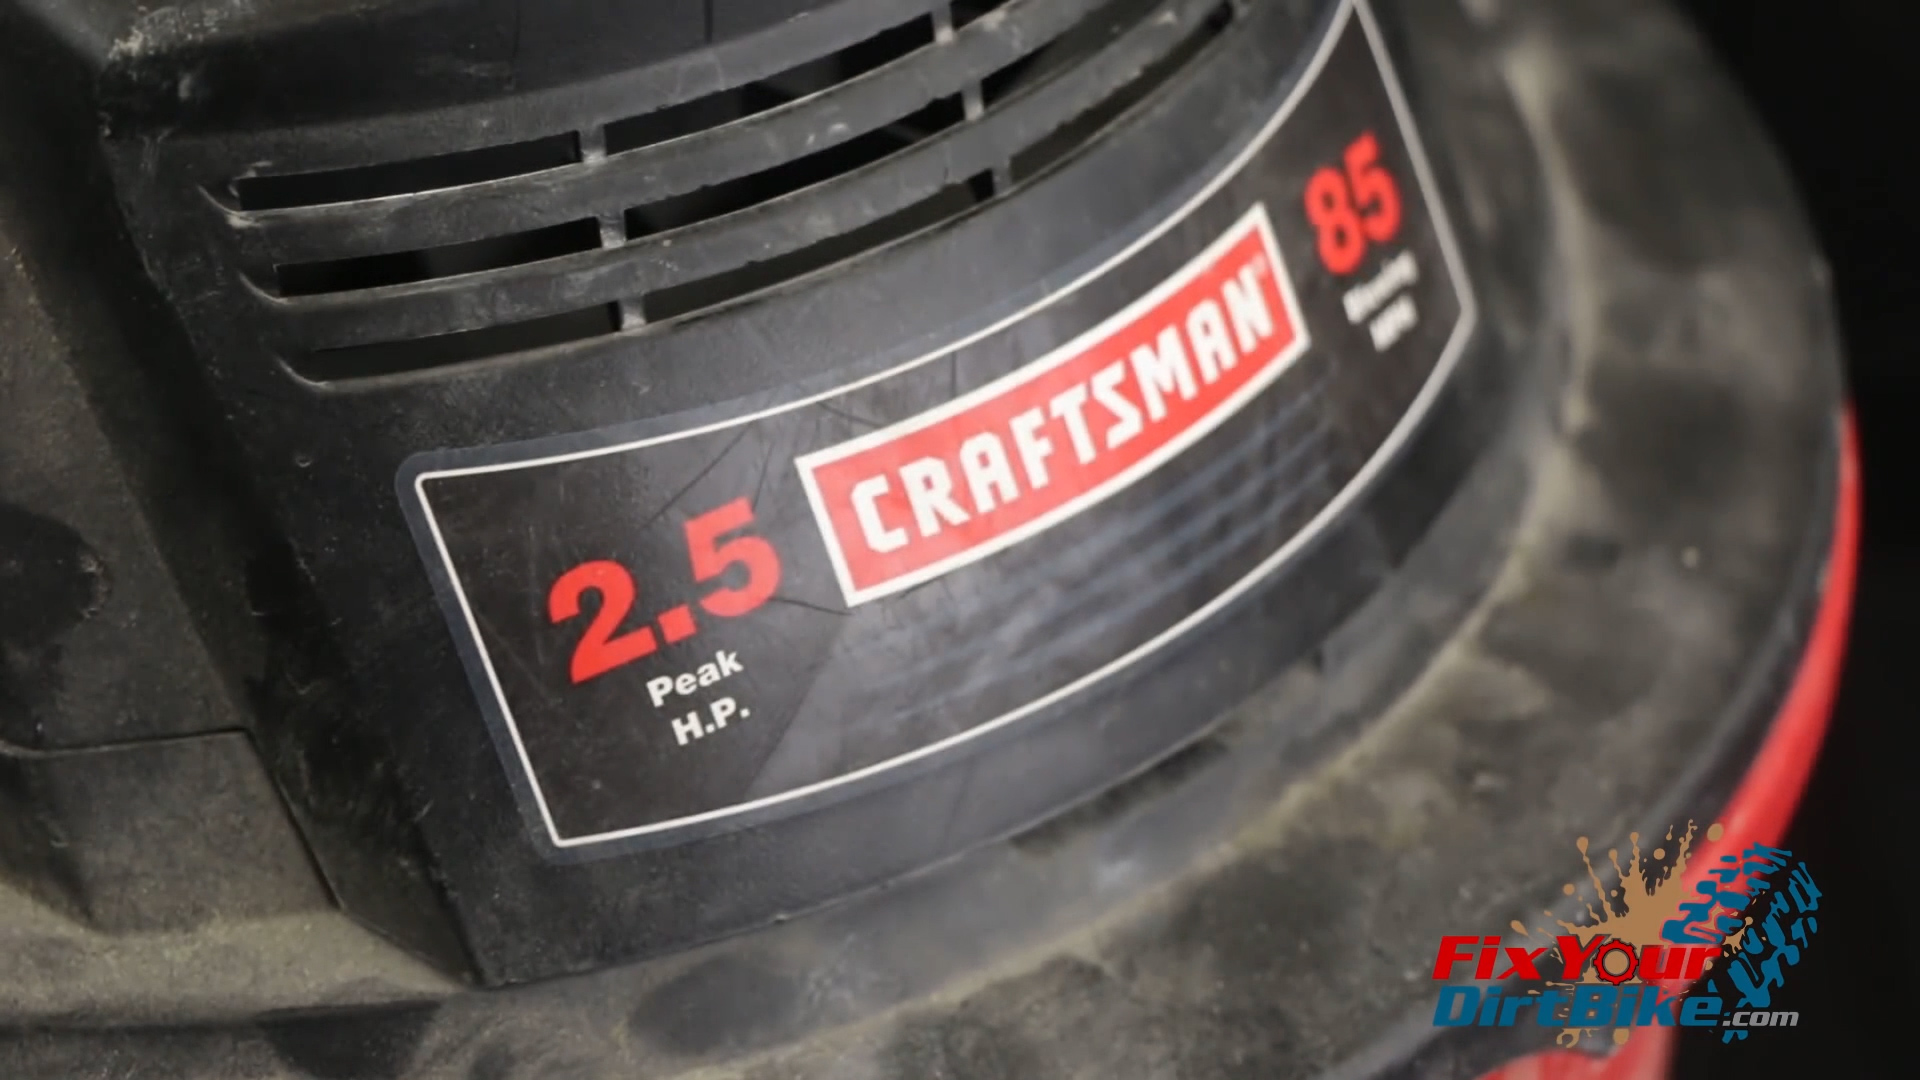
The clear bowl is one solid piece and has no drain; I have to pull the main jet hose and drain with a vacuum pump and catch can.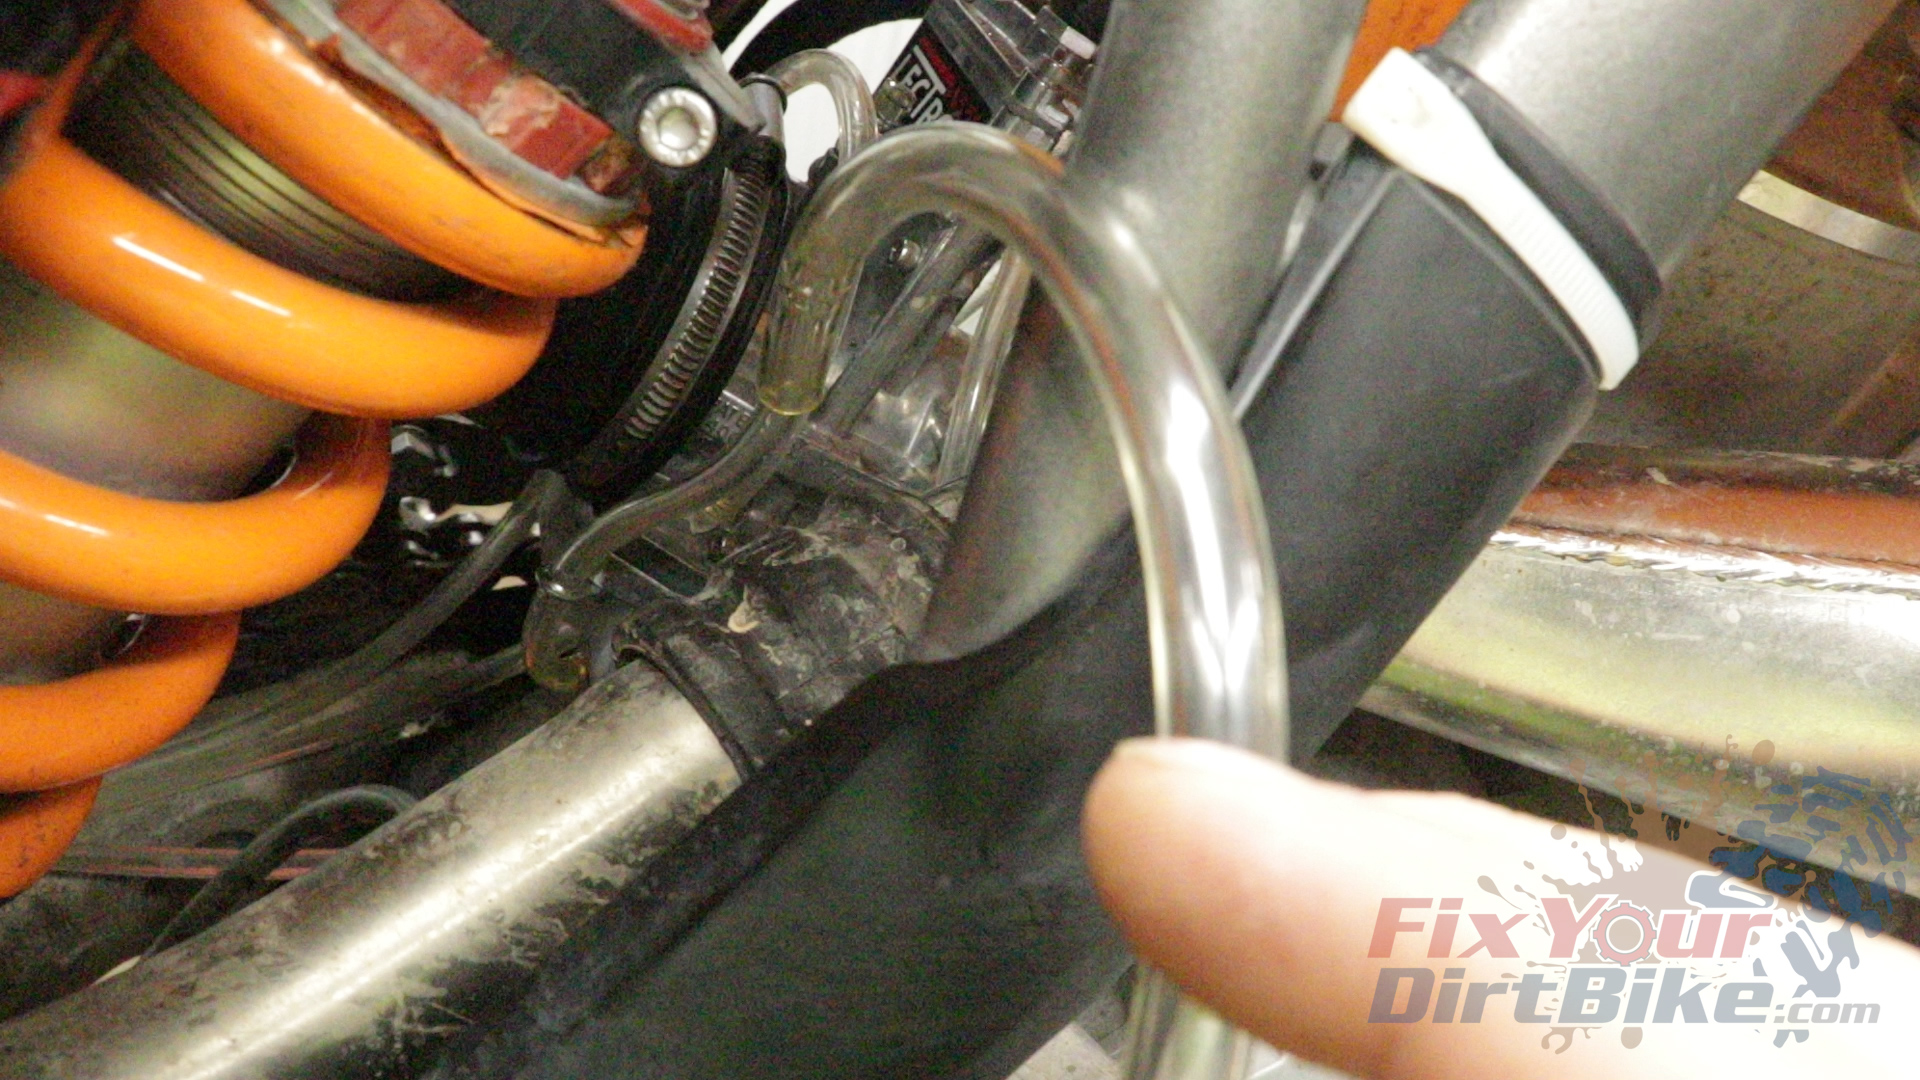
 I like the Allen screws for the bowl and throttle, but the hardware is standard. Almost all motorcycles are metric, so why would you assemble your carburetor with standard hardware?
I know it’s not a huge deal, it’s just, why?
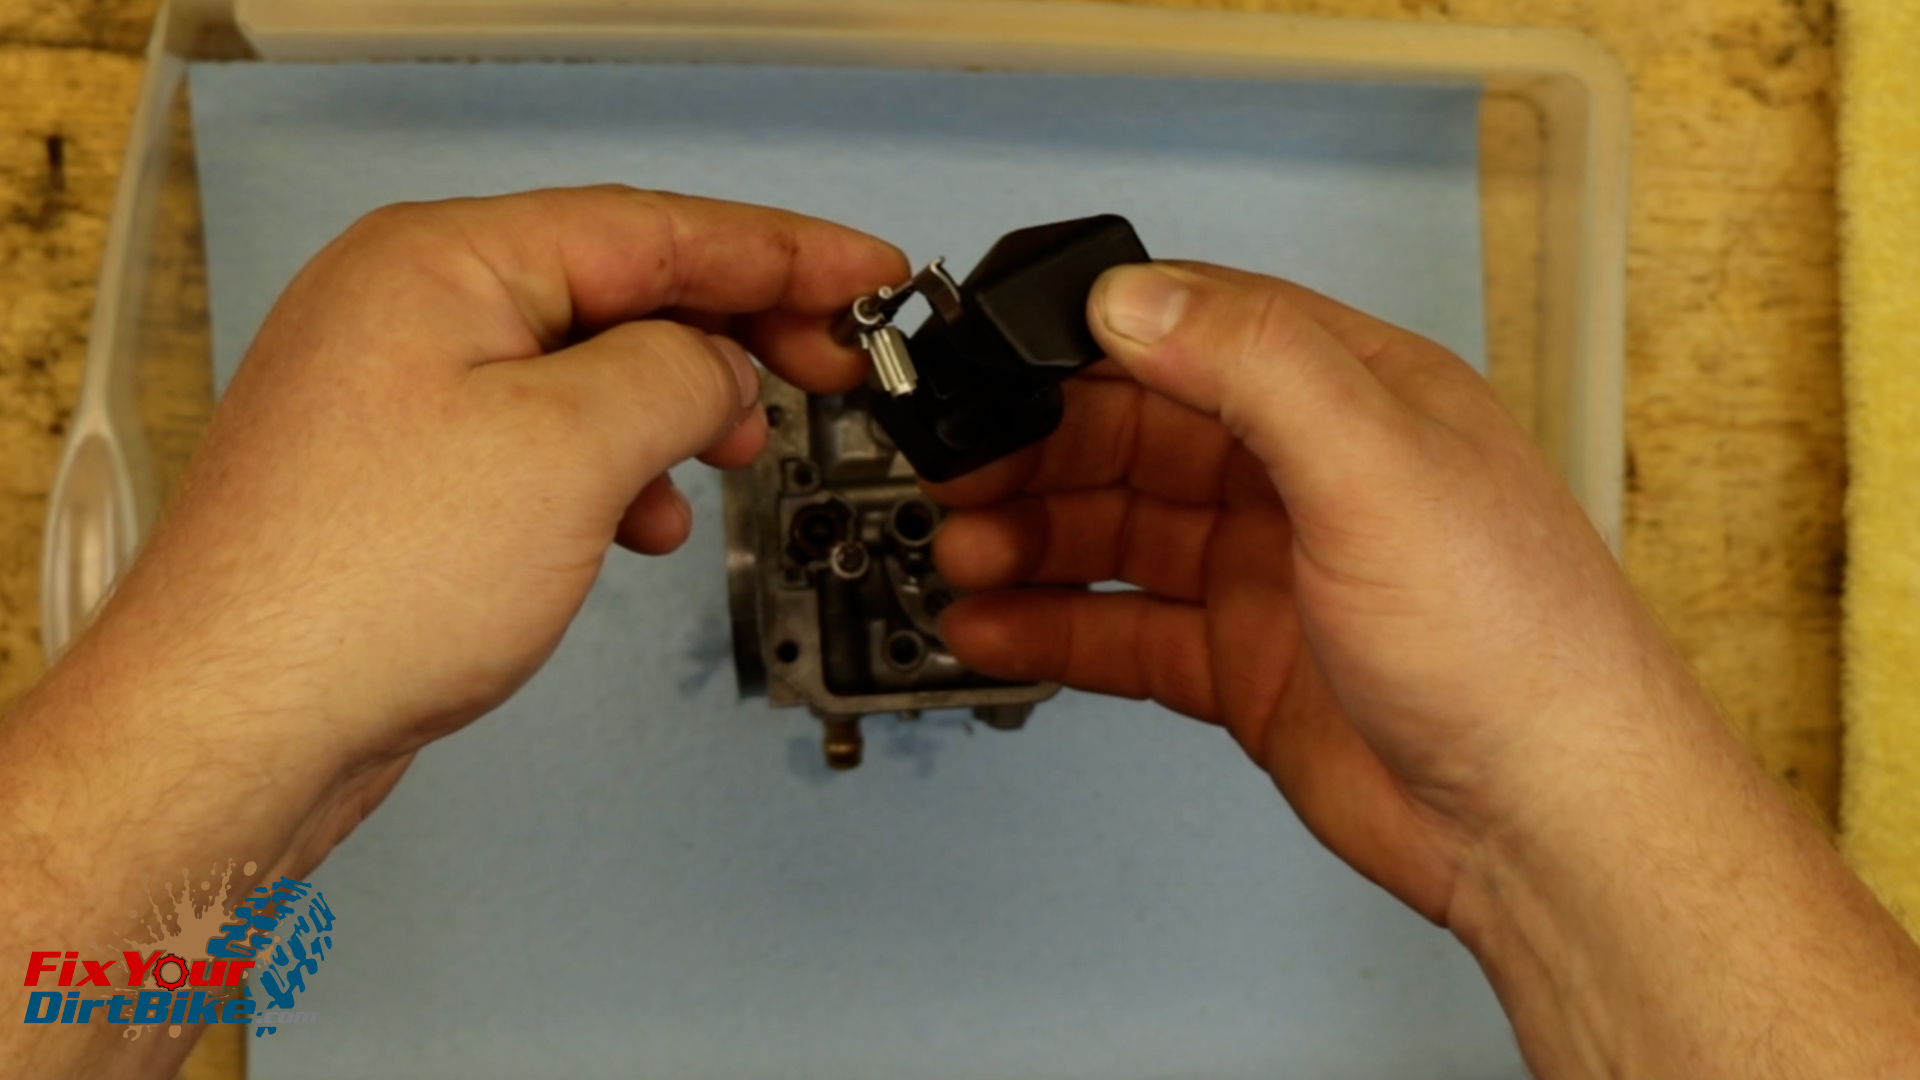
The slide has no catch or lock to keep the throttle cable in place. Not having a cable catch doesn’t affect the operation or installation; I just found it odd because I’m not used to it.
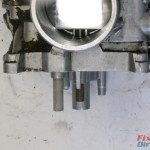
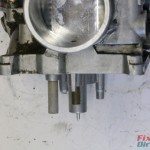
Carb Size And Configuration
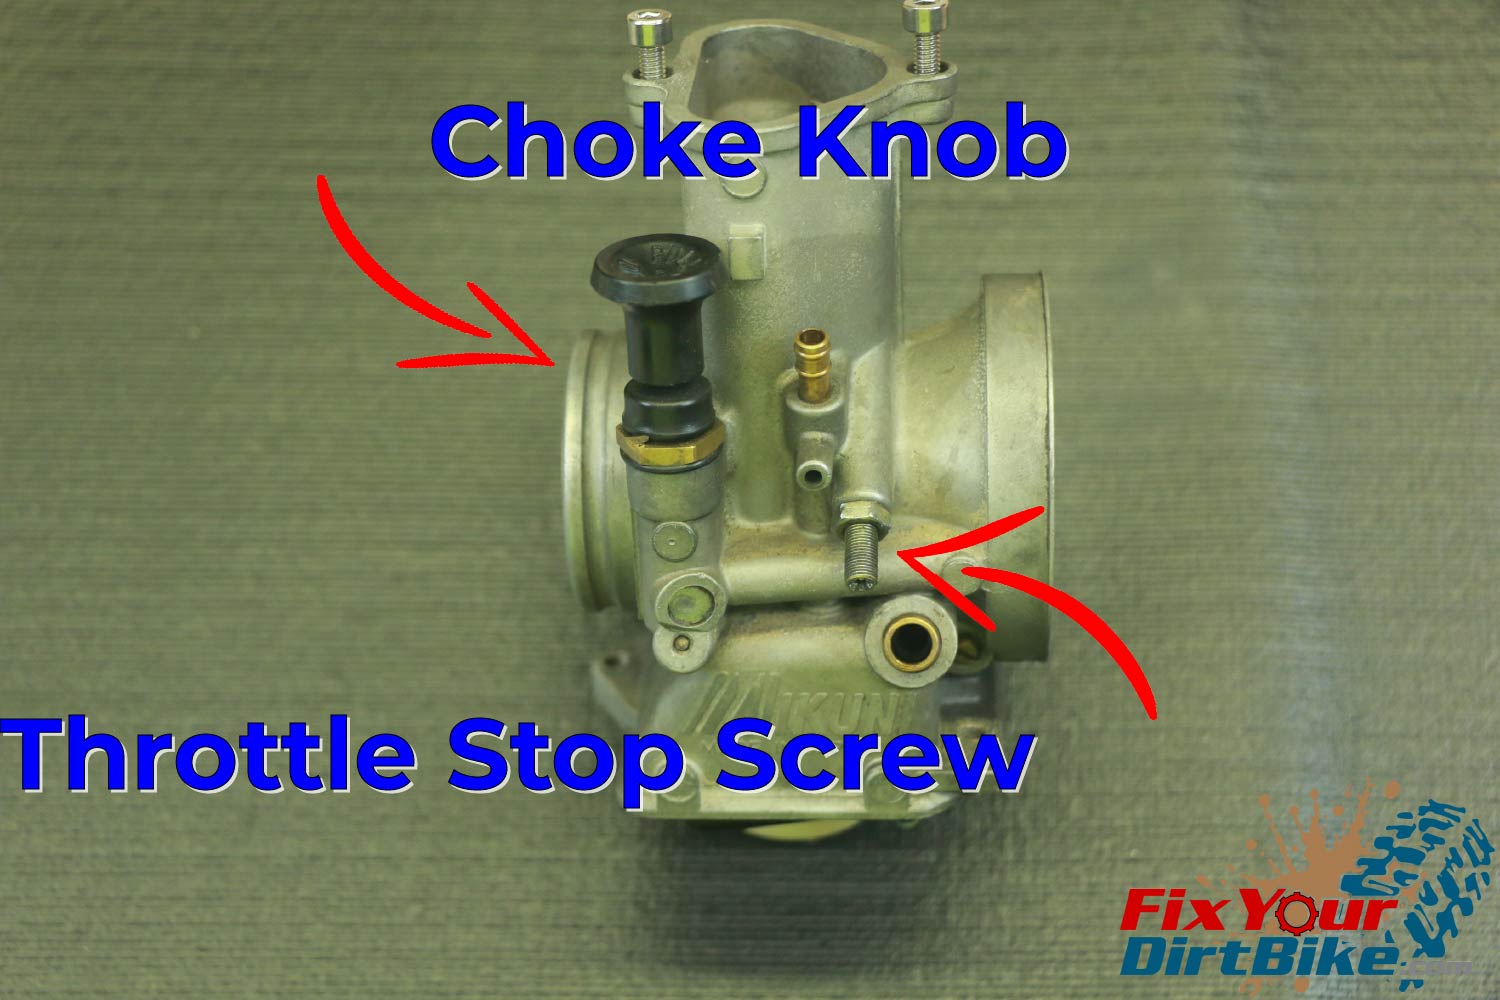
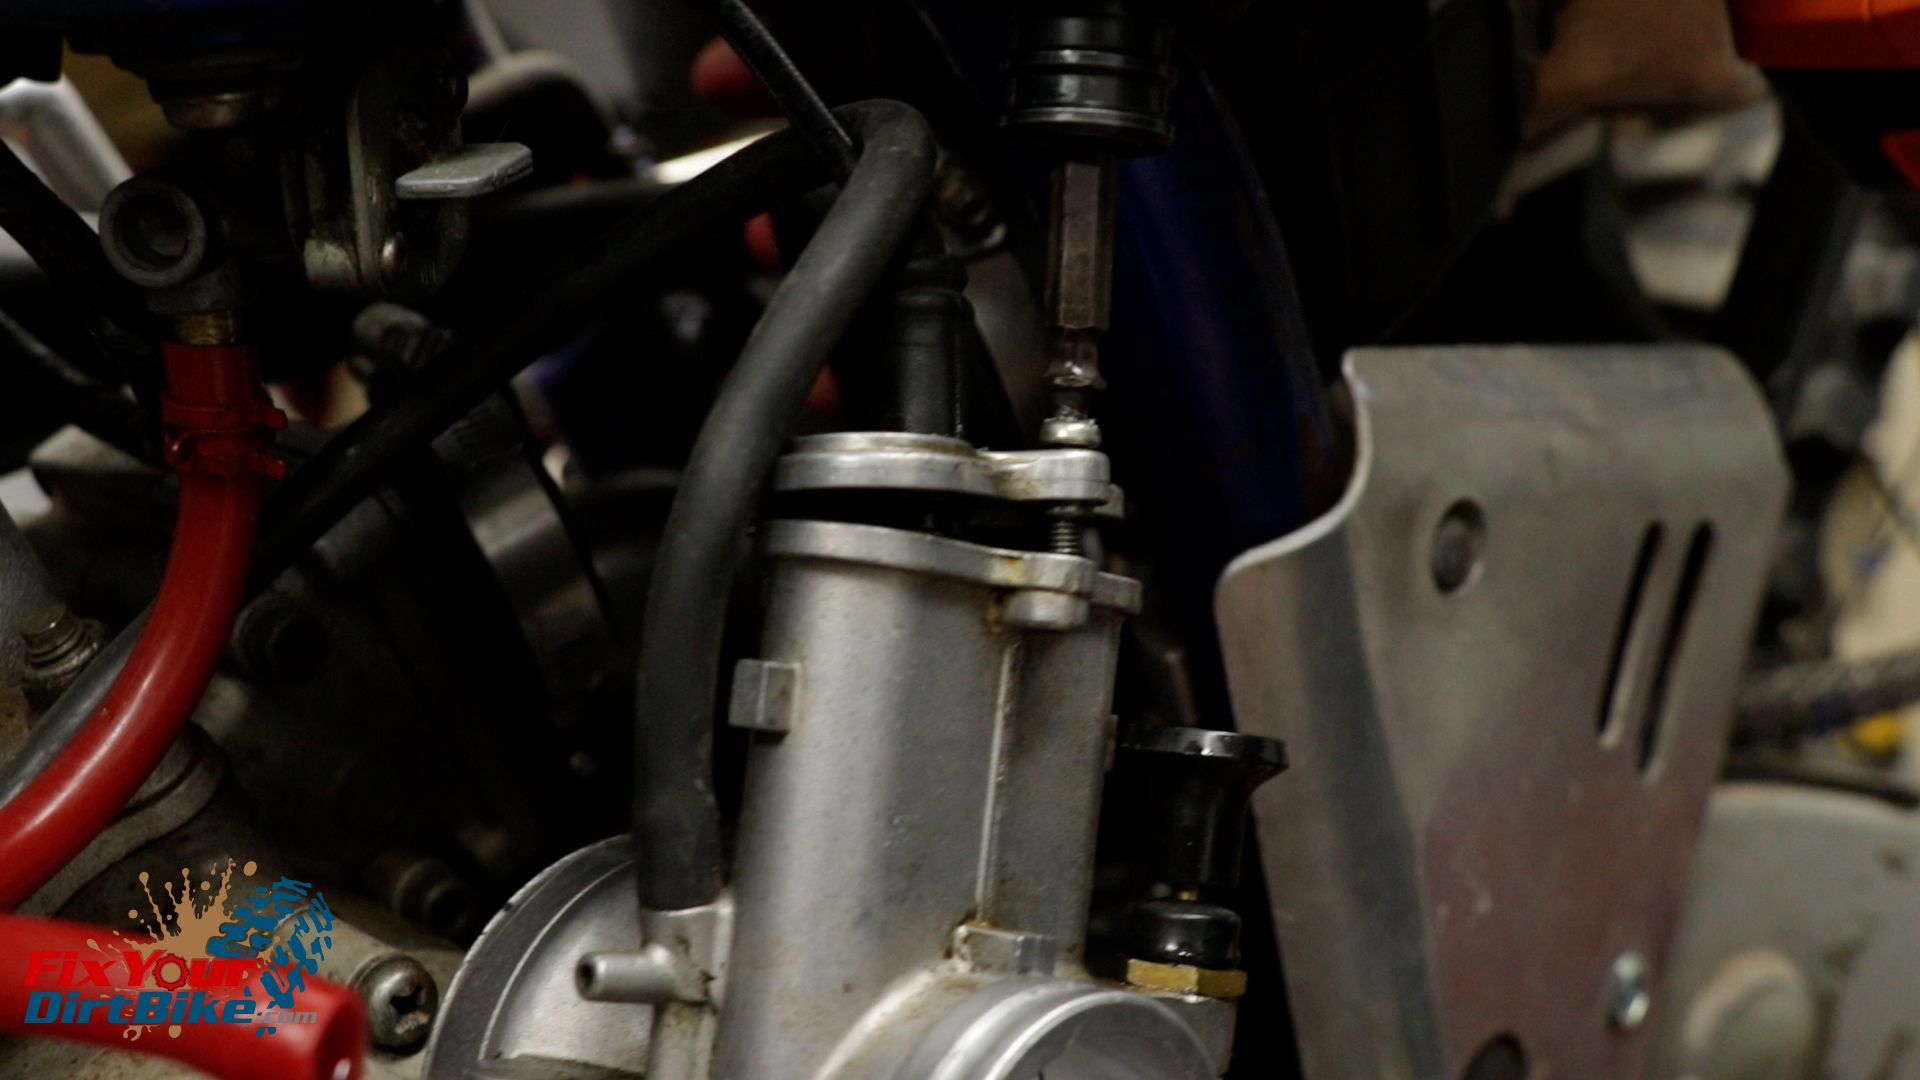
The Lectron carb is longer than stock, so It wrinkles the boot from the airbox. It’s not much, and If it does affect airflow negatively, the power gains compensate for it. The install guide says to cut the boot back if needed, but for my application, I don’t think that’s necessary.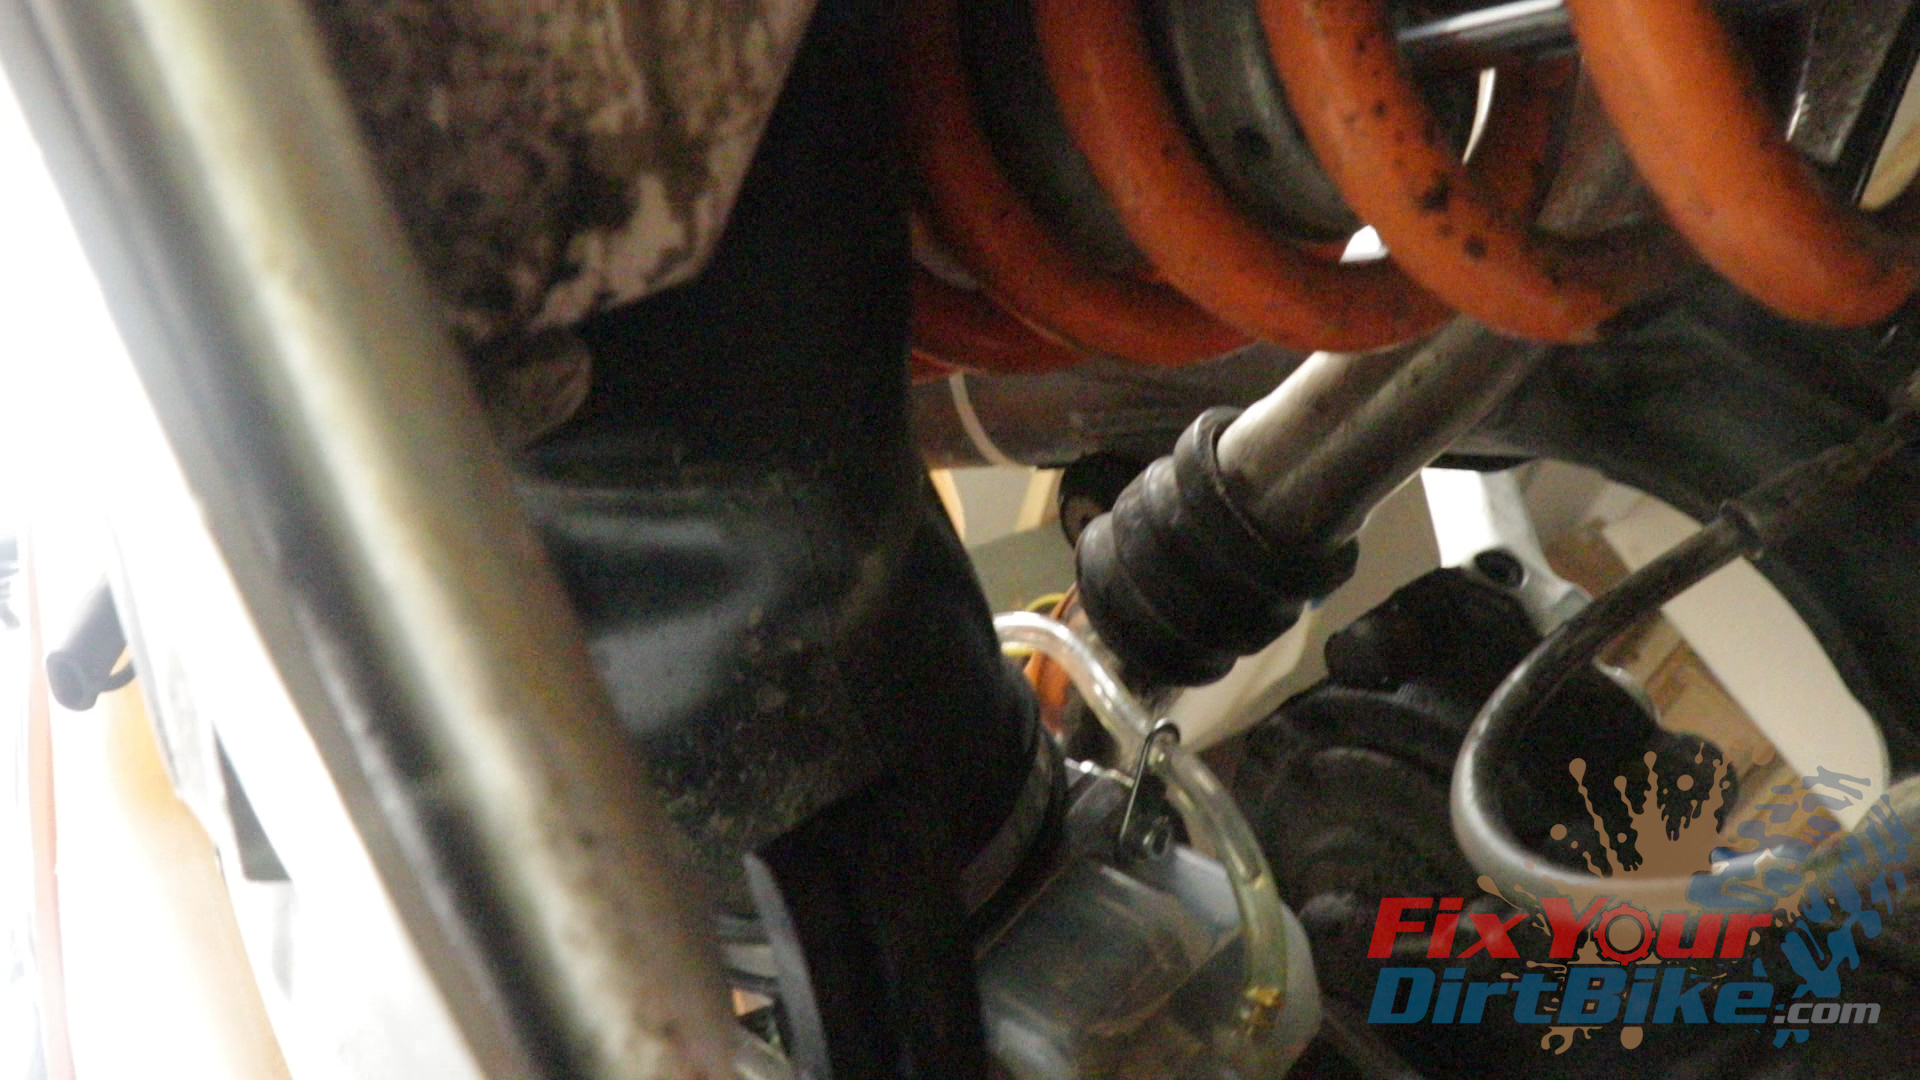 The choke knob is on the wrong side of the body, so I have to reach between the hot exhaust and frame to disengage it.
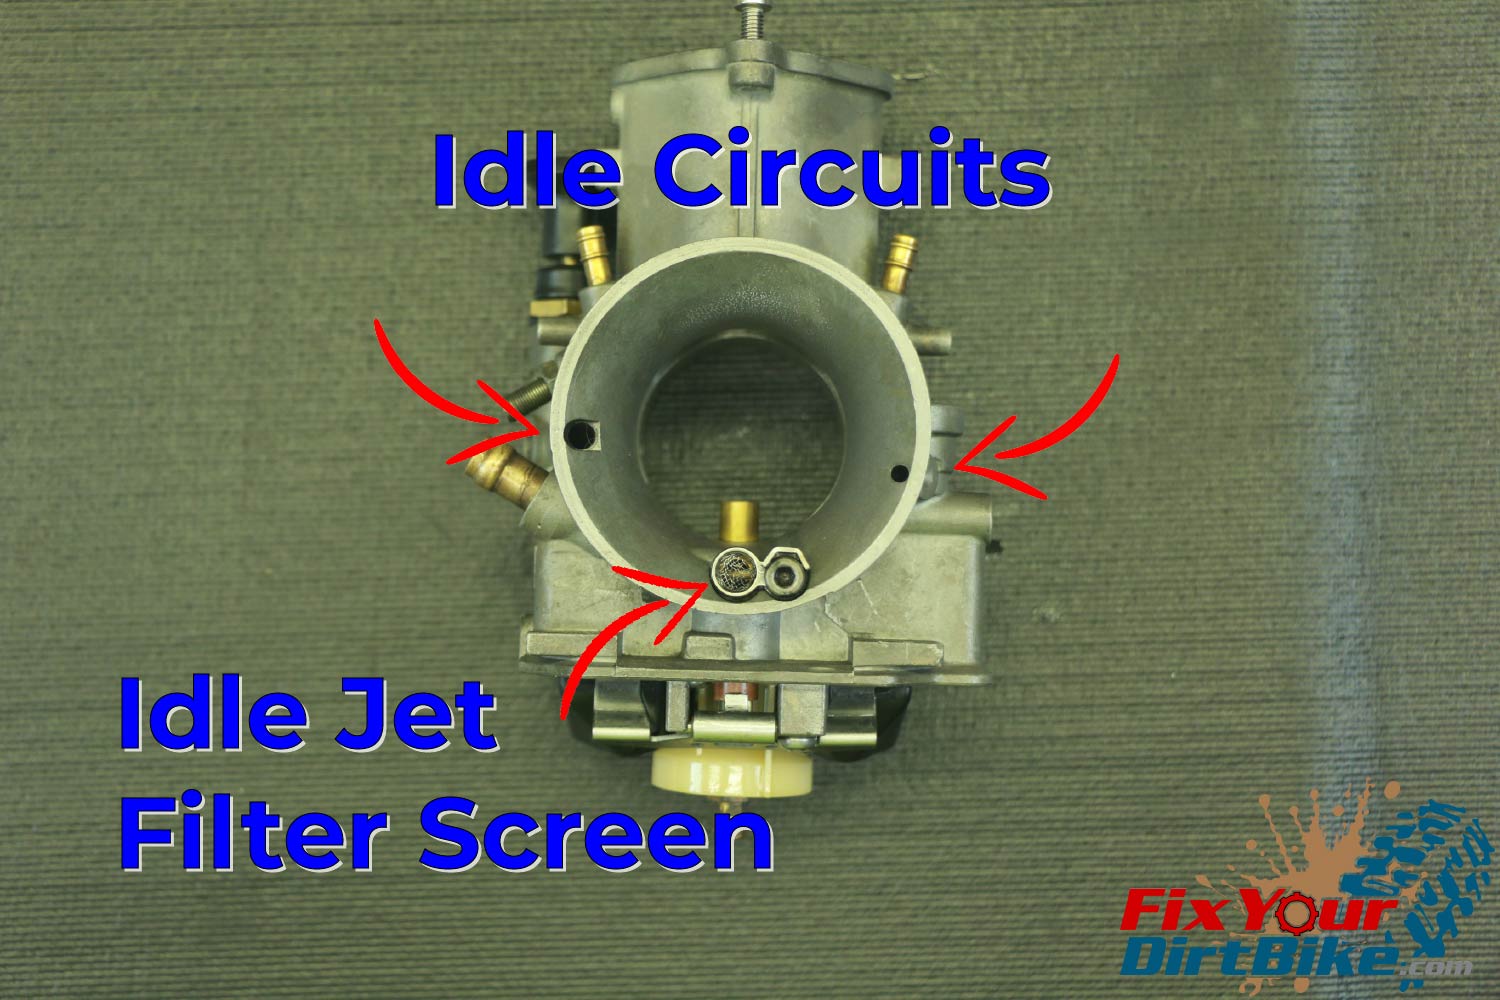
My bike starts harder now. I can feel a big difference with my right leg. My initial thought is because the Lectron has no idle circuit, meaning the engine is fighting more vacuum at startup.
Whatever the cause is, I can not start my bike cold with the electric starter; I have to kick start it every time. I would be hesitant to buy a Lectron if I had a newer bike without a kickstarter. Which, by the way, not having a kickstarter is stupid, but that’s just my opinion.
If you or someone you know has a Lectron newer on one of those bikes with no kickstarter, let me know how that’s working out, I’m genuinely curious.
One More Dumb Thing
The fuel line does not come with clamps, and none of the promo pictures for the Lectron have clamps. Why would you want to risk popping a fuel line? Maybe Lectron just assumes you will reuse the stock clamps? I can’t imagine two tiny hose clamps would save them much overhead, but I’m not their CFO. Remember, this is just what I noticed fresh out of the box, and in no way affects performance.
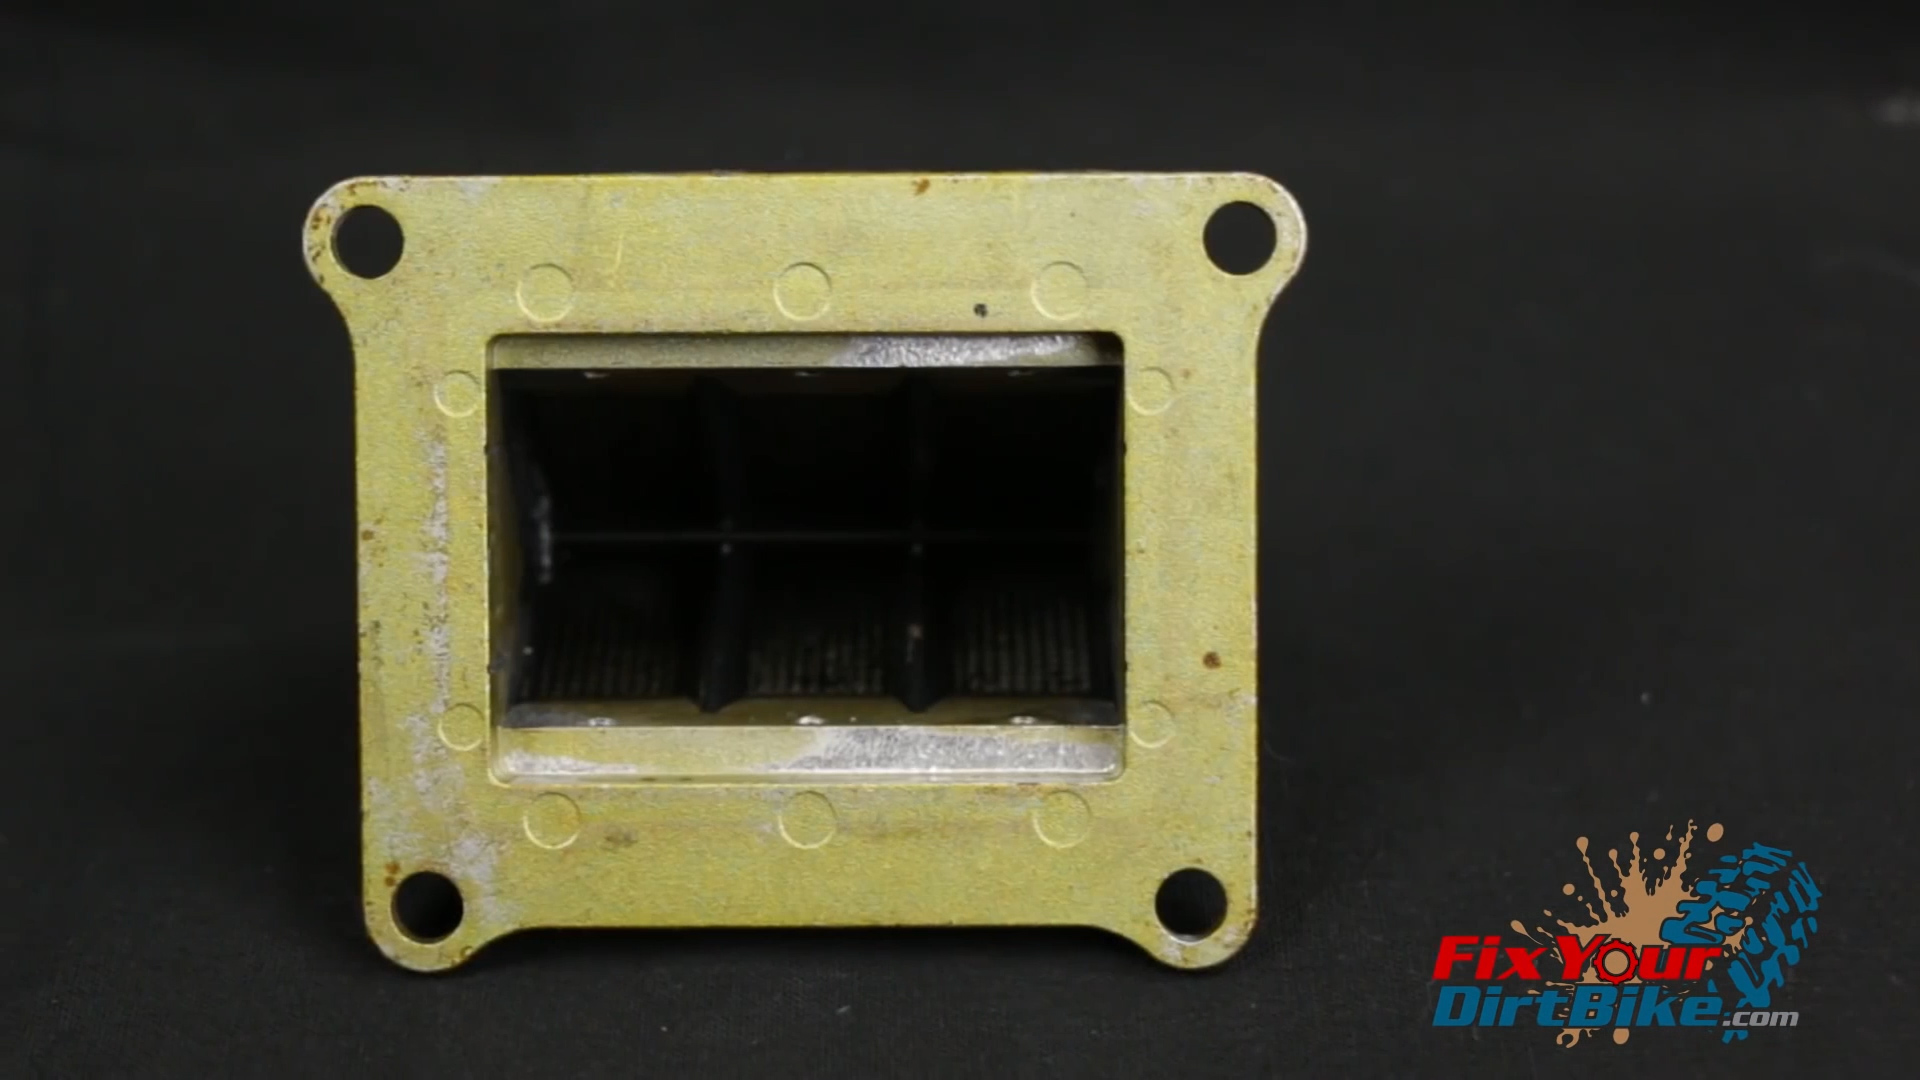
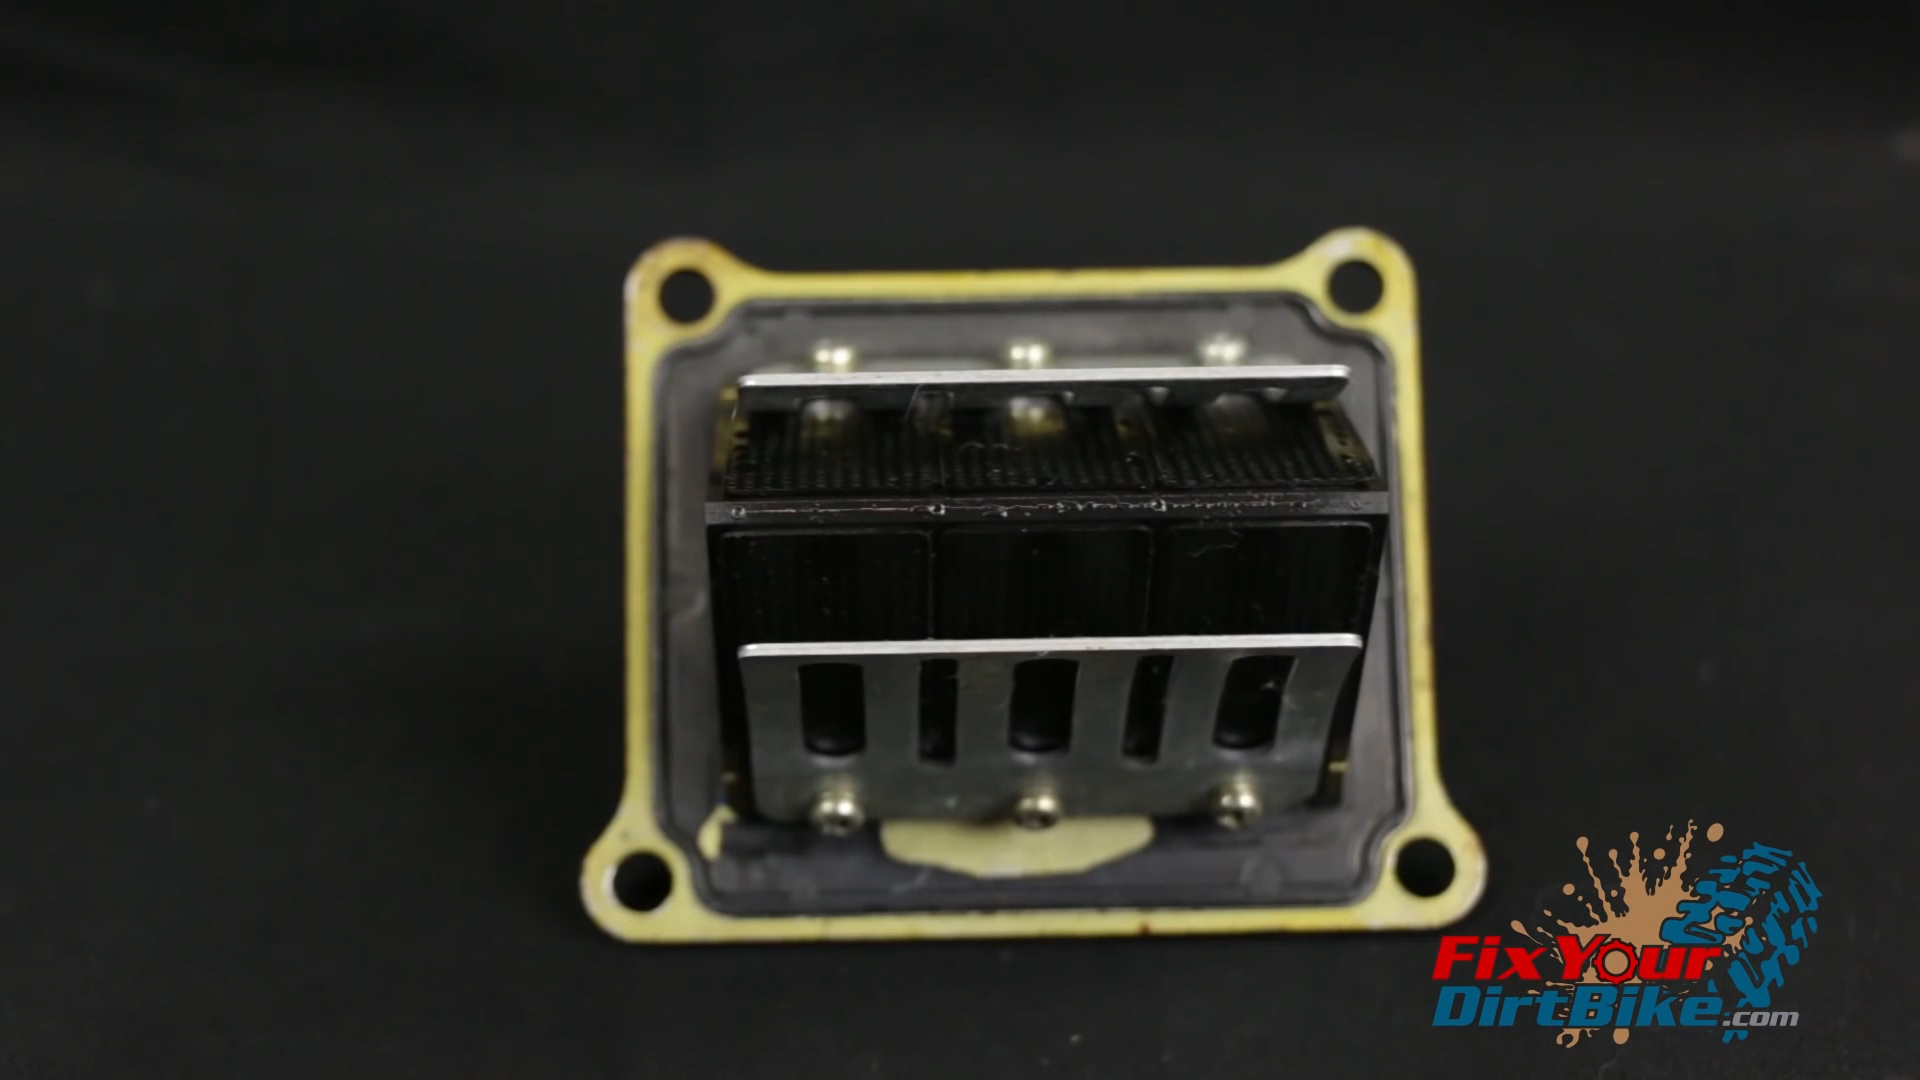
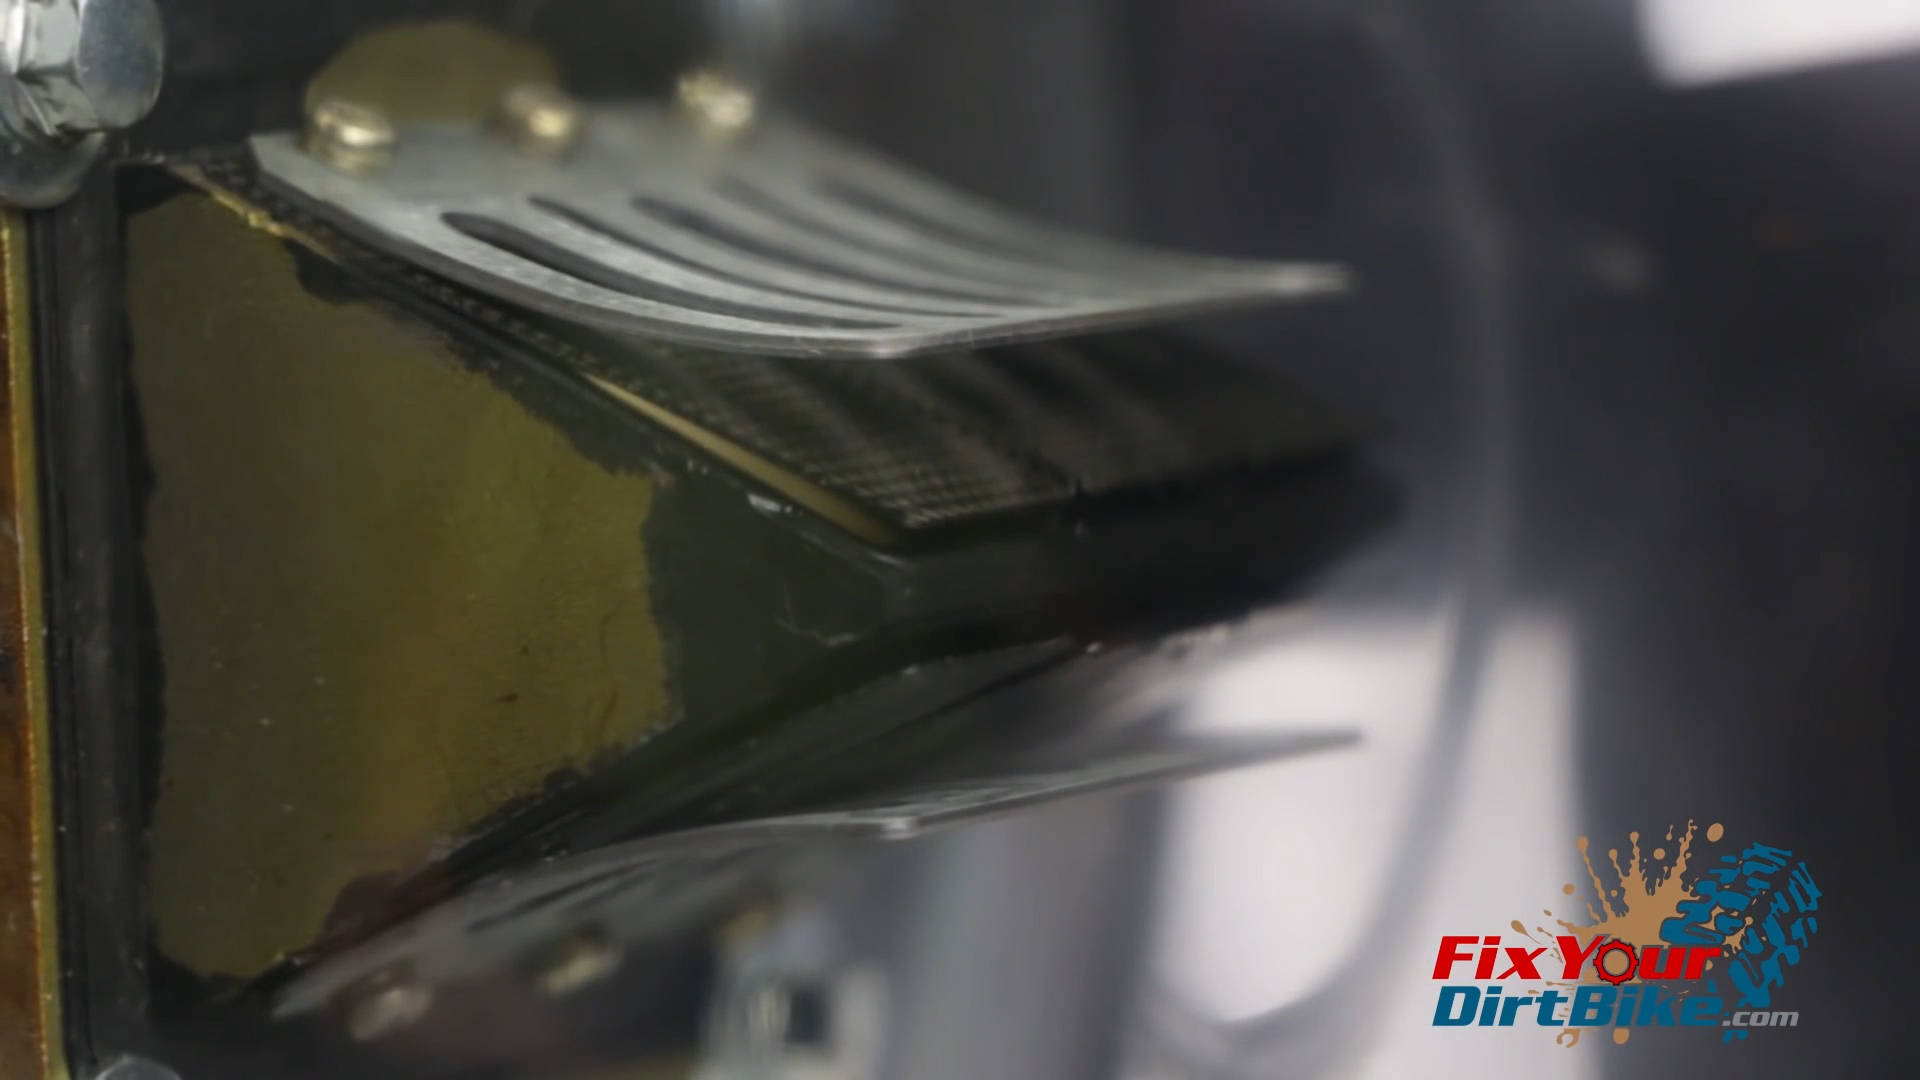
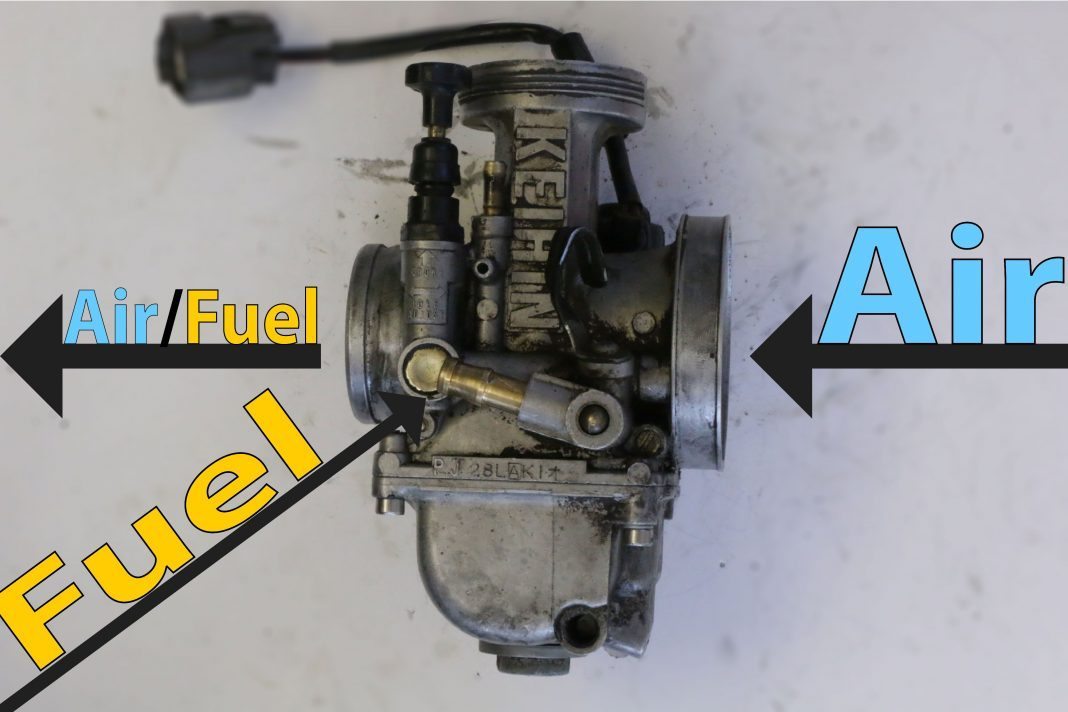
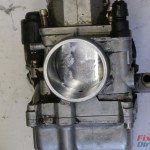
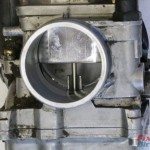
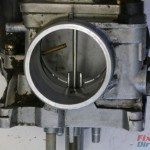
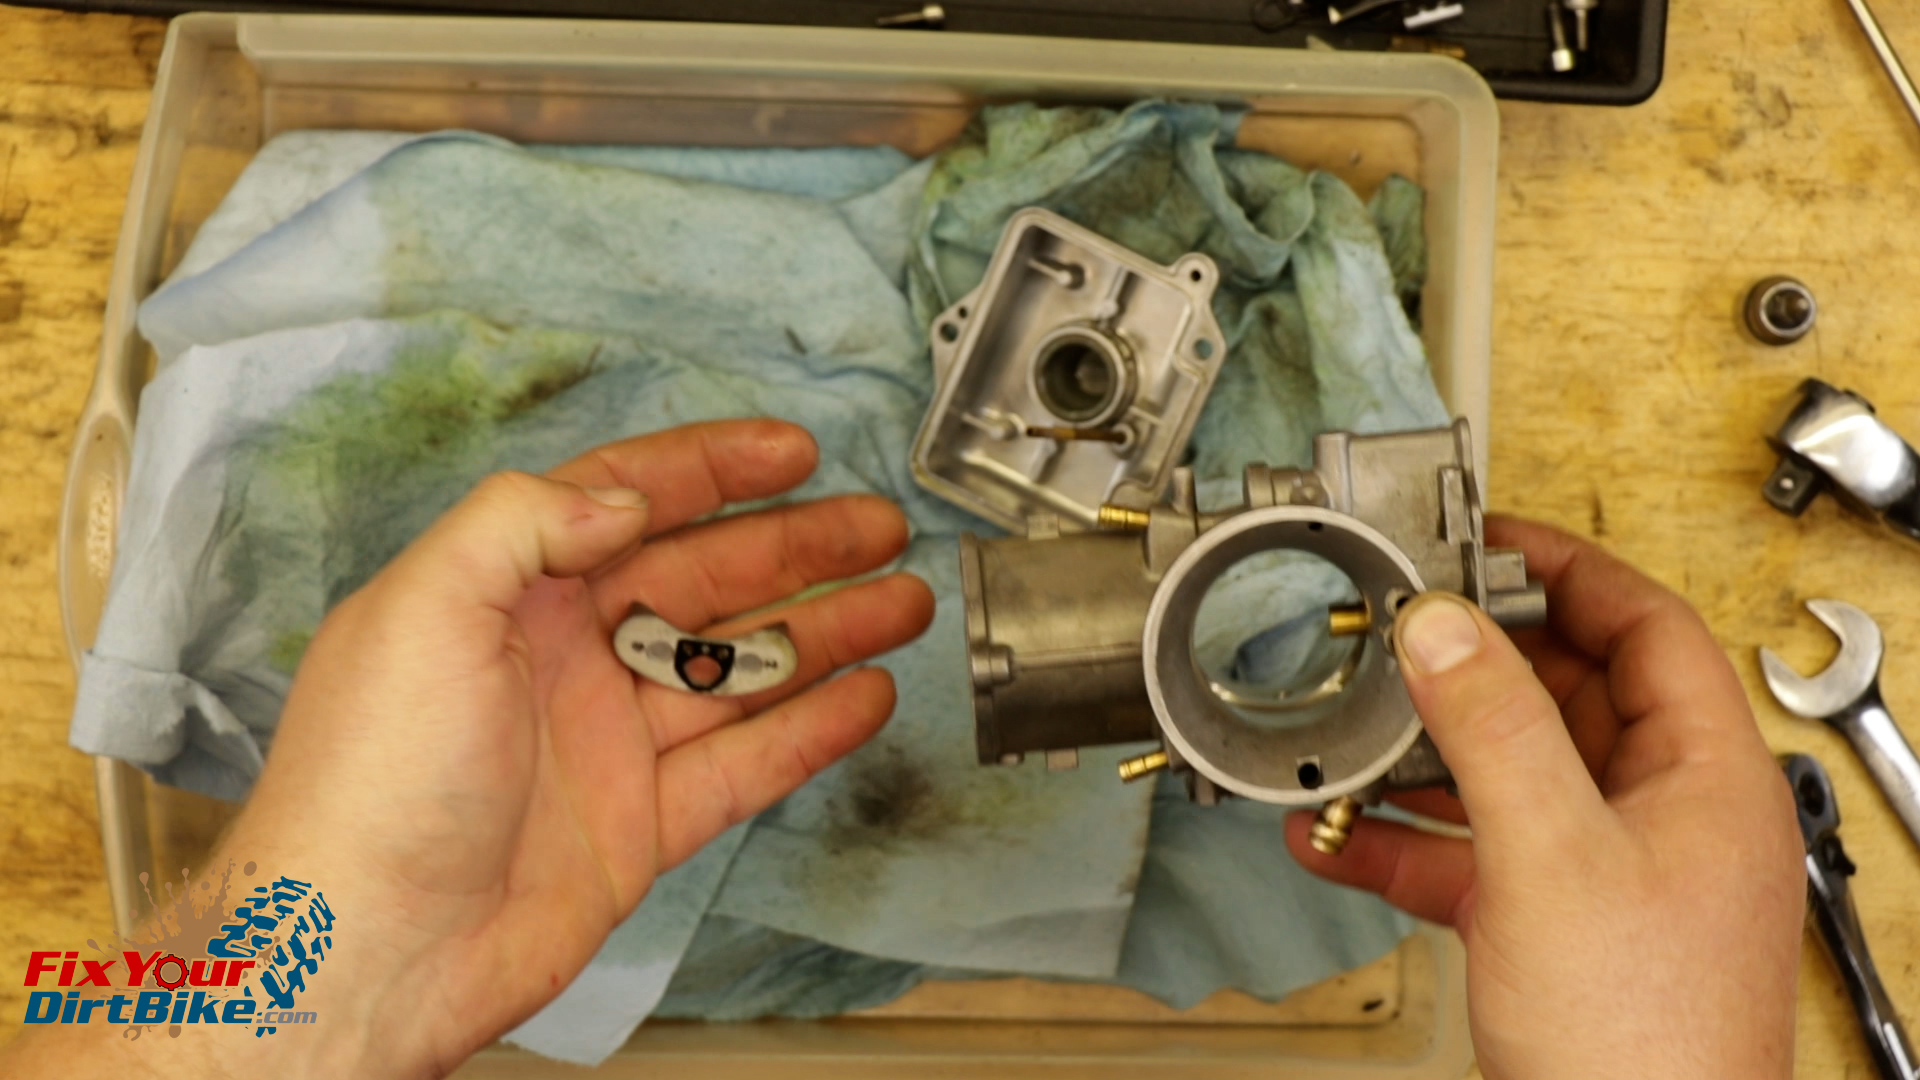
Lectron Self Adjusting Carb Vs. OEM Keihin PWK 38mm Carb
I measured and compared everything I could think of on both carburetors to get some idea of why the Lectron creates more power with a smoother delivery. I’ll spare you the wall of numbers, but what it boils down to is better fuel atomization, and I’ll get to that in a later video.
First Start-Up After Installation
Remember how I was wrong earlier? When Lectron says self-adjusting, they MEAN self-adjusting.
As I mentioned earlier, my old Keihin was a massive pain in the hot weather. The Lectron however, Did Not Give A F**k.
I installed the carb with the factory settings in 95-degree heat with 85% humidity. I felt like I was walking through a hot tub.
First kick, no throttle, and it started right up. From pure muscle memory, I was on the kickstarter to try a second time before I realized my bike was running, and it stayed running.
You can imagine how excited I was to ride the next day on my new magic dirt bike.
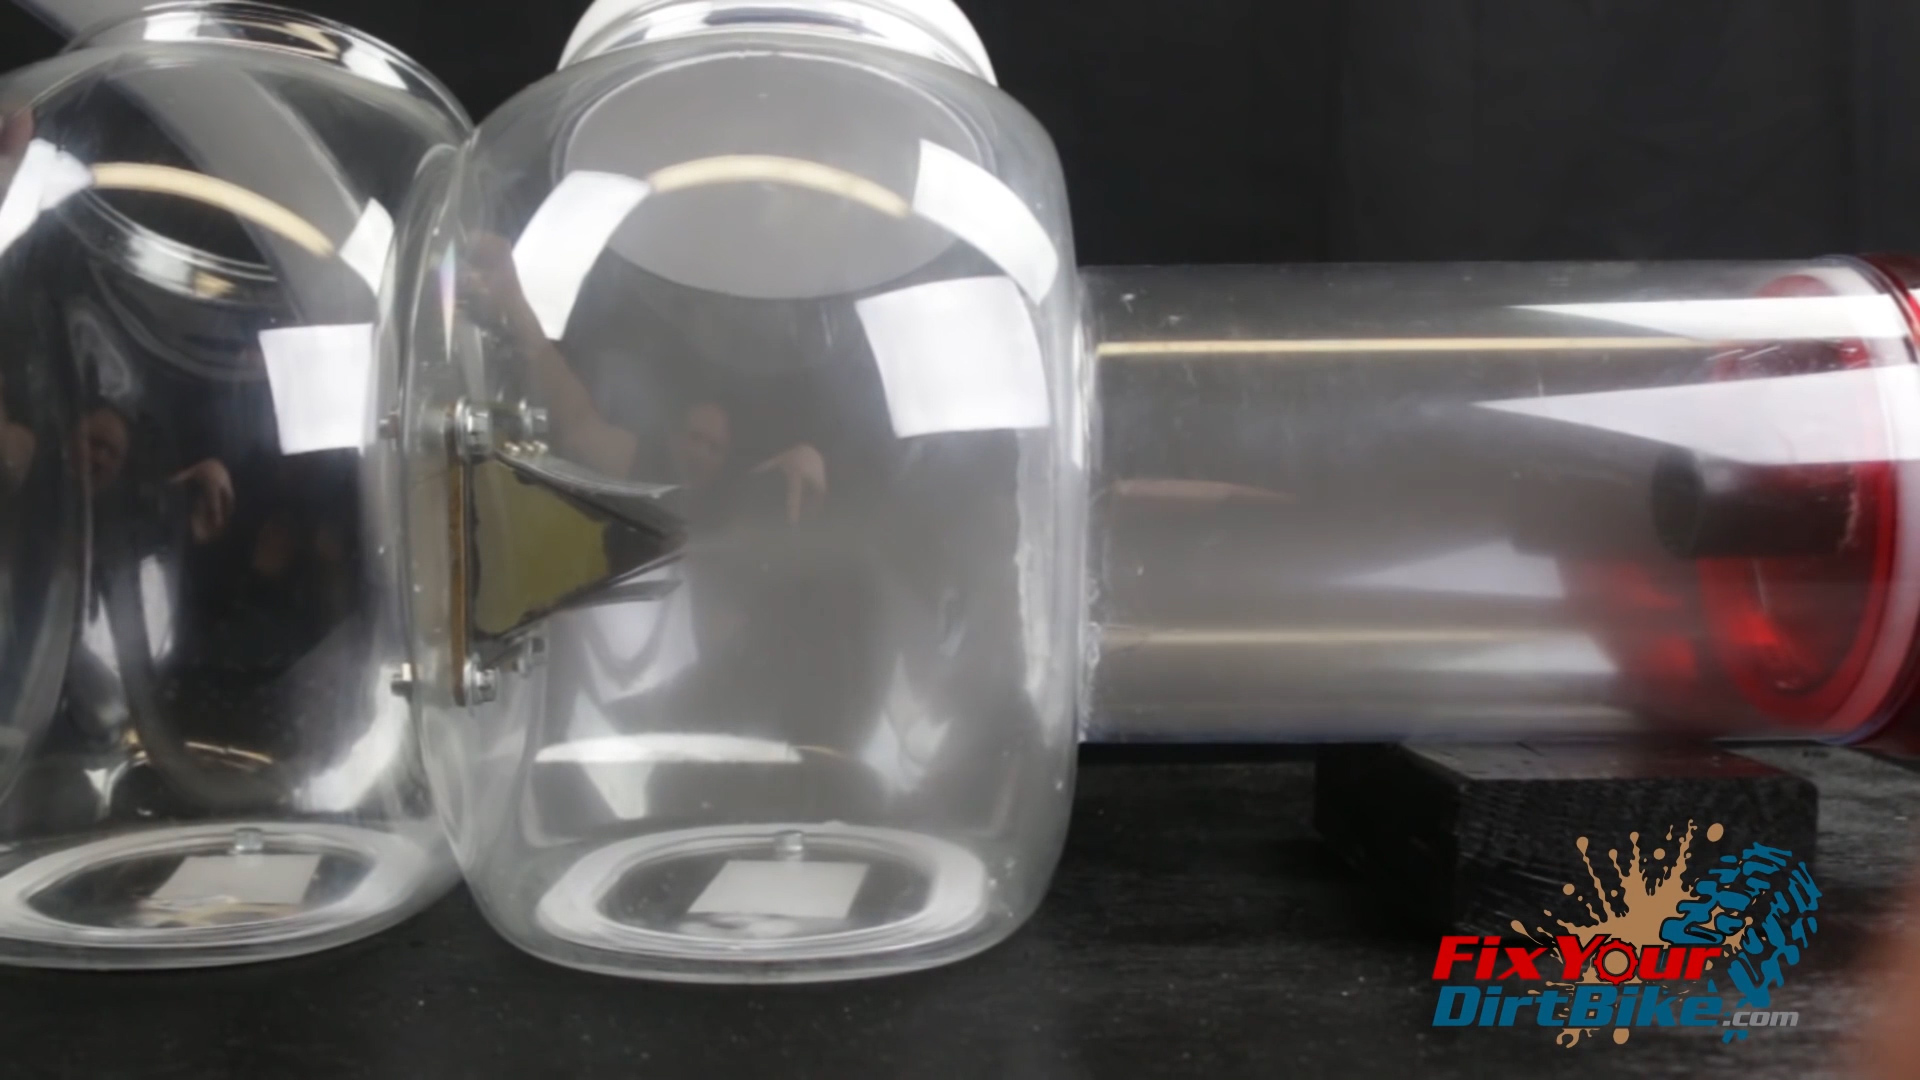
Here is a cold start two weeks later on an even HOTTER day.
It was 95 degrees in the shade in my backyard, and you can see the jug is around 88 degrees, the choke is down, one kick start. I haven’t needed the choke yet, but I’ll report back when I run this carb in 6 months when it’s 15 degrees outside.
First Ride With My New Lectron
The first ride with my new Lectron was in southwest Missouri over the 4th of July weekend, and guess what? It was hot and humid the whole time. But that did not affect my bike in the slightest.
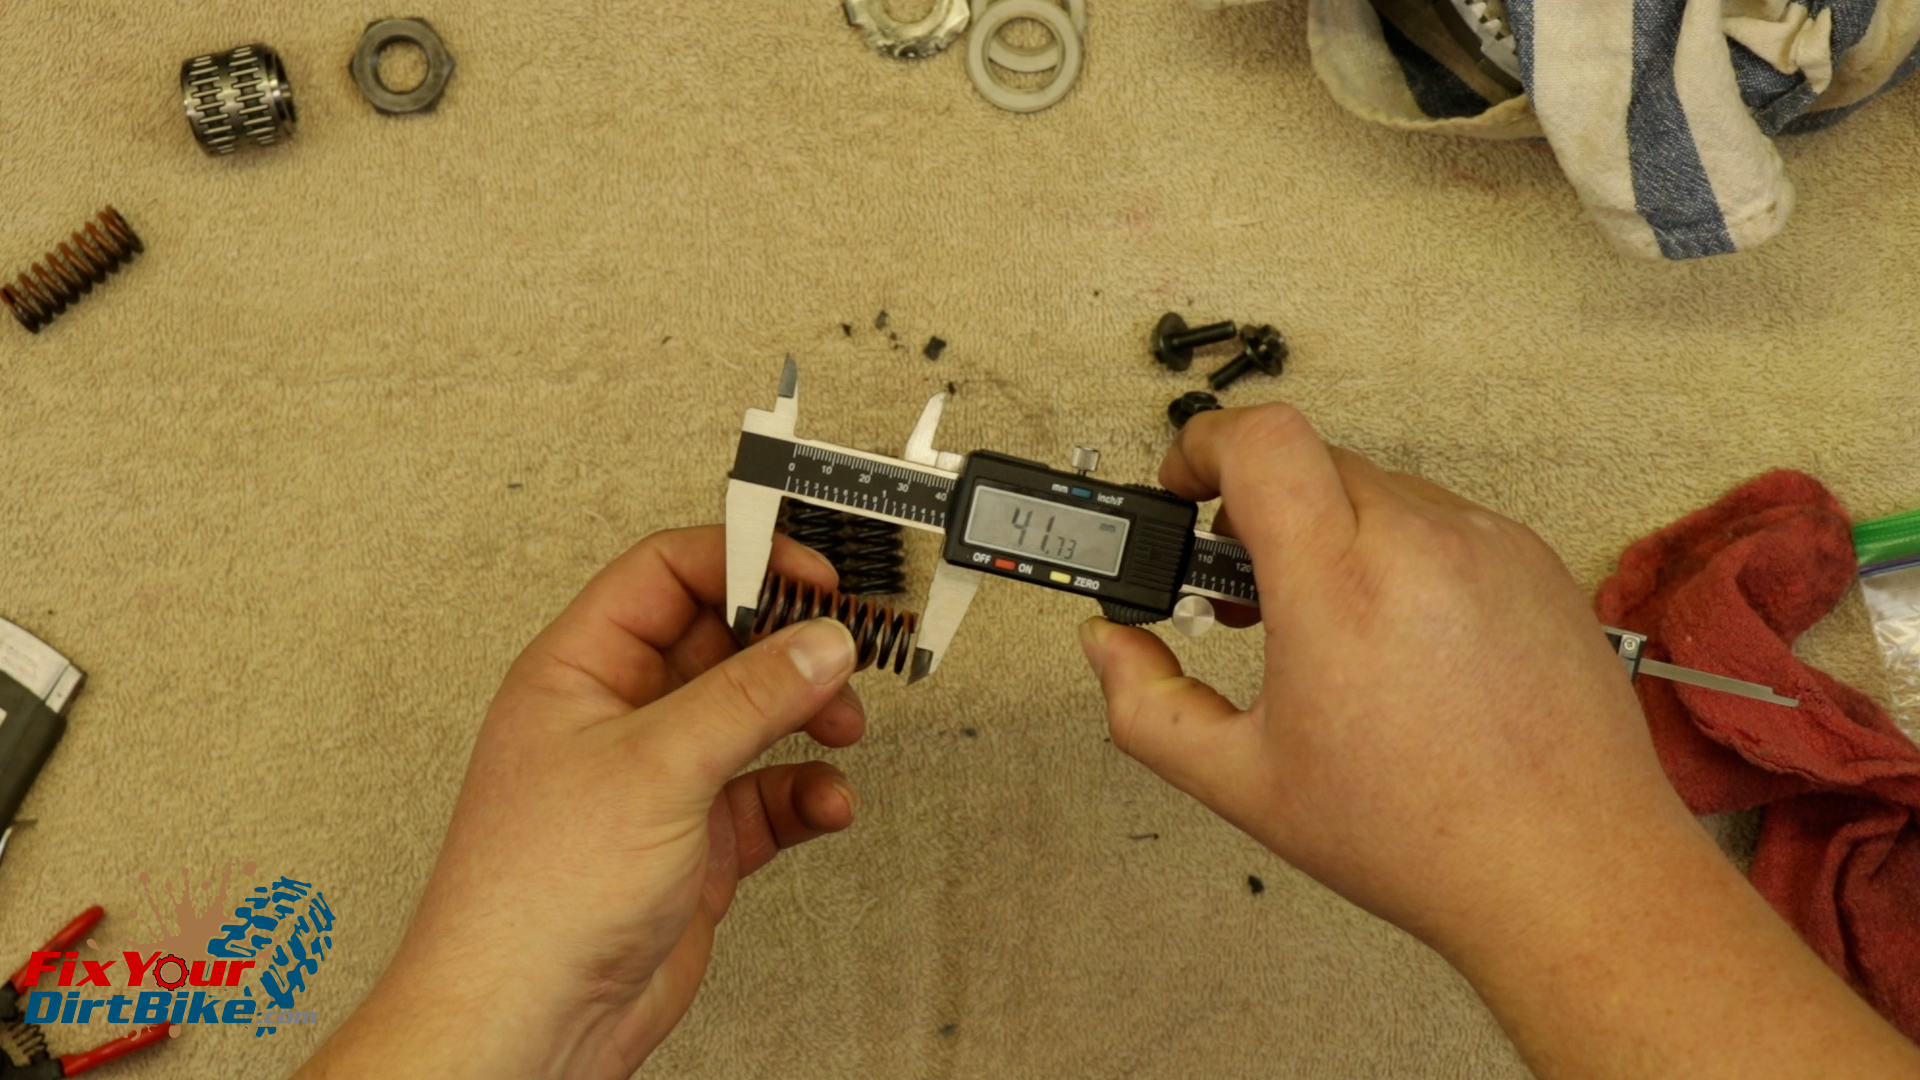
I’m 340lbs, so I run the red spring on my 2-stroke because, well, I need all the power I can get.
With the Lectron carb, I felt a substantial increase in low-end grunt, I have never been able to tractor like this.
I’ve always started hill climbs in 2nd gear, then dropping down to 1st to stay in the powerband.
Now, I find myself upshifting on hill climbs. Which might not be legal in the United States?
Another first was cruising in 3rd and 4th gear, which felt weird because I don’t think I’ve ever touched 4th gear in the woods. Granted, that may be a skill issue and not a power issue.
But by far what I like most about my new found low down power, is having enough power to hold speed, but not so much I loop out if it gets away from me. Which, again, is a skill issue.
Final Thoughts On My New Lectron Carburetor
I am thrilled with my new carburetor because I can just go ride. I’ve never been able to do on this bike, and I’m looking forward to seeing how it performs when it’s nice out.
If you are having the same issue I had with my stock carburetor. Or if you want to forget you have a carburetor altogether, then I highly recommend getting a Lectron. It’s a much cheaper option than a new dirt bike, and bang for the buck, this has been the best aftermarket part I have installed by far.
If you have any questions about or experience with the Lectron Carburetor, let me know in the comments or on social.


 Riding a machine powered by controlled explosions, your exhaust will get


 What’s essential to bodybuilders is how good they look in a V-neck. What’s vital to motocross and endure riders is how well they can maintain their balance and posture towards the end of a long race. Never forget that.


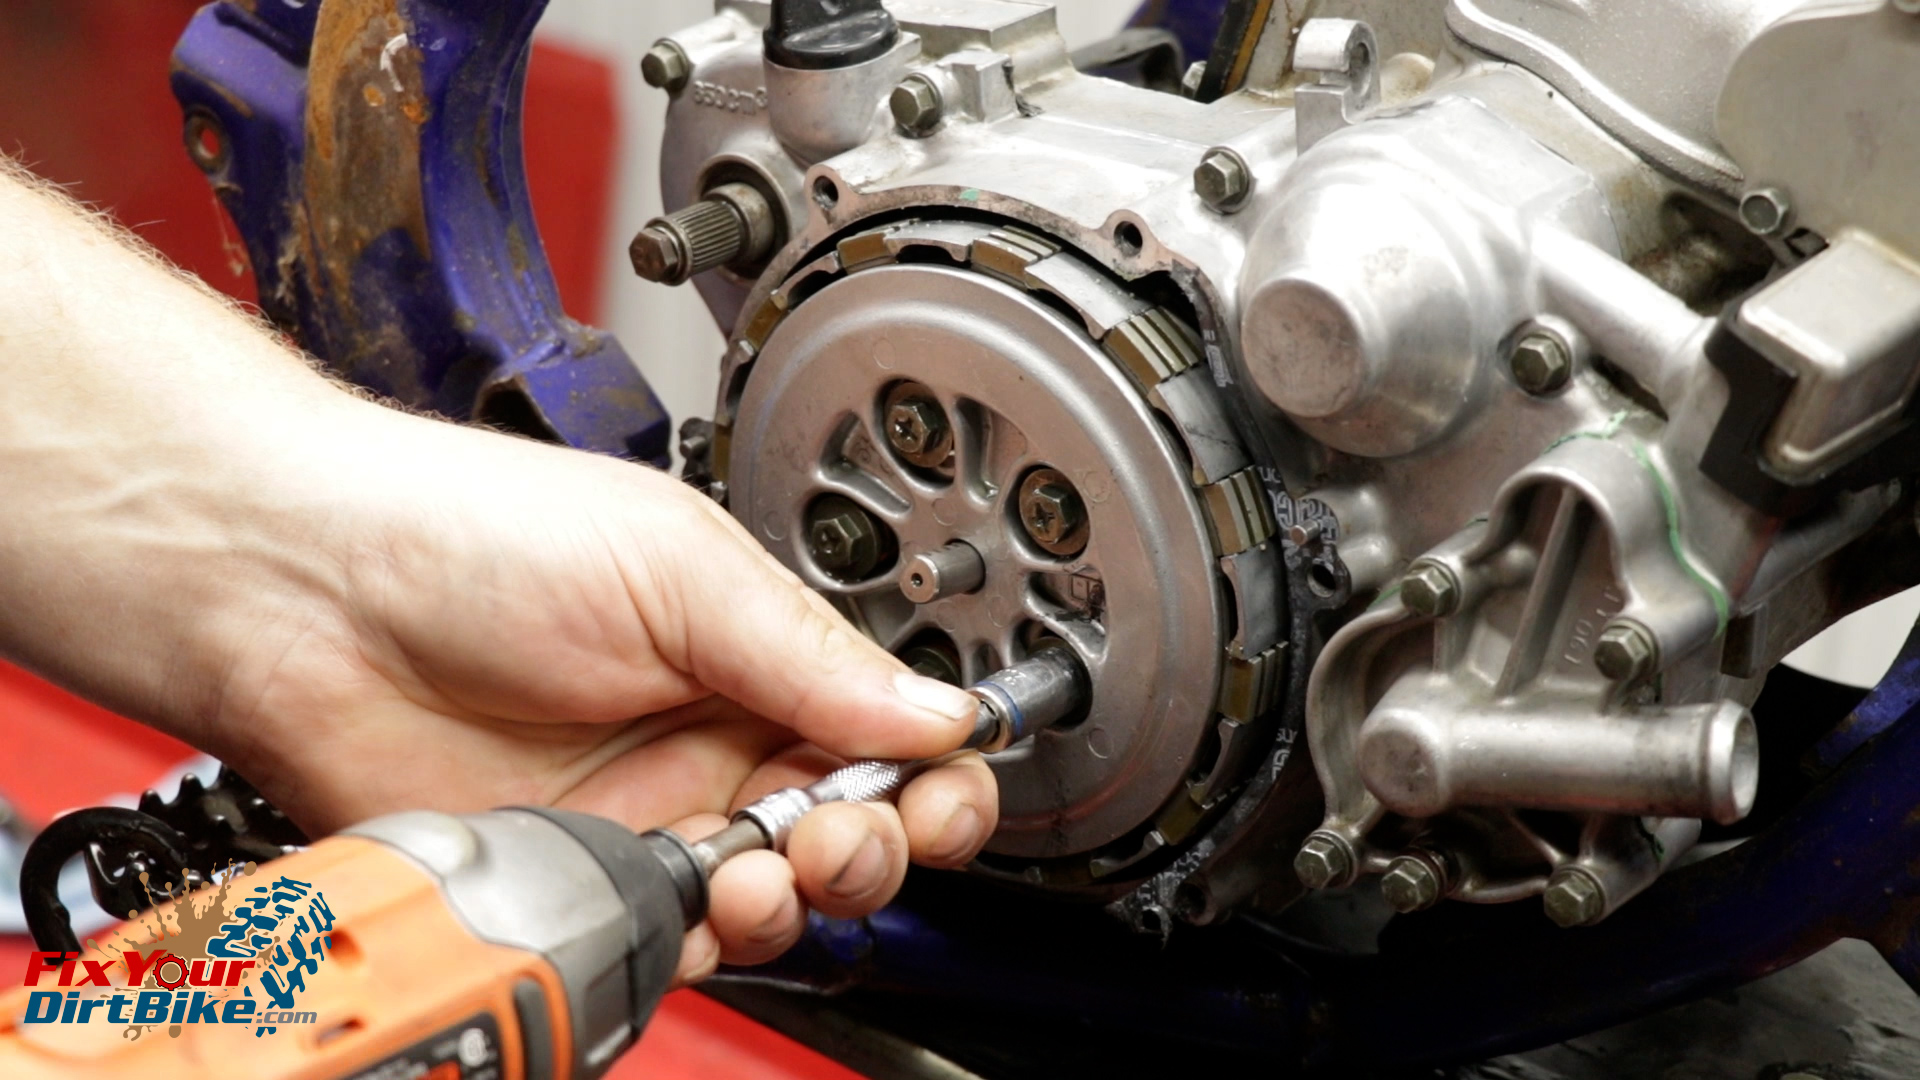
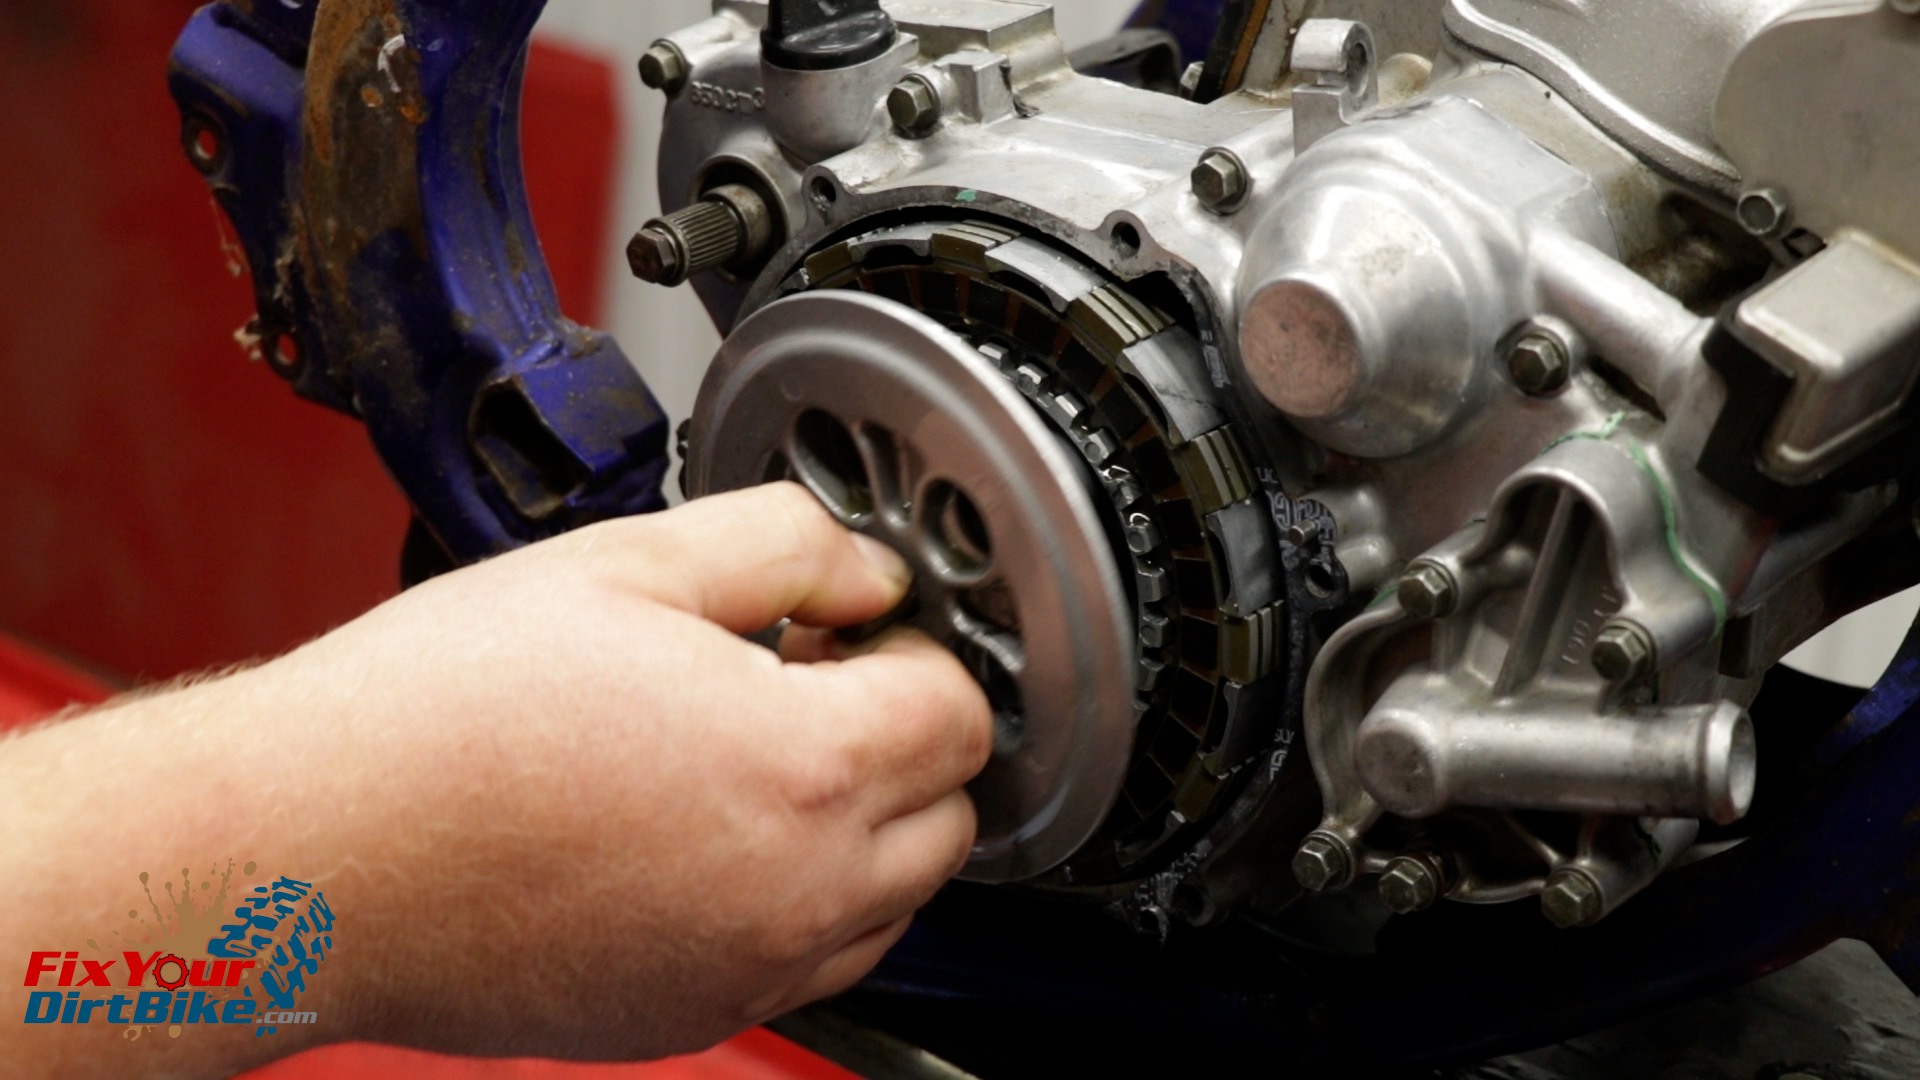
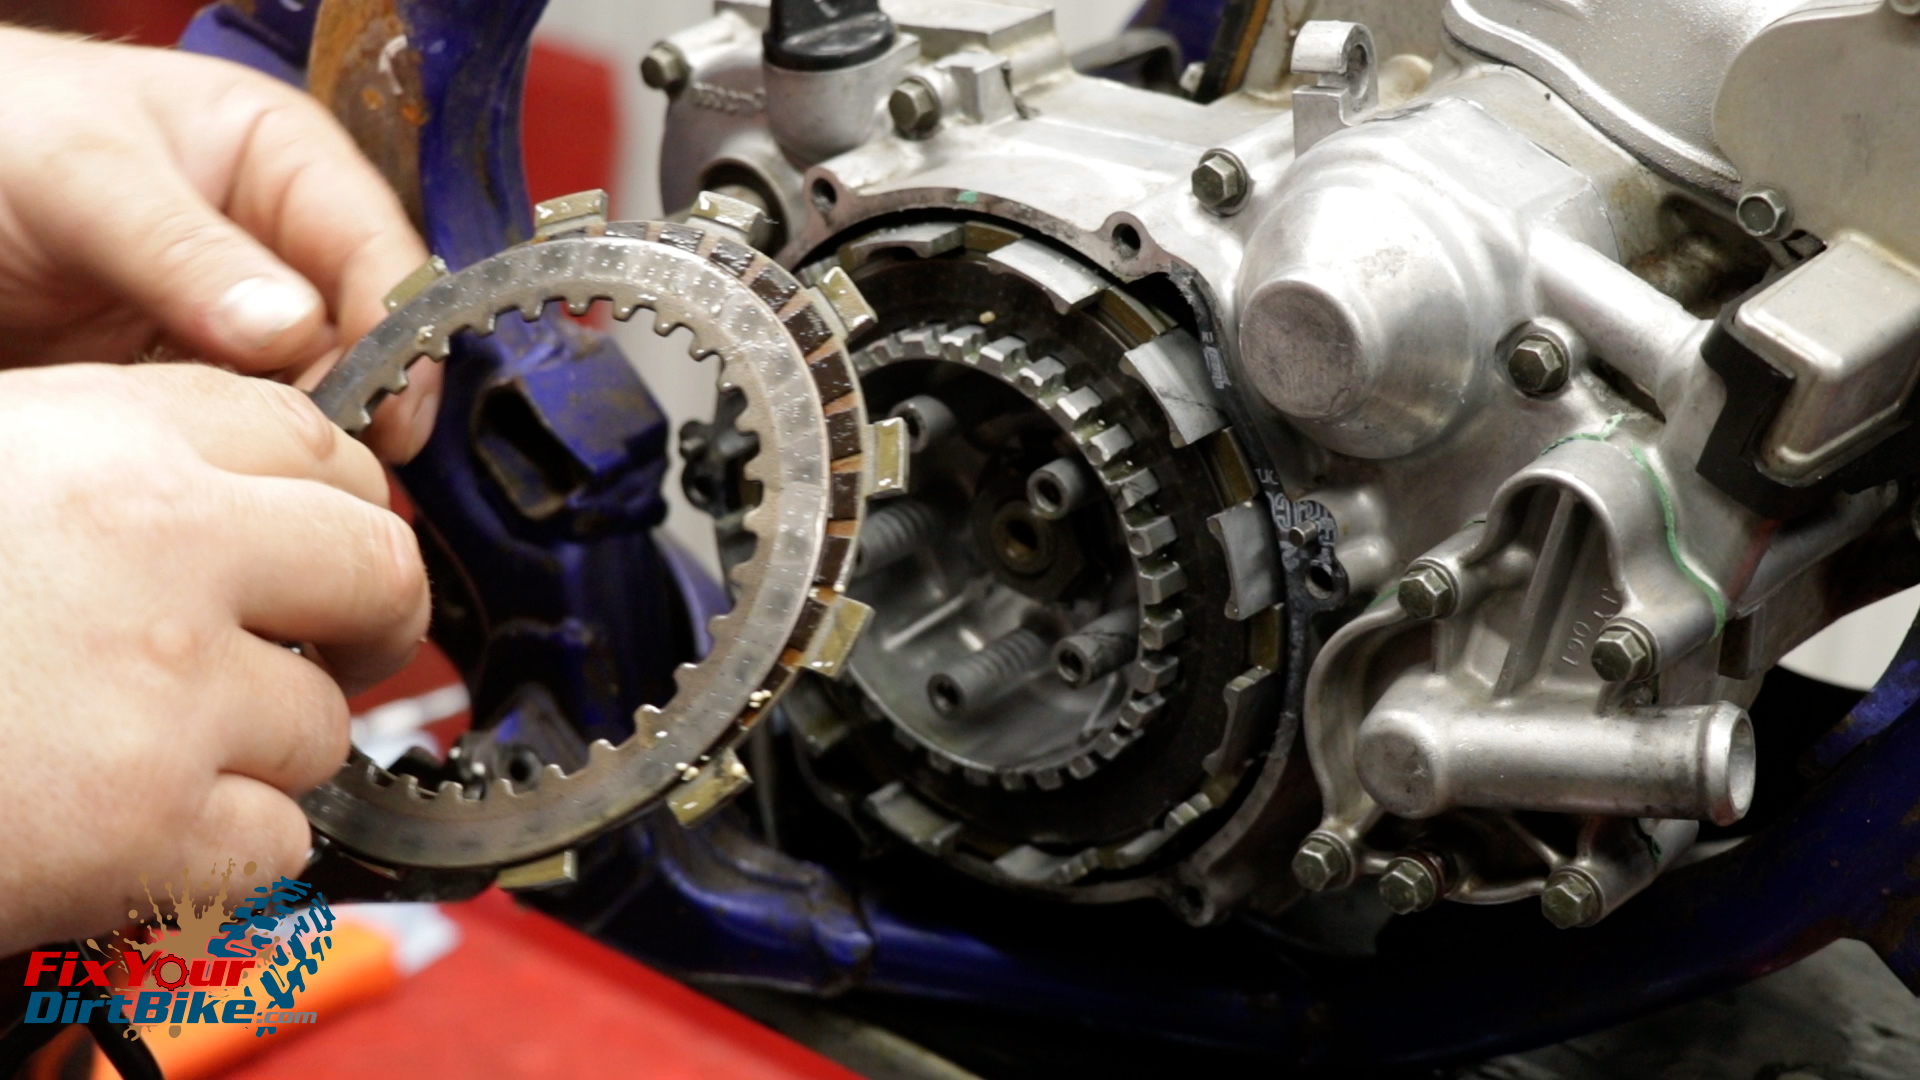
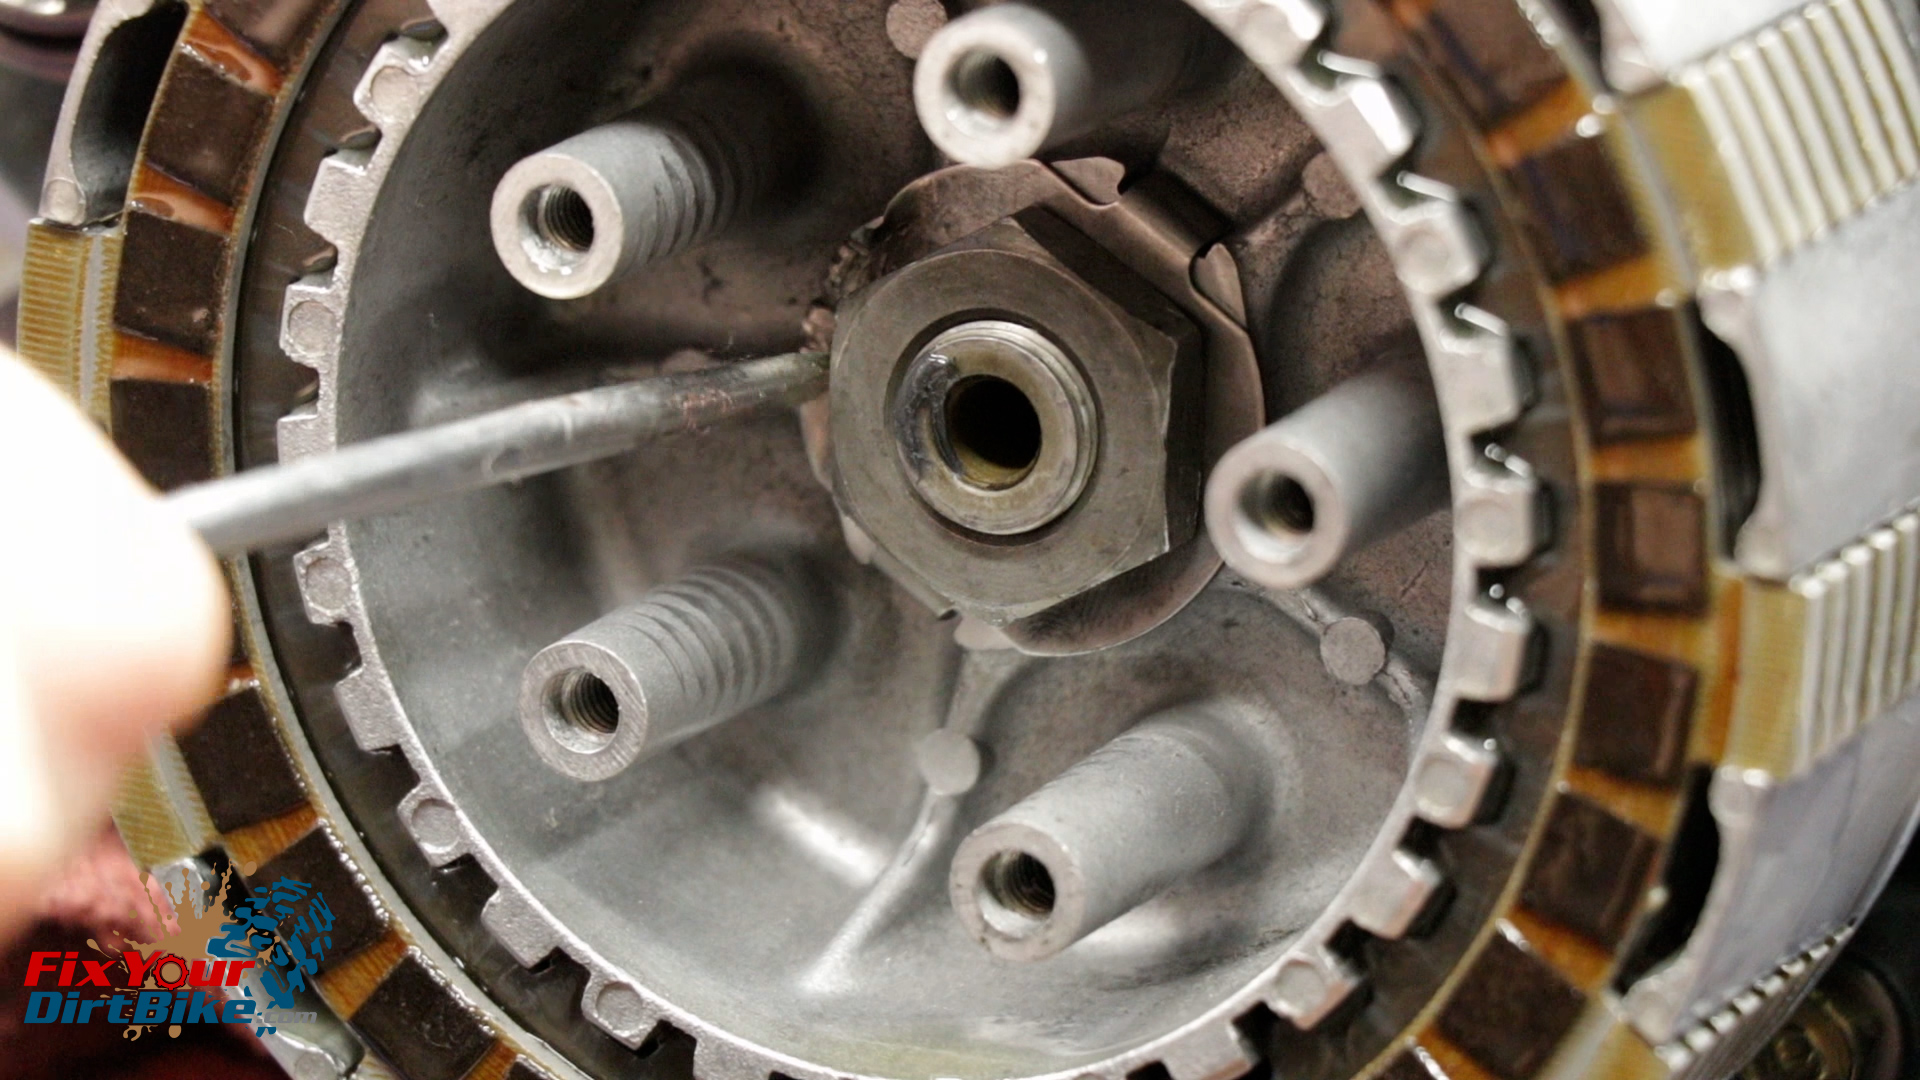
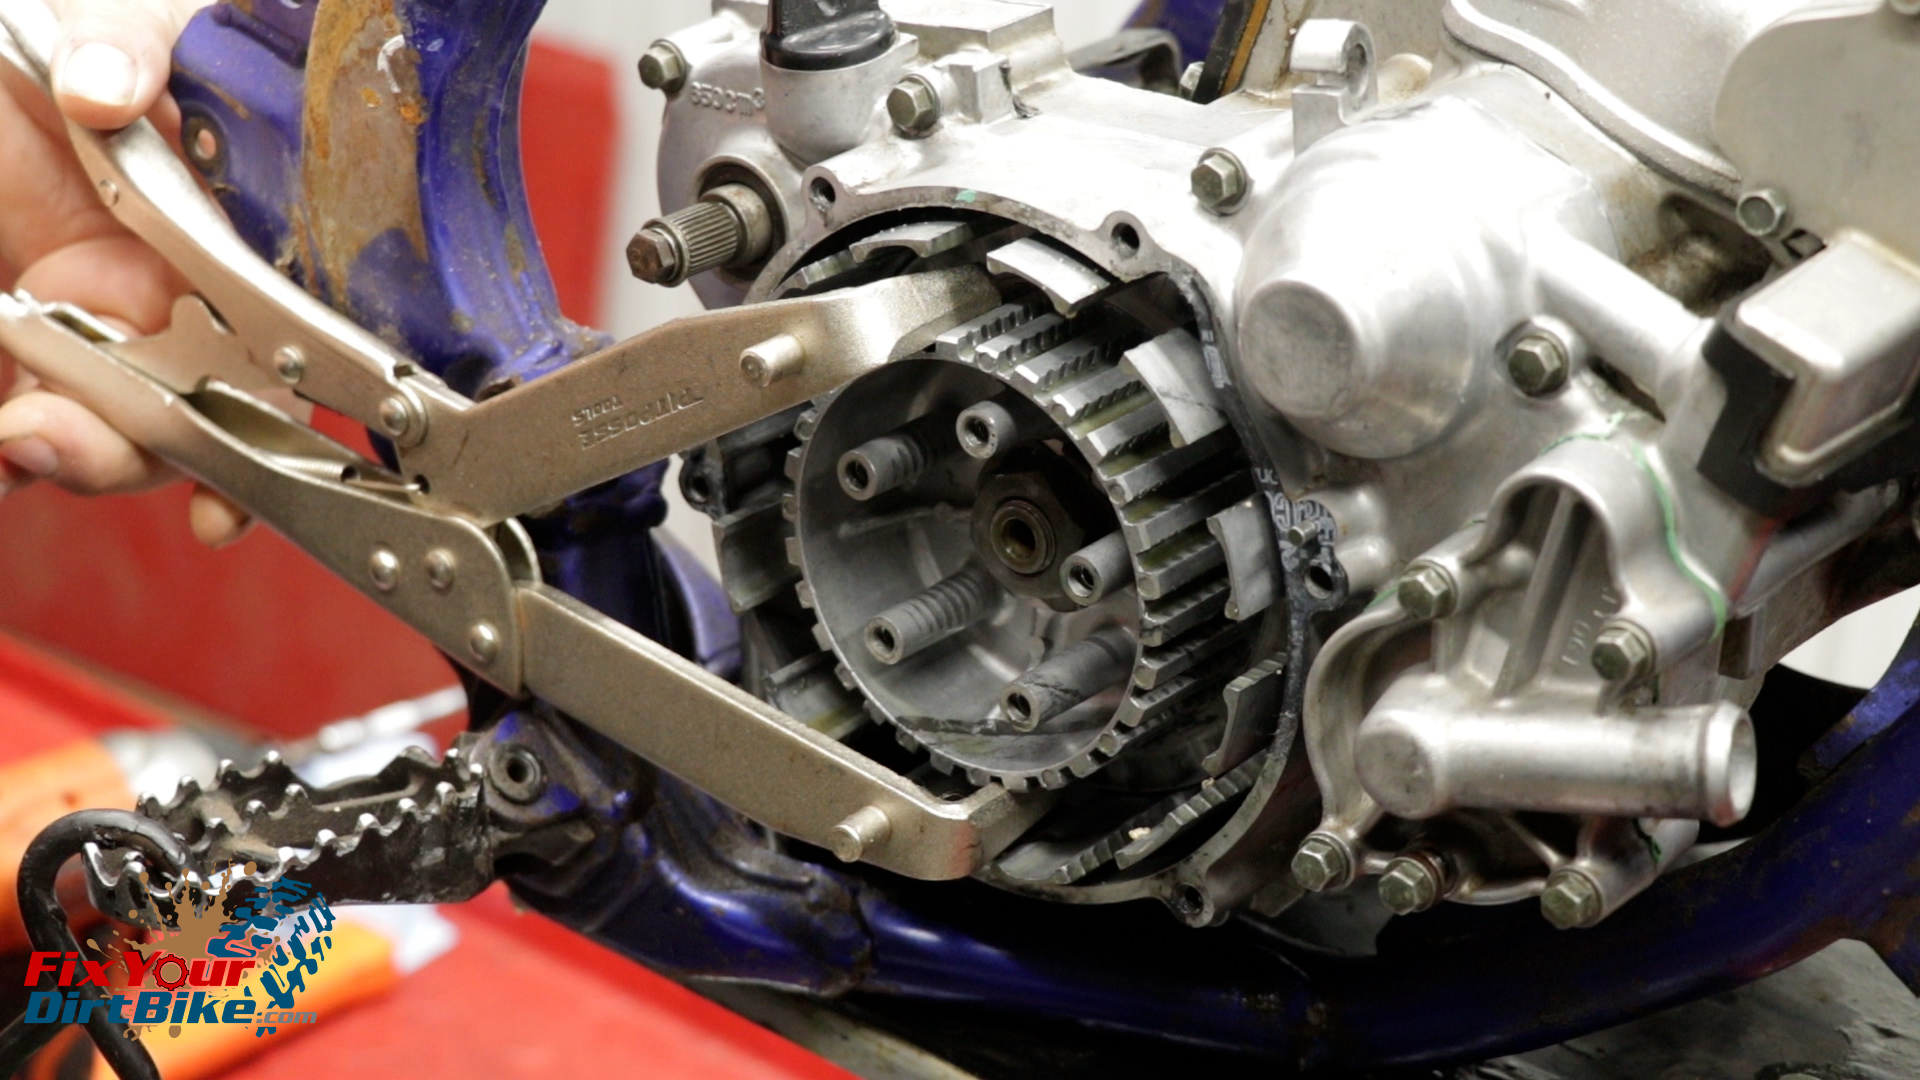
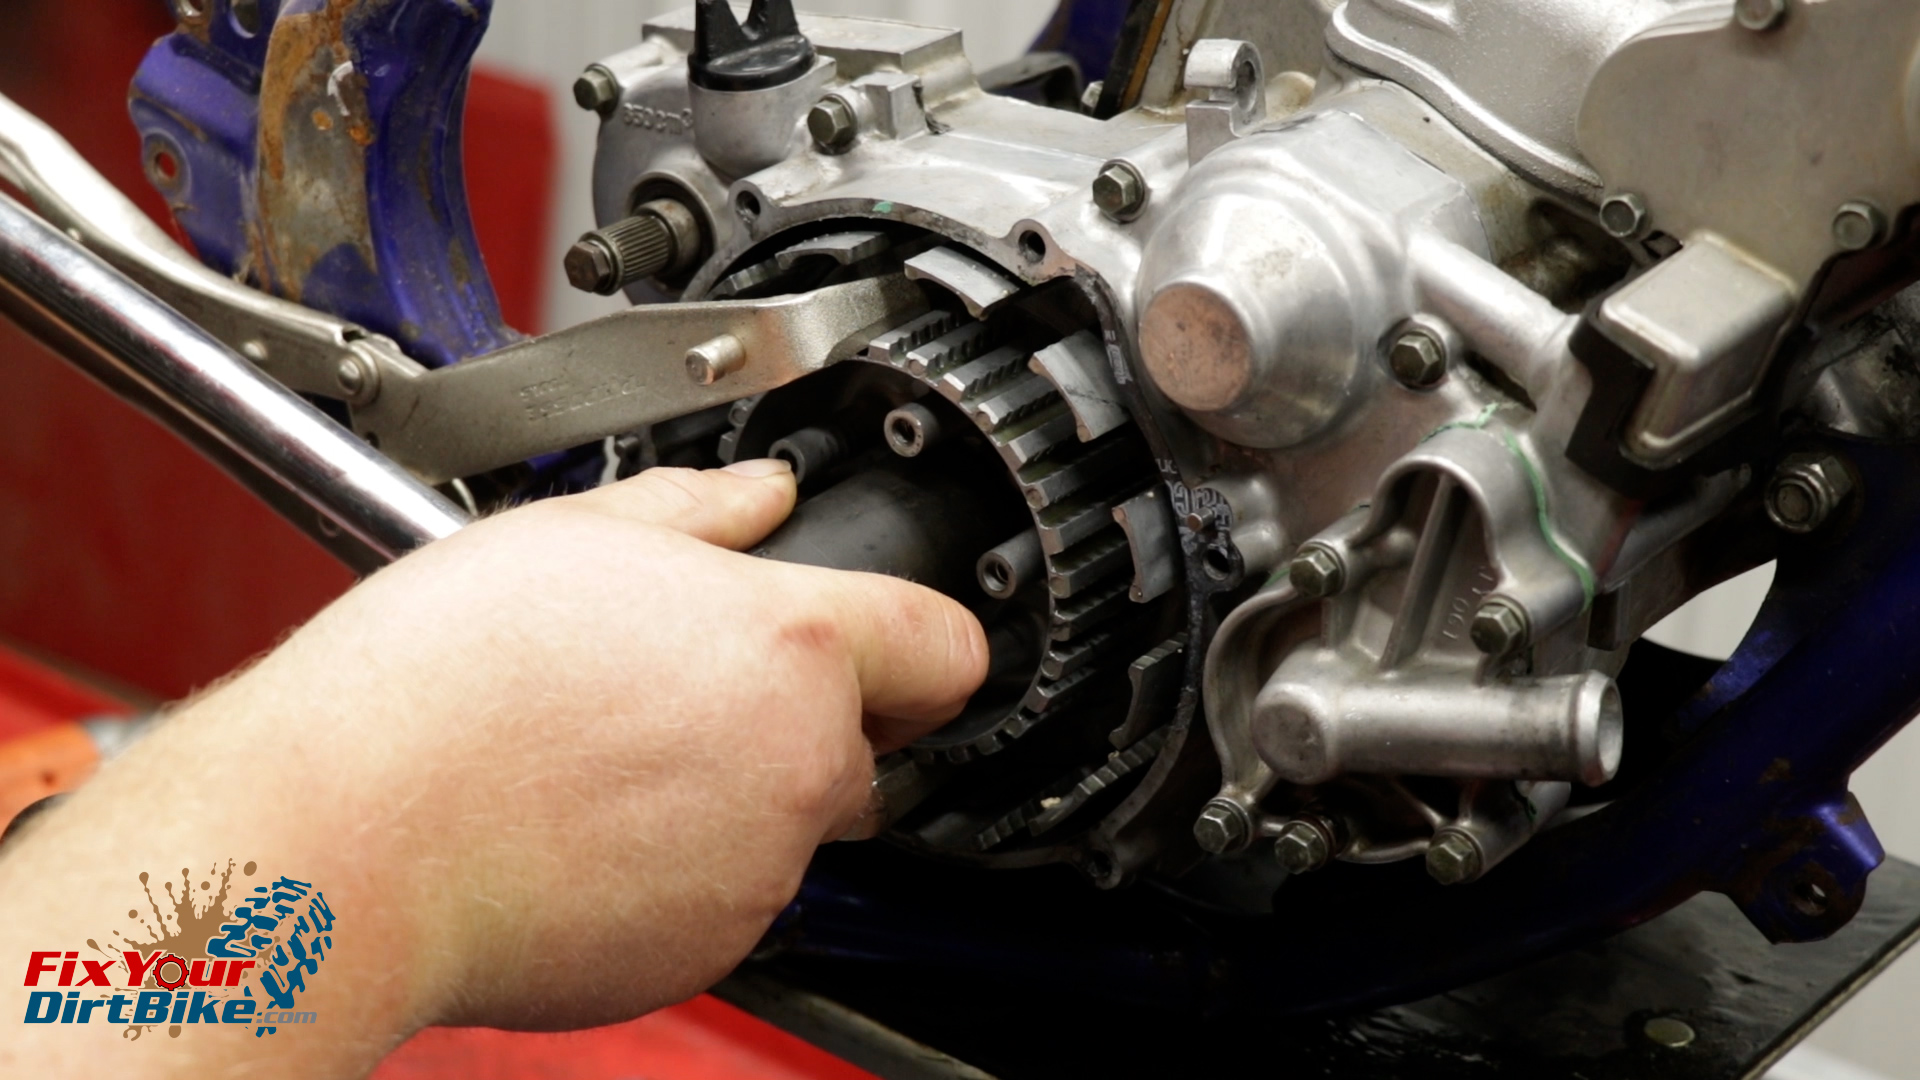
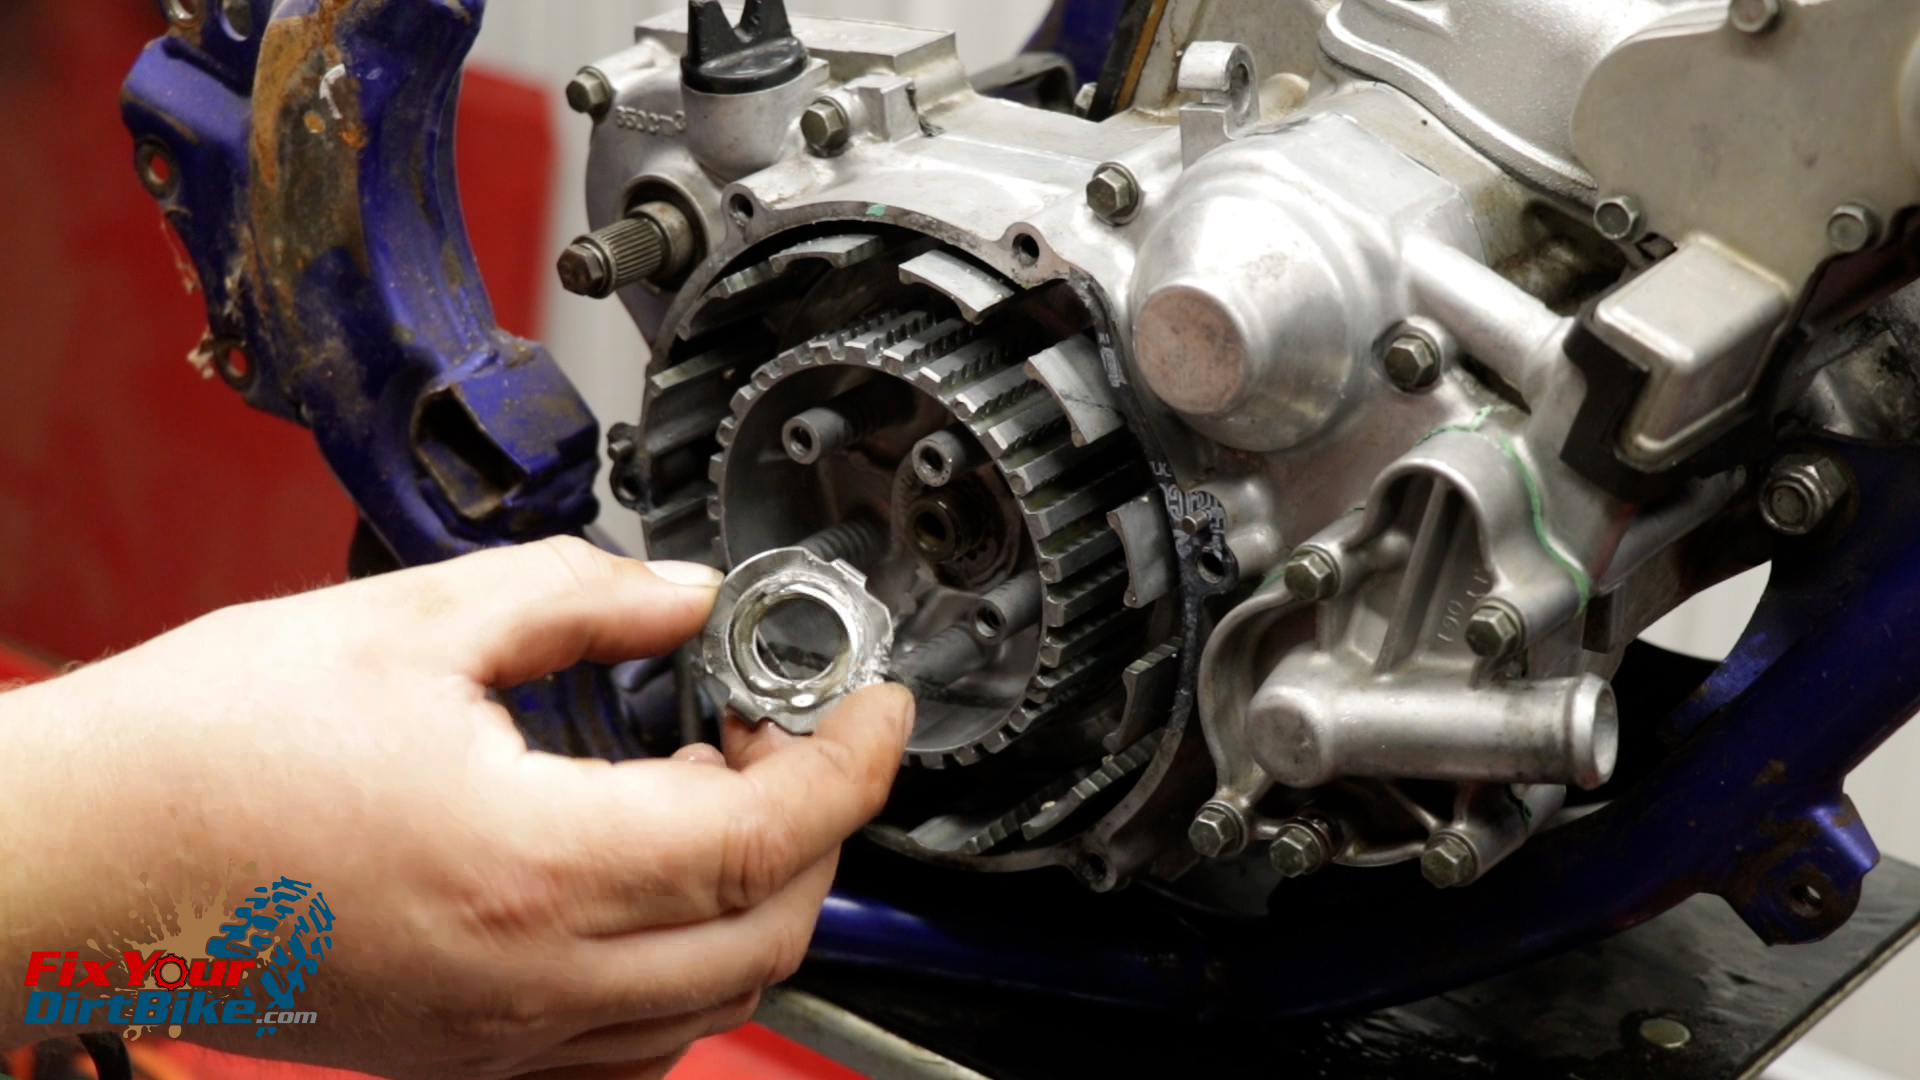
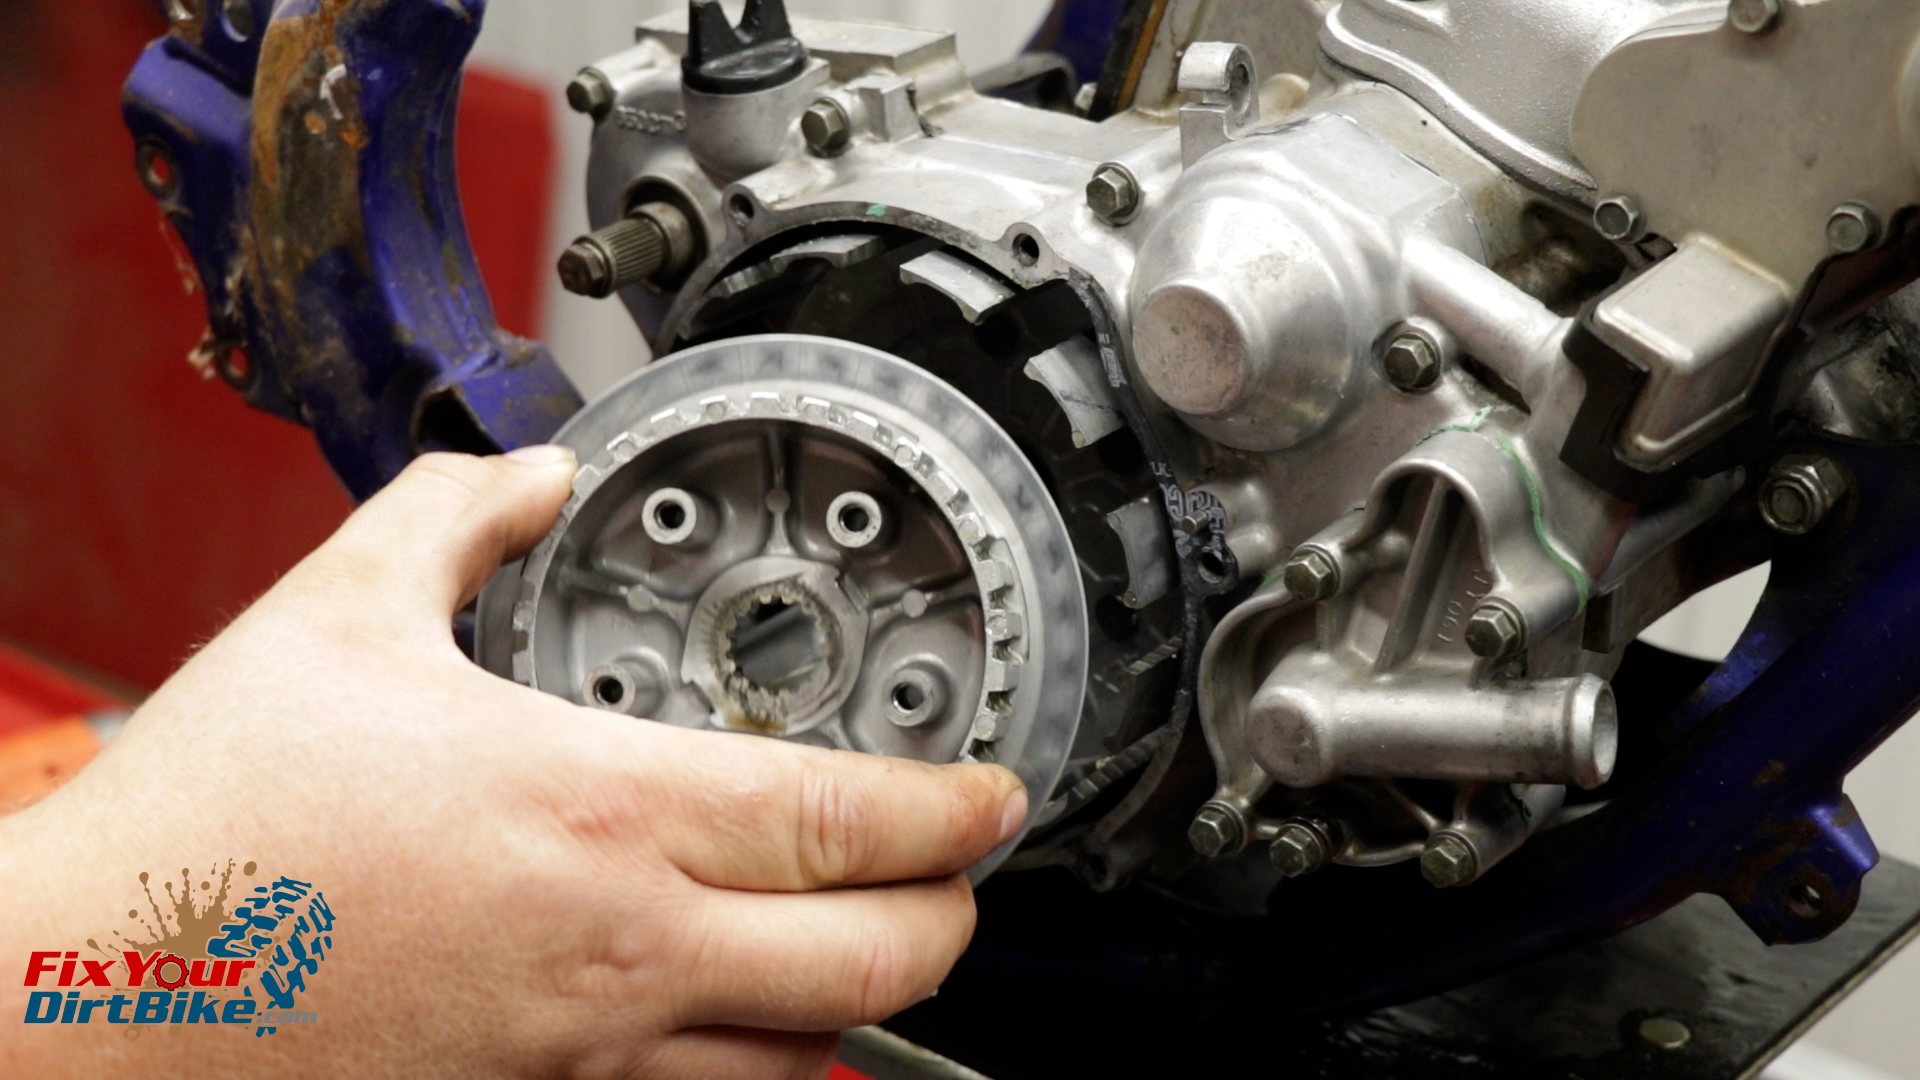
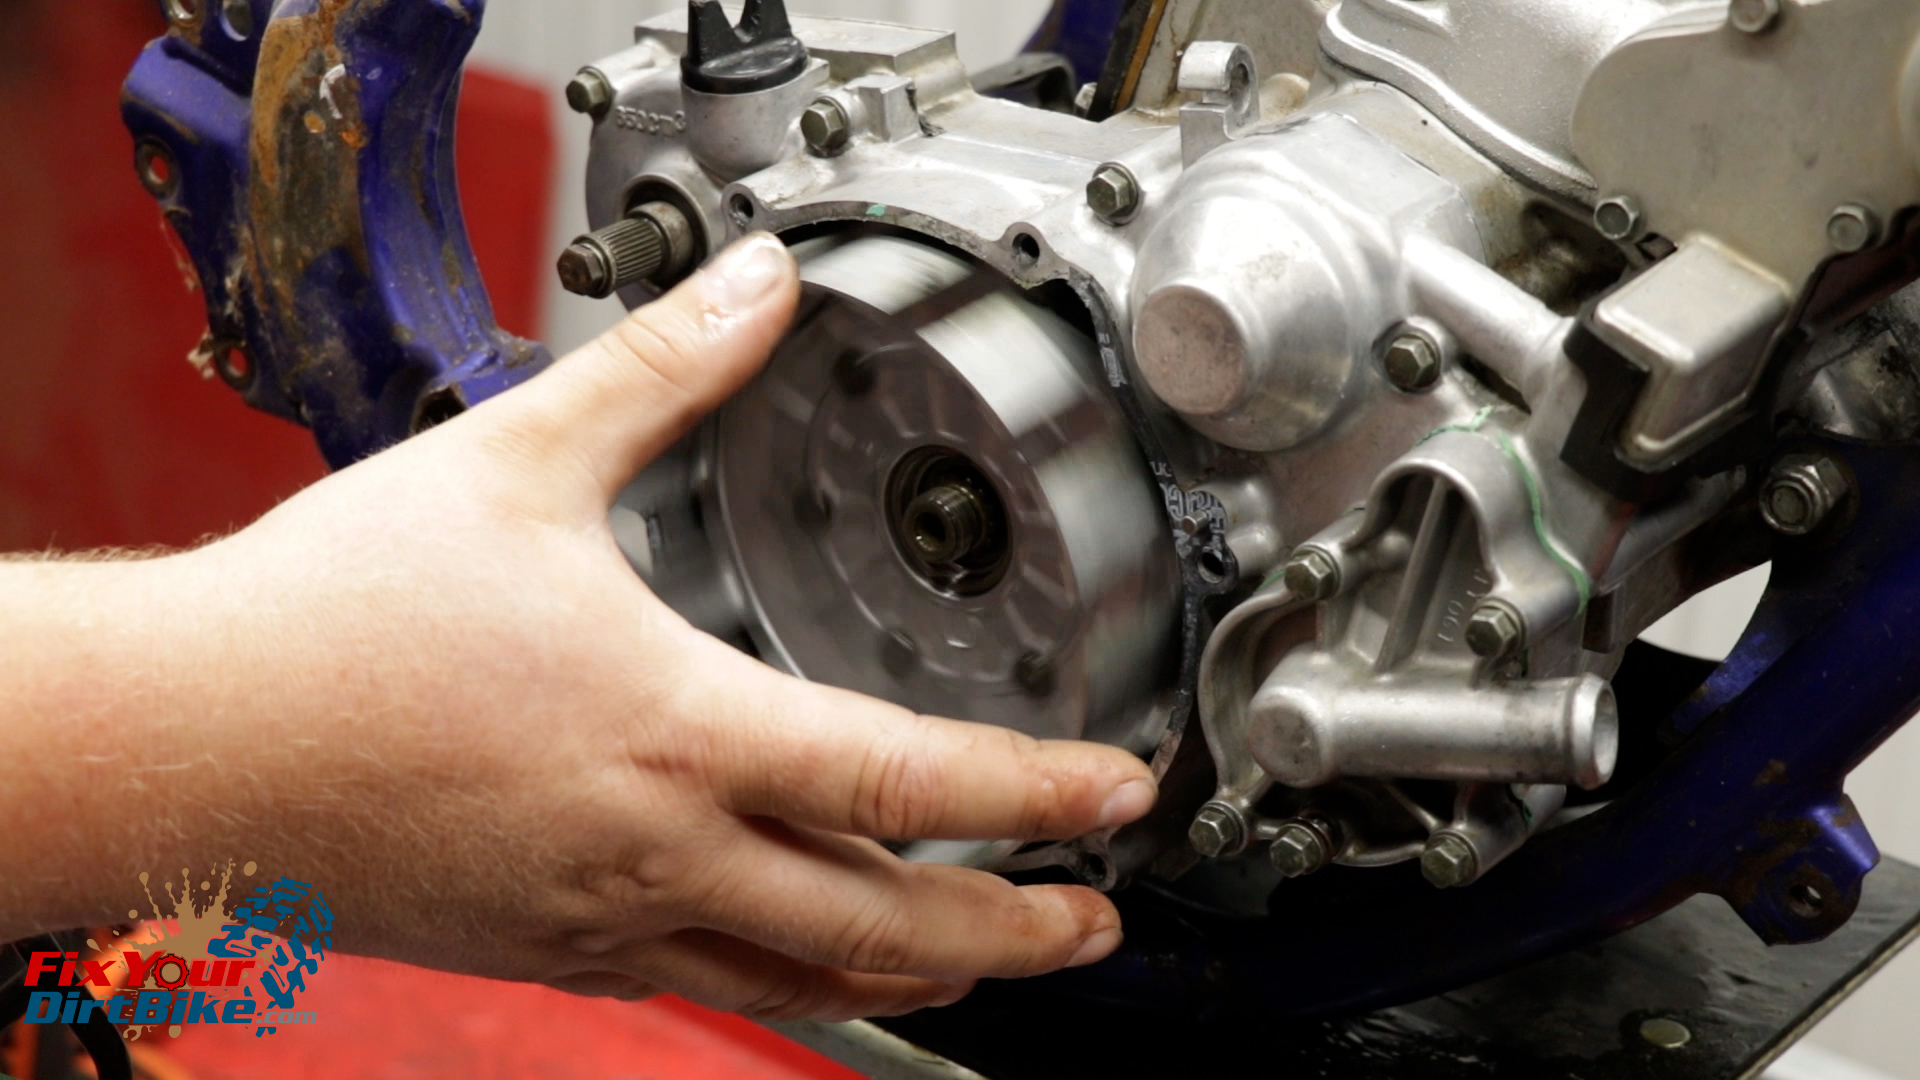
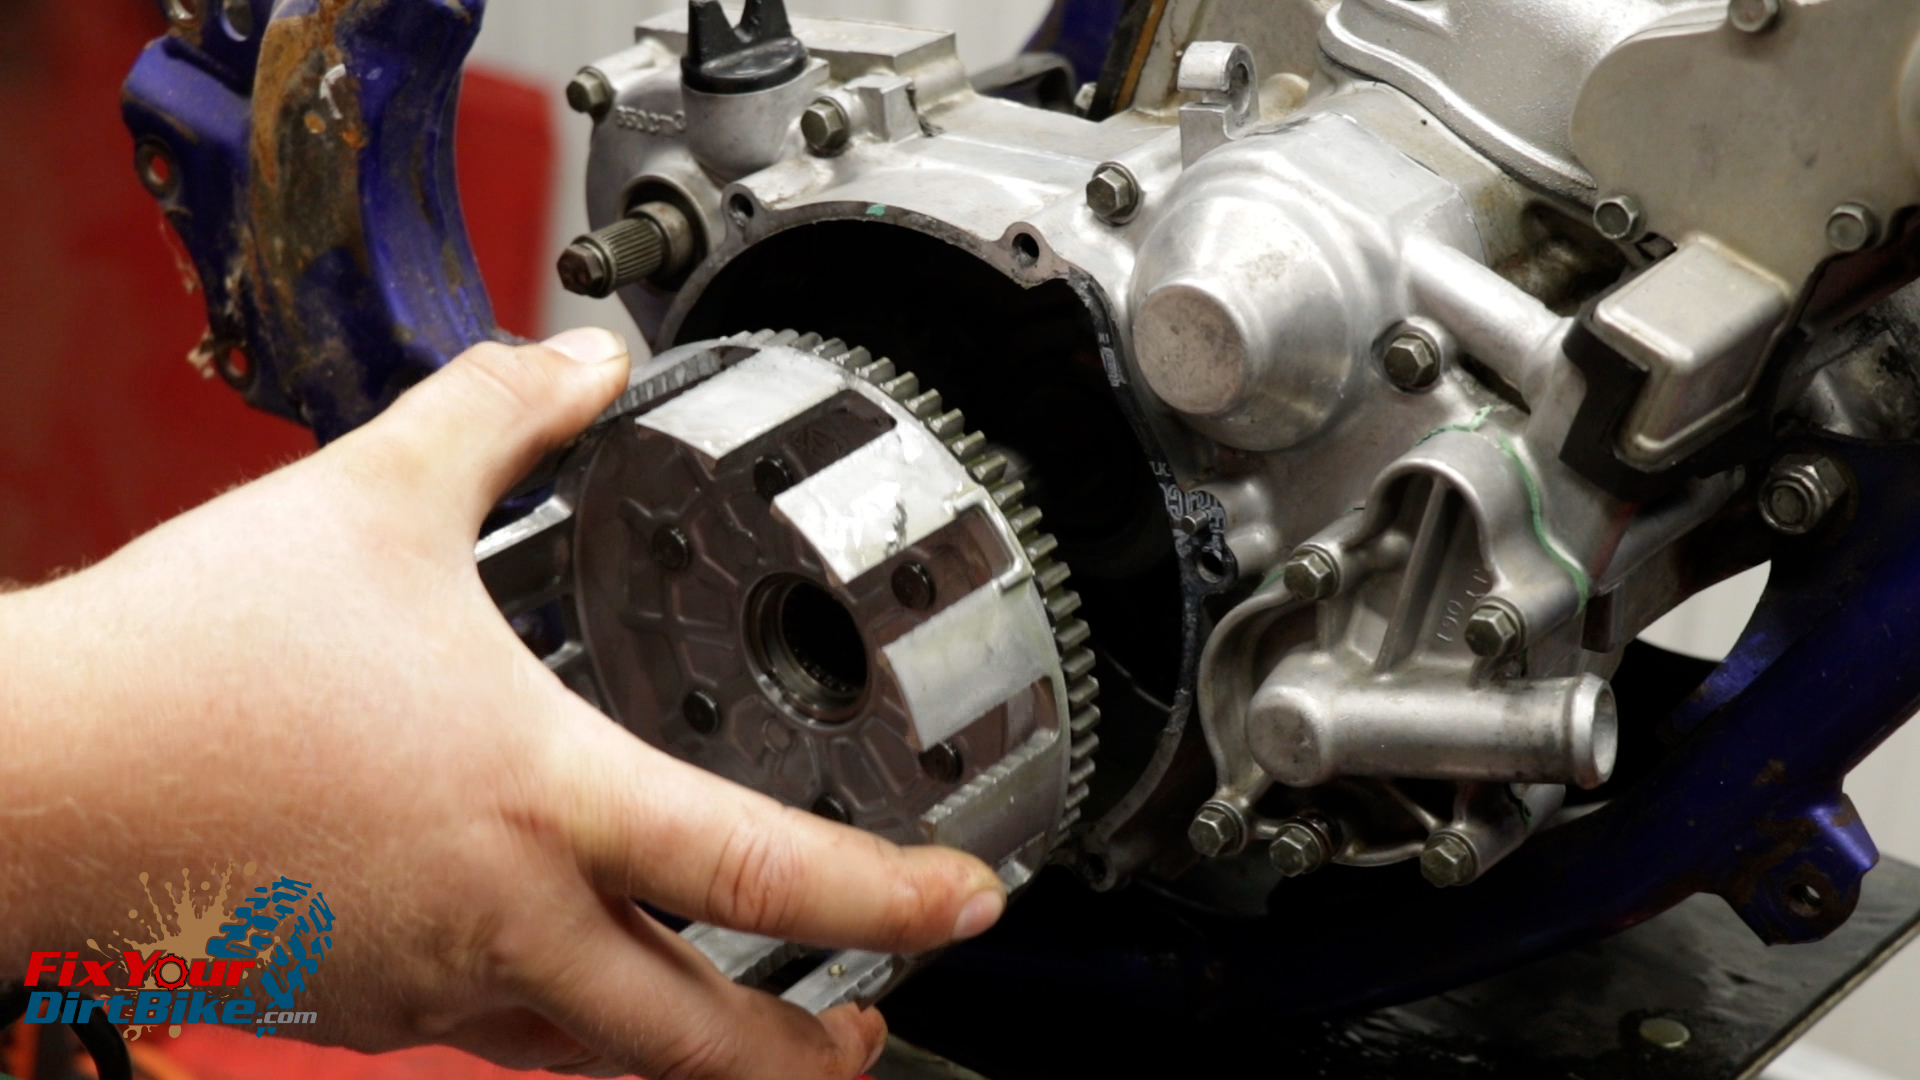
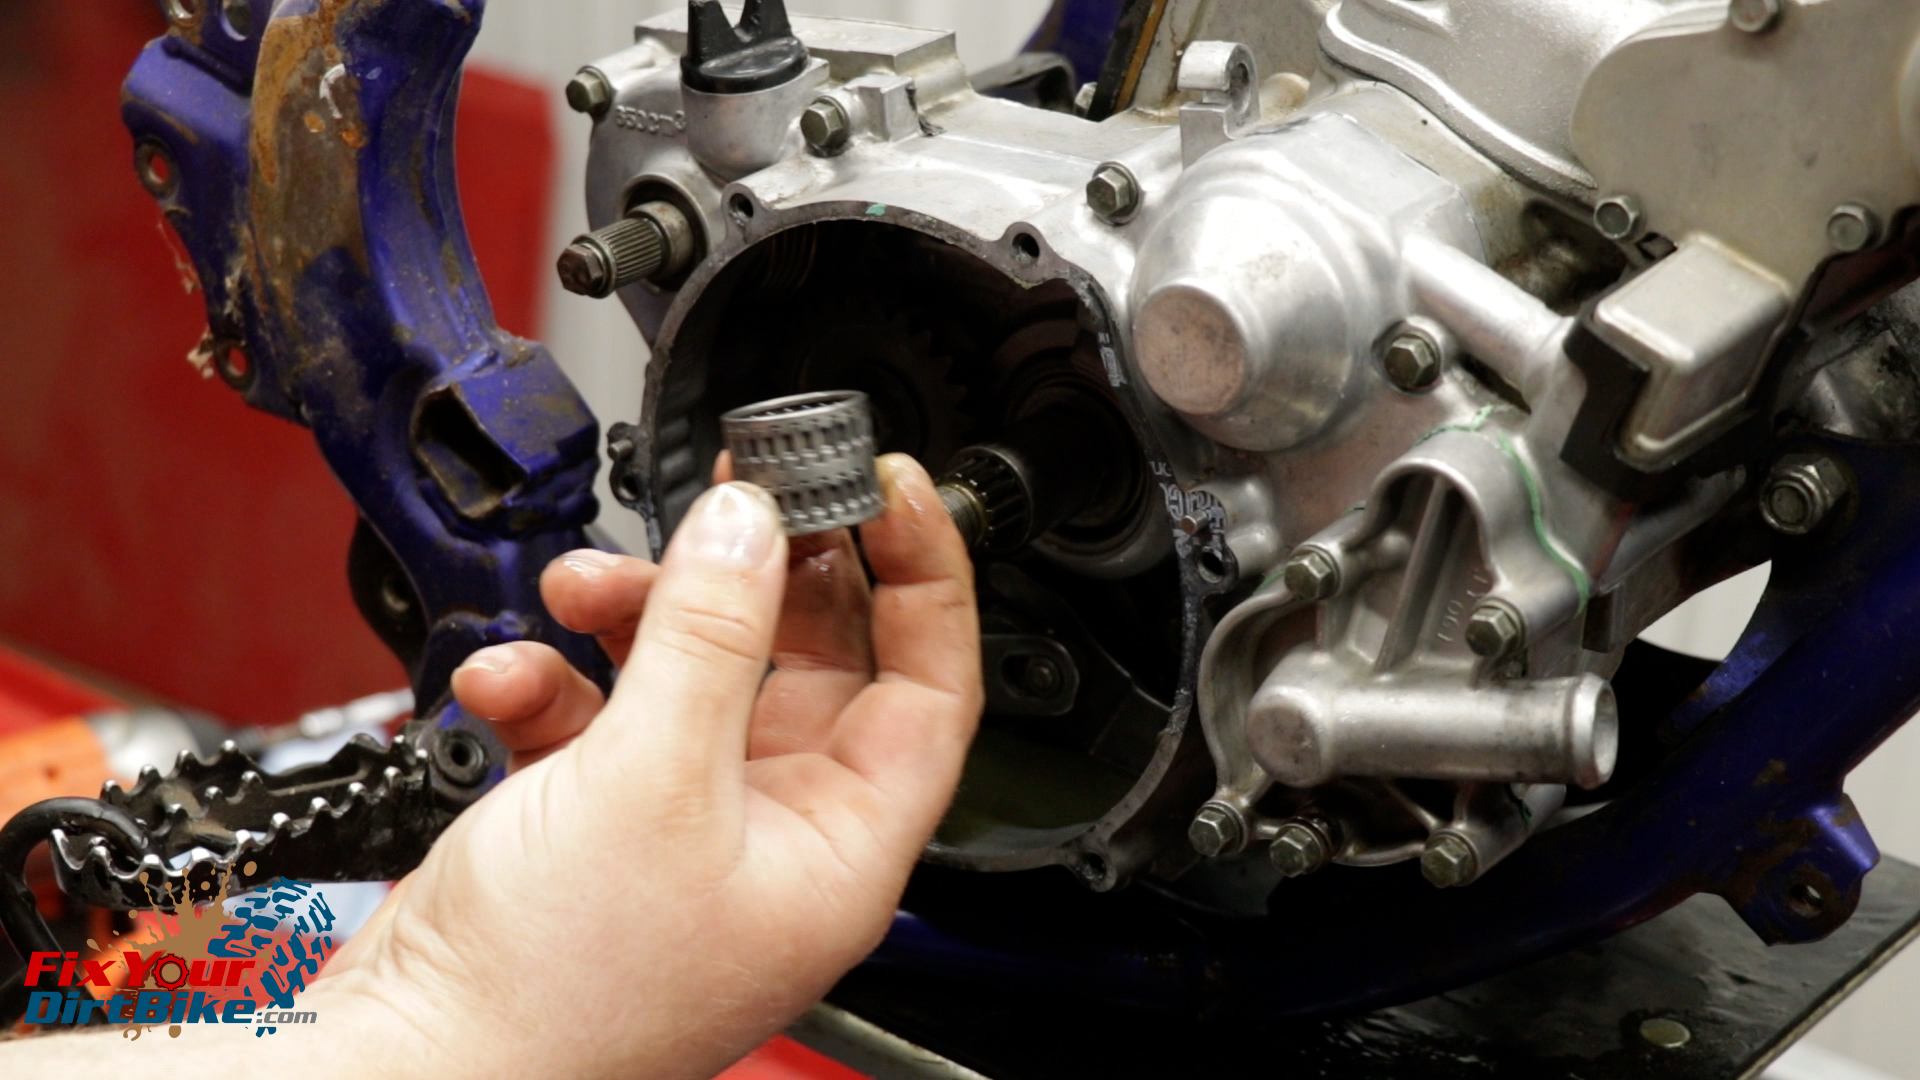
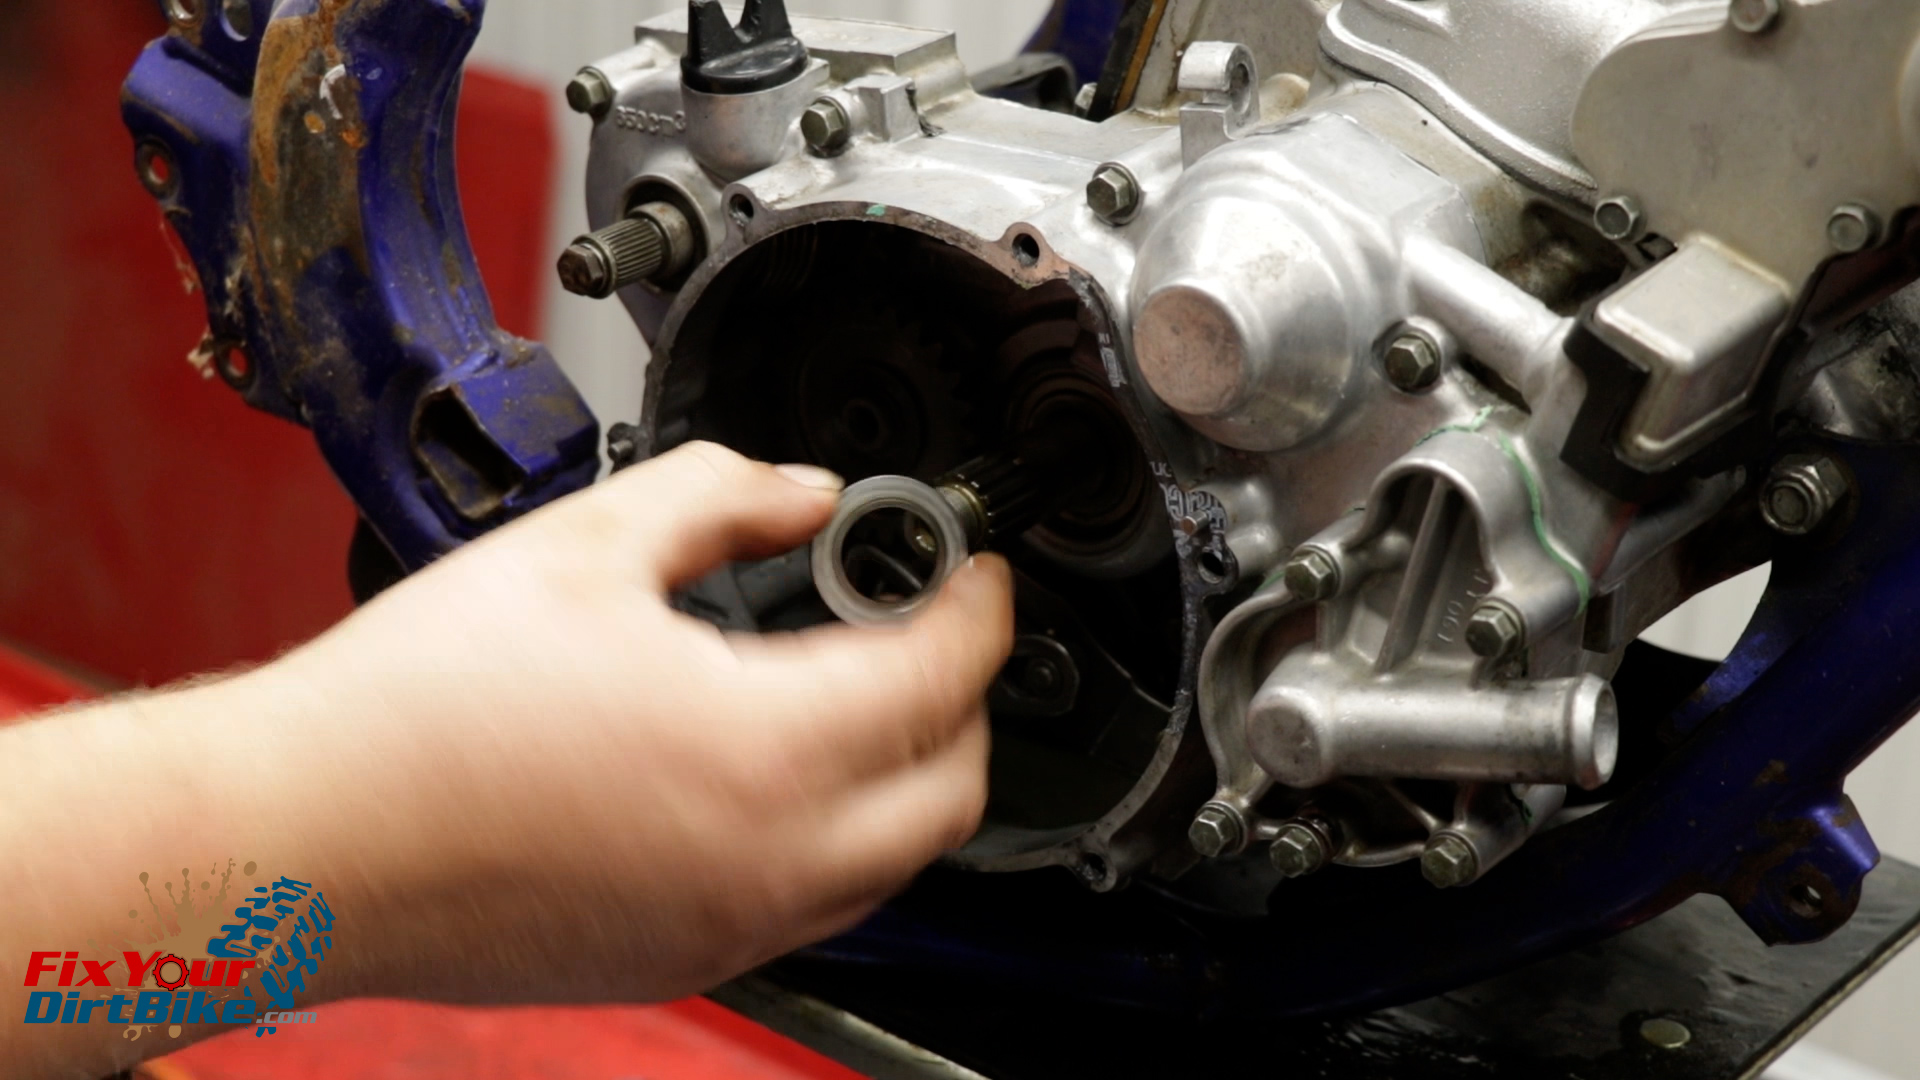
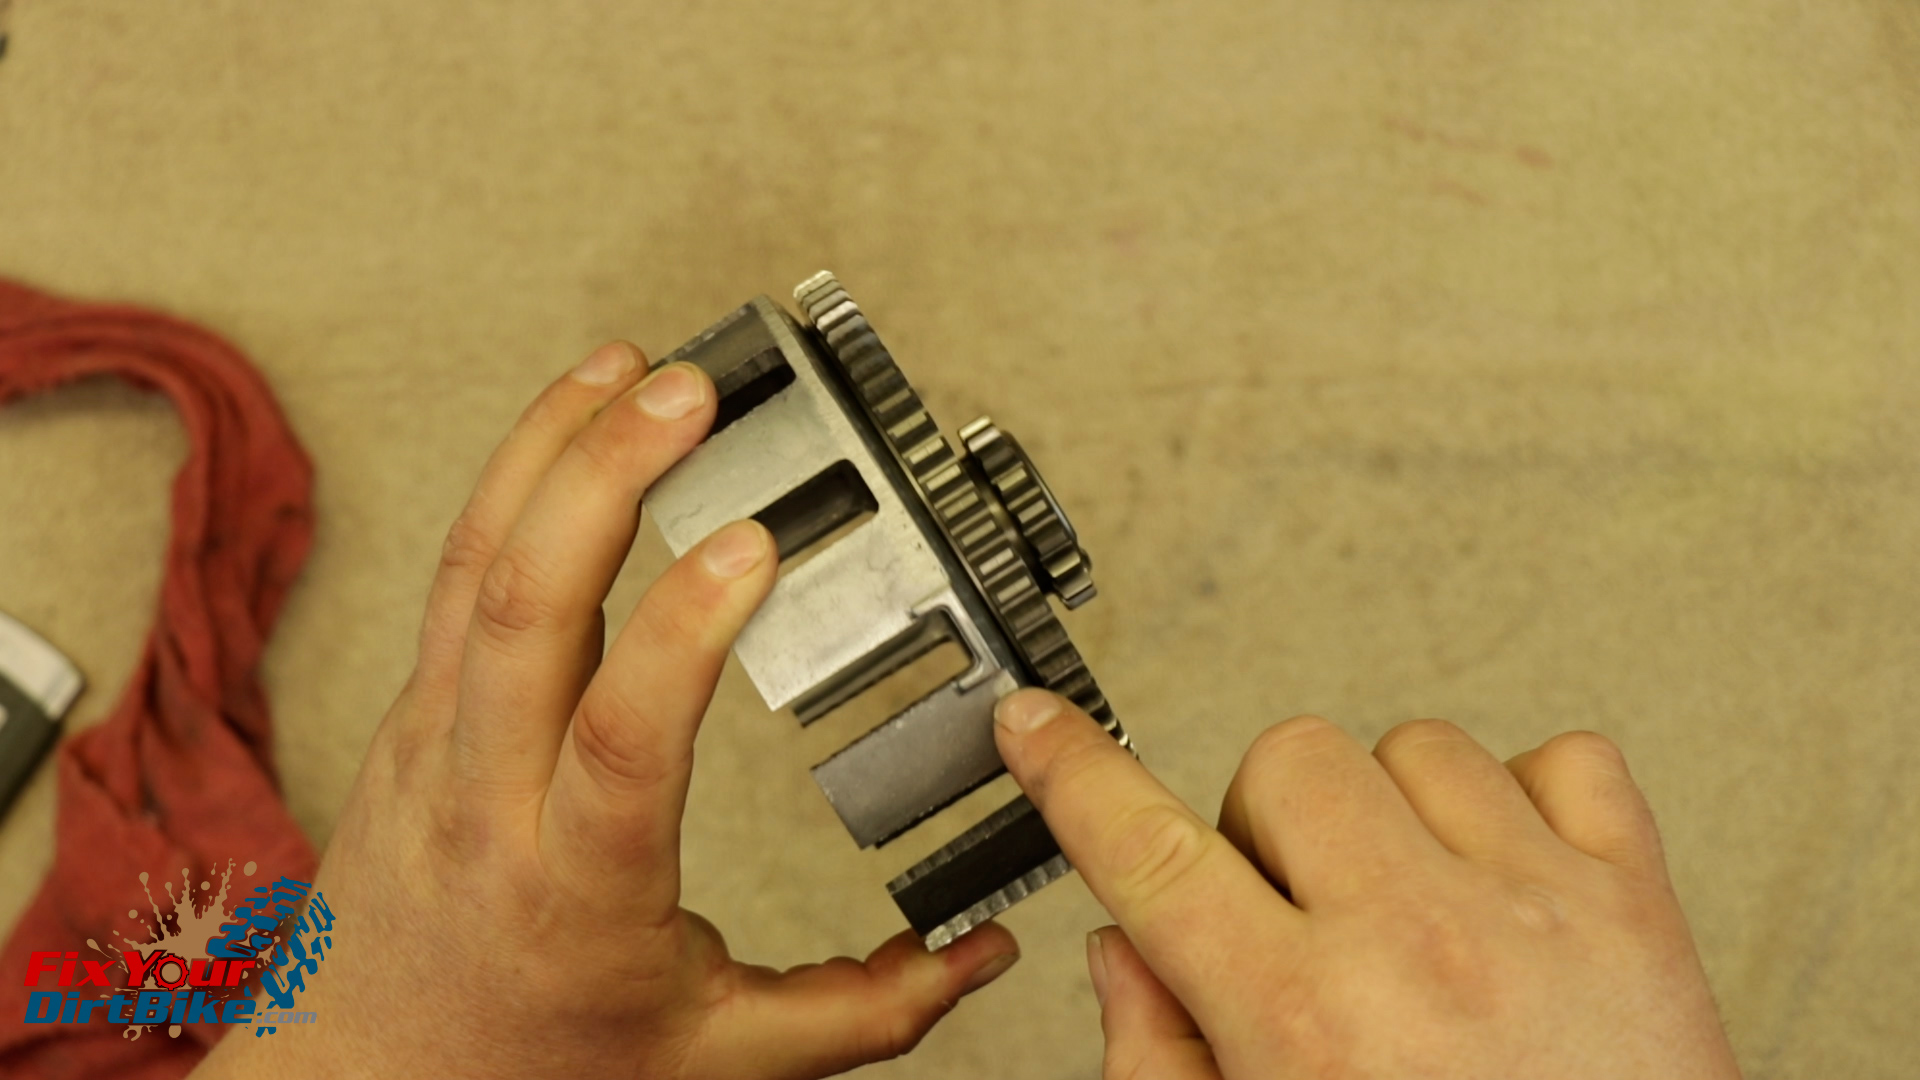
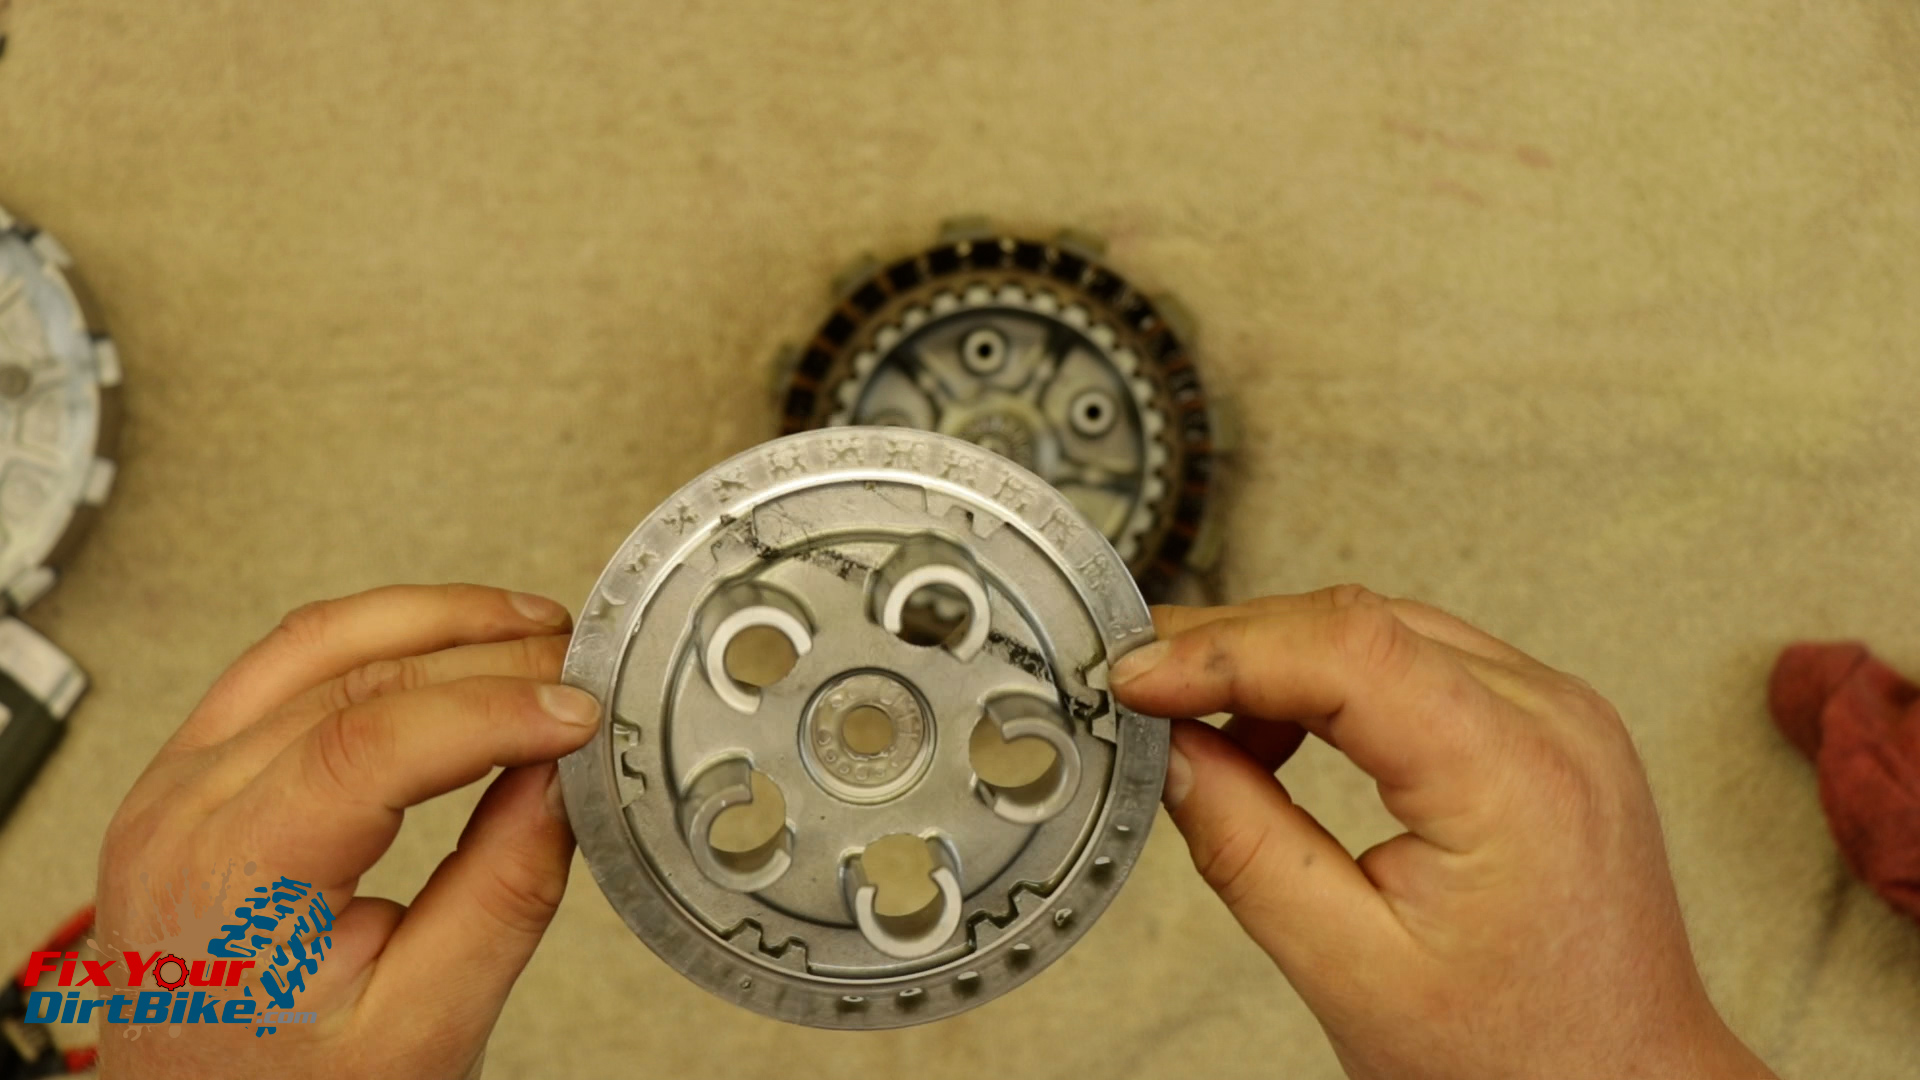
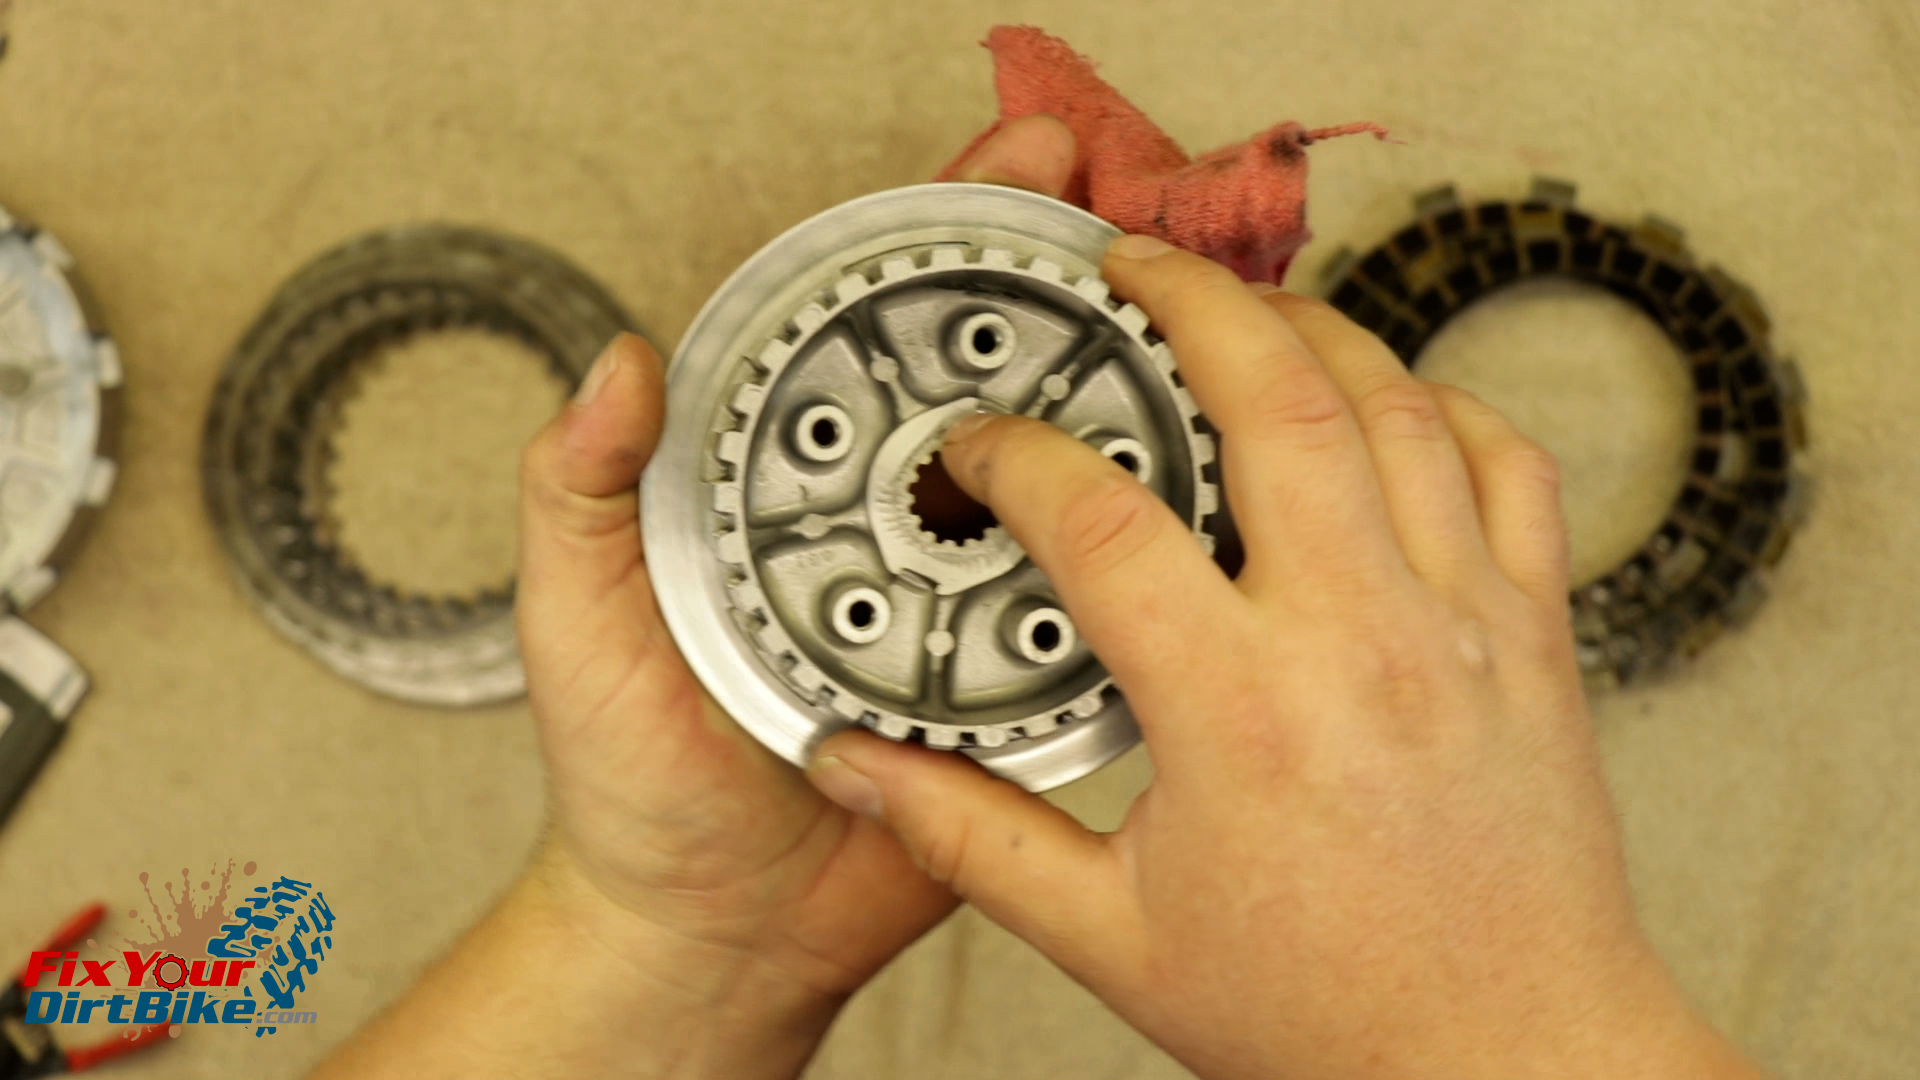
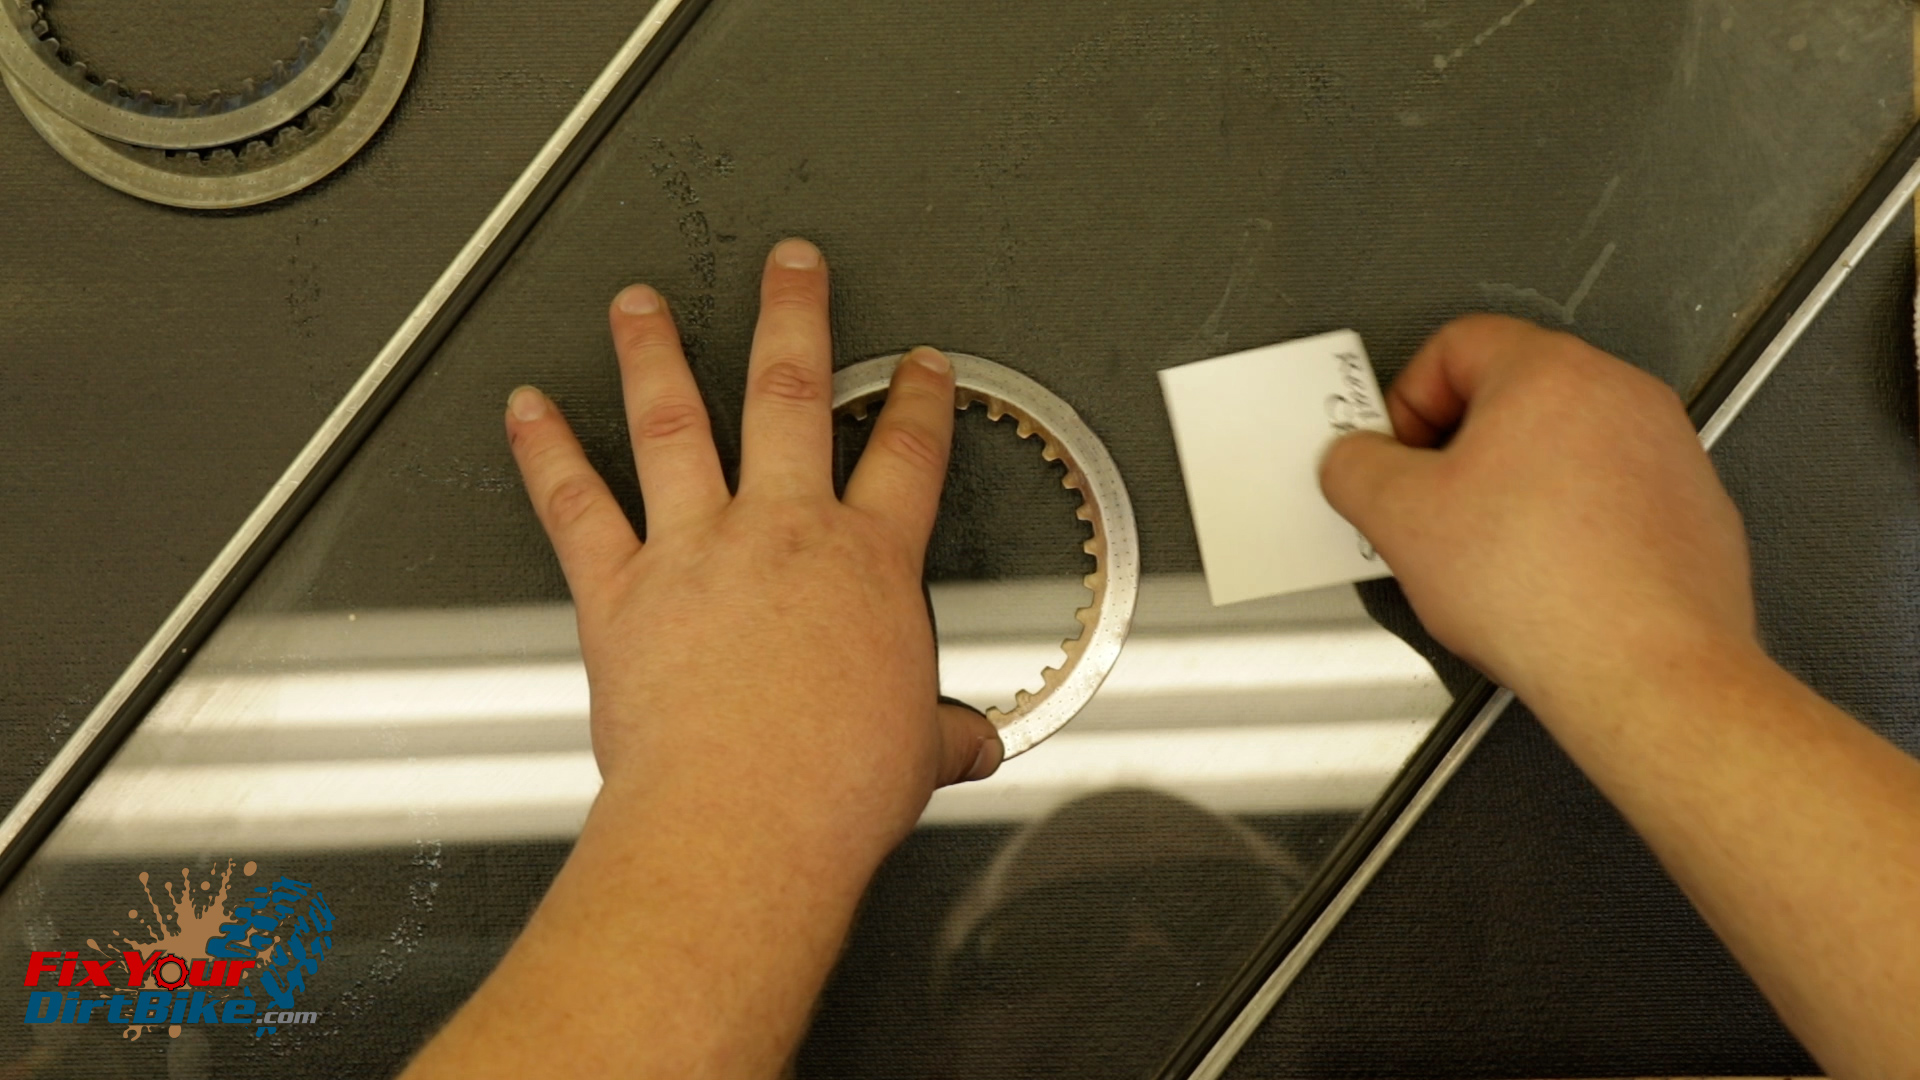
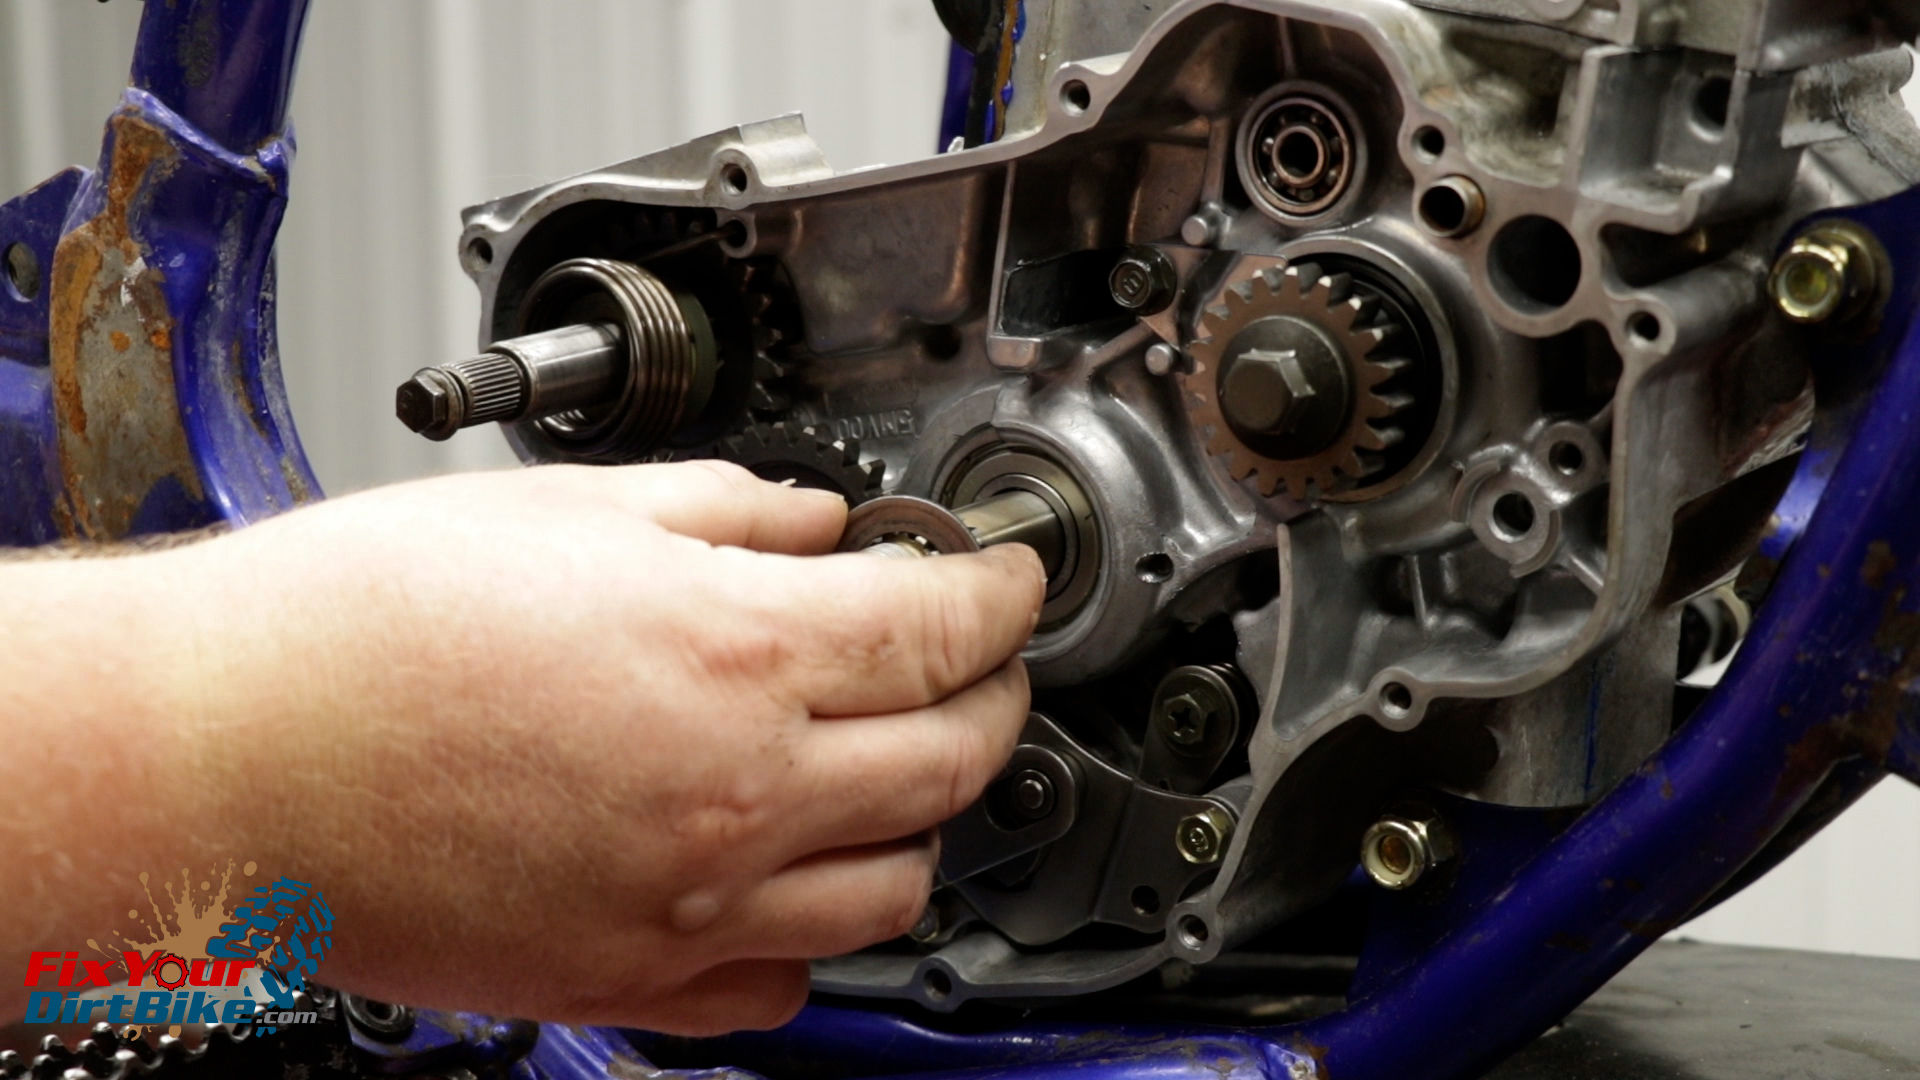
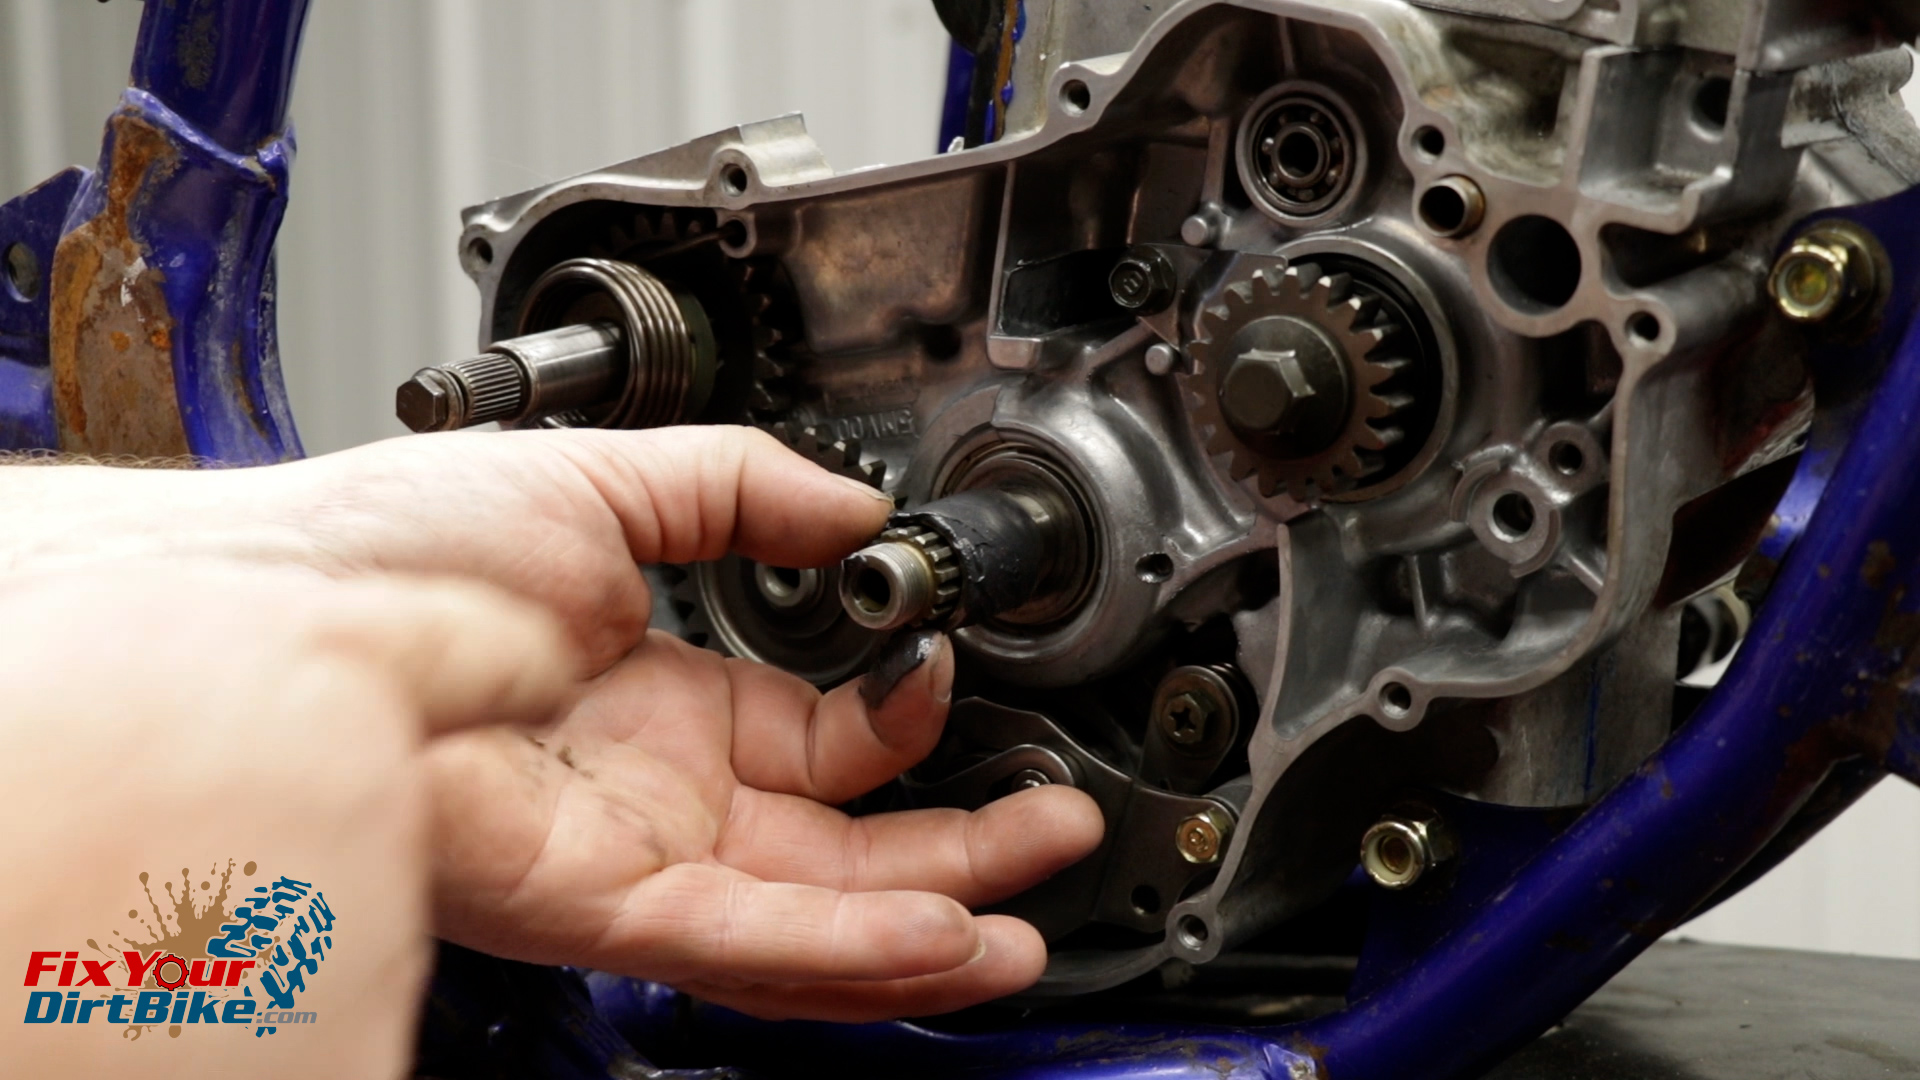
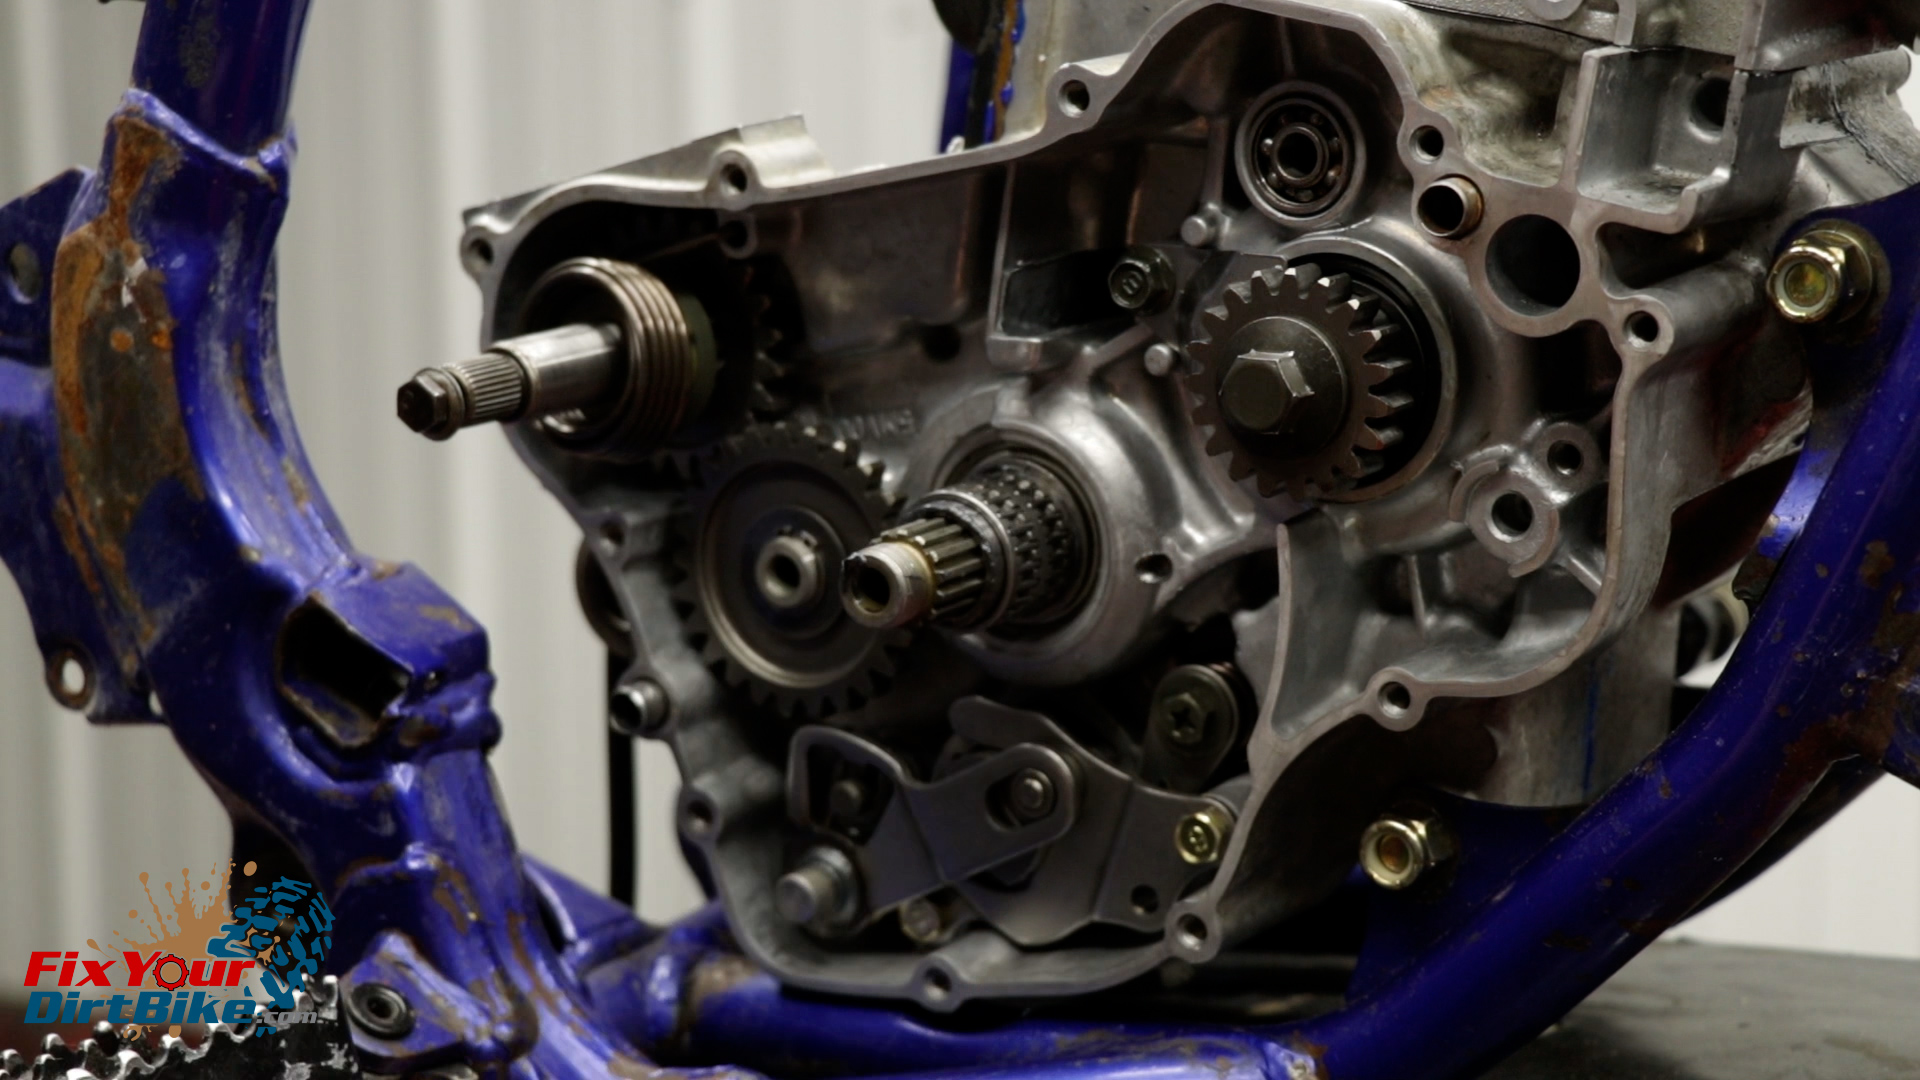
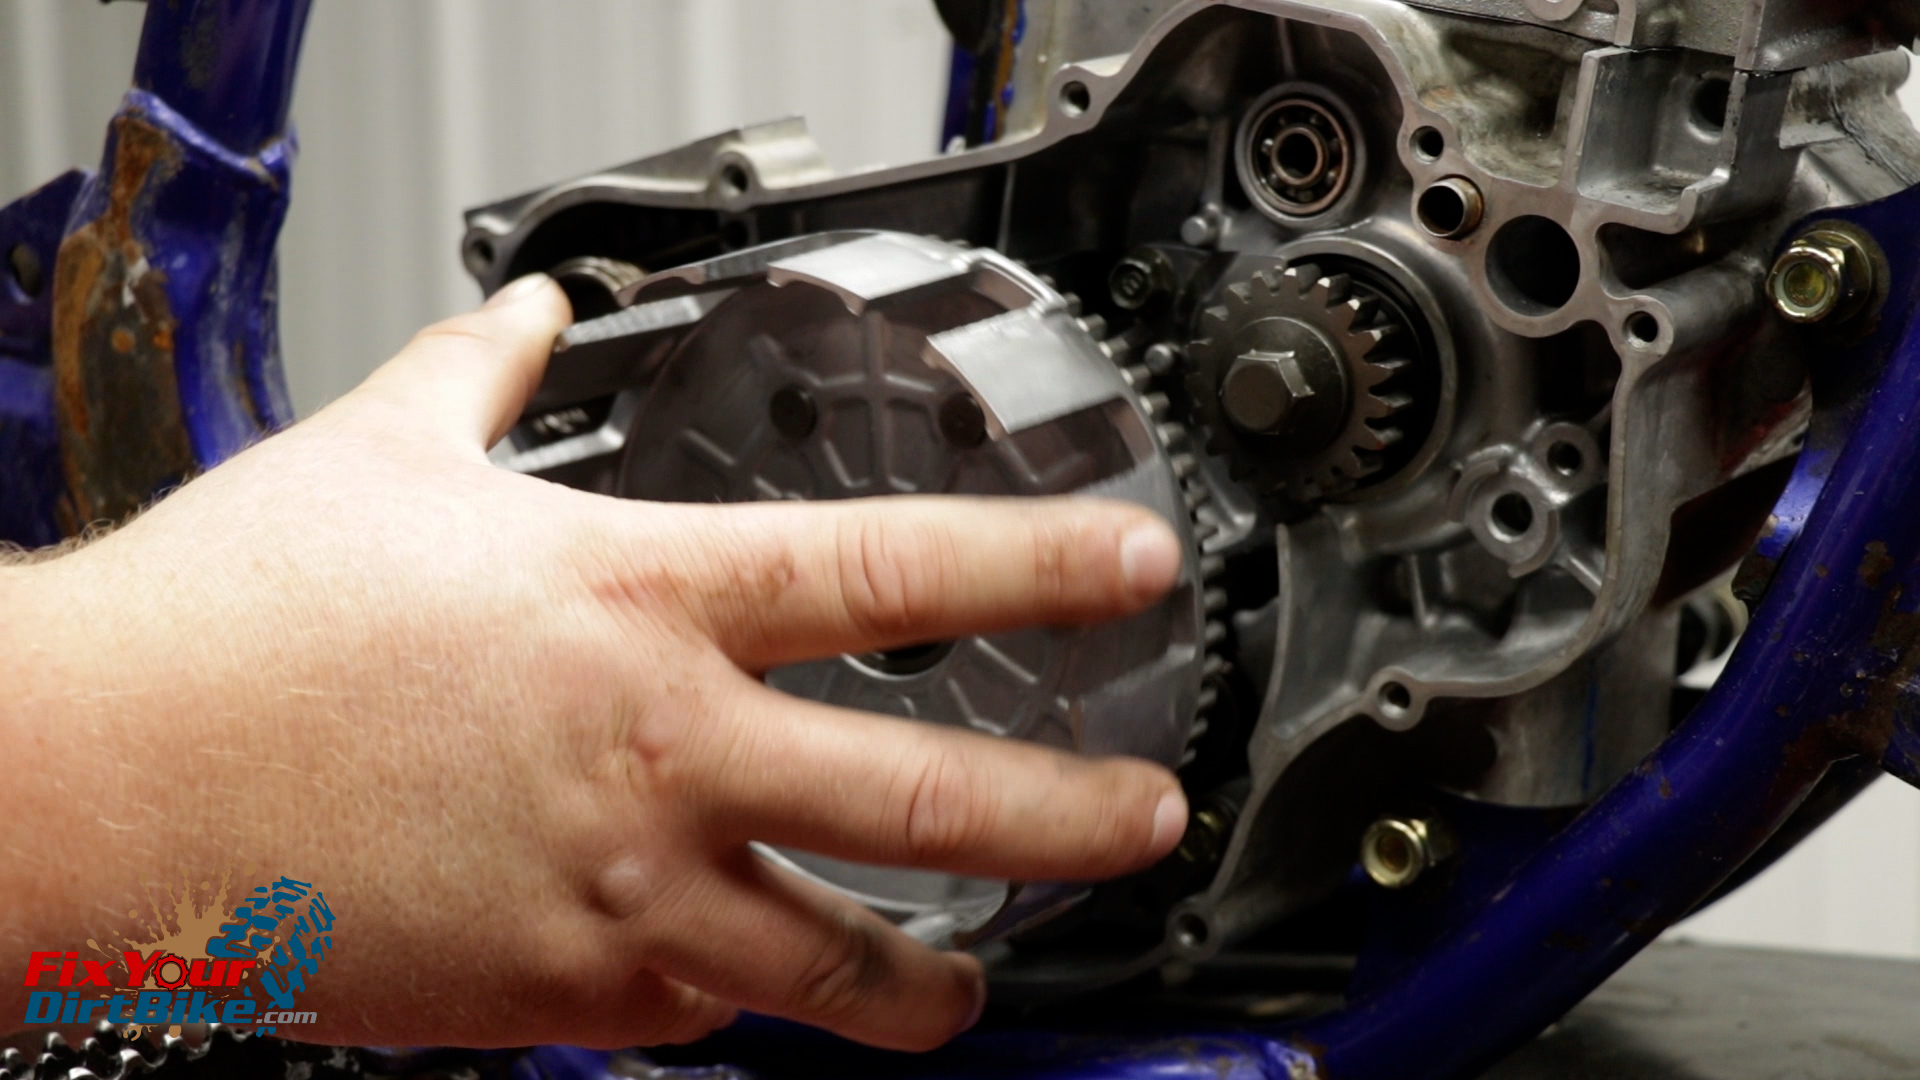
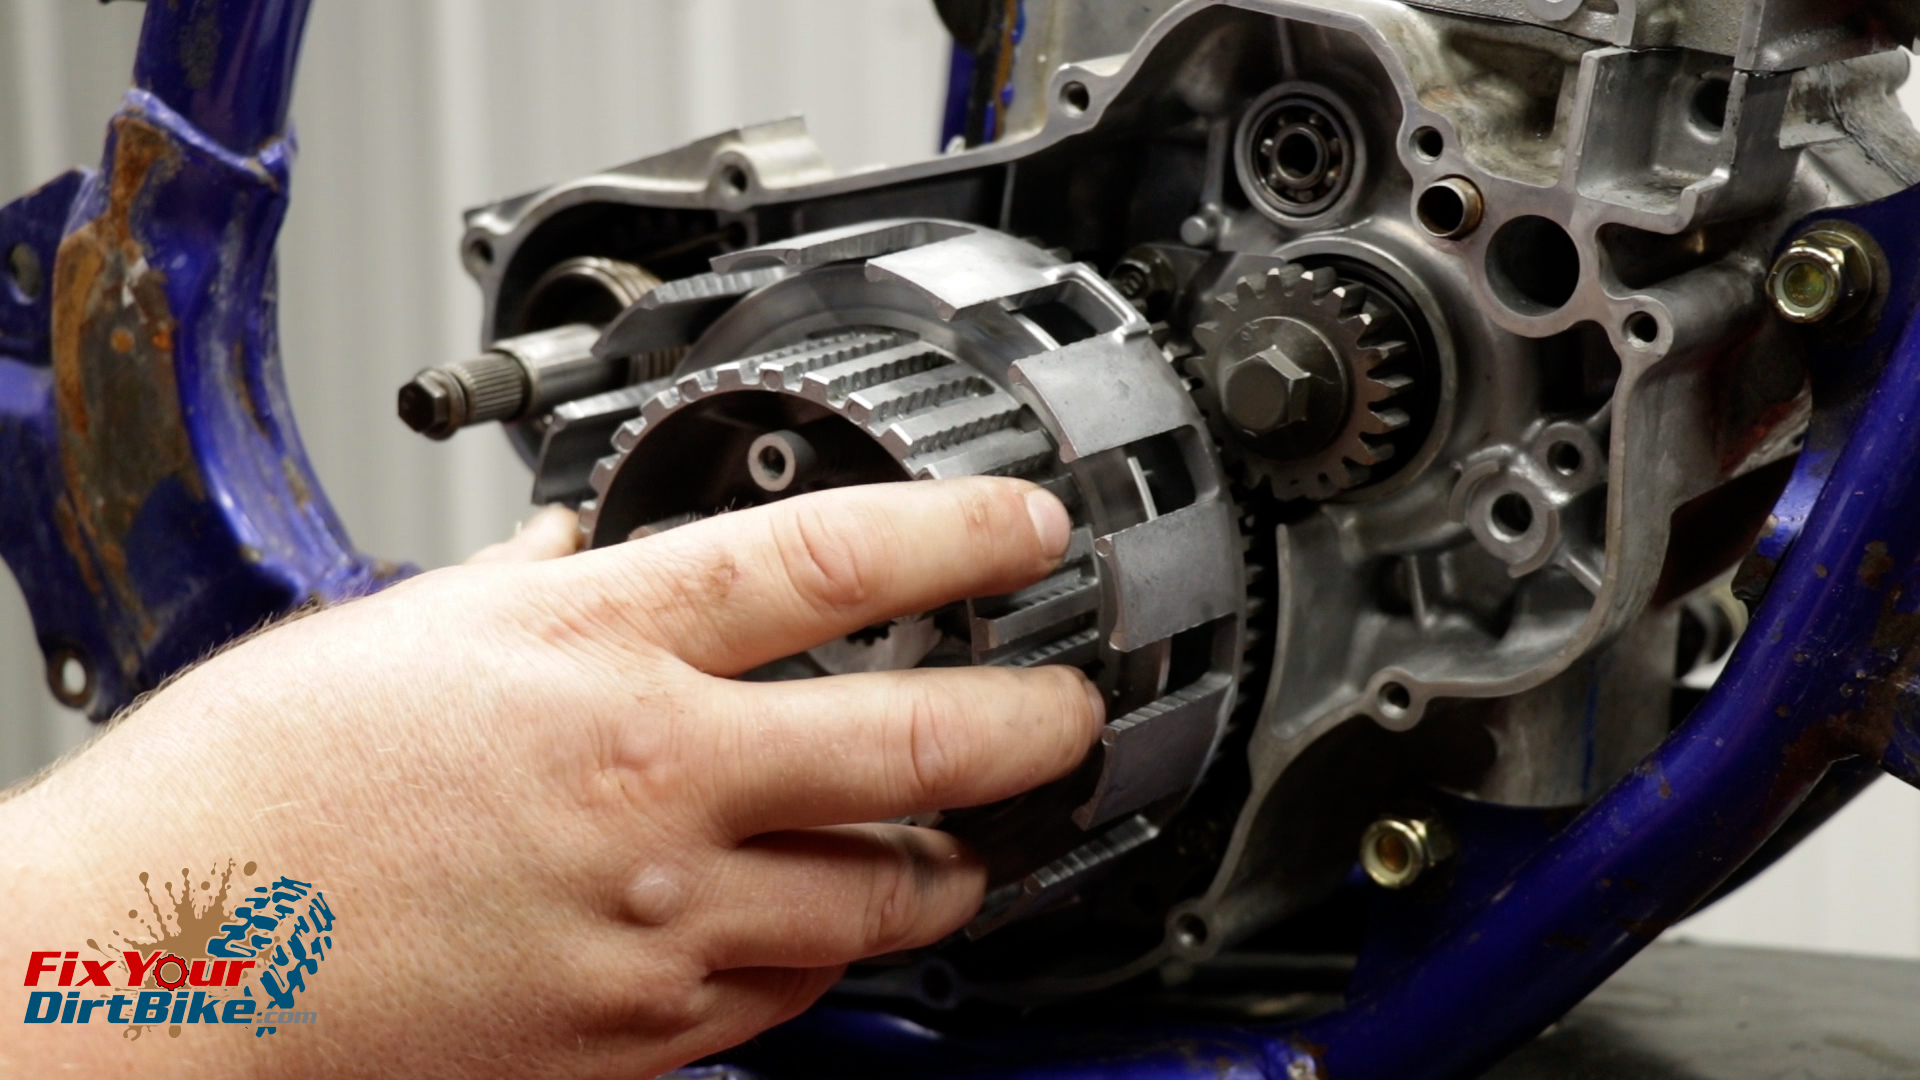
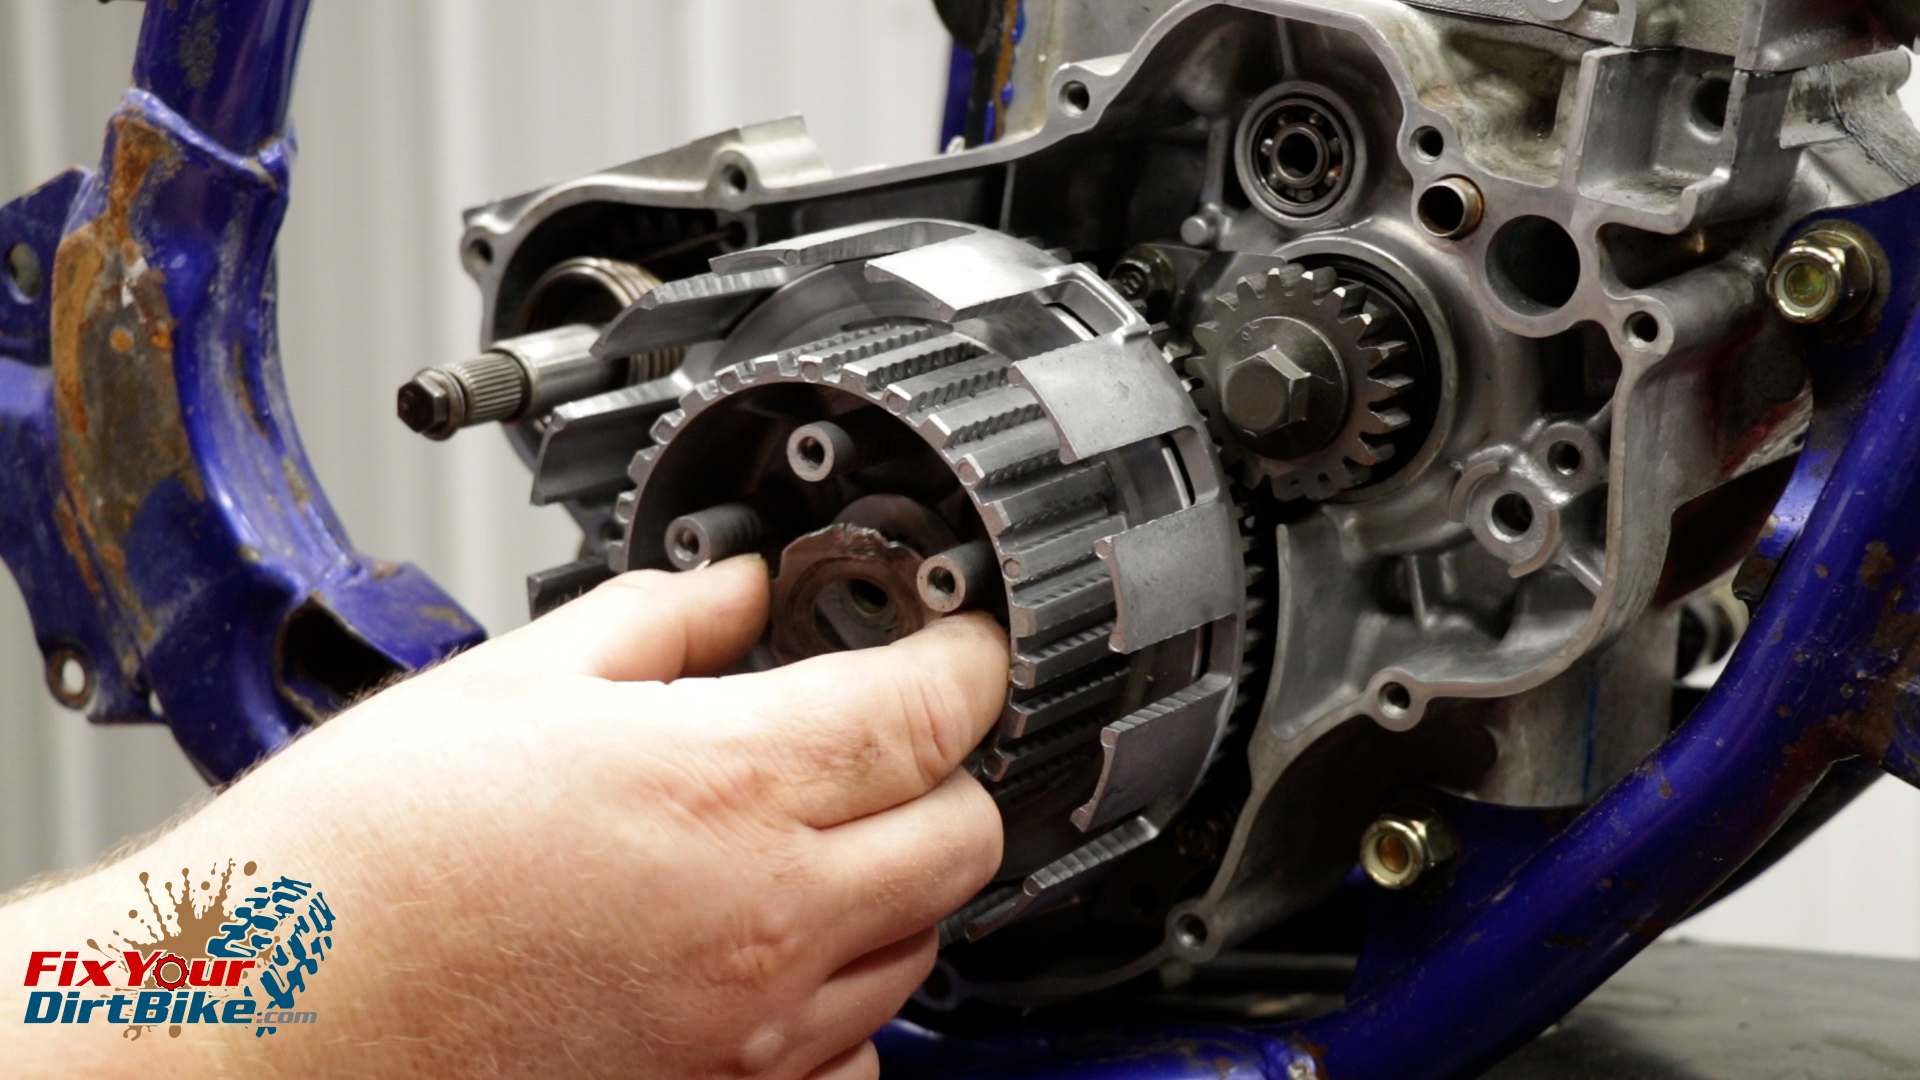
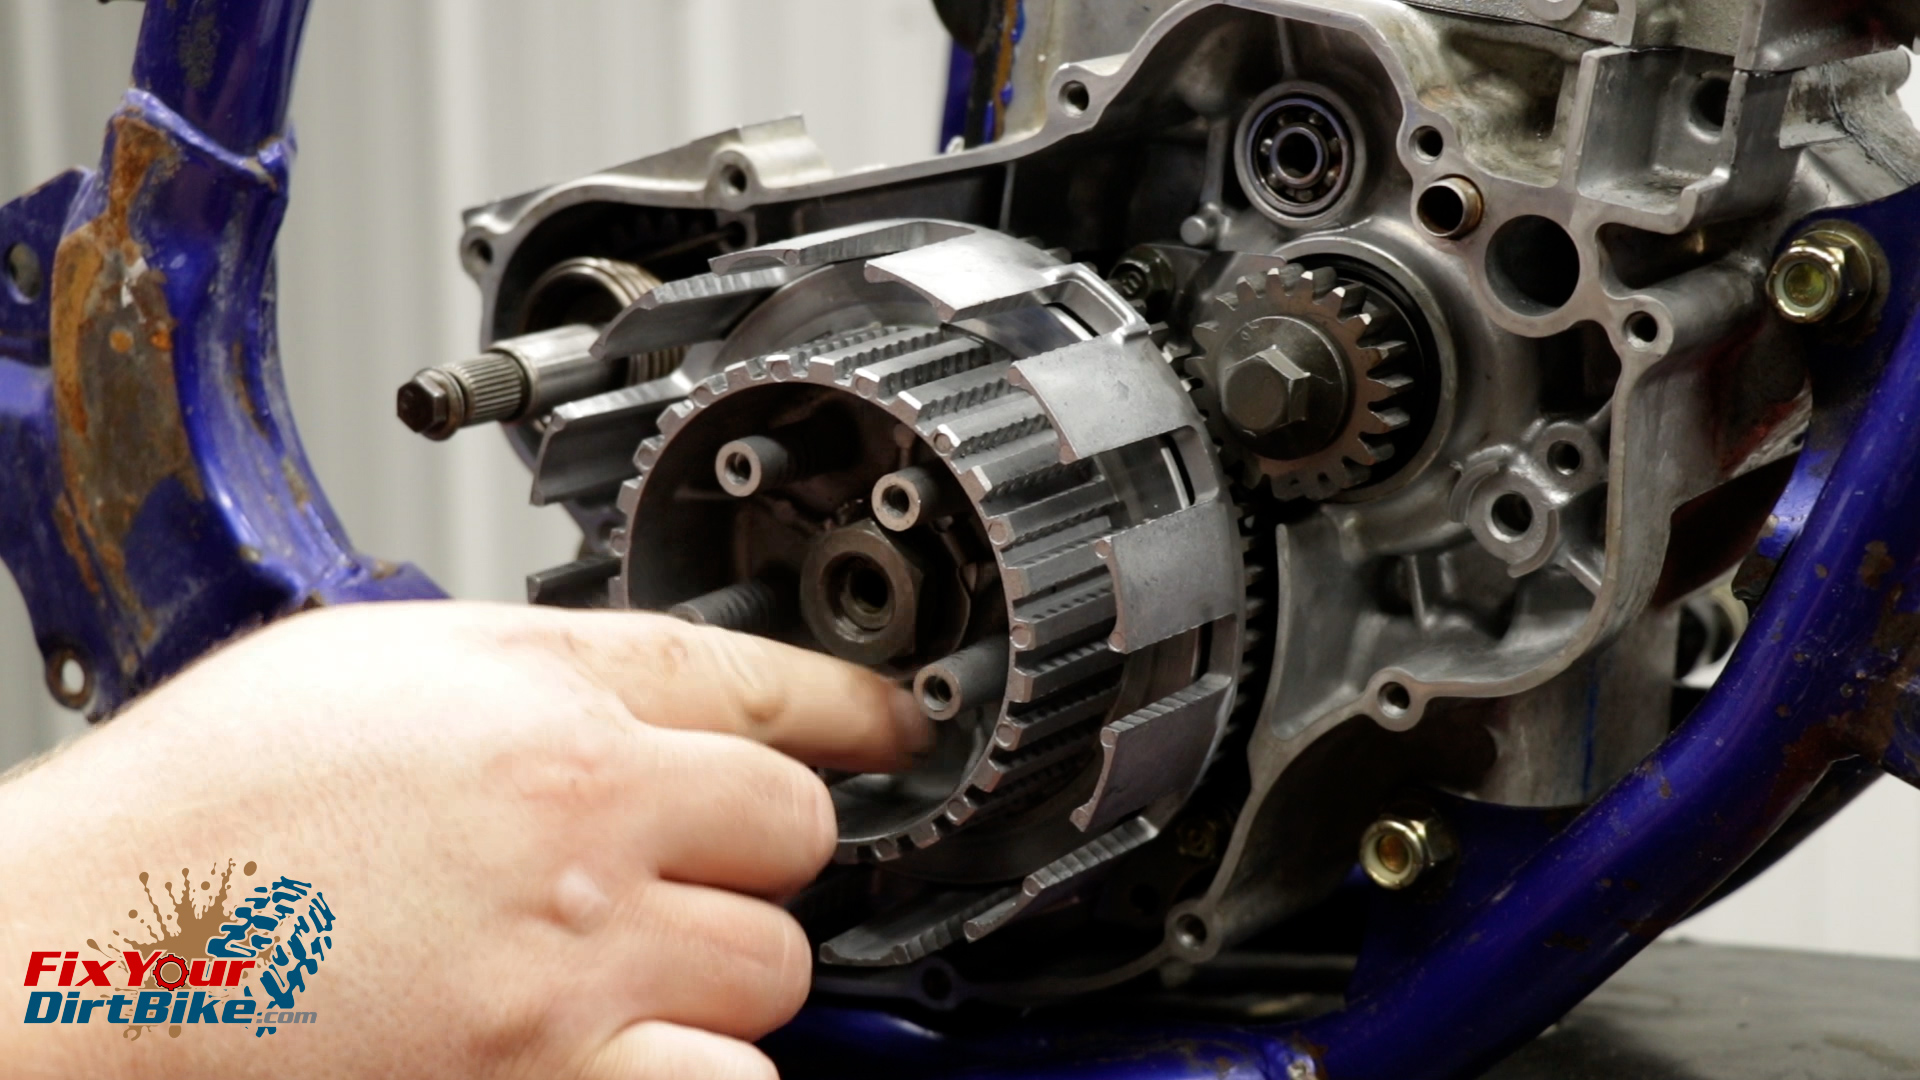
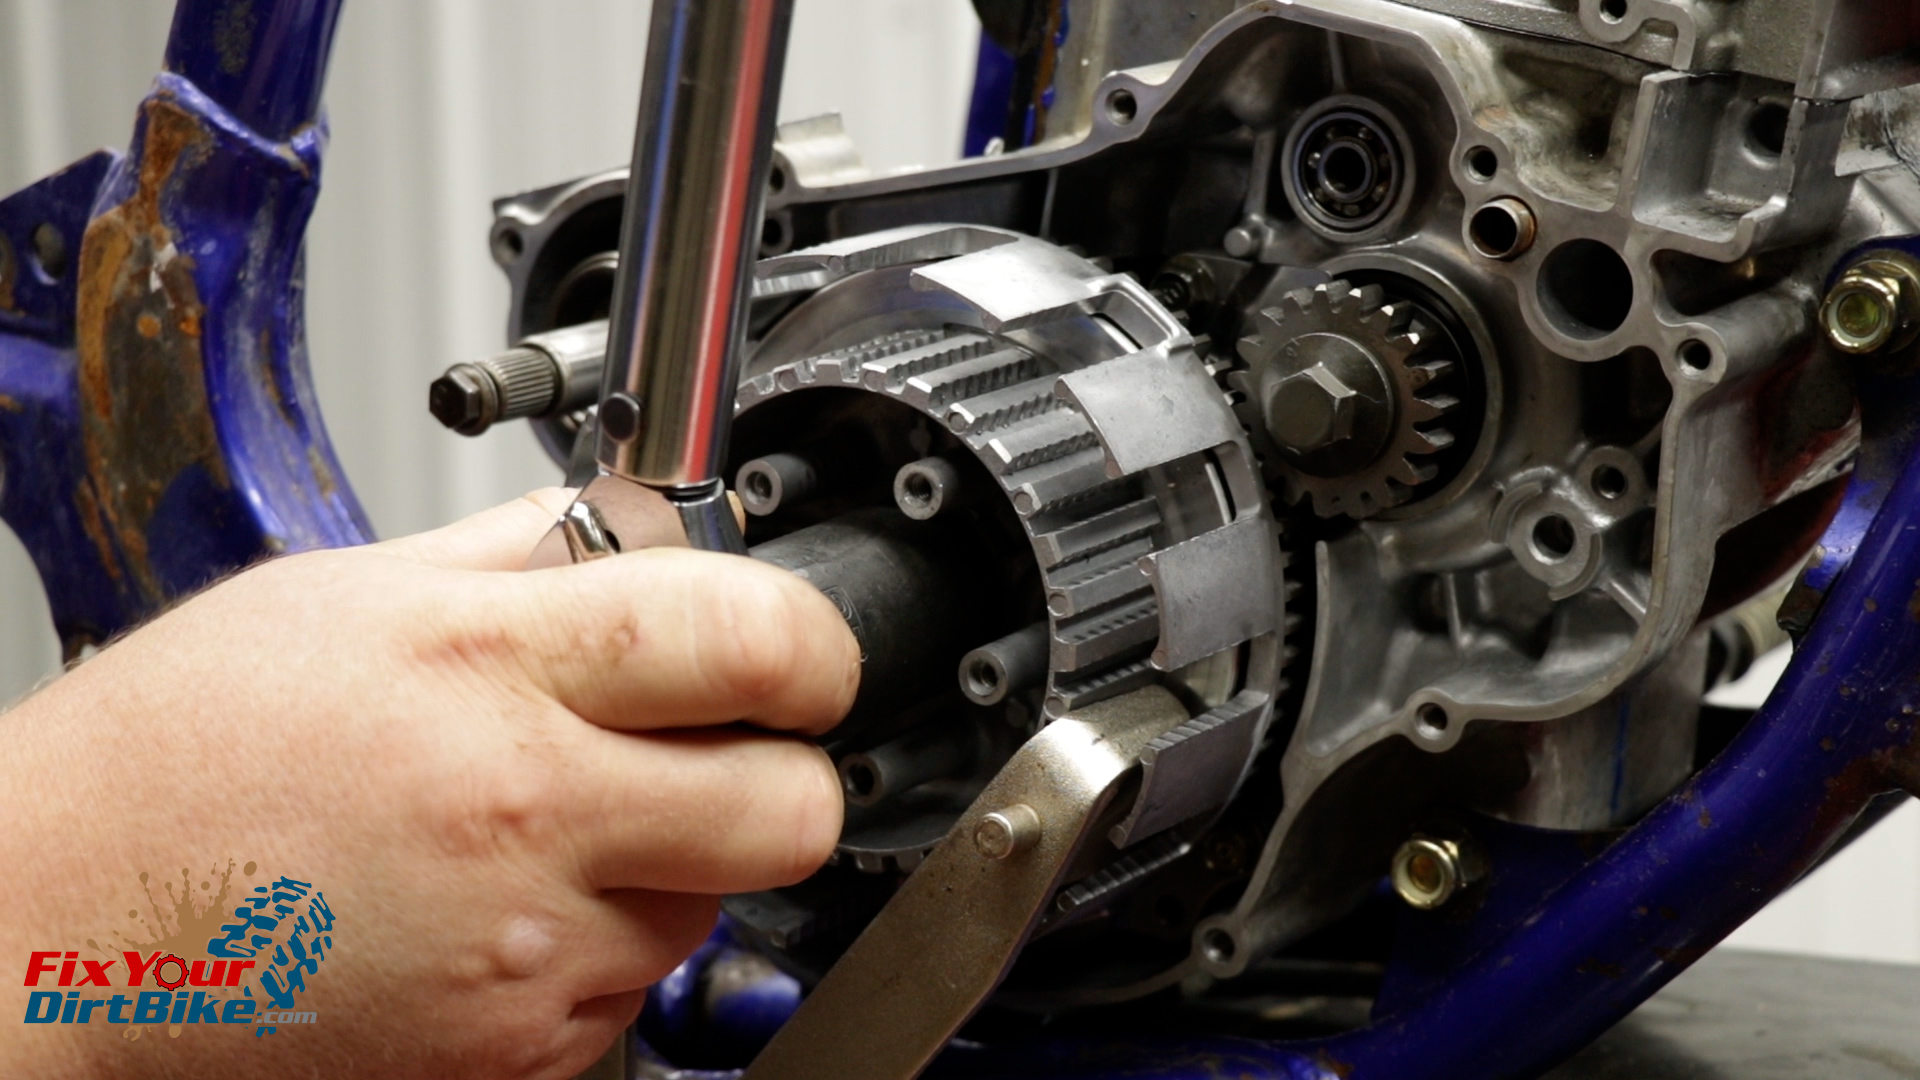
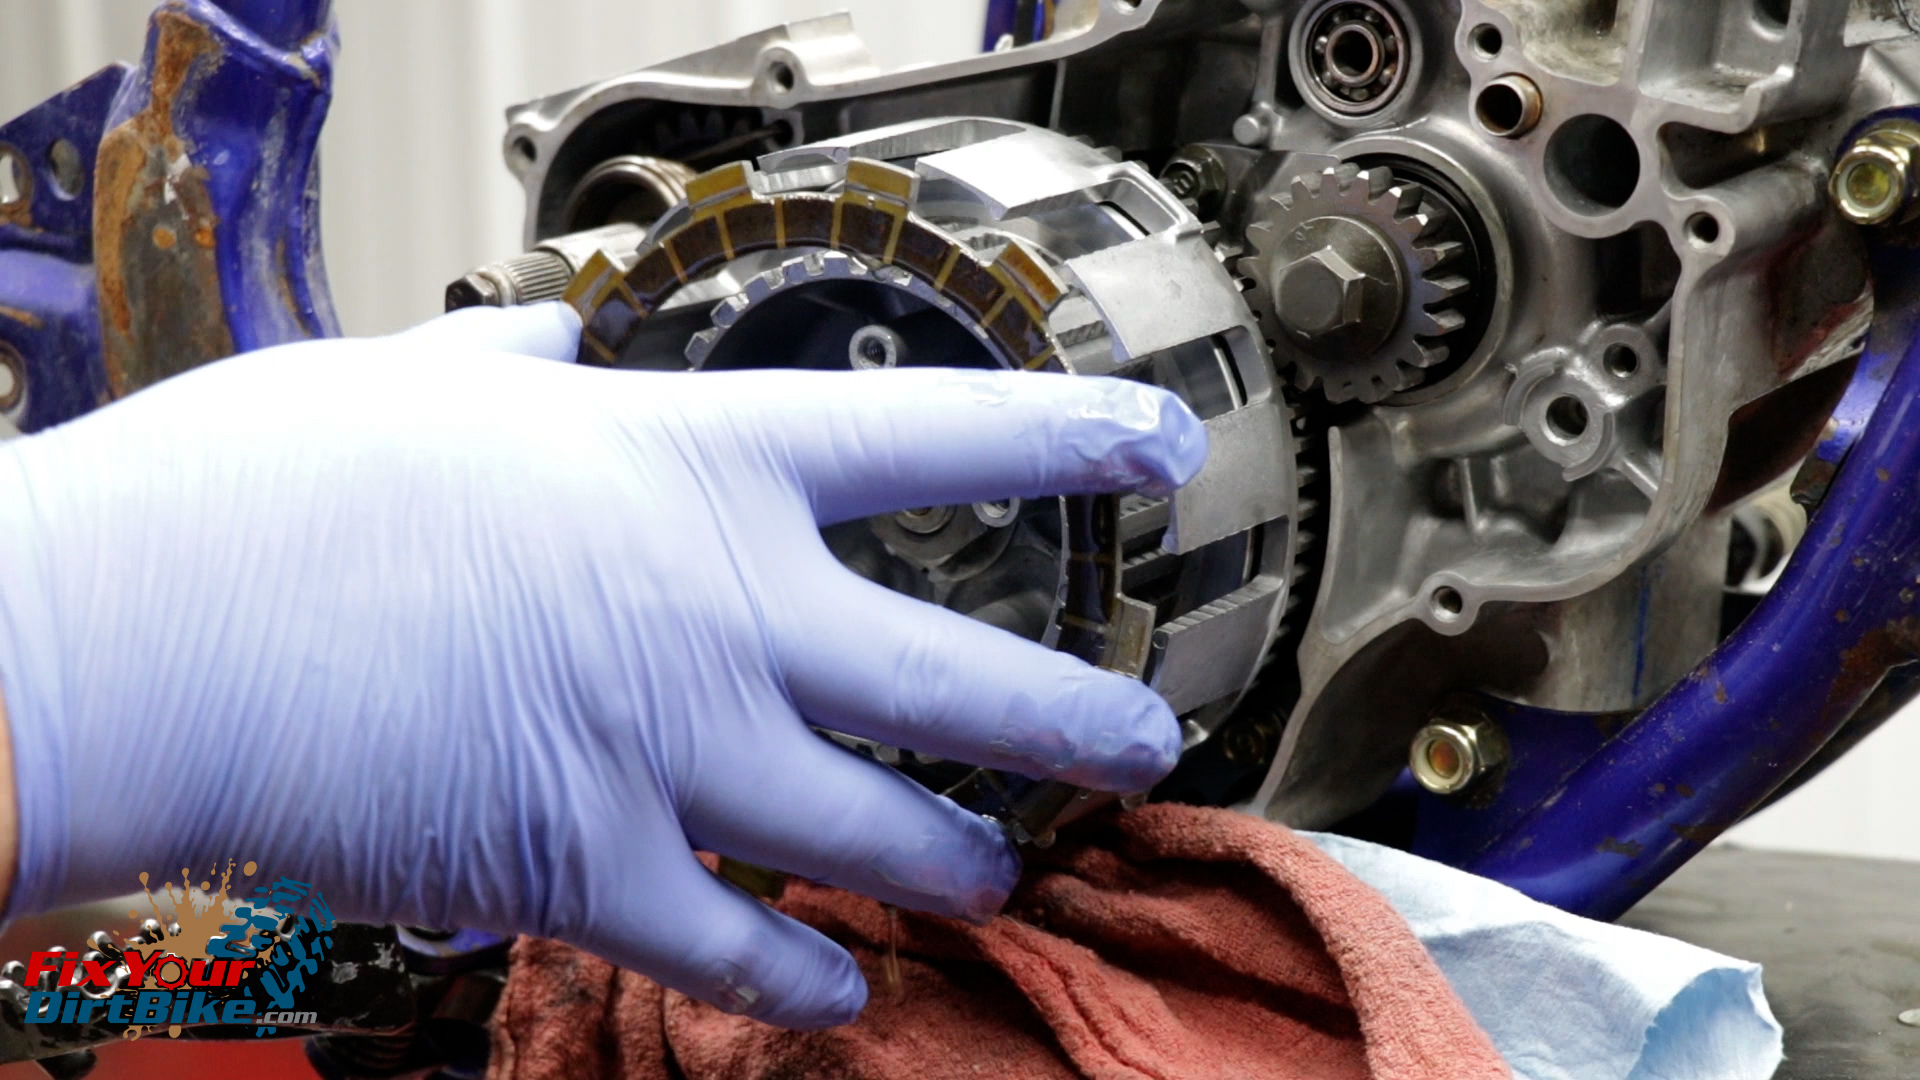
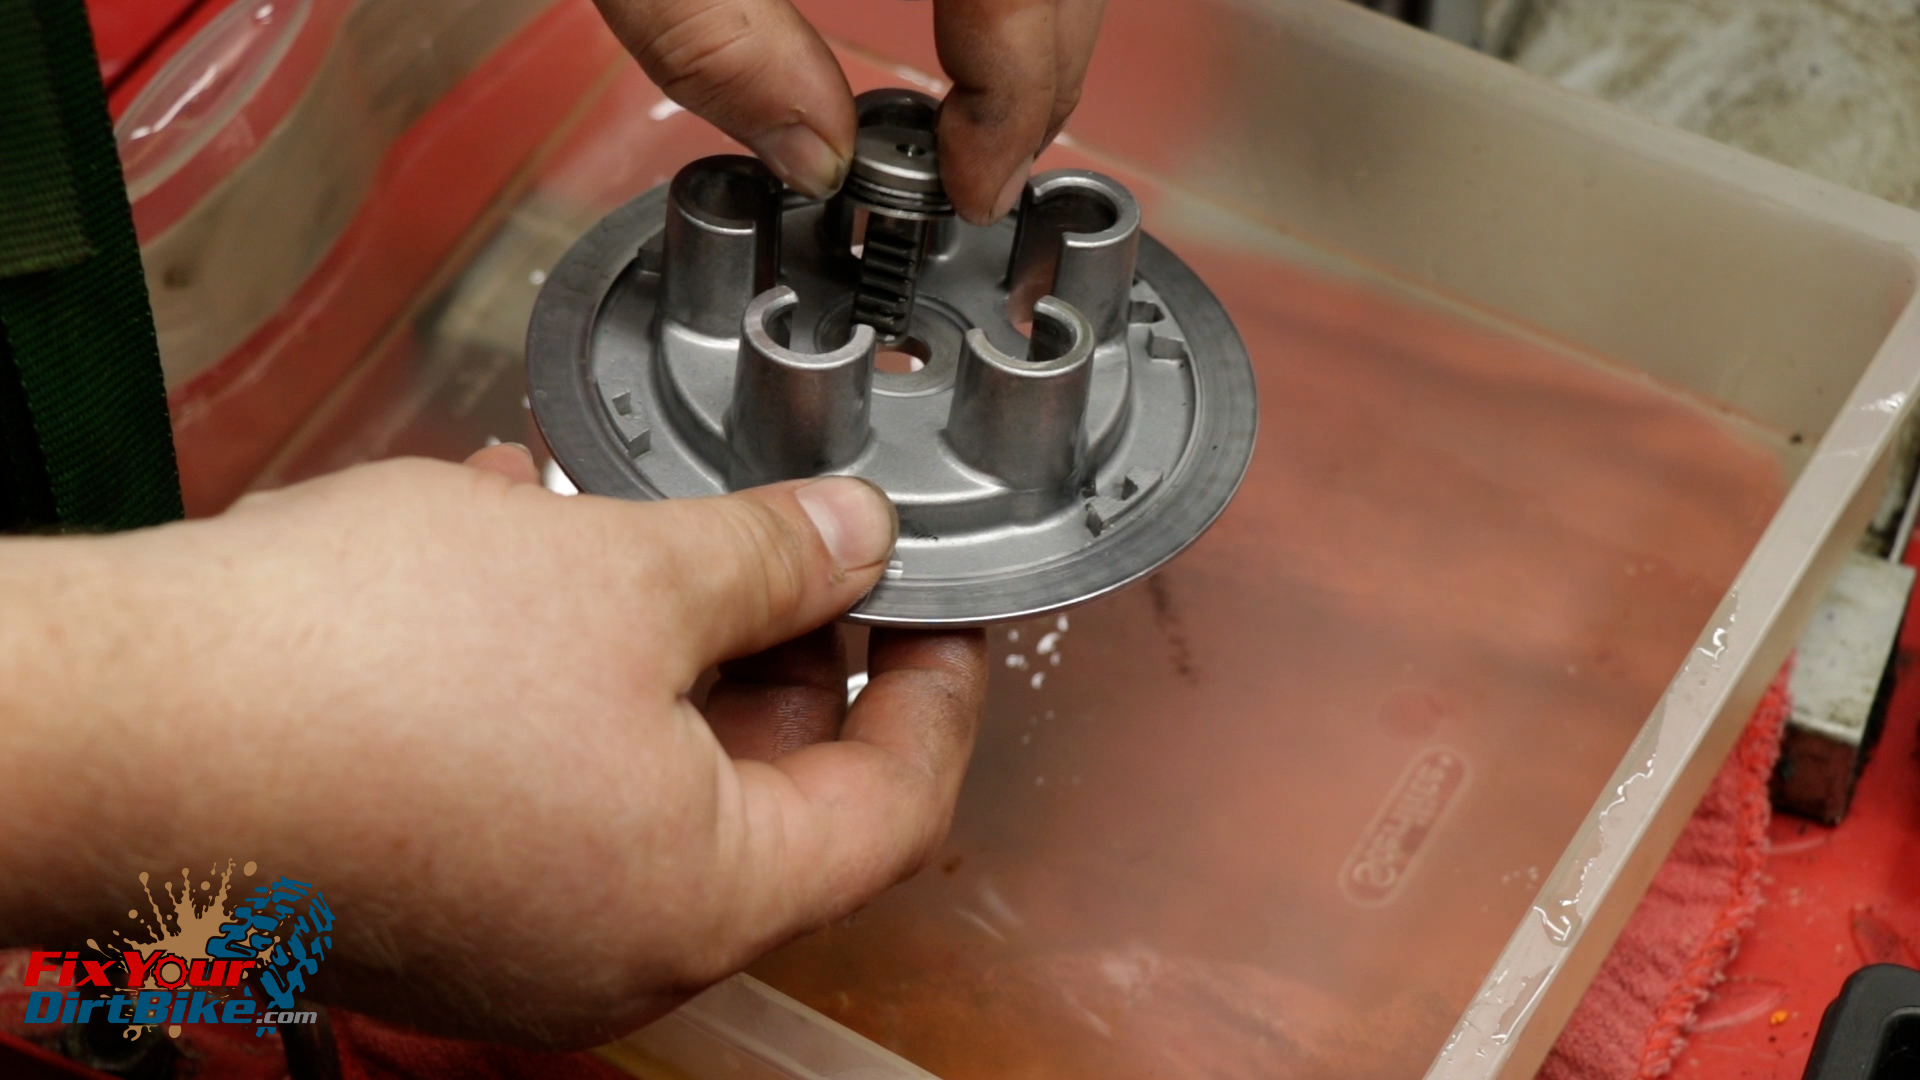
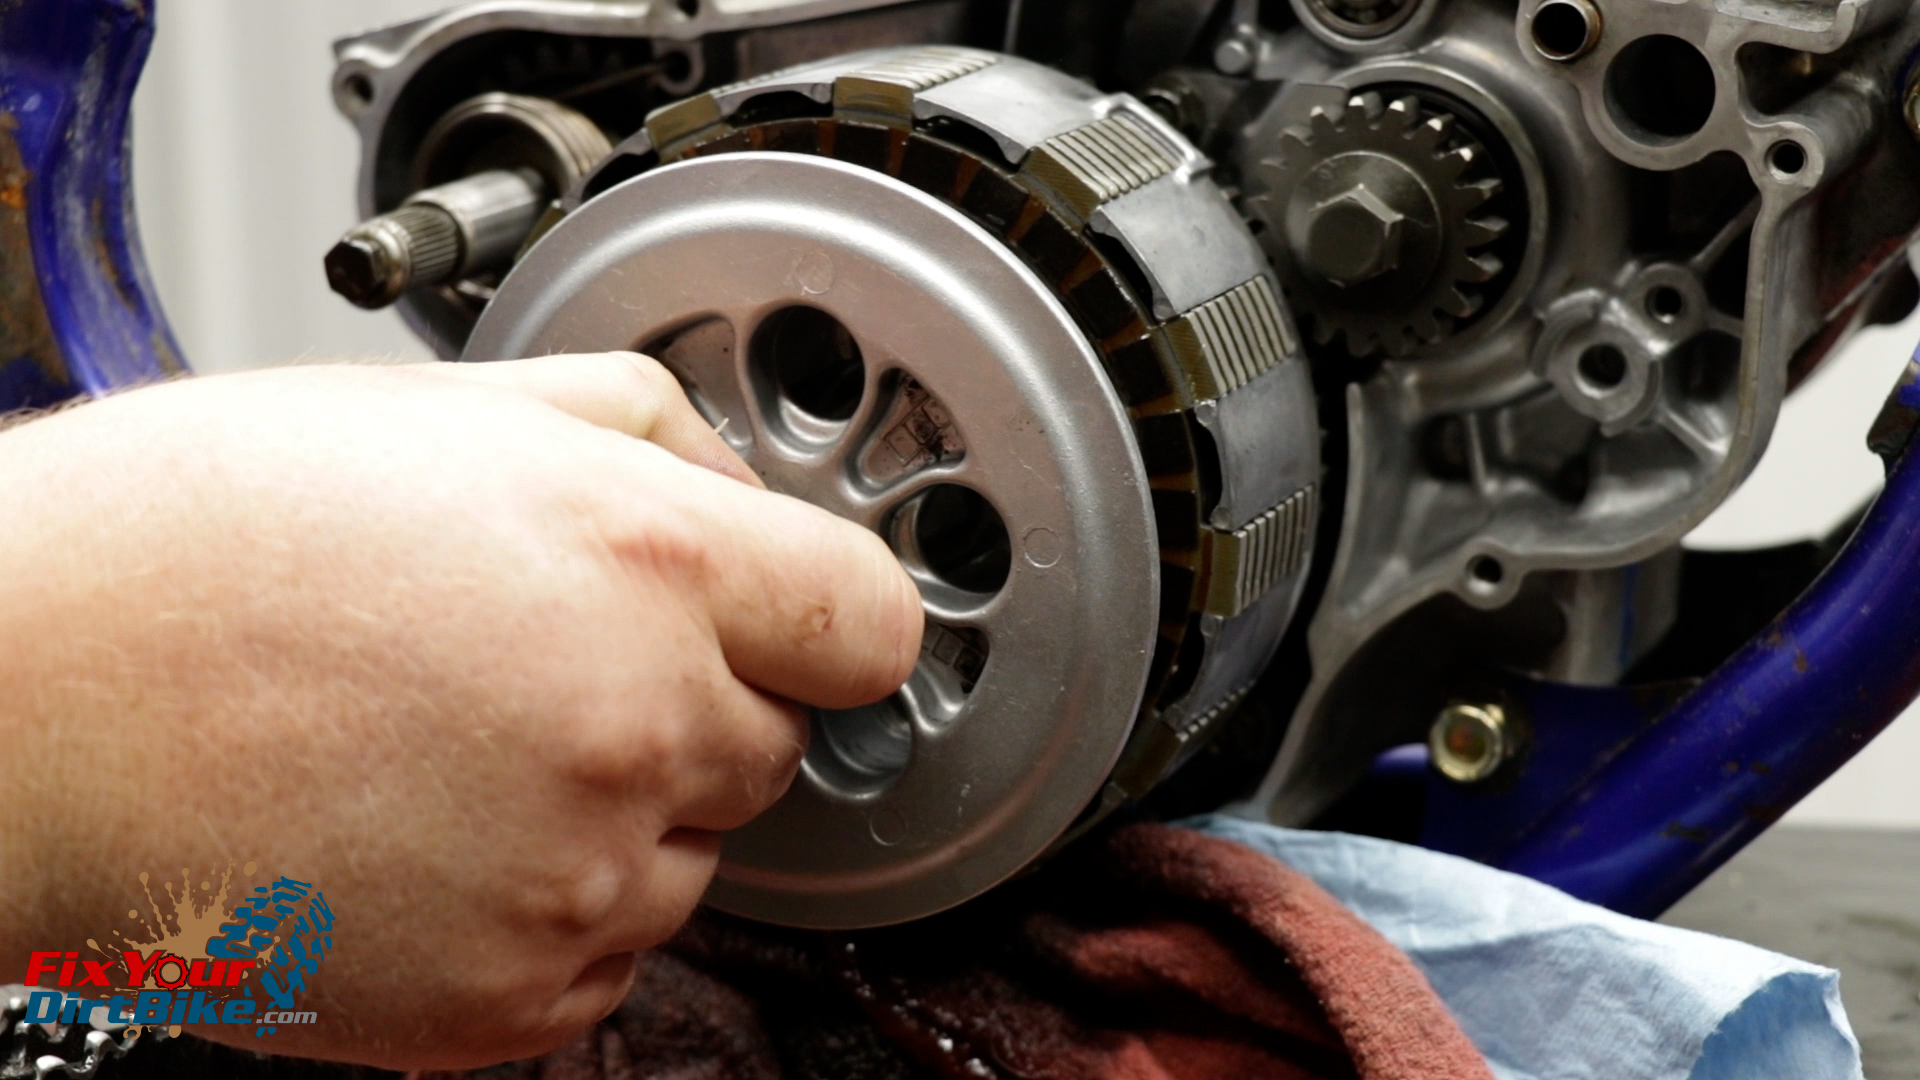
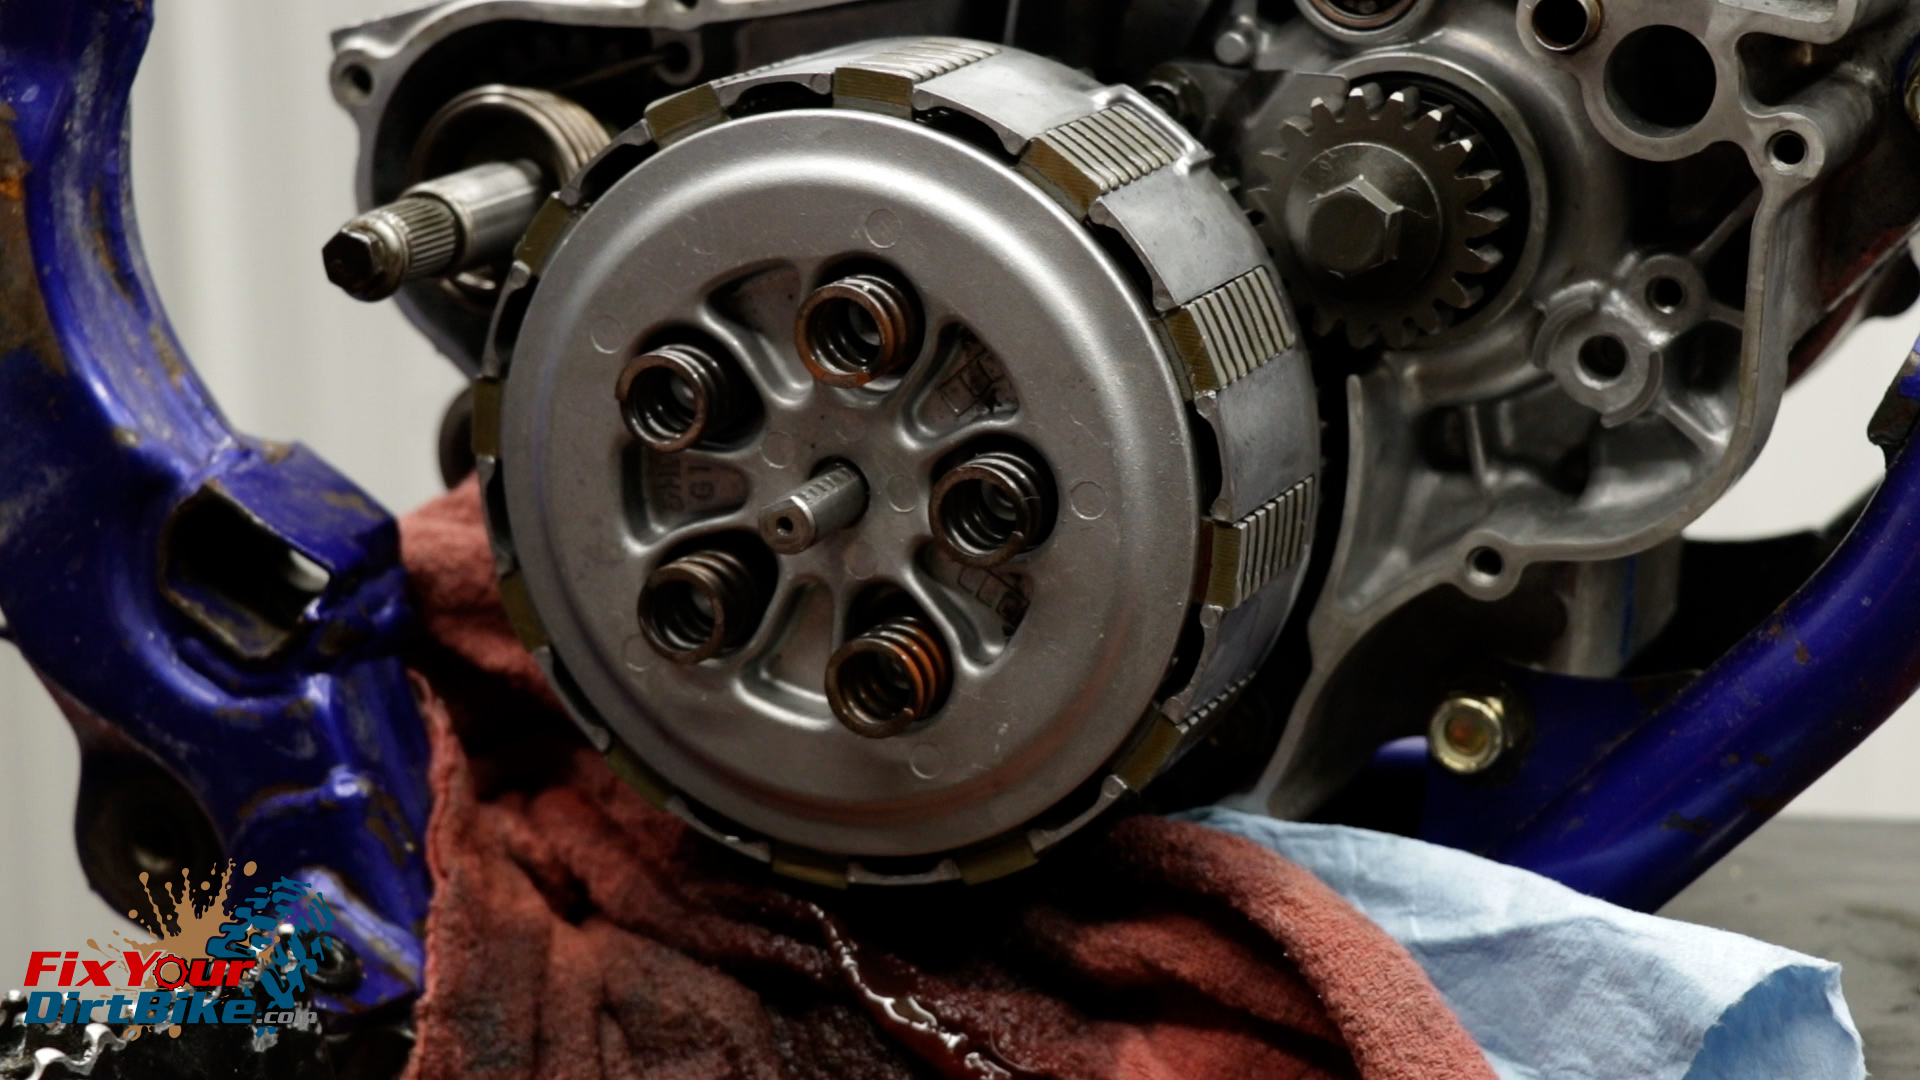
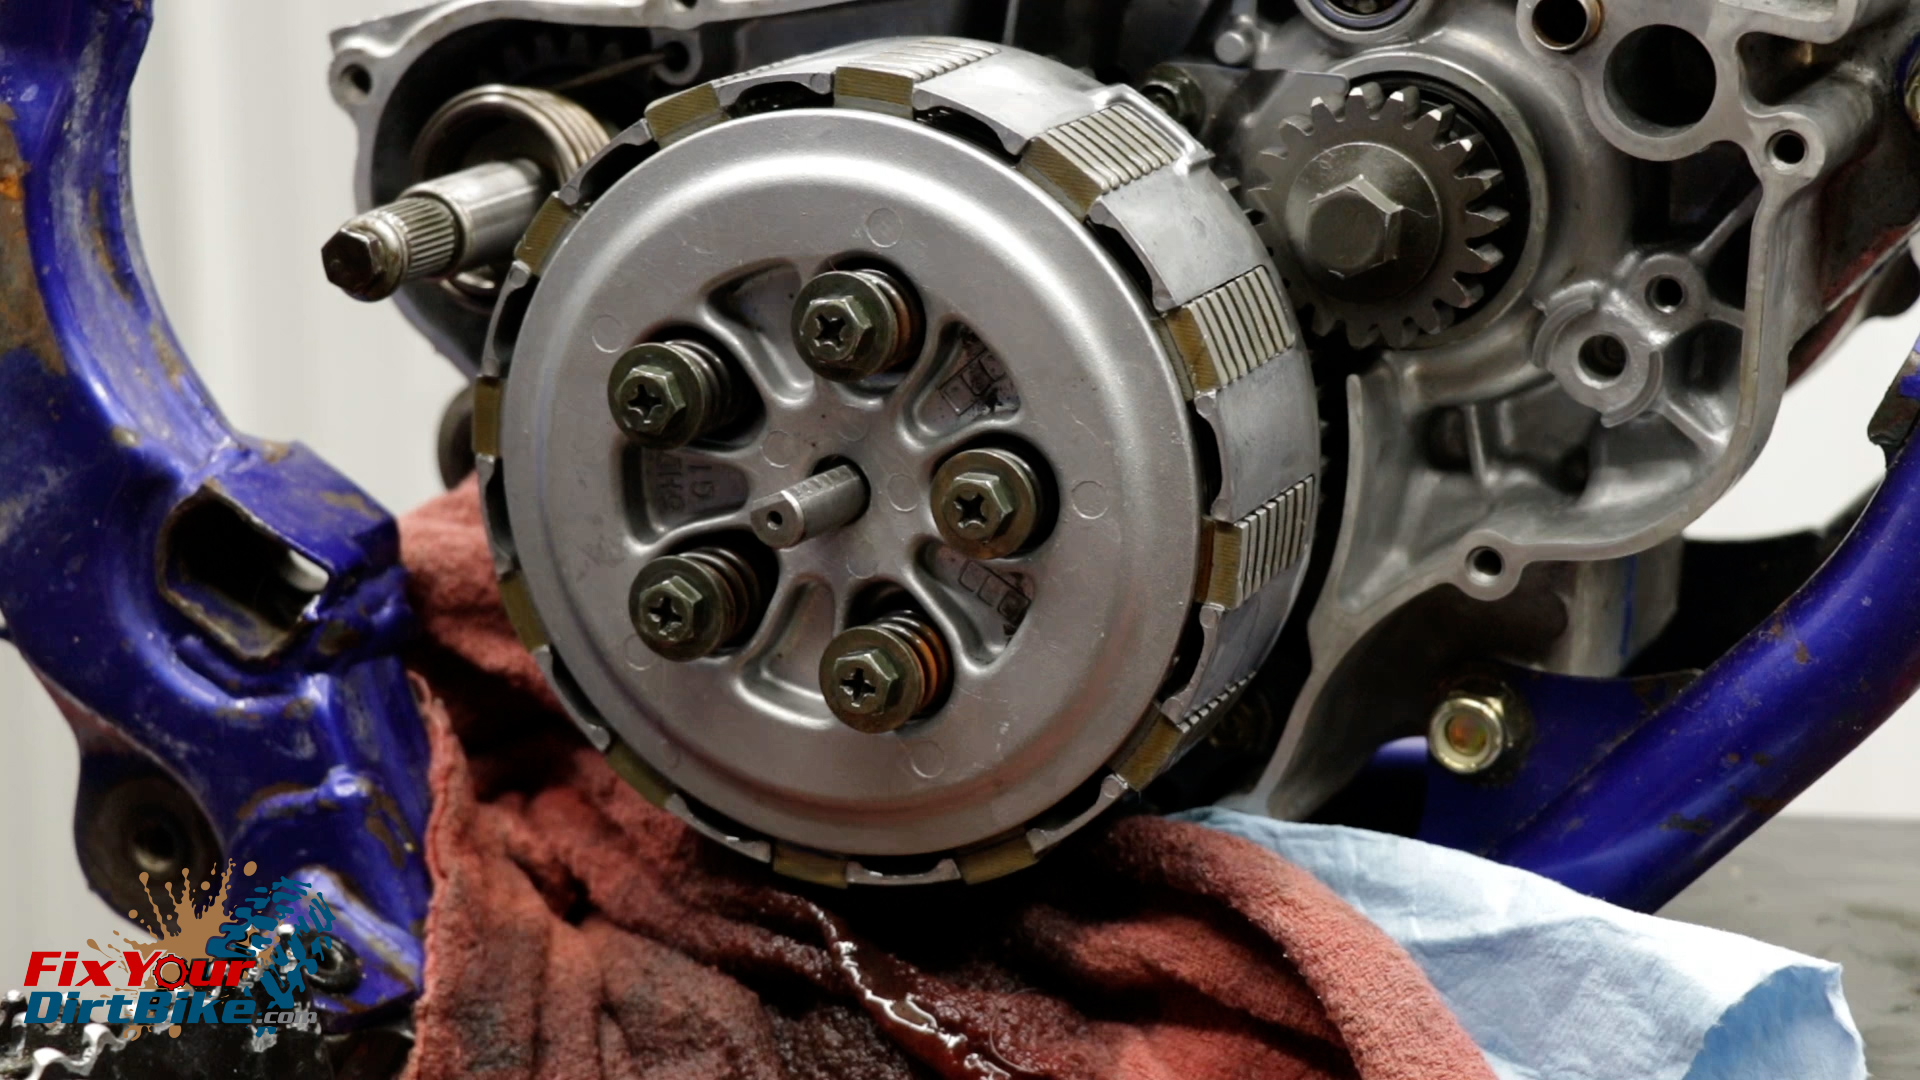
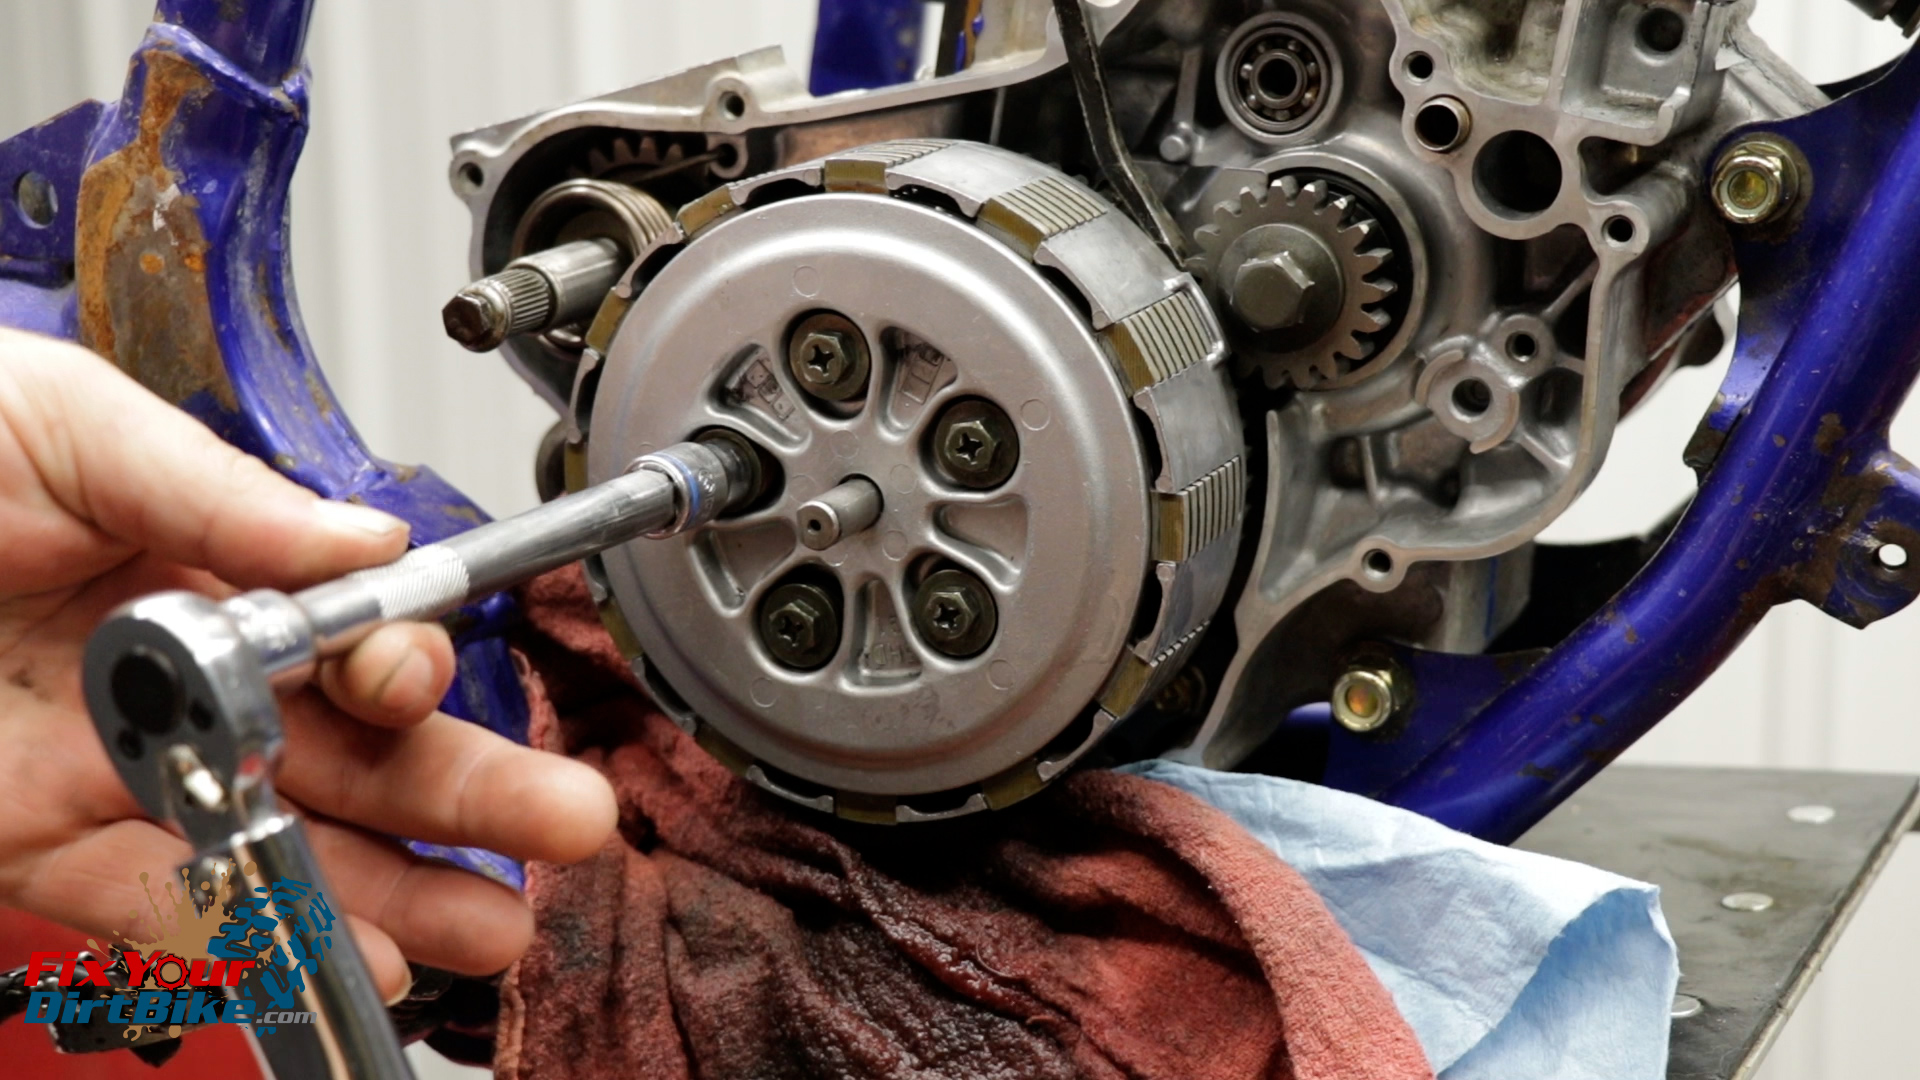
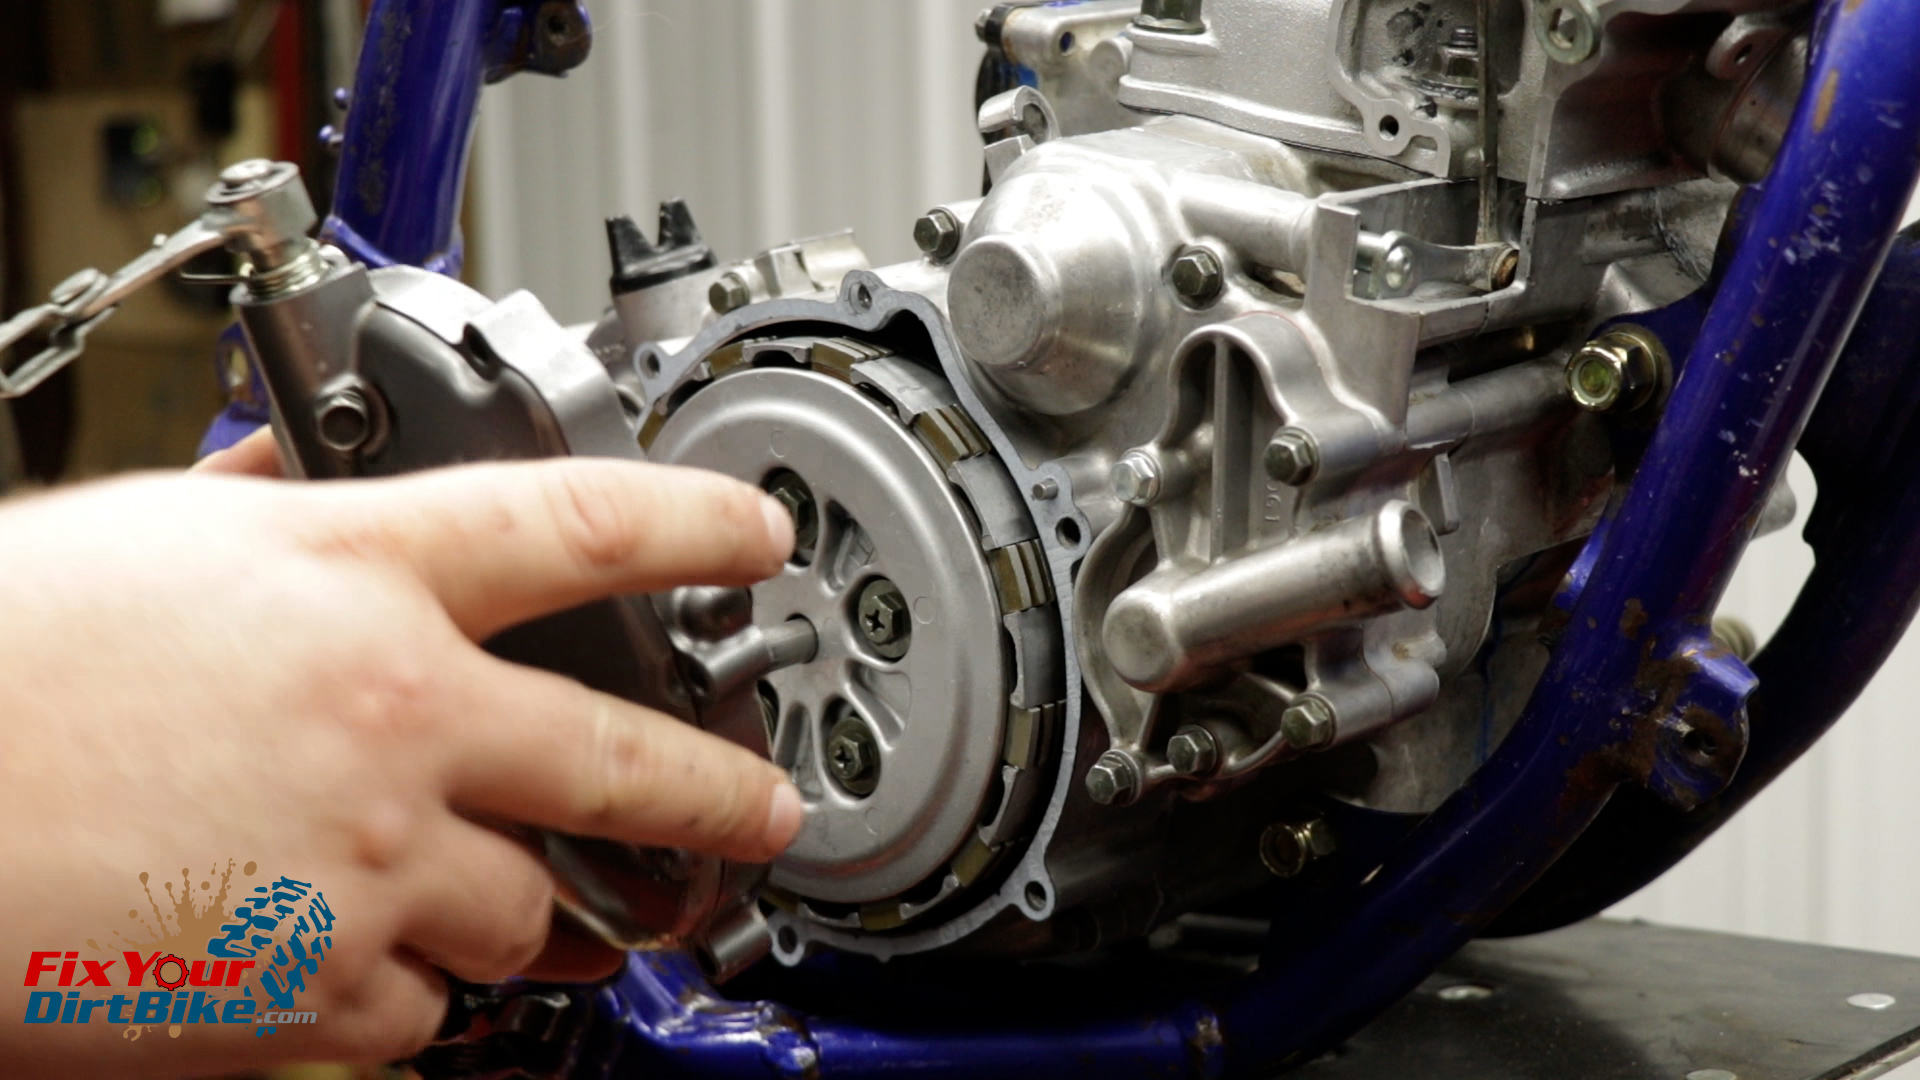
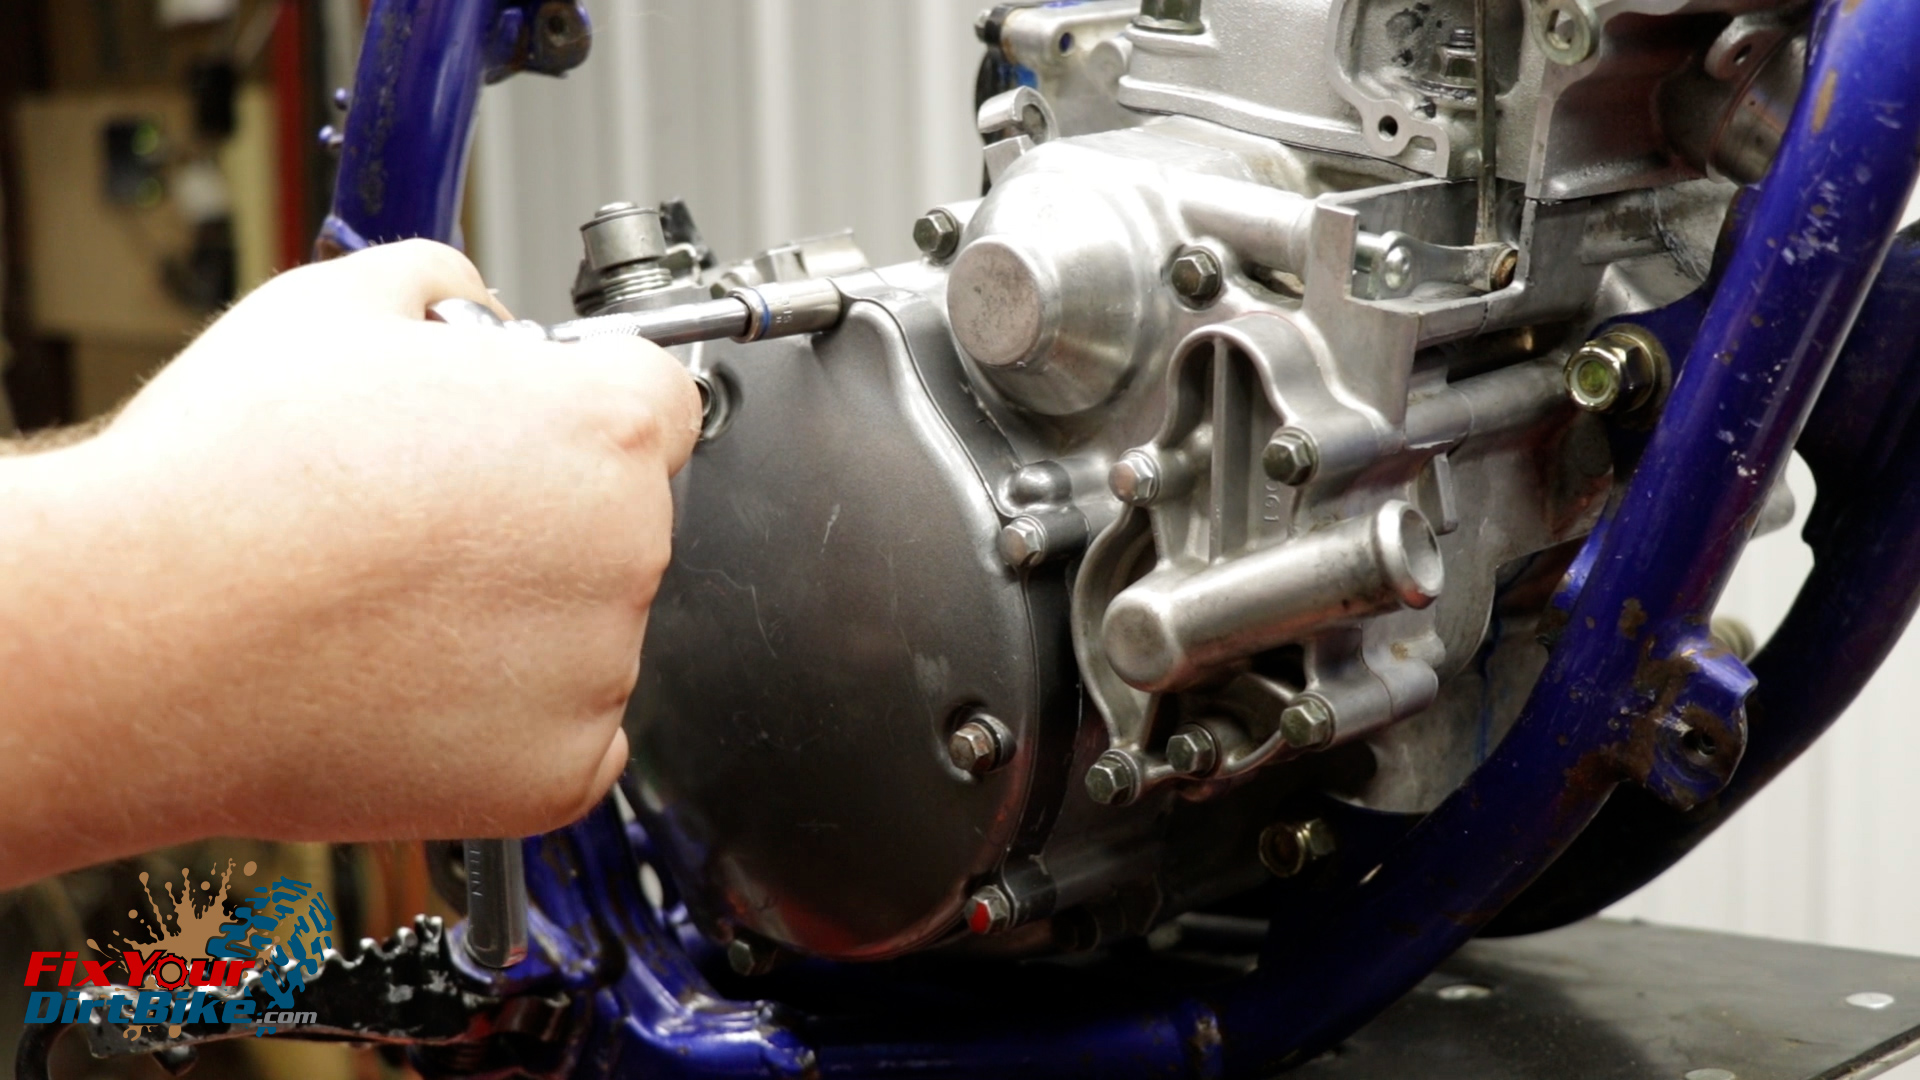
 You can remove and install your clutch through the clutch cover, but since I’m doing a full engine overhaul, my right crankcase cover was off during install.


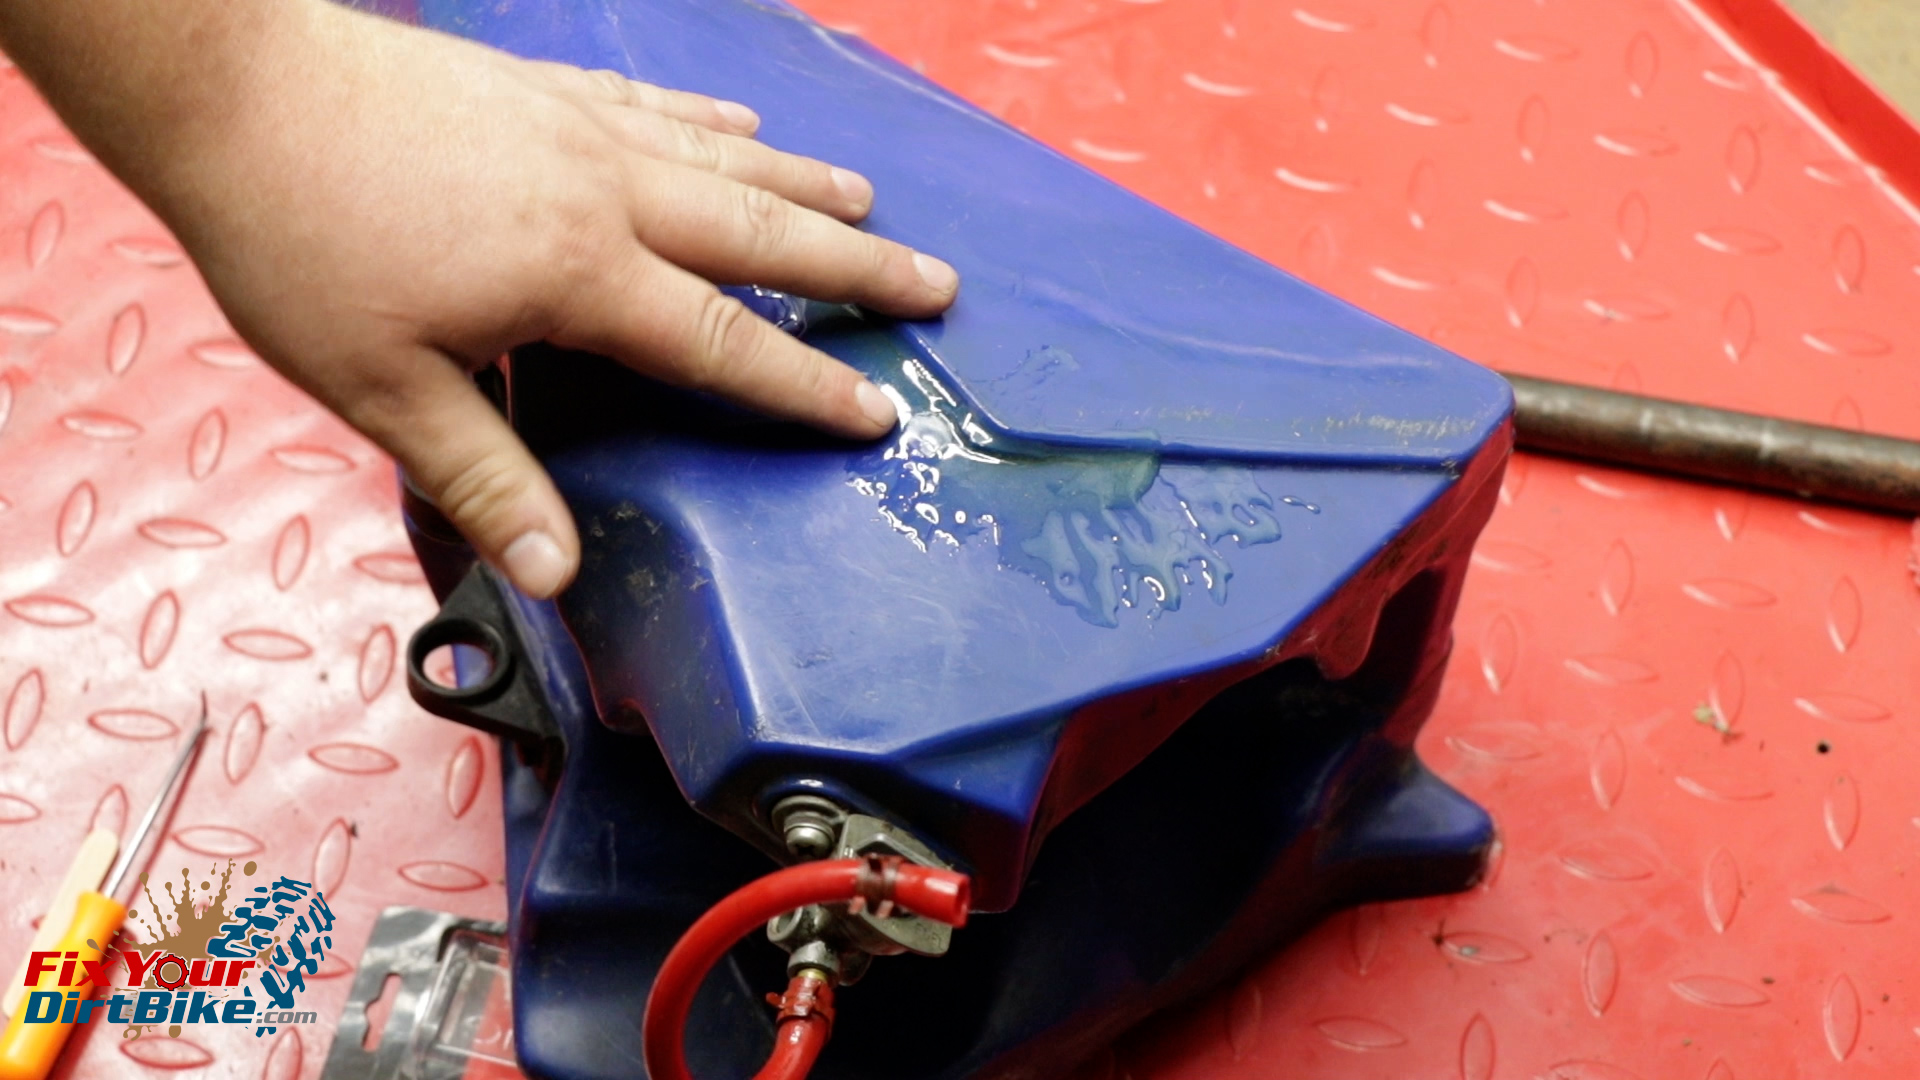
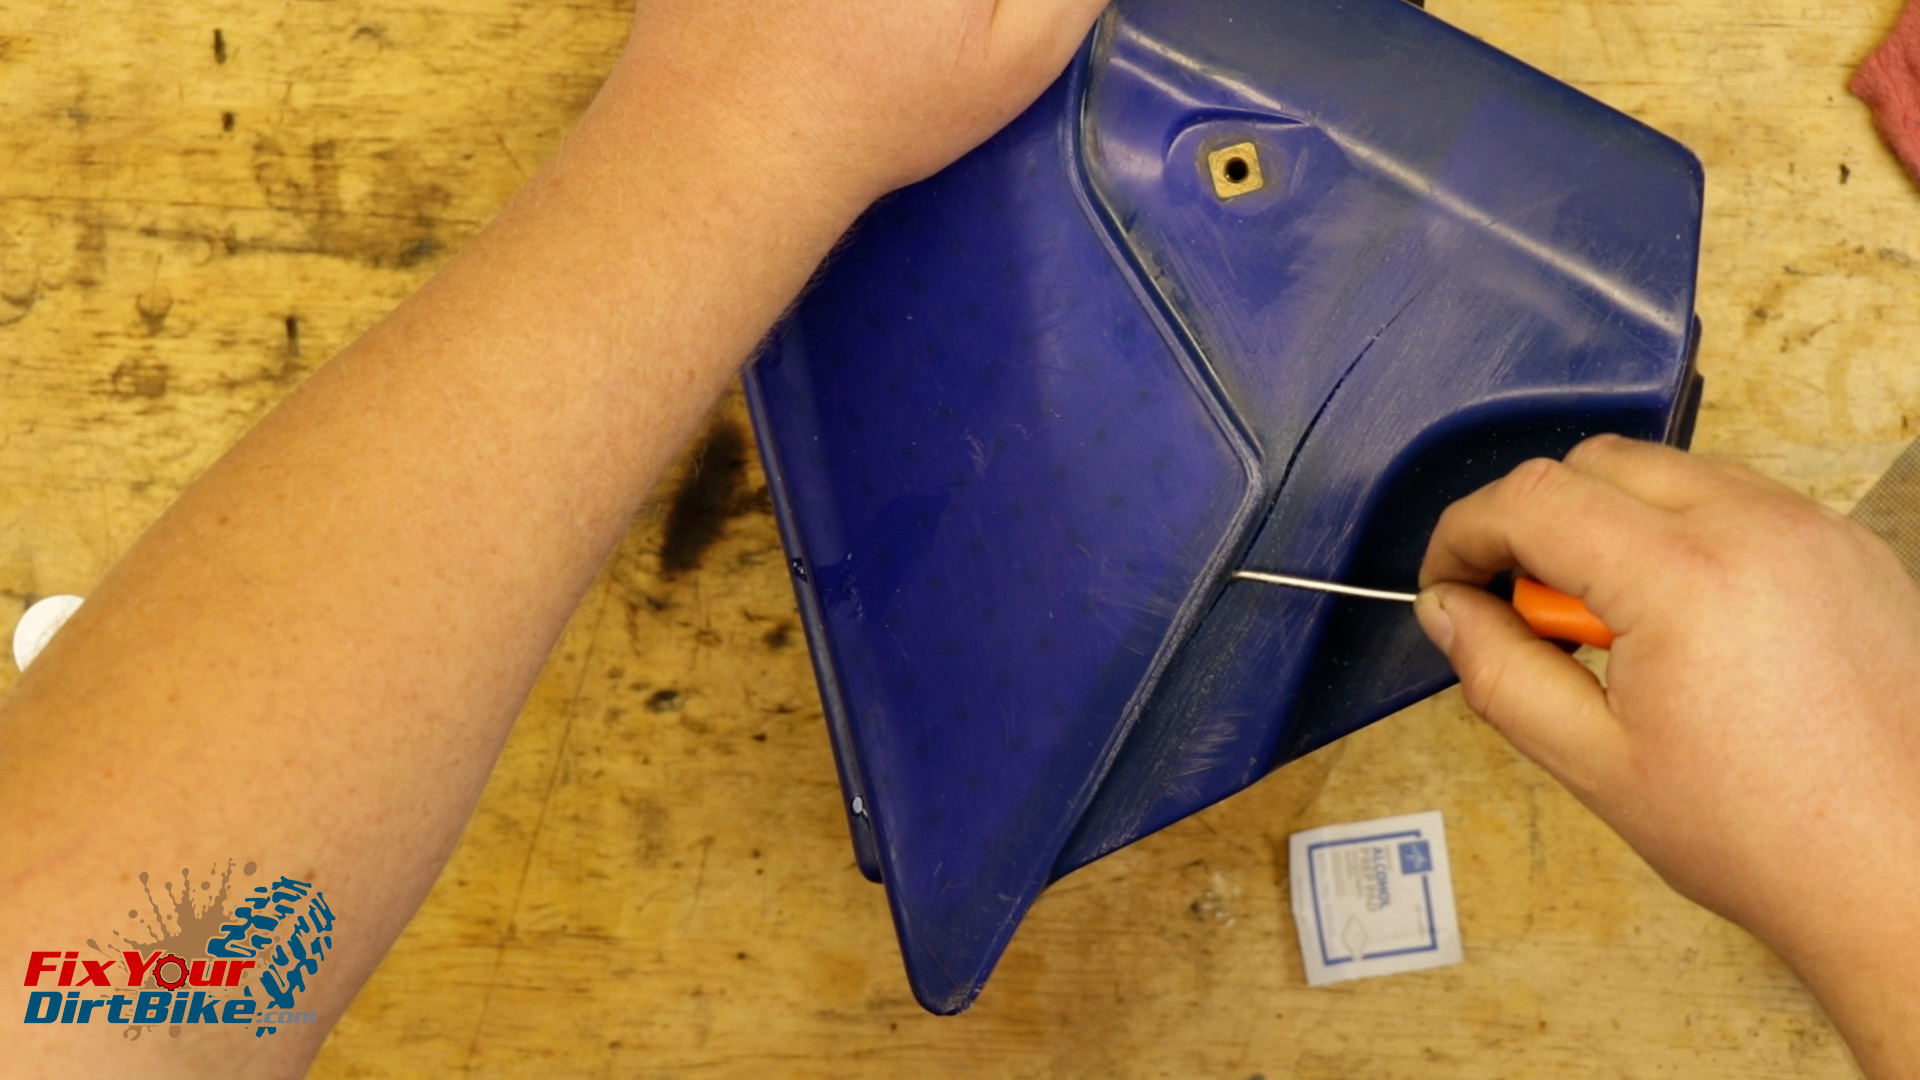
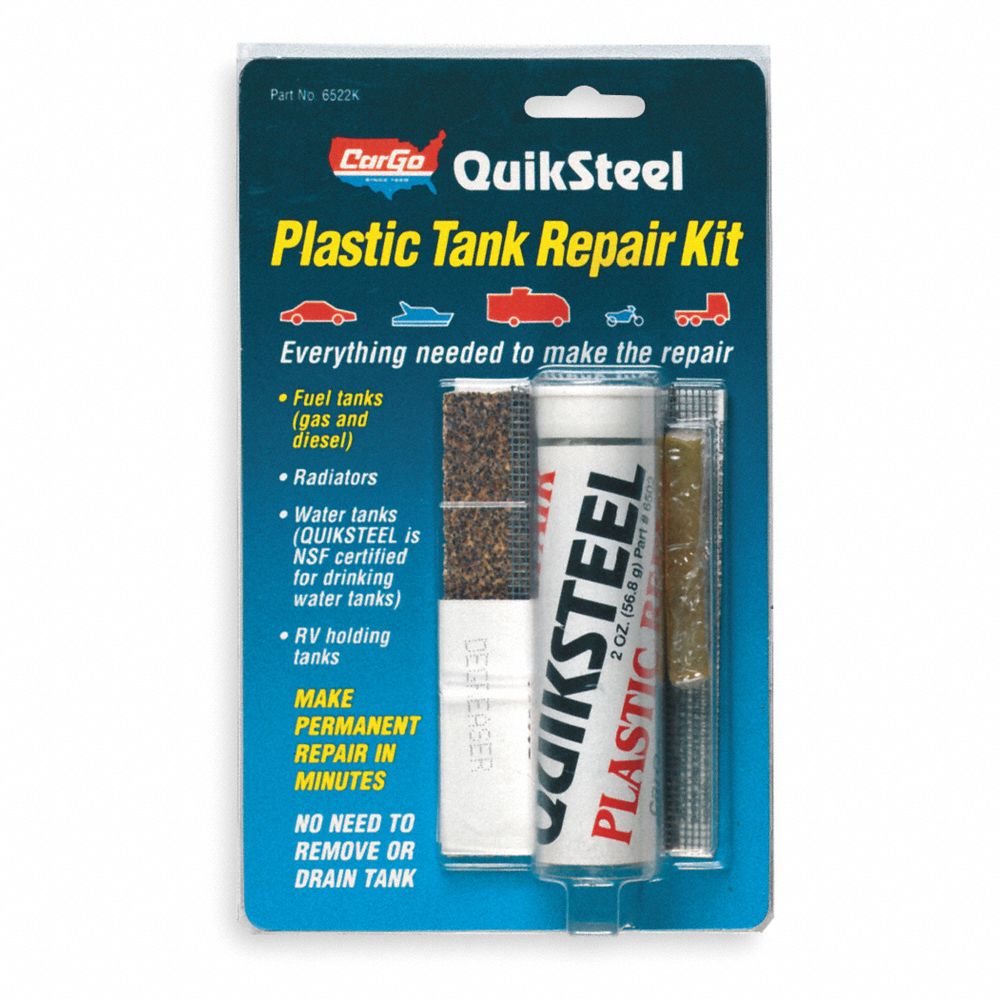
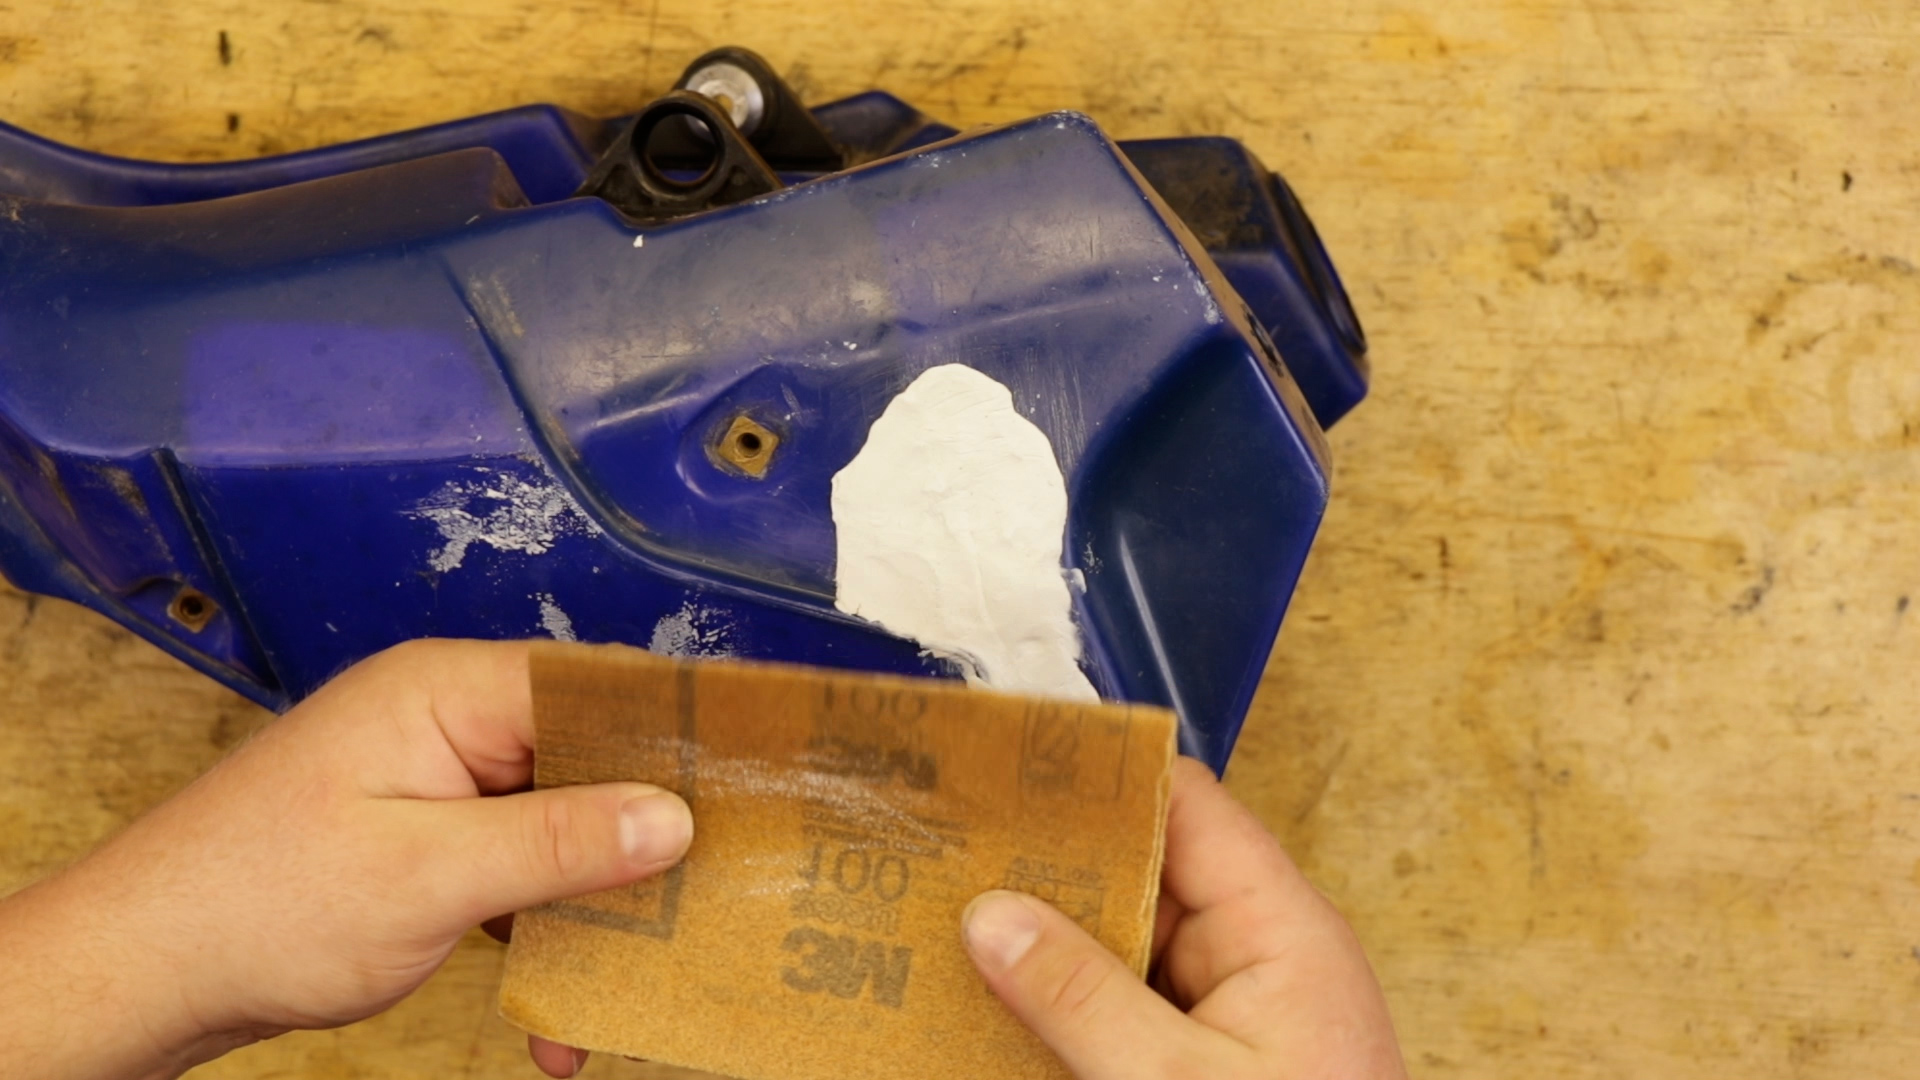
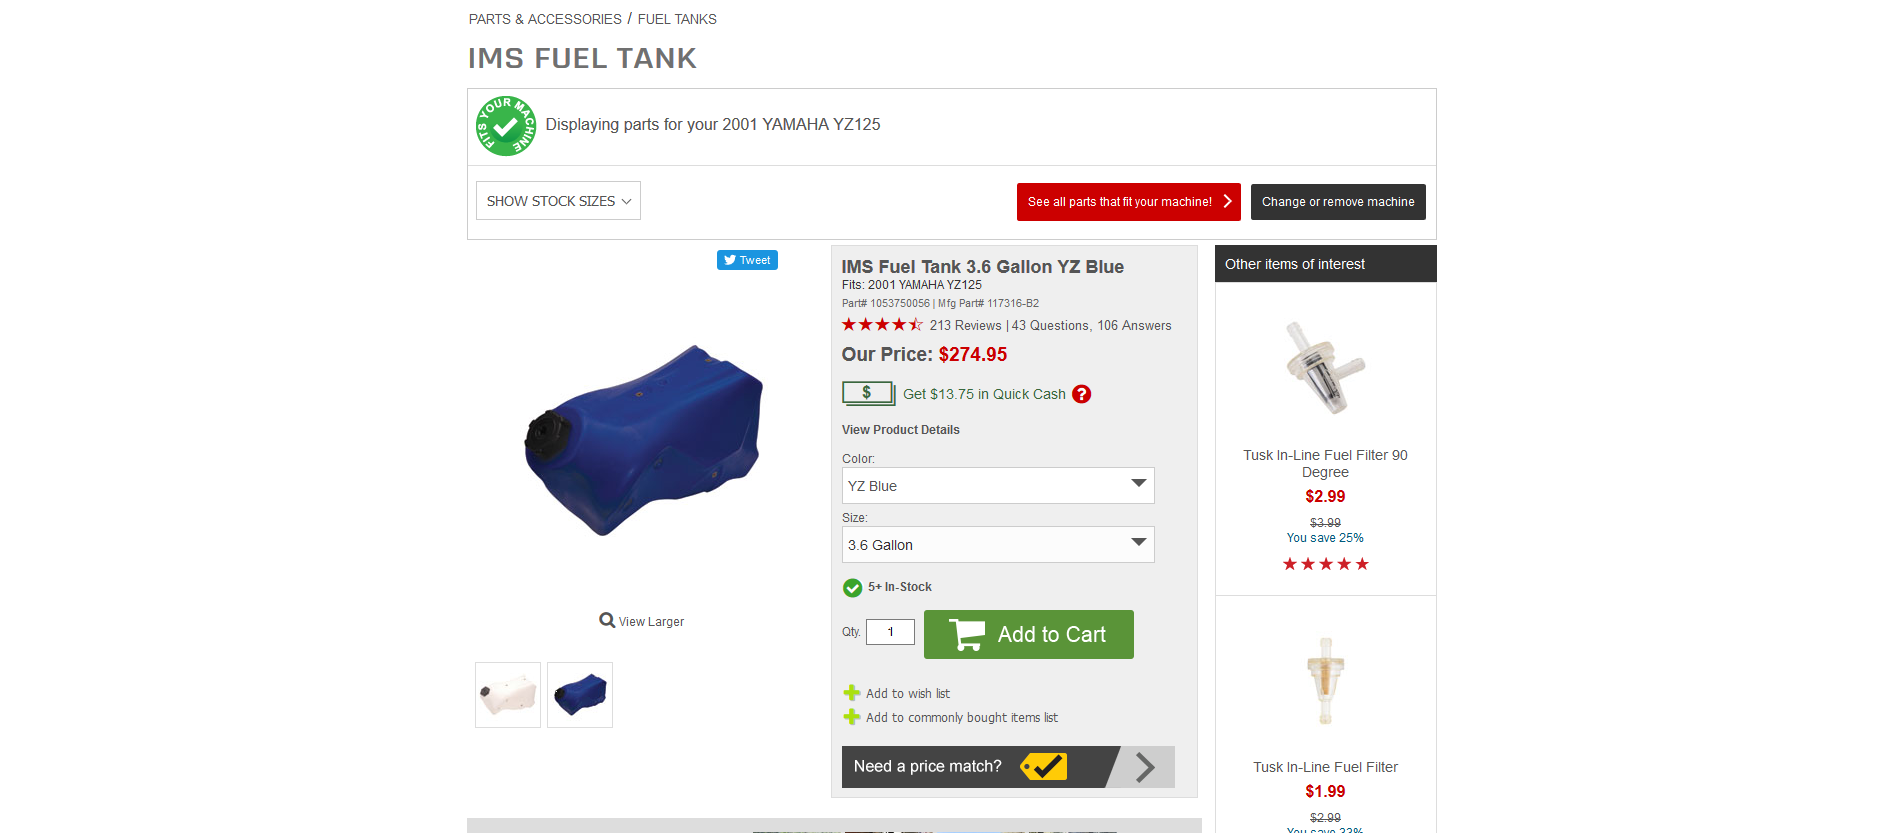
 Cracking your gas tank sucks twice; first, you get stranded, then you have to get a new tank.